
Patapata, パタパタ, onomatopoeia of “fluttering wings”
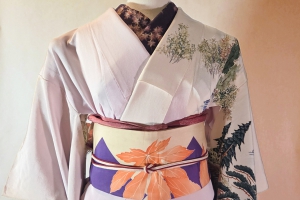
Ever since I saw this tutorial for an adorable patapata musubi with a bow accent, I knew I wanted to try it. I kept procrastinating for some reason, but now I’m glad I did because that means today I can show you this perfectly puffy pink patapata coordination! Japanese is a language full of adorable onomatopoeia, and patapata represents the fluttering sound made by bird or butterfly wings, and looking at the soft blousy folds it’s easy to see where the name came from.
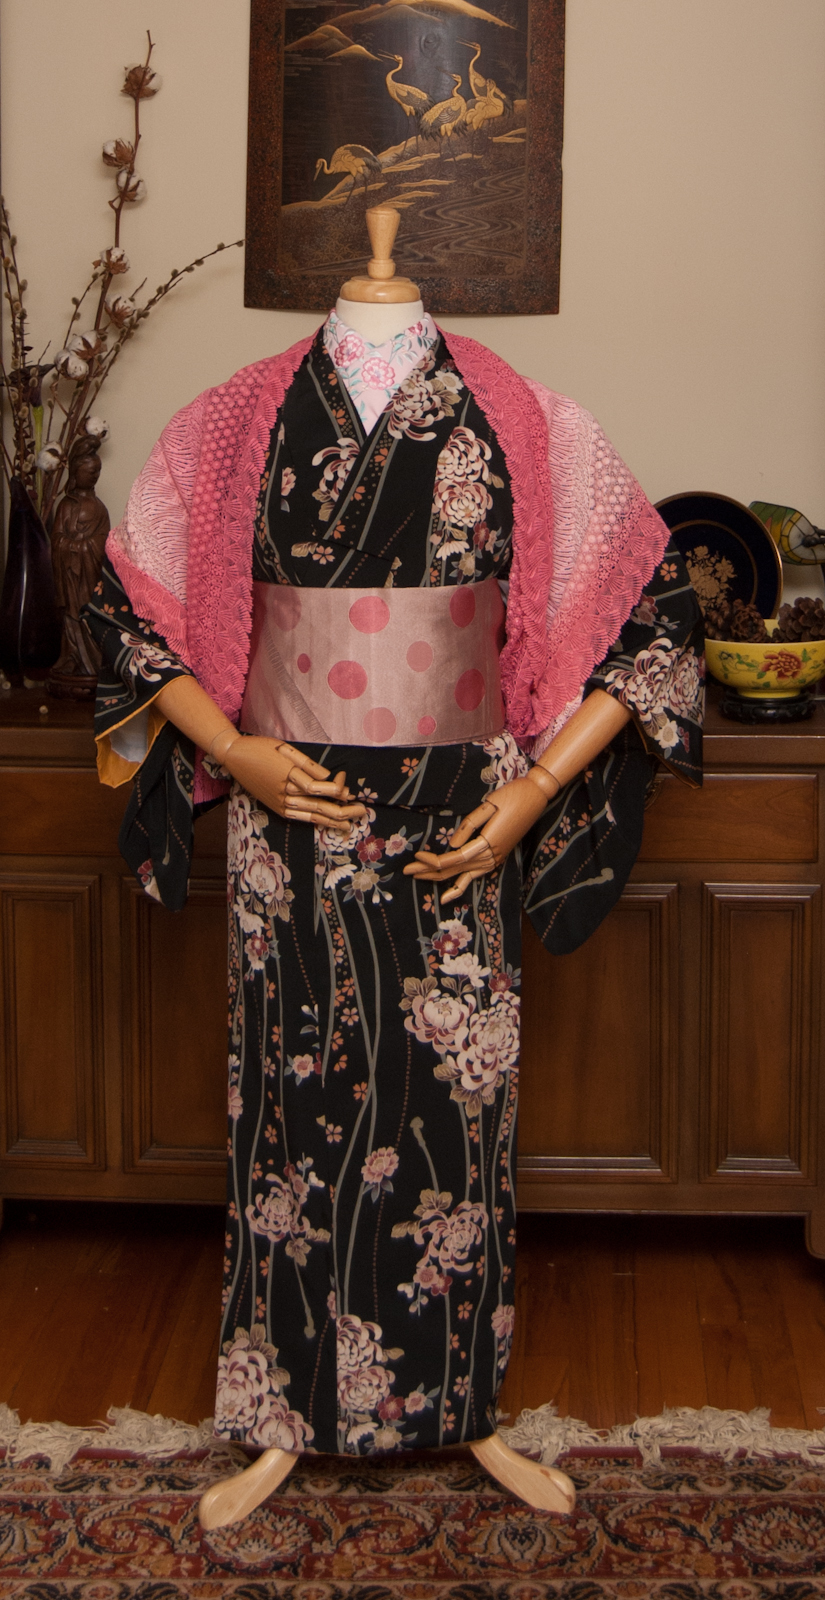
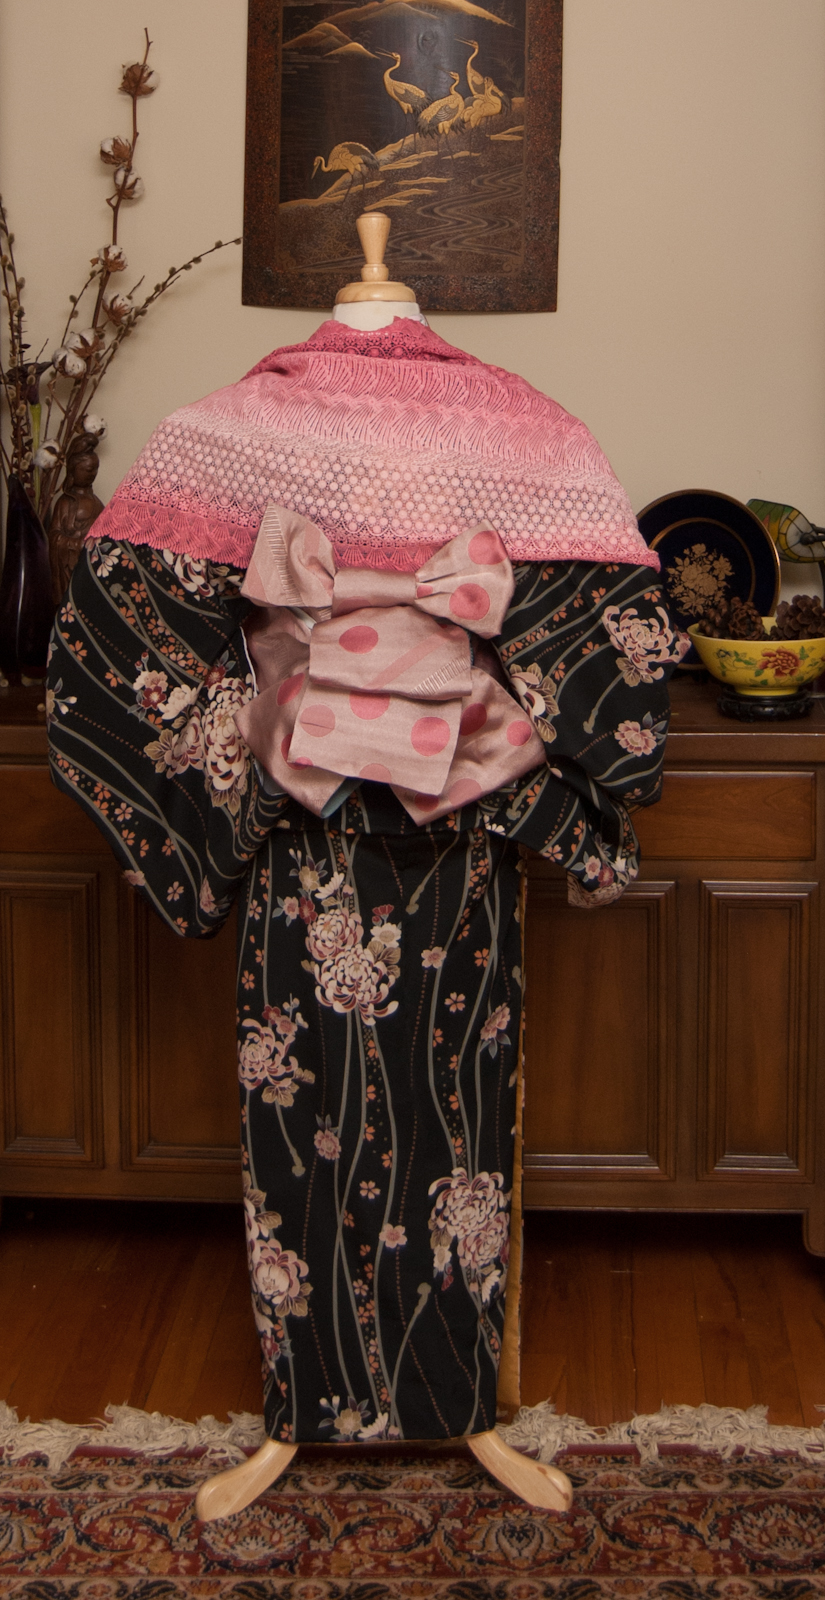
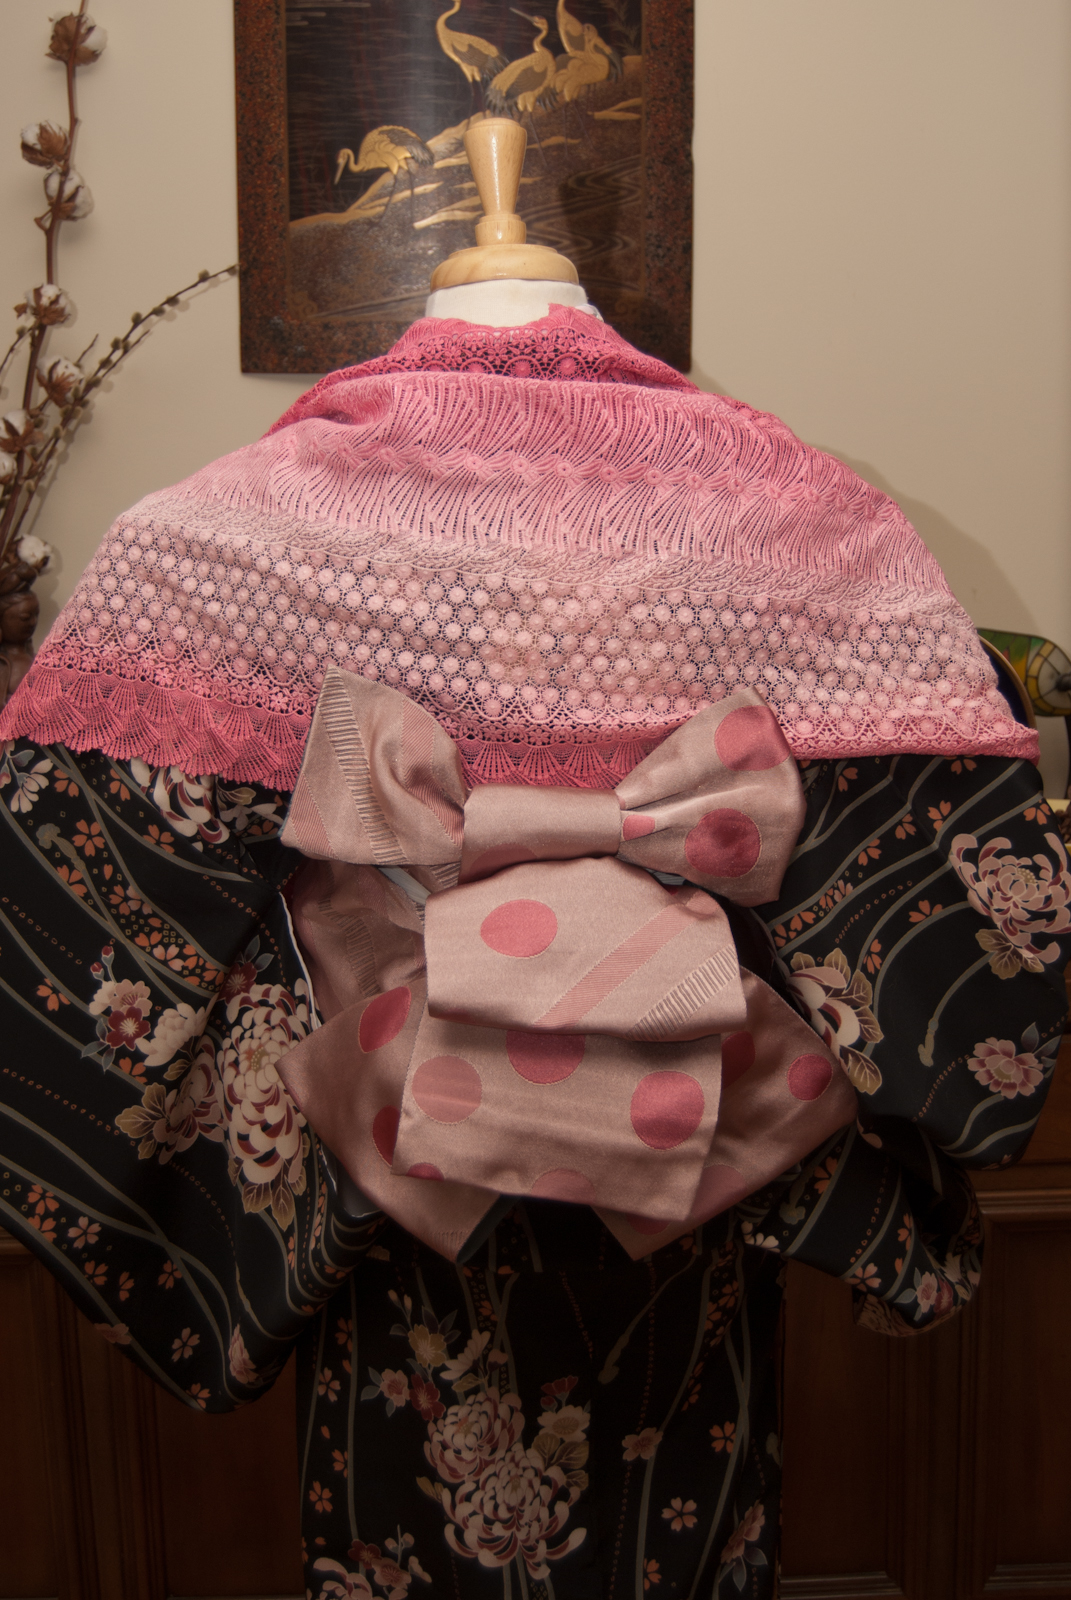
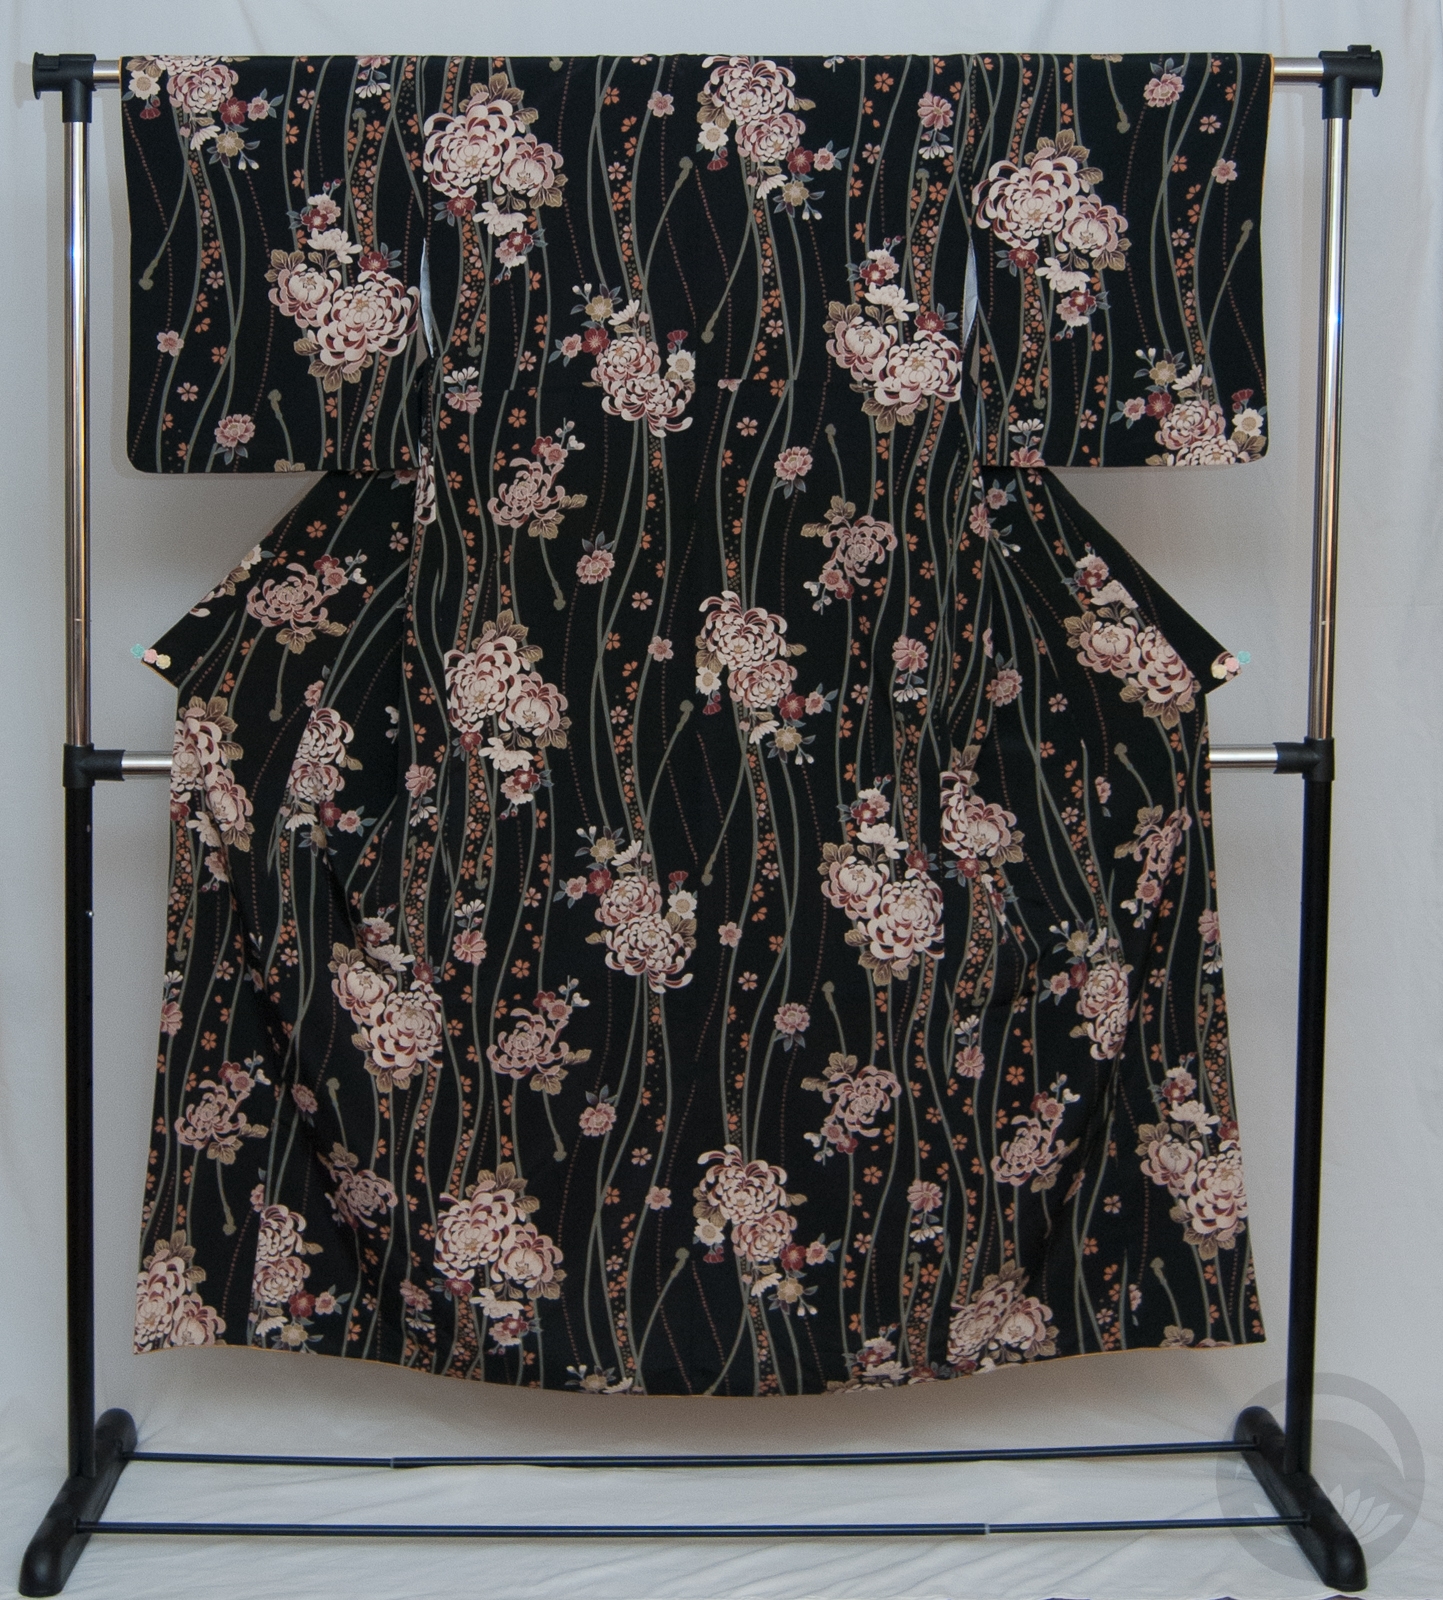
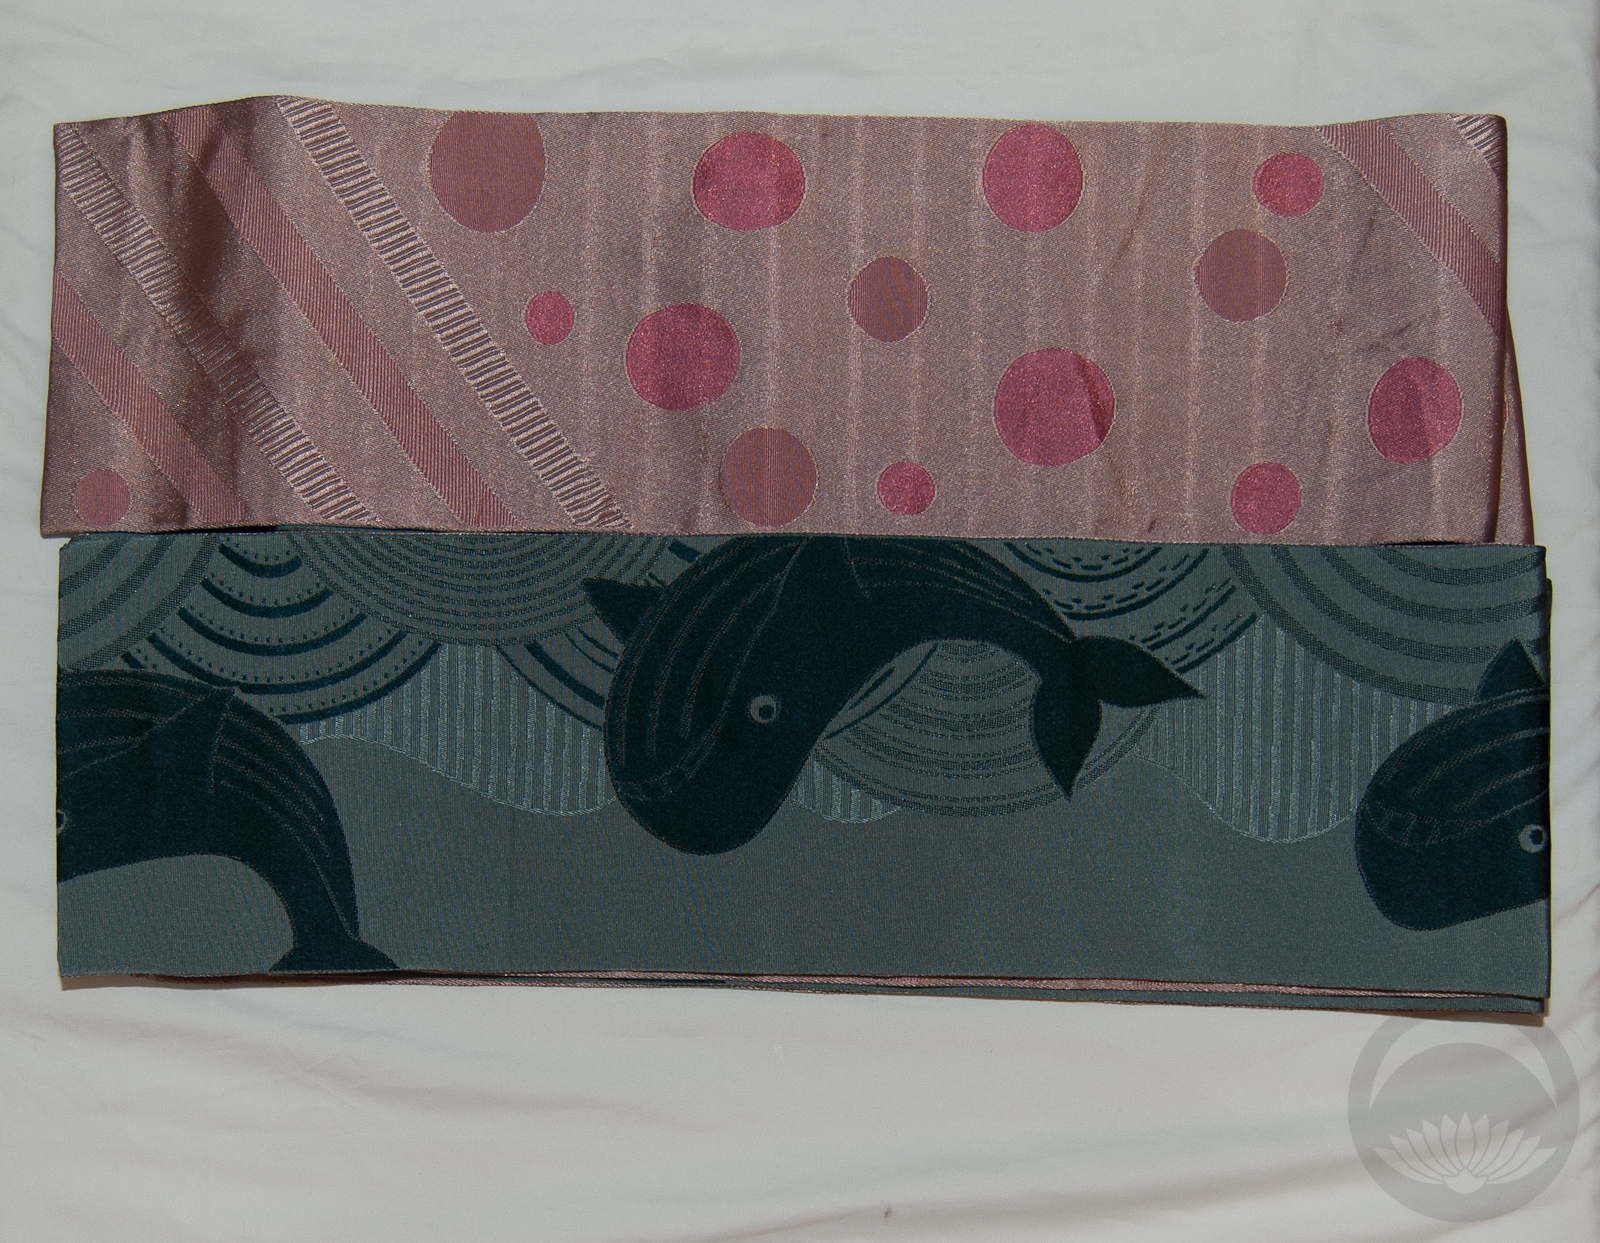
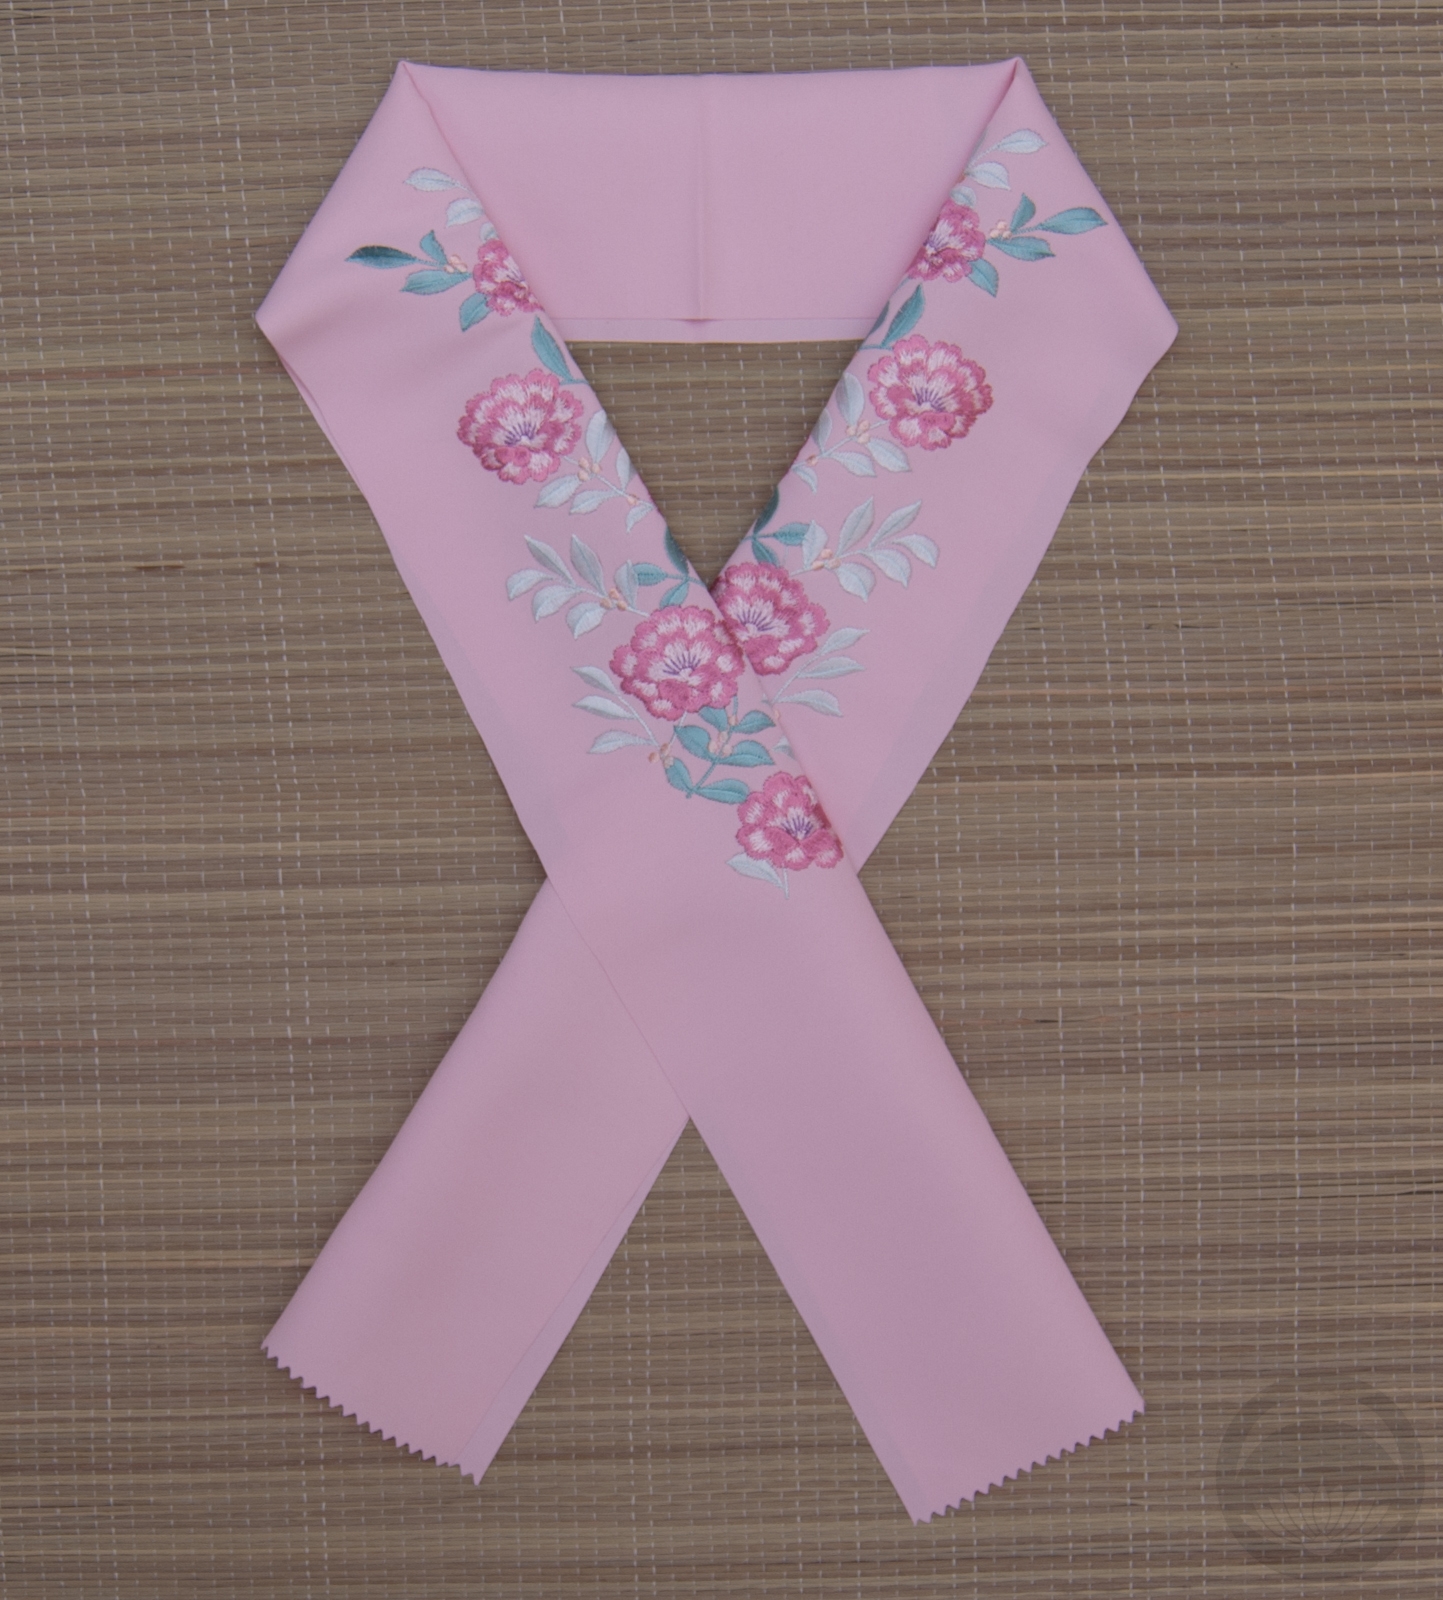
I used the pink bubble side of my adorable whale obi, along with a sweet multi-floral black komon kimono. The outfit felt a little too boring as-is, so I pulled out a bright pink haneri and lace shawl to complete the look while making sure nothing distracted from the adorable obi bow.
If you’d like to learn to tie patapata musubi yourself, here is the video I followed! I love Sunao’s videos, they’re very clear and the English subtitles are very well-written.
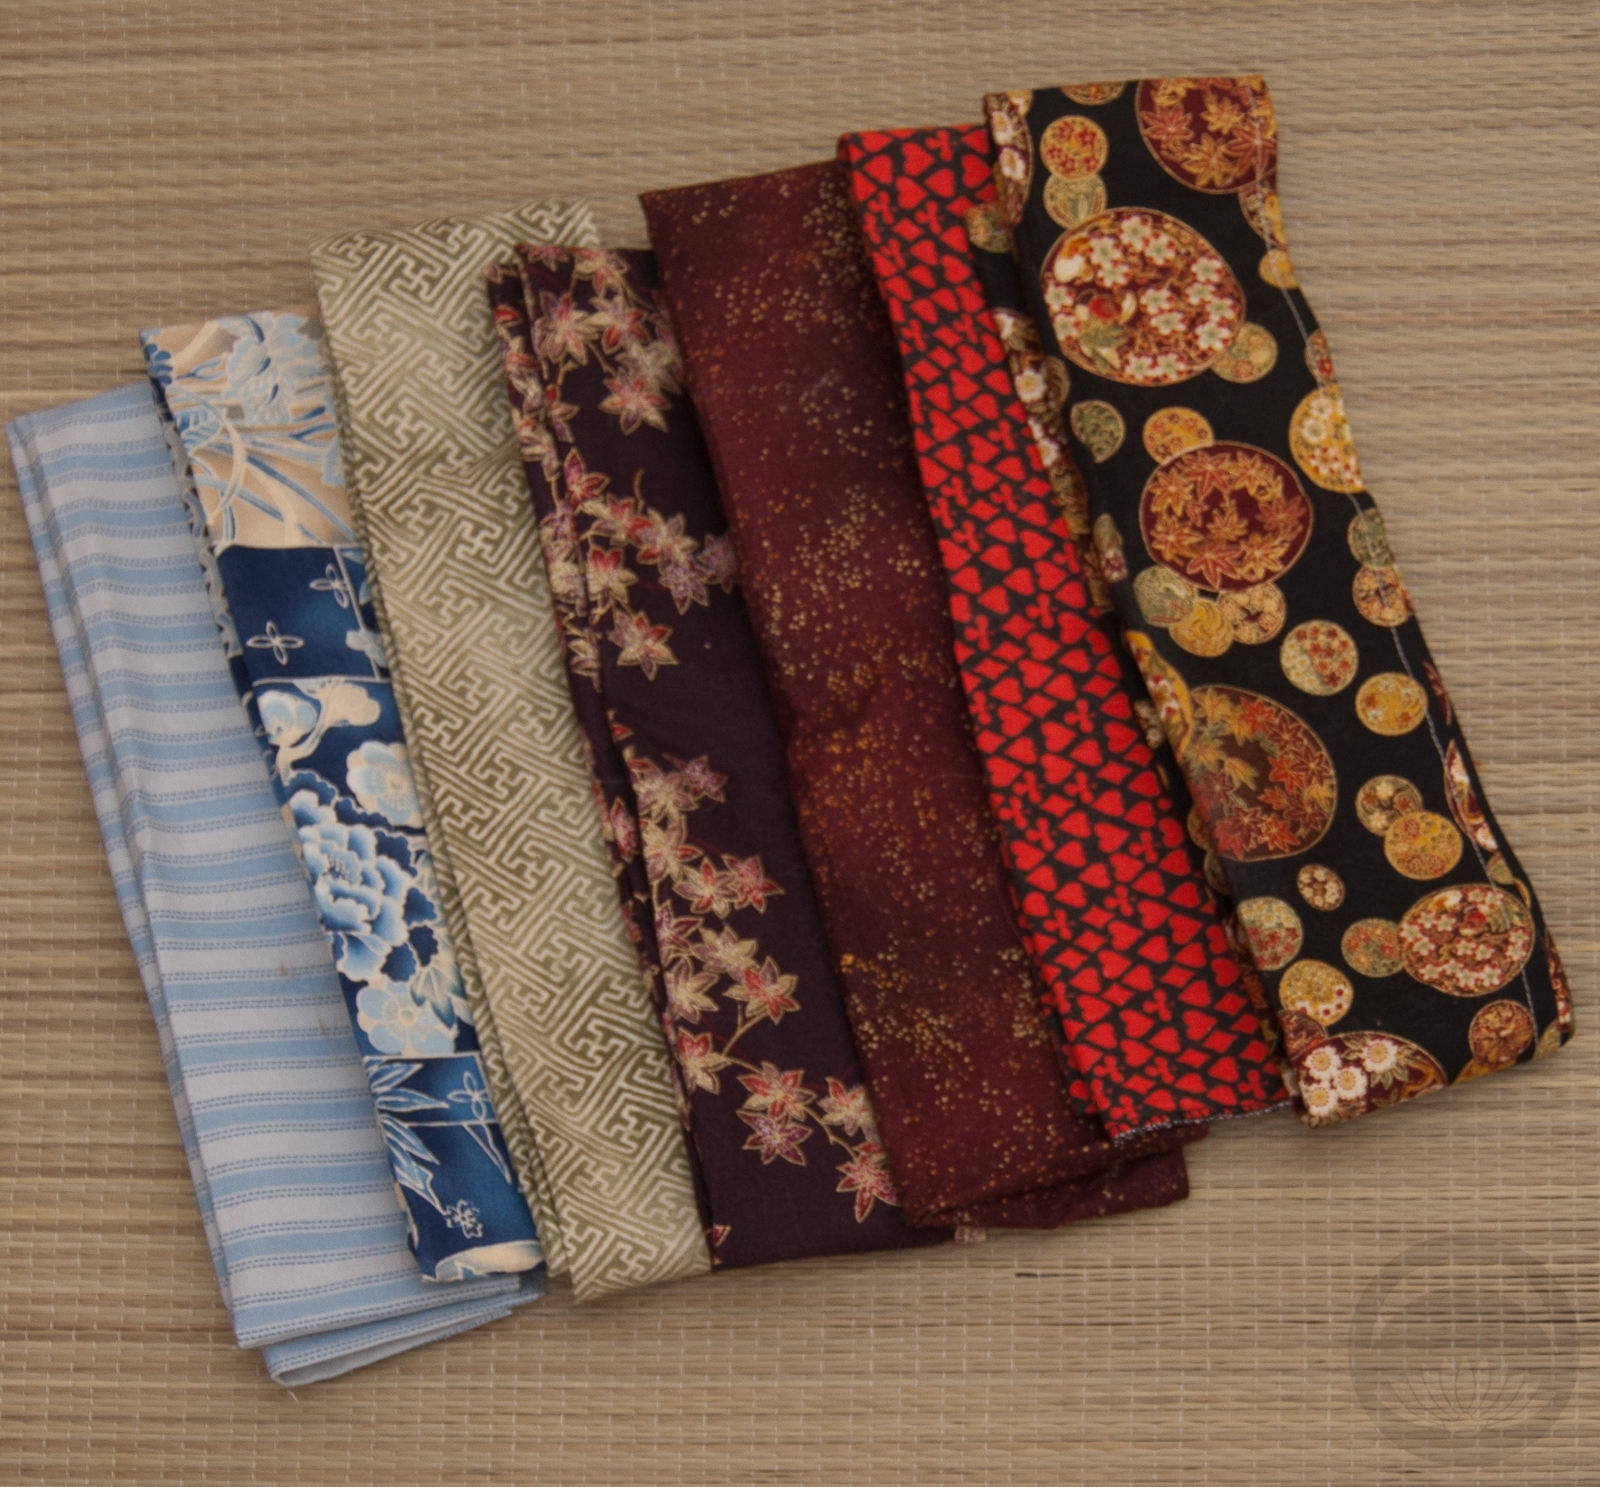
Items used in this coordination
-
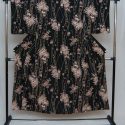
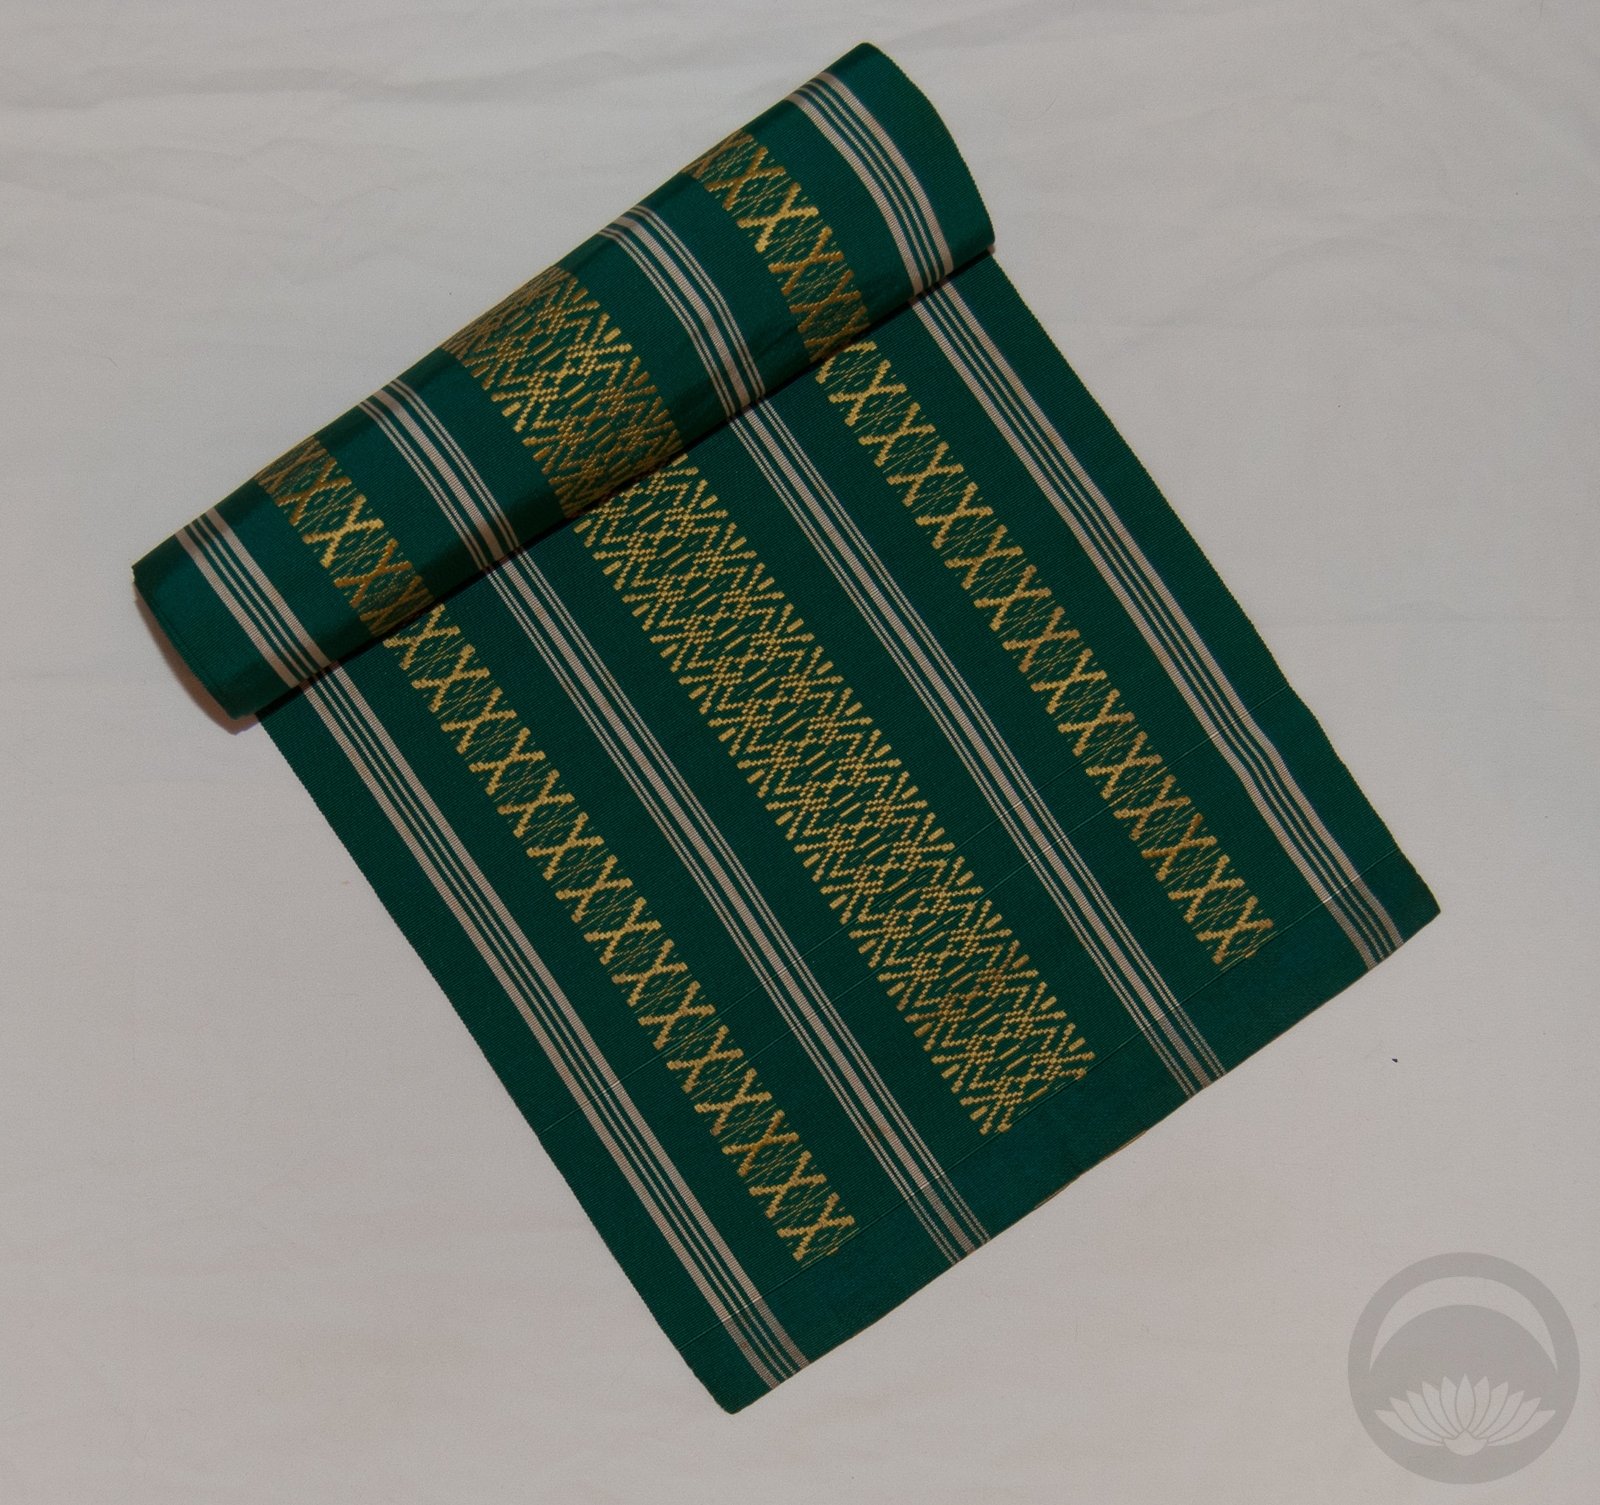
- Poly Floral
-
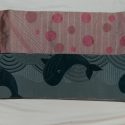
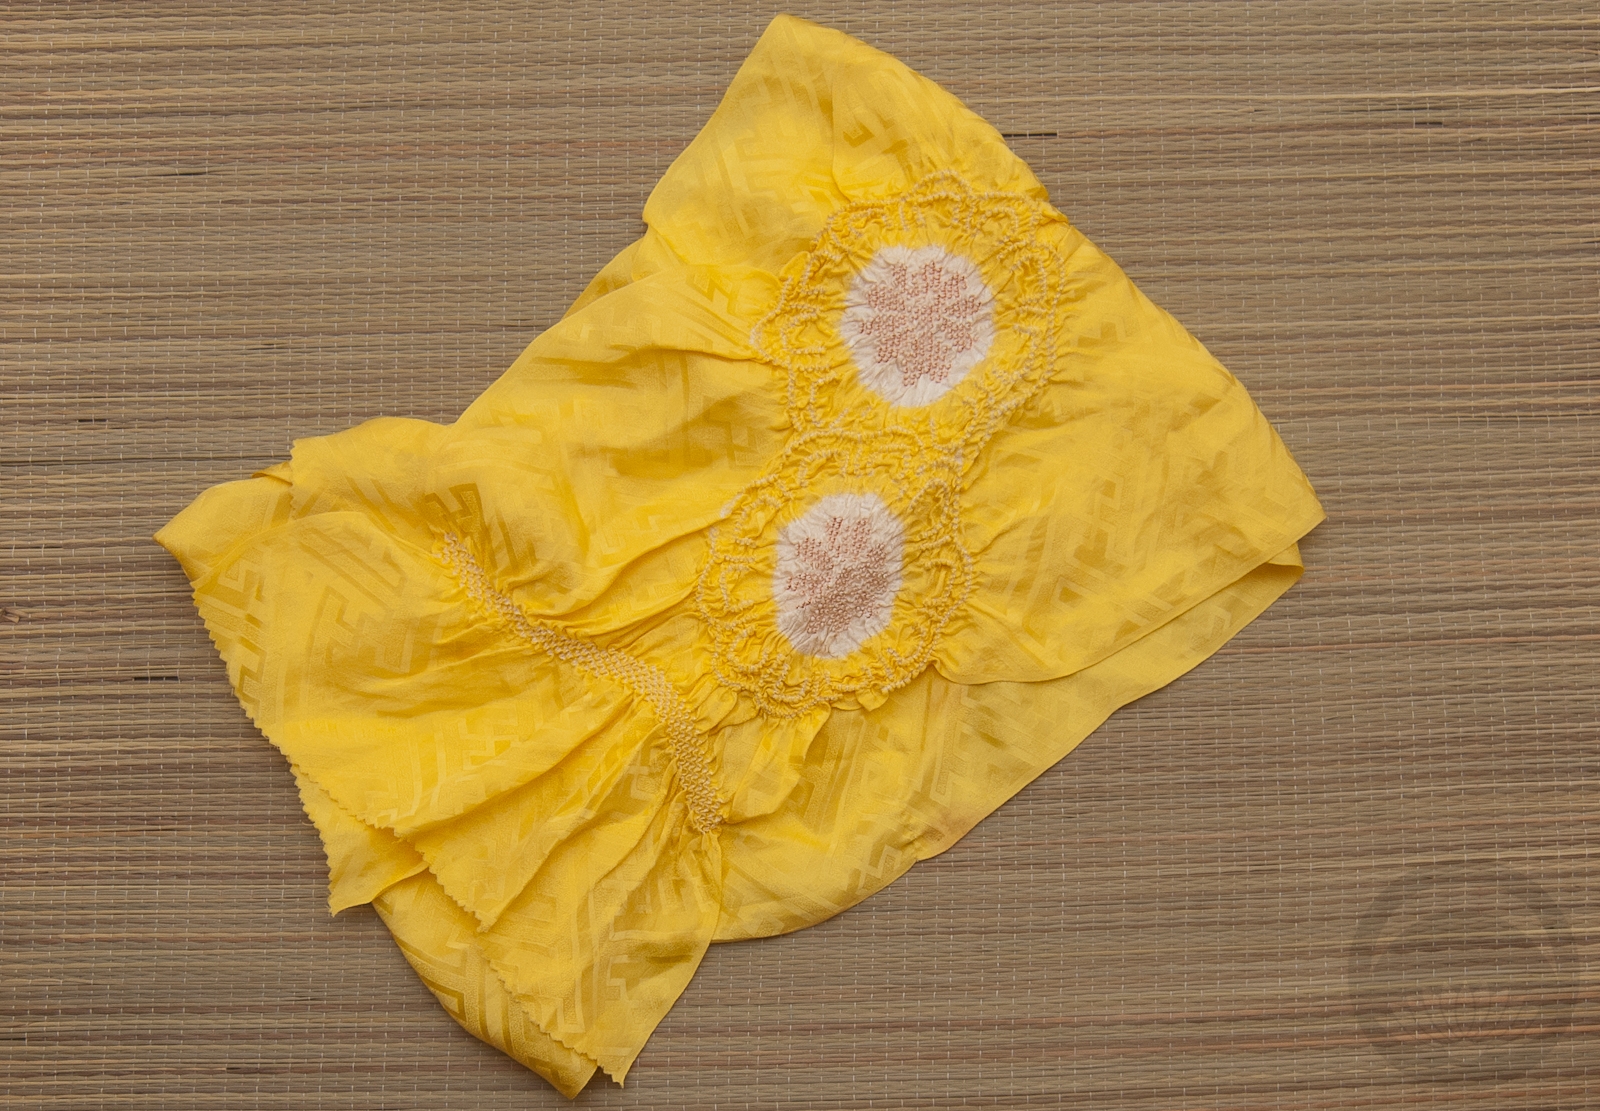
- Blue Whales/Pink Bubbles
-
- Pink Large Floral
-
- Pink Shawl


 Bebe Taian
 CHOKO Blog
 Gion Kobu