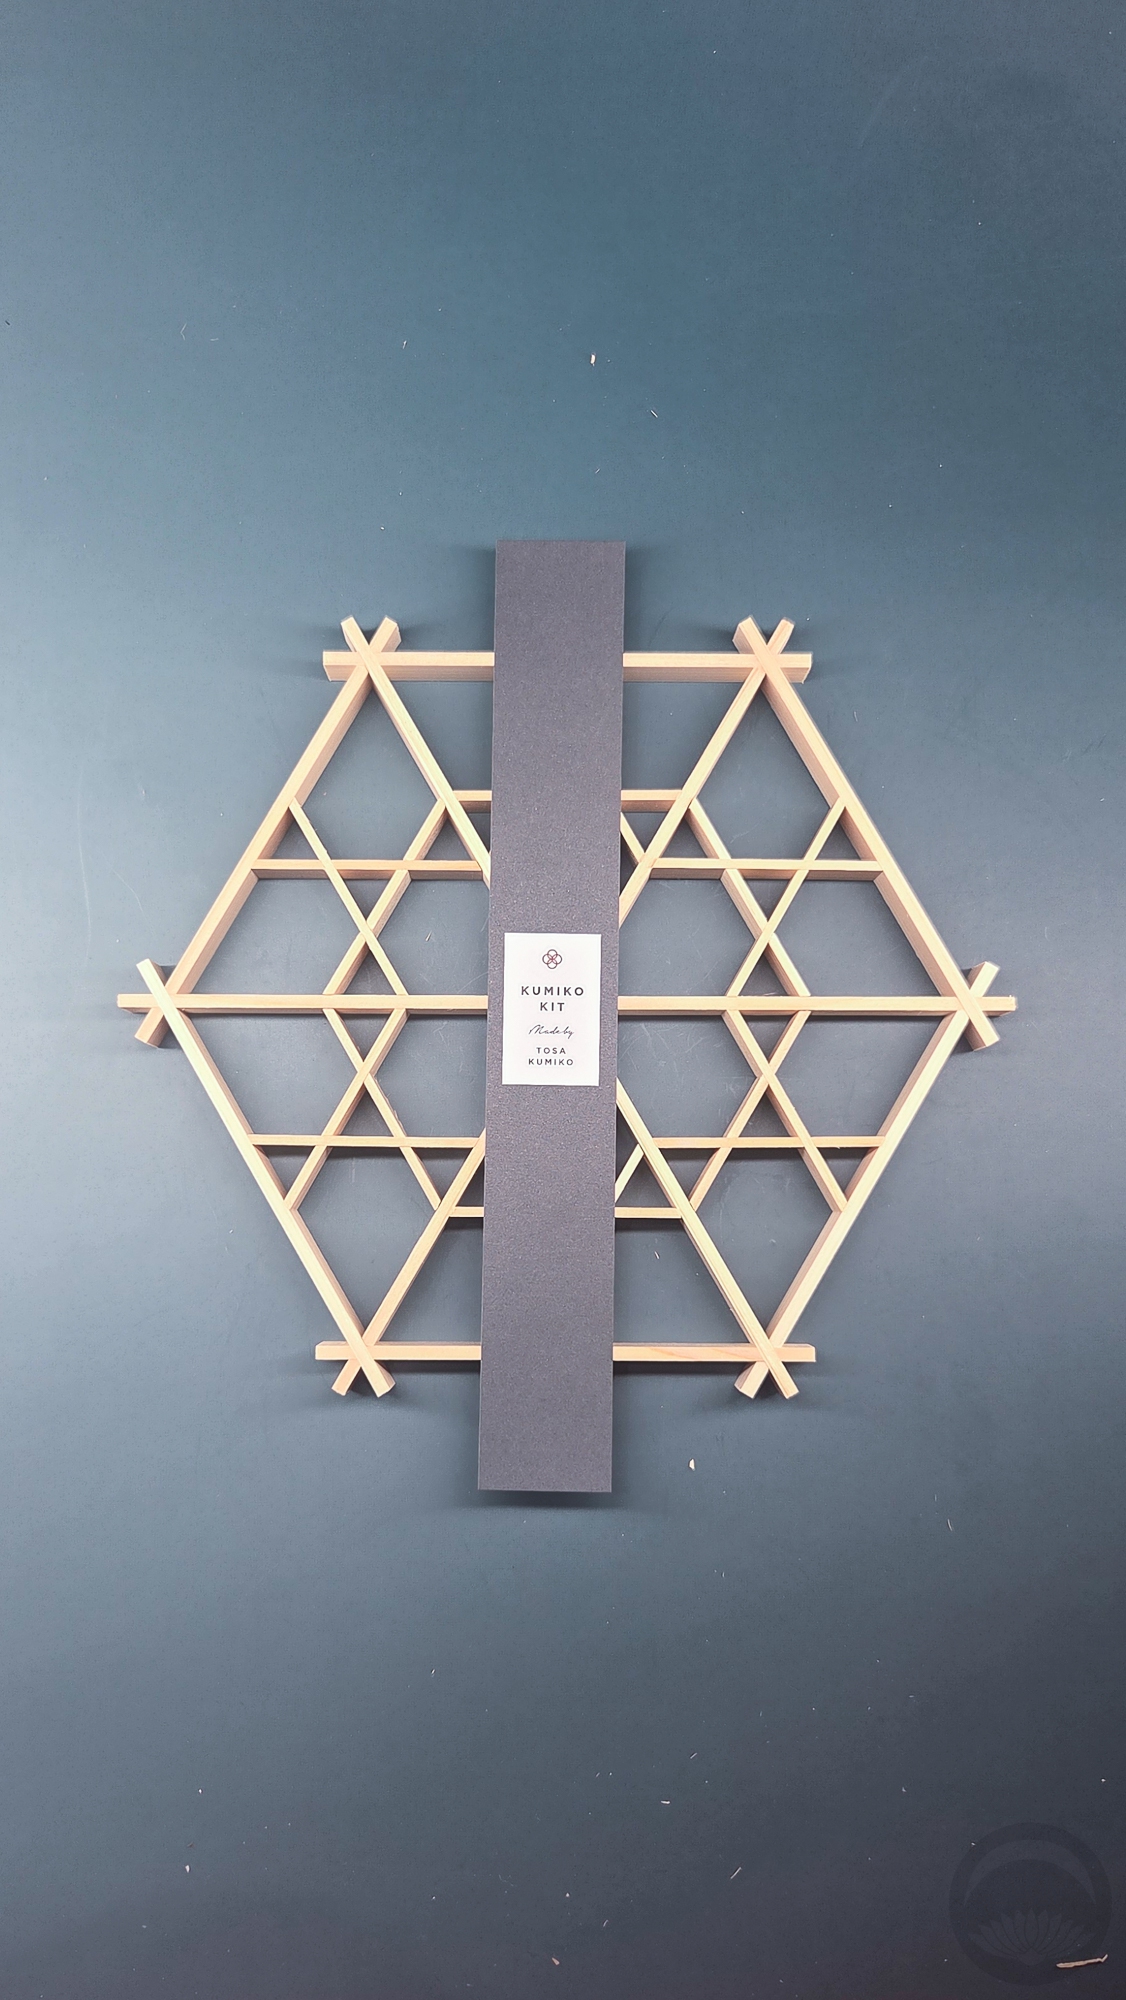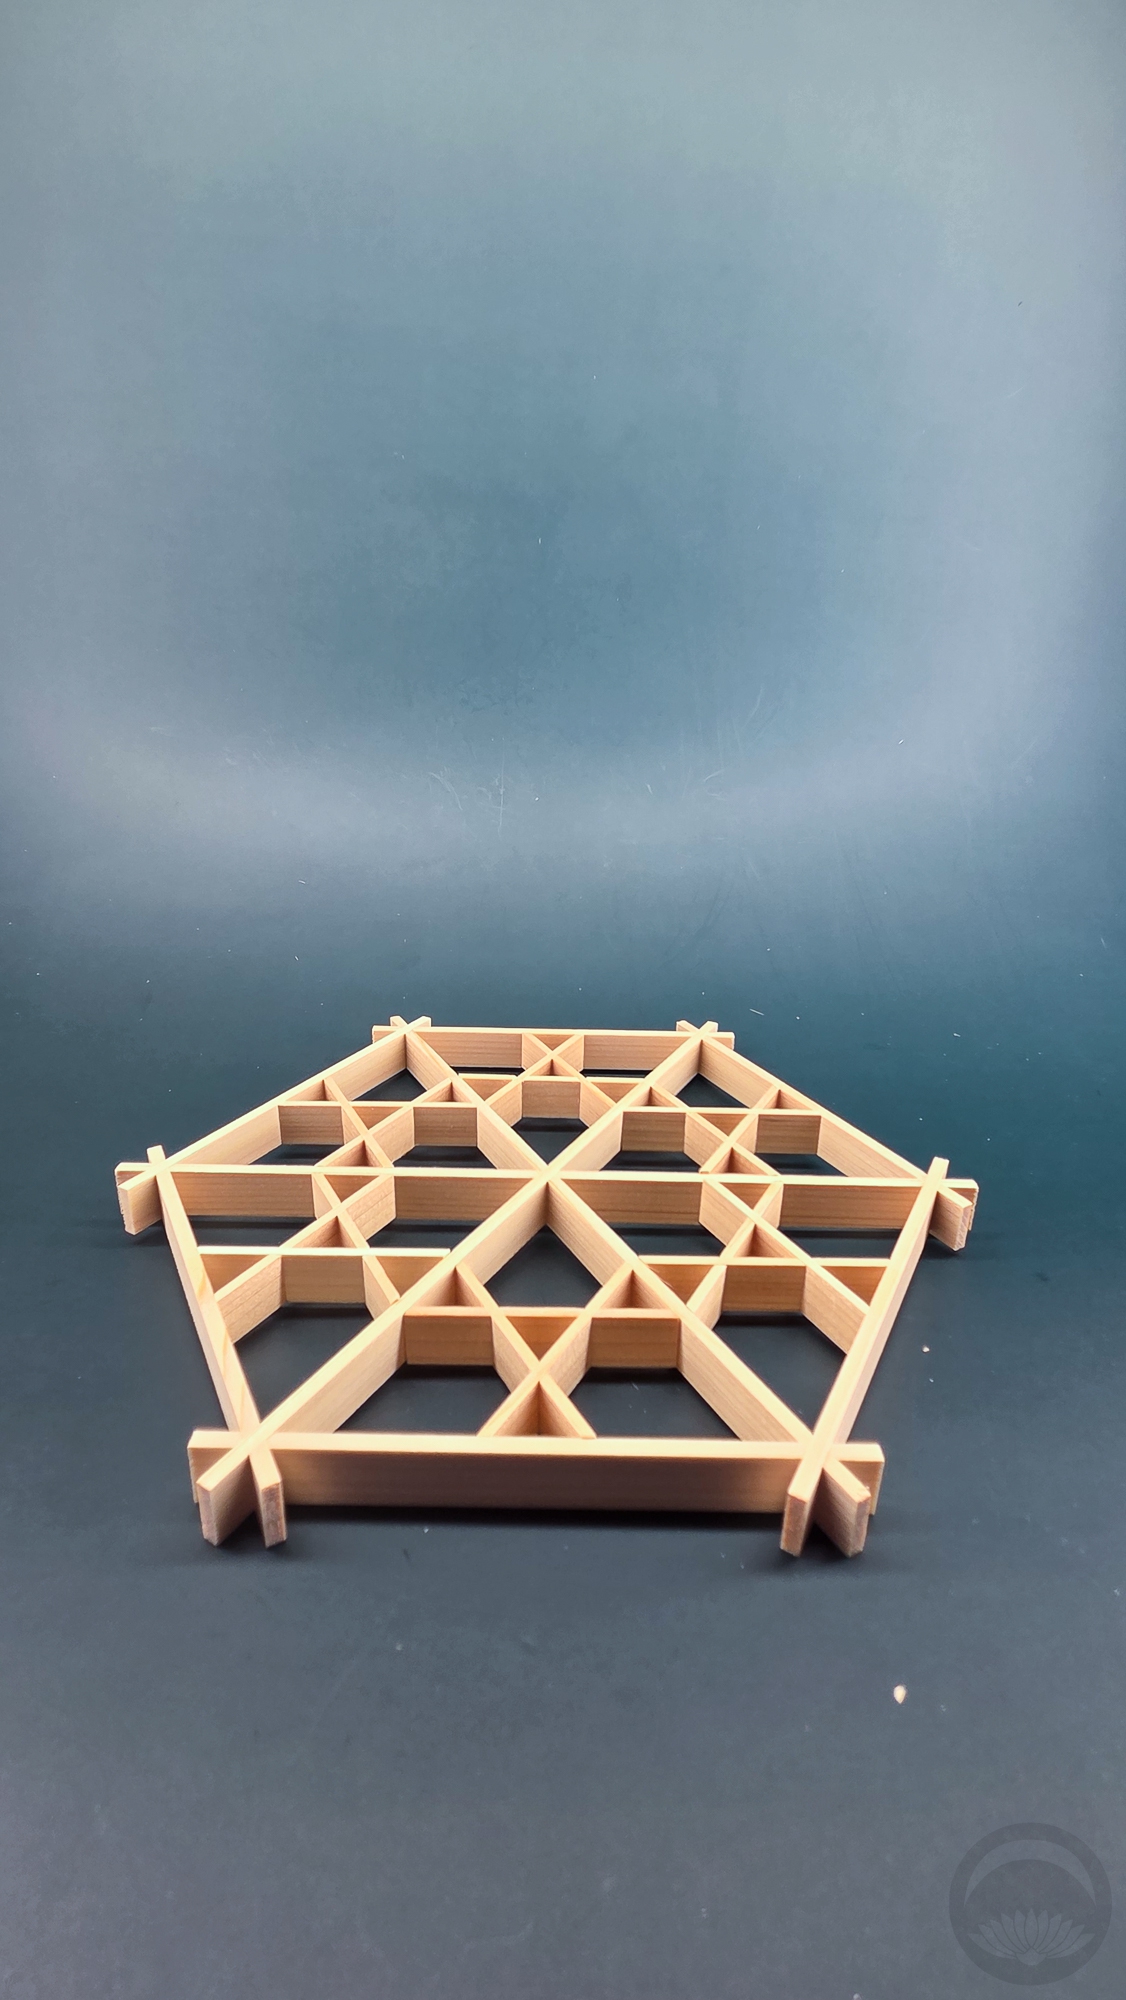
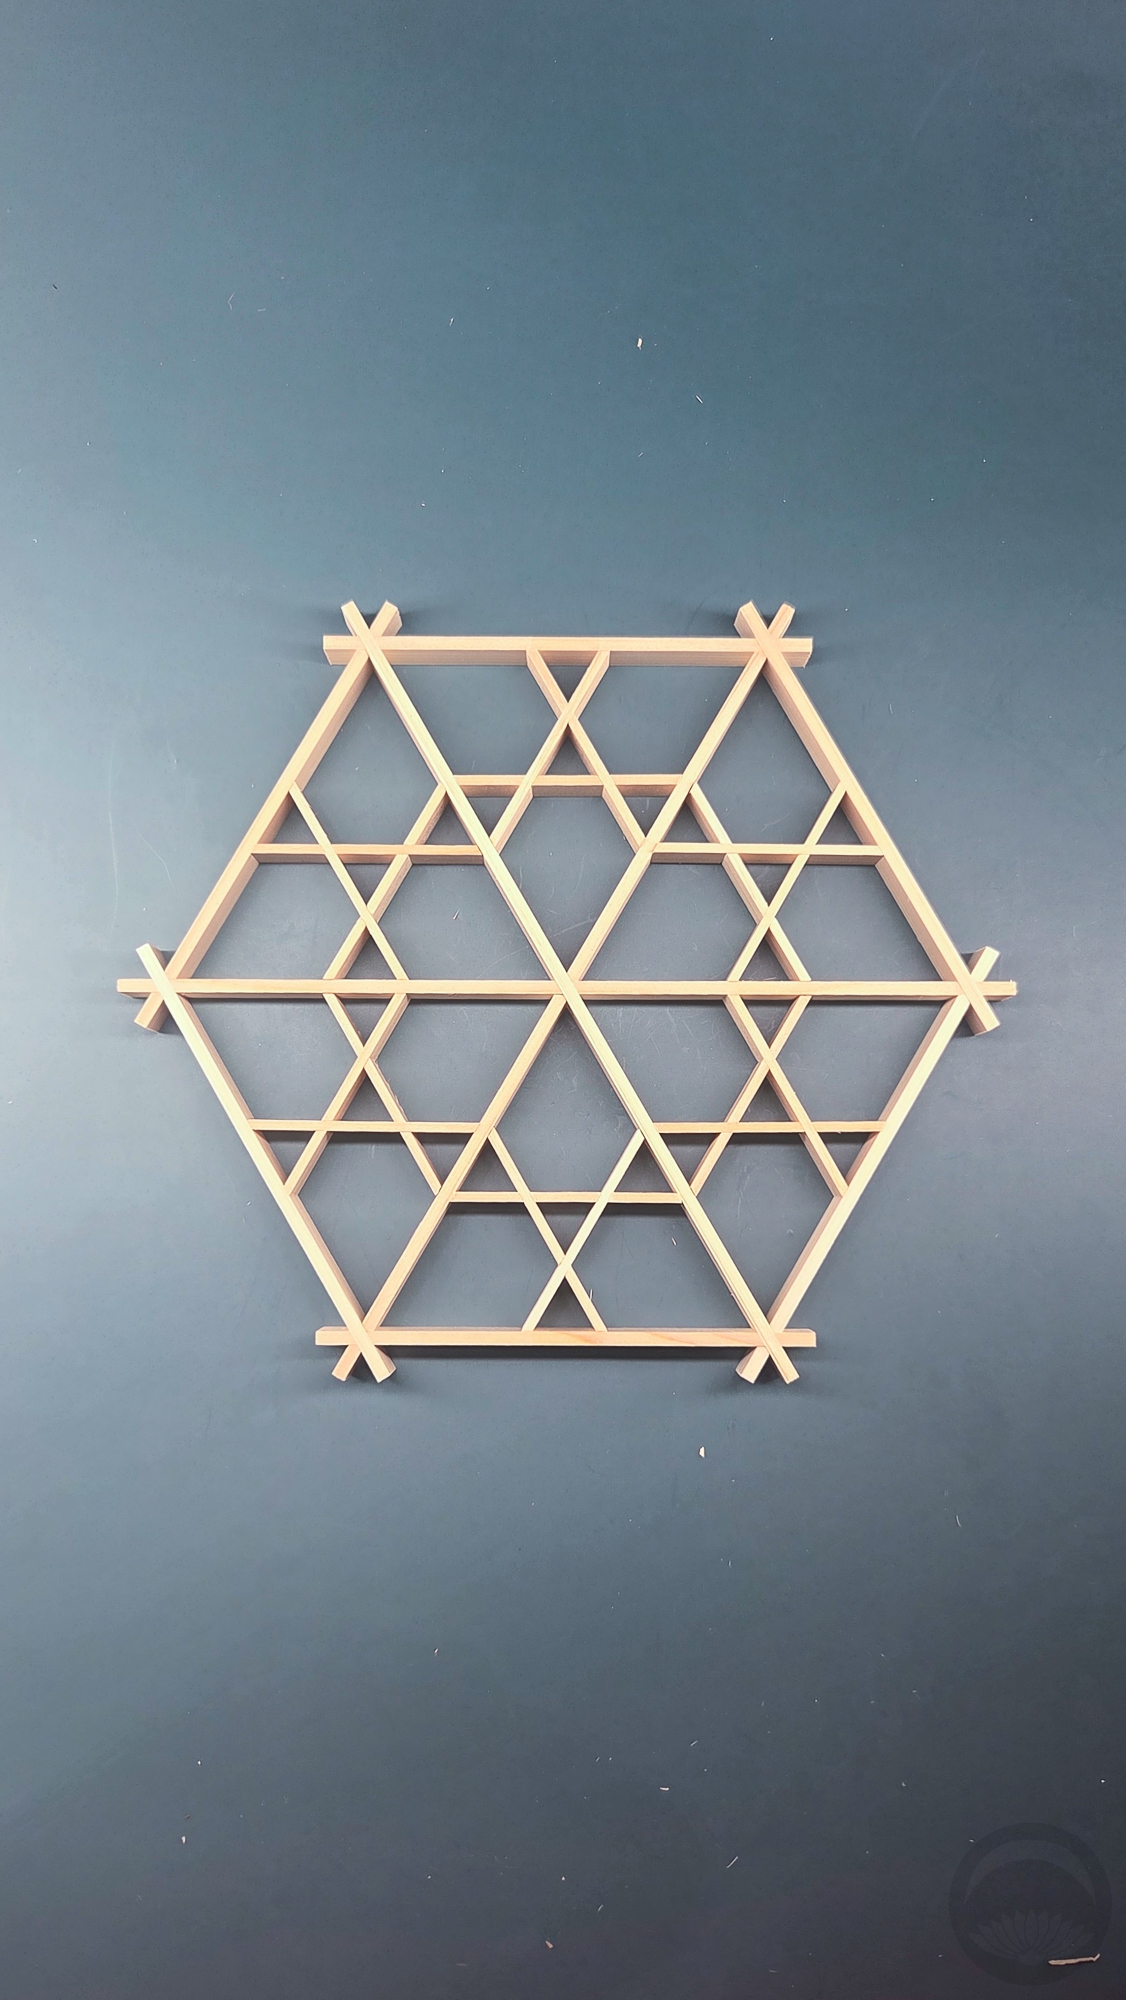
Kumiko trivet kit from POJ Studio

Kumiko is the millenia-old Japanese art of exquisitely fine decorative woodwork. It relies entirely on precise cuts and is held together with carefully calculated pressure-fitting – no glue or nails. Typically, kumiko is used in windows and shoji screens, allowing a breeze and dappled sunlight to filter through.

It’s something I’ve been fascinated by for a long time but I always thought it was way beyond my skill-set and I was certain I didn’t have time to learn such a delicate new skill. Enter POJ Studio and their mission to highlight and uplift traditional Japanese crafts and craftspersons. Unfortunately at the moment the kumiko kits are not listed on their site, but they will hopefully be restocked in the near future.

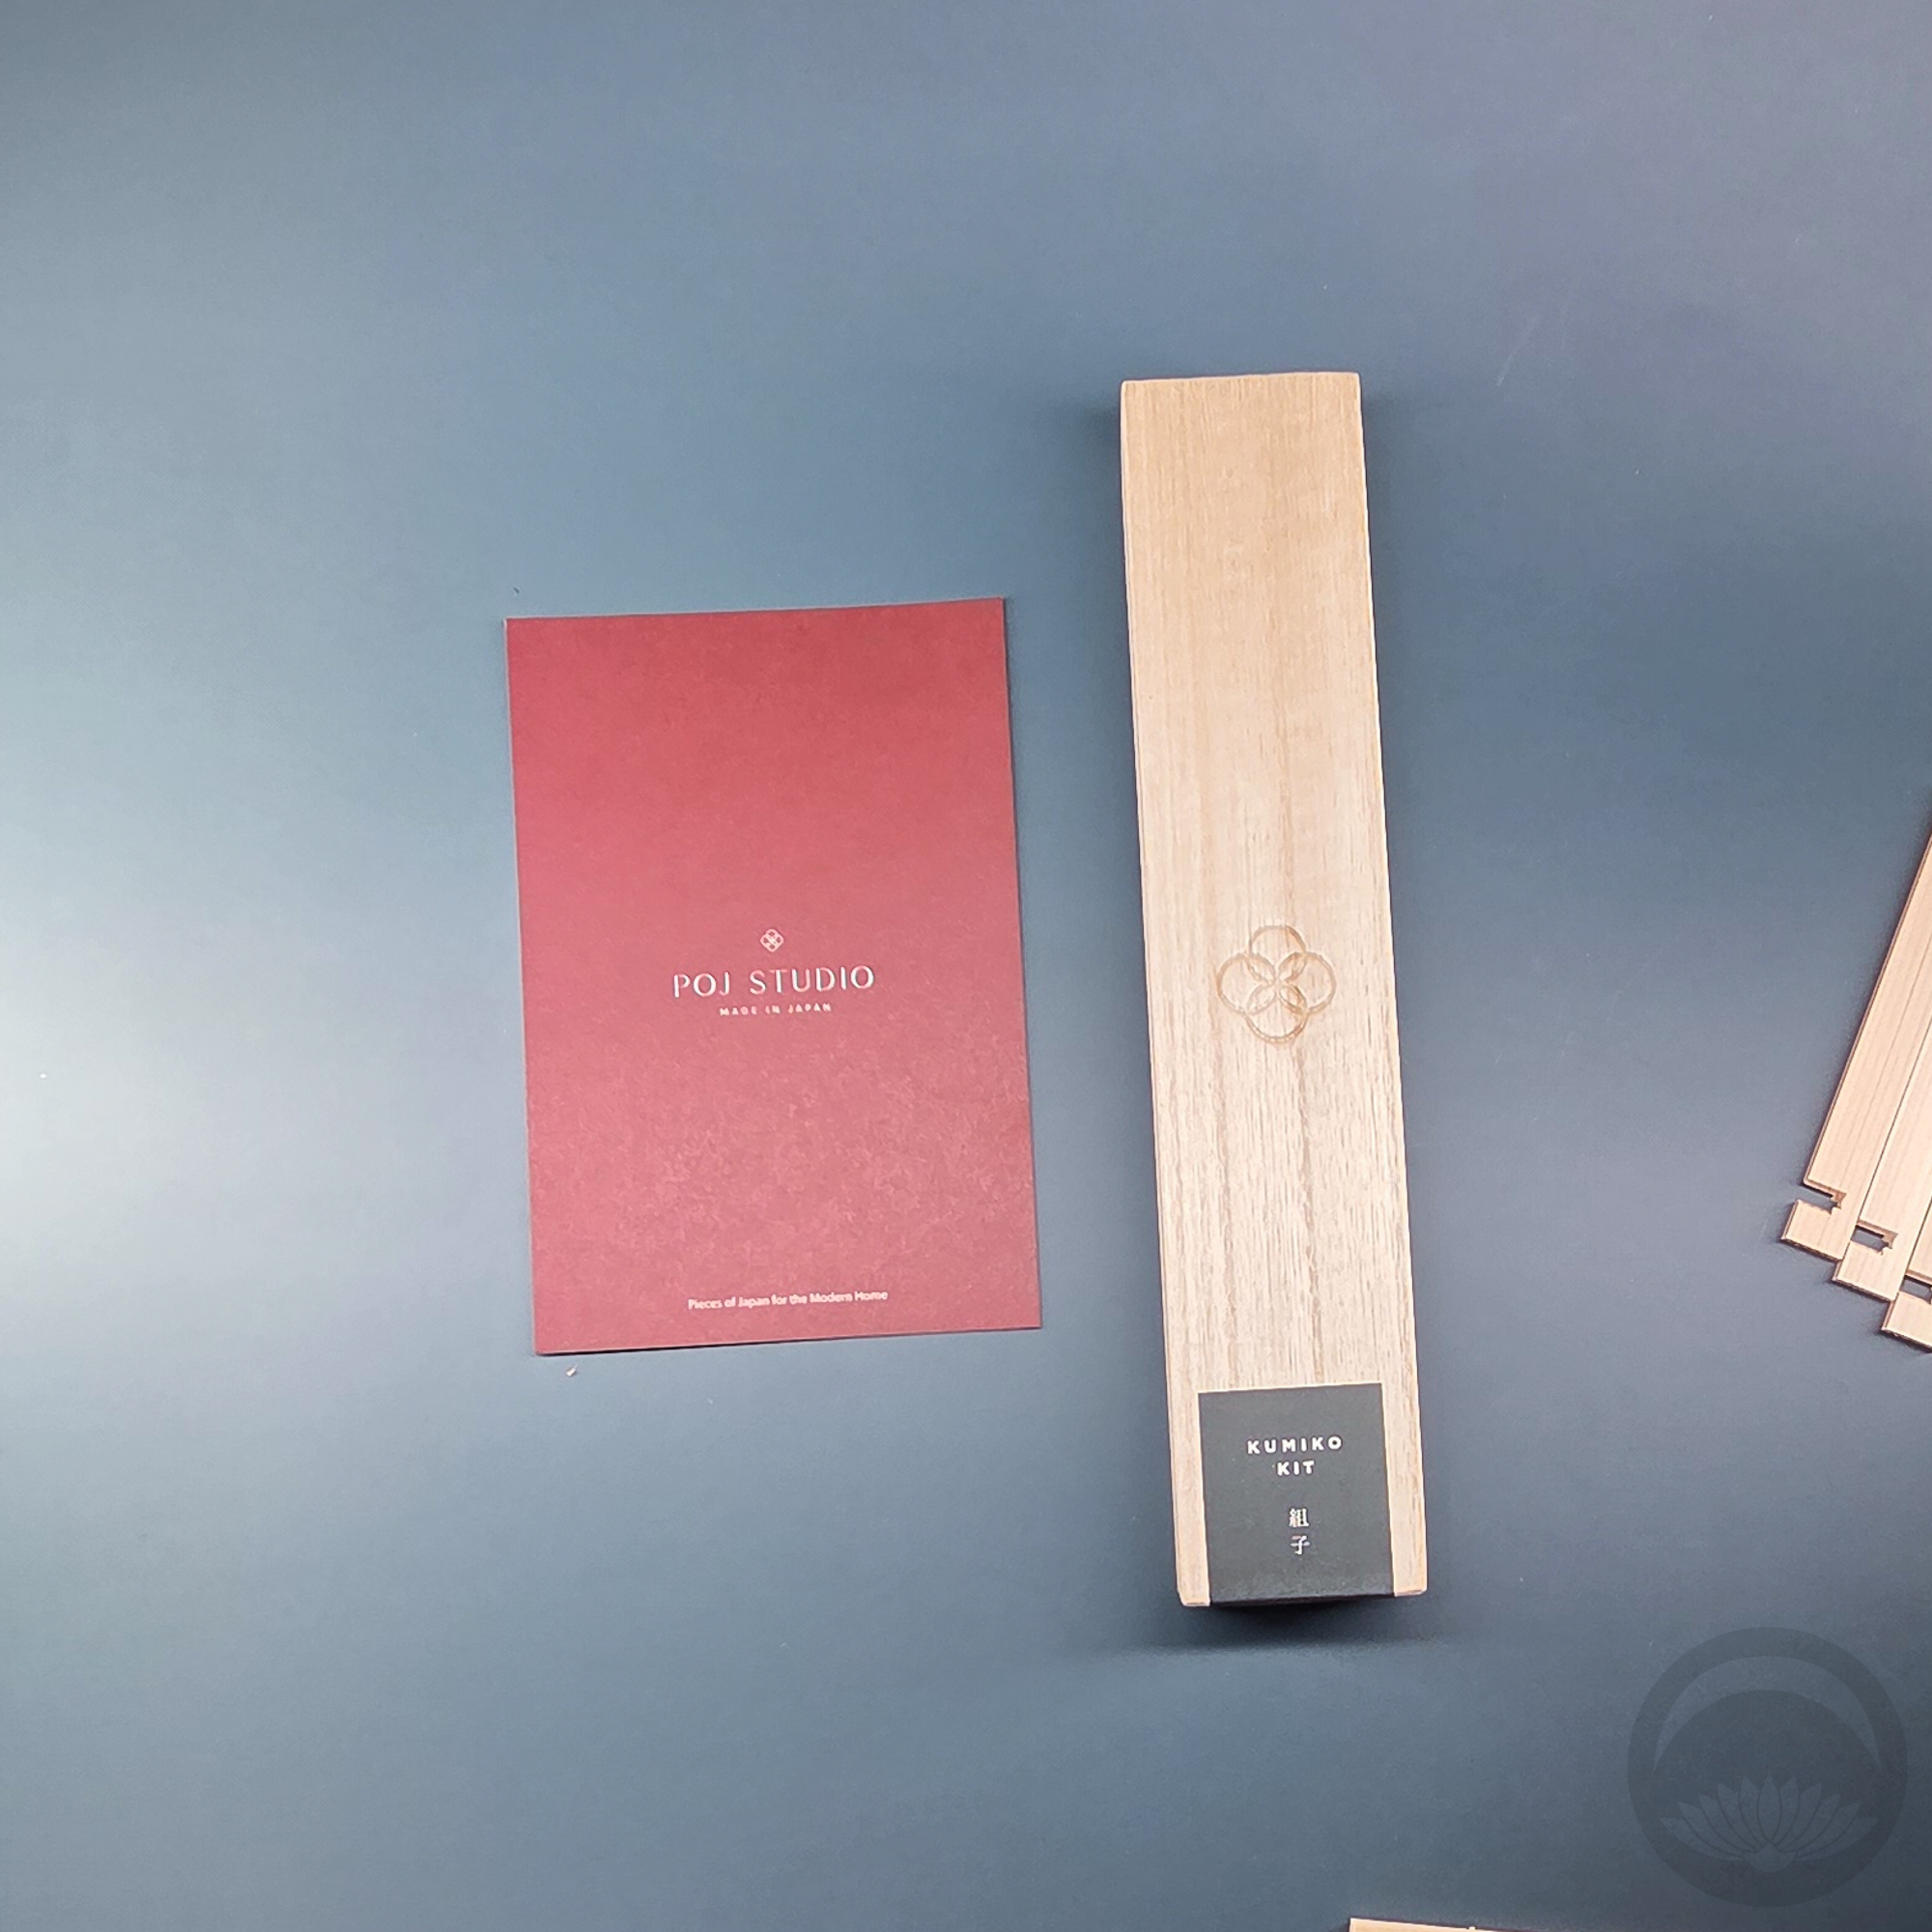
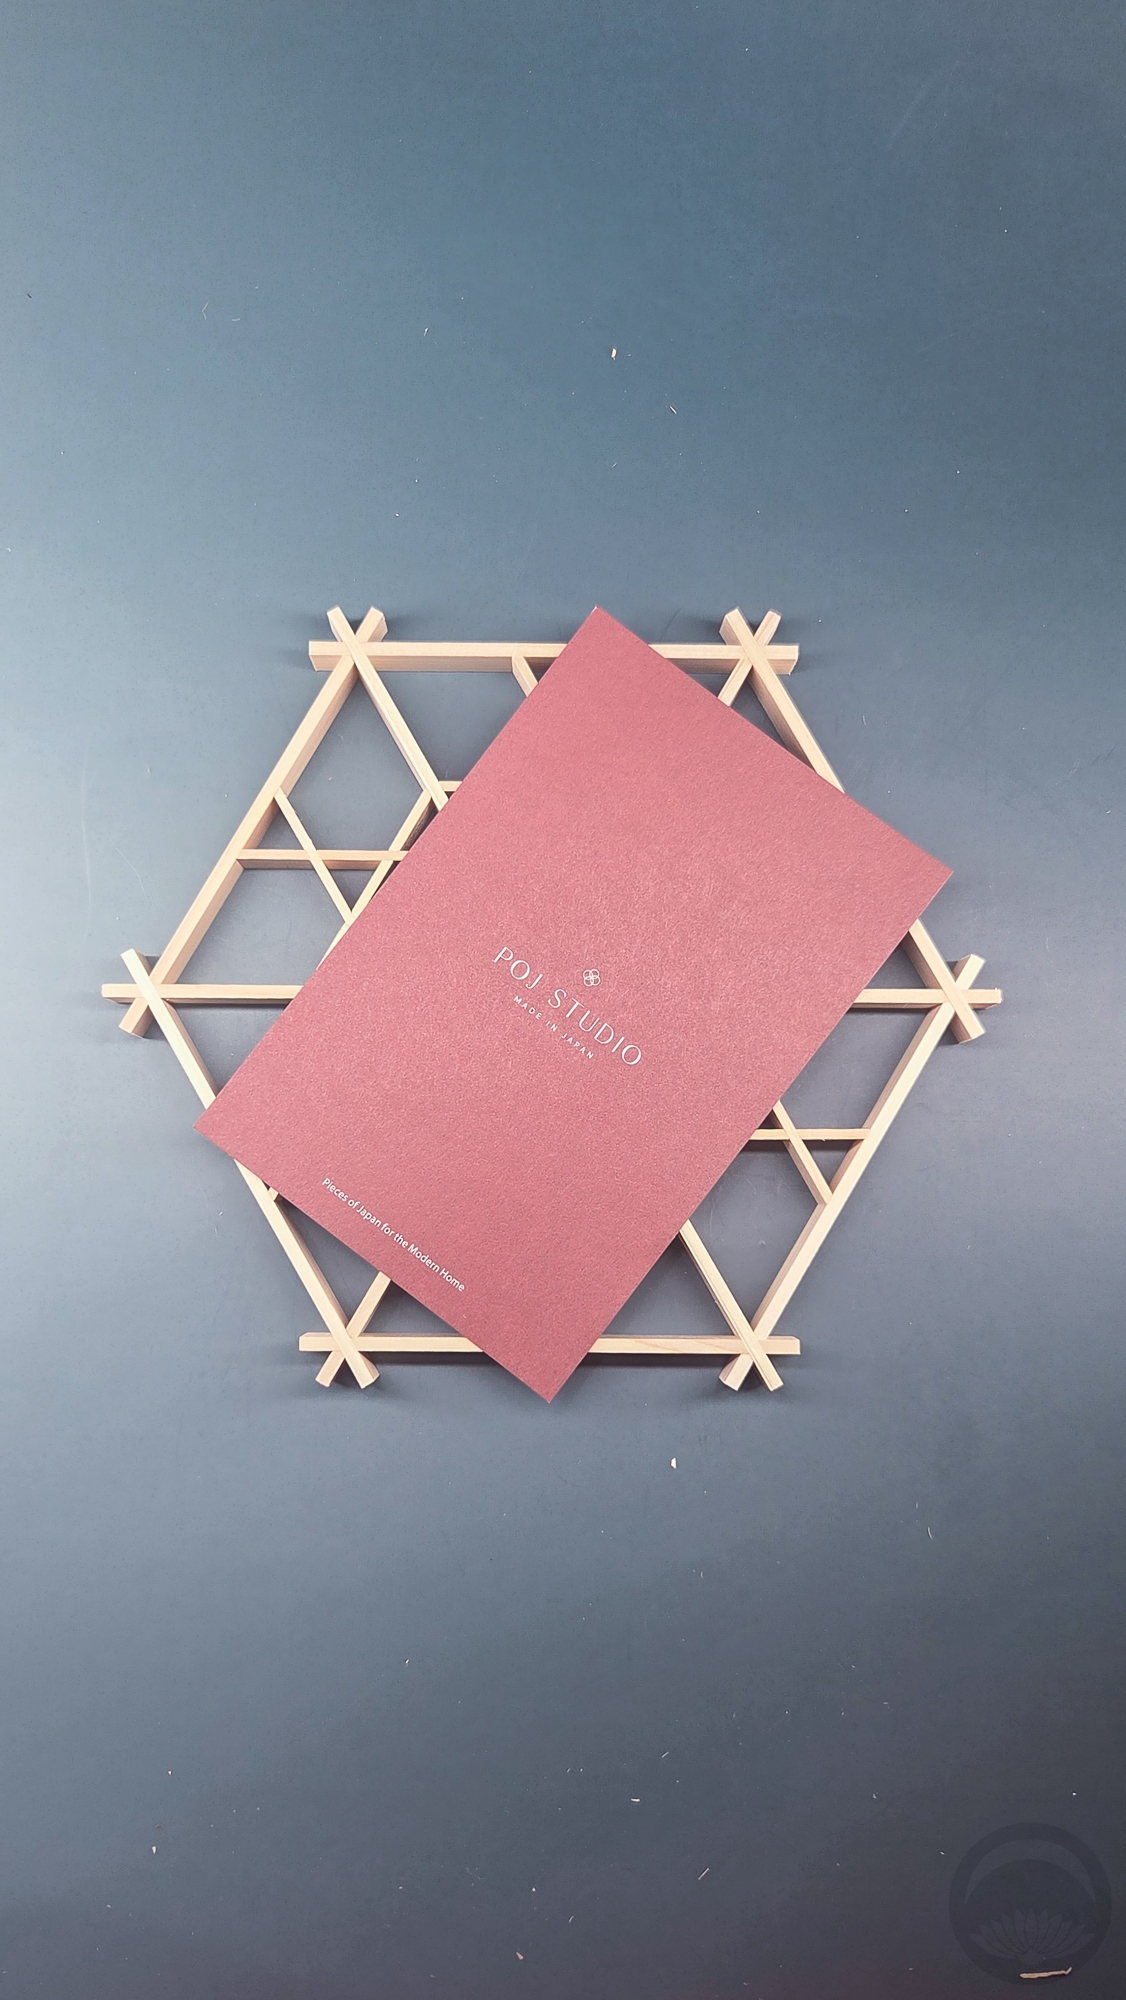
I chose the gomamon (胡麻紋, geometric sesame seed motif) trivet kit. It came tucked neatly into a beautiful little paulownia box, which will make a lovely pen case or something.
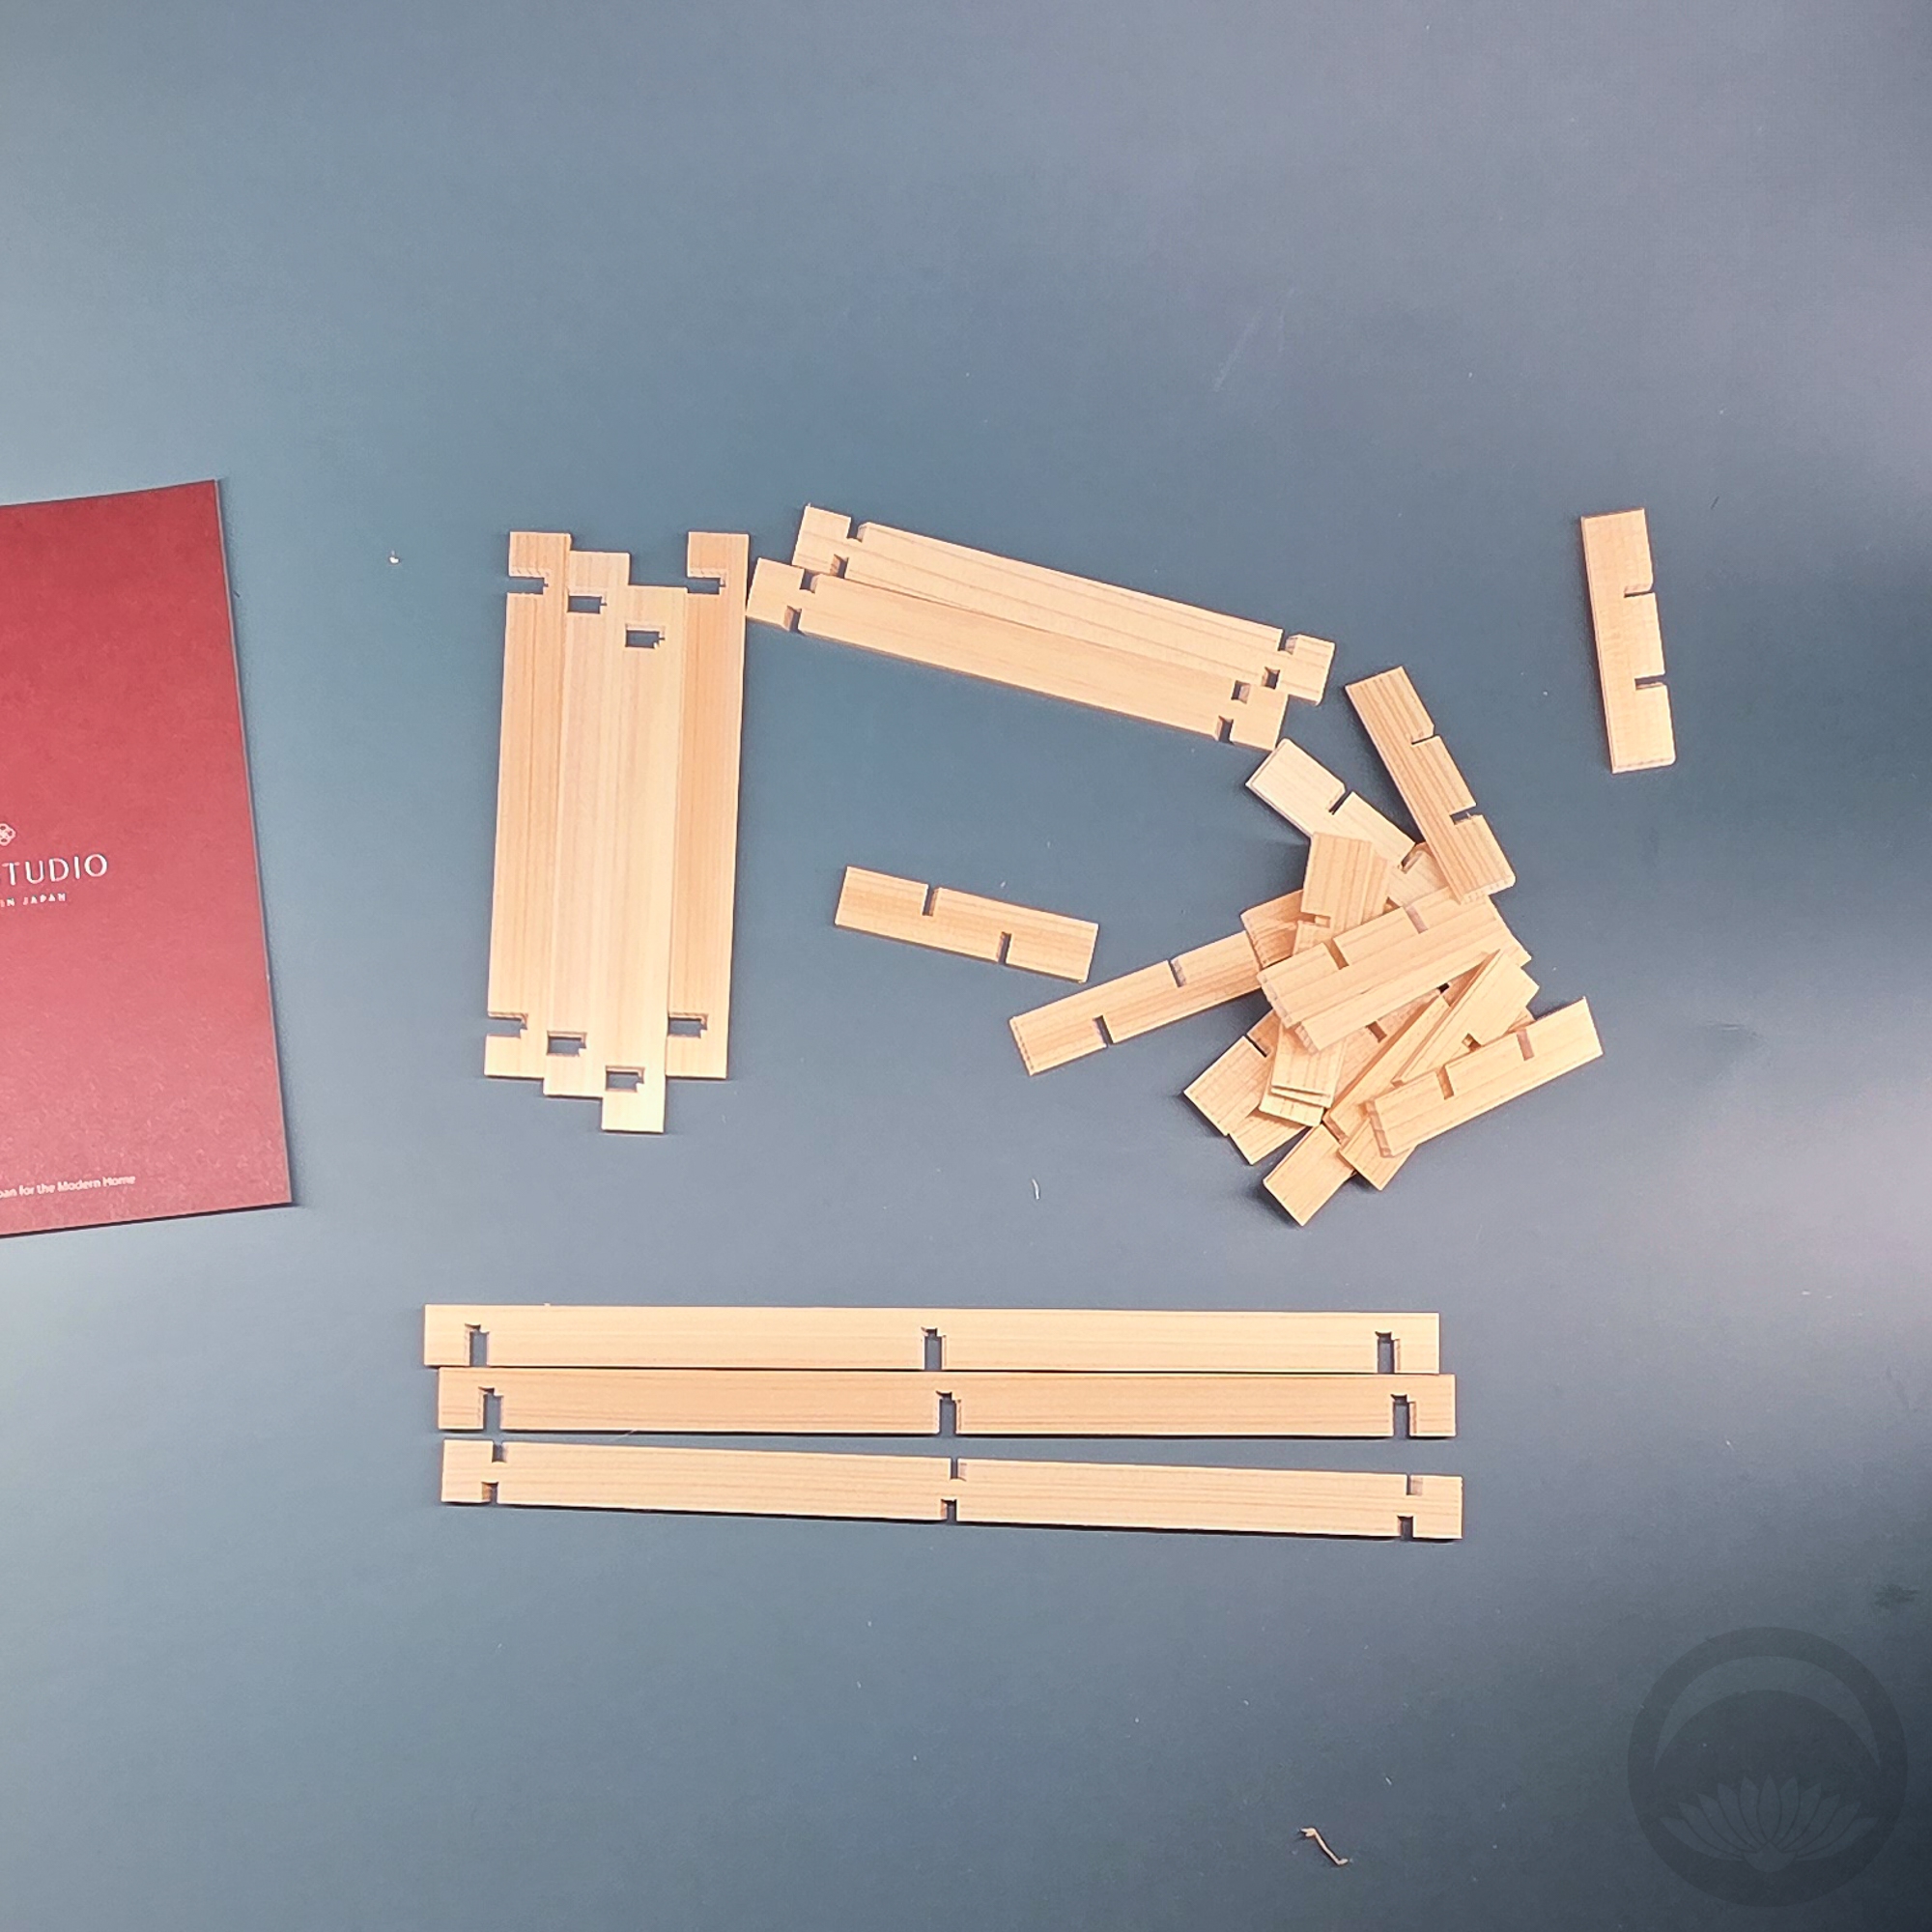
I was worried it would be a long and frustrating project, but the whole thing took me maybe ten minutes. There is an instructional video that’s helpful but definitely not necessary. Here’s a (sped up and compressed) video I took of myself assembling it so you can see how easy it is.

@kimono_tsuki

Together, let’s make an adorable wooden trivet using this kumiko kit from POJ Studio!@pojstudio kumiko diy woodwork japanese trivet pojstudio

♬ original sound – Kimono Tsuki 着物月 – Kimono Tsuki 着物月

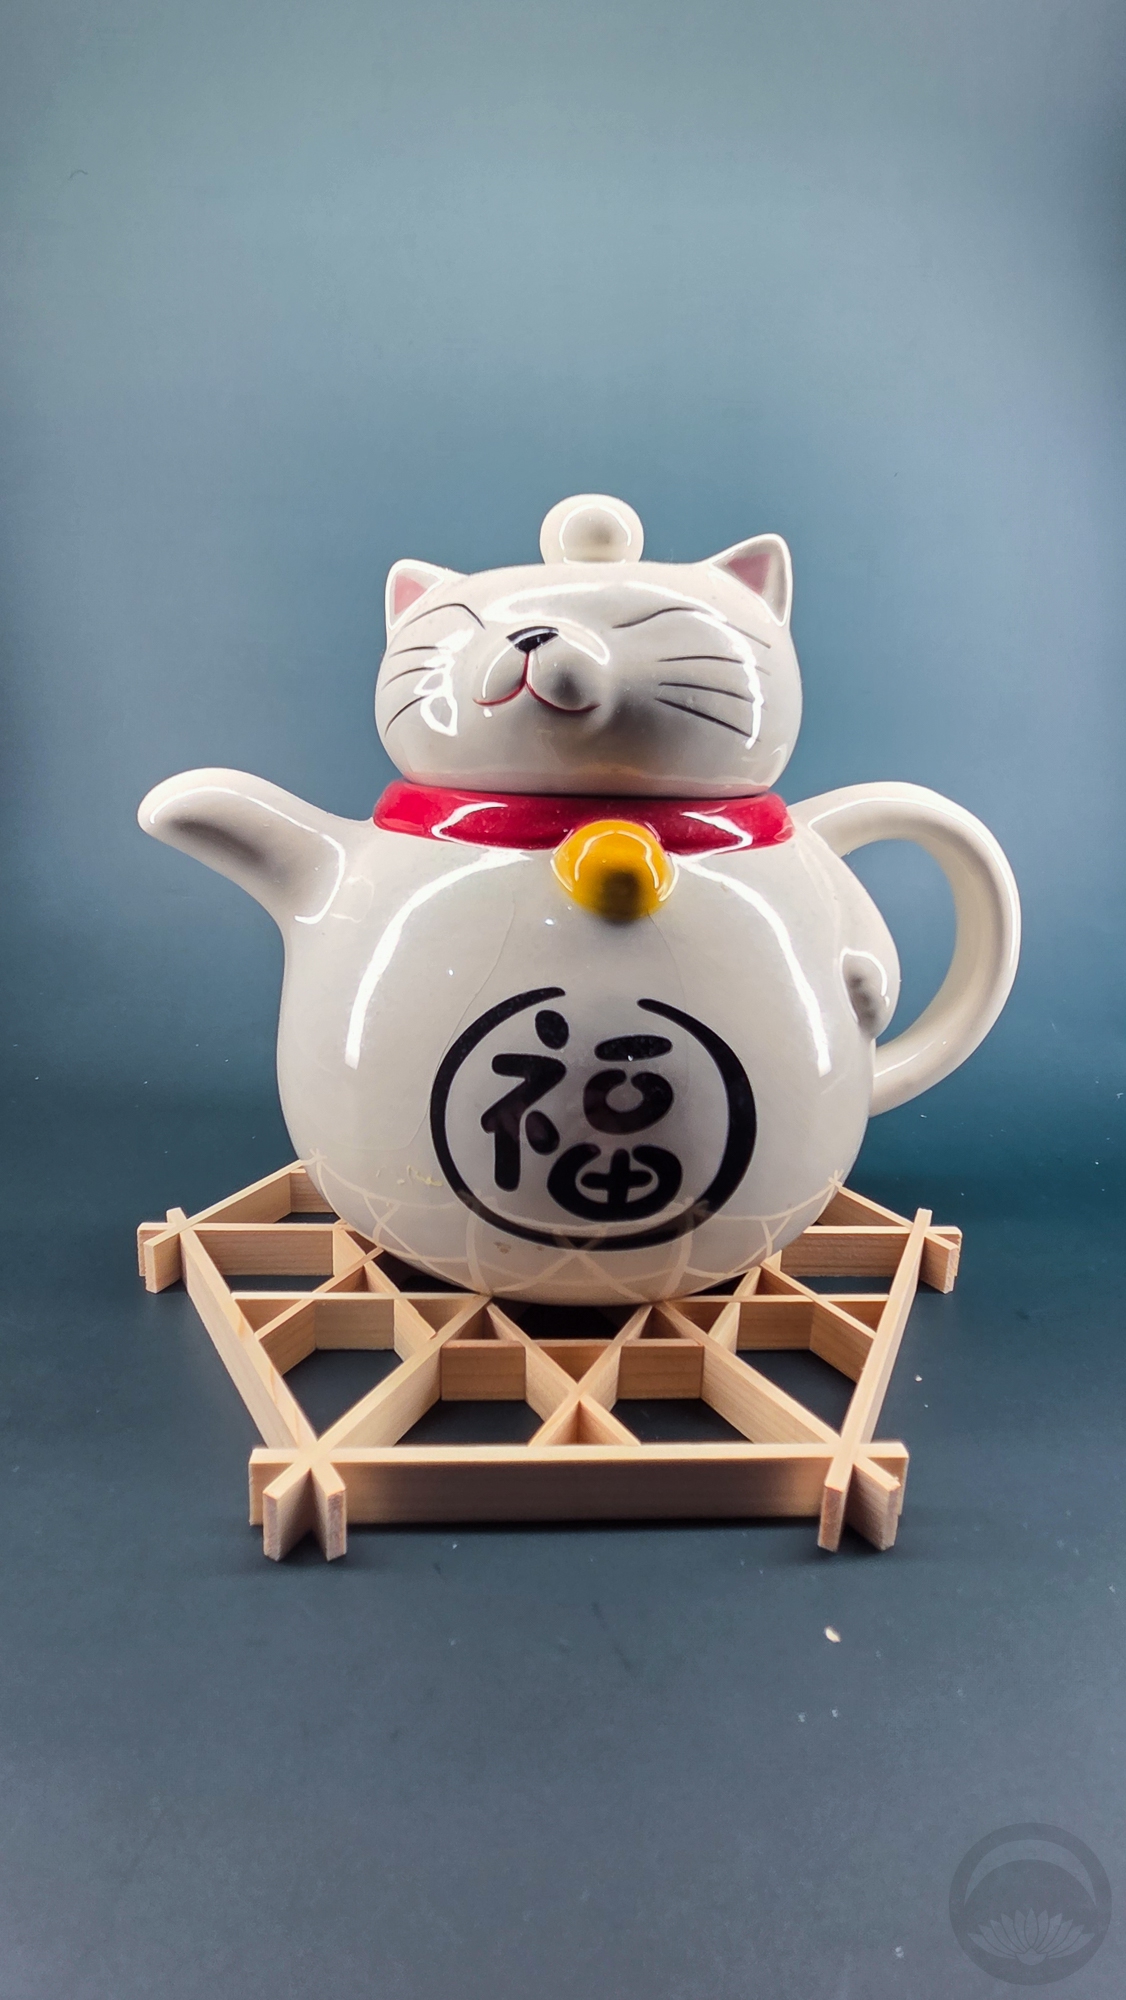
It was a lovely, almost meditative experience and I’m very tempted to grab another kit if and when they’re available again! And of course, it makes a great protective trivet for my favourite maneki neko teapot from HomeGoods.
Kokeshi Picrew for Hinamatsuri!

Today is Hinamatsuri! In the past, I’ve usually either done a coordination, displayed dolls I’ve collected, or done some sort of DIY to celebrate. This year, I had bigger plans; Sophie and I were going to attend a gathering at a local tea house over the weekend. Unfortunately, I woke up with the most miserable cold and sore throat I’ve had in eons, to the point where I could barely swallow. I wasn’t up to doing much and did not want to risk spreading the ick. I was at a bit of a loss on what to do for today but then I realised it would be the perfect time to share my newest long-term project!

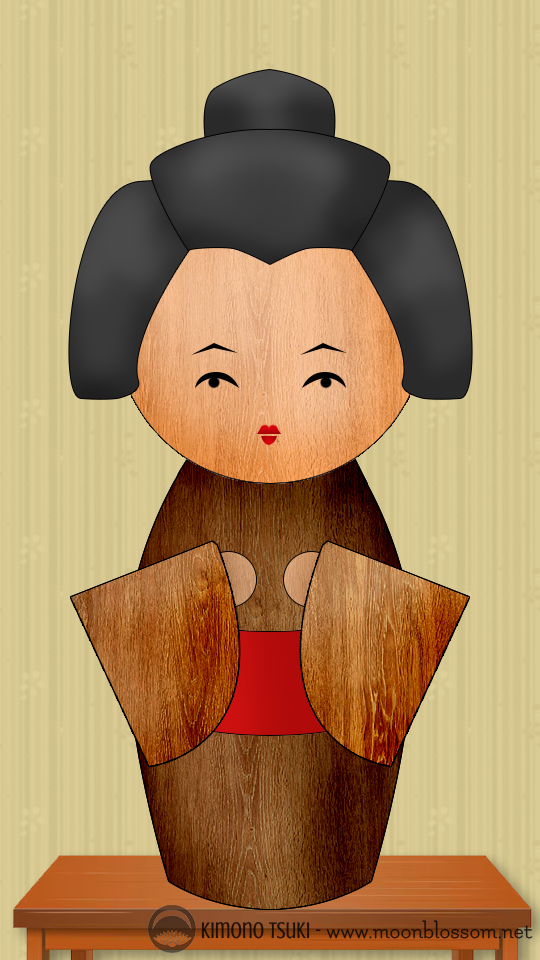
You all know how much I love finding and reviewing picrew avatar creators, and I figured it was high time I make my own! Presenting the official….

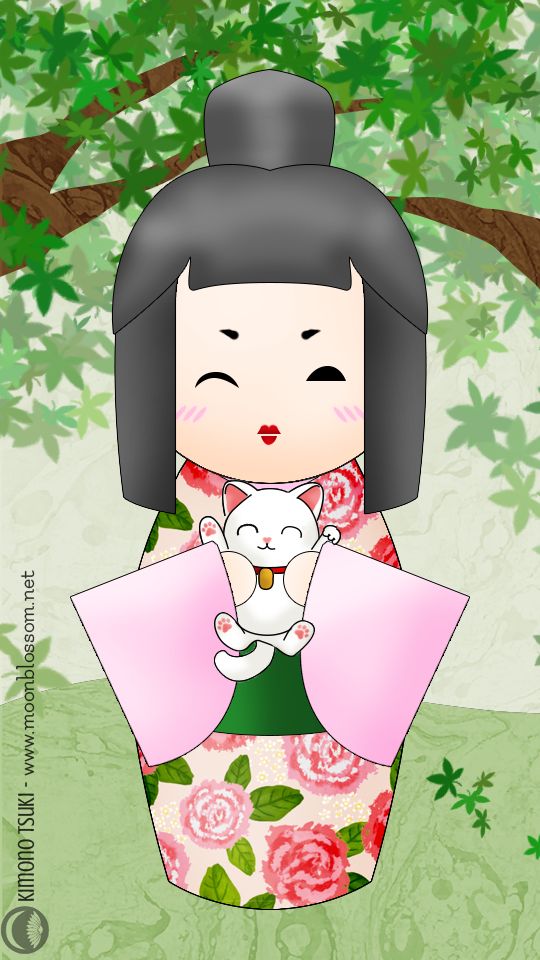
Kimono Tsuki Kokeshi Doll picrew maker!


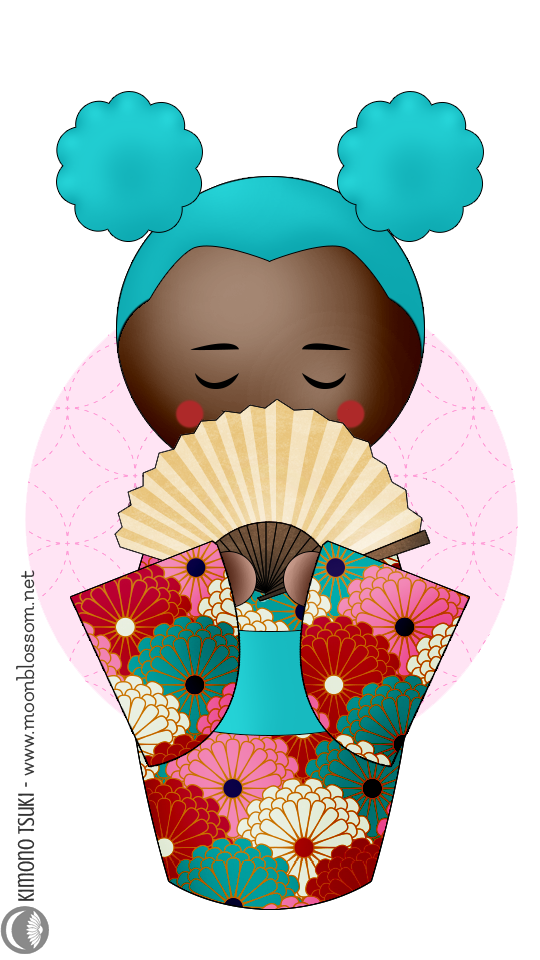
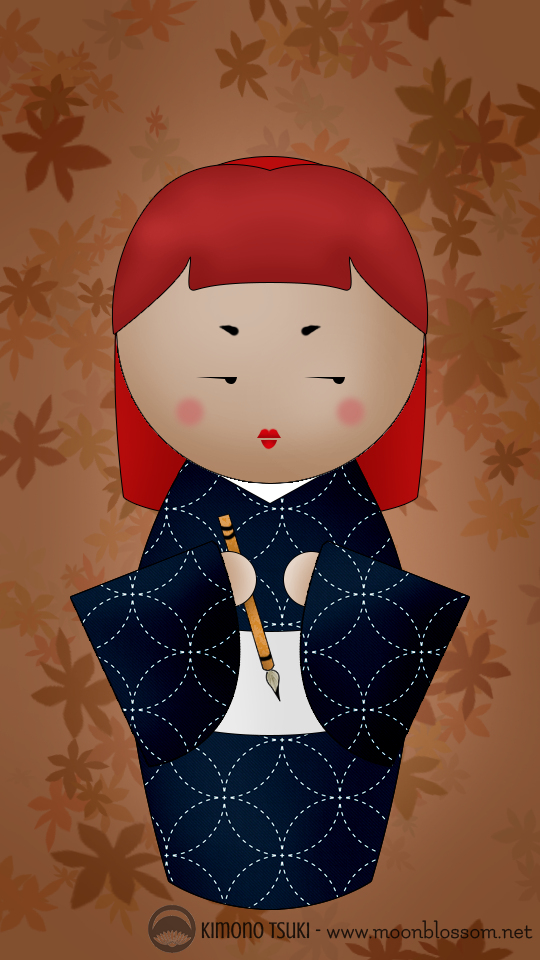
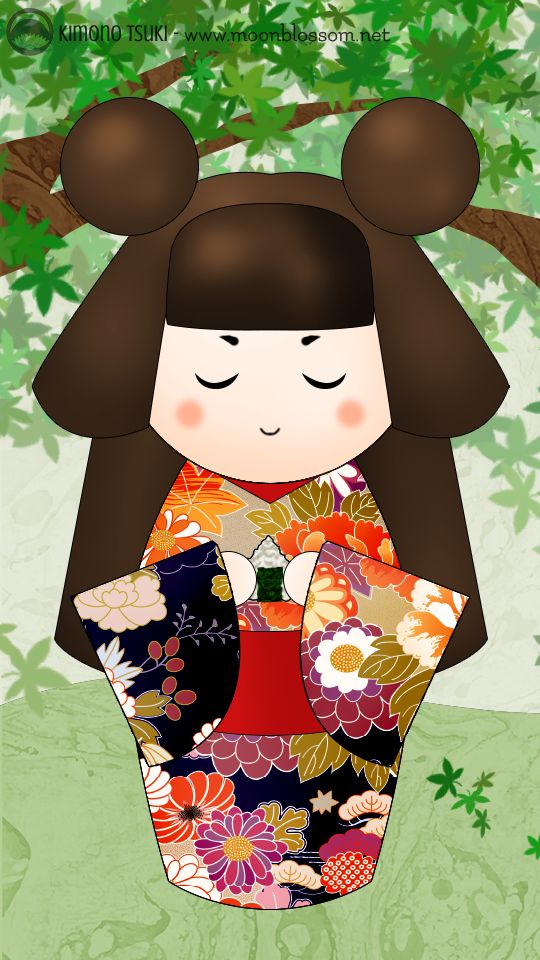
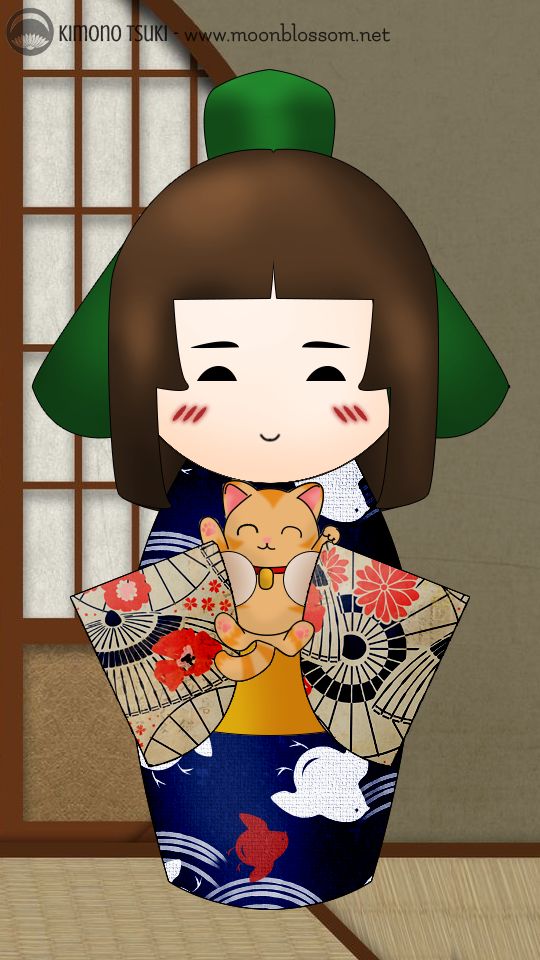
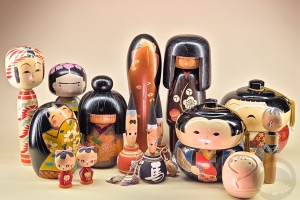
It’s been a labour of love for the past few months, puttering on weekends and after work. I still have plans to continue updating, adding more hairstyles, more hand-held items, a variety of kanzashi, maybe a haori layer… if you have any other ideas or suggestions please don’t hesitate to let me know! For fun, here’s a variety of dolls that have been made using it, by myself and my friends.


If you need a primer or a refresher on how to use the Picrew.me interface, I broke it down in my first post about the site, which you can read here. I hope you have fun with it, and if you make any cute dolls please show me! I would love to see!

DIY – Washi Tape Earrings

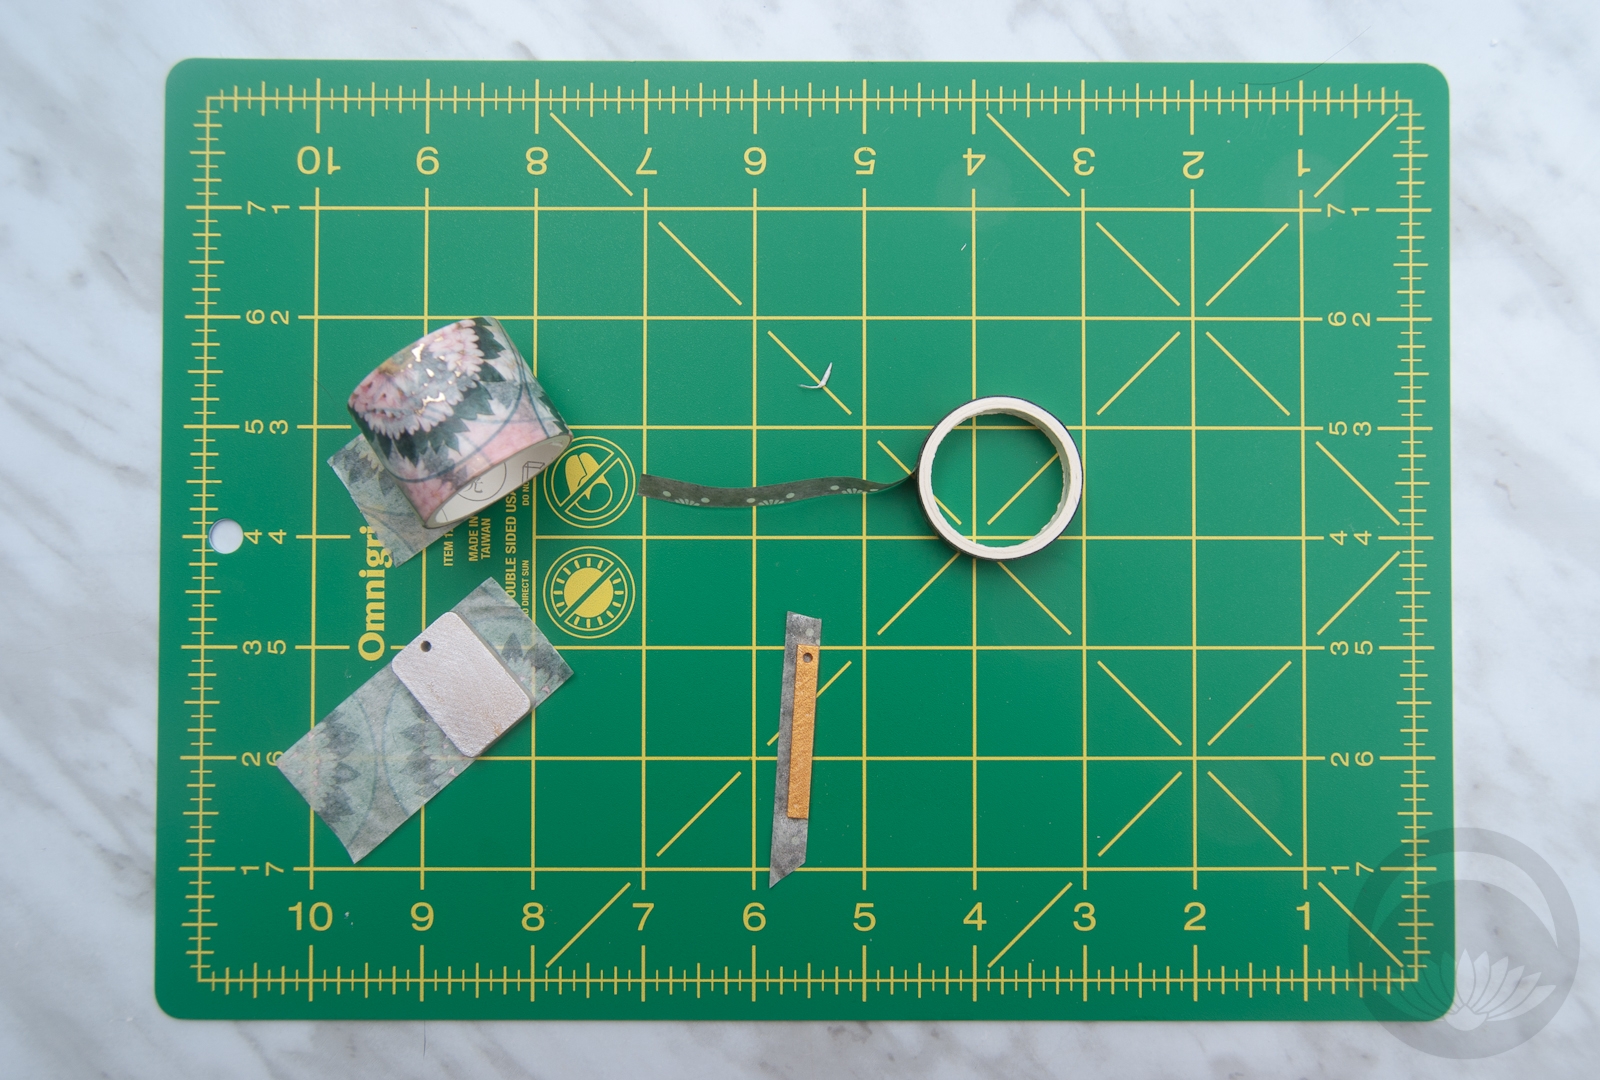
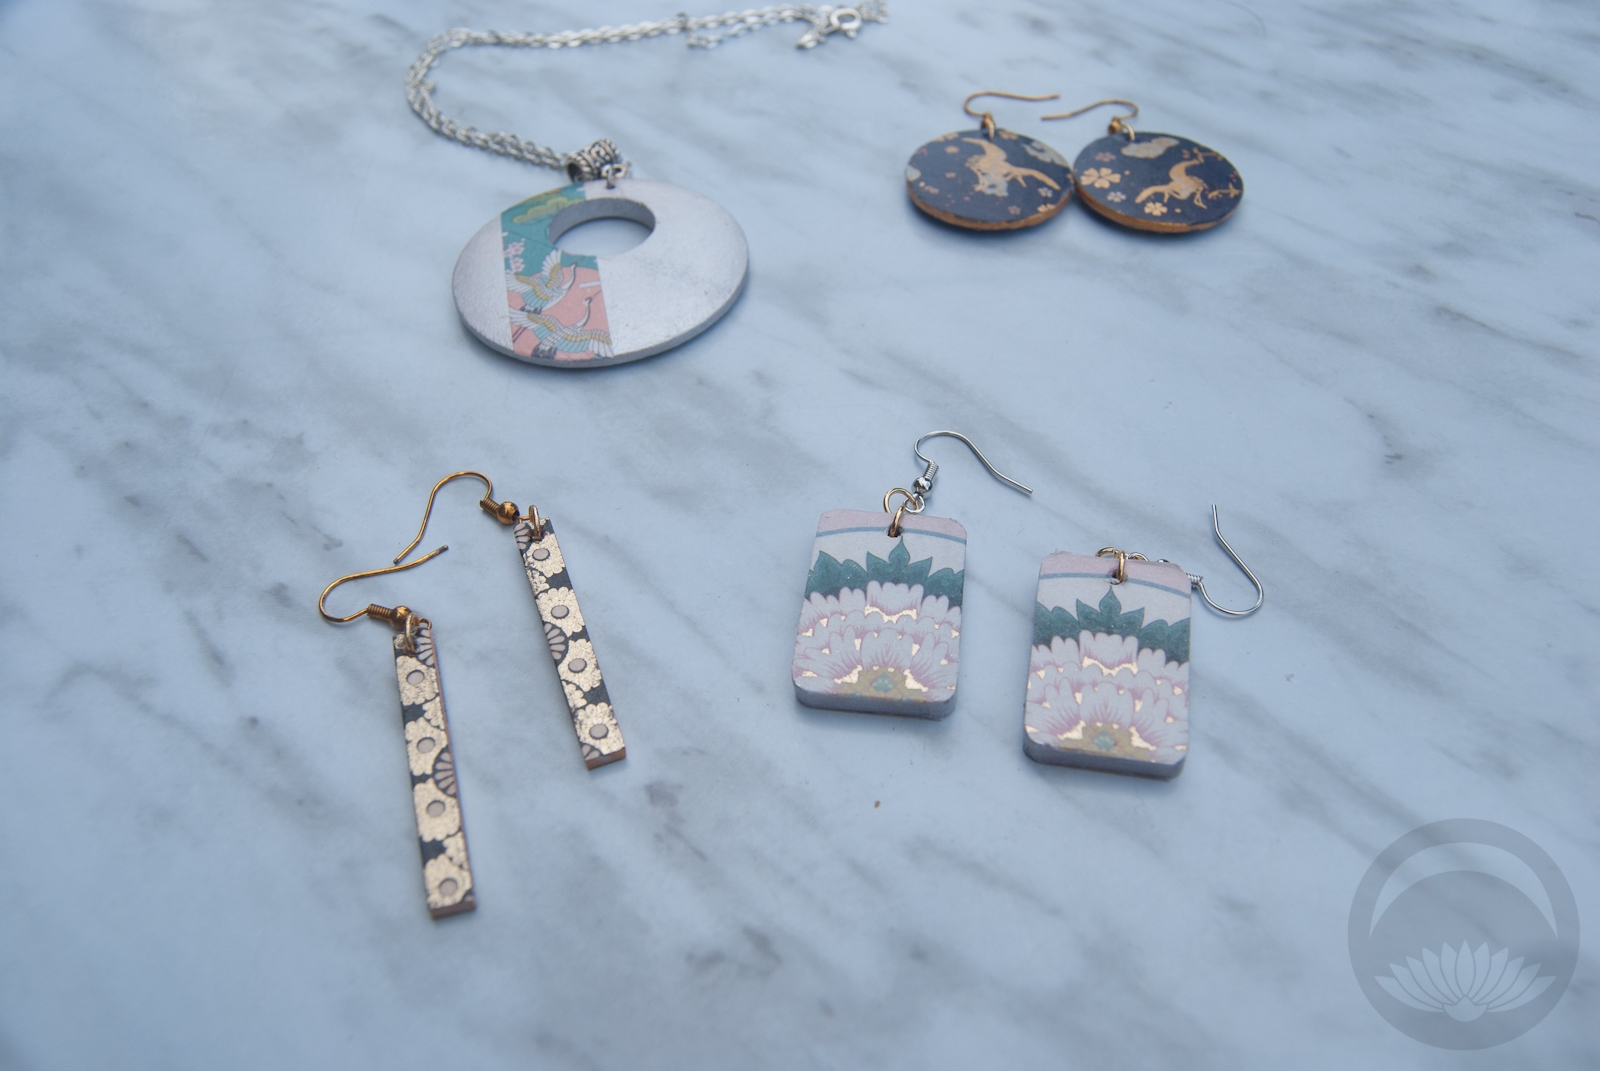
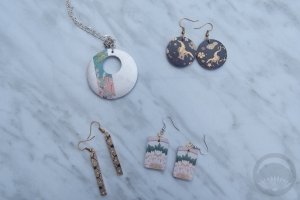
A while back the lovely folks at The Washi Tape Shop sent me a gorgeous selection of washi tapes. I used some to make these fun kokeshi-style dolls, but I’ve been trying to think of other ways to feature the designs. I was inspired to make these fun. stylish, and easy washi tape earrings! Including dry time for the optional paint and varnish, these come together in less than an hour.

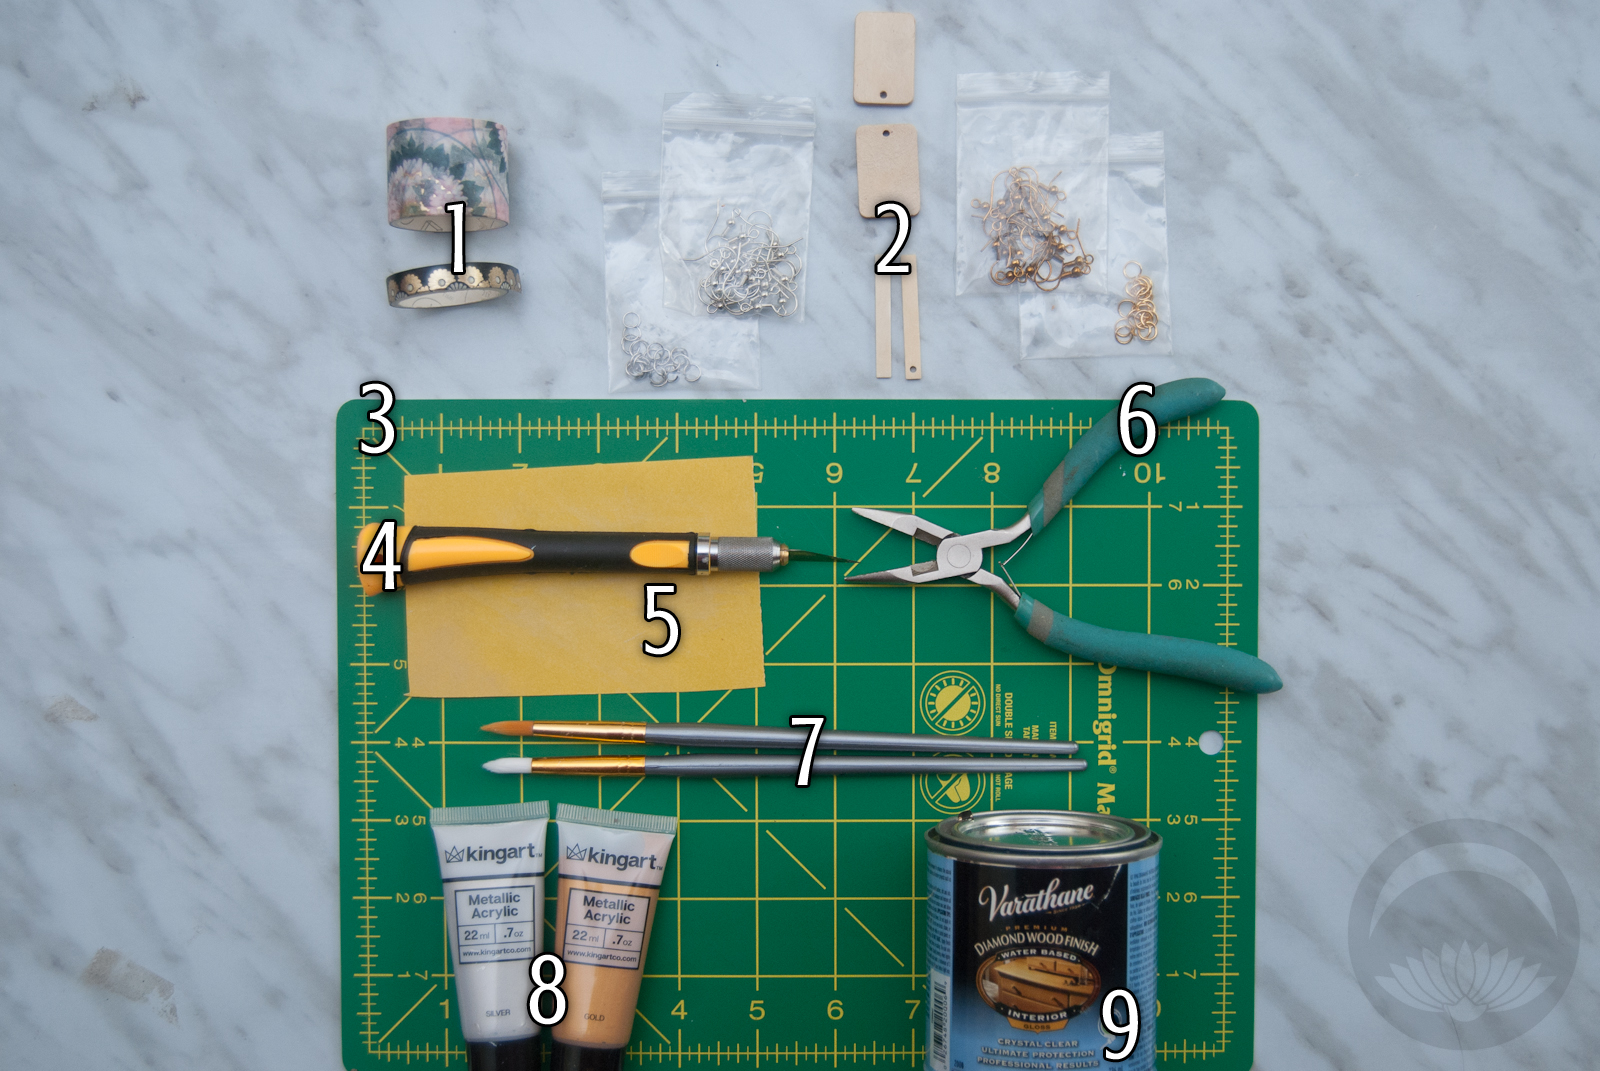
You will need:

  1. Washi tape
  2. Earring hardware
  3. Work-safe mat
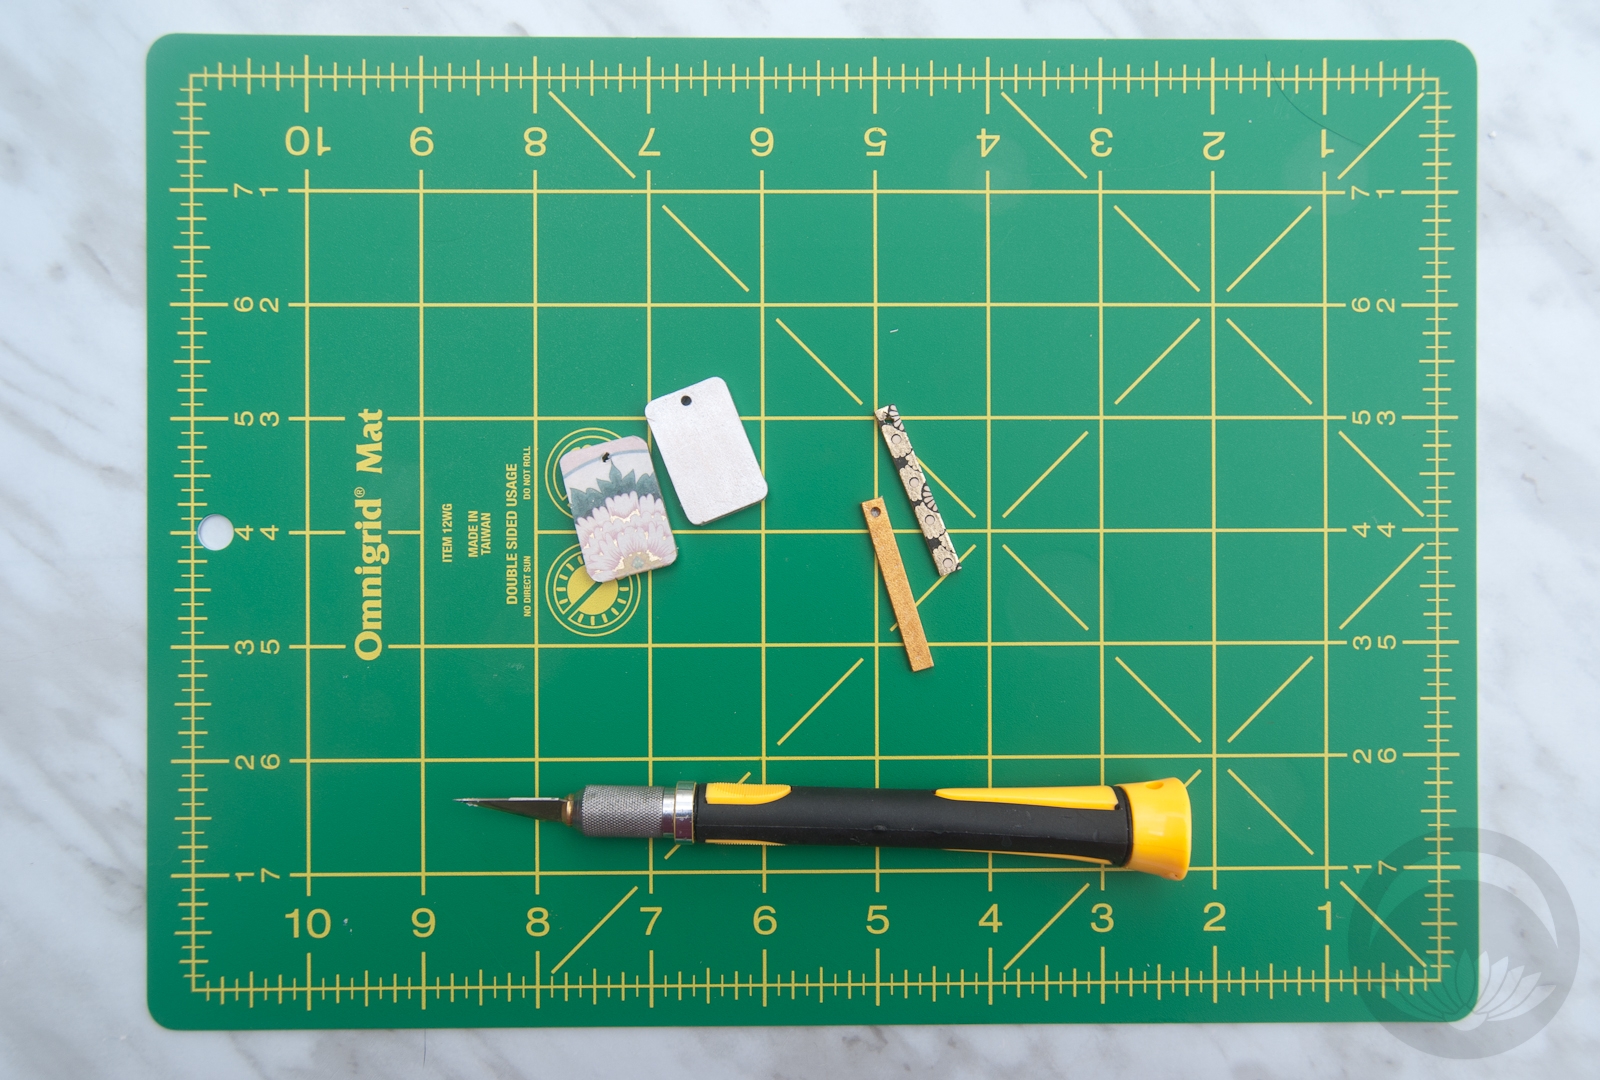
  4. Sharp scissors or a craft knife
  5. Fine-grit (180 to 220 grit) sandpaper or file
  6. Pliers
  7. (Optional) Paint brushes
  8. (Optional) Metallic paint
  9. (Optional) Varnish or Mod-Podge

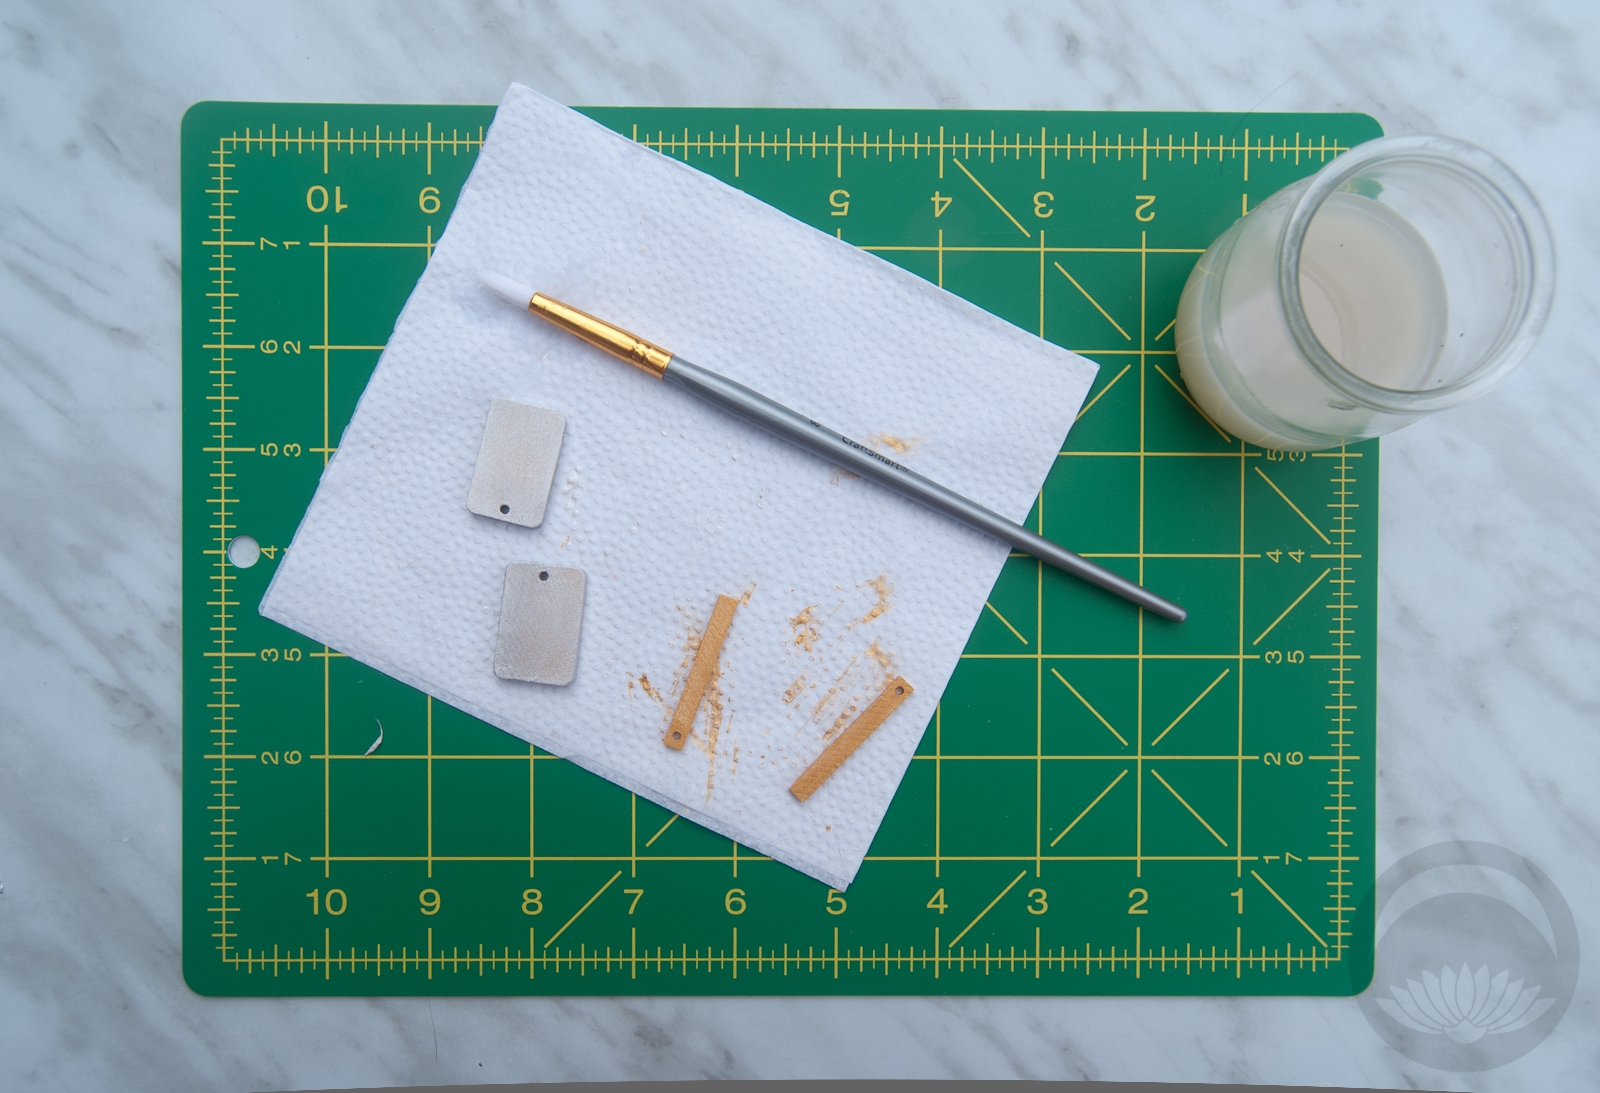
You don’t need to paint the blanks, but personally I think it makes the end product look a lot more finished and professional. Metallic paints also help tie in the metallic accents on the washi tape.

How-To:

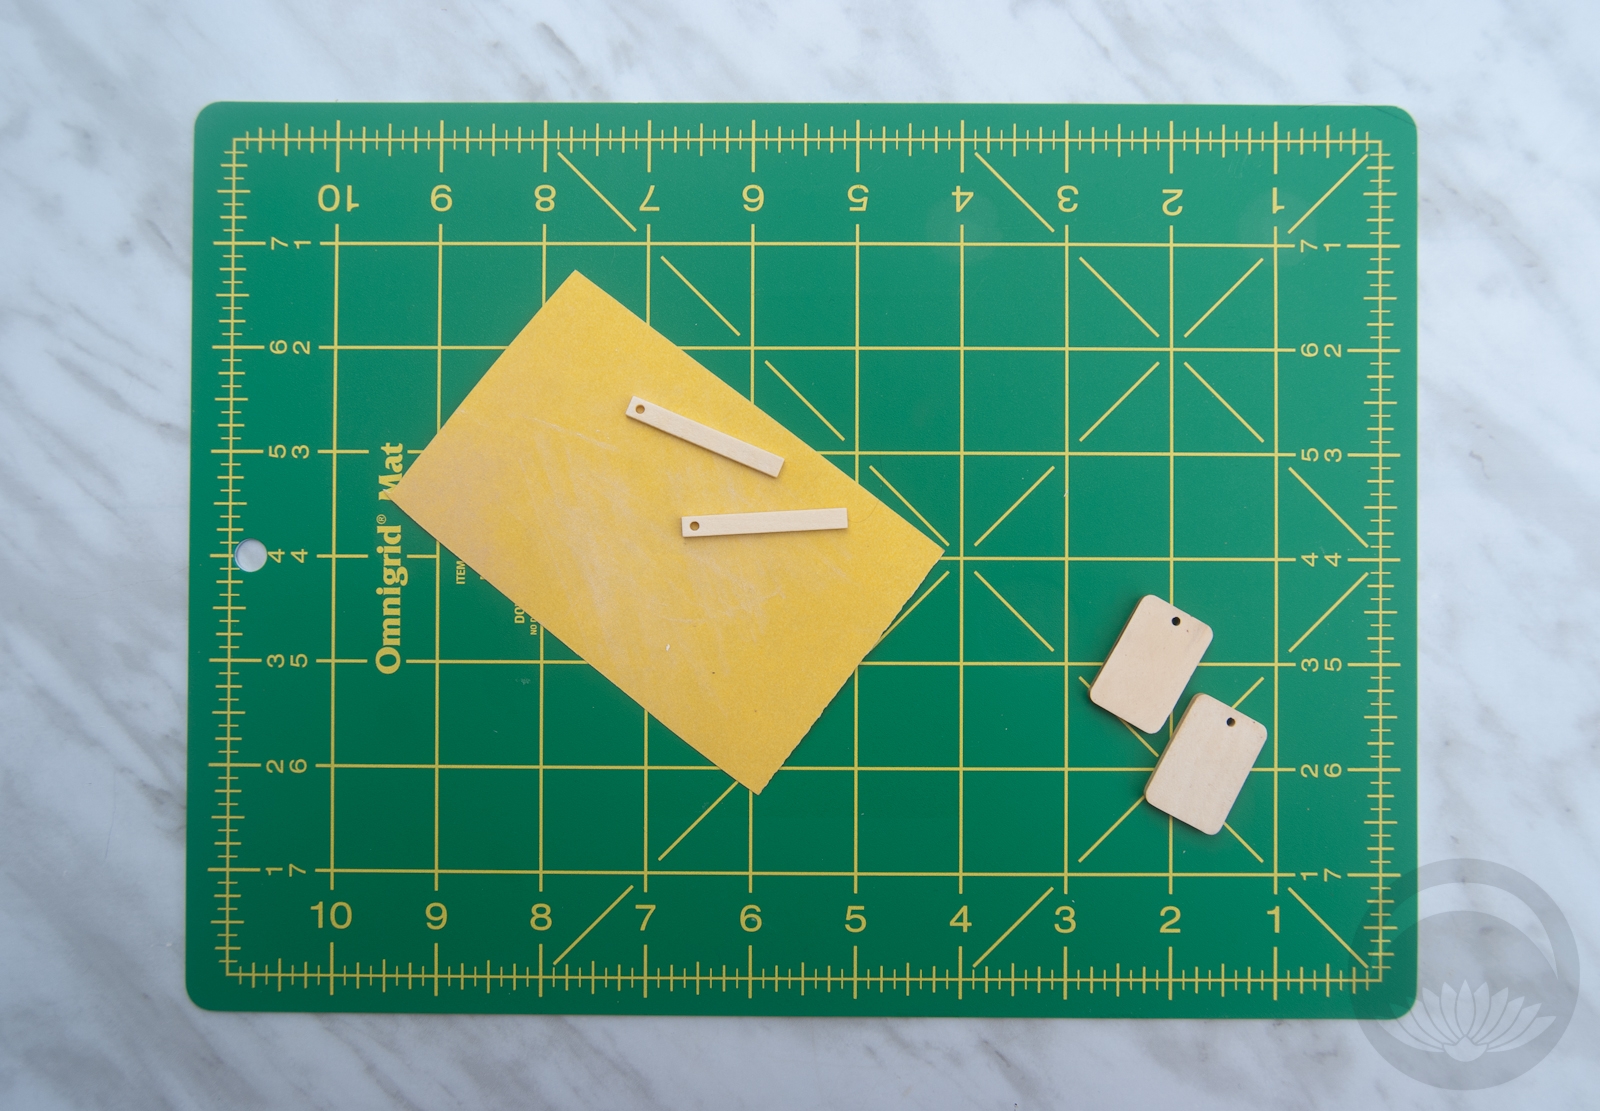
  1. Gently sand the edges of your wood pieces. They may be cheaply machine cut and not properly finished, and you don’t want rough wood near your ears or neck.
  2. If painting your wooden blanks, do this next. Do two thin coats on either side and make certain to paint the thin edges, as these will be the most visible.
  3. Once paint is fully dry, carefully smooth a piece of tape onto one flat side of the wooden blank. If your washi tape has a specific direction or accent you want to feature, take the time to align it properly. It will make the finished piece look much more professional.
  4. Using your scissors or knife, trim the excess tape off, following the shape of the wood piece.
  5. Flip the blank over and do the same taping-and-cutting on the other side.
  6. With the tip of your knife or even the hook of one of the earrings, pierce through the tape on both sides of the tiny hole at the top of the piece. If you’re having trouble finding it, hold your piece up to a bright light; the hole will shine through.
  7. Varnish isn’t necessary but it will help seal the tape from peeling off and give a nice shine to the earrings. If you choose to varnish, do it now.
  8. Once the piece is fully dry, open one jump ring with the pliers and attach a hook to each earring.
  9. Voila! Your stylish new pieces are done.

Now you’ve got beautiful, one-of-a-kind earrings that you can pair with funky kimono outfits or to add flair to a western outfit. You can also turn these into unique necklaces by using attaching a decorative bail or even just a jump ring and threading it on to a chain. These would make beautiful gifts, too.

Have fun and experiment with paint colours and tape placement or even add decorative items, rhinestones, or other personal touches!

 I received this item from the retailer or manufacturer for honest review purposes.This post contains affiliate link(s). If you choose to purchase, I receive a small rebate or commission which goes to the continued maintenance of this site. 

DIY Kokeshi Dolls featuring The Washi Tape Shop

Washi tape comes in so many beautiful and versatile designs, and is an important part of any Japanophile crafter’s arsenal. While most often used for journaling, scrapbooking, and wrapping gifts, there are so many other ways you can feature the gorgeous designs of traditional washi tape.

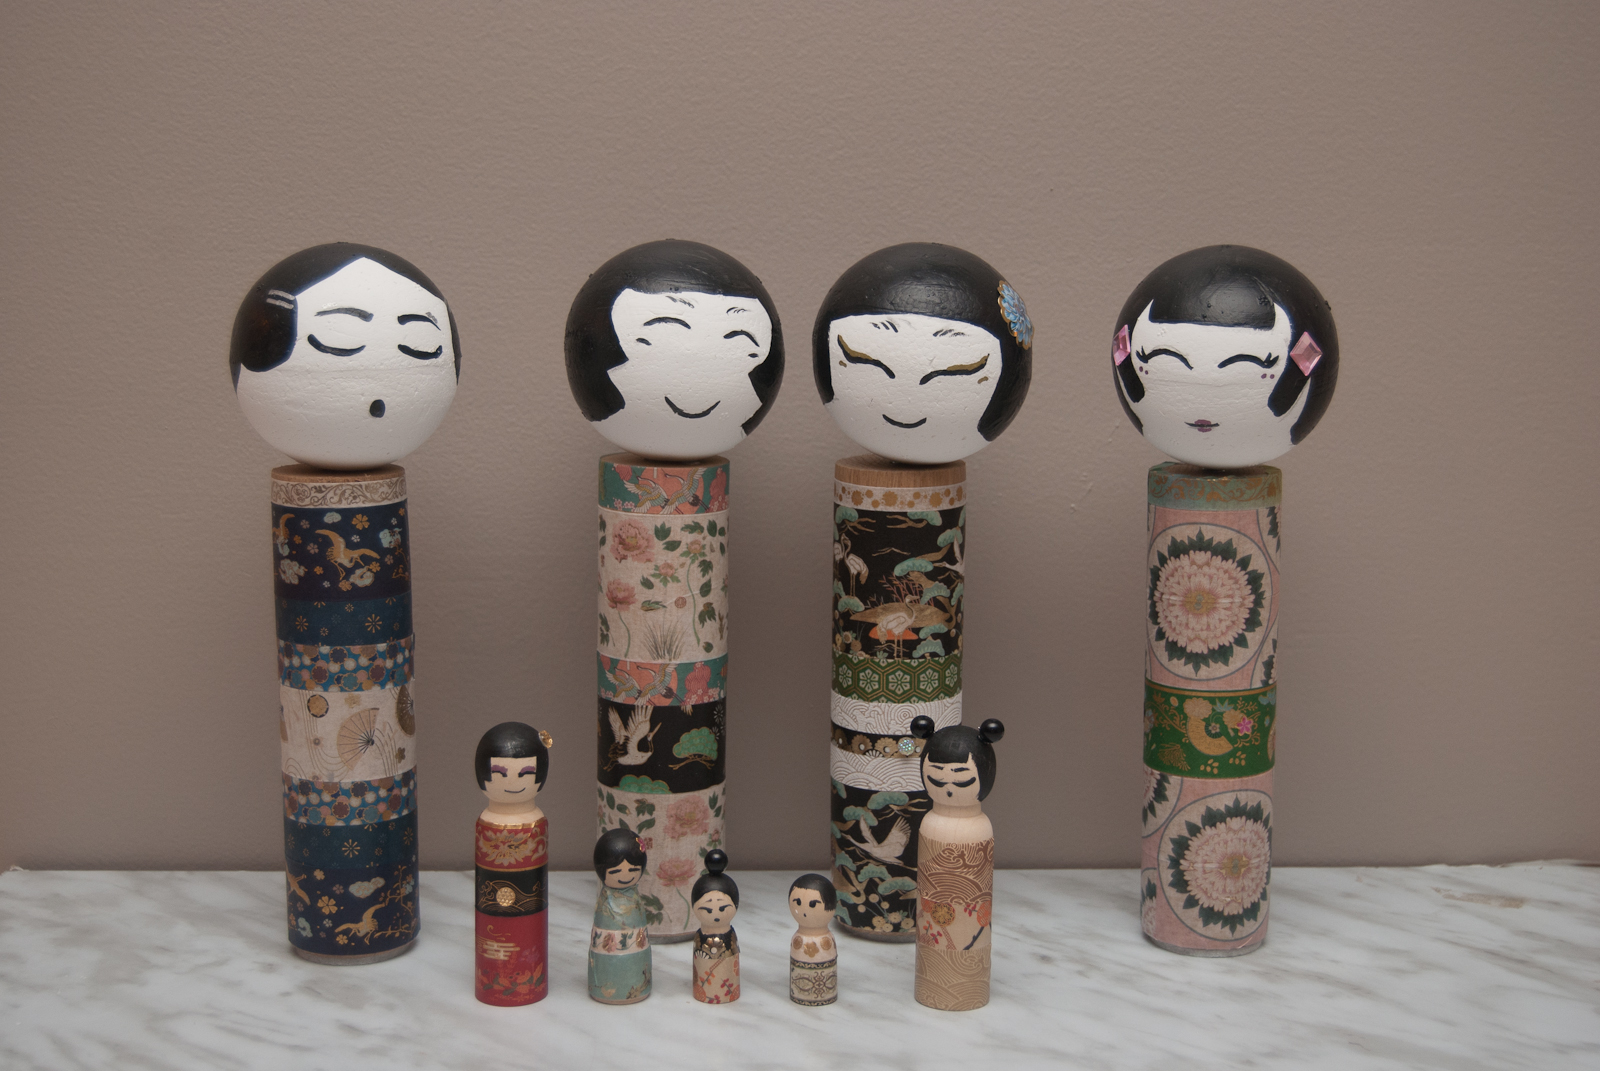
Today I’ve teamed up with The Washi Tape Shop to bring you a quick, affordable, and fun DIY project. If you’re stuck inside the house (aren’t we all nowadays?) this is a great way to spend an afternoon, and is easy and safe for kids to do as well! Many of the designs available at the Washi Tape Shop are clearly influenced by traditional Japanese textiles and patterns, so I figured what better way to feature them than to make your own kokeshi dolls?

Keep reading for detailed instructions!

Continue reading

O is for Orizuru

Orizuru, 折鶴, origami (lit. folded) crane

I’m feeling somewhat under the weather again today, I’m afraid. I was going to create a coordinate using some pieces in my collection with the origami crane motif but I’m just not up to it.

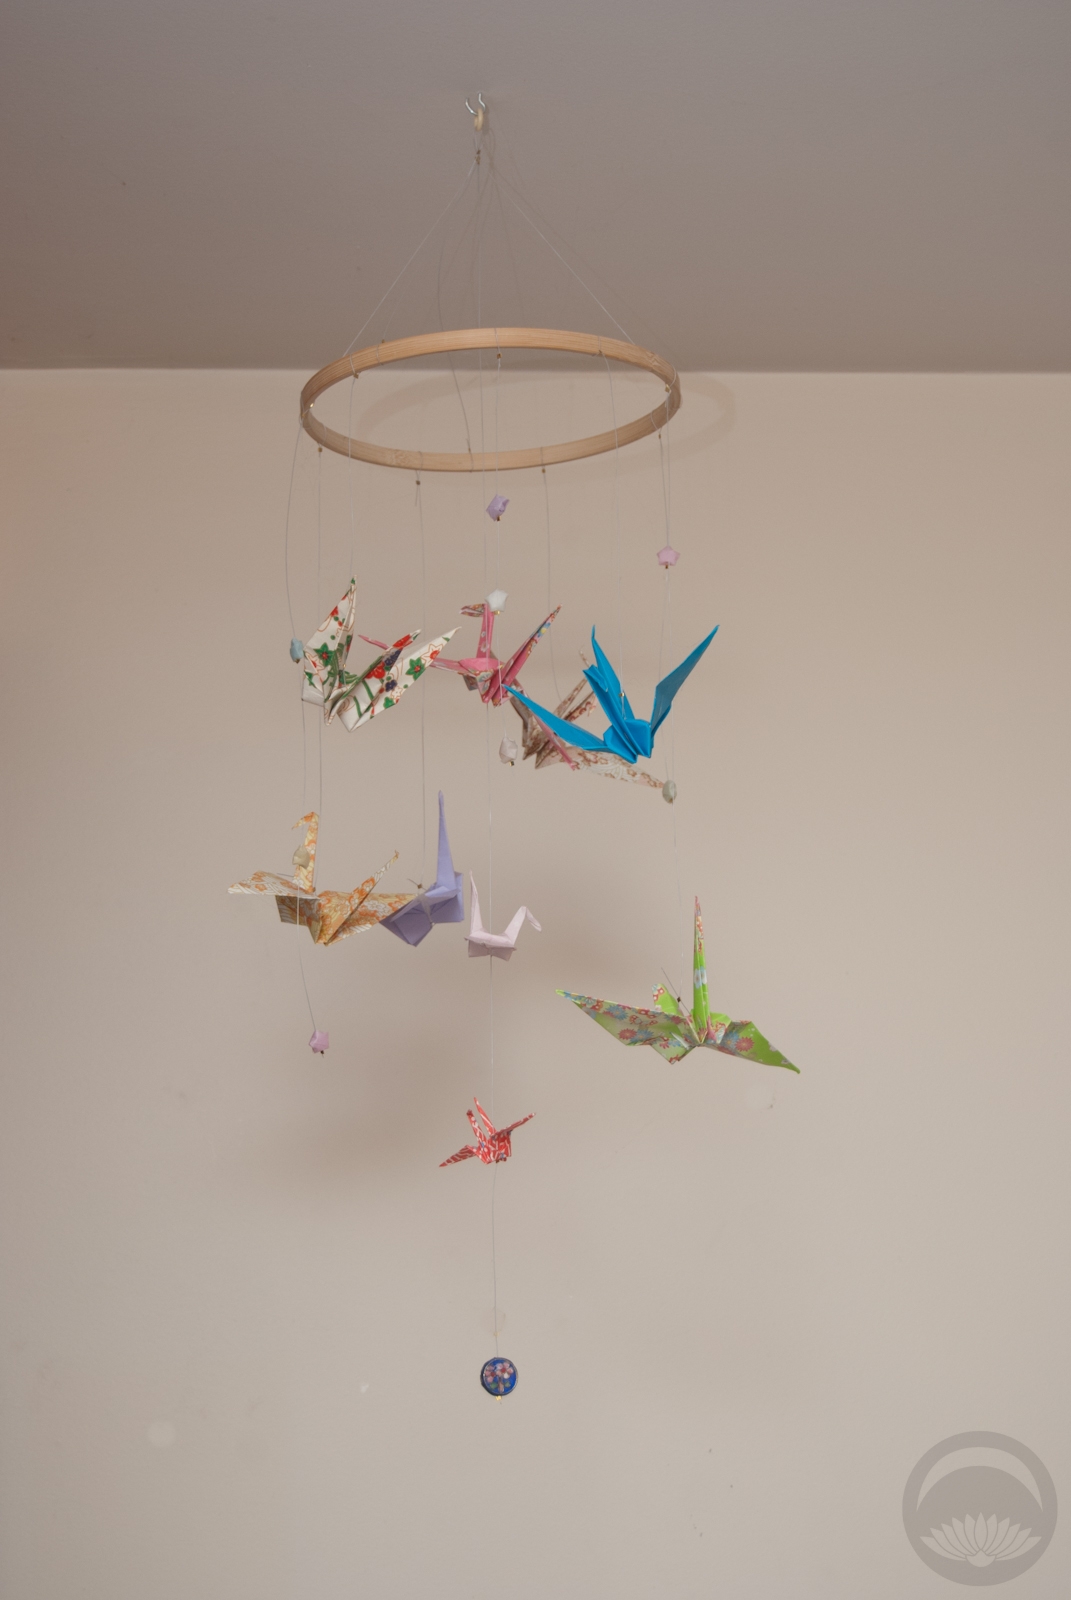
Instead, I thought I would share some quick and easy instructions for a really charming little mobile. This piece was made over a year ago and I never thought to take photos of the process, but I promise it’s incredibly simple.

I had the cranes already; a couple I made myself but the bulk of them were included in packages from friends or as little gifts with kimono purchases. I really wanted a way to show them off, rather than have them all languishing in drawers.

All I did was carefully pierce holes through the centre of the body of each crane and feed through some very fine beading wire, I used a small jewellery crimp beneath each one so they wouldn’t slide down to the bottom of the wire, and interspersed a few tiny orgami lucky stars for some visual interest.

I made several strands of varying lengths, and attached them to the solid piece from an embroidery hoop set, again using the crimps to fix the wires in place. Another wire to form a hanging loop and voila, your own pretty little flock of orizuru!

 This post contains affiliate link(s). If you choose to purchase, I receive a small rebate or commission which goes to the continued maintenance of this site.