
Hello! Just a quick post today. A few weeks ago, I found this charming little doll at one of the thrift stores near me. I posted a photo of her (along with the rest of my haul) on my Instagram but now that she’s had a bit of a face-lift I felt like she needed her own post.
She’s nothing fancy – maybe 4″ tall and made primarily of plastic. I assume she was a cheap souvenir or something. But I was really charmed by her, and wanted to give her a new lease of life. I was inspired by my friend Naomi, who has been rescuing dolls from thrift stores for ages now, and my friend Vi who runs The Heirloom Smith, a small custom design and restoration business.
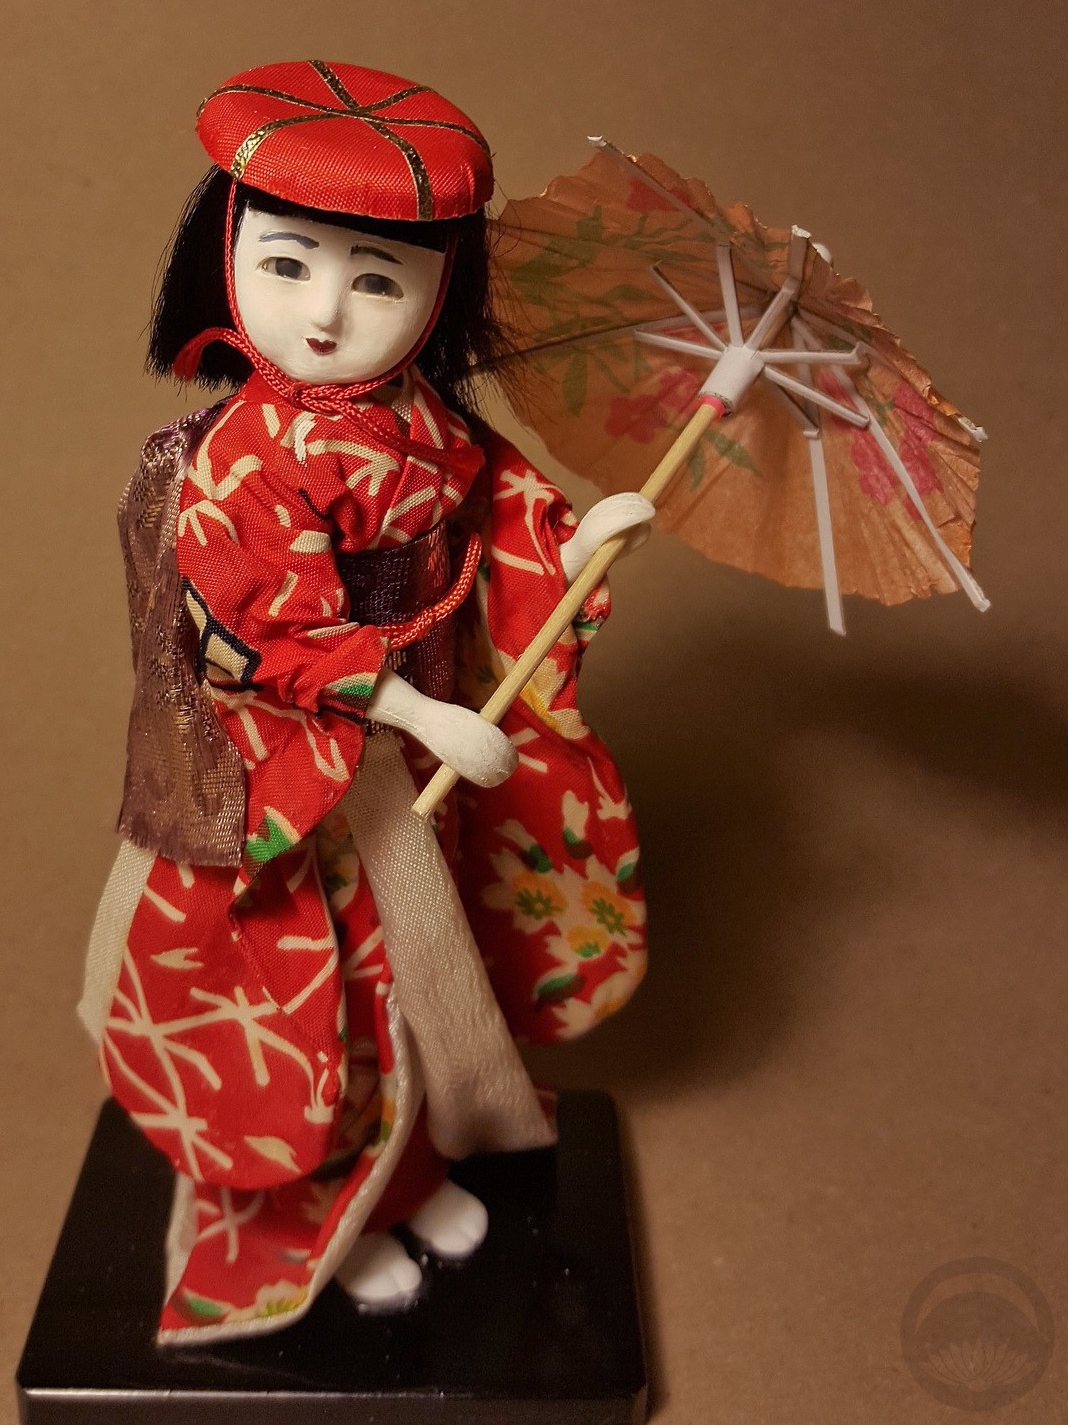
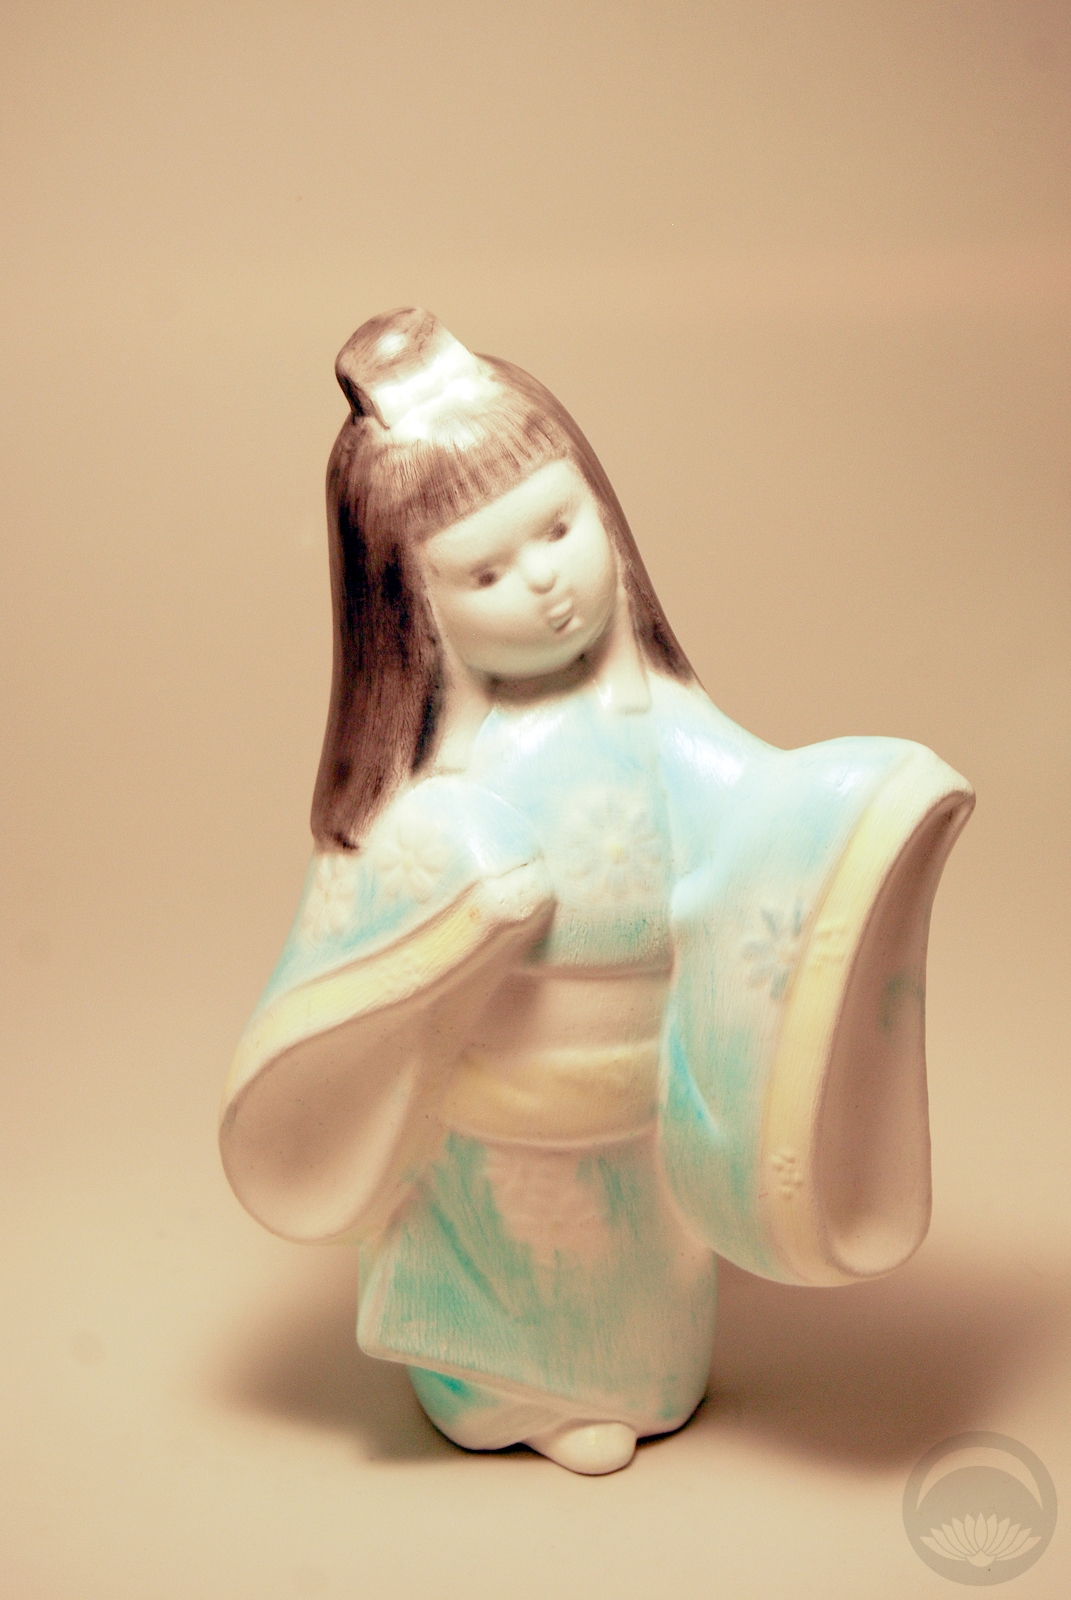
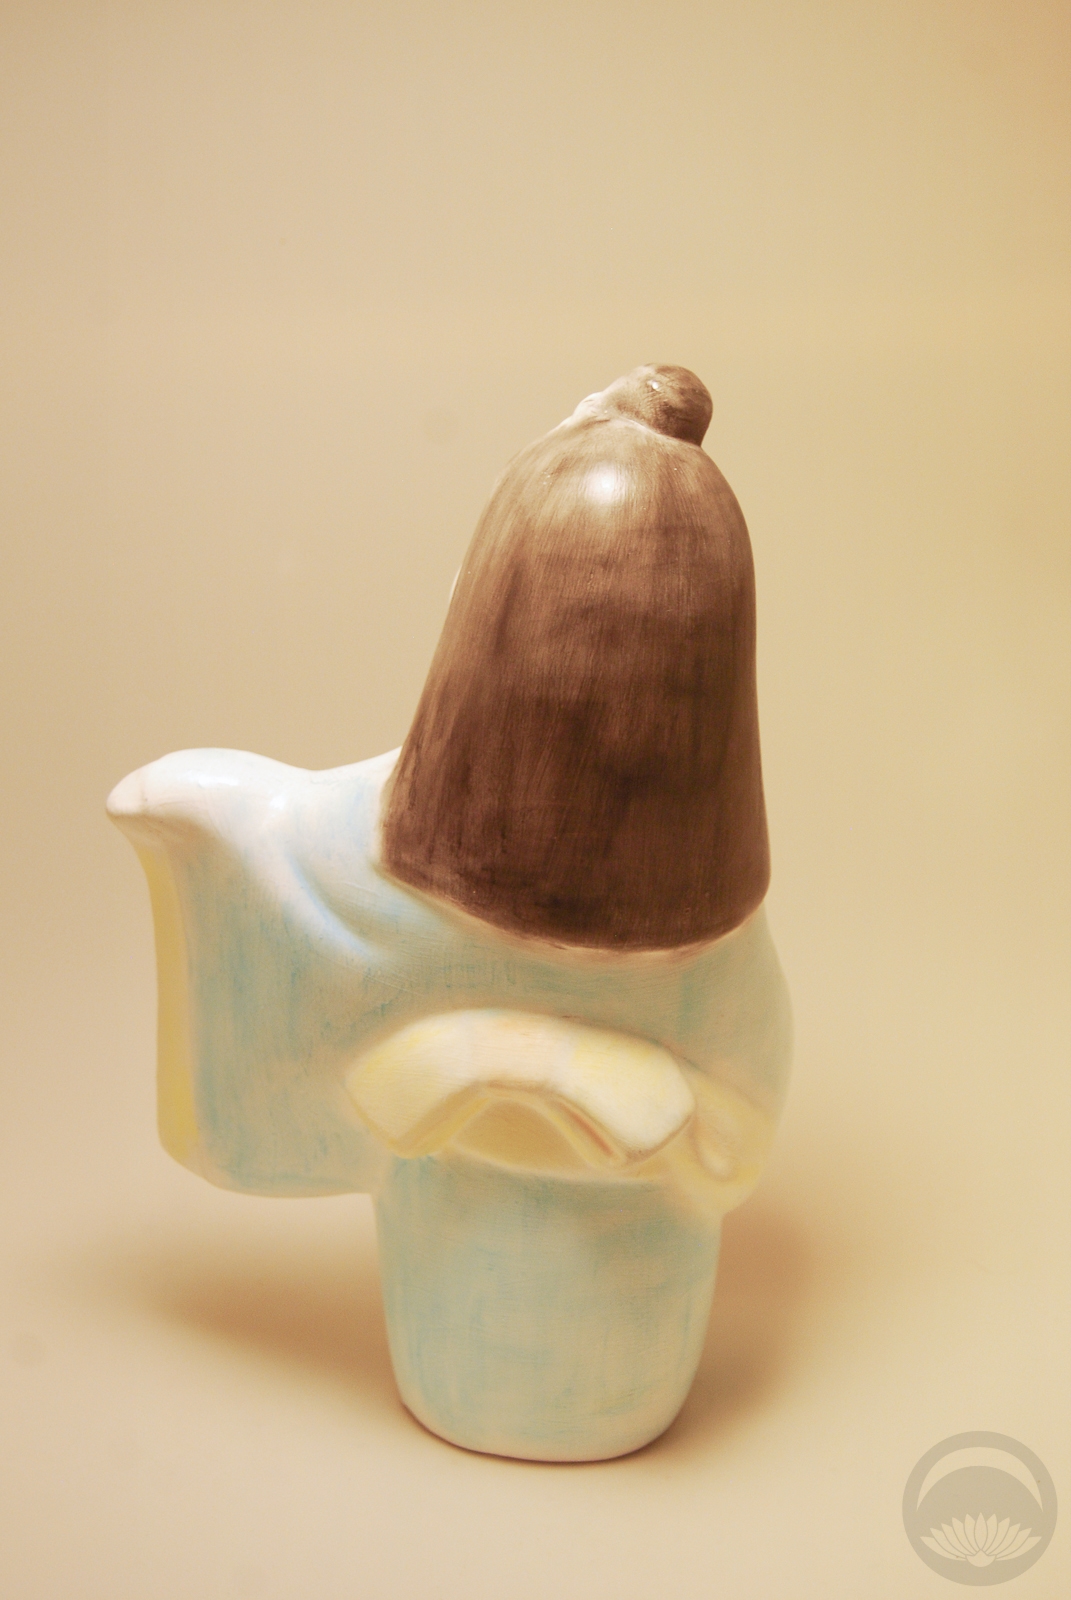
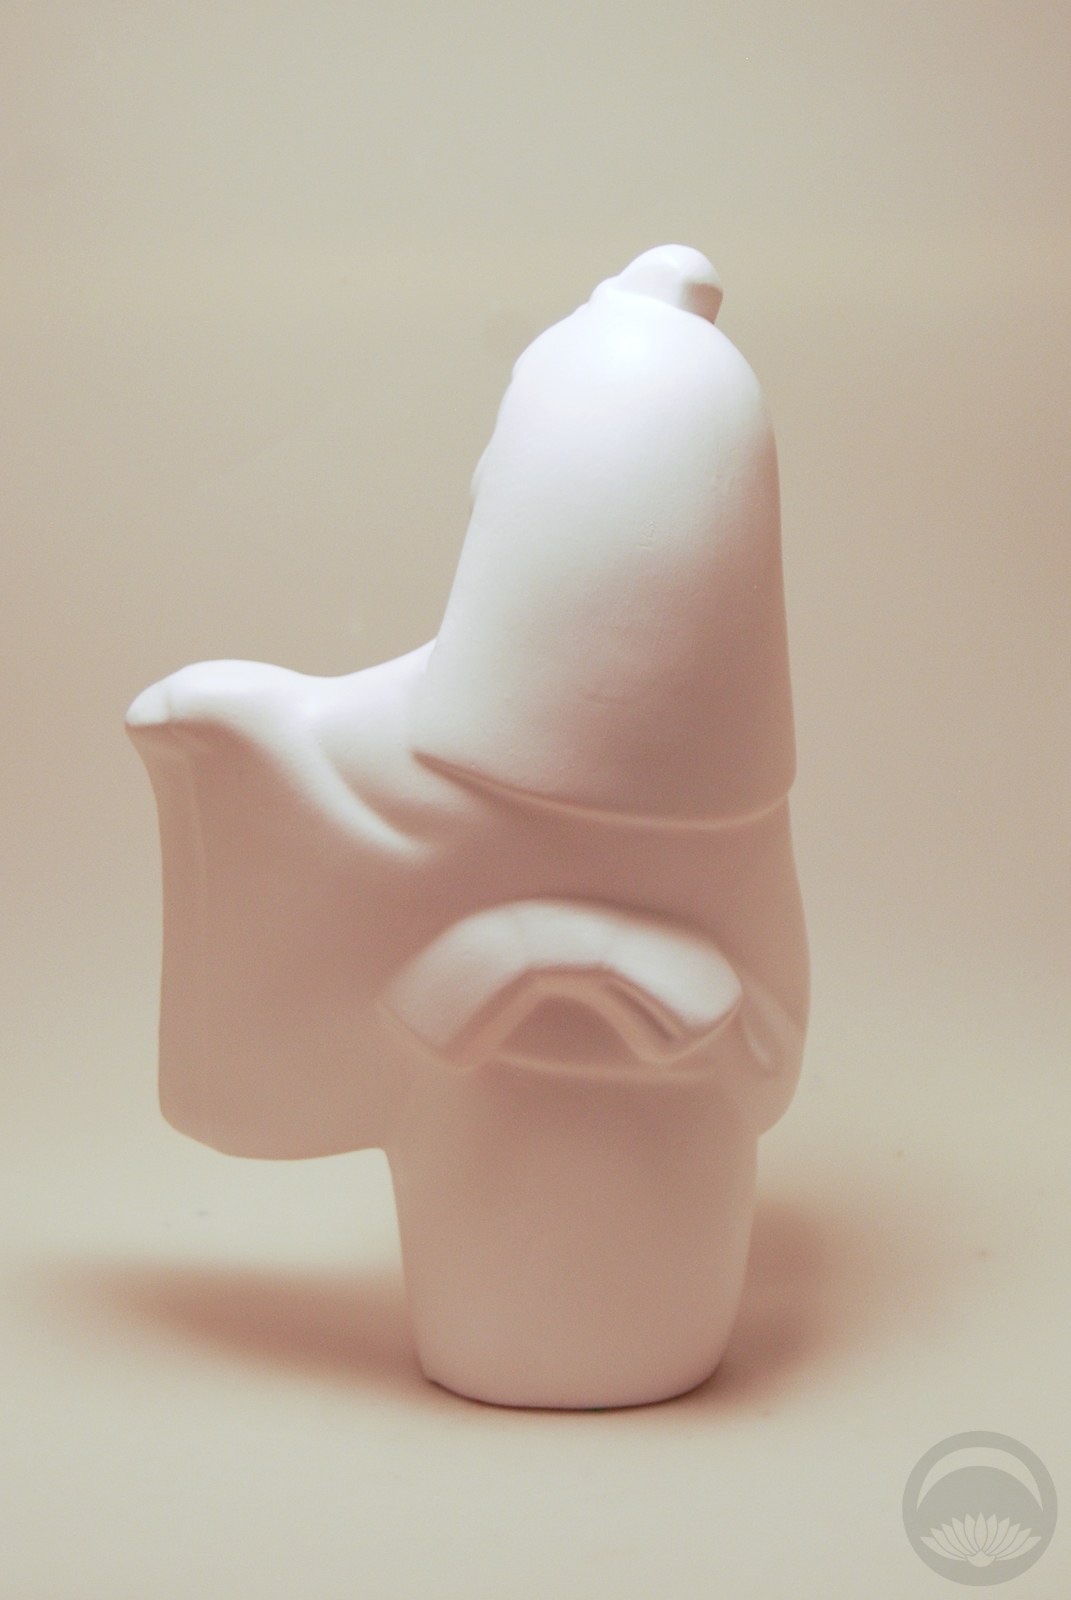
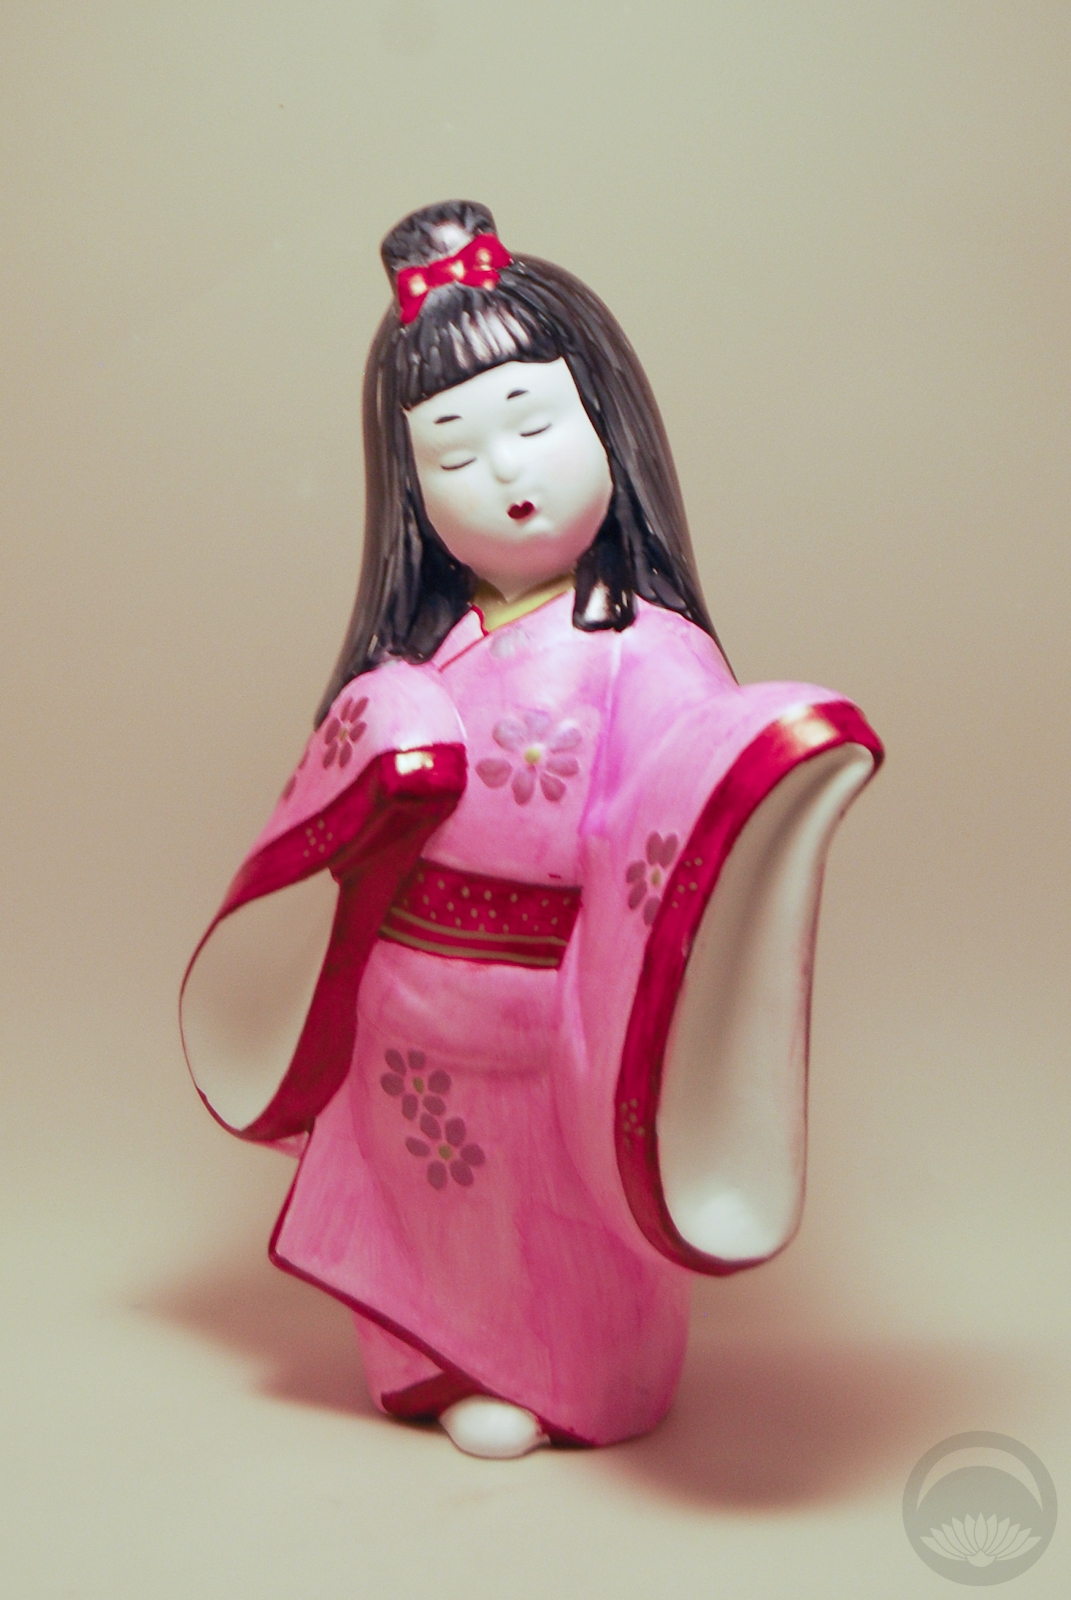
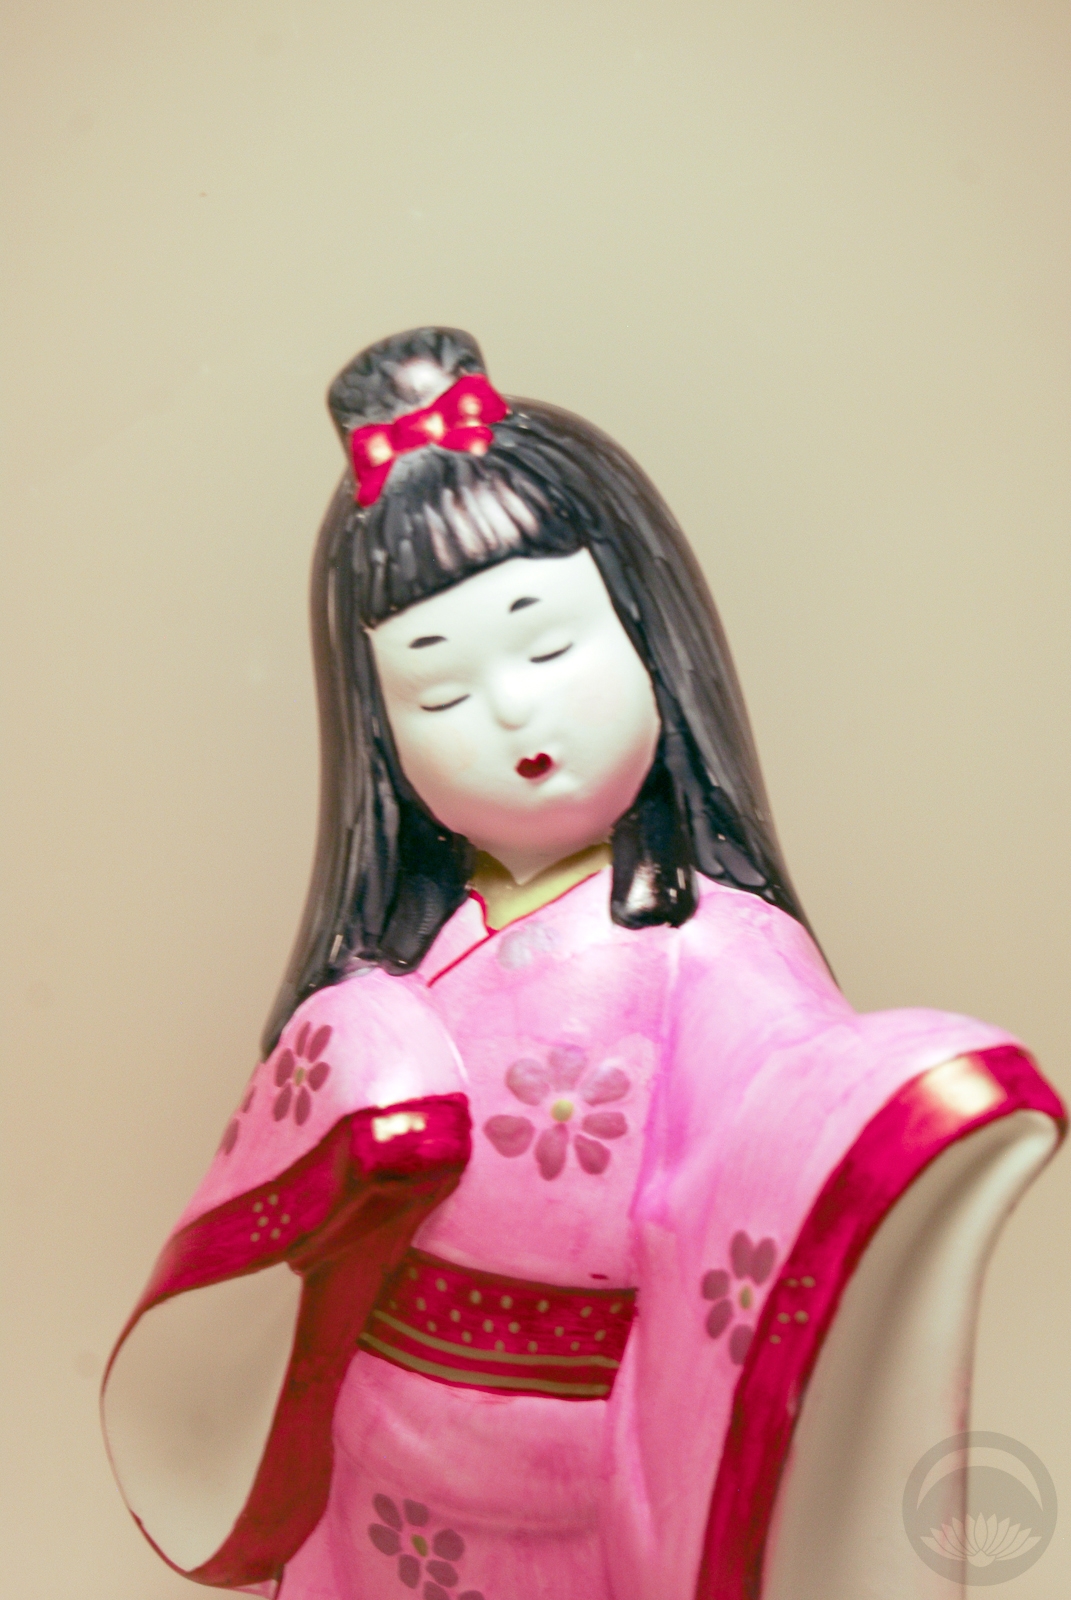
The biggest and most obvious problem was her head; her hair was a wreck and there was a flat circle of paper glued to the crown of her head, where a hat had likely fallen off. Thankfully, she had two other hats – one in each hand! I carefully pried the hats off and put them aside, and moistened her hair so I could brush it and try to tame it down somewhat. I then soaked her hands carefully in warm water to dissolve the leftover glue and paper. However, without her hats her pose definitely looked a bit funny, and the fact that her hands, feet, and face were made of cheap yellowed plastic was very apparent. I re-posed her slightly (thankfully, her body is a wire frame so she’s relatively flexible), covered over her yellowed bits with white chalk paint, gave her a cute little umbrella to dance with, and glued one of the salvaged hats onto her head. The last step was to give her slightly more subdued facial features with watercolours over the newly-painted surface of her face. She looks very at home in the cabinet with the ceramic doll I repainted a while back. I’m so happy Ito have given both these girls a new home. Their big sister is also in the works, I hope to be posting about her sometime soon.
I didn’t take too many photos during the process, and the ones I did take were done at my desk with my phone so they’re not fantastic, but it’s still nice to see how she progressed to the final result up at the top of the page.
-
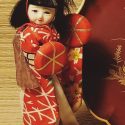
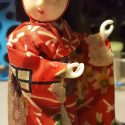
- What she looked like initially
-

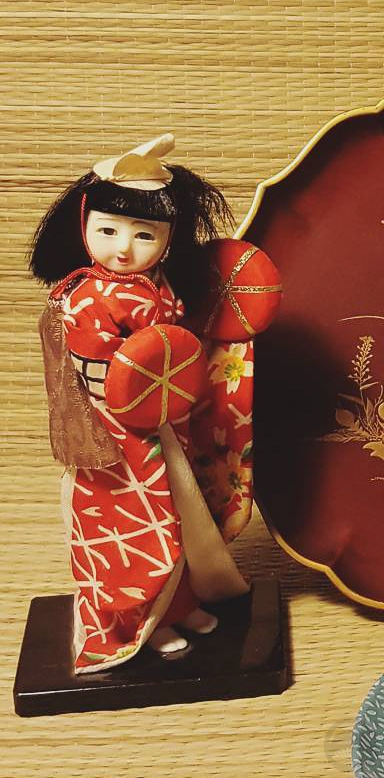
- Missing hat!

-

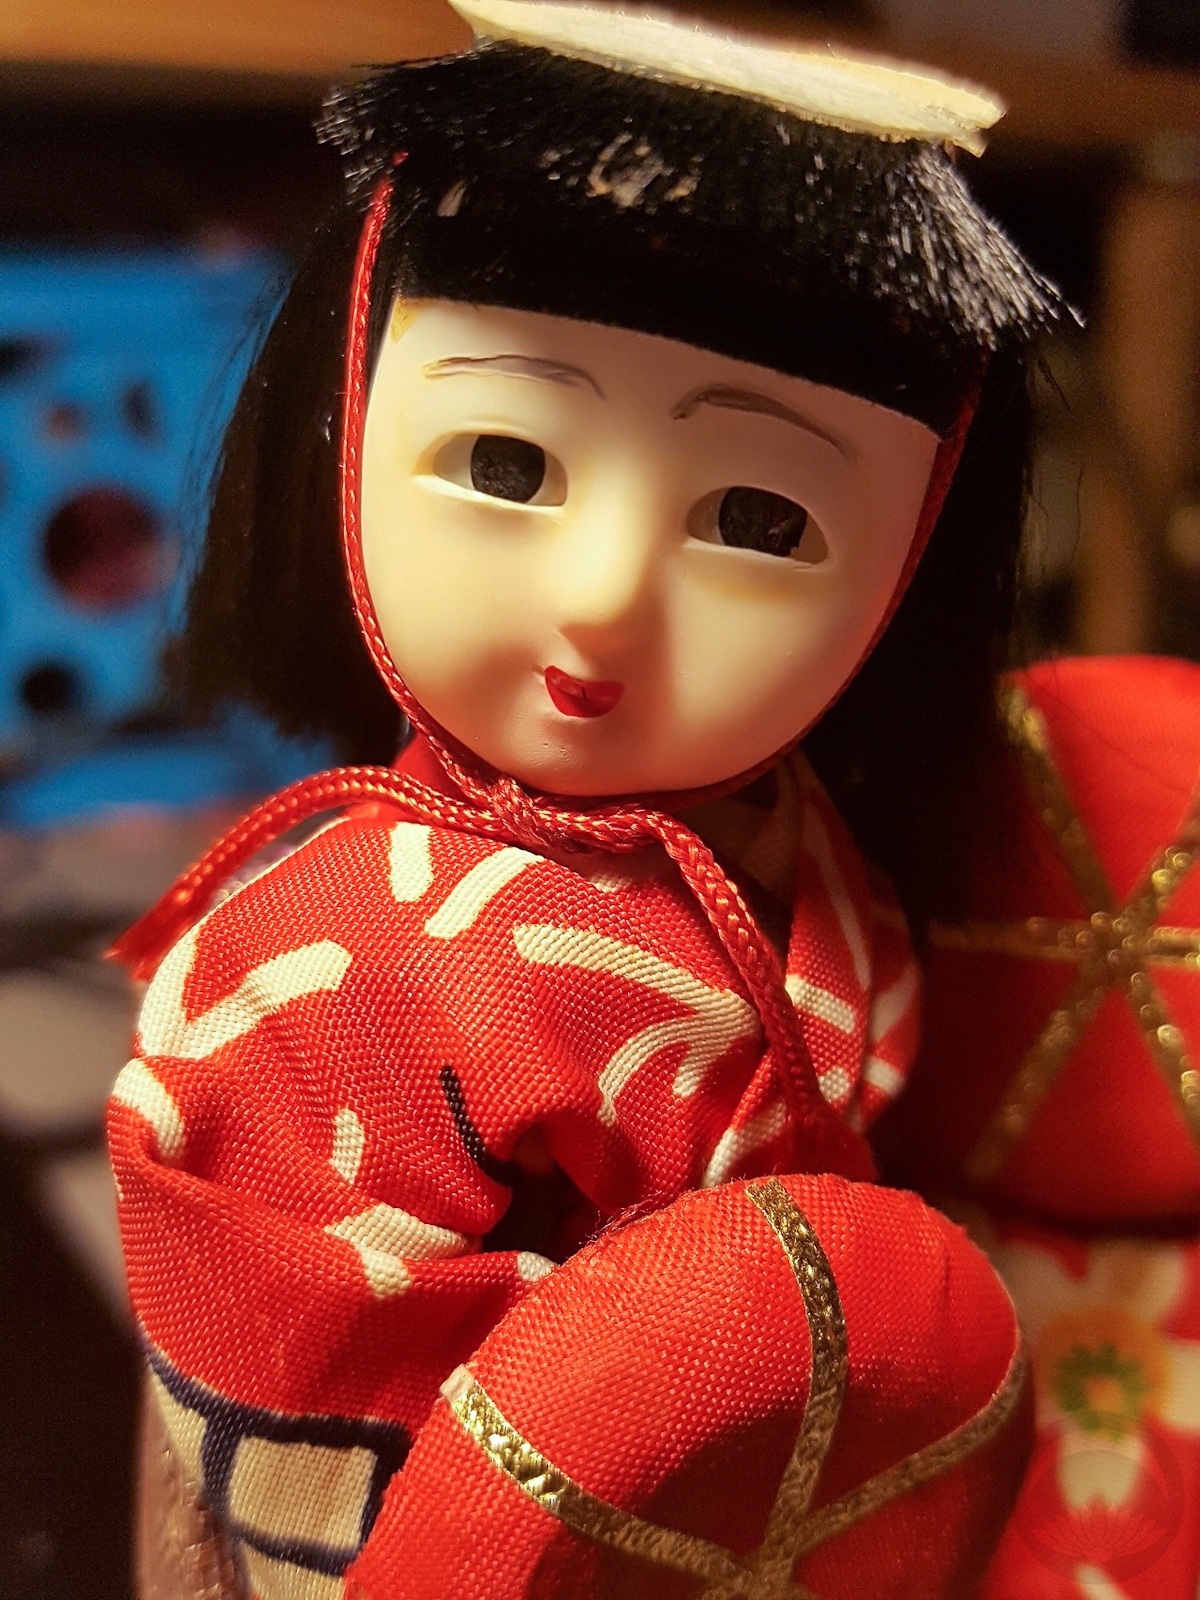
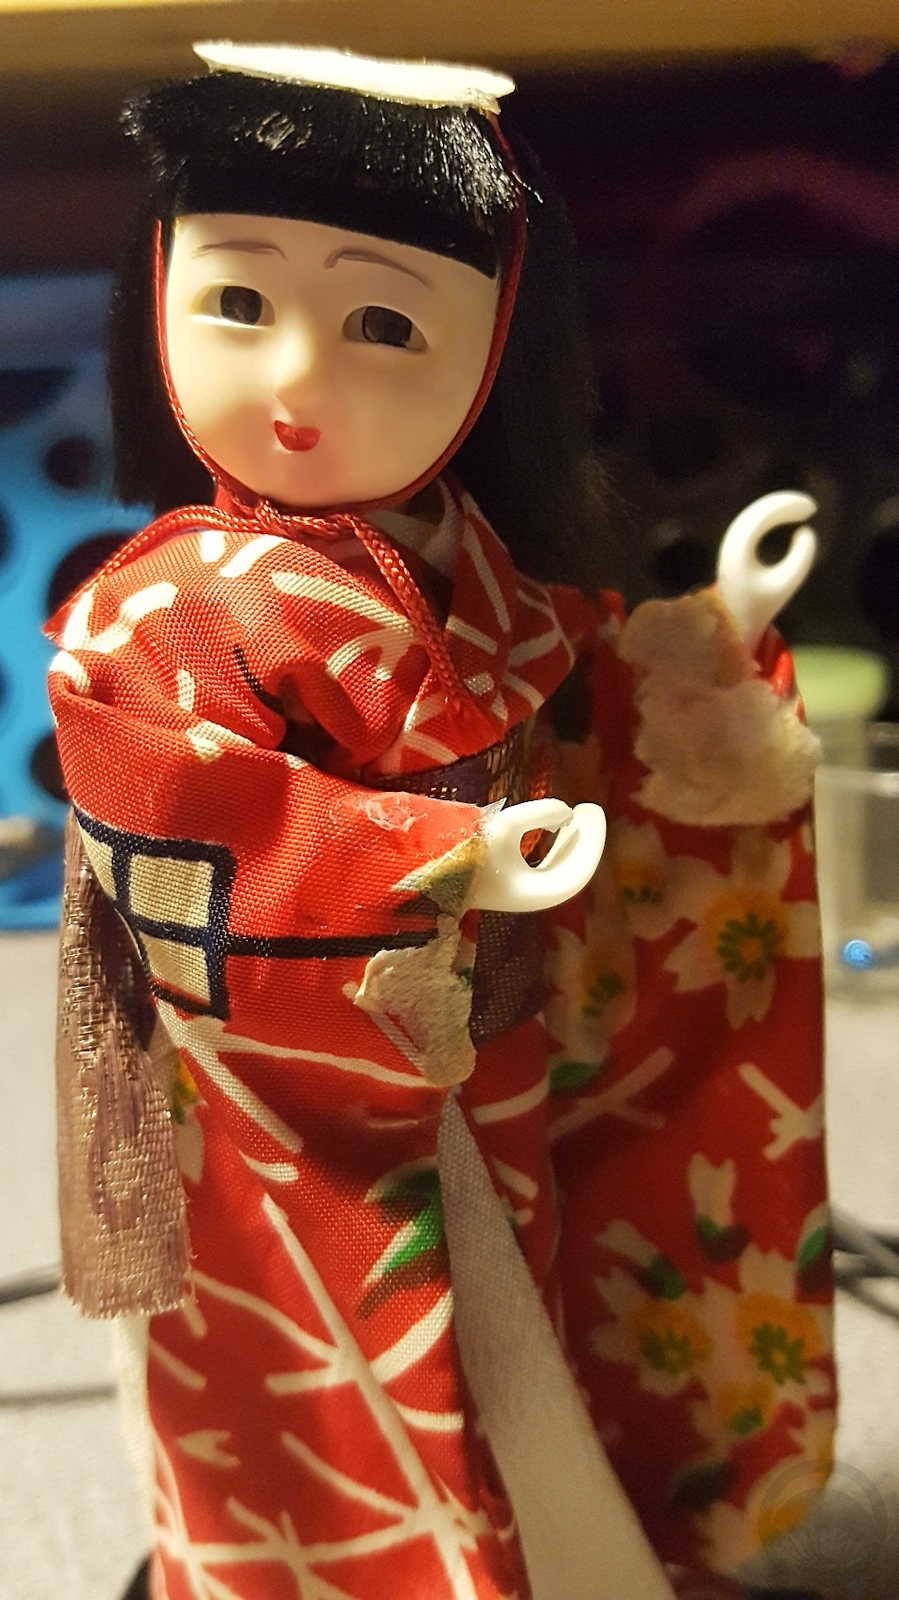
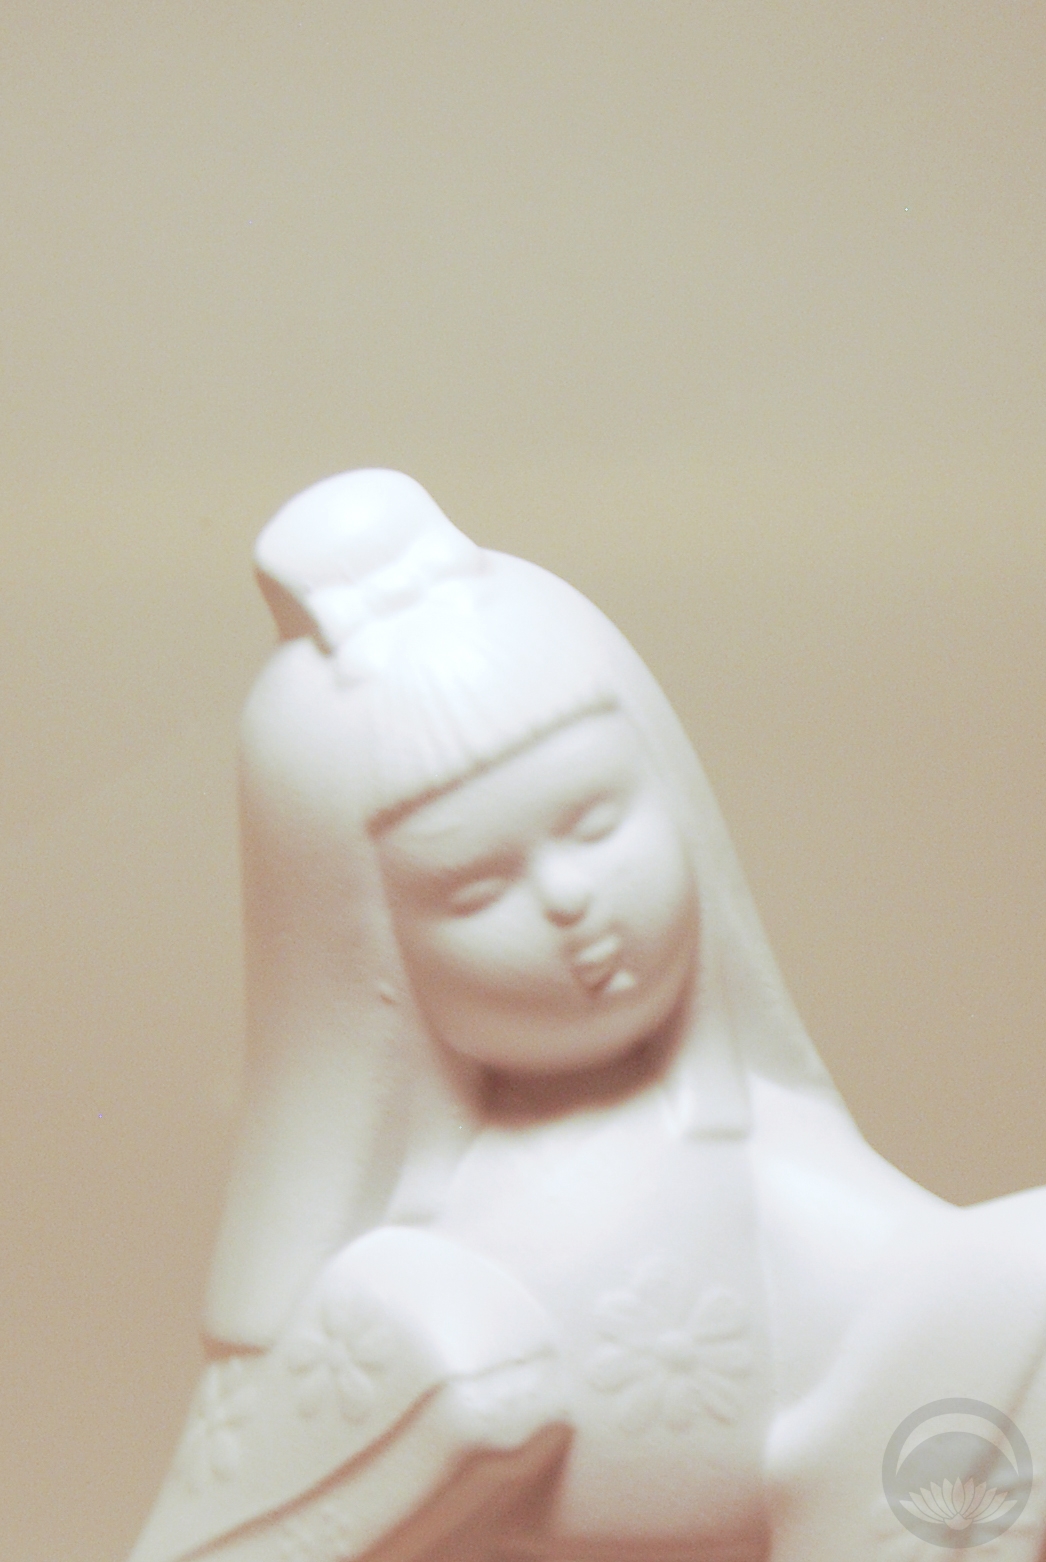
- Yellowed face, faded features
-
- Hats removed, residue left on kimono


 Bebe Taian
 CHOKO Blog
 Gion Kobu