
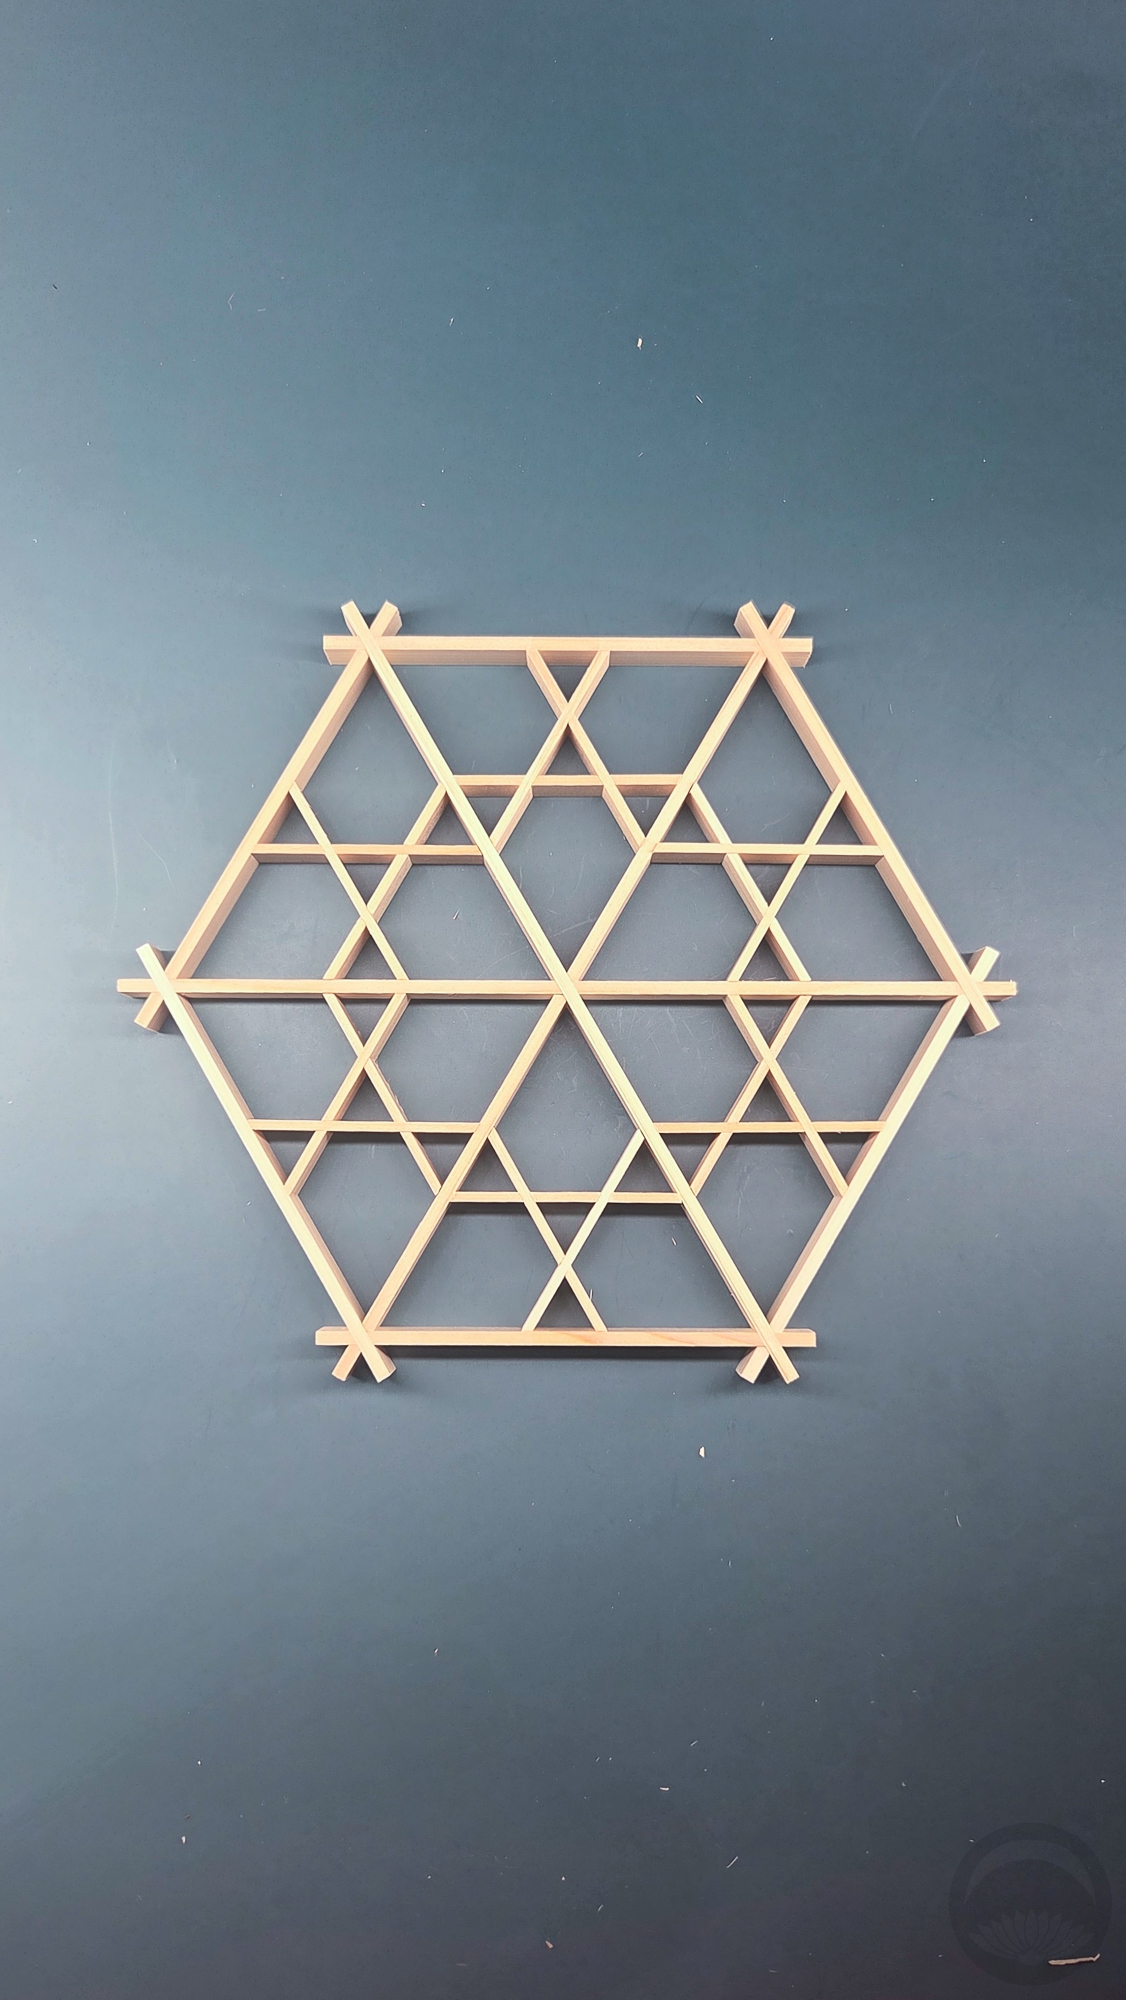
Kumiko is the millenia-old Japanese art of exquisitely fine decorative woodwork. It relies entirely on precise cuts and is held together with carefully calculated pressure-fitting – no glue or nails. Typically, kumiko is used in windows and shoji screens, allowing a breeze and dappled sunlight to filter through.
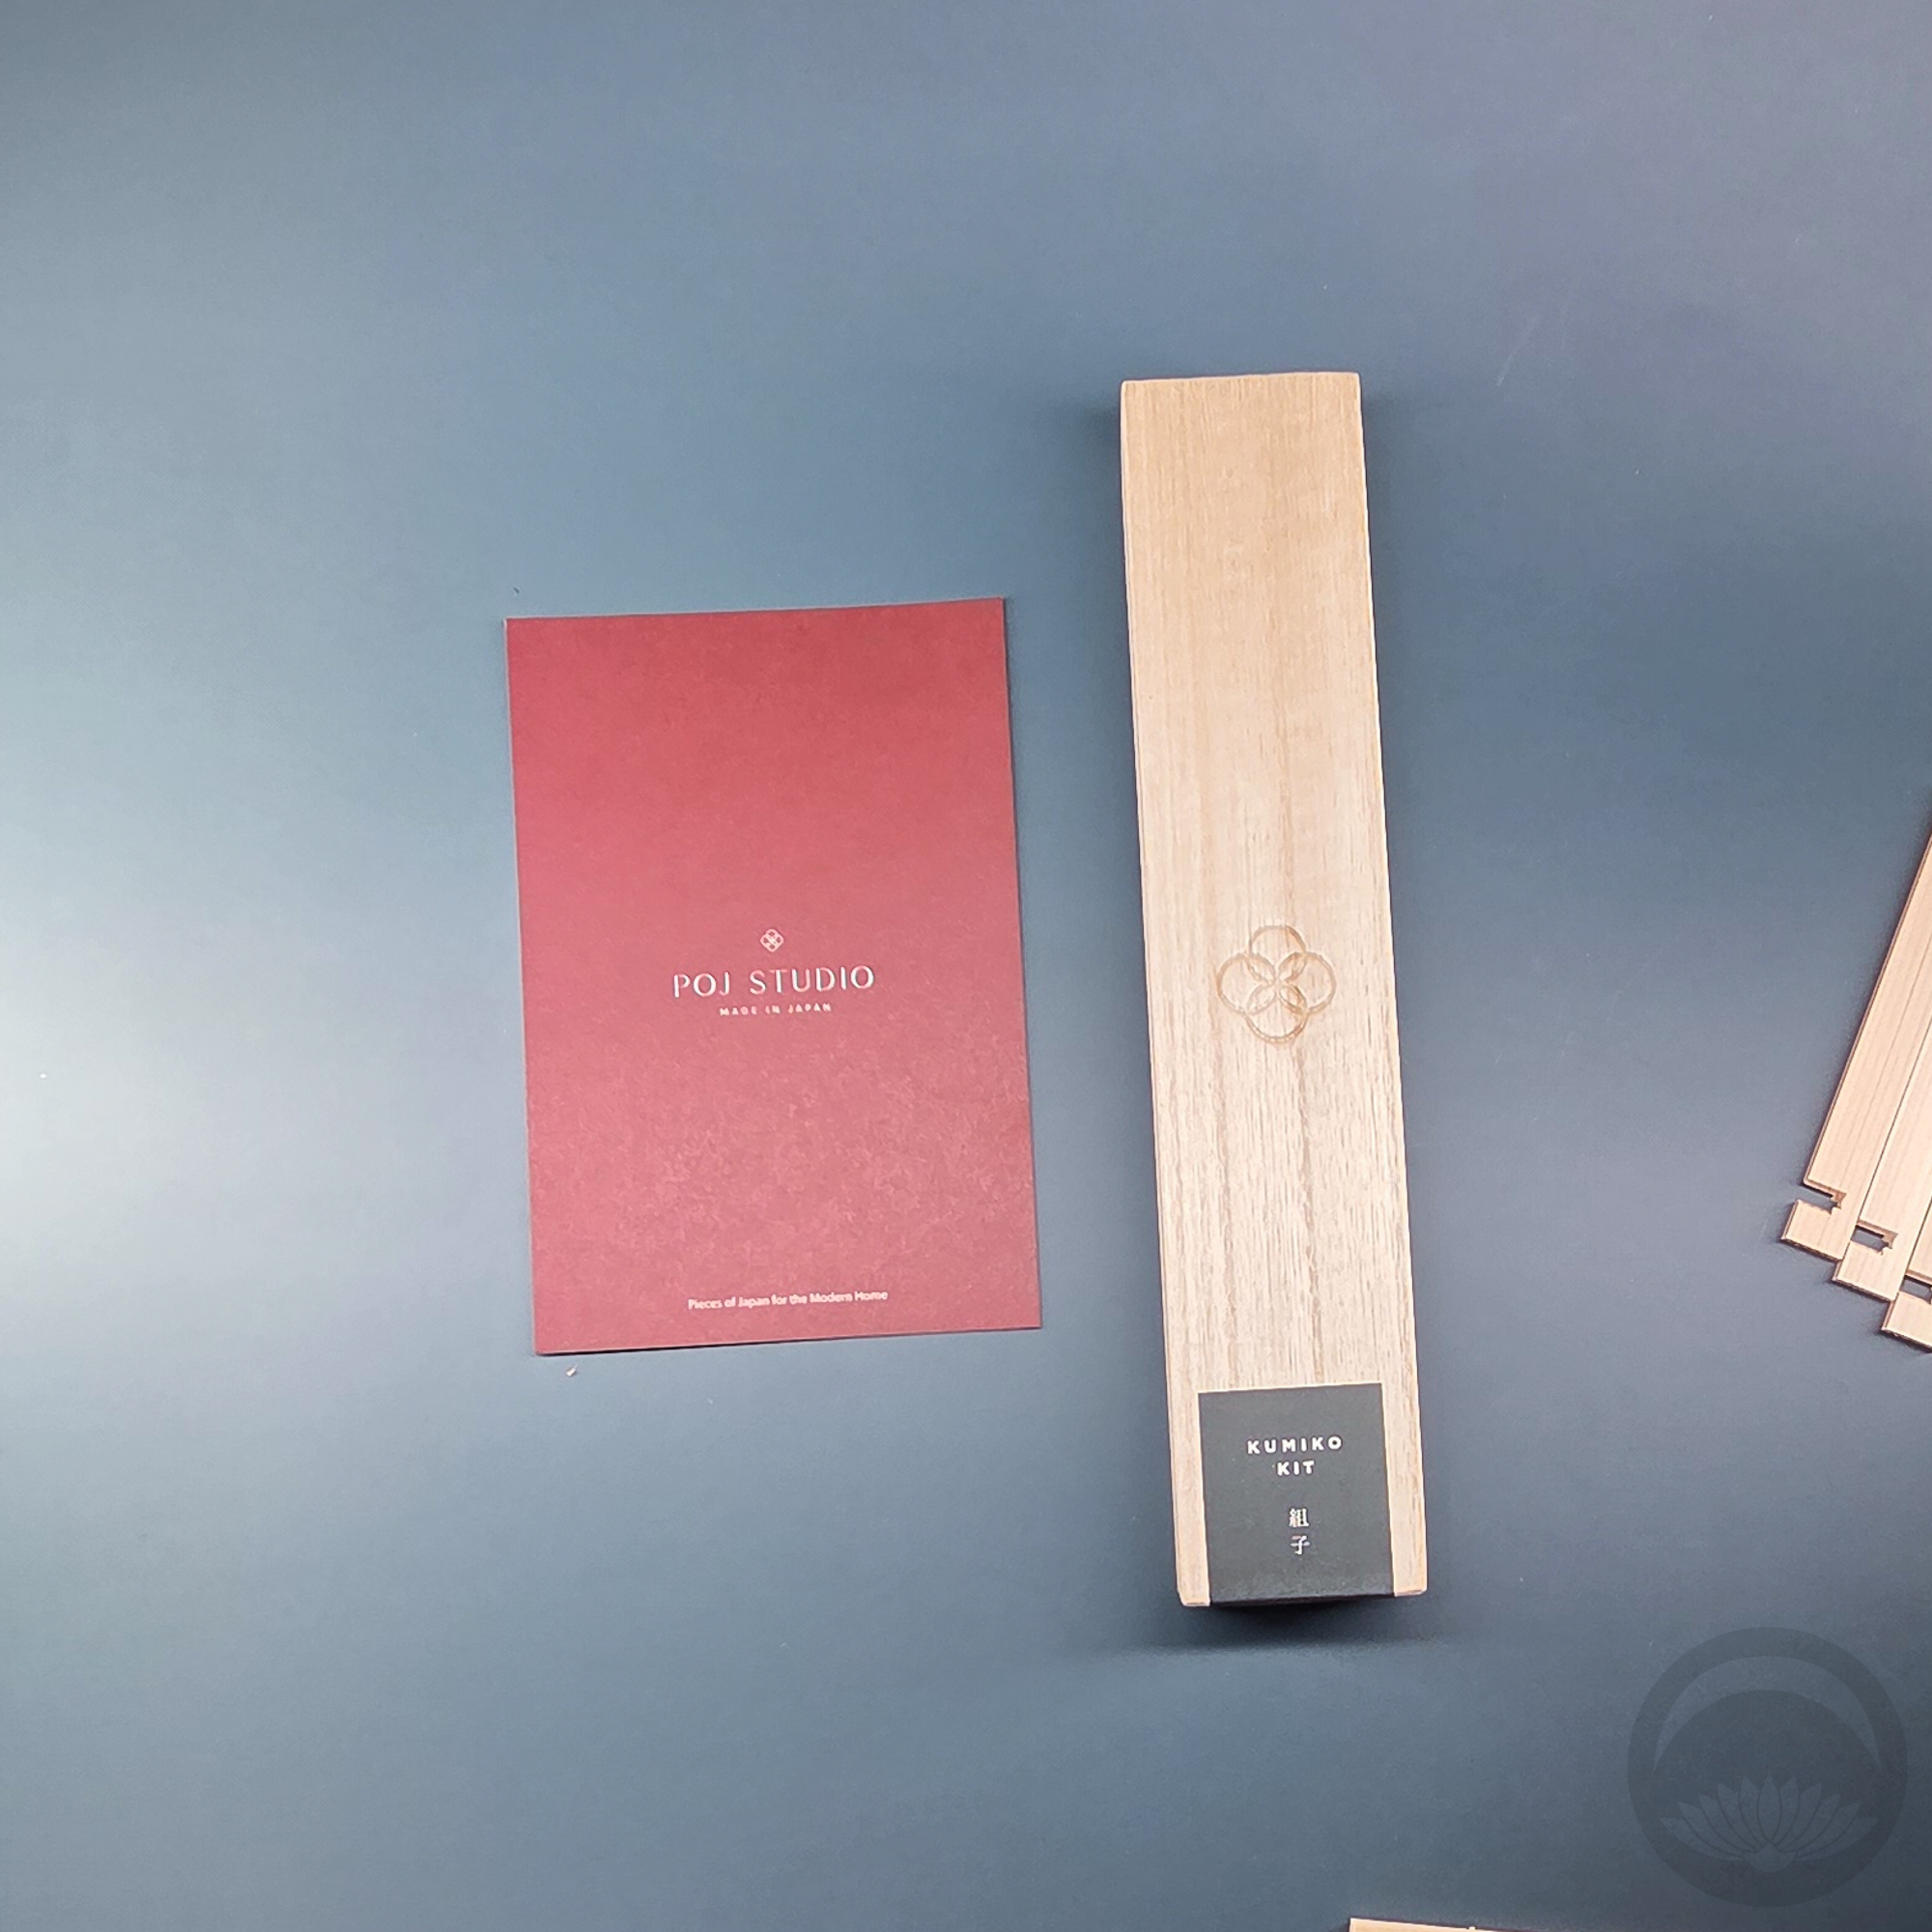
It’s something I’ve been fascinated by for a long time but I always thought it was way beyond my skill-set and I was certain I didn’t have time to learn such a delicate new skill. Enter POJ Studio and their mission to highlight and uplift traditional Japanese crafts and craftspersons. Unfortunately at the moment the kumiko kits are not listed on their site, but they will hopefully be restocked in the near future.
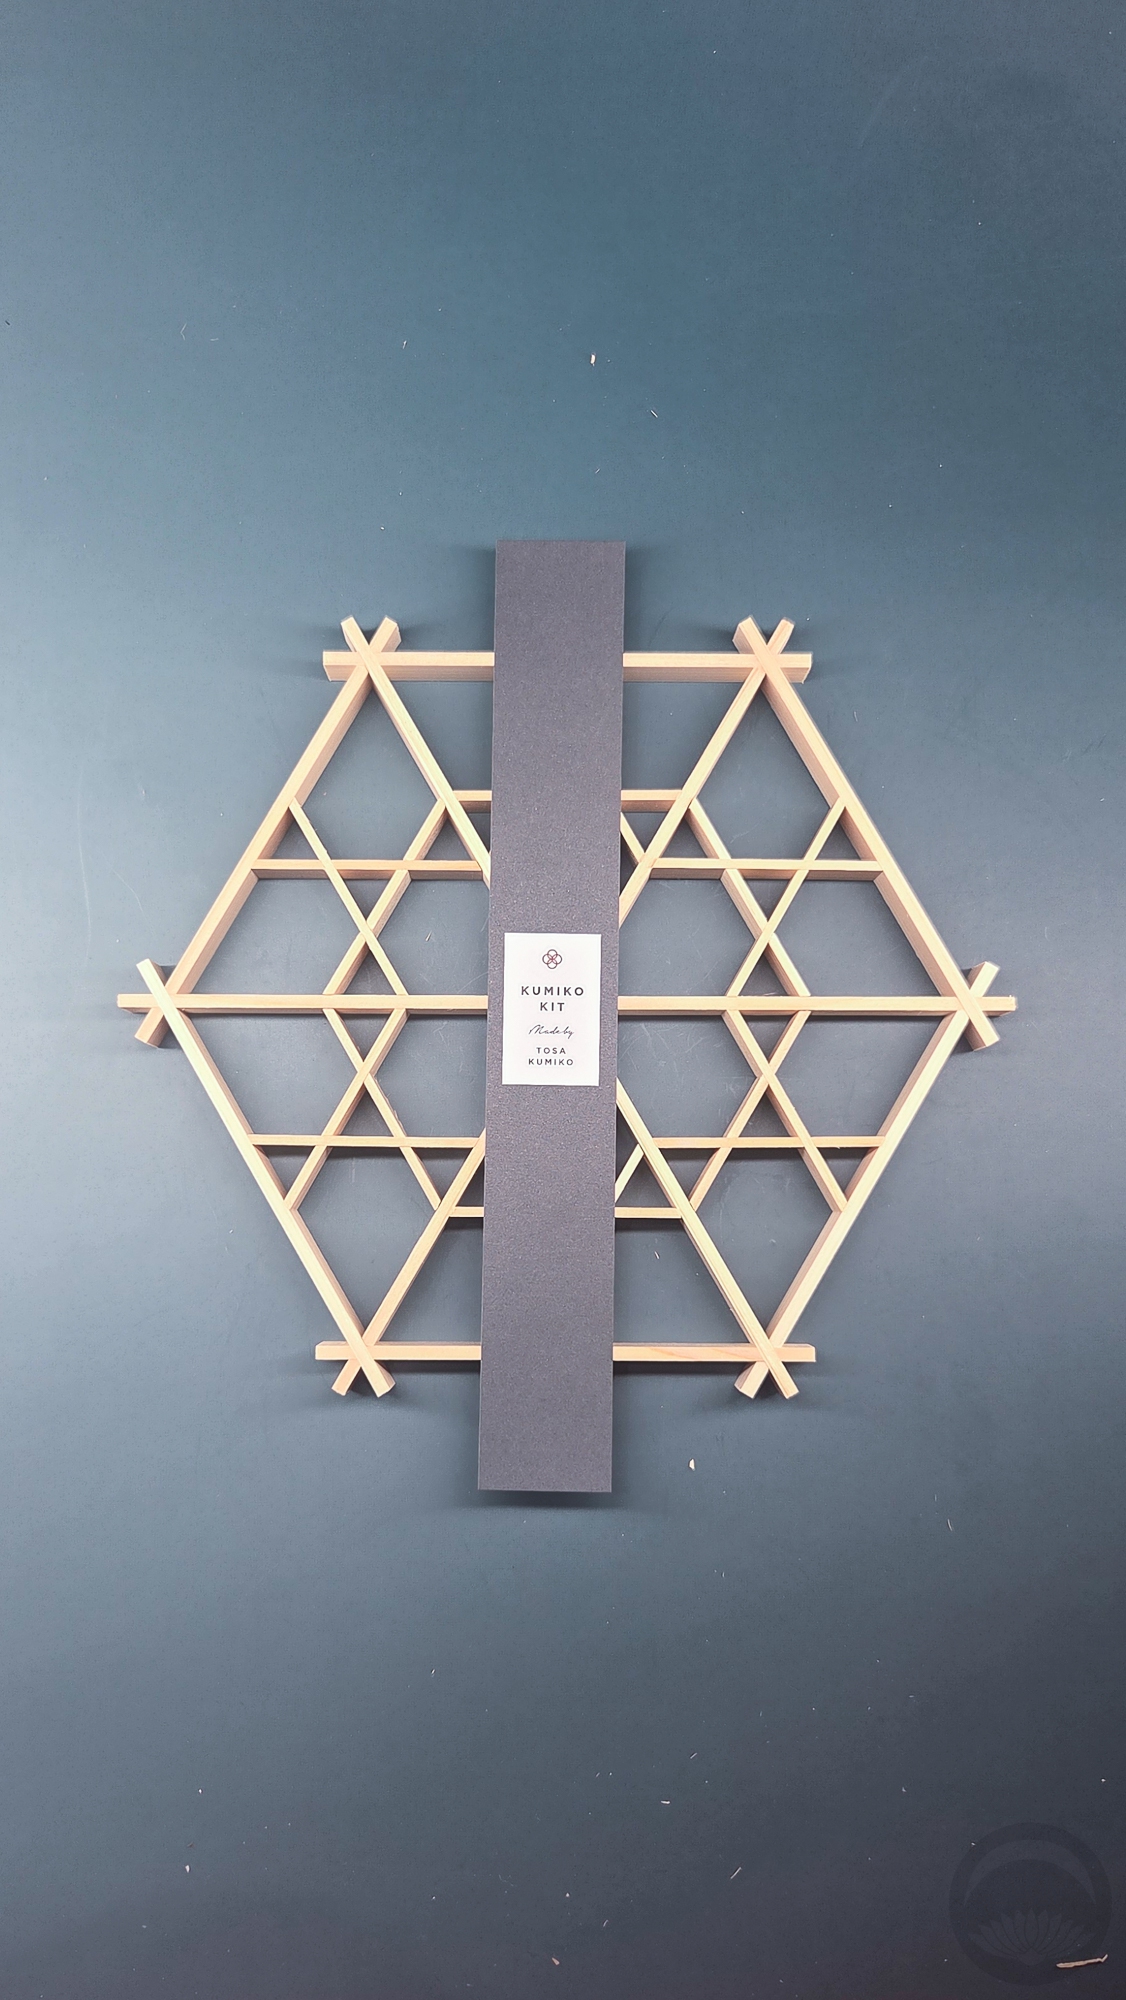
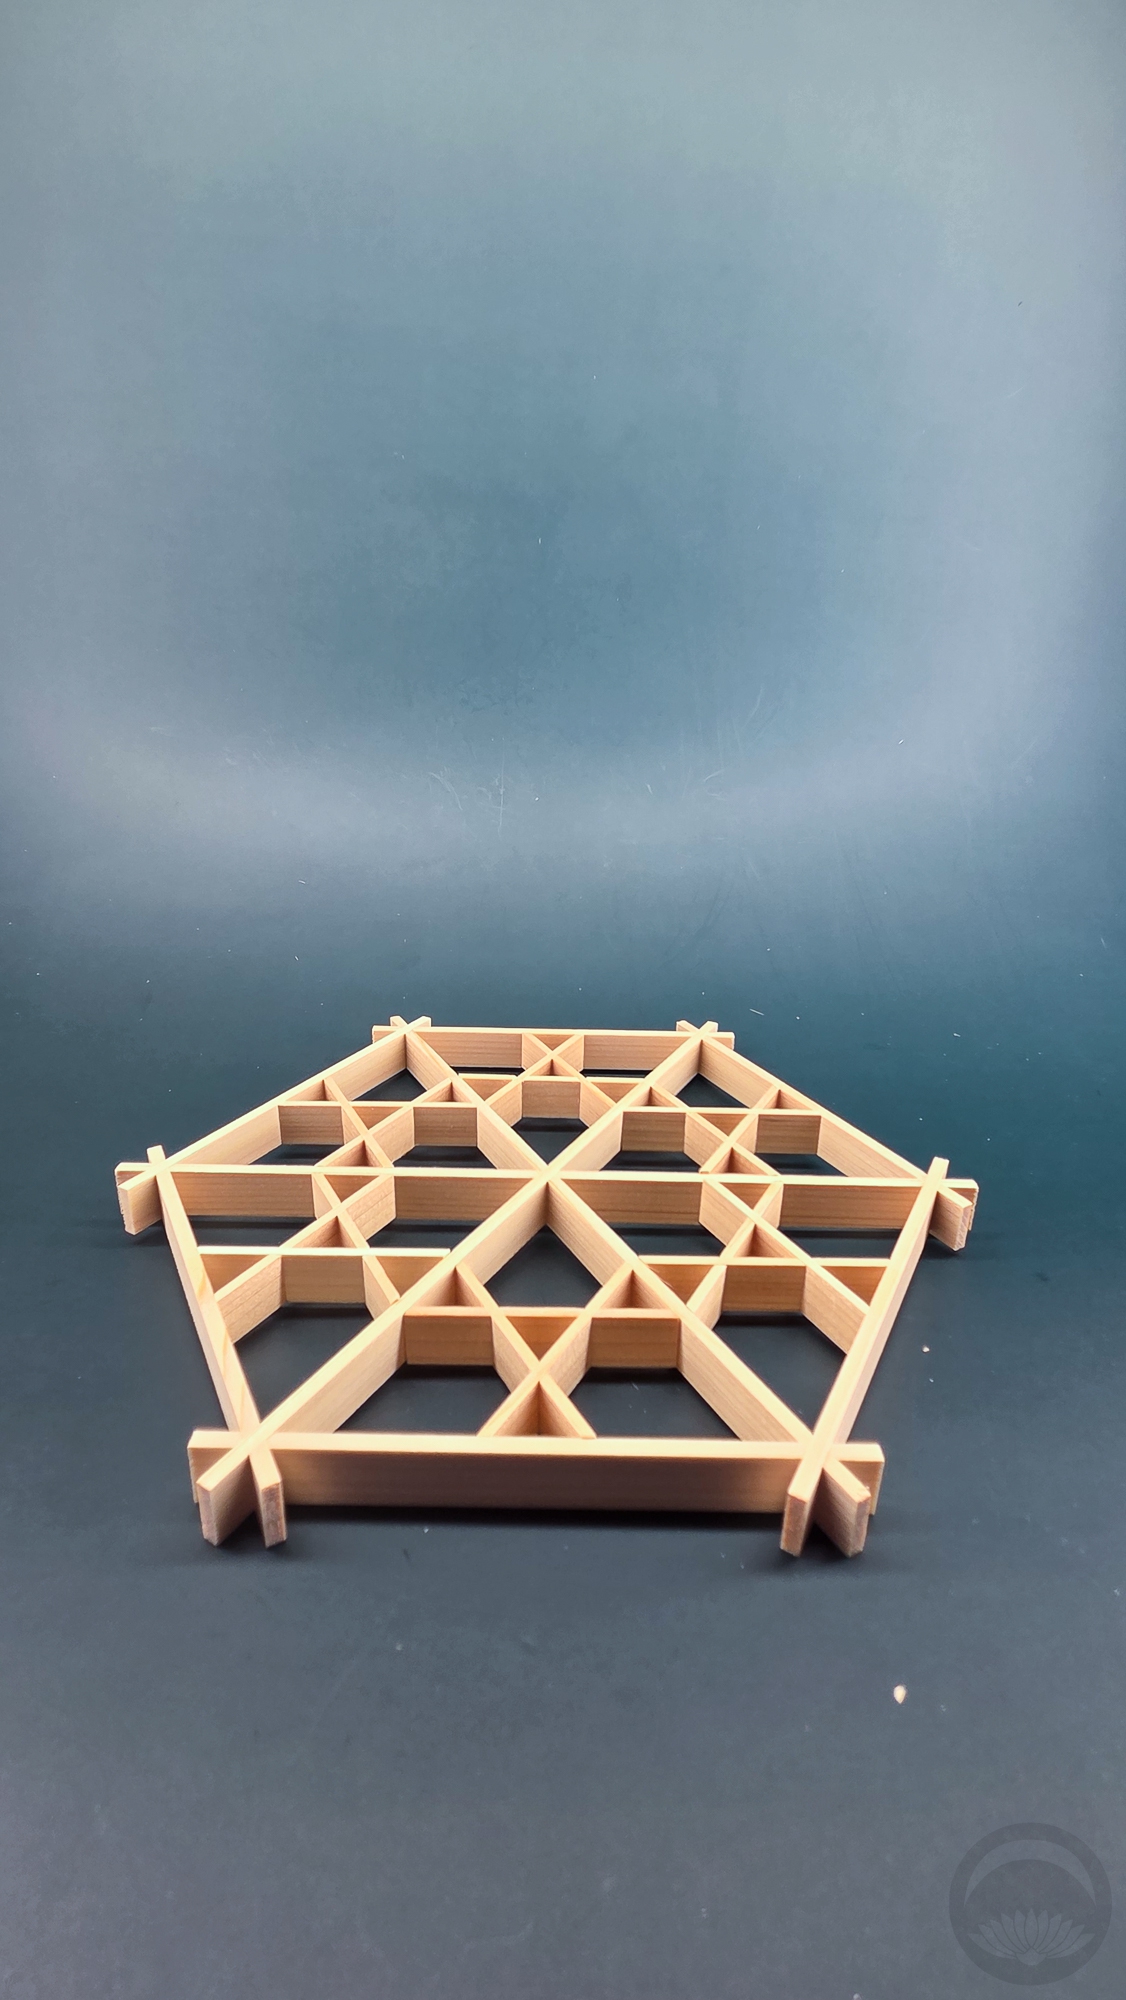
I chose the gomamon (胡麻紋, geometric sesame seed motif) trivet kit. It came tucked neatly into a beautiful little paulownia box, which will make a lovely pen case or something.
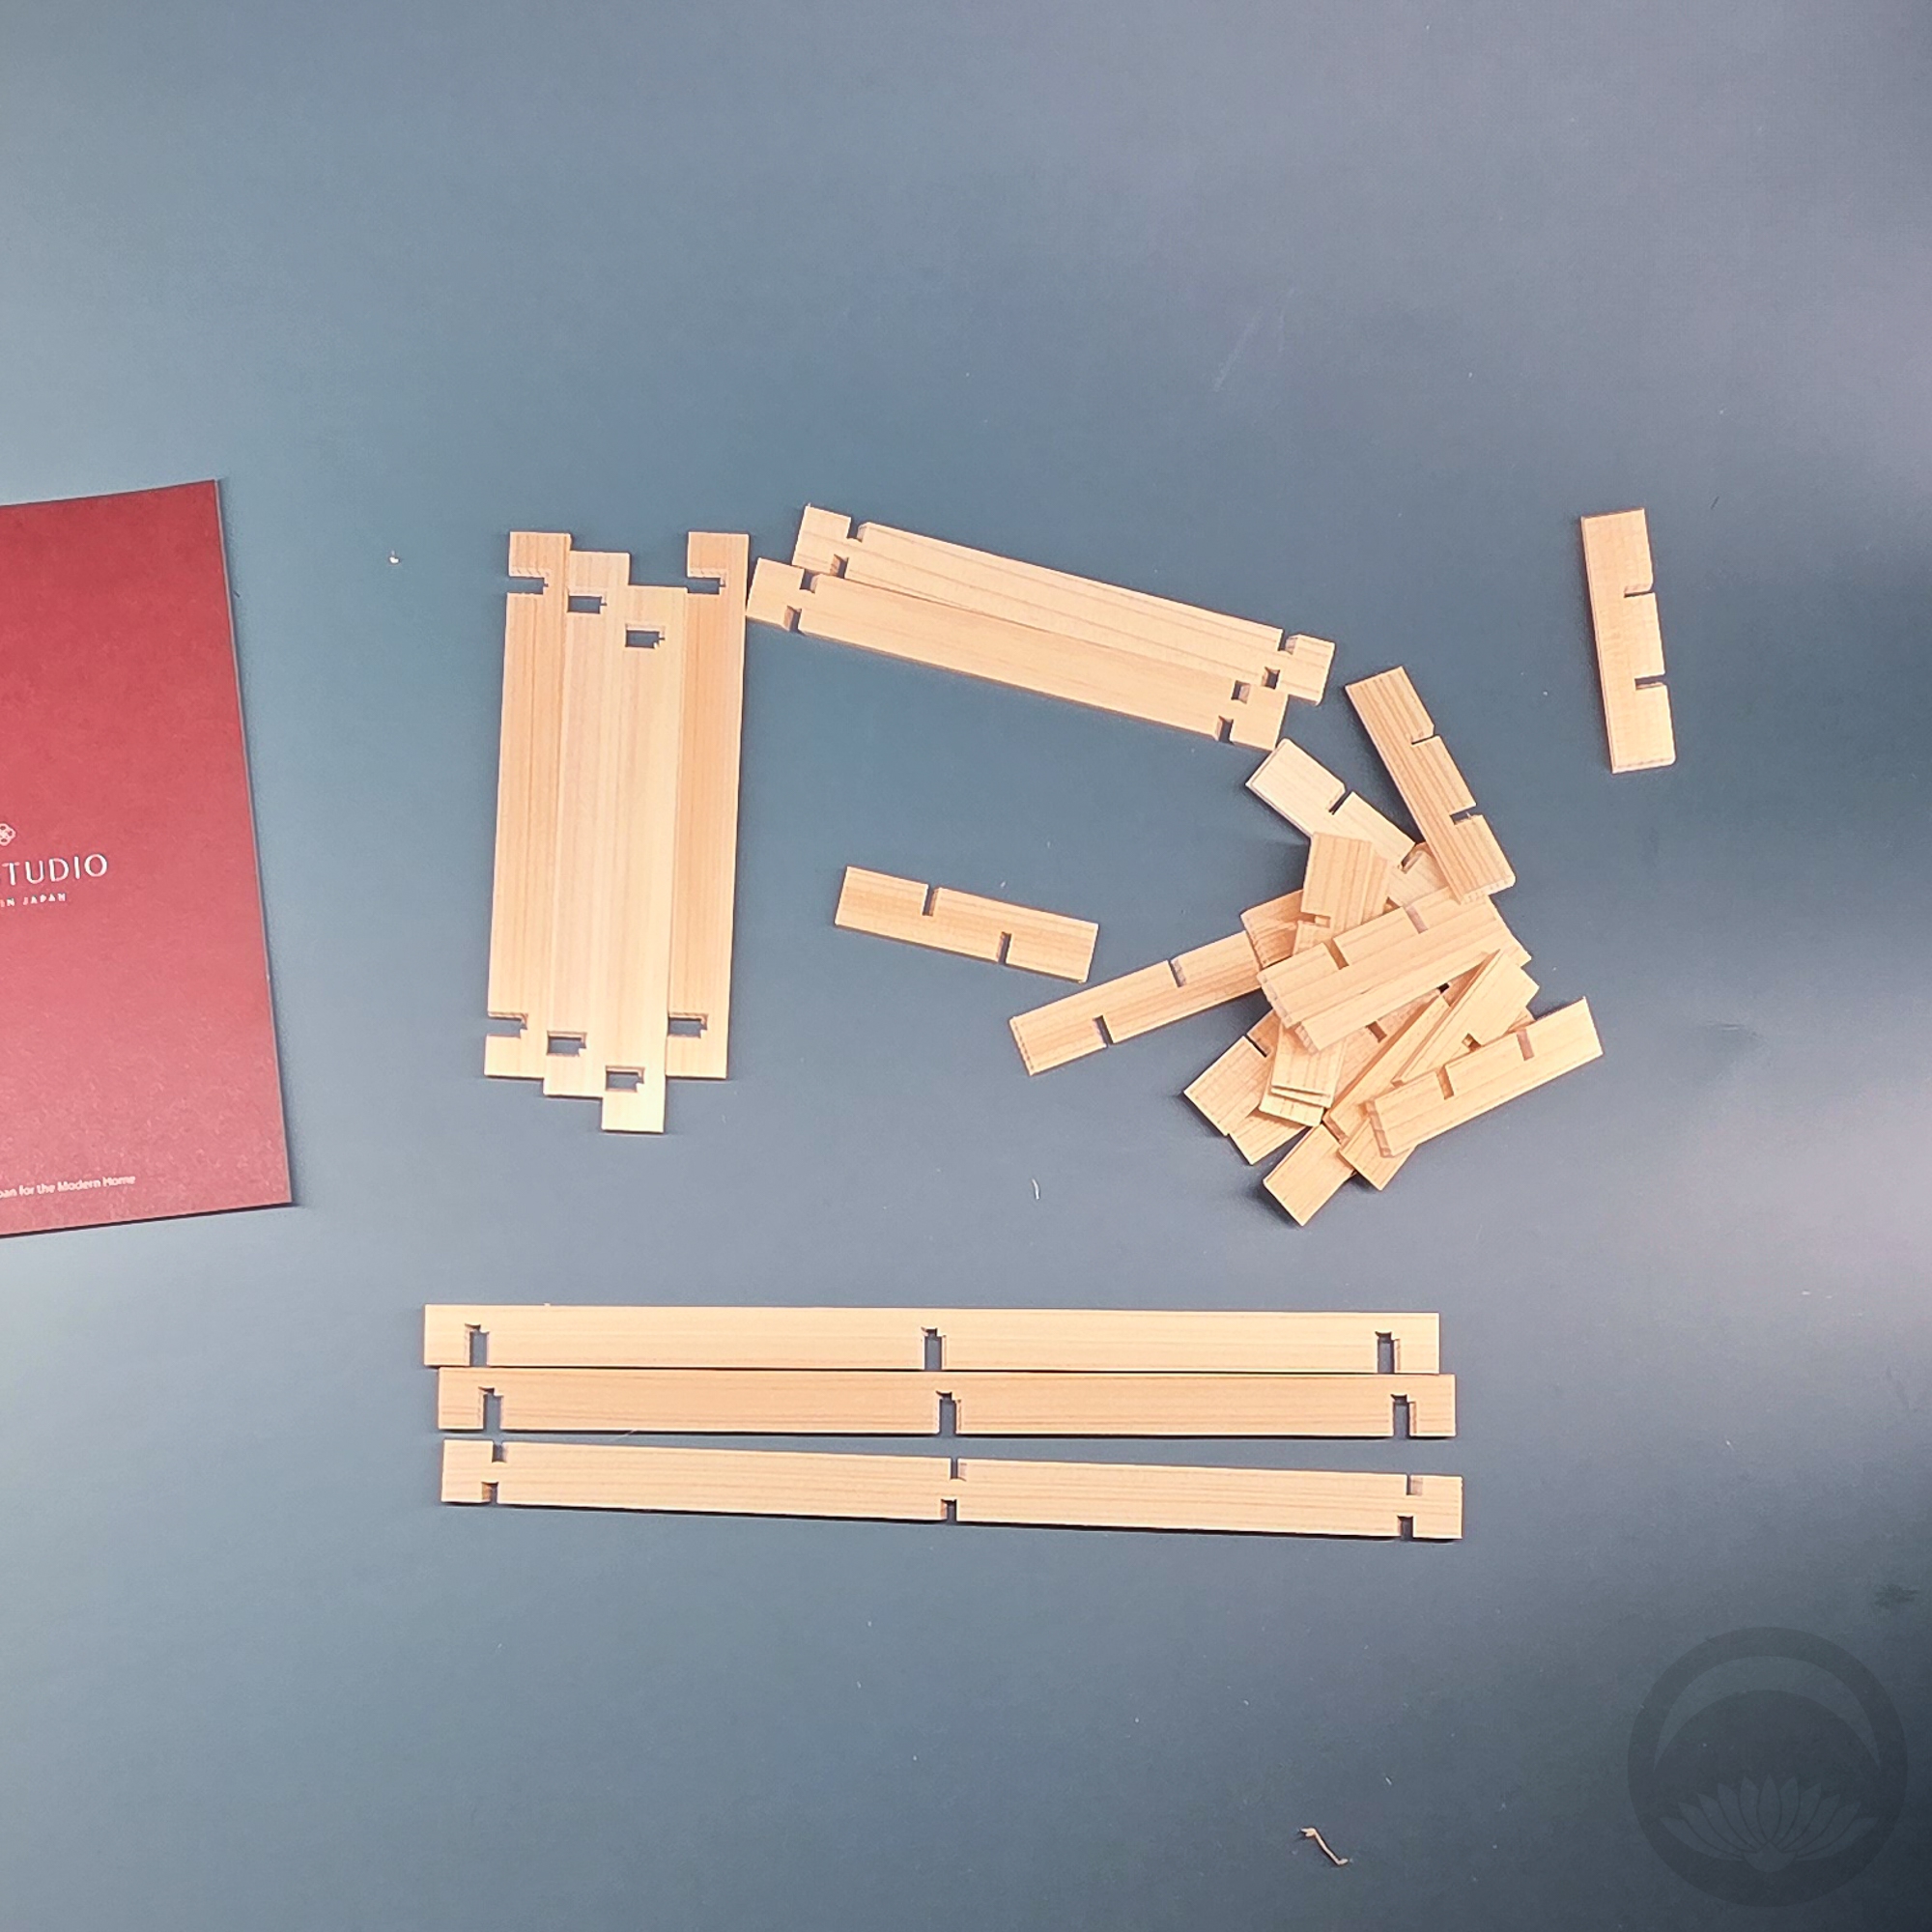
I was worried it would be a long and frustrating project, but the whole thing took me maybe ten minutes. There is an instructional video that’s helpful but definitely not necessary. Here’s a (sped up and compressed) video I took of myself assembling it so you can see how easy it is.
@kimono_tsuki Together, let’s make an adorable wooden trivet using this kumiko kit from POJ Studio!@pojstudio kumiko diy woodwork japanese trivet pojstudio
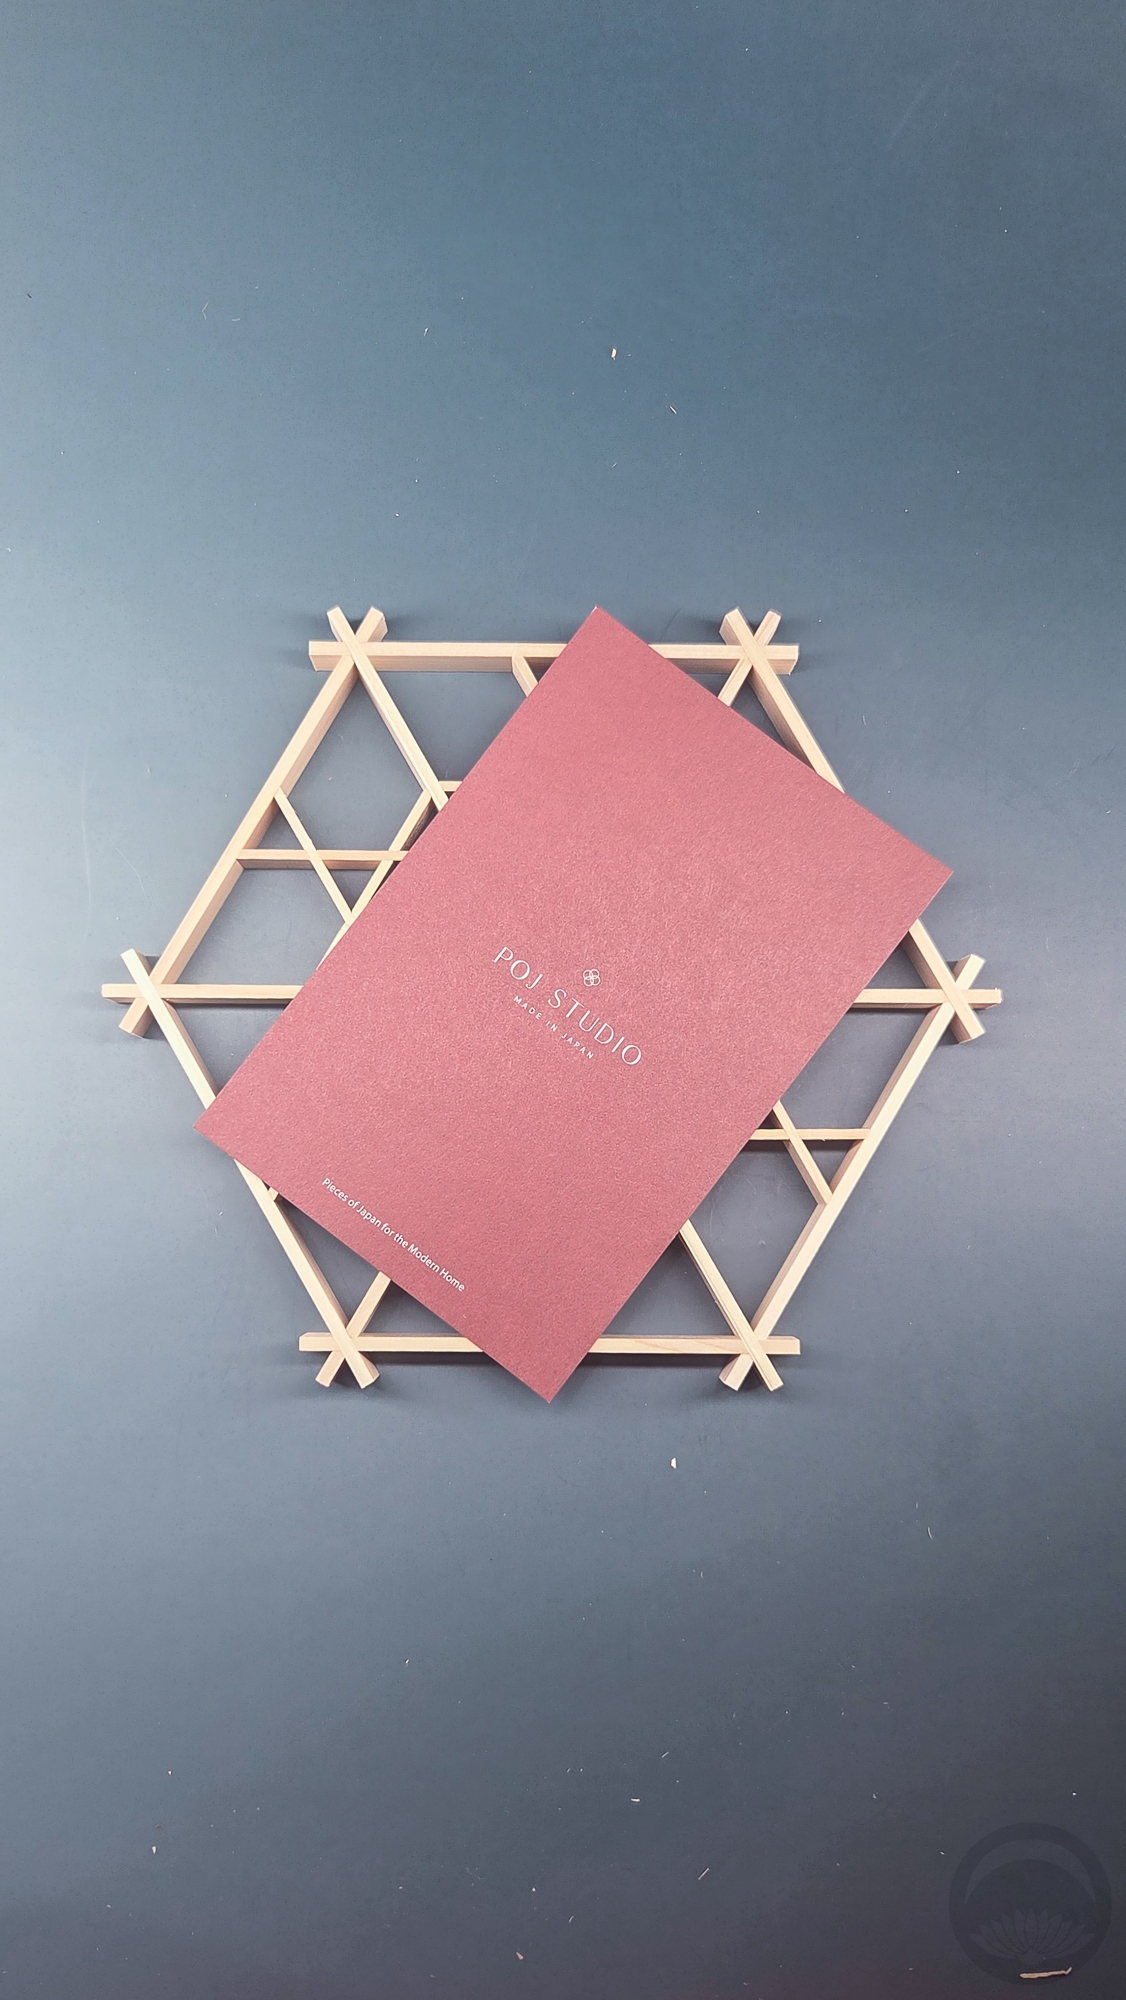
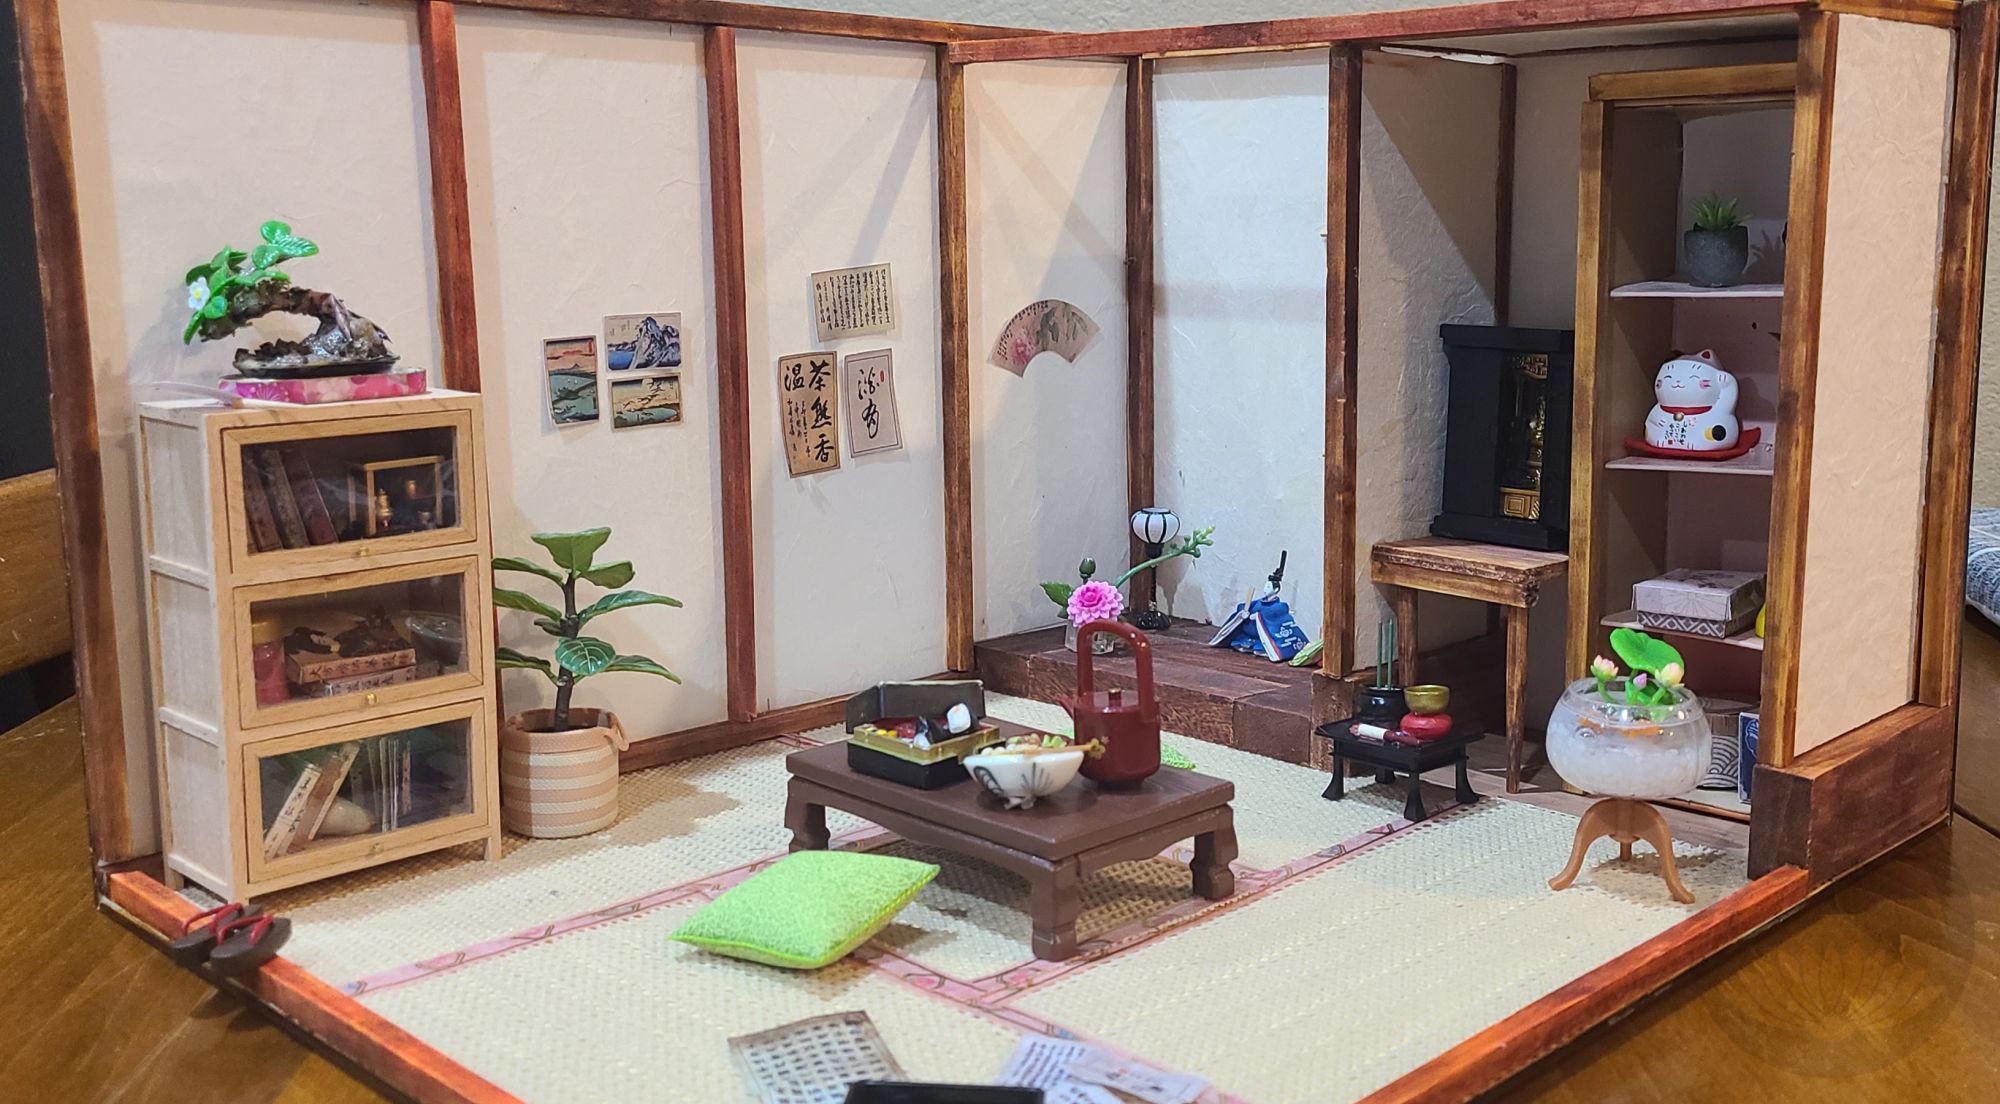
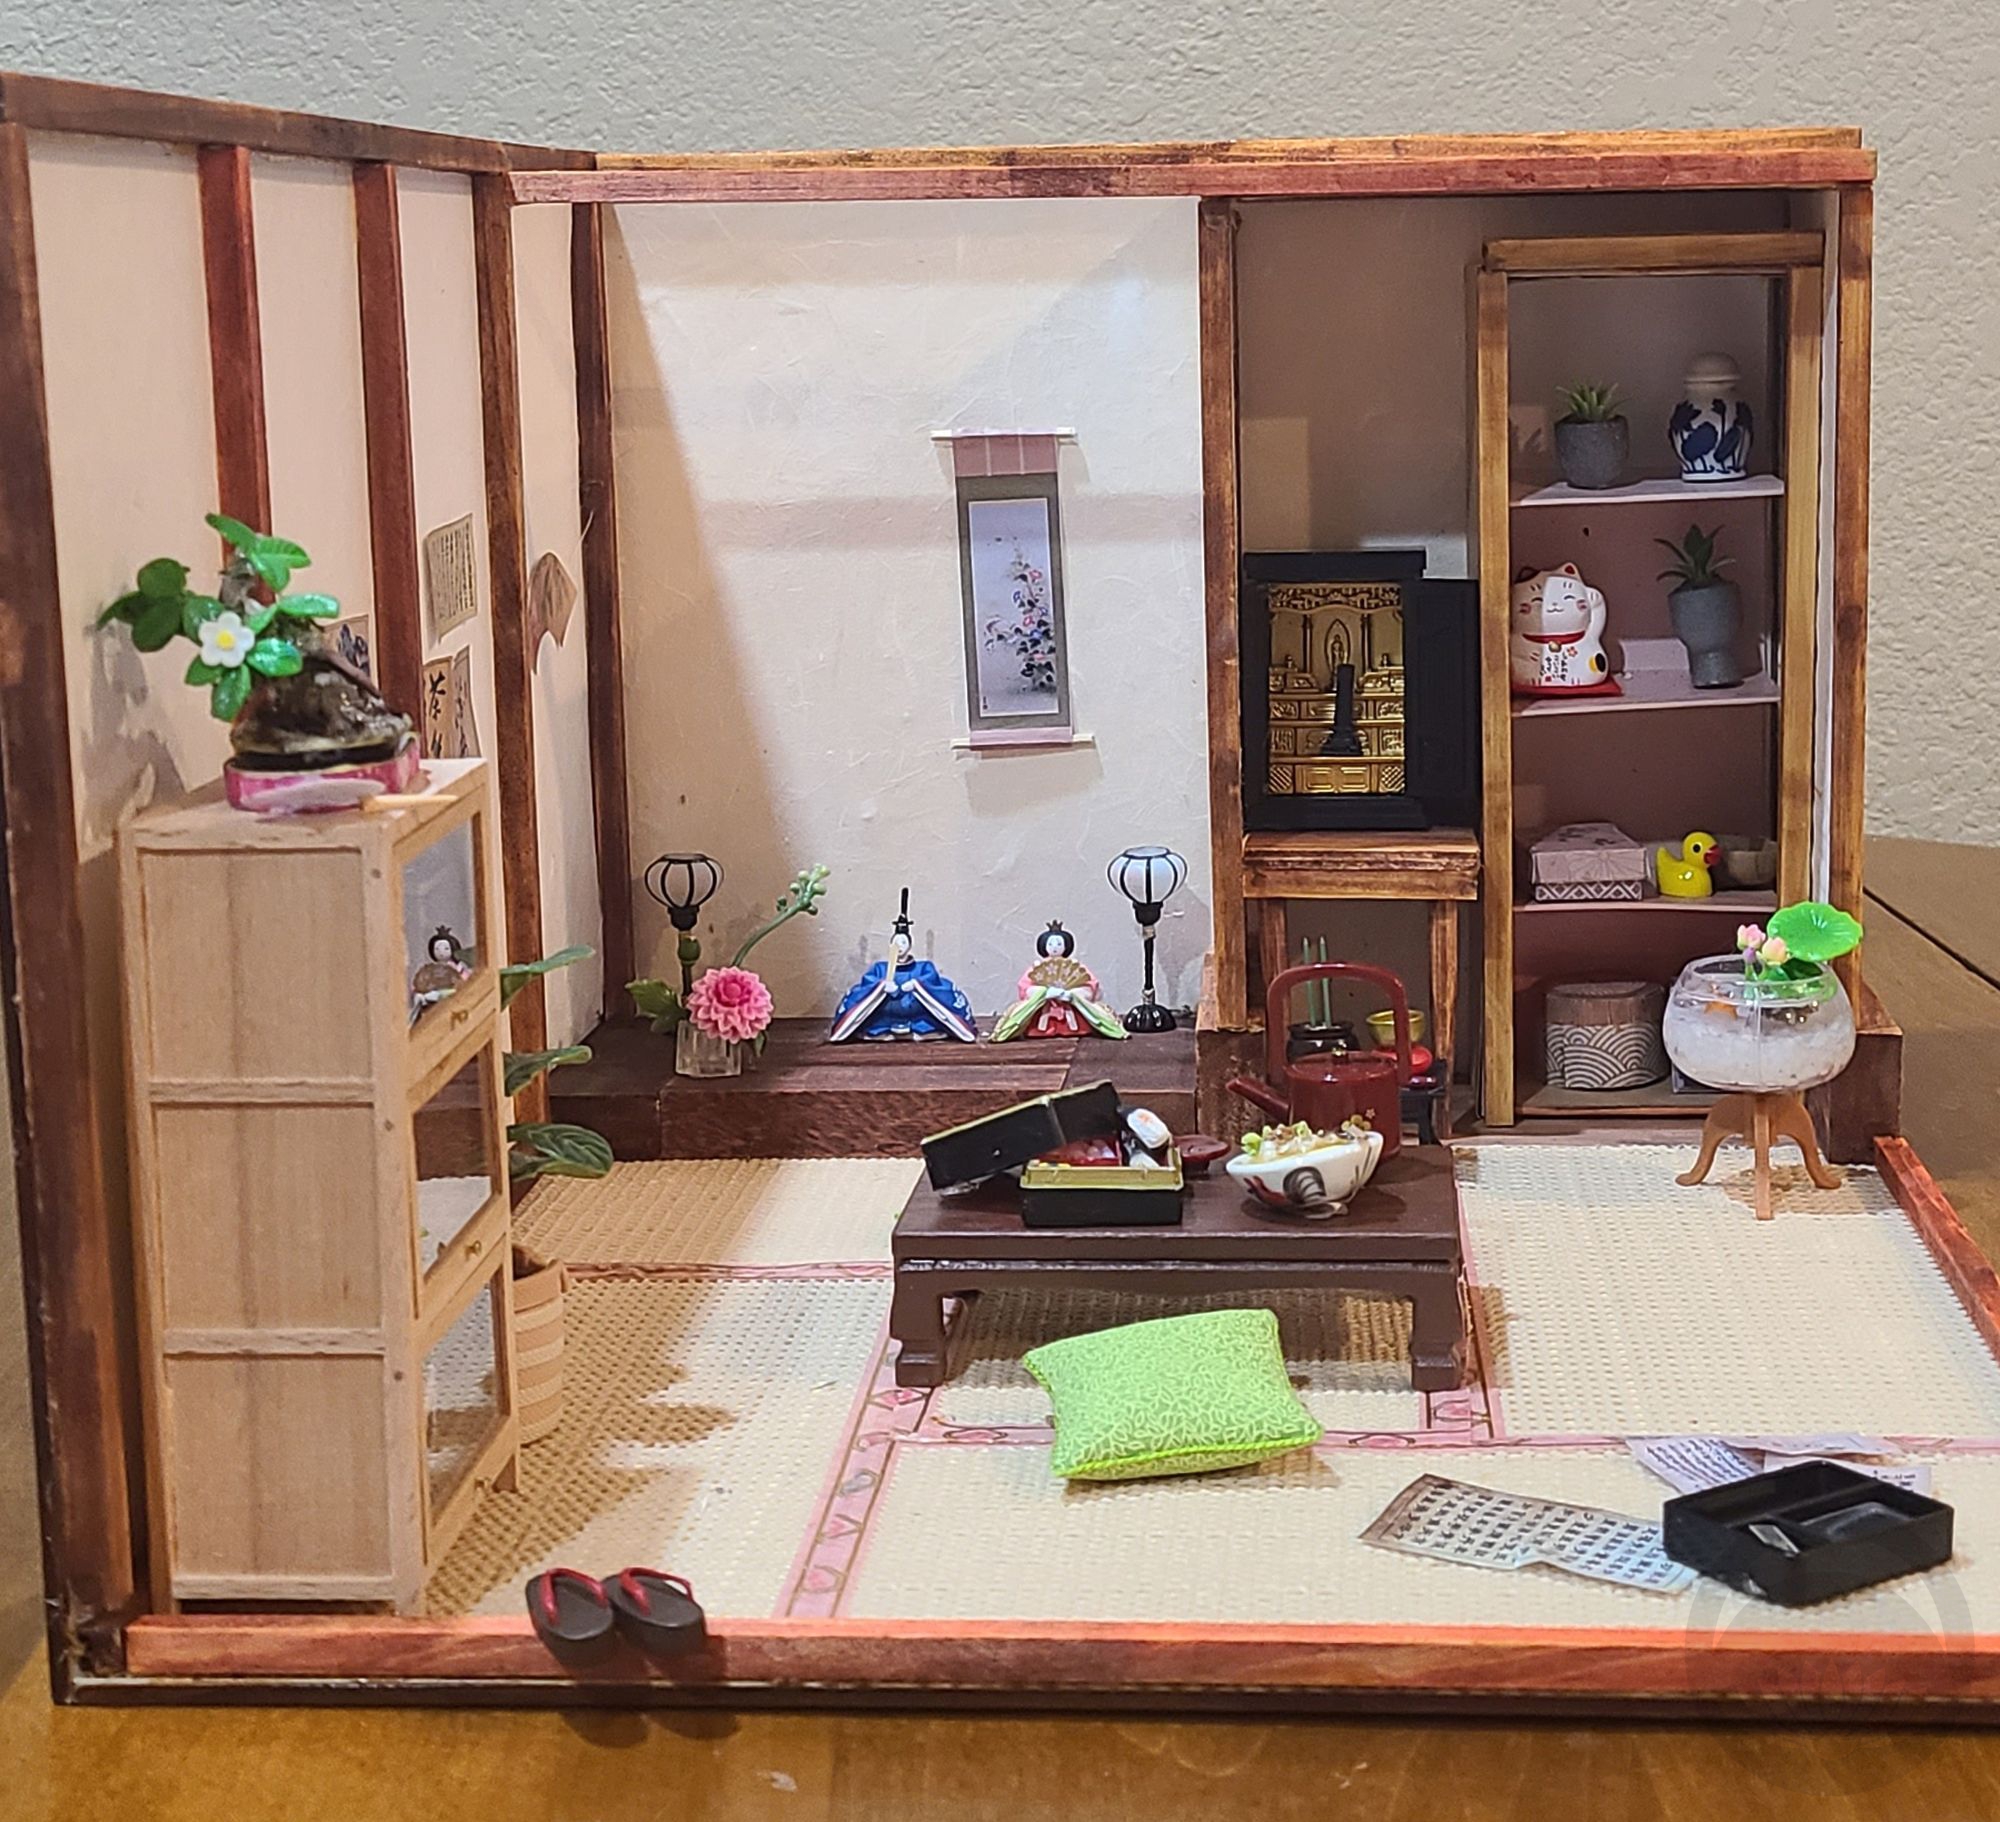
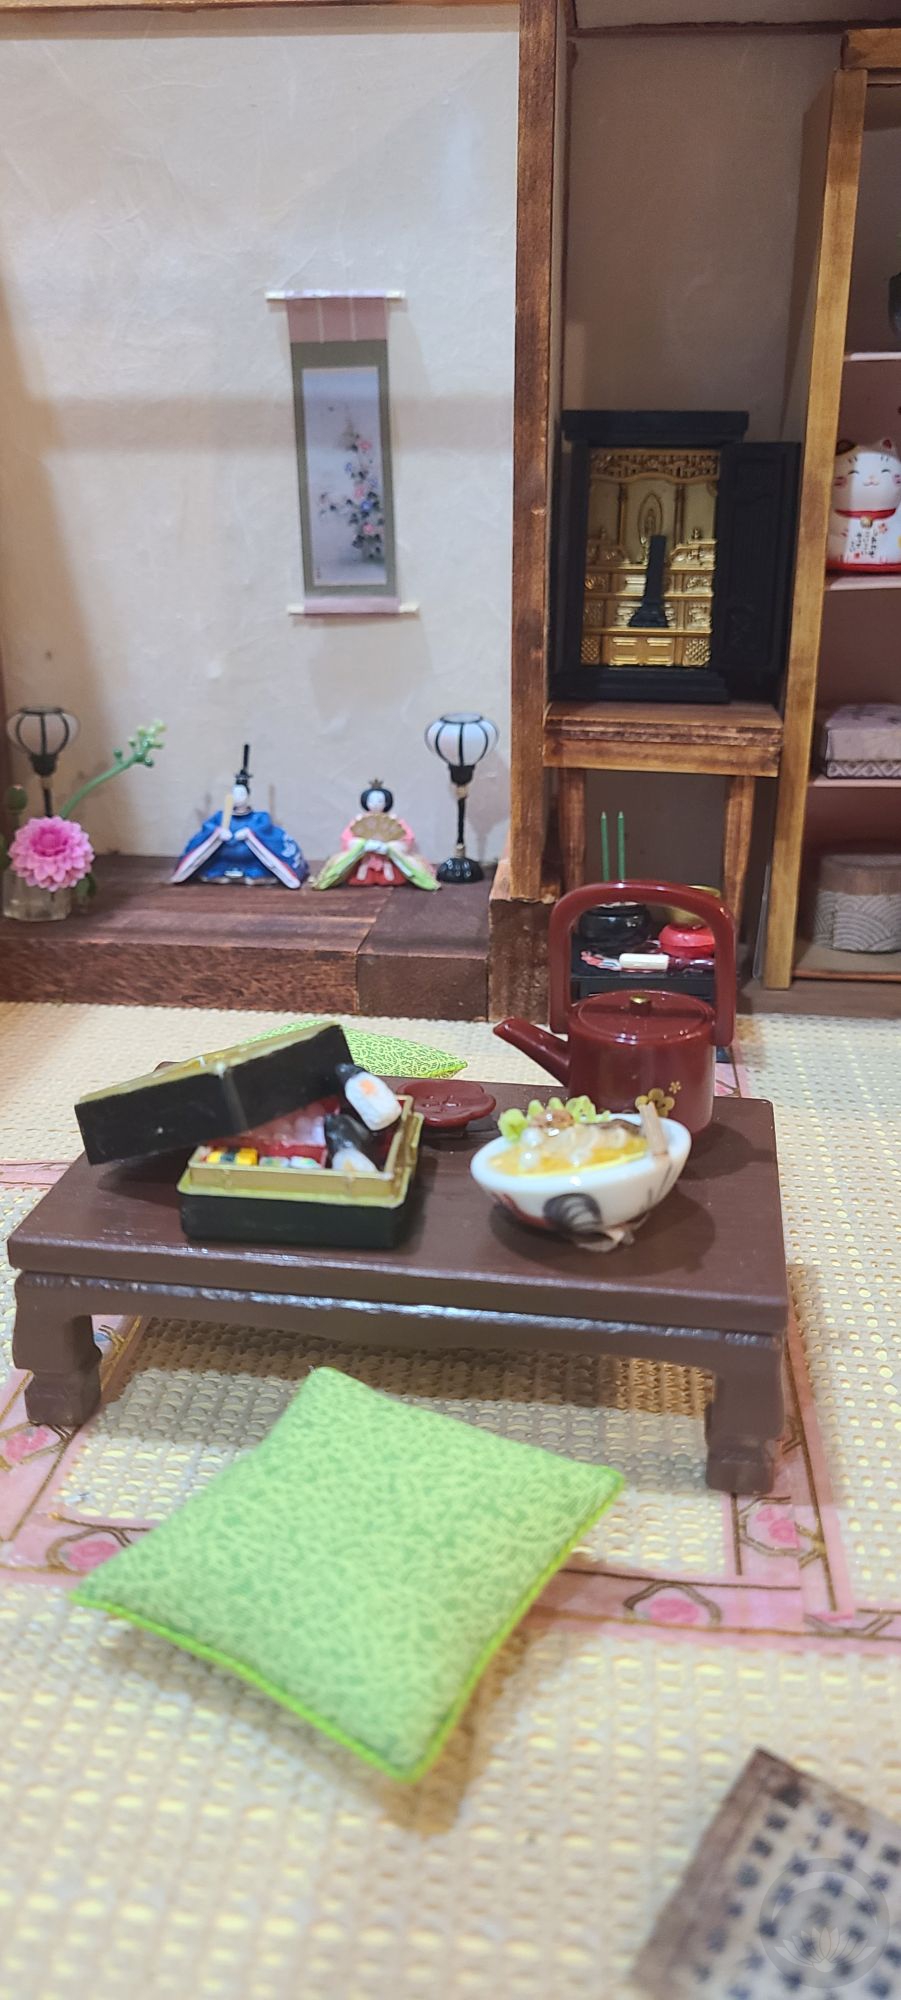
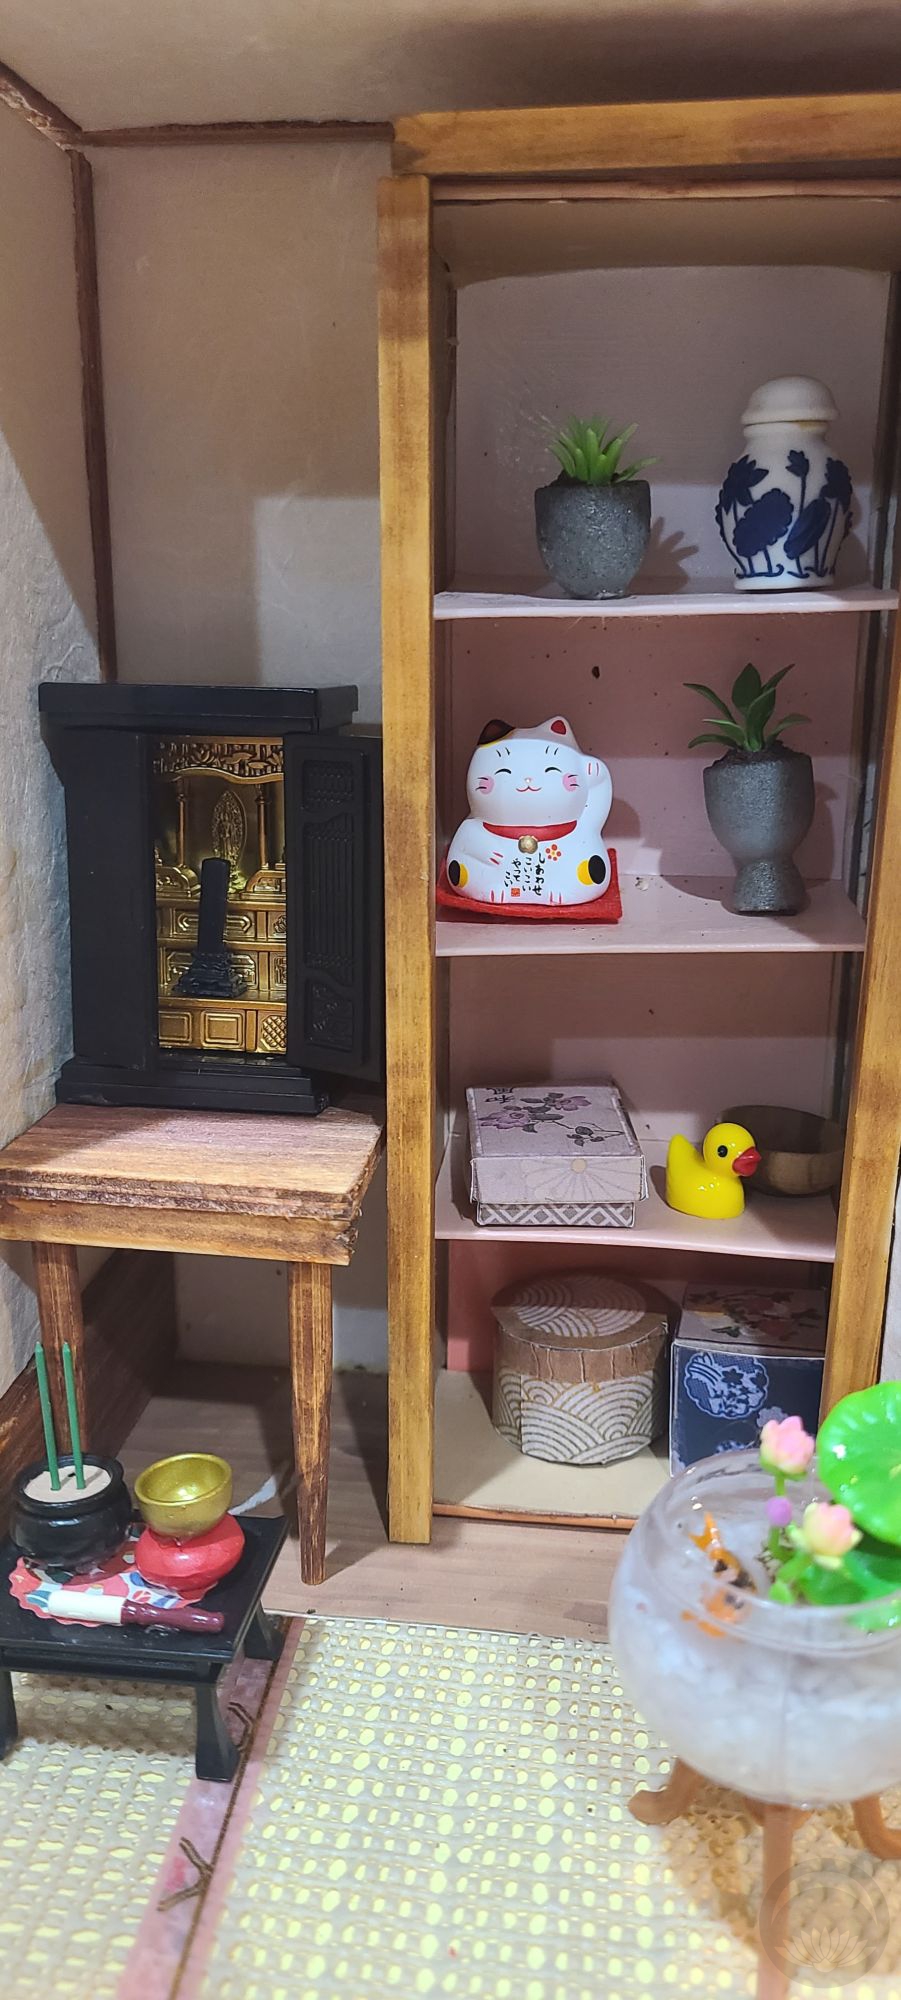
It was a lovely, almost meditative experience and I’m very tempted to grab another kit if and when they’re available again! And of course, it makes a great protective trivet for my favourite maneki neko teapot from HomeGoods.


 Bebe Taian
 CHOKO Blog
 Gion Kobu