O is for Orizuru

Orizuru, 折鶴, origami (lit. folded) crane
I’m feeling somewhat under the weather again today, I’m afraid. I was going to create a coordinate using some pieces in my collection with the origami crane motif but I’m just not up to it.

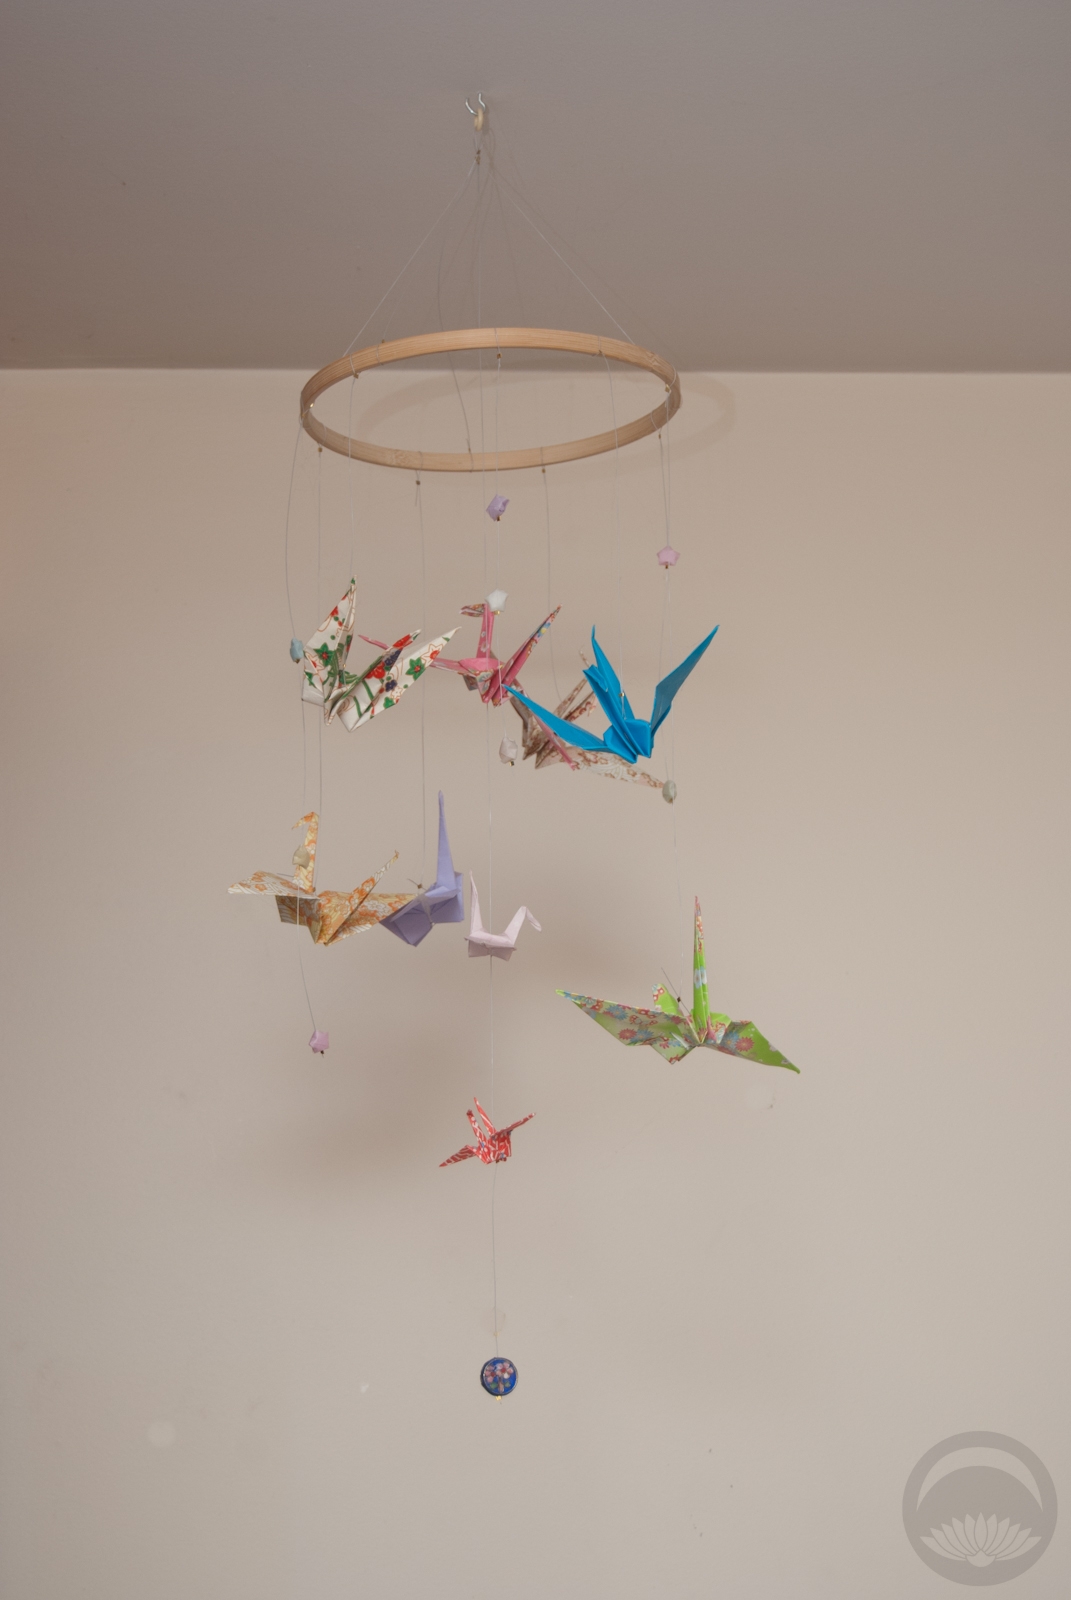
Instead, I thought I would share some quick and easy instructions for a really charming little mobile. This piece was made over a year ago and I never thought to take photos of the process, but I promise it’s incredibly simple.

I had the cranes already; a couple I made myself but the bulk of them were included in packages from friends or as little gifts with kimono purchases. I really wanted a way to show them off, rather than have them all languishing in drawers.

All I did was carefully pierce holes through the centre of the body of each crane and feed through some very fine beading wire, I used a small jewellery crimp beneath each one so they wouldn’t slide down to the bottom of the wire, and interspersed a few tiny orgami lucky stars for some visual interest.

I made several strands of varying lengths, and attached them to the solid piece from an embroidery hoop set, again using the crimps to fix the wires in place. Another wire to form a hanging loop and voila, your own pretty little flock of orizuru!

 This post contains affiliate link(s). If you choose to purchase, I receive a small rebate or commission which goes to the continued maintenance of this site. 
K is for Kintsugi

Kintsugi, 金継ぎ, golden joinery

If you’ve ever seen a beautiful piece of Japanese pottery or ceramic shot through with a line of warm gold filling a crack, you’ve seen kintsugi. It’s the art of using lacquer and gold dust to repair an item, giving it a new life and a new purpose. Kintsugi exemplifies the Japanese qualities of mottainai (regret over waste) and wabi-sabi (the acceptance of impermanence and imperfection). Rather than throw out and waste a broken item, it is a way to give it new life, and create something unique.

You can buy kits to do your own real kintsugi repair, but they are expensive and hard to find. If you’d like to do an inspired DIY version using things you may already have at home or that can easily be bought online from places like Amazon, keep reading! You can follow this tutorial to repair an already-broken item or use it to create a new, unique item like a coaster or trivet. Instructions for both are below.

Continue reading

H is for Hanafuda

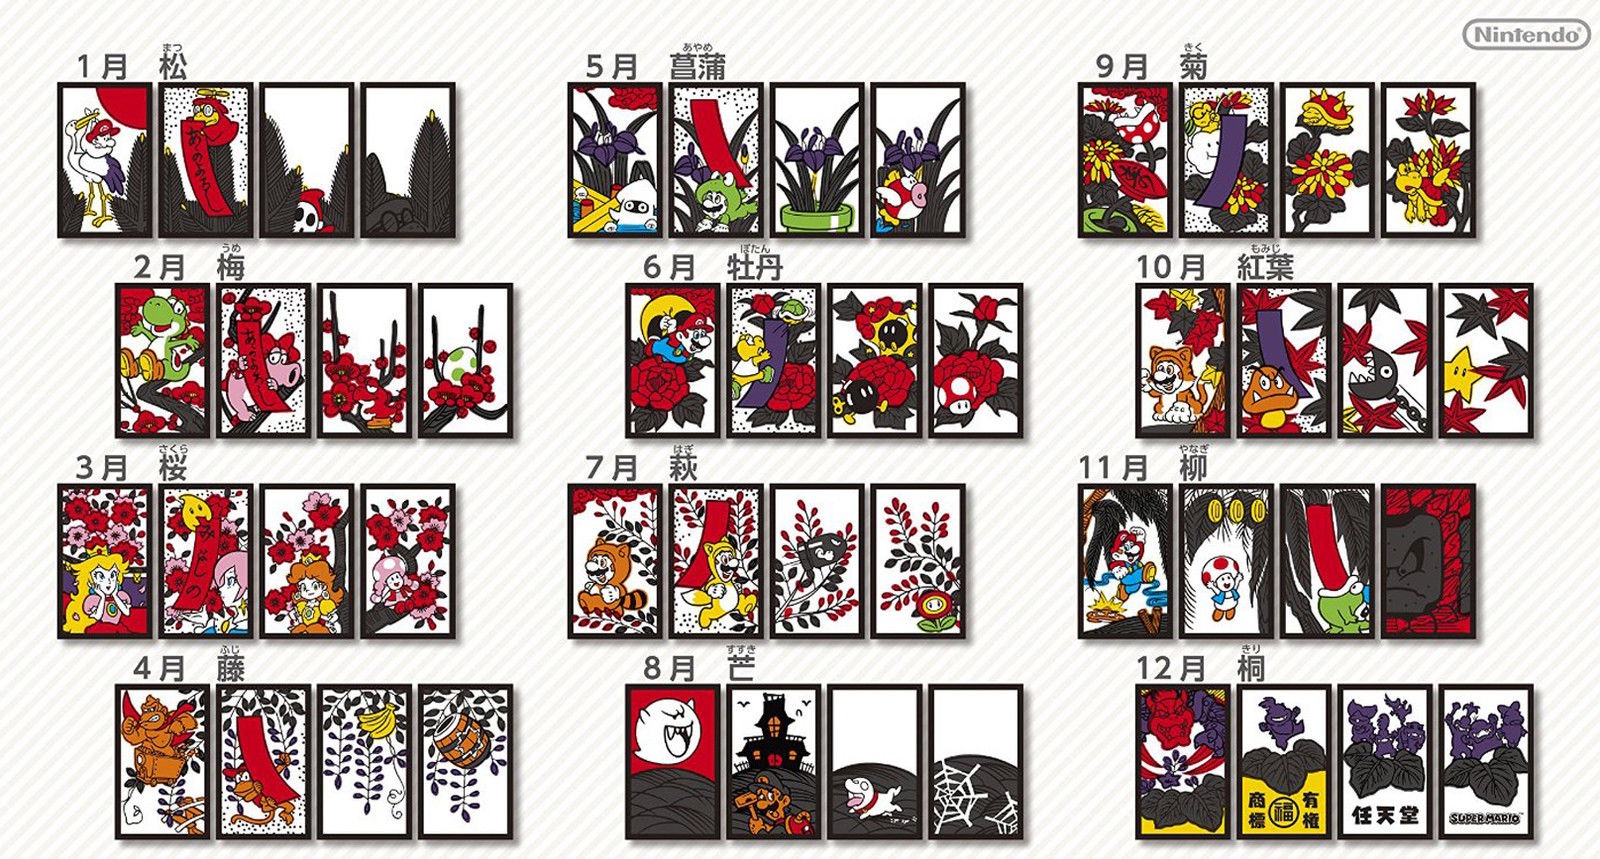
Hanafuda, 花札, flower cards, traditional playing cards

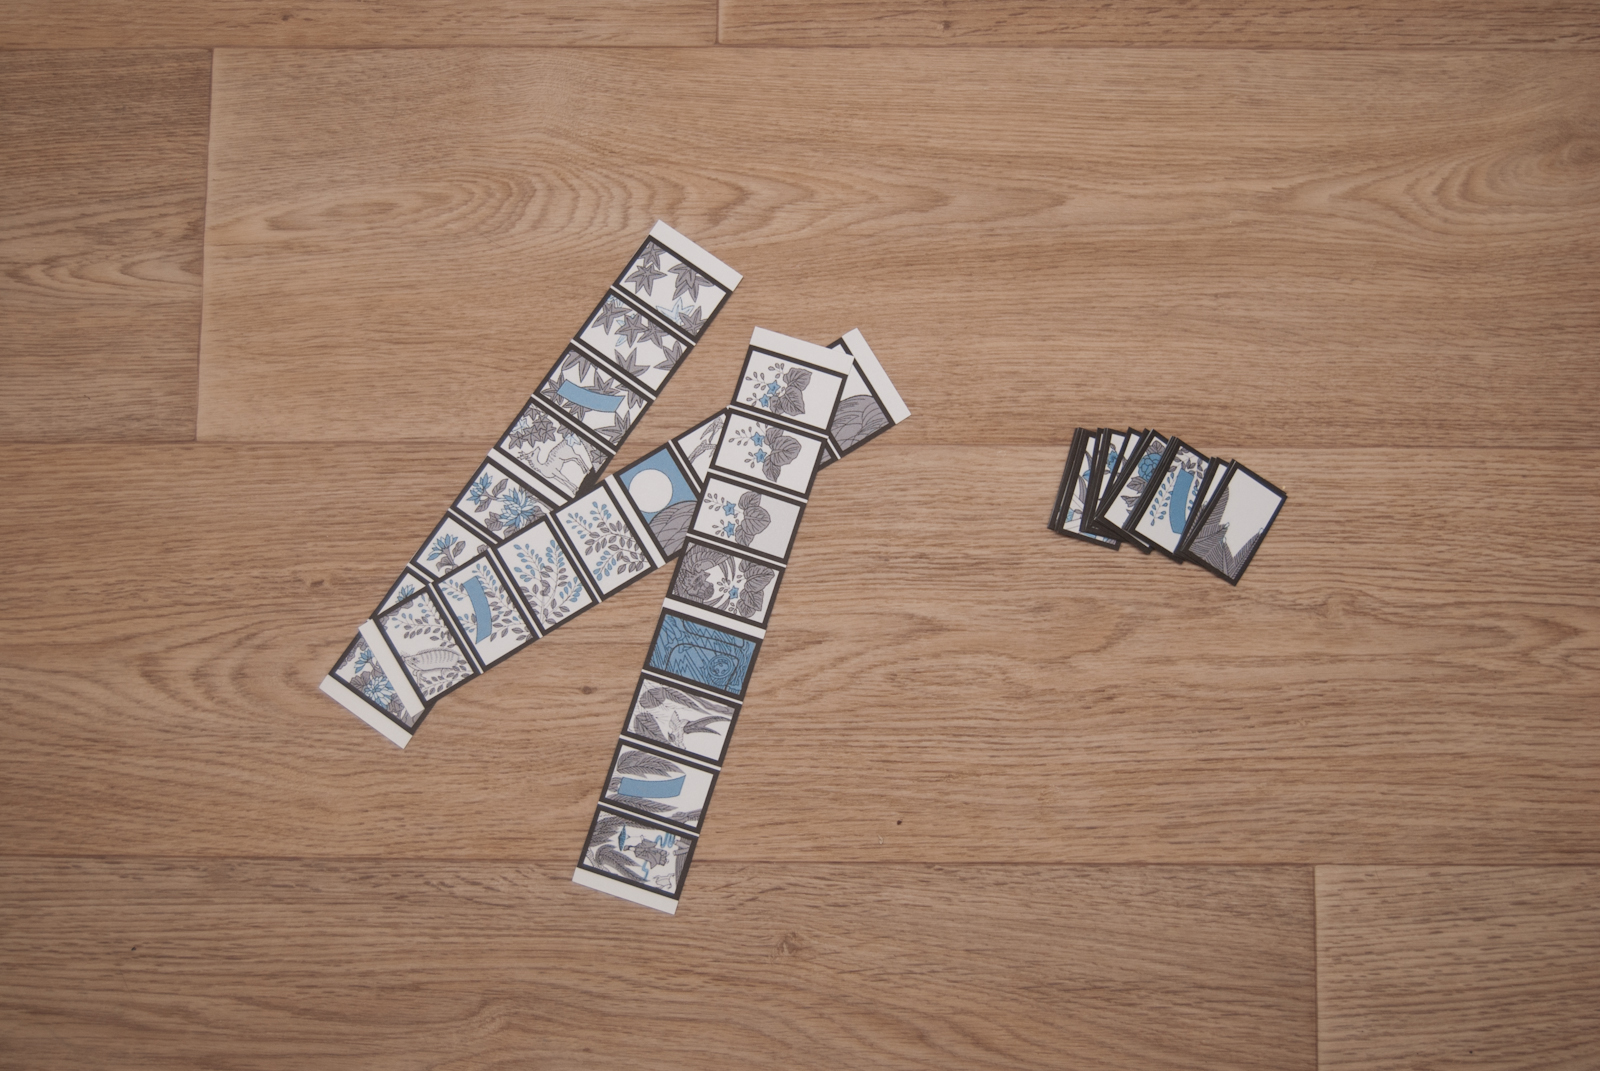
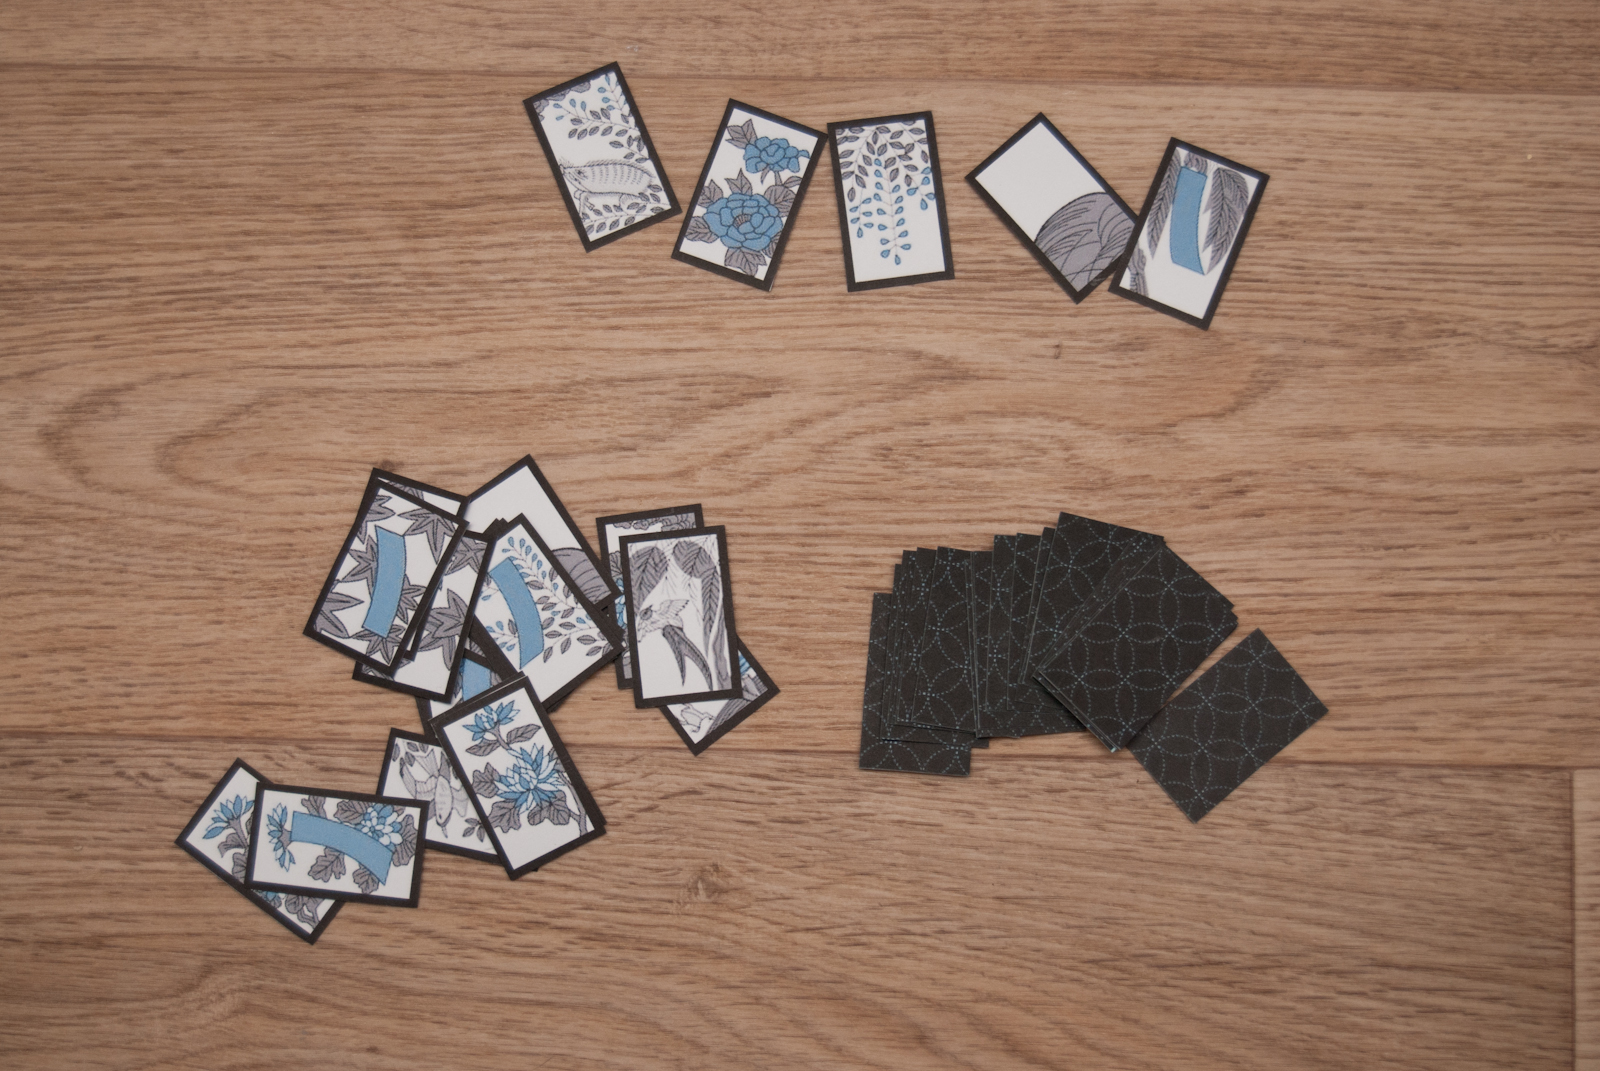
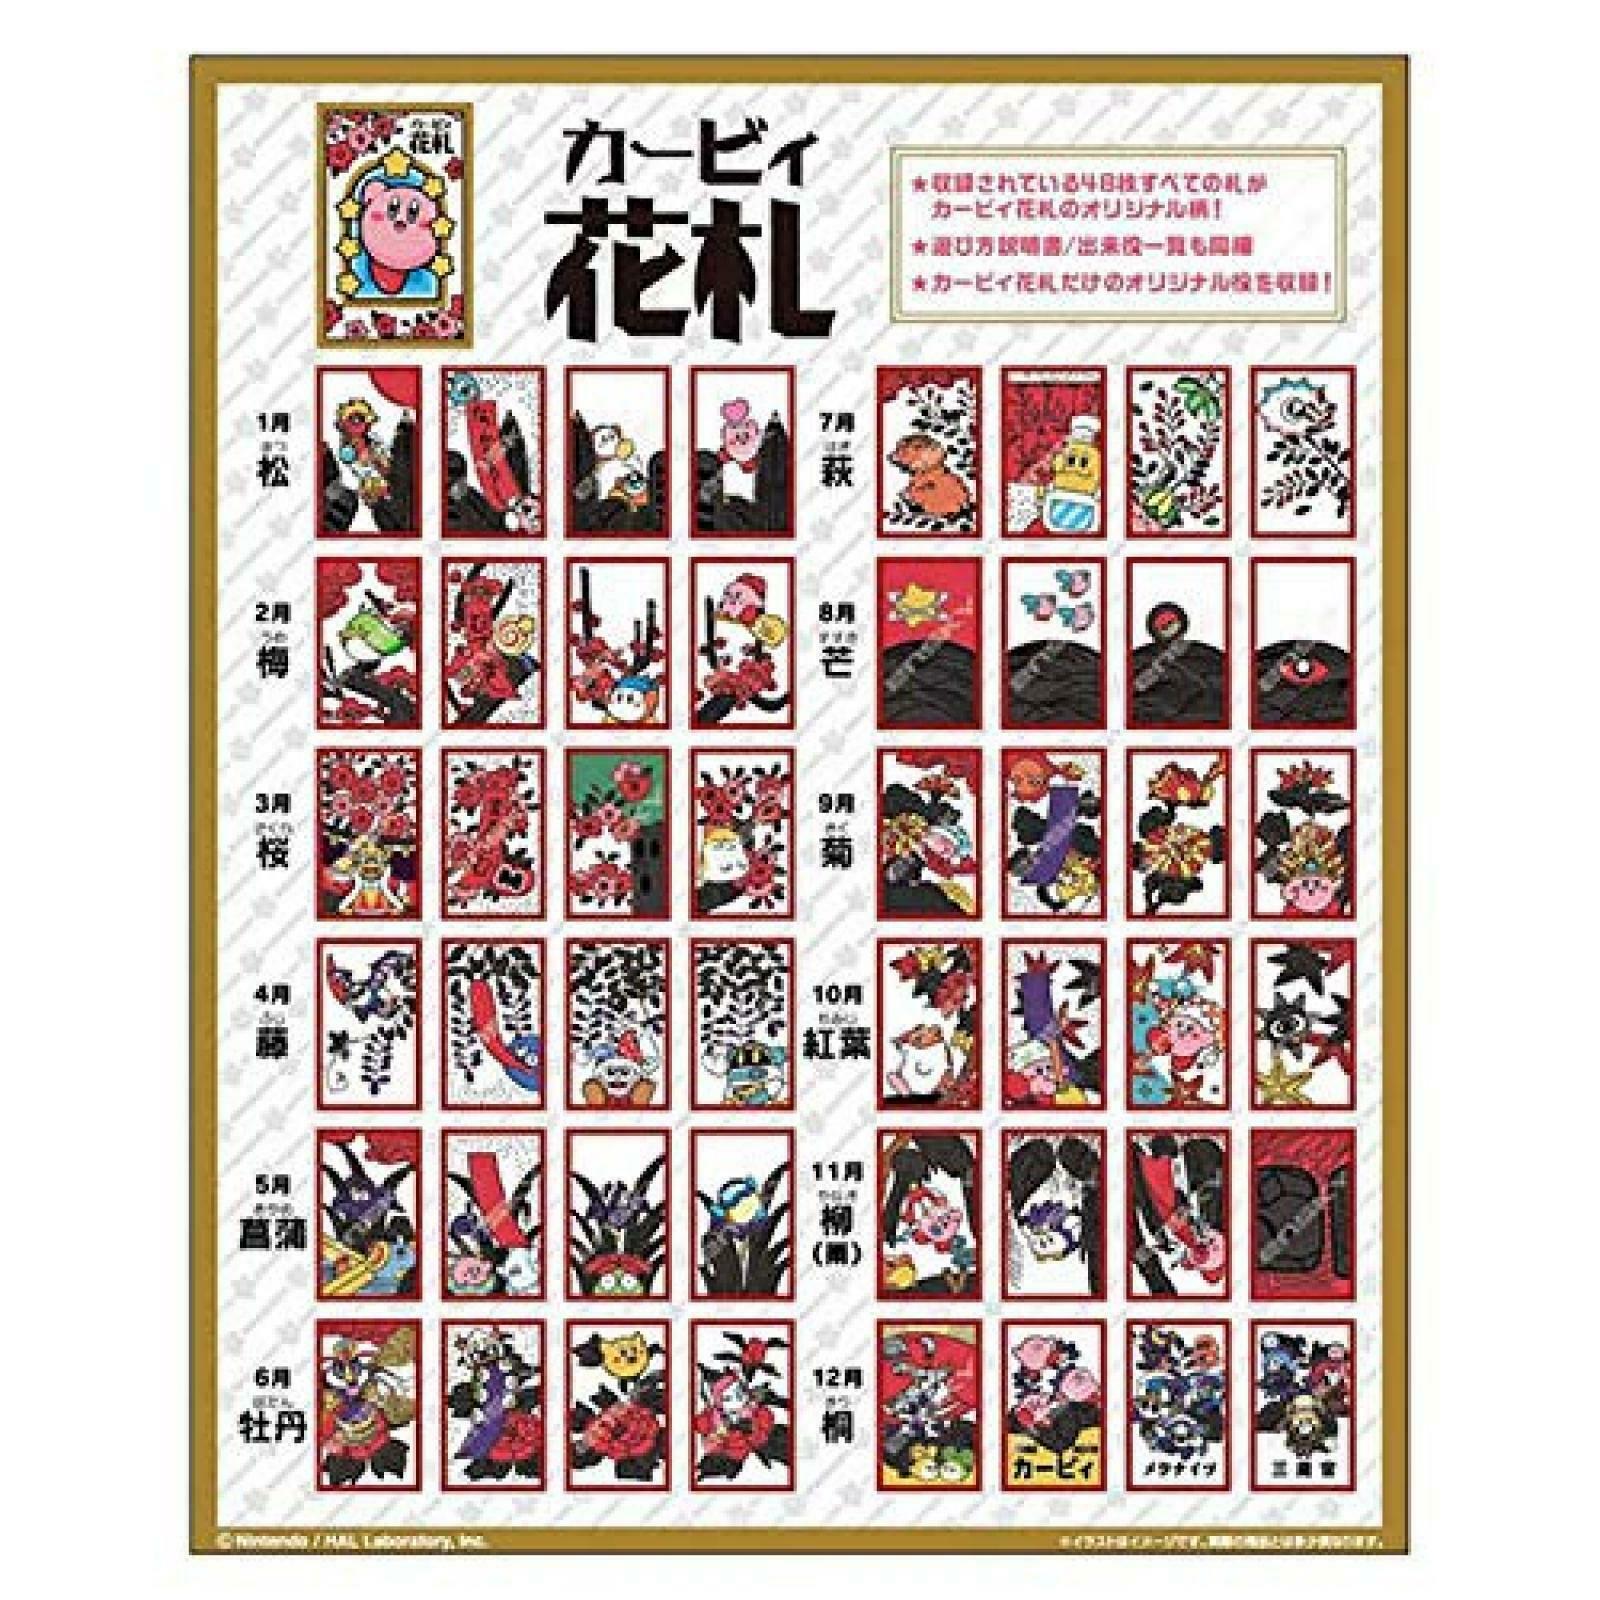
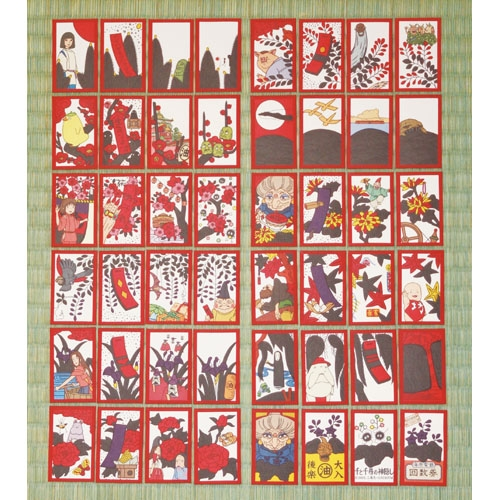
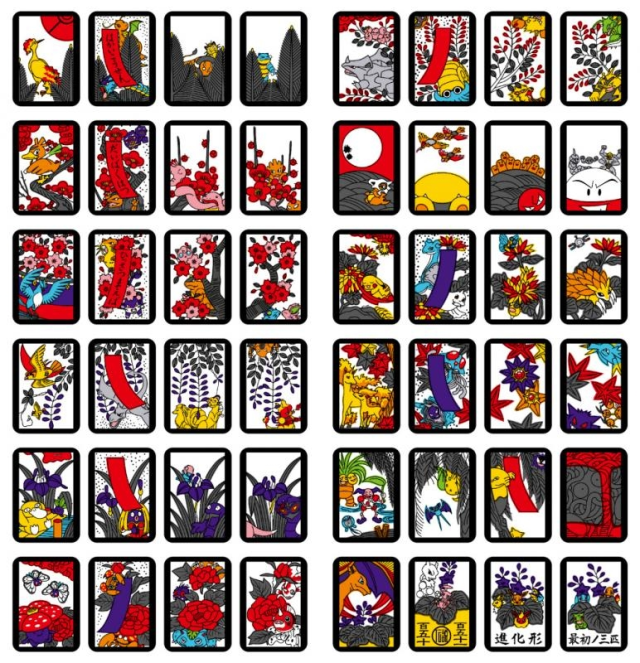
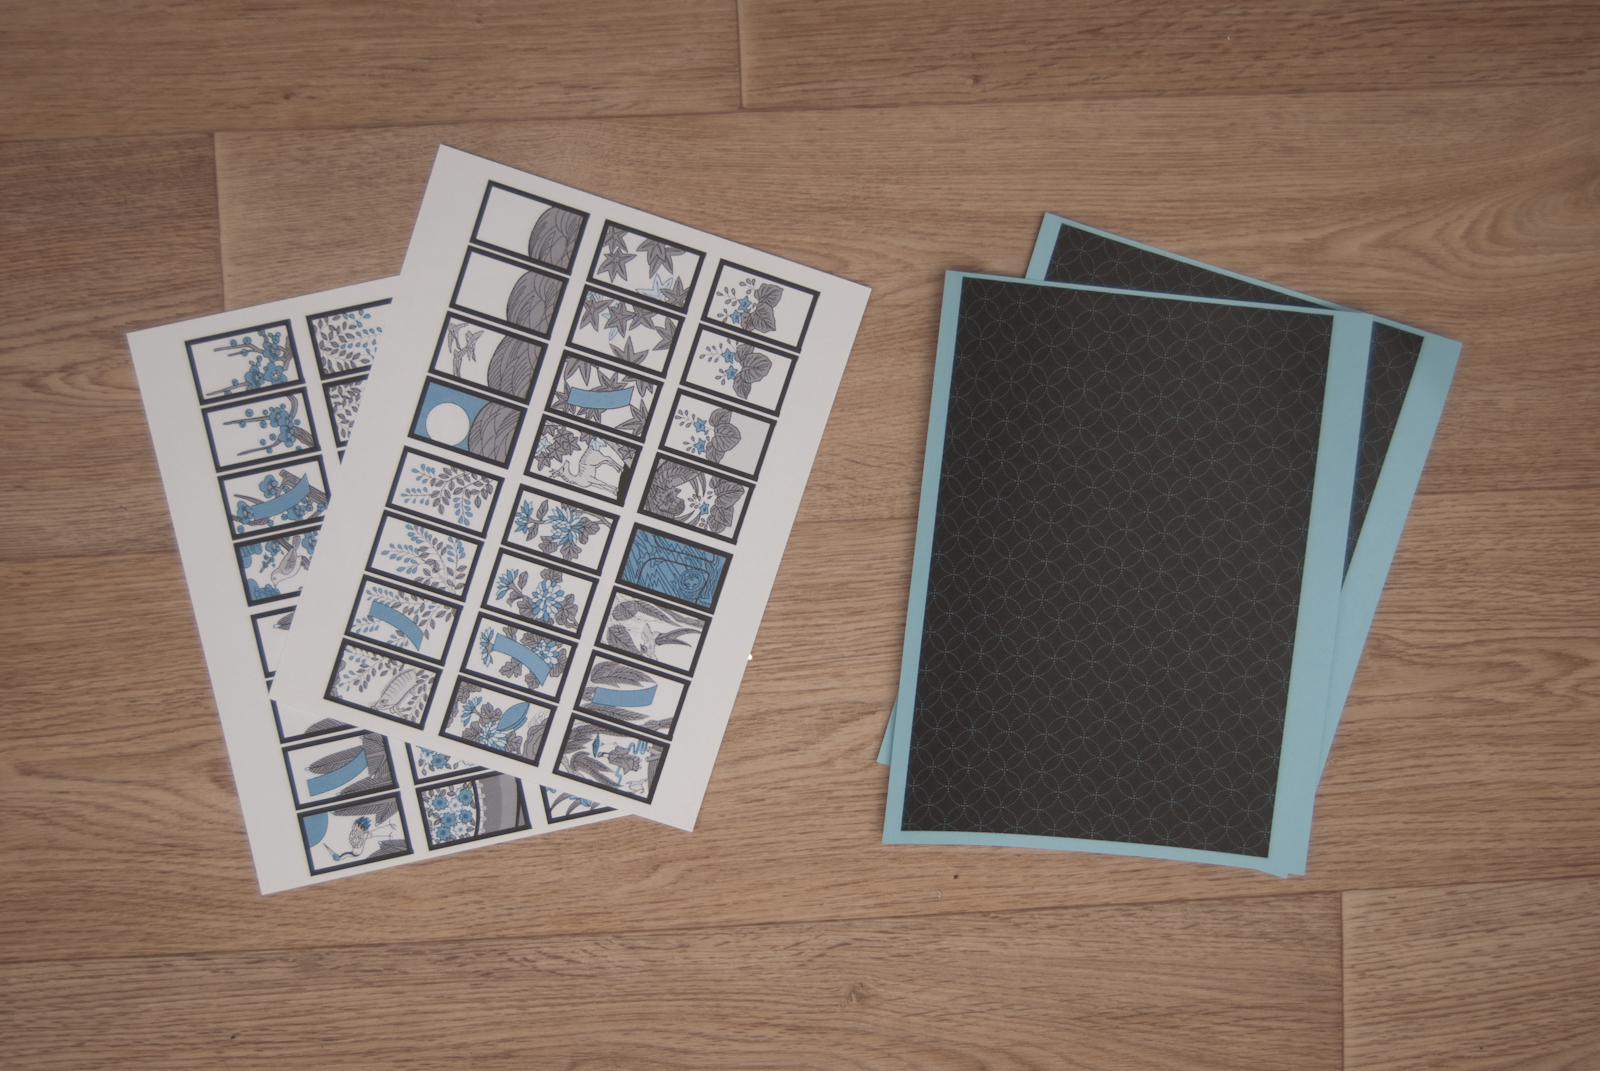
Did you know that the Nintendo we all know and love started out as a company that made playing cards? Their original product was a set of hanafuda cards! Hanafuda are small, traditional Japanese cards featuring designs of flowers and seasonal motifs. Like our more familiar decks of playing cards, there are lots of different games and variations you can play with hanafuda.  To this day, Nintendo still makes novelty hanafuda sets. So do several other companies in Japan. You can find decks featuring Super Mario Bros, Kirby, beloved movies like Spirited Away, and even a Pokemon set!

However, if you’d like your own free set, I’m here for you. I’ve created a muted, monochrome set based on the original designs but using the colour scheme from this blog I love so much. All you need to do is print out this PDF on heavy-weight card paper (I had blue and white so I used blue for the background side but plain white works just as well). Then glue each card sheet to one background sheet with stick glue, put a heavy weight on them to dry them flat (I used books), and then cut them out after 24 hours or so.

Click here to download the PDF

For game instructions, Wikipedia has your back. Enjoy your new hanafuda deck, and have fun!

D is for Daruma

Daruma, 達磨, lucky doll representing Bodhidharma

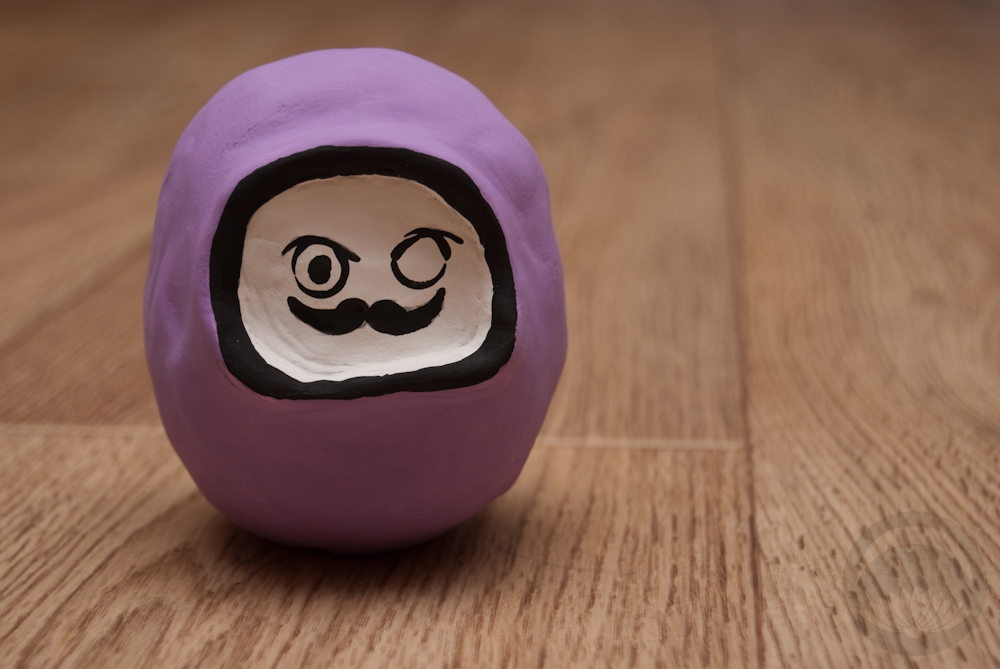
Daruma are those rounded, roly-poly little dolls (usually red, but other colours exist) with a grumpy-looking face. Often one or both eyes are left blank. They’re said to represent the bearded face of Bodhidharma, the founder of Zen Buddhism. Nowadays, they’re used to set goals and encourage perseverance. When you set a goal, you paint in the right eye in. When you accomplish the goal, you fill in the left. At the end of the year it’s common to return the daruma to the temple where it was purchased, for it to be thanked and set ablaze. You would then buy a new one to set a new goal for the upcoming year.

As I mentioned, the traditional colour for daruma is red, but it’s becoming more common to see a whole host of colours used to represent different goals. There are varying opinions as to which colour represents what, but some of the most common meanings are as follows:

Red – Luck & fortune
White – Marriage & harmony
Gold or yellow – Finance
Green – Health
Blue – Success
Pink – Love

If you’d like to make your own daruma, keep reading! However, this one is not made of fragile papier maché and should absolutely not be burnt!

Continue reading

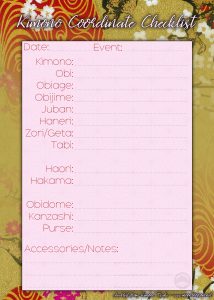
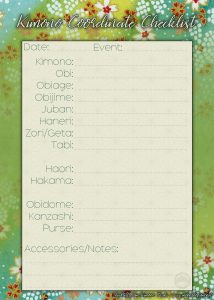
Kimono Coordinate Checklist Printable

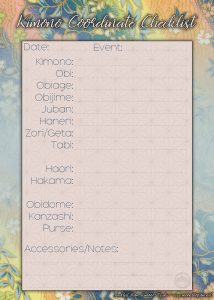
Have you ever put together an outfit you liked so much you wanted to wear it again and again? Or maybe you’re travelling and want to make sure you bring all the pieces you need for a particular coordinate?

Either way, I’ve got a little present for you. Here’s a checklist printable template that includes places to write down every visible component of a full coordinate, including optional pieces. You can always just leave things like hakama and haori blank if they’re not part of the outfit you’ve put together. All three templates are the same, I just thought I’d make a bit of variation in colour schemes; hopefully you find one you like!

Feel free to download and share these! Clicking on them will open them in a separate page where you can save the full sized version, which should print at 4 inches by 6 inches. I made them to be used. I hope you find them helpful. 💖