
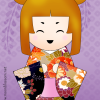
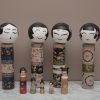
A while back the lovely folks at The Washi Tape Shop sent me a gorgeous selection of washi tapes. I used some to make these fun kokeshi-style dolls, but I’ve been trying to think of other ways to feature the designs. I was inspired to make these fun. stylish, and easy washi tape earrings! Including dry time for the optional paint and varnish, these come together in less than an hour.
You will need:
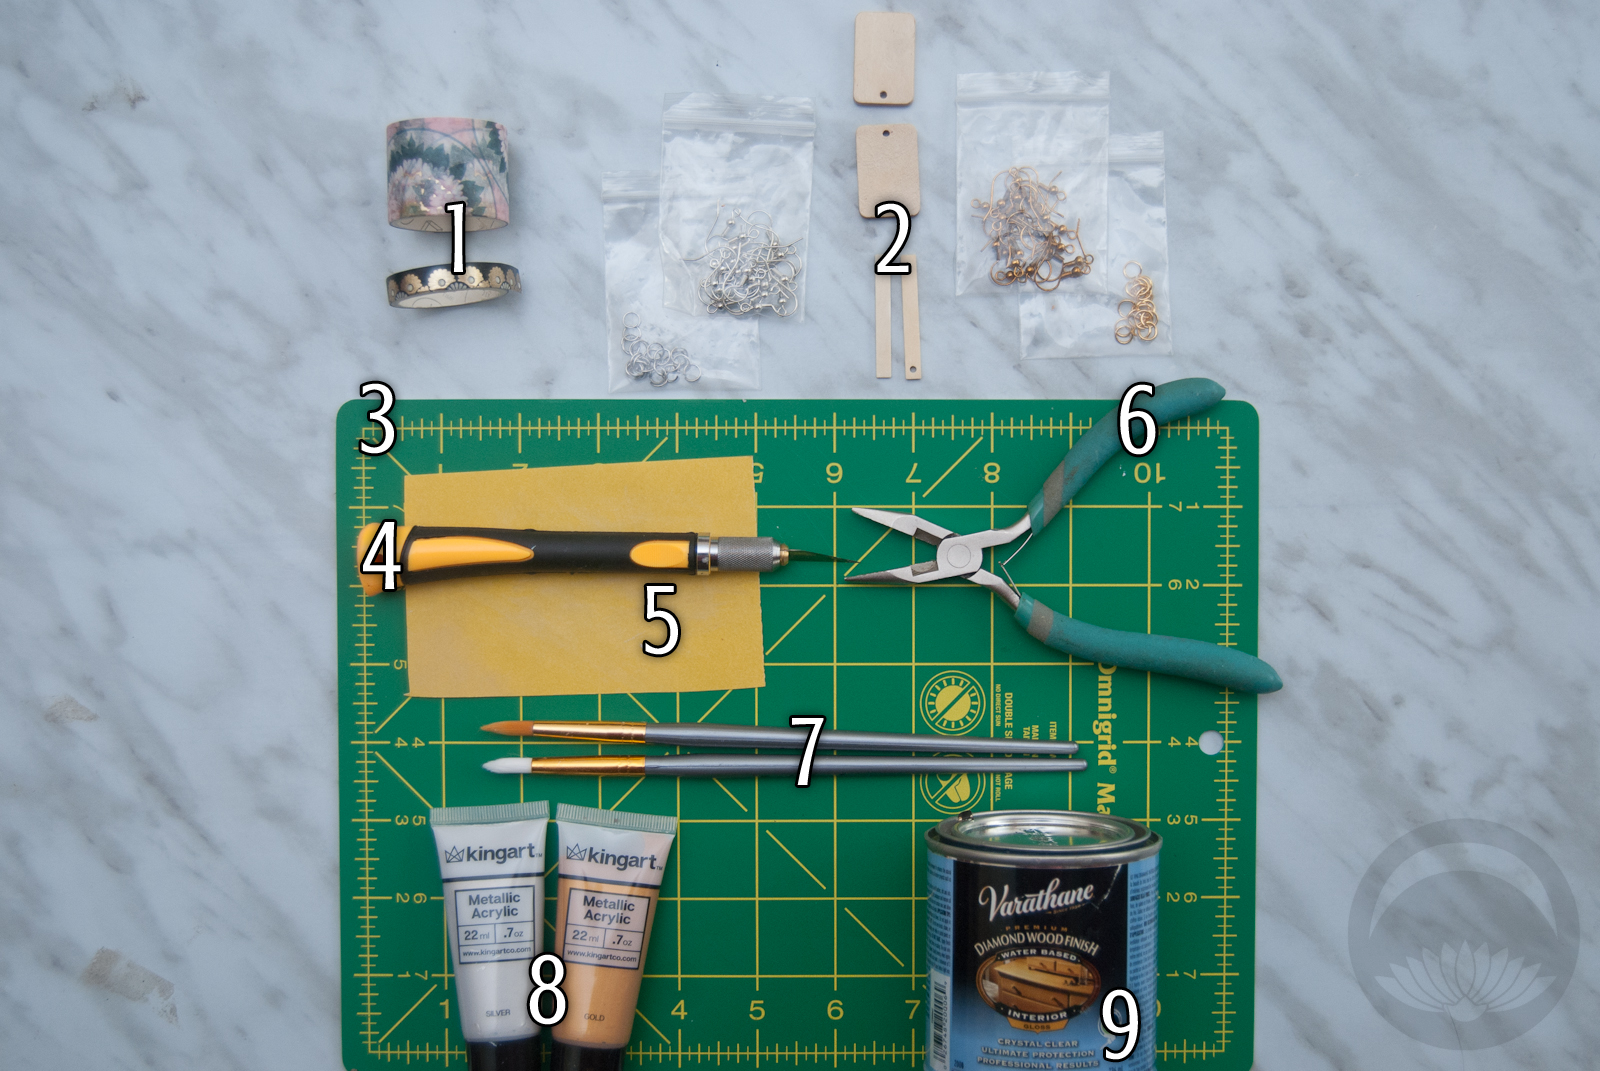
- Washi tape
- Earring hardware
- Wooden blanks
- Hooks
- Jump rings
- (I got this set on Amazon, it has everything you need)
- Work-safe mat
- Sharp scissors or a craft knife
- Fine-grit (180 to 220 grit) sandpaper or file
- Pliers
- (Optional) Paint brushes
- (Optional) Metallic paint
- (Optional) Varnish or Mod-Podge
You don’t need to paint the blanks, but personally I think it makes the end product look a lot more finished and professional. Metallic paints also help tie in the metallic accents on the washi tape.
How-To:
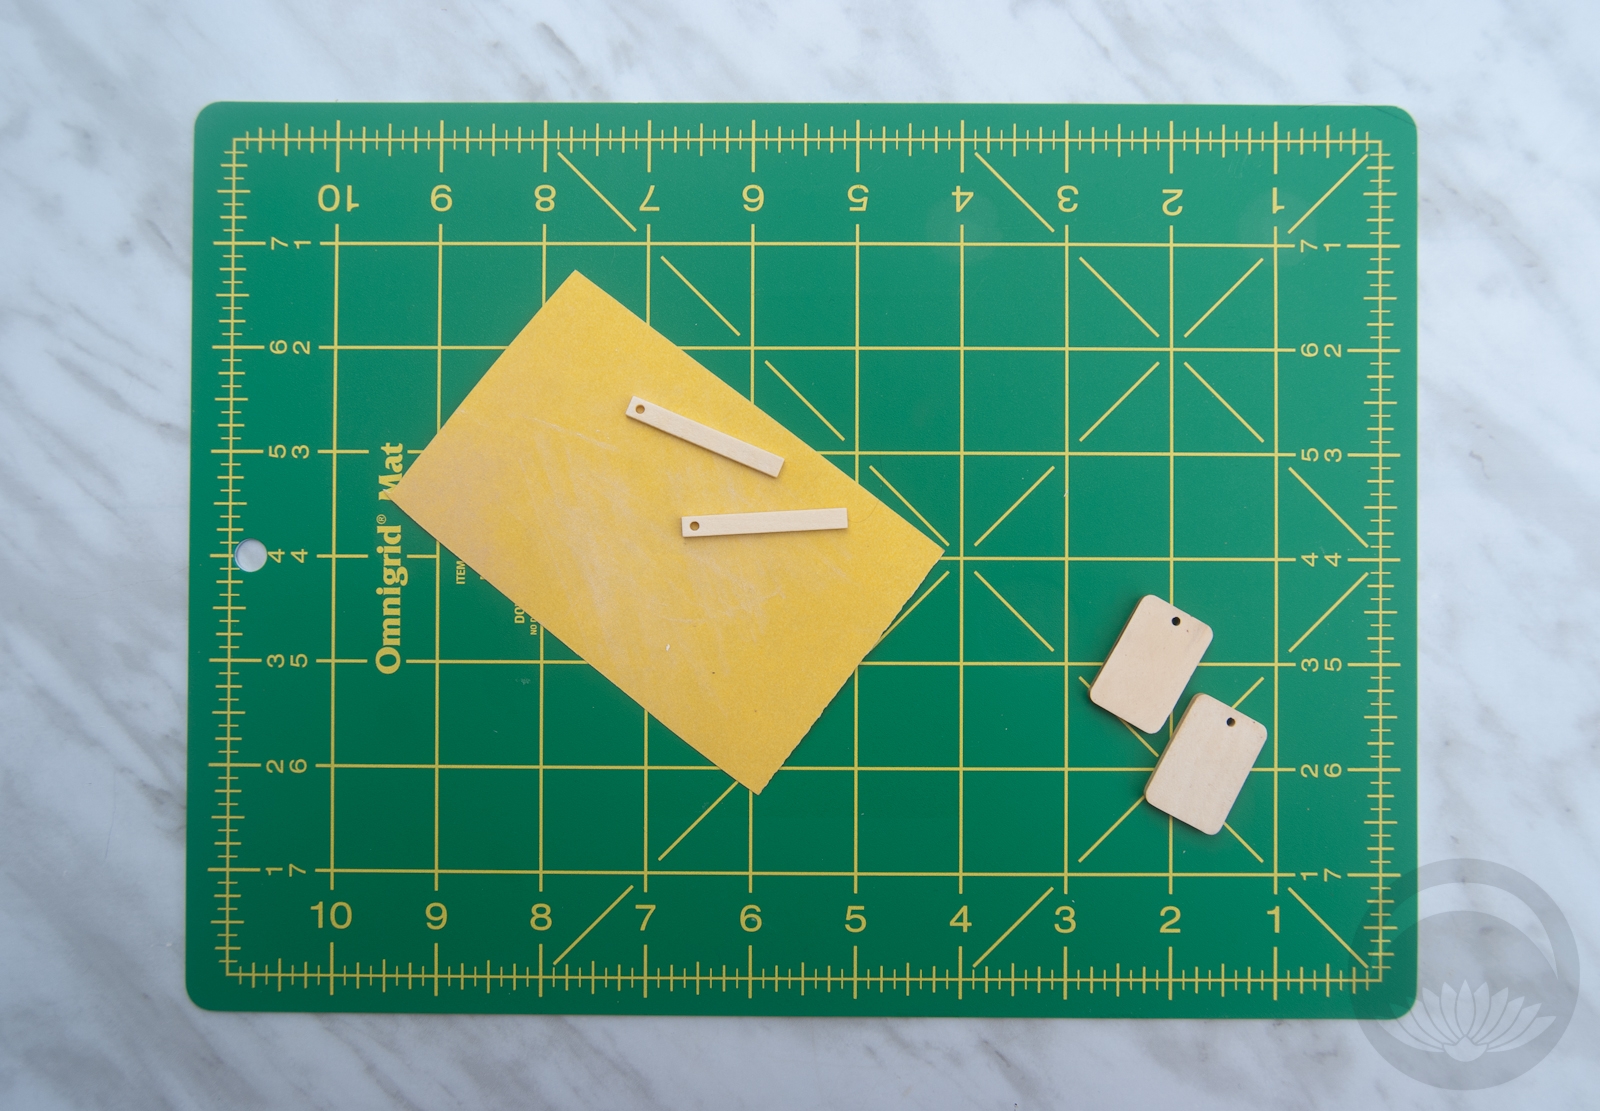
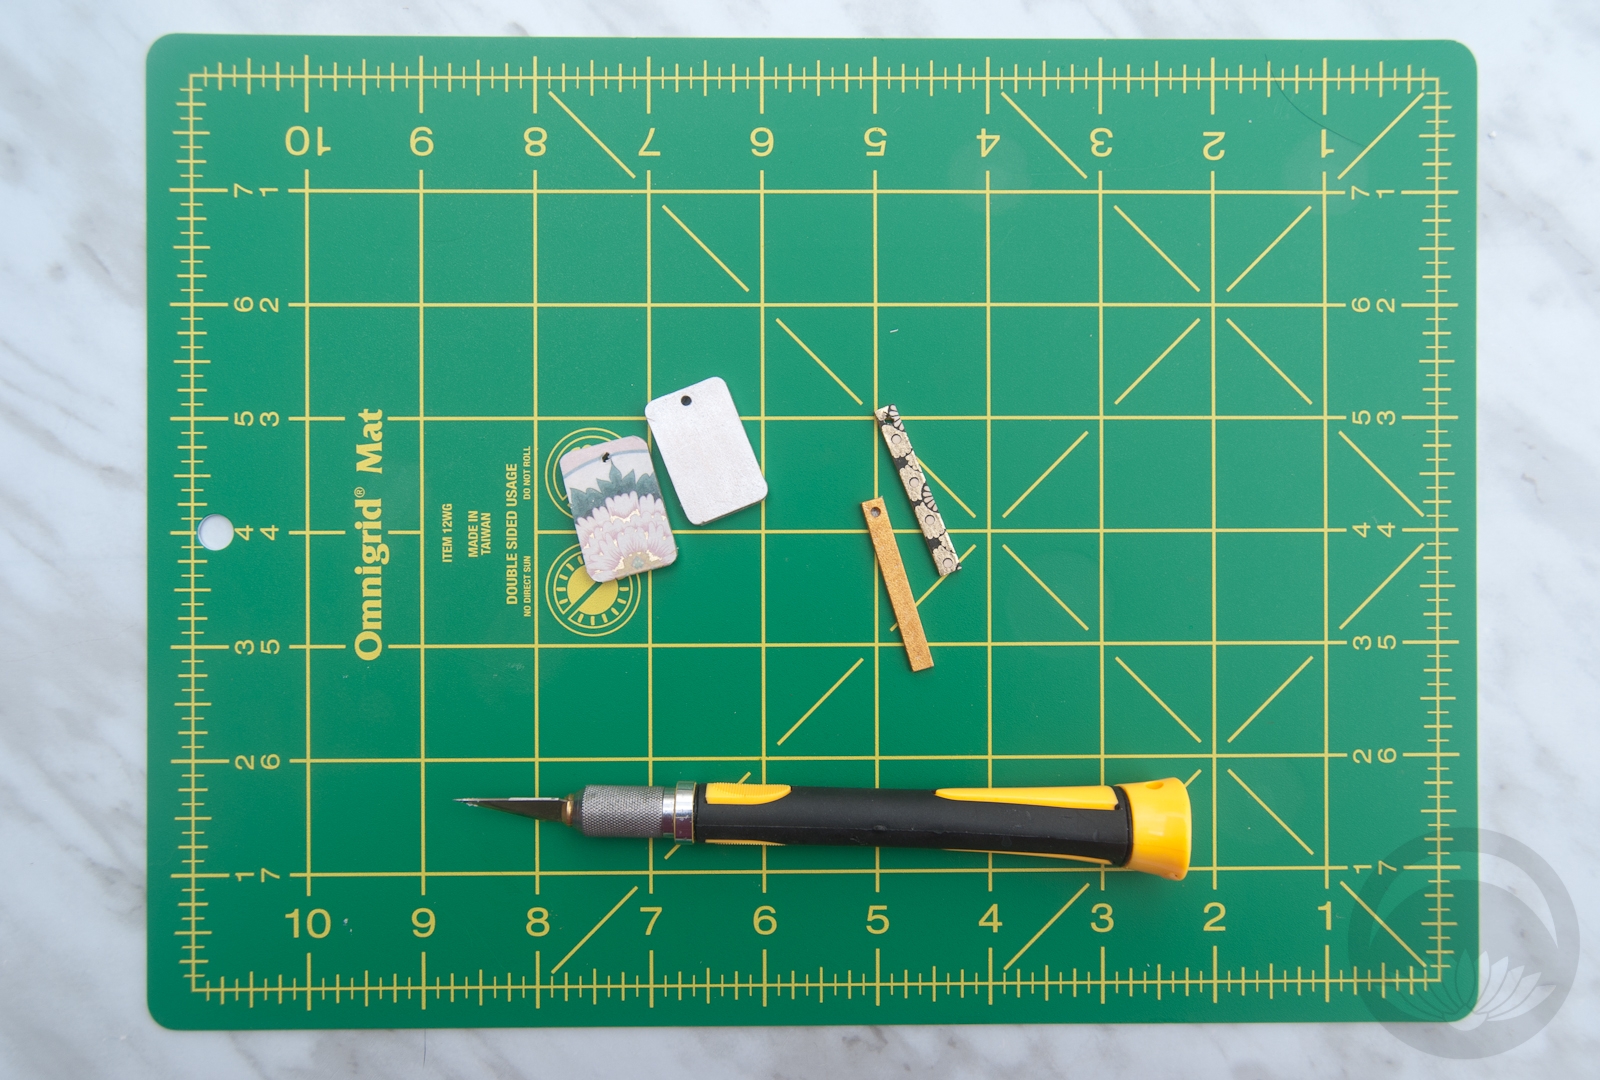

- Gently sand the edges of your wood pieces. They may be cheaply machine cut and not properly finished, and you don’t want rough wood near your ears or neck.
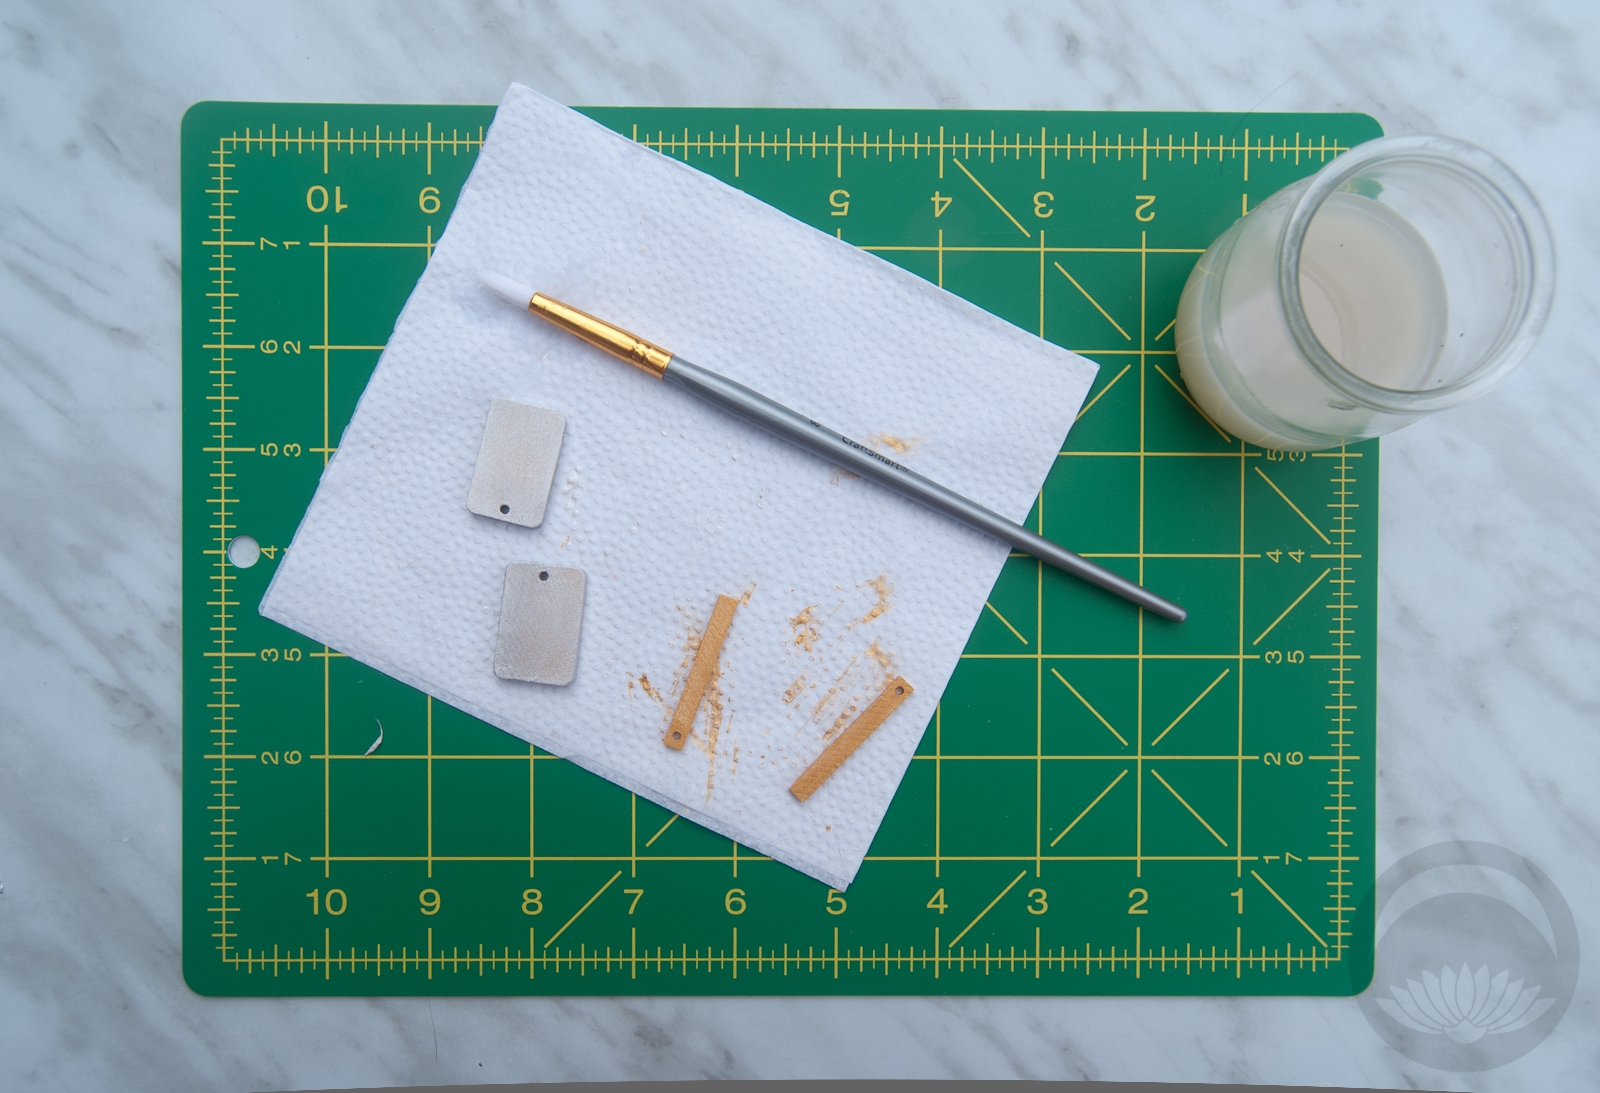
- If painting your wooden blanks, do this next. Do two thin coats on either side and make certain to paint the thin edges, as these will be the most visible.
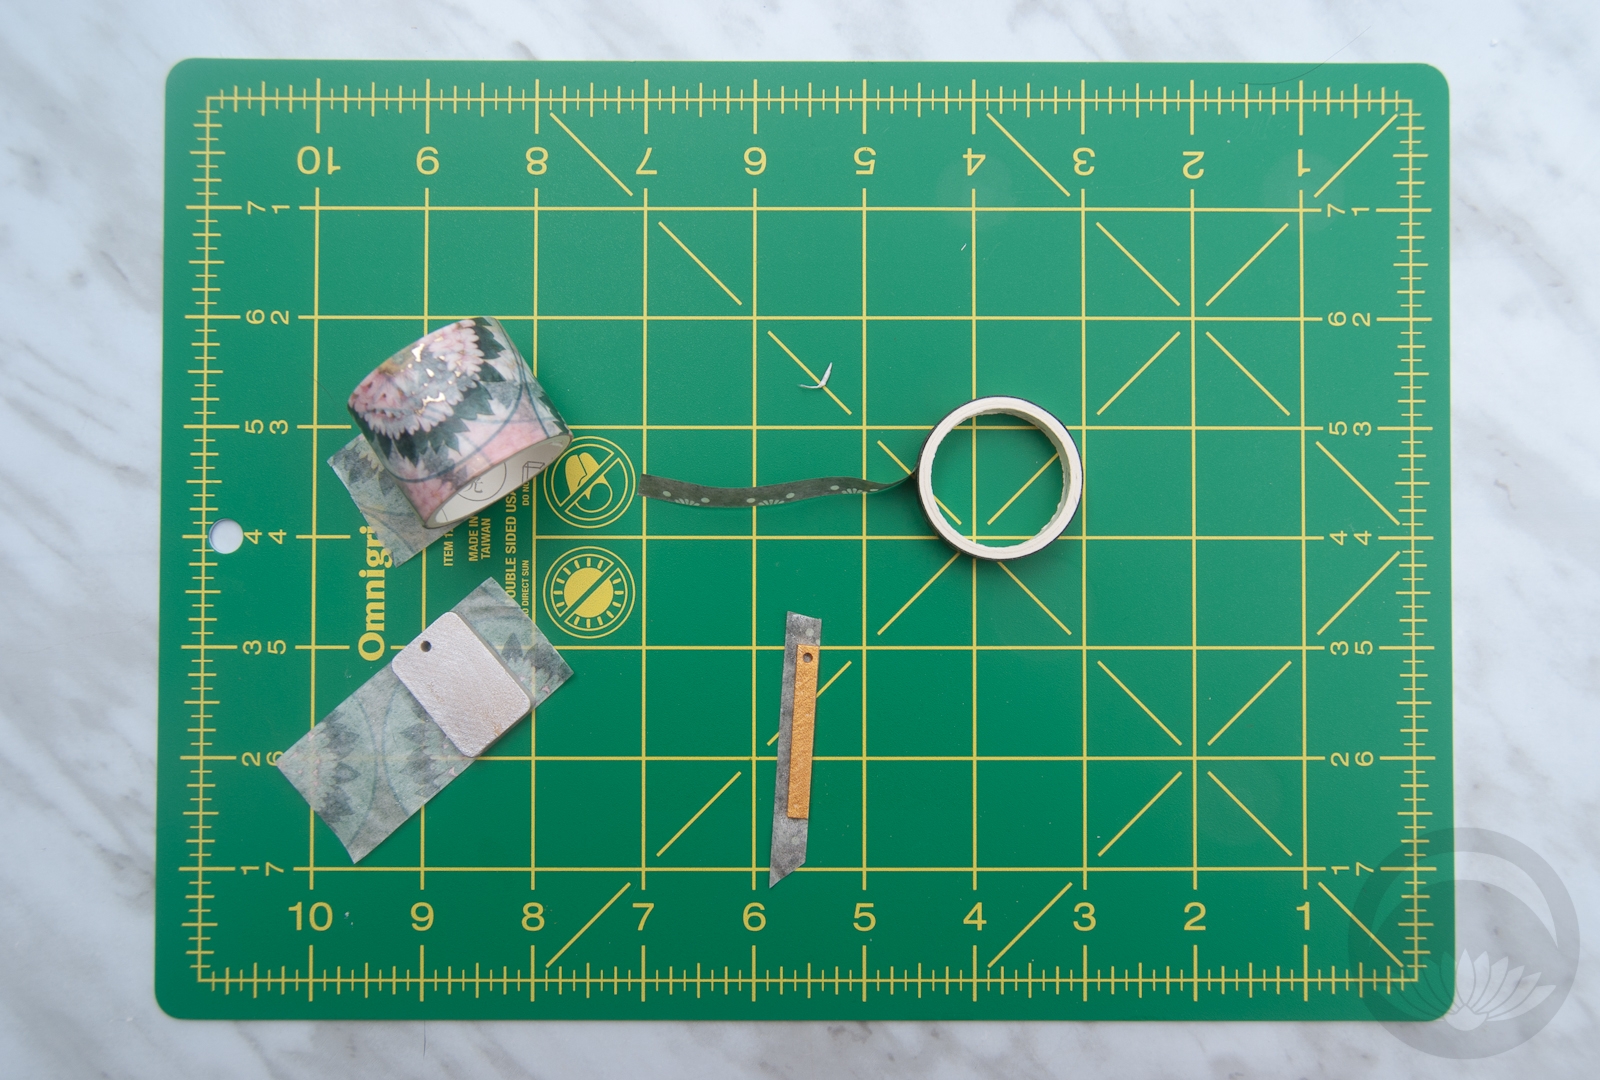
- Once paint is fully dry, carefully smooth a piece of tape onto one flat side of the wooden blank. If your washi tape has a specific direction or accent you want to feature, take the time to align it properly. It will make the finished piece look much more professional.
- Using your scissors or knife, trim the excess tape off, following the shape of the wood piece.
- Flip the blank over and do the same taping-and-cutting on the other side.
- With the tip of your knife or even the hook of one of the earrings, pierce through the tape on both sides of the tiny hole at the top of the piece. If you’re having trouble finding it, hold your piece up to a bright light; the hole will shine through.
- Varnish isn’t necessary but it will help seal the tape from peeling off and give a nice shine to the earrings. If you choose to varnish, do it now.
- Once the piece is fully dry, open one jump ring with the pliers and attach a hook to each earring.
- Voila! Your stylish new pieces are done.

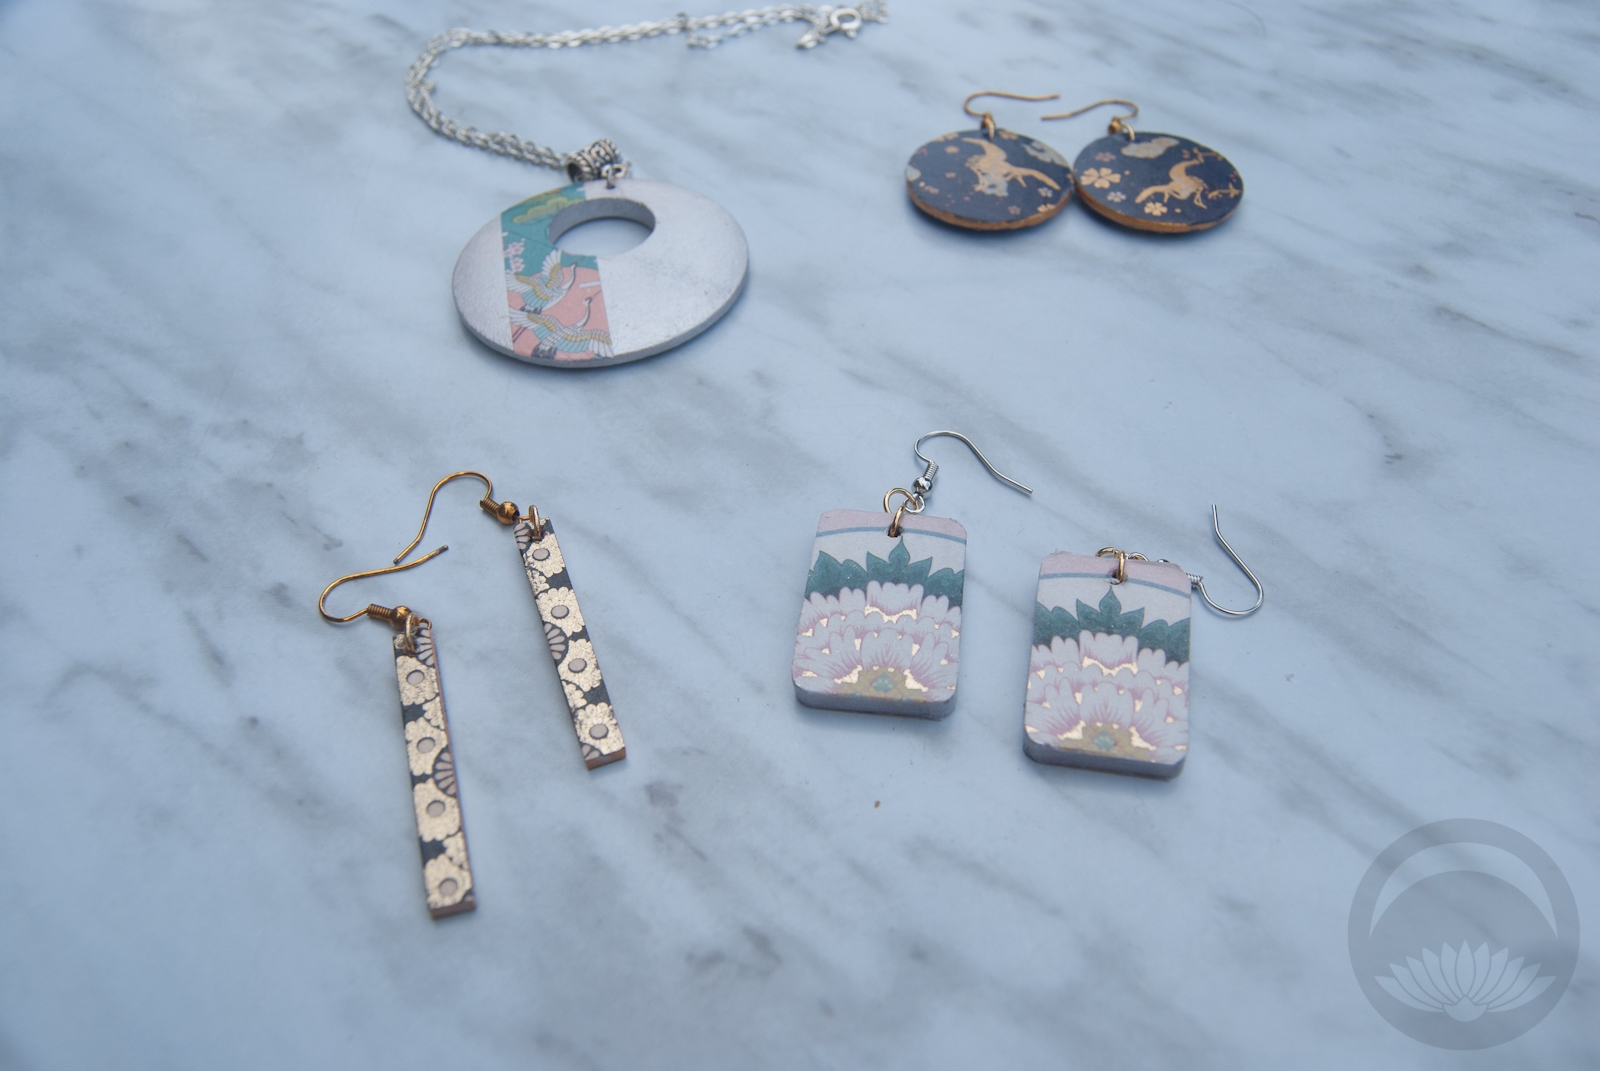
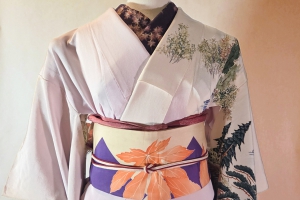
Now you’ve got beautiful, one-of-a-kind earrings that you can pair with funky kimono outfits or to add flair to a western outfit. You can also turn these into unique necklaces by using attaching a decorative bail or even just a jump ring and threading it on to a chain. These would make beautiful gifts, too.
Have fun and experiment with paint colours and tape placement or even add decorative items, rhinestones, or other personal touches!
I received this item from the retailer or manufacturer for honest review purposes.This post contains affiliate link(s). If you choose to purchase, I receive a small rebate or commission which goes to the continued maintenance of this site.
Related Posts


 Bebe Taian
 CHOKO Blog
 Gion Kobu
What a great idea!!! A while ago I bought a washi tape set with several Kimono prints, now I can use it to make matching jewellery for my outfits \(^o^)/
If you make some, I hope you’ll share photos! I’d love to see 🙂