
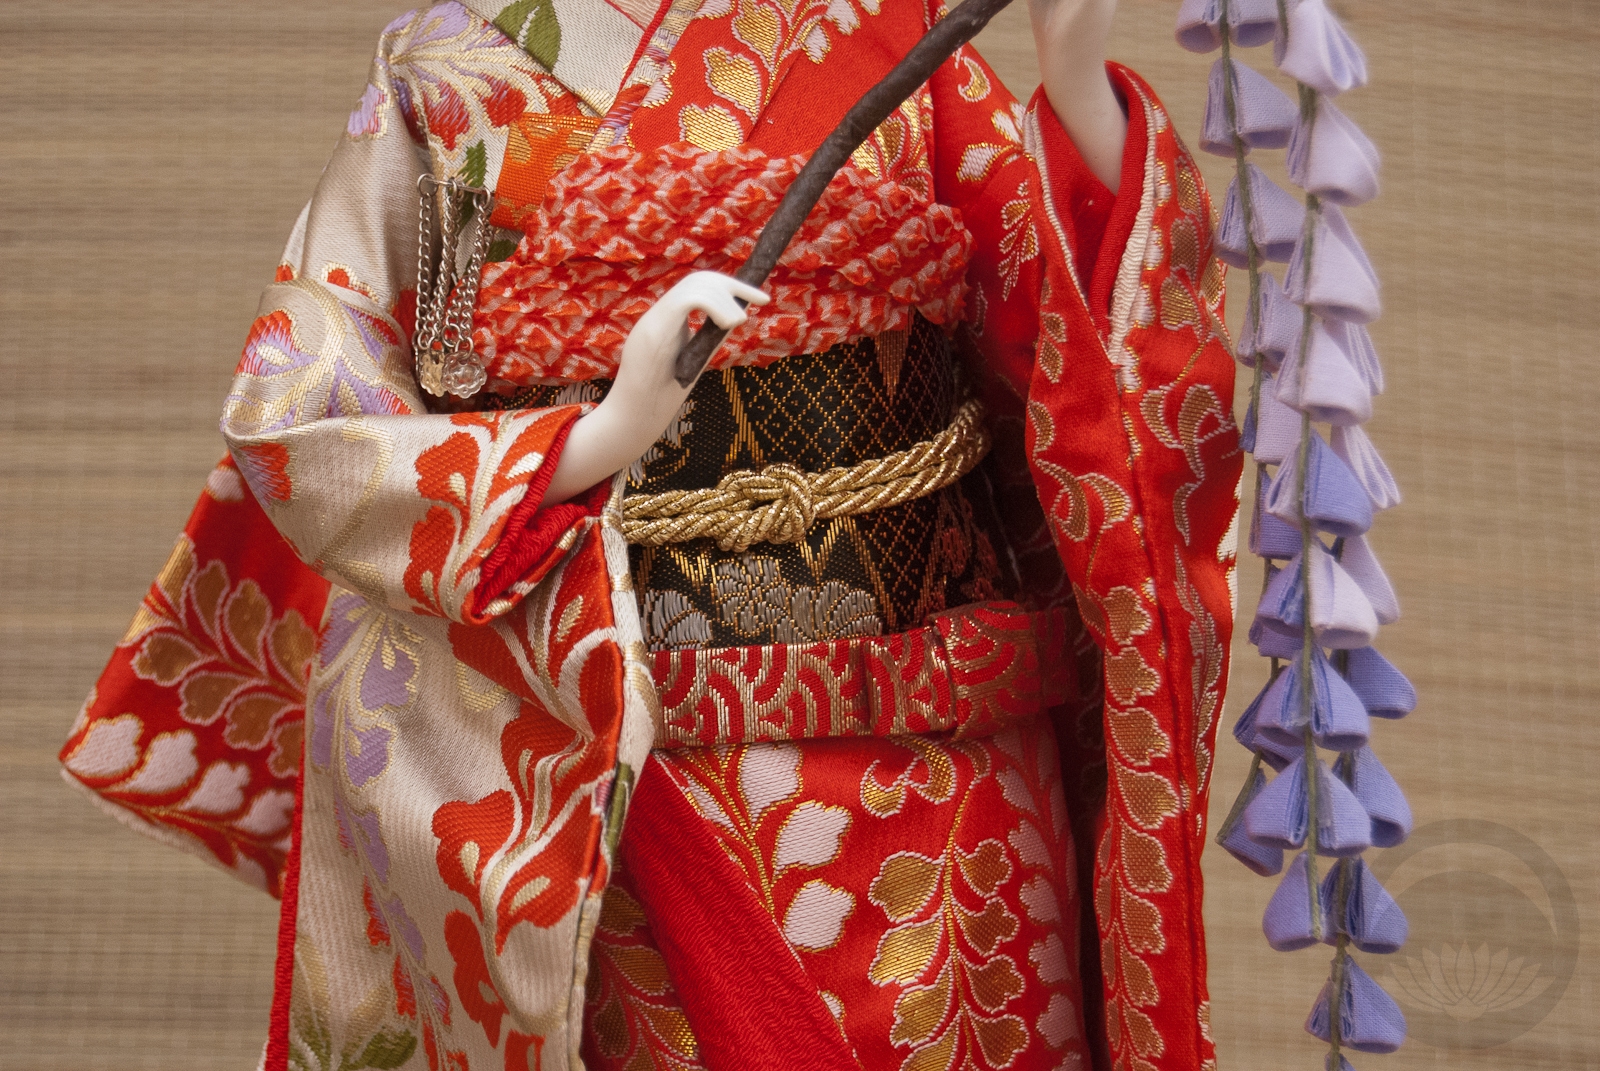
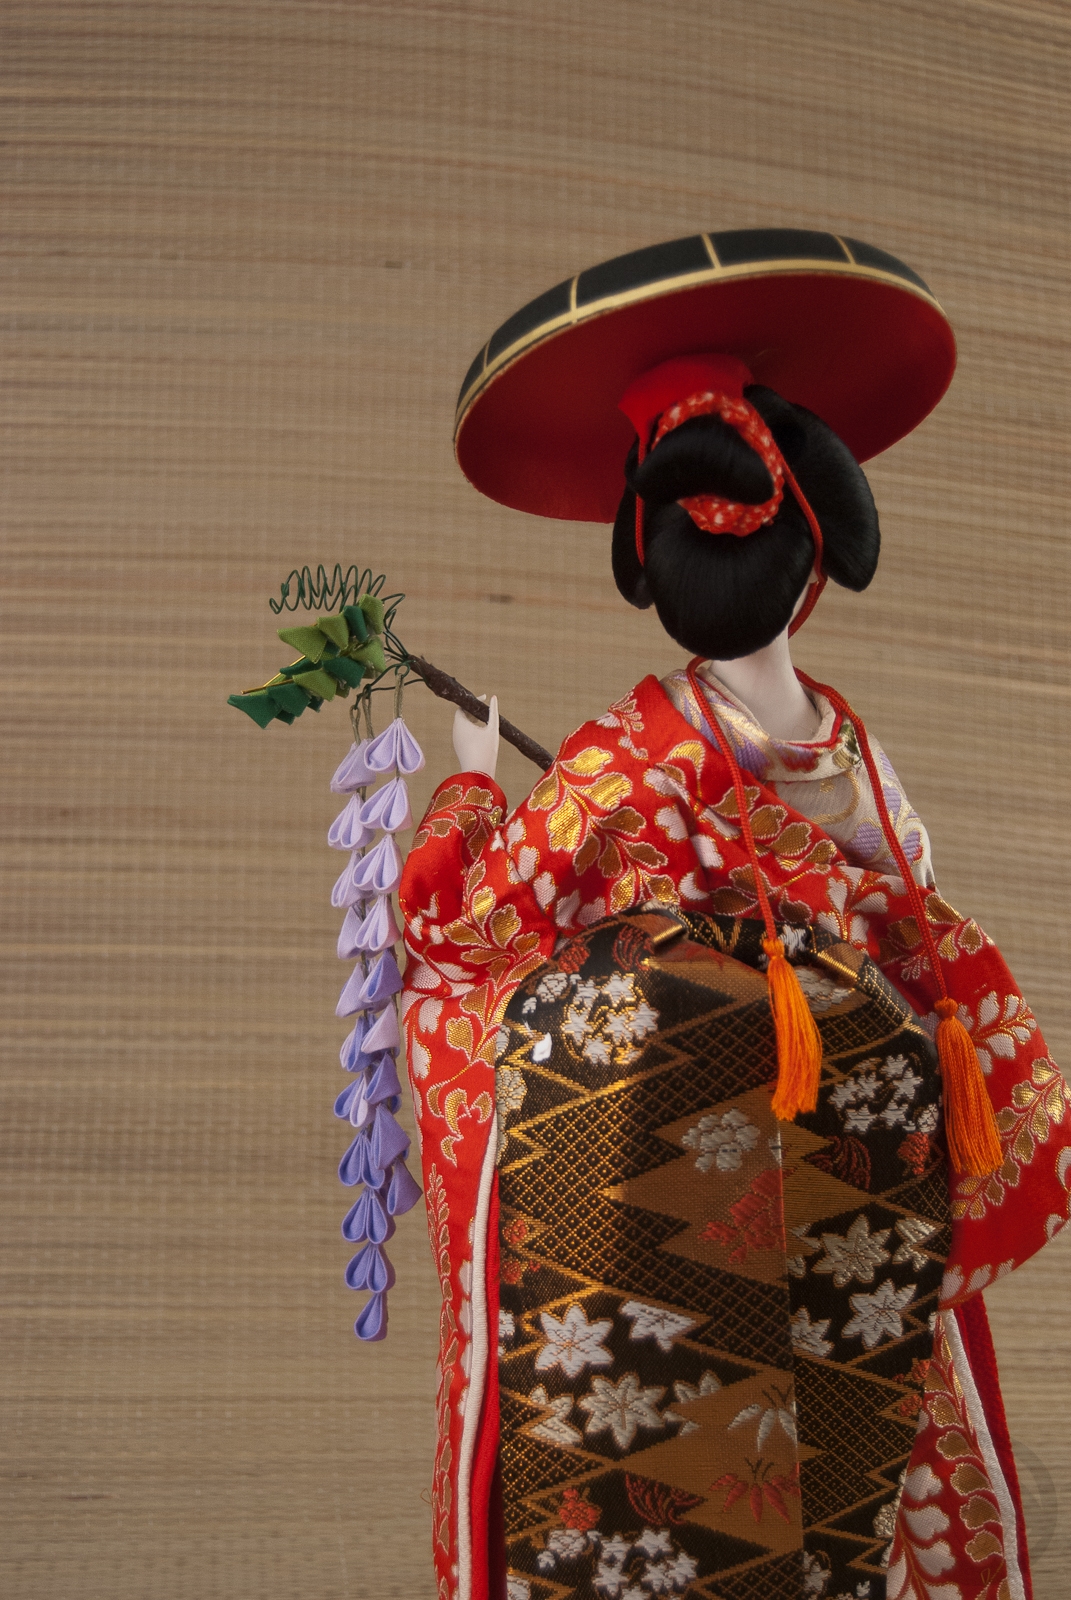
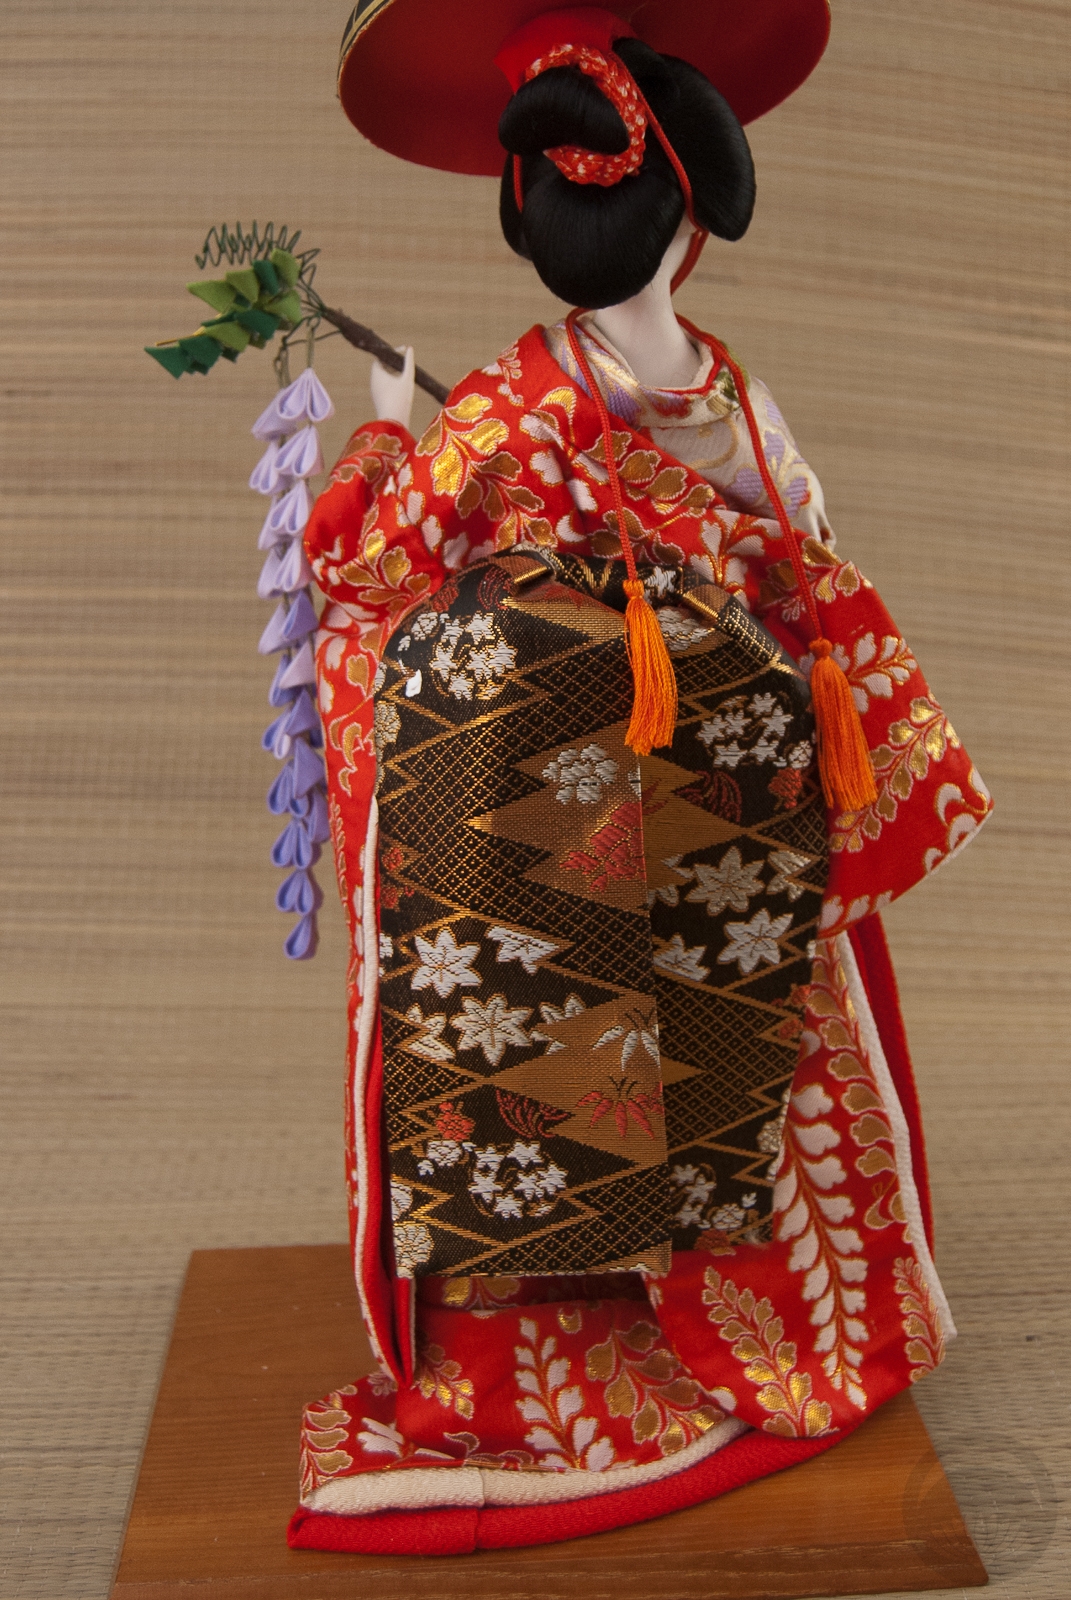
 Sometimes, when you combine two very traditional Japanese art forms, you get something delightfully modern and original – like origami ikebana!
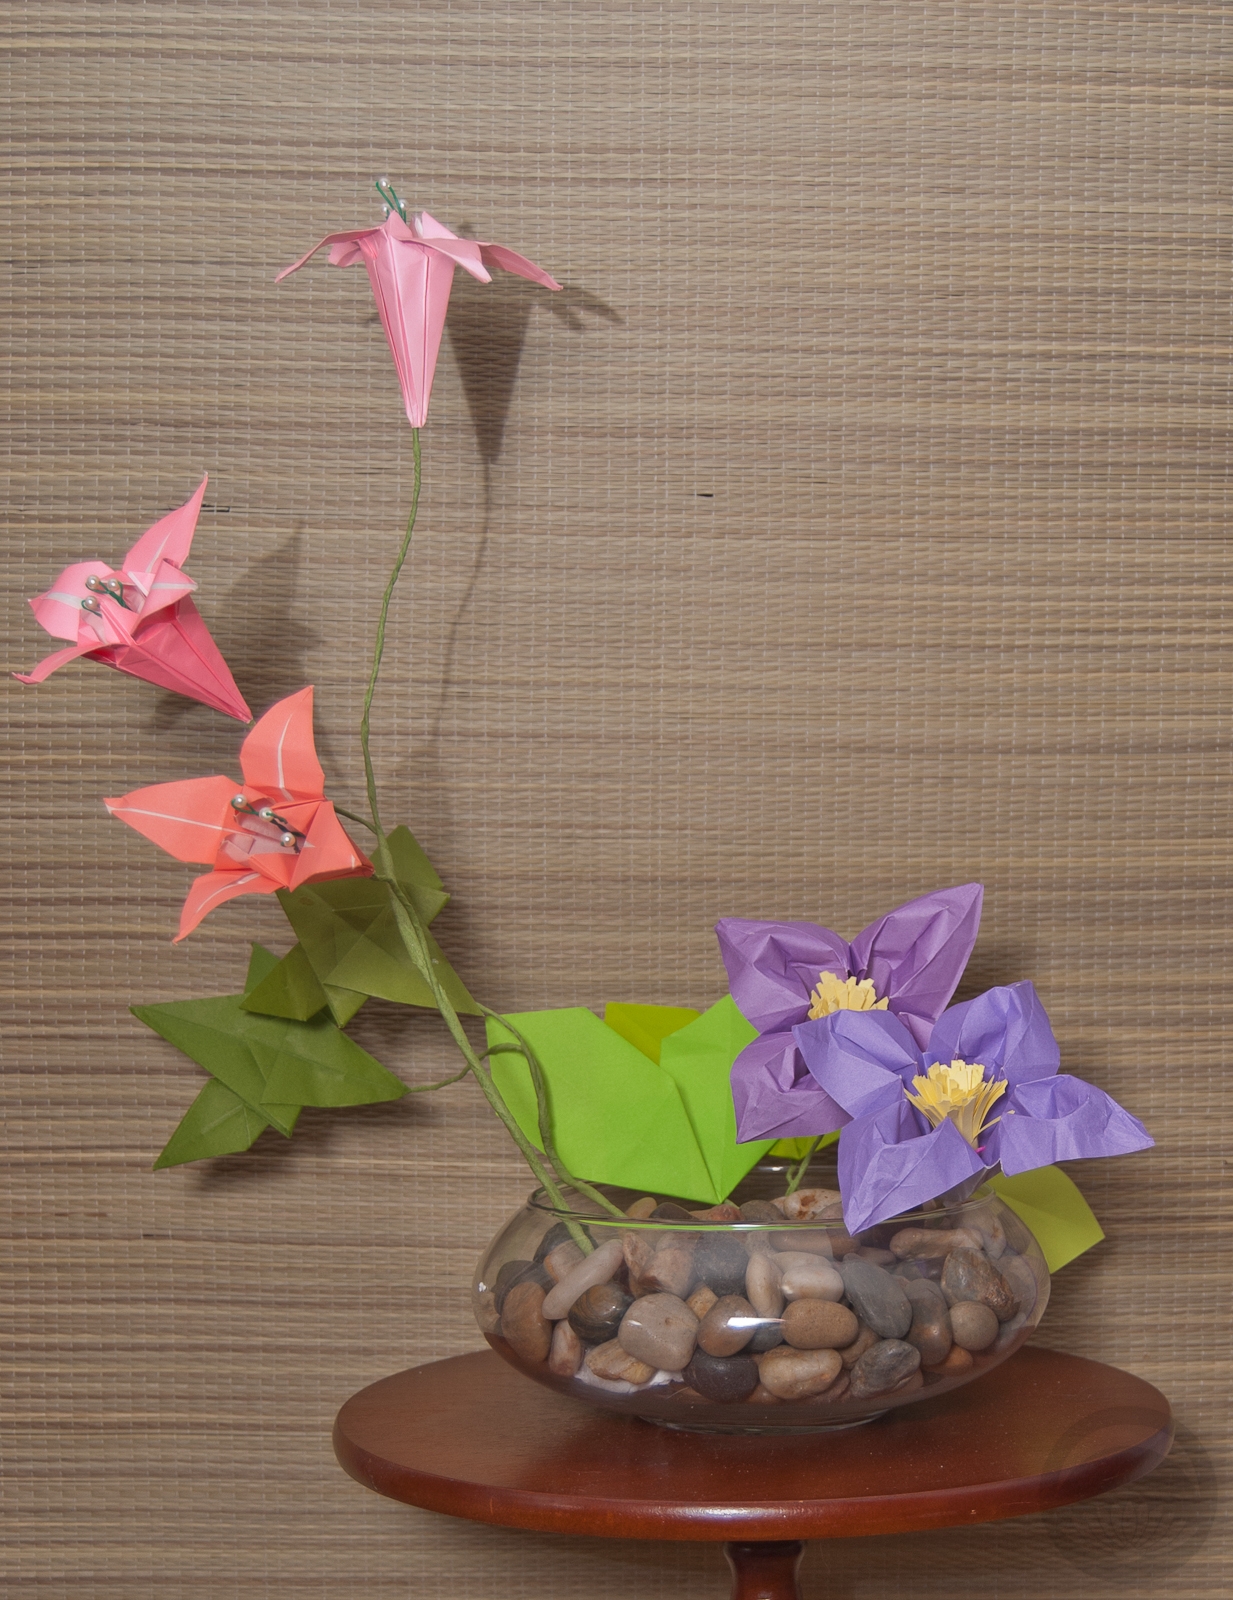
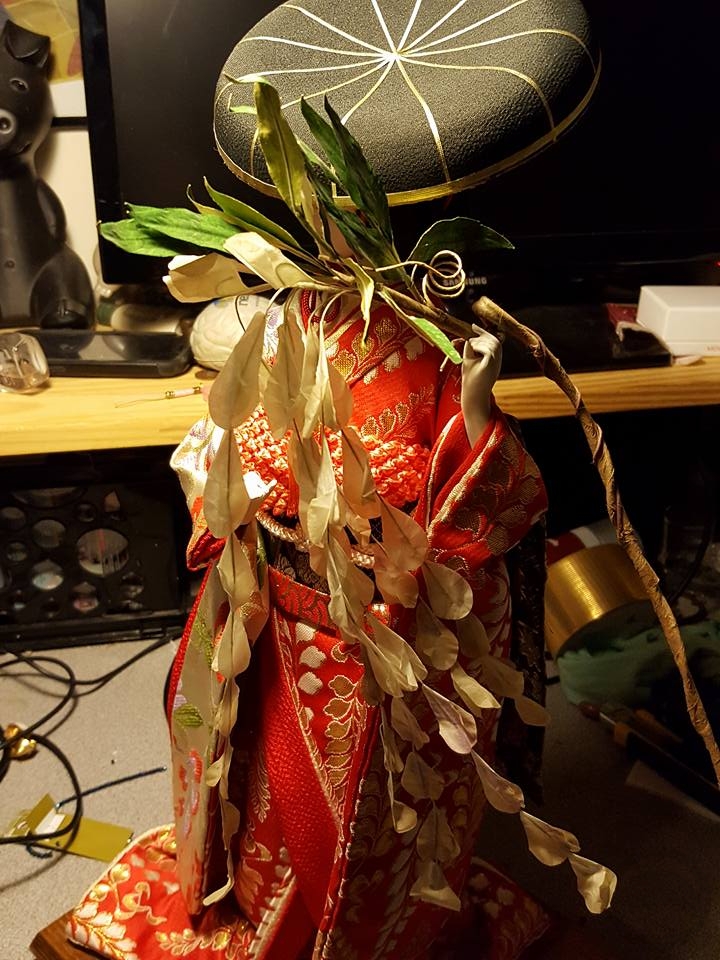
A friend of mine just bought a new condo and is having a get-together this weekend. I wanted to bring her a little something but plants or real flowers were out of the question due to a very clever and curious kitty friend. I tried to think of something I could make that would be bright and cheerful and pet-friendly and it struck me that I could make paper flowers and do a traditional arrangement with them! I made three salmon lilies, two purple flowers that don’t really look like anything specific, and lots of foliage. The centres of the purple flowers are rolled and curled yellow paper, and the lilies have floral wire and pearls. The stems are just floral wire and floral tape. The thin wire gives the lilies some movement, but they can be manipulated into place if necessary. I admit, I did use some glue to attach flowers and foliage to the stems, but most of this arrangement is held together with nothing more than sharp folds and hope!
I’m really happy with it overall. I just hope my friend likes it!

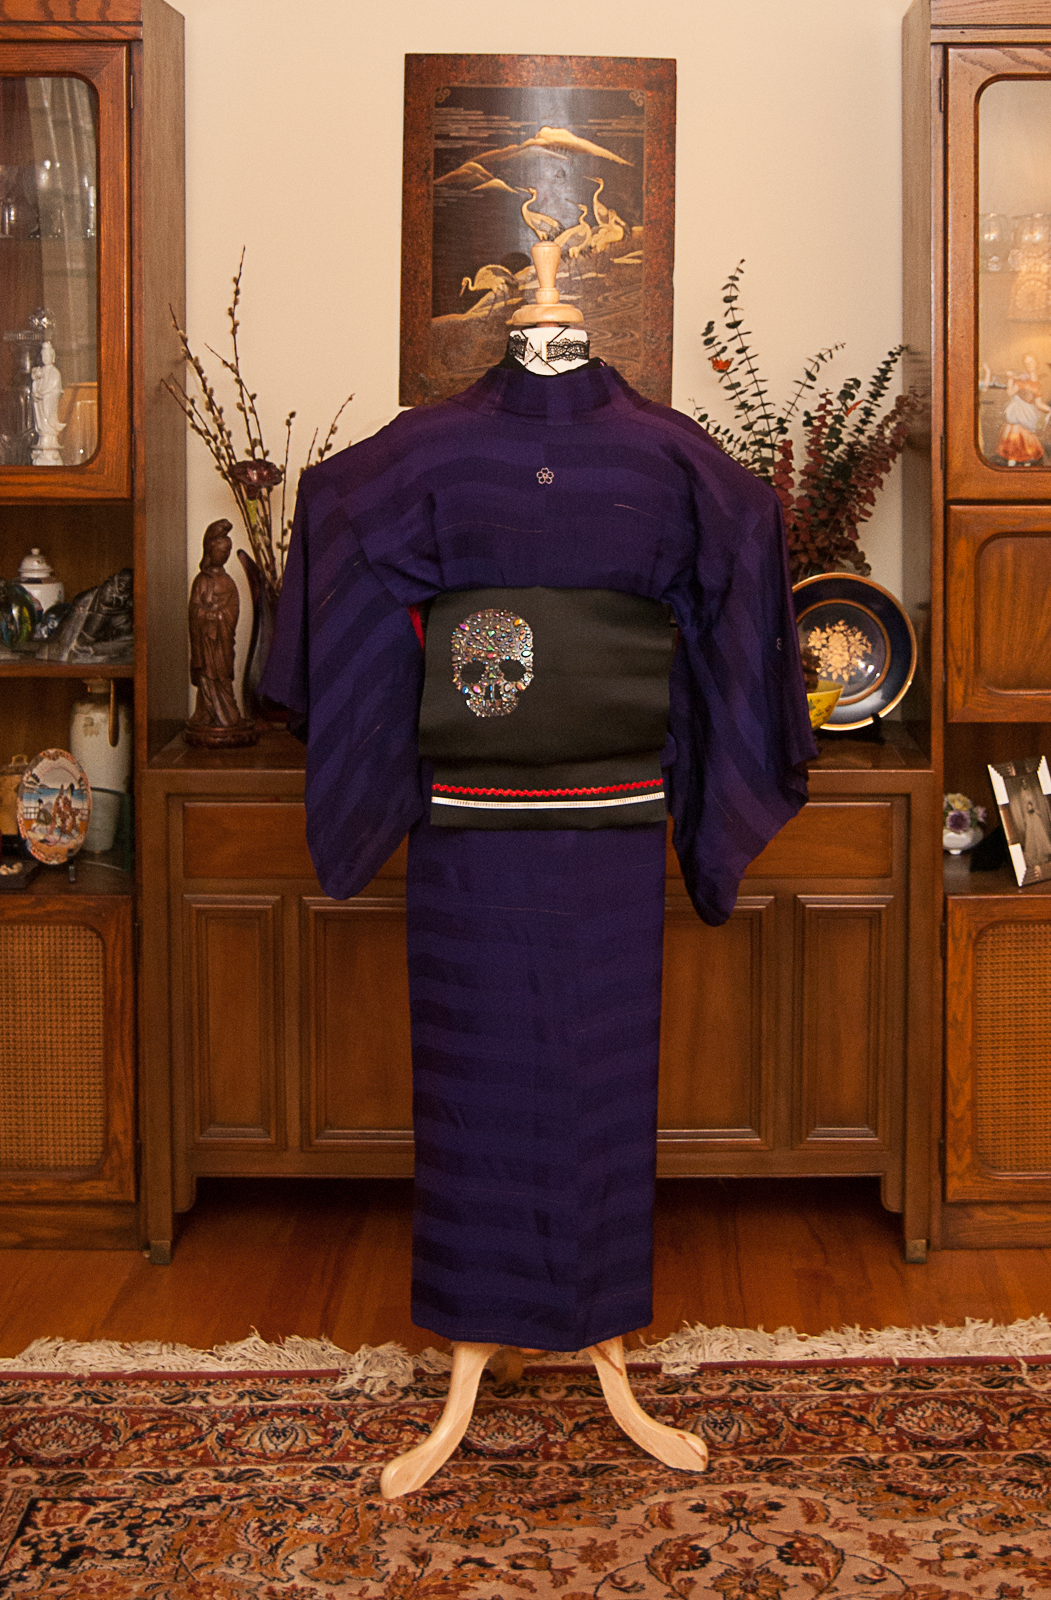
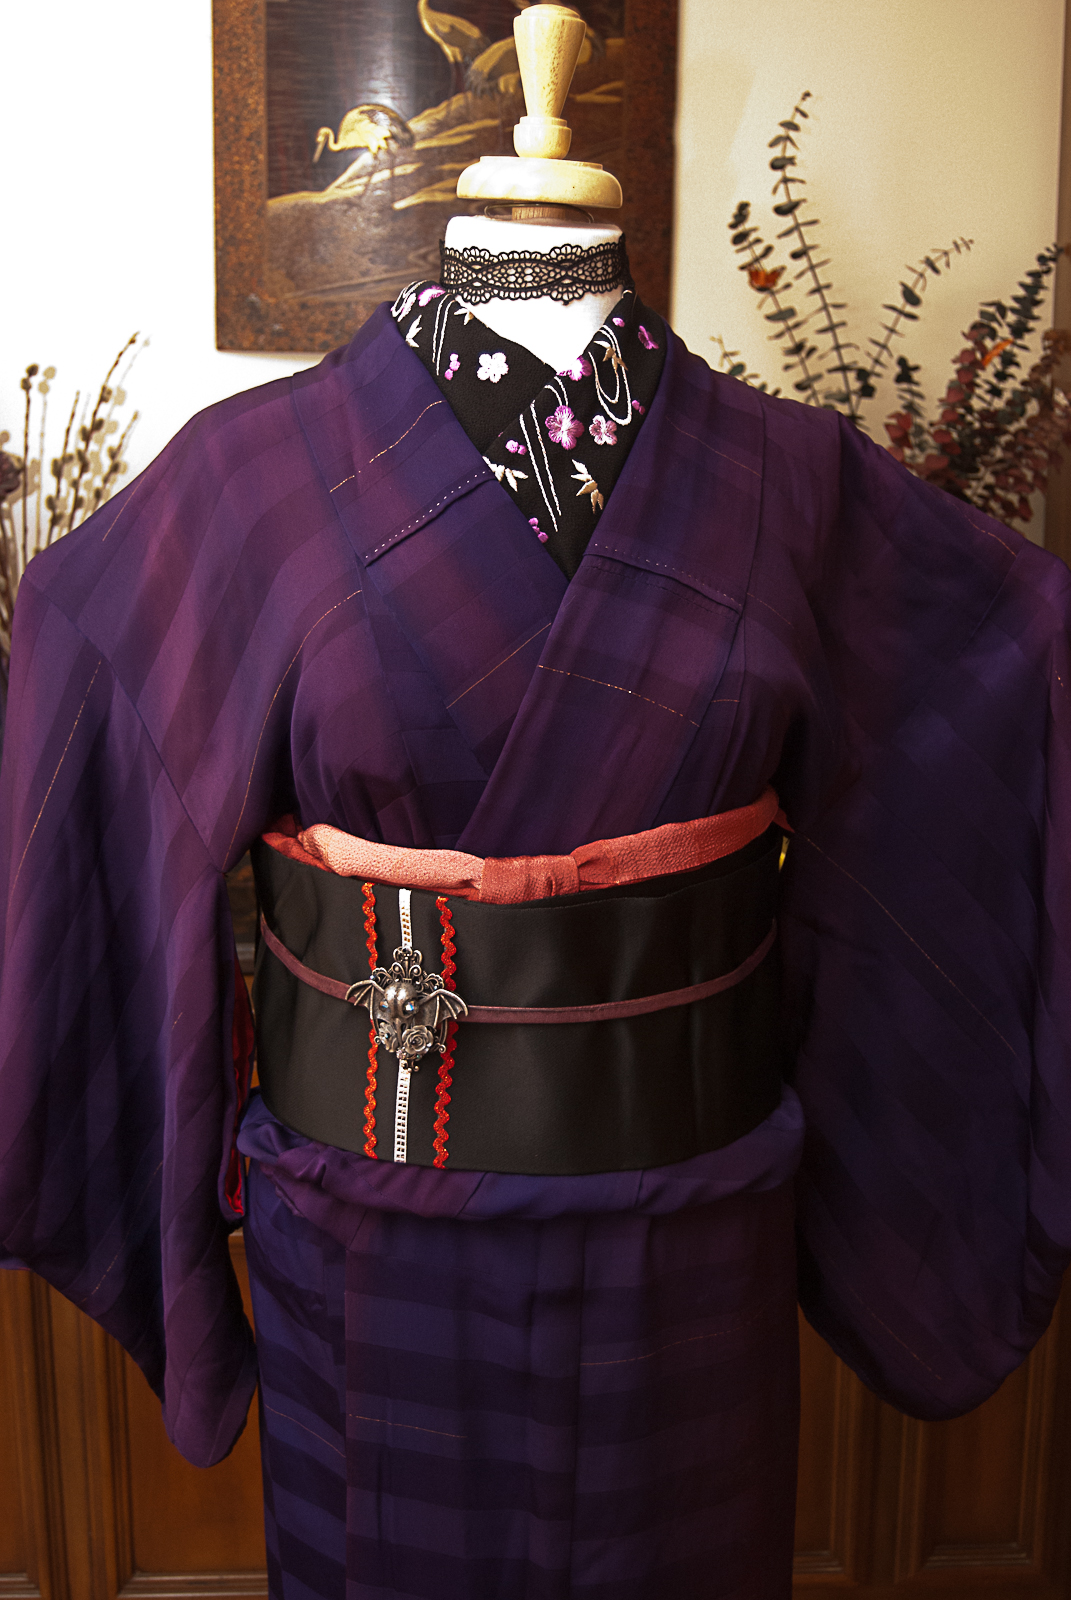
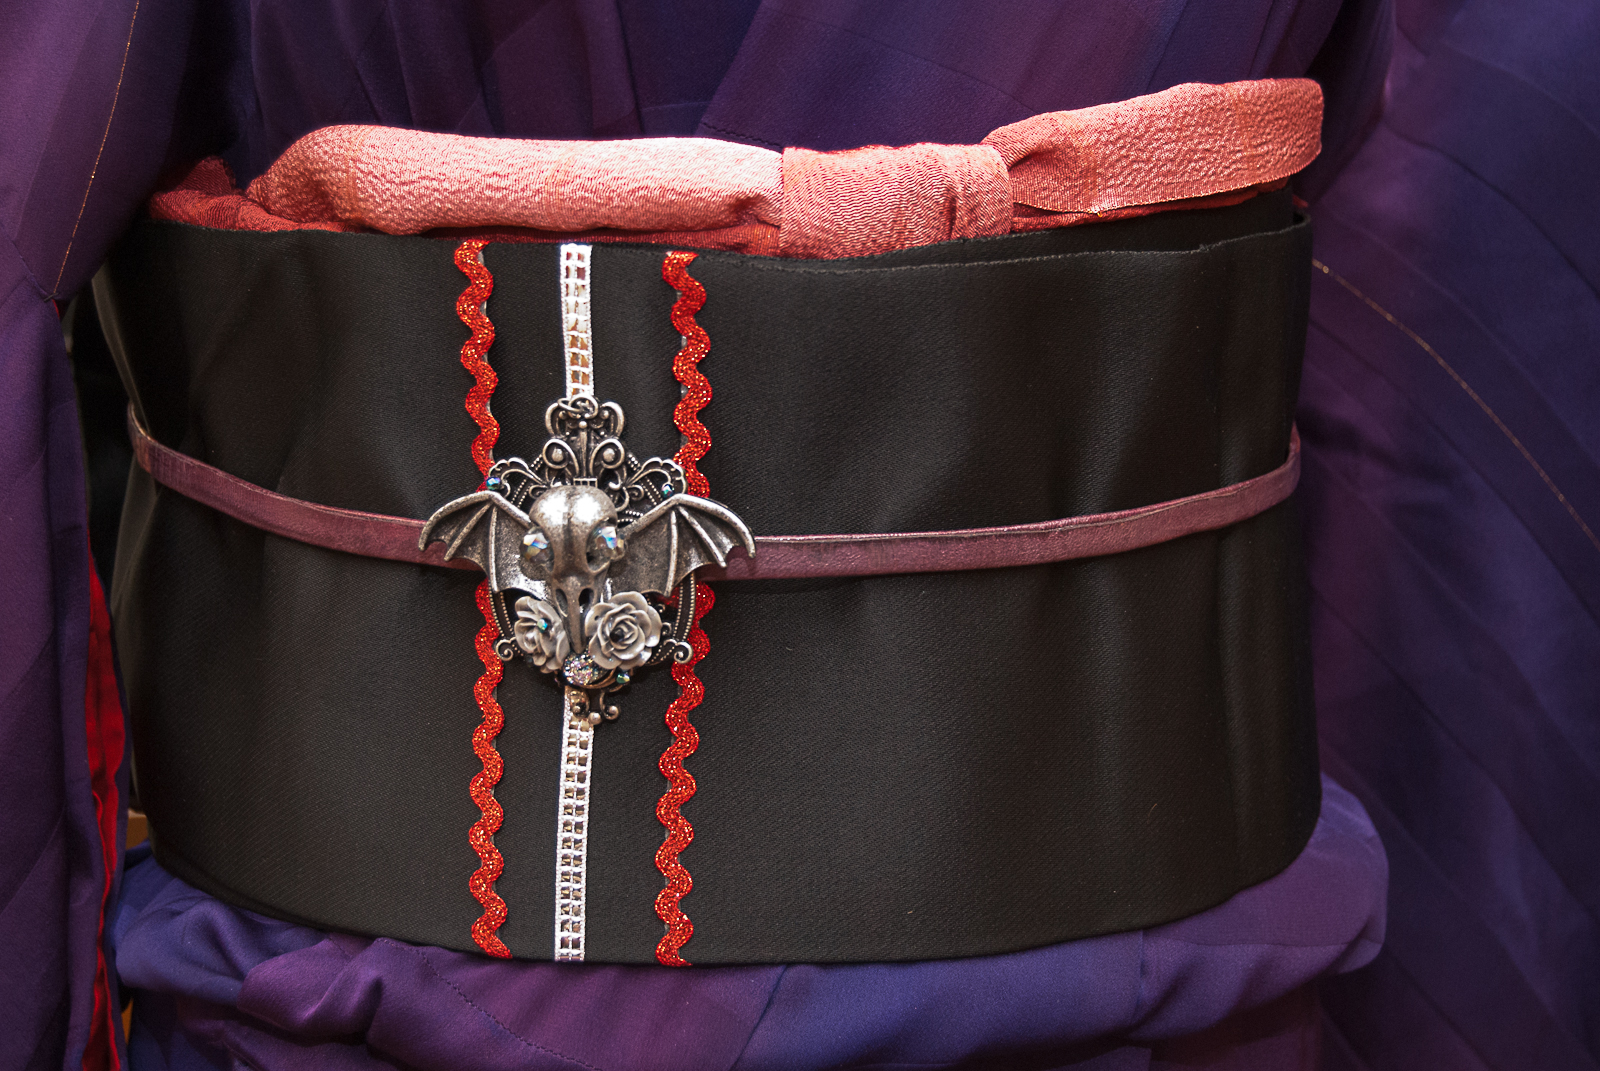


 Bebe Taian
 CHOKO Blog
 Gion Kobu