M is for Maneki Neko

Maneki Neko, 招き猫, Beckoning Cat (Lucky Cat)

Sometimes, spontaneous things work out better than the things you’ve planned out. My initial goal for today’s entry was to do an ikebana involving matsu (pine), but the weather’s been pretty miserable and I’m not feeling great (nothing worrisome, just that time of the month) so I didn’t much feel like tromping around in the yard looking for the perfect branch to work with. Thankfully, this utterly adorable Lego Maneki Neko kit arrived yesterday, and saved me from failure! I realised it was the perfect inspiration point for a fun little knowledge post.
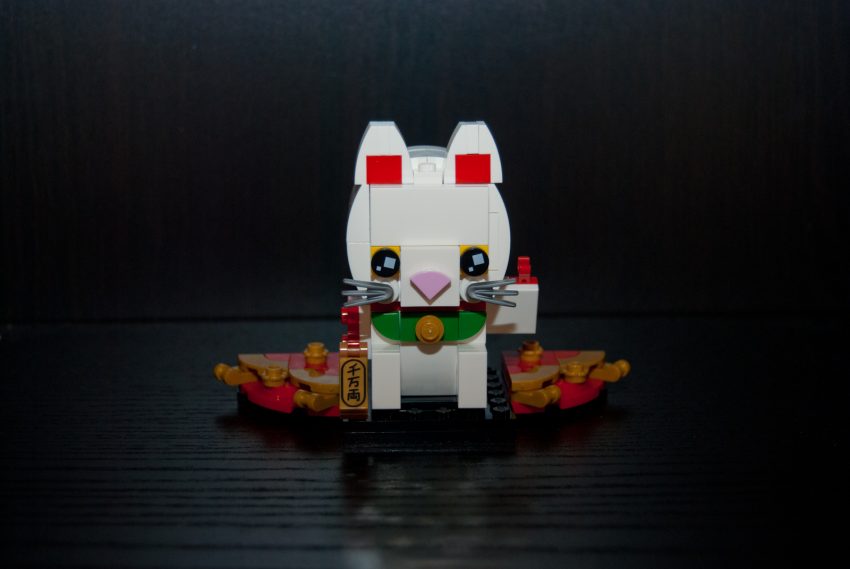
Maneki neko is one of Japan’s most enduring cute little traditions. They’re immediately recognisable and found all over the world. Traditionally made of ceramic or carved wood, they can now be found made of plastic, metal, eraser, food, vinyl, and yes, even Lego!

The name maneki neko means “beckoning cat.” What it’s supposed to bring to you depends on which paw is up and beckoning, and occasionally the colour of the cat itself or the character on its bib. Typically the left paw up is said to be for bringing in customers, and the right paw up is for bringing in wealth. It’s common to see the left-paw style in restaurants and businesses. While they were all originally white or calico-patterned, much like the daruma they now also come in different colours to represent different aspirations such as red for health, pink for love, or gold for wealth.

One day I would like to get a tattoo of a maneki neko to bring me health and luck wherever I go! Until then I will have to satisfy myself with figurines and statuettes.

L is for Layers

Layers, one thickness, course, or fold laid or lying over or under another

Today was a finicky one, since there is no L letter or phoneme in Japanese – loanwords from other languages such as English will typically use ru- or ra- syllables instead. So obviously I couldn’t use a traditional motif or technique for this entry. Instead, I decided to run with a relatively mundane English word. Layers. Lots of lovely layers!

The concept of layering one kimono over another is definitely nothing new. Think back to my entry about junihitoe from a few days ago! As recently as the Taisho era, it was common for formal kimono to come as a kasane set, including two or three layers of matching kimono in coordinating colours. Even after these were deemed too heavy and impractical, it was trendy to use a dounuki, which was somewhere between a kimono and a juban, to give the illusion of multiple layers.

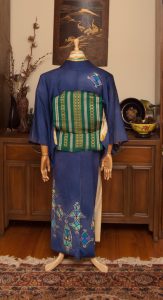
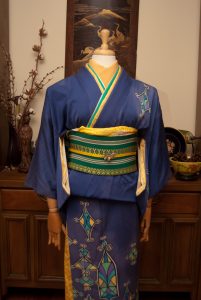
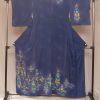
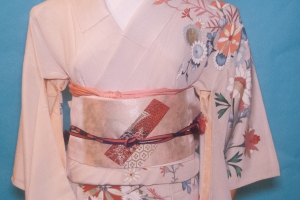
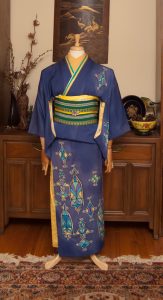
I bought this kimono way back in the early autumn, before the whole flood nonsense, but I’d just never had the occasion to do anything with it until now. But I knew it would be gorgeous with a peek of bright golden yellow peeking out at the collar, sleeves, and hem, so out it came.

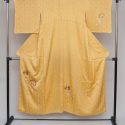
My vivid yellow rose houmongi made the perfect layer underneath, along with a green and gold date-eri to give the impression of even more layers! I used my beloved green and gold hakata obi to pull out more of the green and gold, and draw more attention to the gorgeous stained-glass designs on the kimono. Of course, my beloved lemon-yellow accessories worked perfectly here. But honestly, when don’t they work?

I love this whole coordination more than I can express. I knew in my mind it would work well, but seeing it in person it’s even better than I imagined. It’s always a great day when that happens!

Items used in this coordination

K is for Kintsugi

Kintsugi, 金継ぎ, golden joinery

If you’ve ever seen a beautiful piece of Japanese pottery or ceramic shot through with a line of warm gold filling a crack, you’ve seen kintsugi. It’s the art of using lacquer and gold dust to repair an item, giving it a new life and a new purpose. Kintsugi exemplifies the Japanese qualities of mottainai (regret over waste) and wabi-sabi (the acceptance of impermanence and imperfection). Rather than throw out and waste a broken item, it is a way to give it new life, and create something unique.

You can buy kits to do your own real kintsugi repair, but they are expensive and hard to find. If you’d like to do an inspired DIY version using things you may already have at home or that can easily be bought online from places like Amazon, keep reading! You can follow this tutorial to repair an already-broken item or use it to create a new, unique item like a coaster or trivet. Instructions for both are below.

Continue reading

I is for Ikebana

Ikebana, 生け花, 活け花, traditional flower arrangement


If you’ve been a reader here for a while, you’ve likely seen my efforts to teach myself the basics of ikebana. I do feel like I’ve reached a place where I can’t really grow any more without more focused teaching and direction, but the world isn’t exactly in a state where that’s an option currently. Maybe I’ll look into it once things go back to normal, whenever that might be.

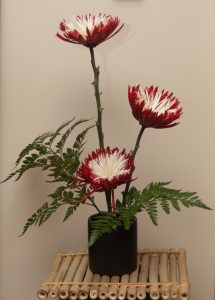
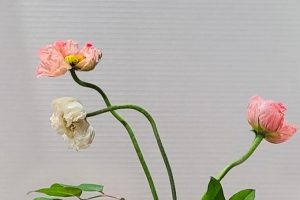
Getting fresh flowers right now isn’t exactly a walk in the park. But my lovely father, who had to leave the house to get food and fill prescriptions, was sweet enough to snag these for me from the flower-seller at the local mall. I love the vibrant contrast in them; they almost feel like an inverted Japanese flag. I went for a straightforward three-height arrangement with only a bit of greenery to anchor it. It may not be anything terribly exciting, but fresh flowers bring me a little brightnessright now, and I

H is for Hanafuda

Hanafuda, 花札, flower cards, traditional playing cards

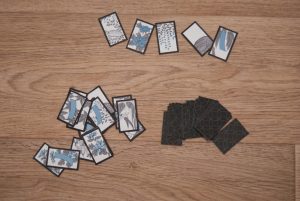
Did you know that the Nintendo we all know and love started out as a company that made playing cards? Their original product was a set of hanafuda cards! Hanafuda are small, traditional Japanese cards featuring designs of flowers and seasonal motifs. Like our more familiar decks of playing cards, there are lots of different games and variations you can play with hanafuda.  To this day, Nintendo still makes novelty hanafuda sets. So do several other companies in Japan. You can find decks featuring Super Mario Bros, Kirby, beloved movies like Spirited Away, and even a Pokemon set!

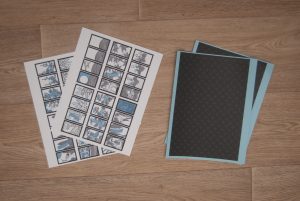
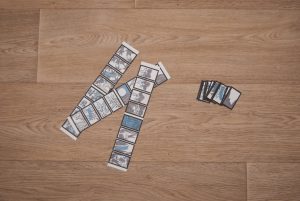
However, if you’d like your own free set, I’m here for you. I’ve created a muted, monochrome set based on the original designs but using the colour scheme from this blog I love so much. All you need to do is print out this PDF on heavy-weight card paper (I had blue and white so I used blue for the background side but plain white works just as well). Then glue each card sheet to one background sheet with stick glue, put a heavy weight on them to dry them flat (I used books), and then cut them out after 24 hours or so.

Click here to download the PDF

For game instructions, Wikipedia has your back. Enjoy your new hanafuda deck, and have fun!