
Rinzu, 綸子, silk damask
Rinzu is like jacquard, a beautiful tone-on-tone pattern achieved by weaving techniques only. No dye, no paint, just right off the loom with a rich, beautiful depth.
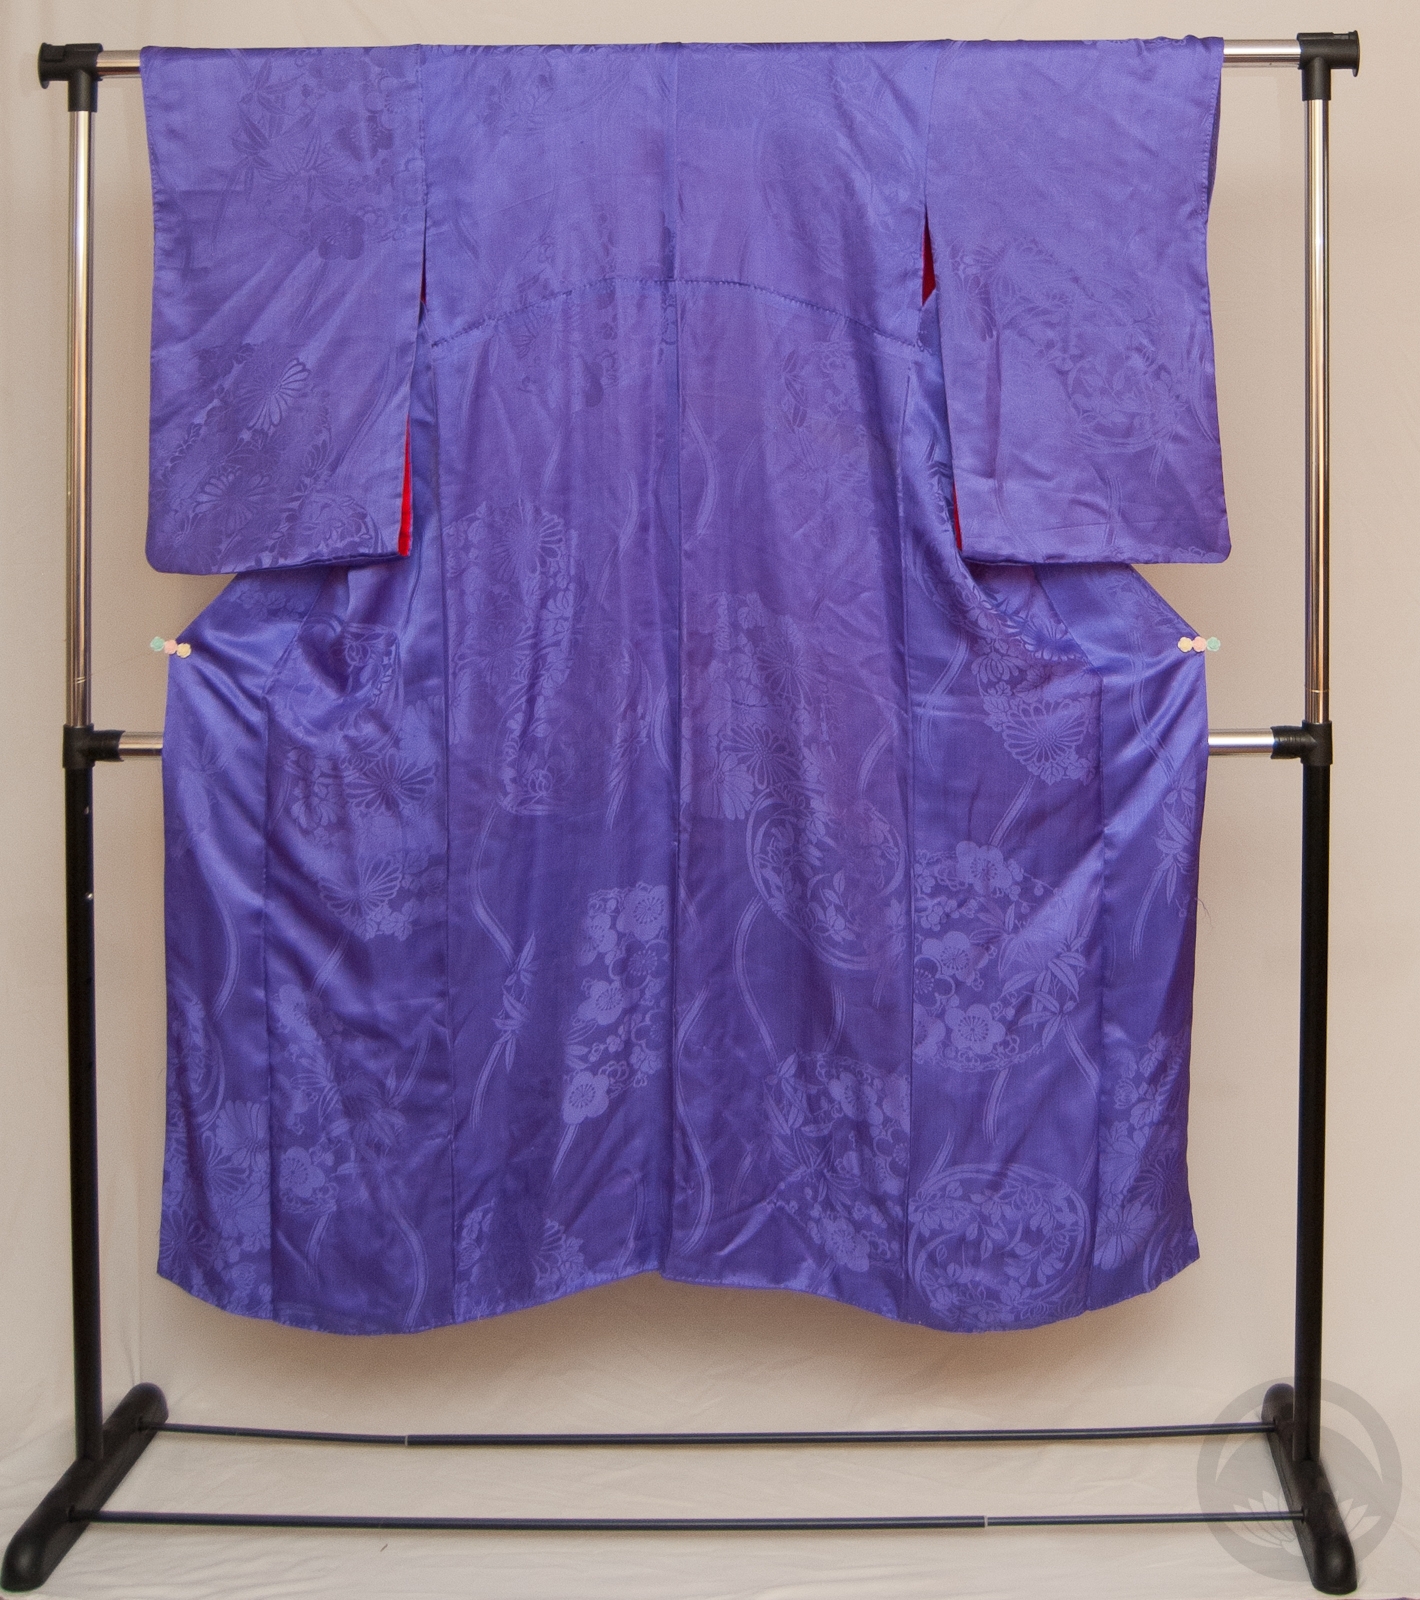
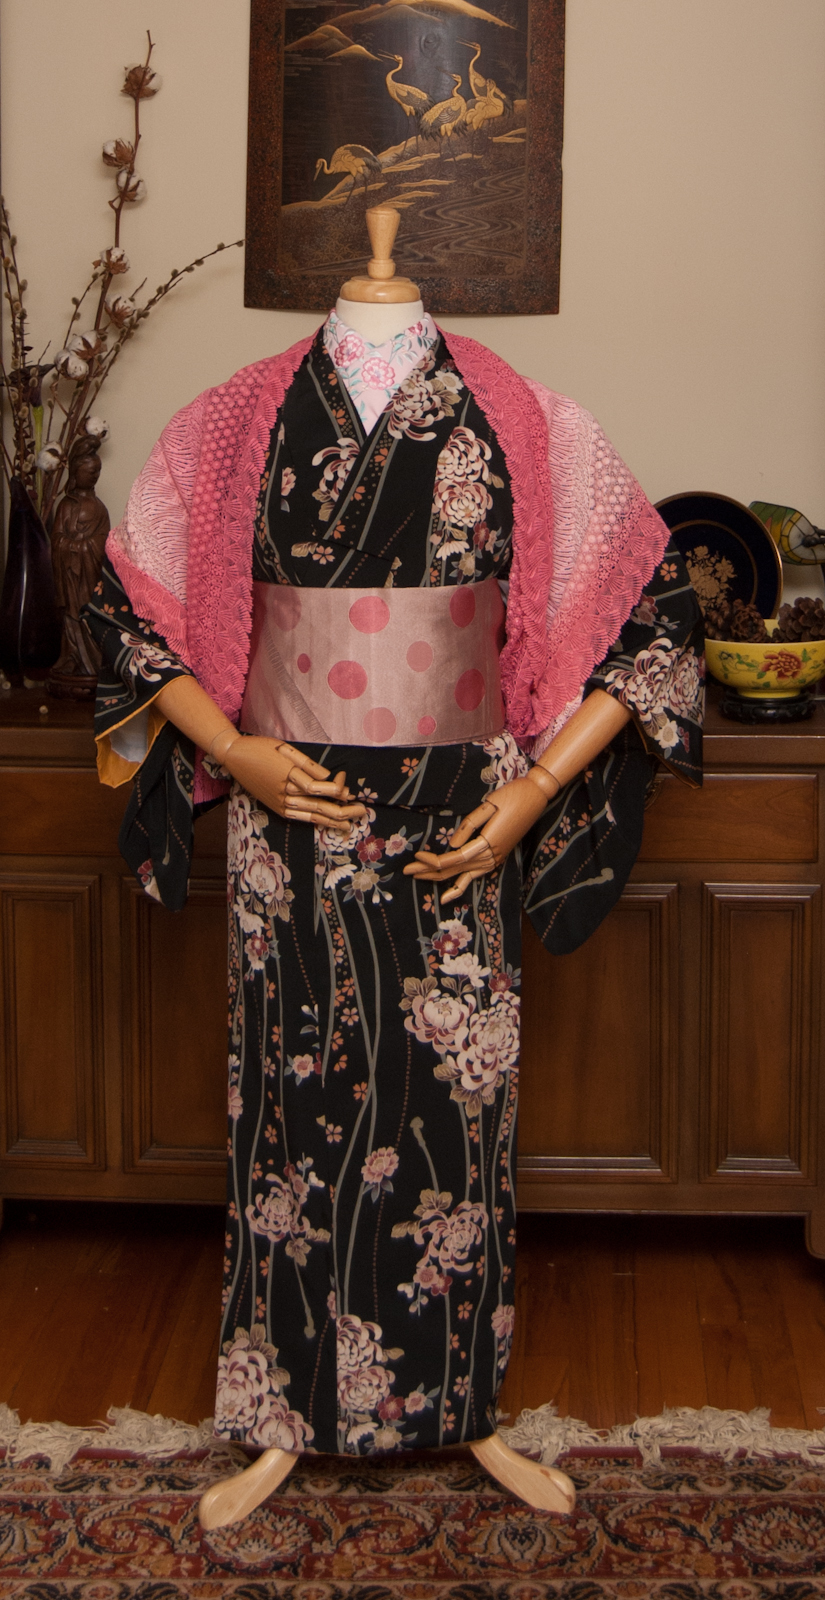
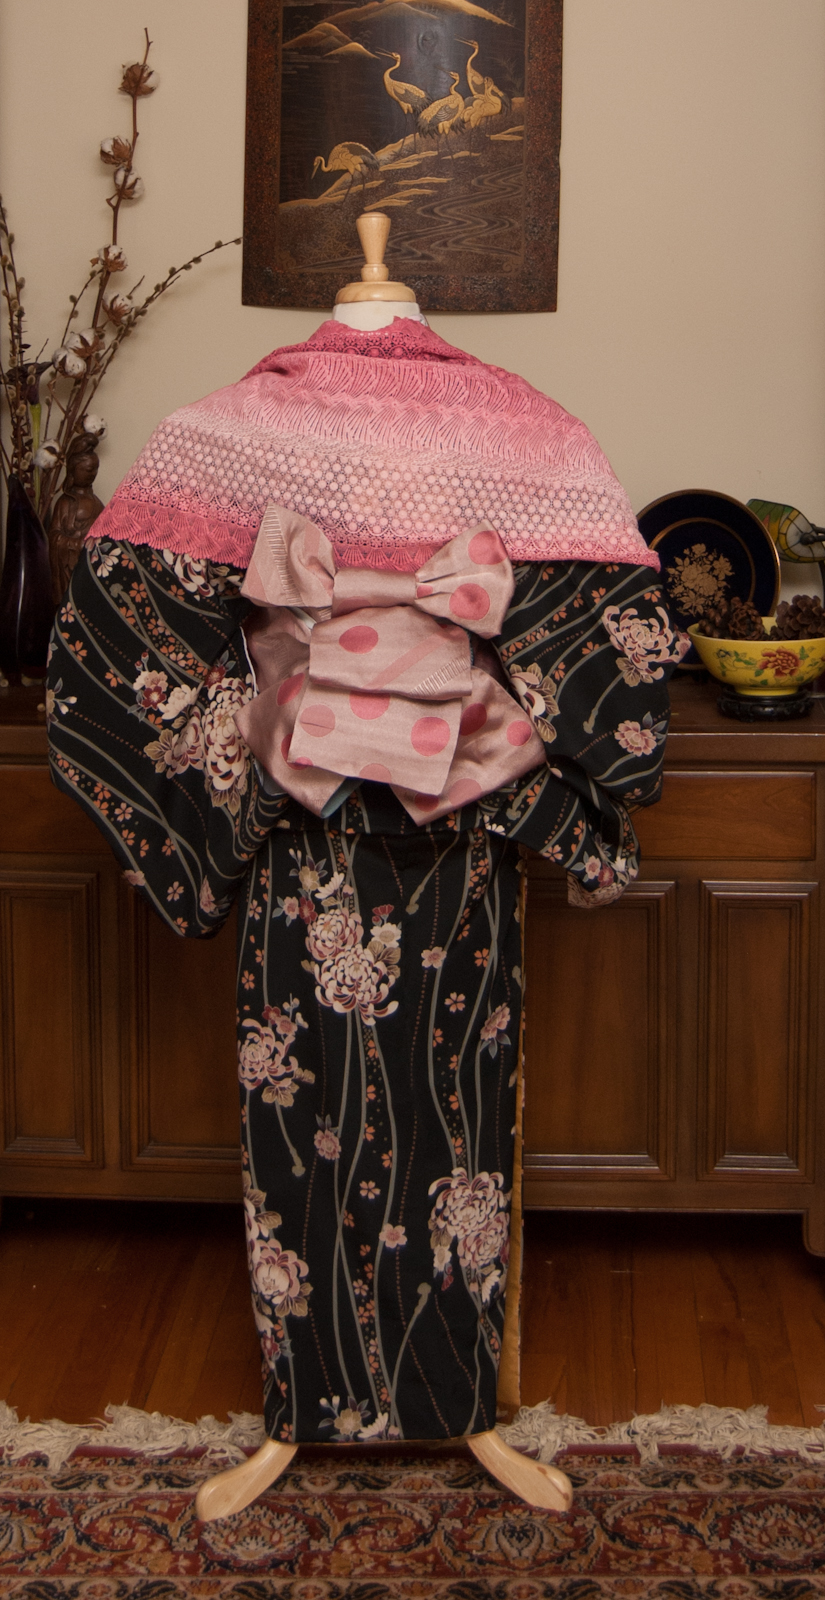
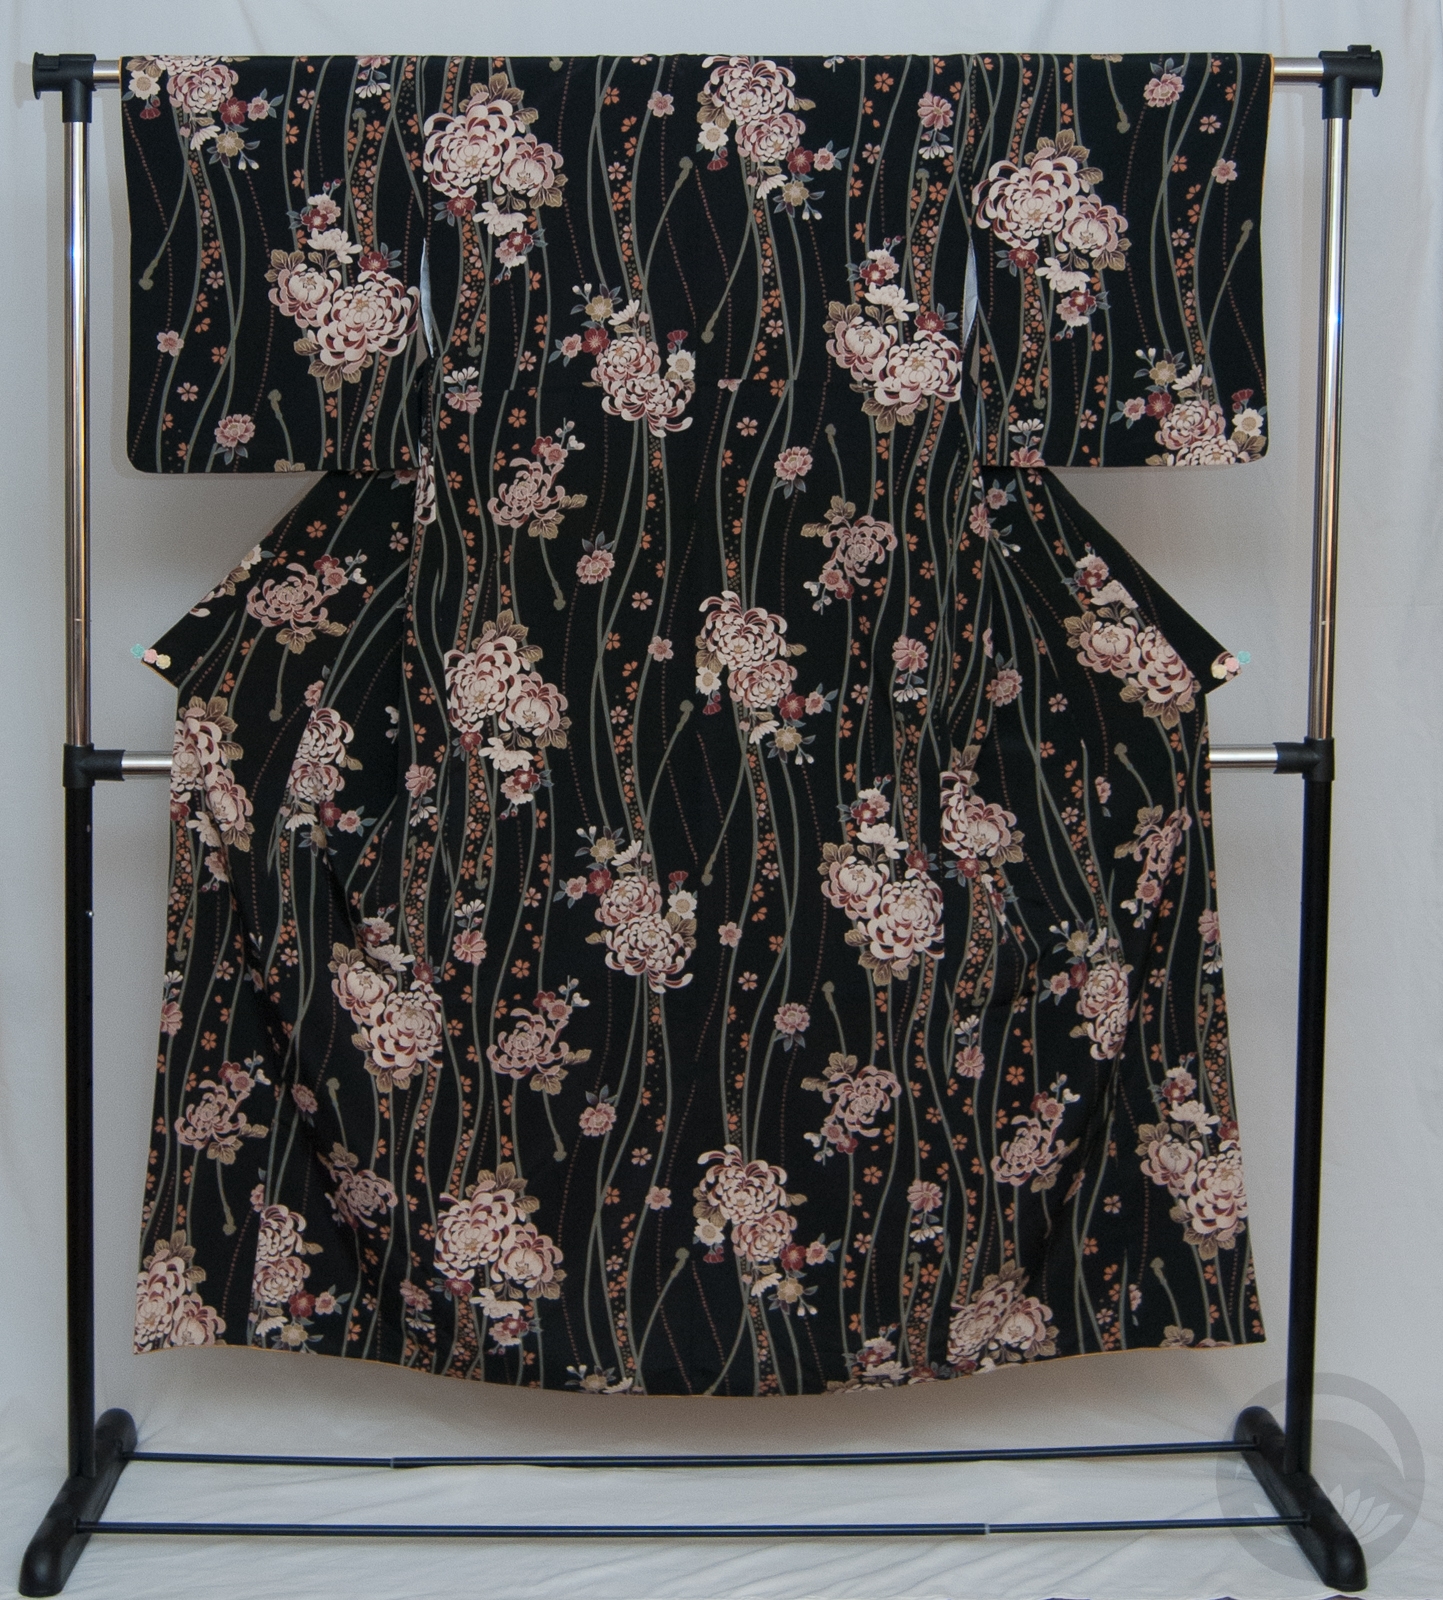
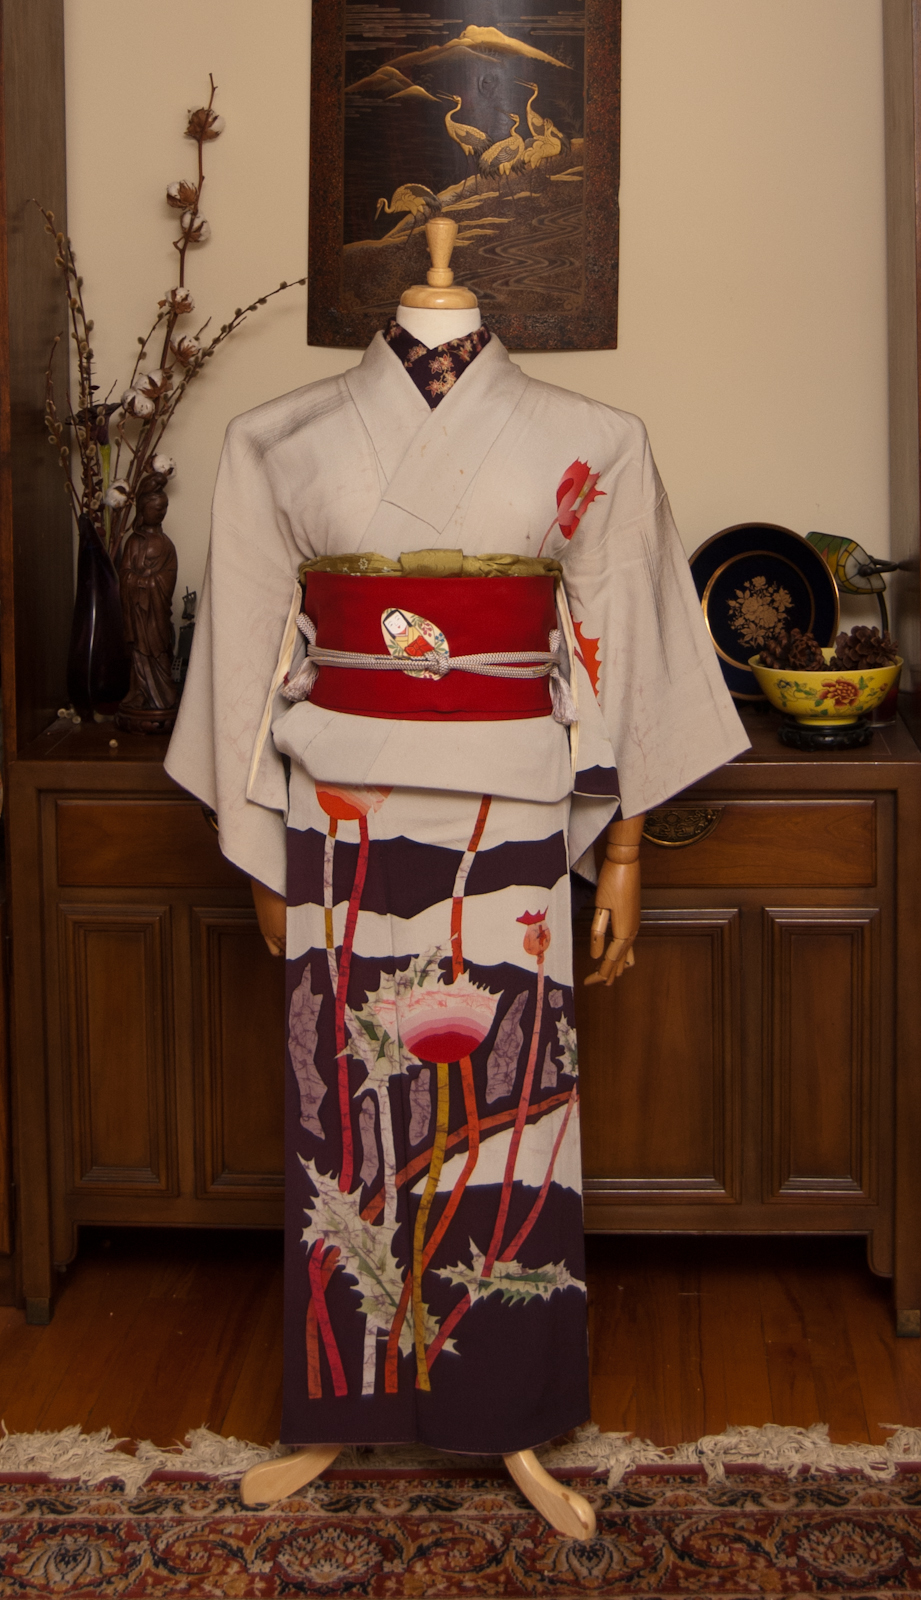
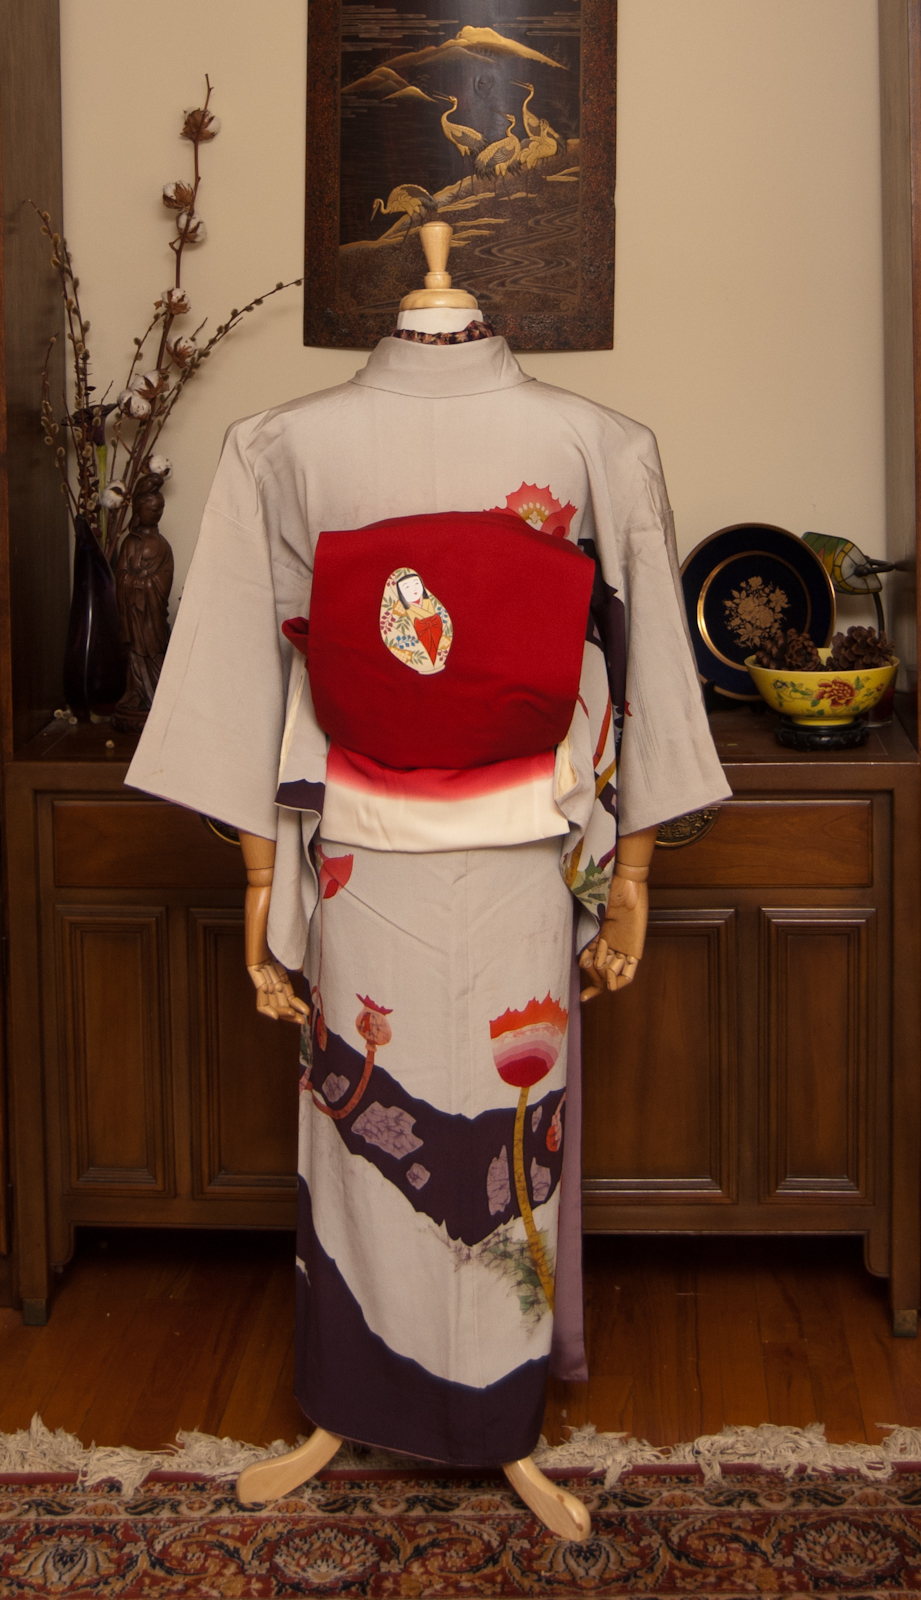
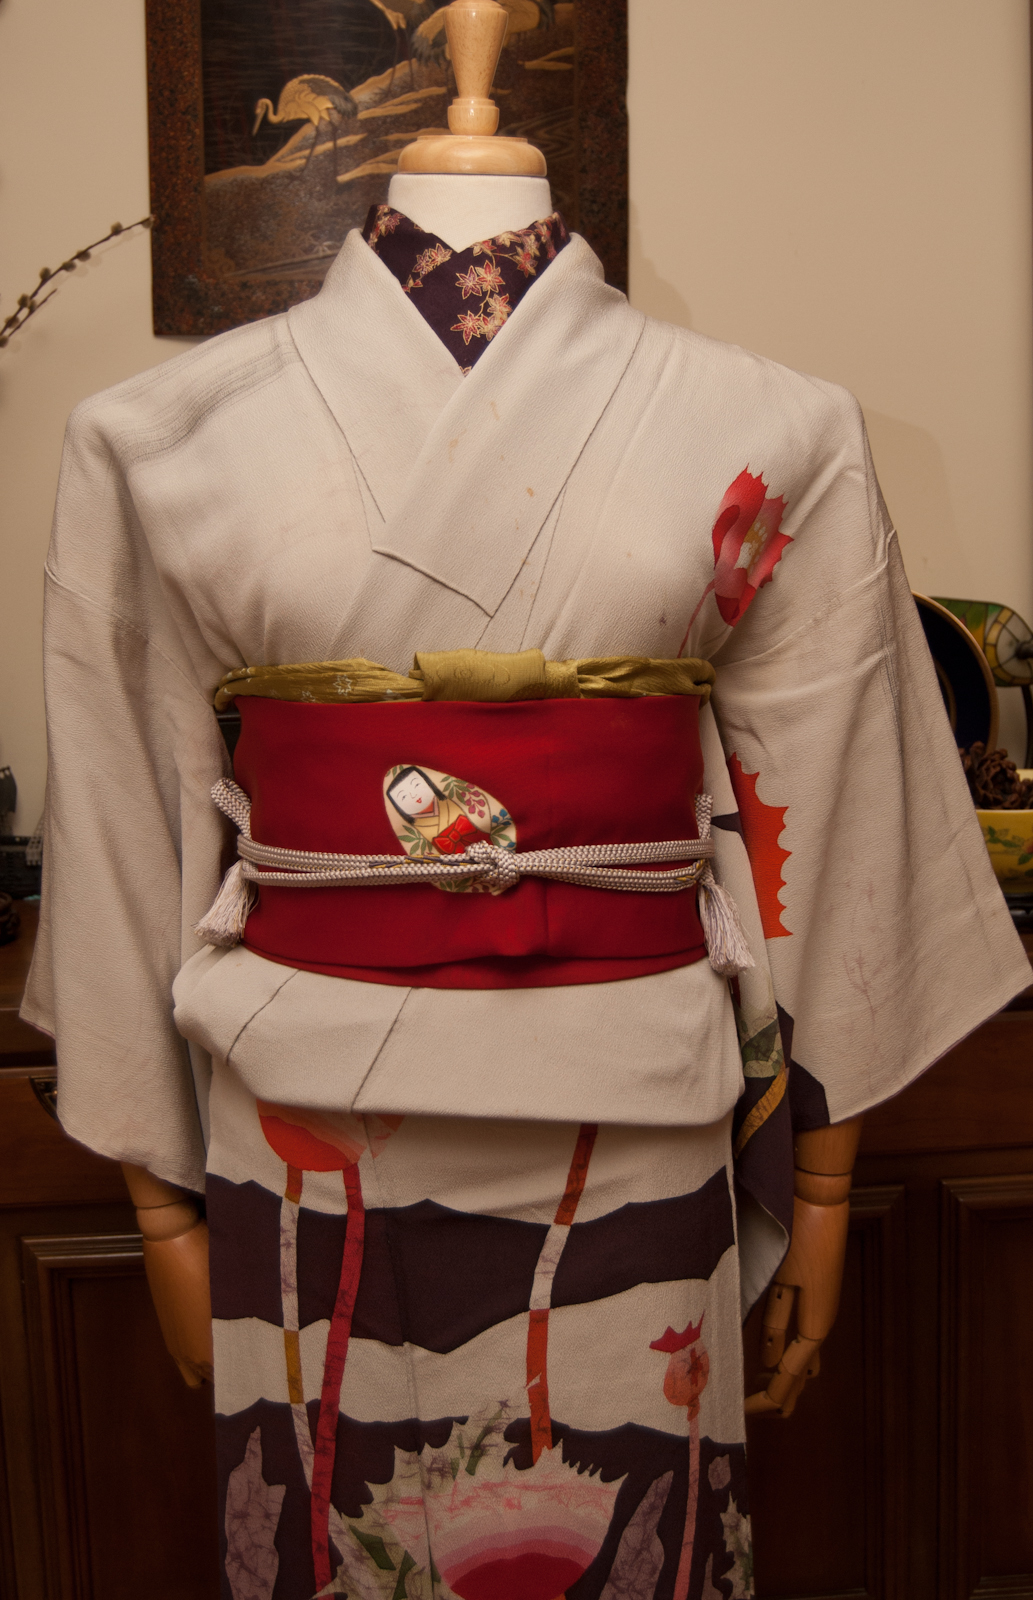
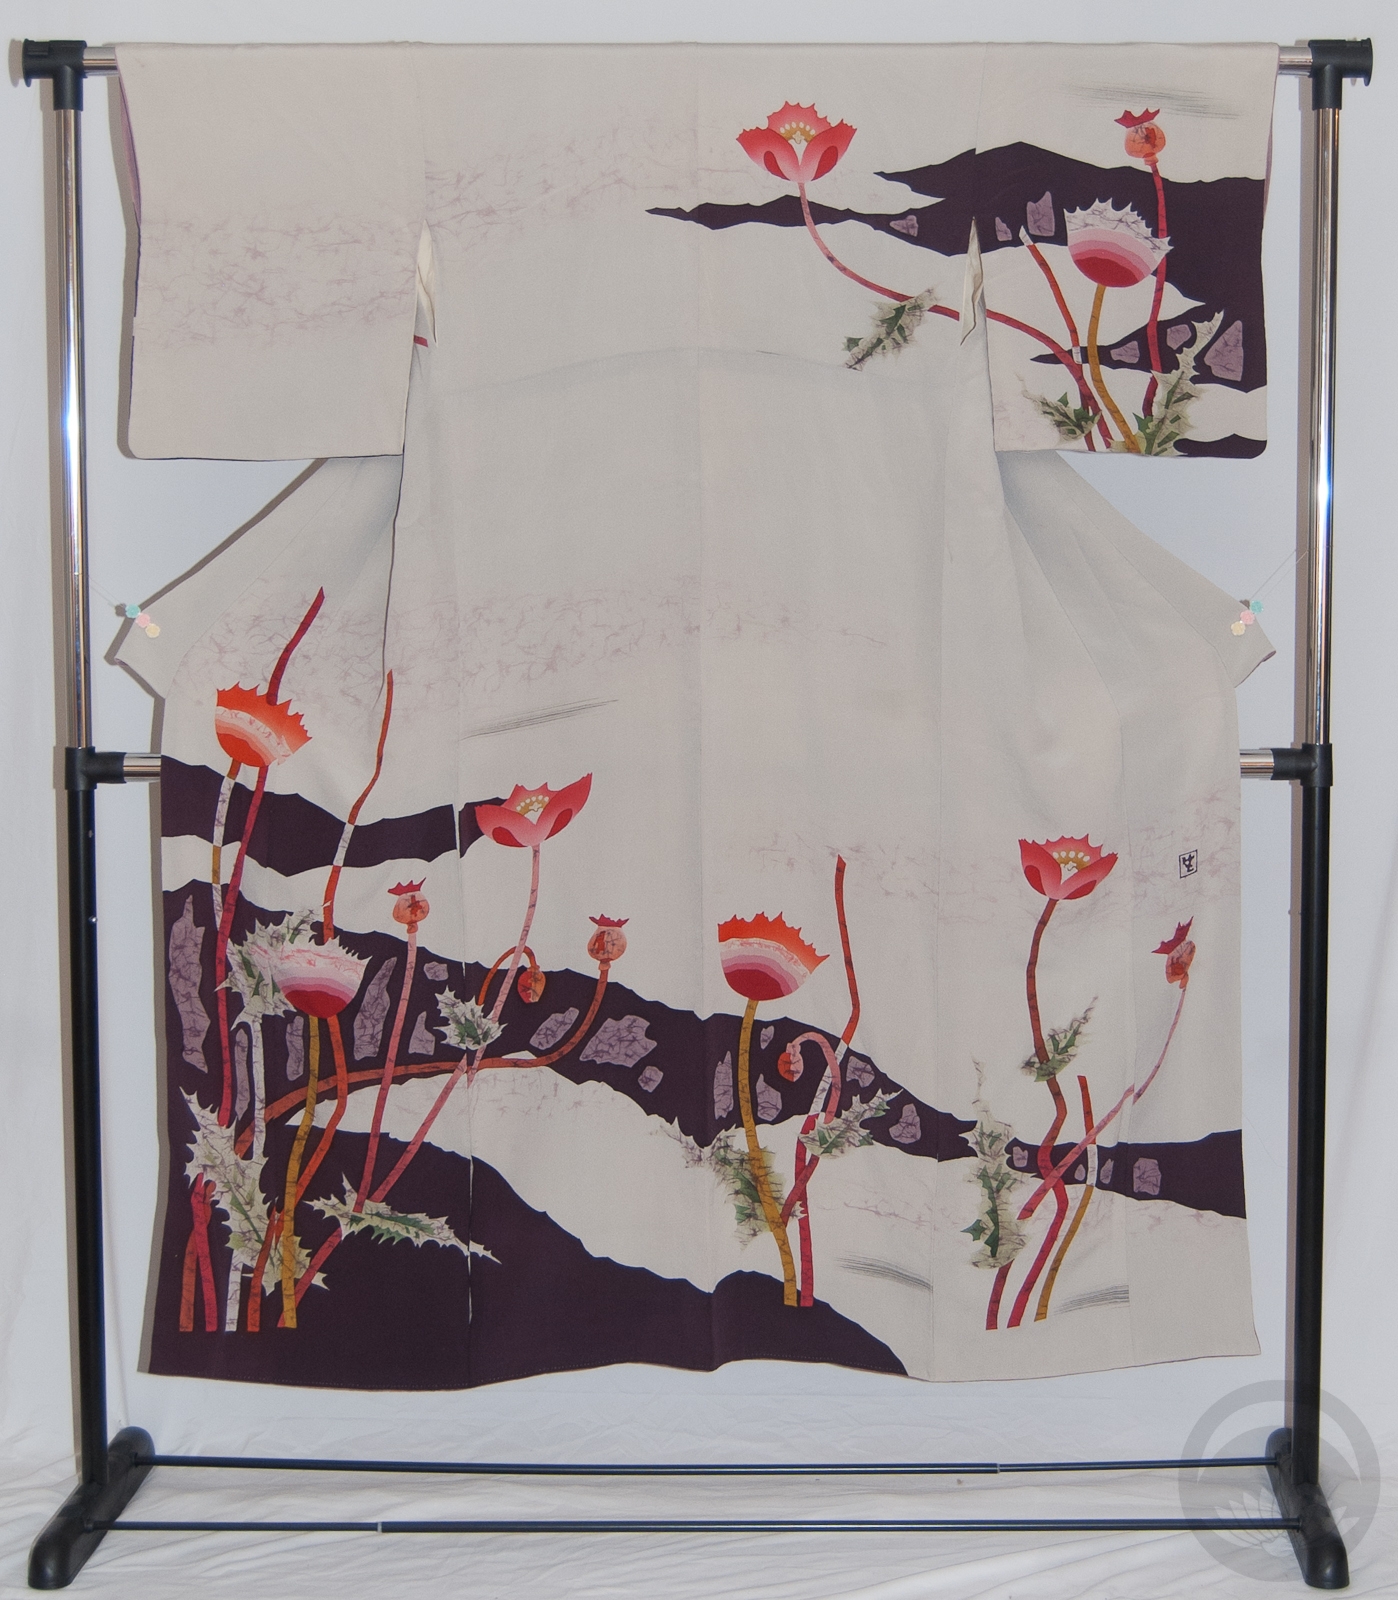
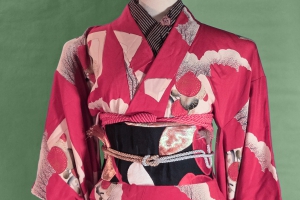
I have lots of pieces in my collection that have a rinzu base, but none of them show off and exemplify them quite as gorgeously as this vintage purple iromuji given to me by a friend. I decided to do an entire outfit (or as much as possible) using only solid pieces with bold rinzu fabric.
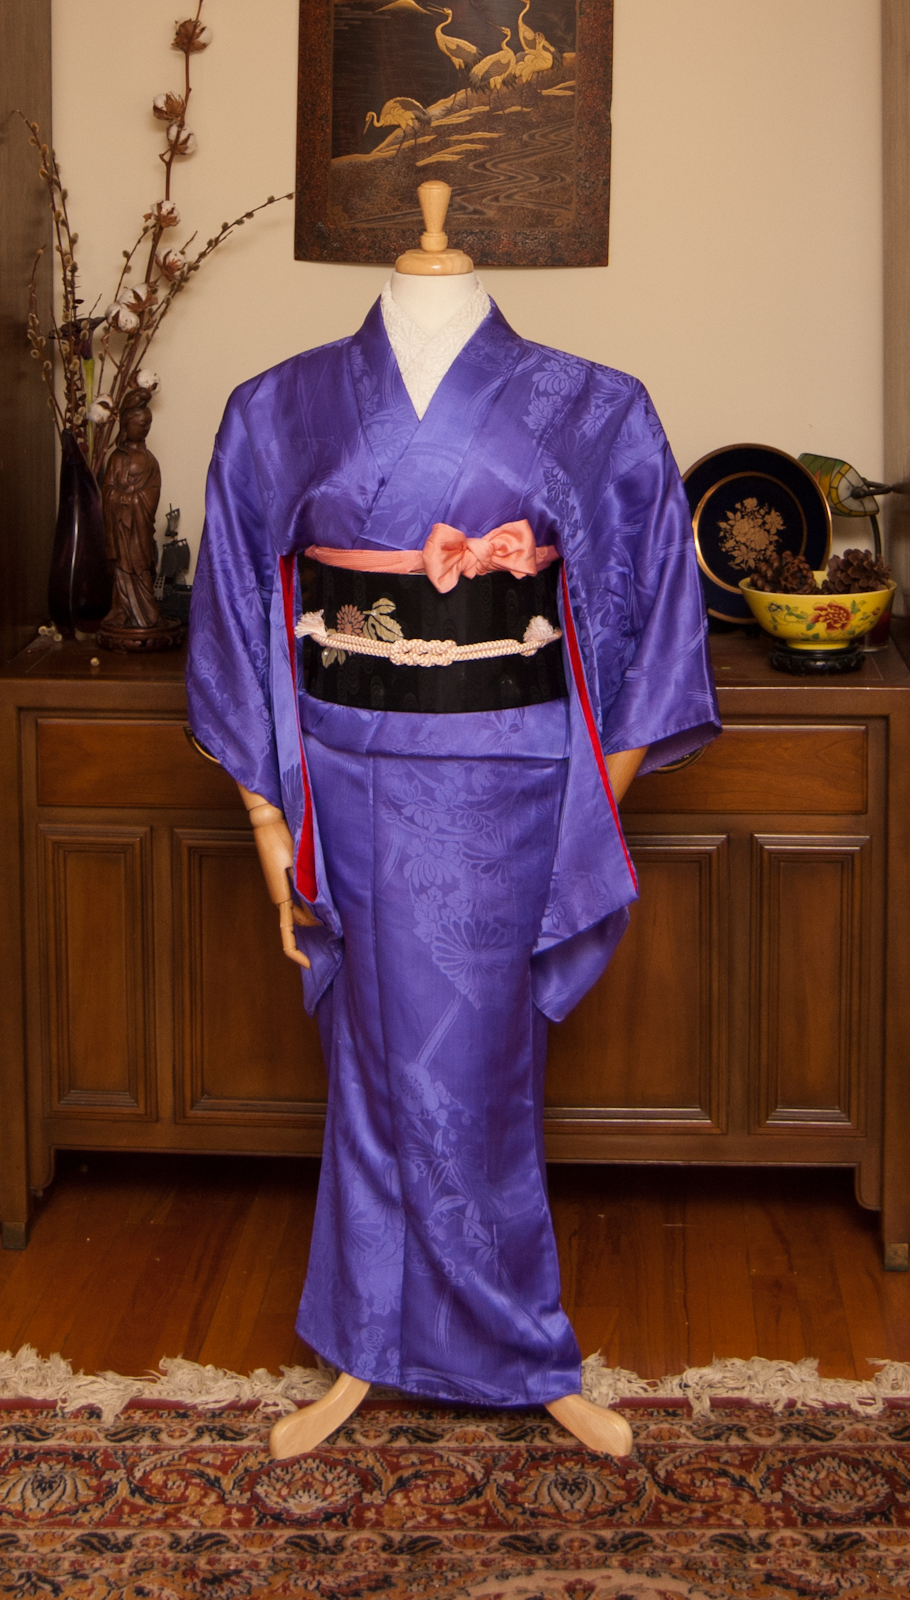
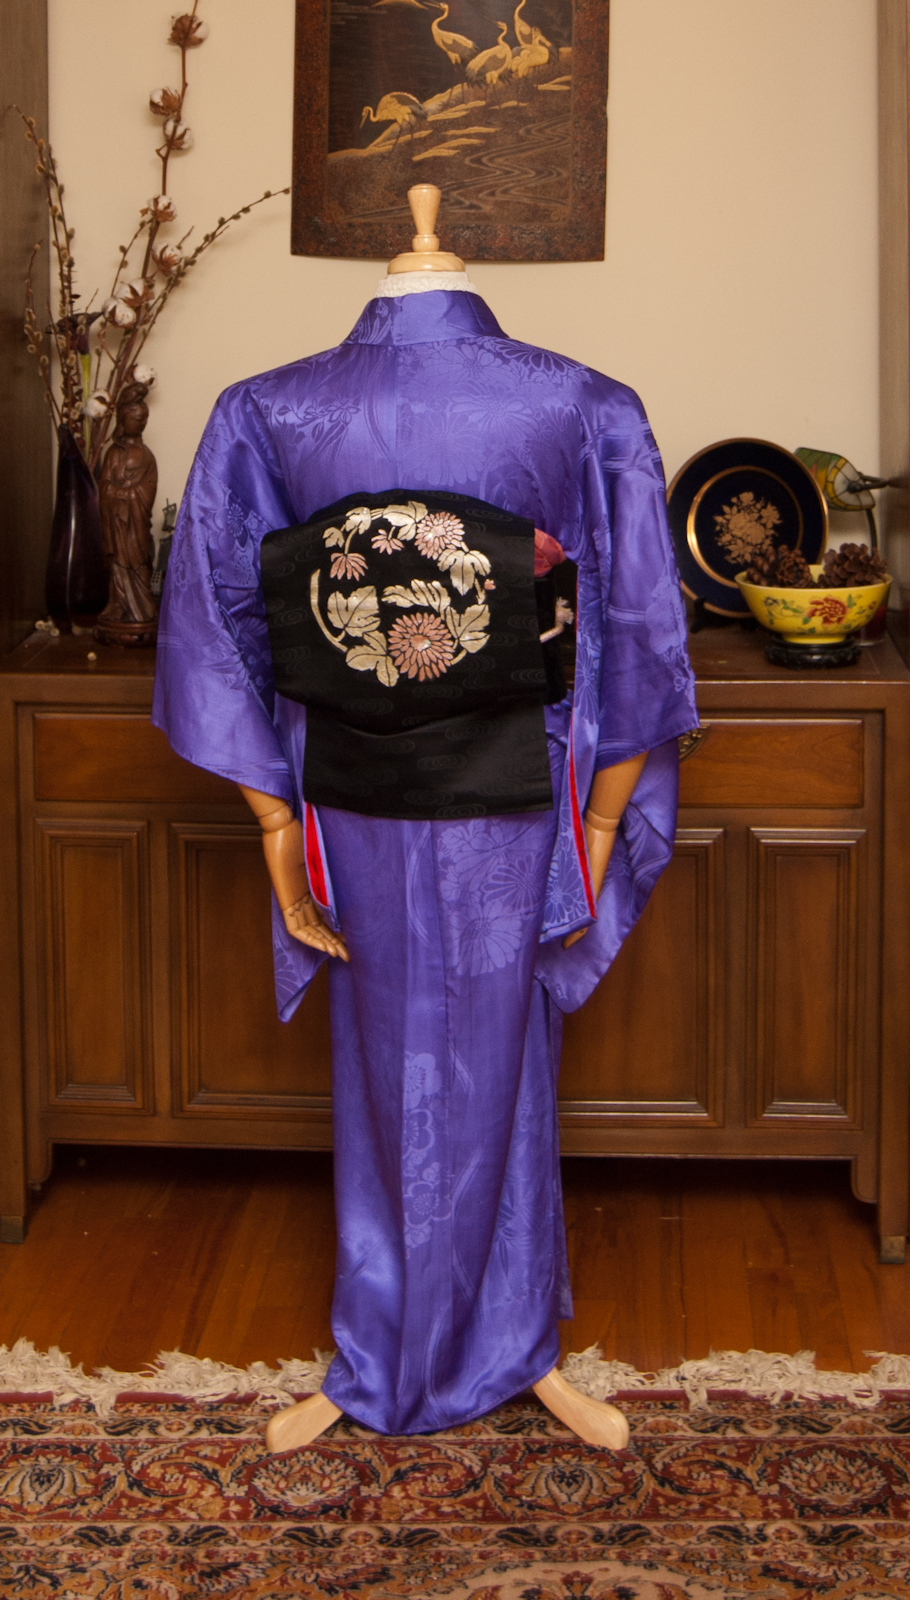
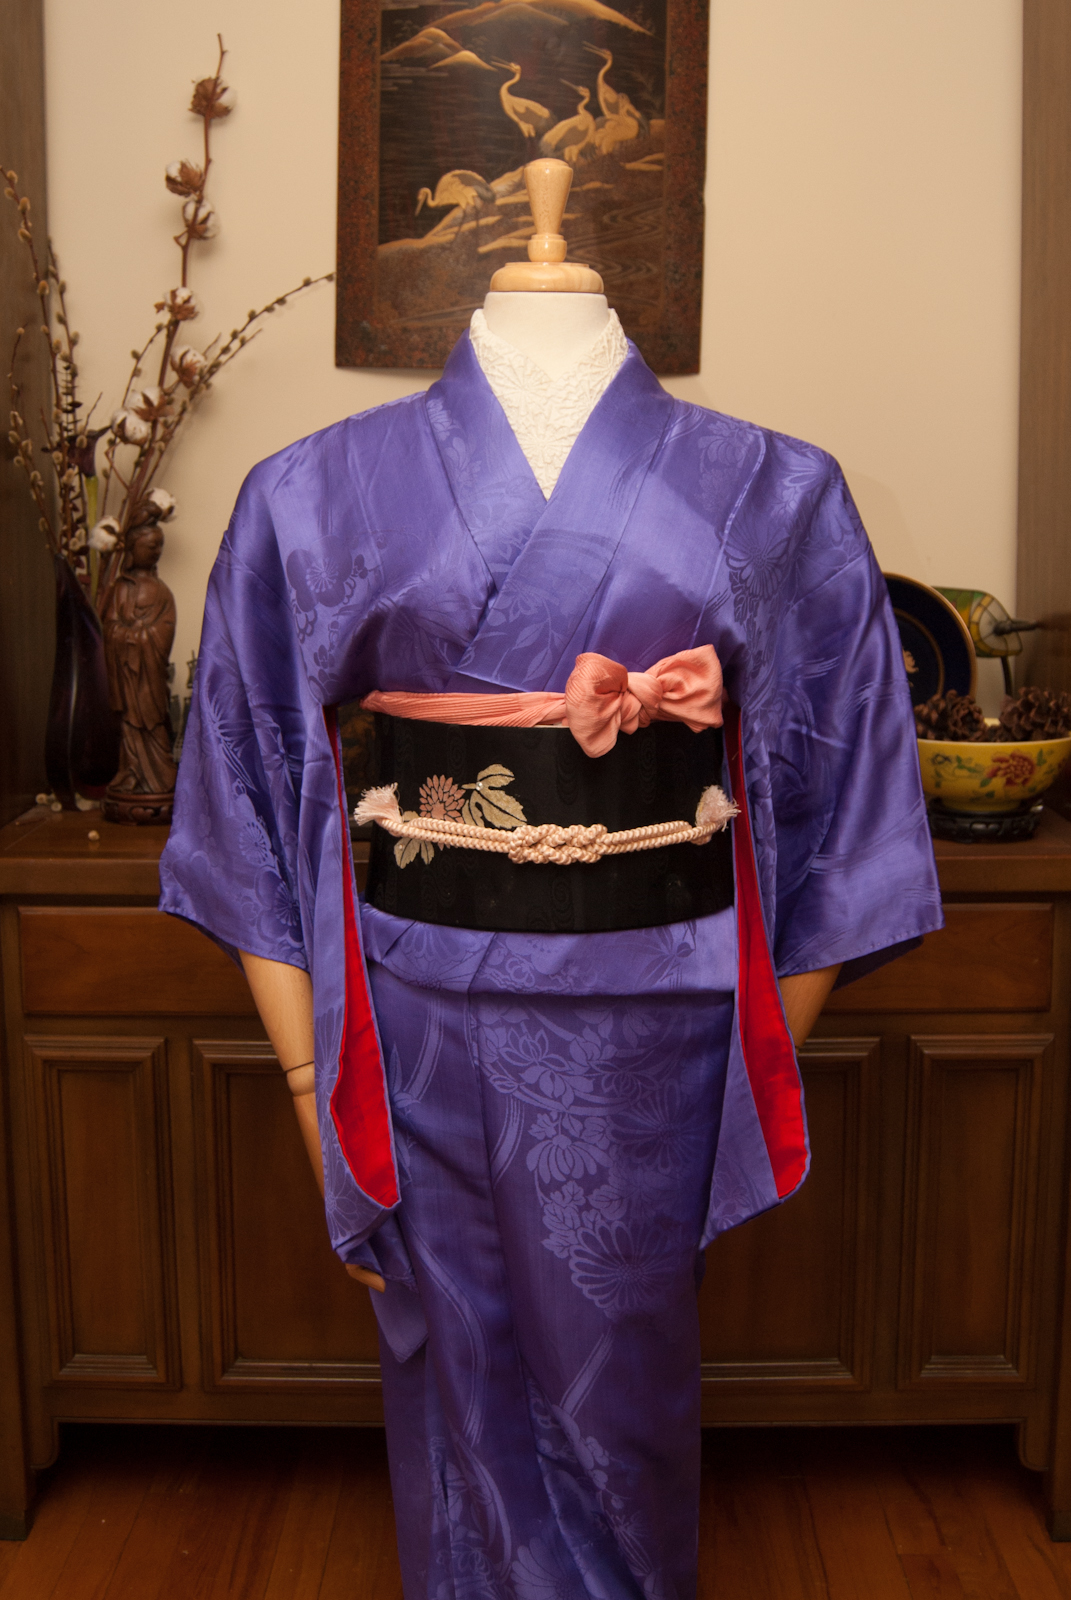
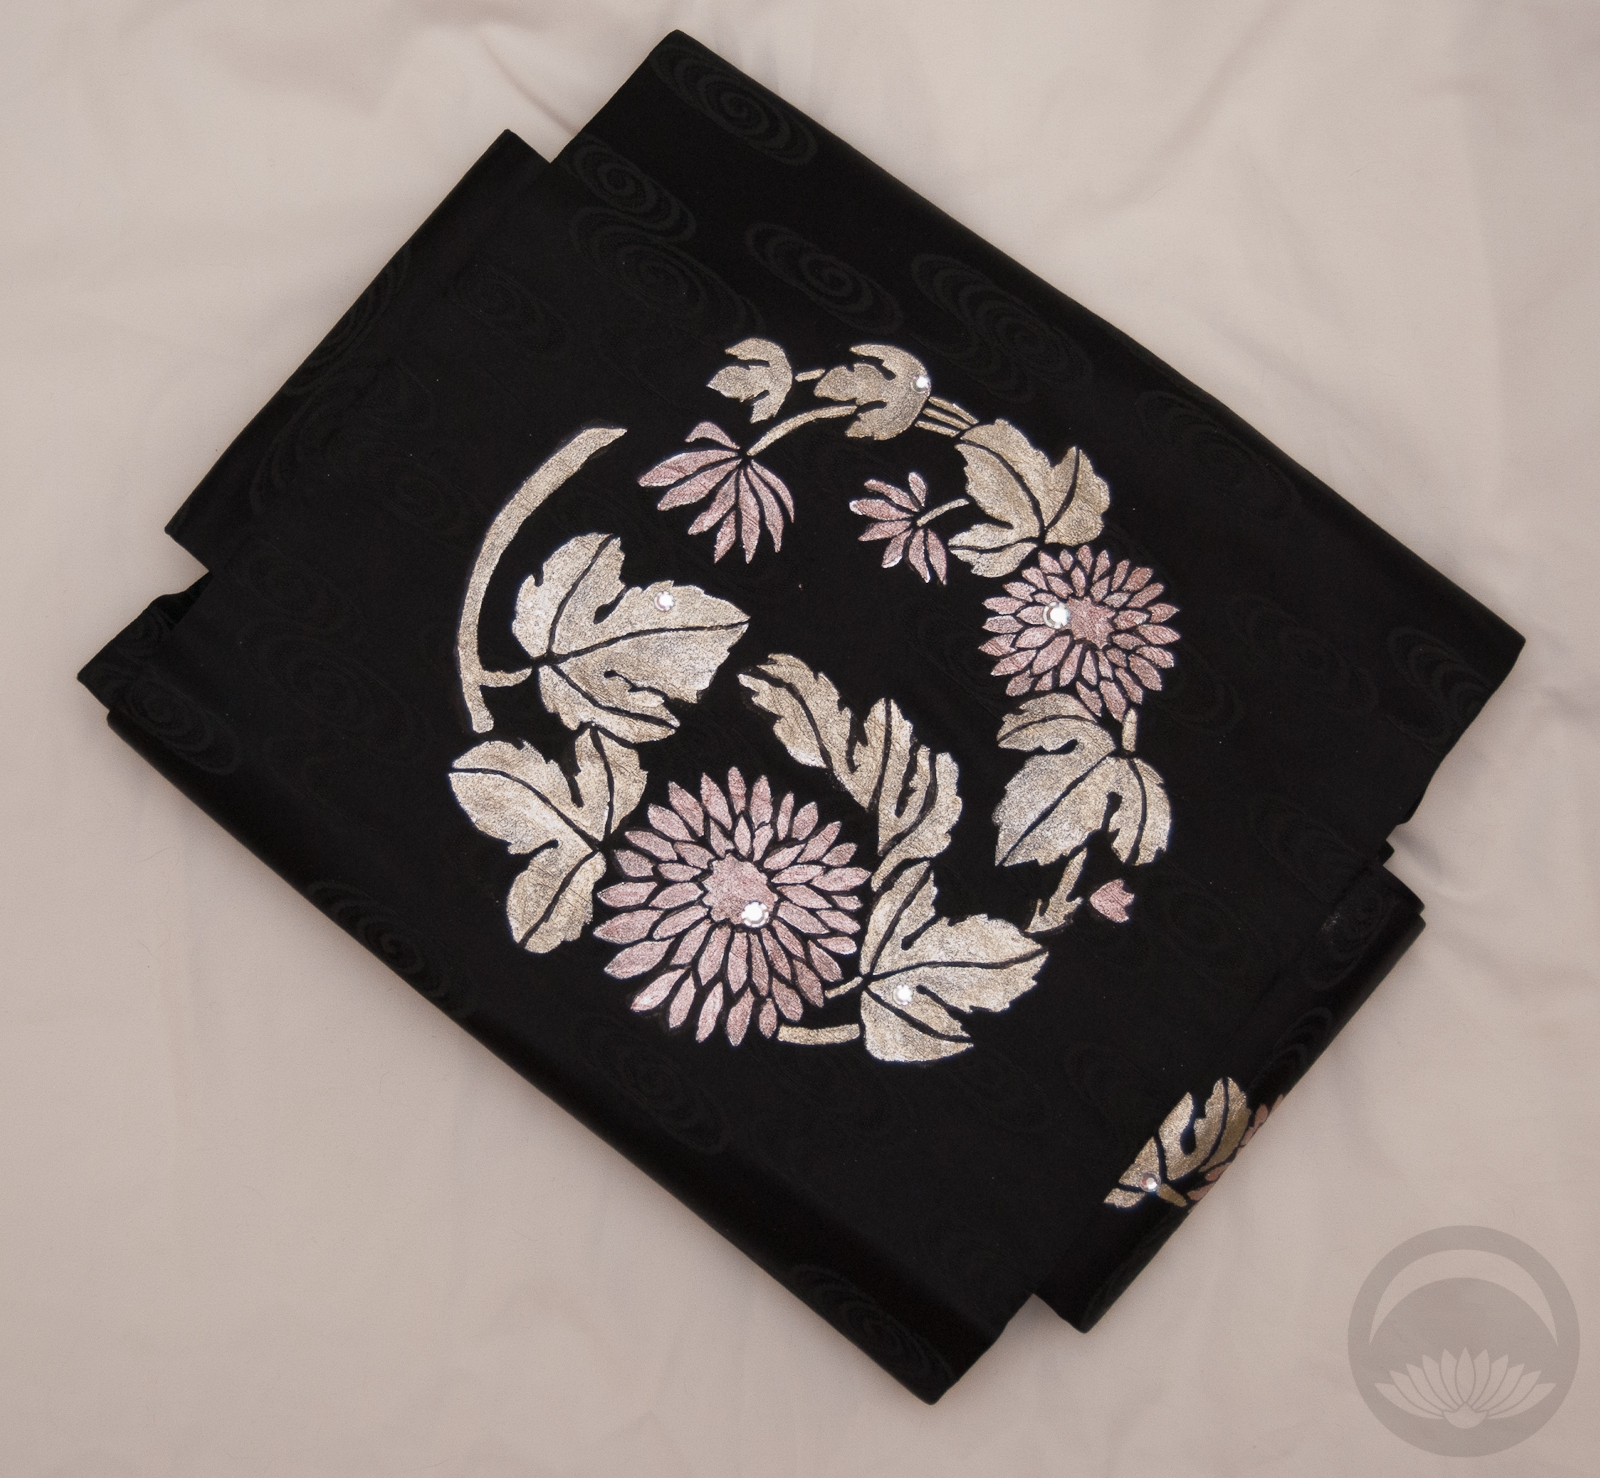
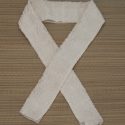
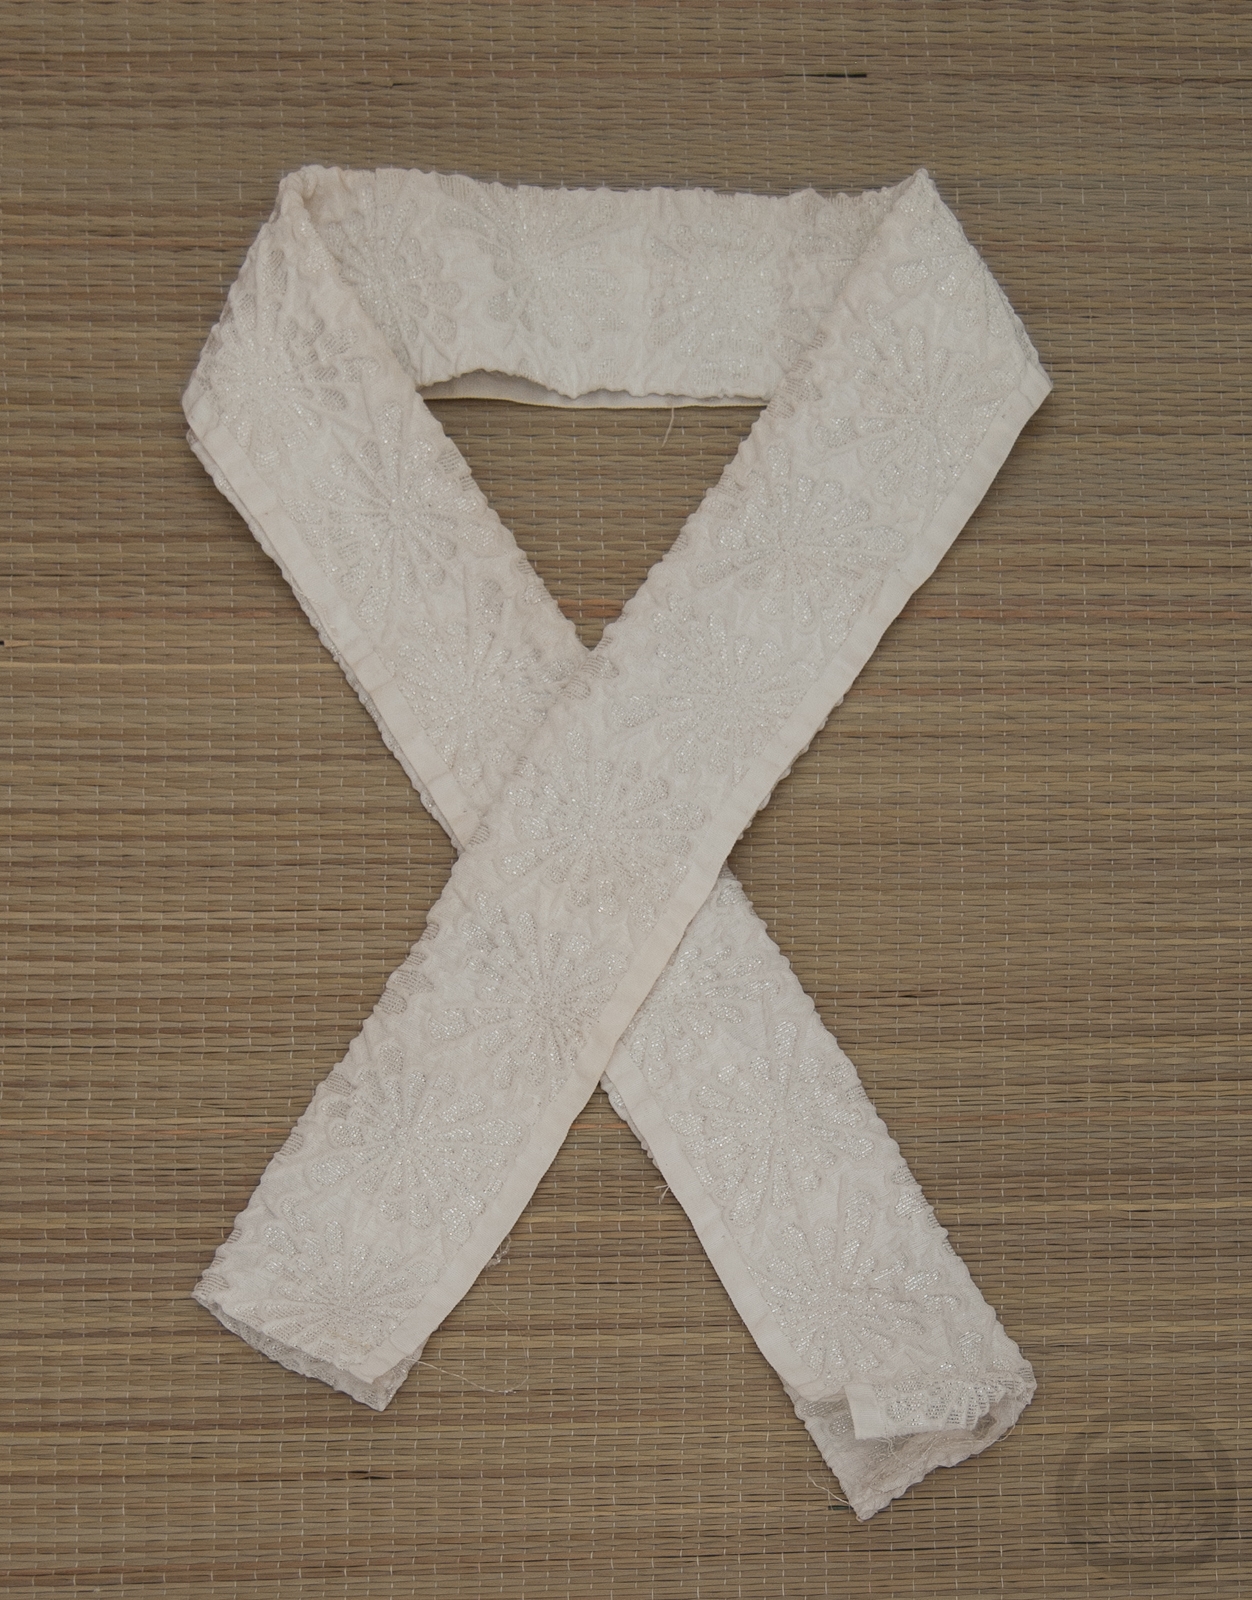
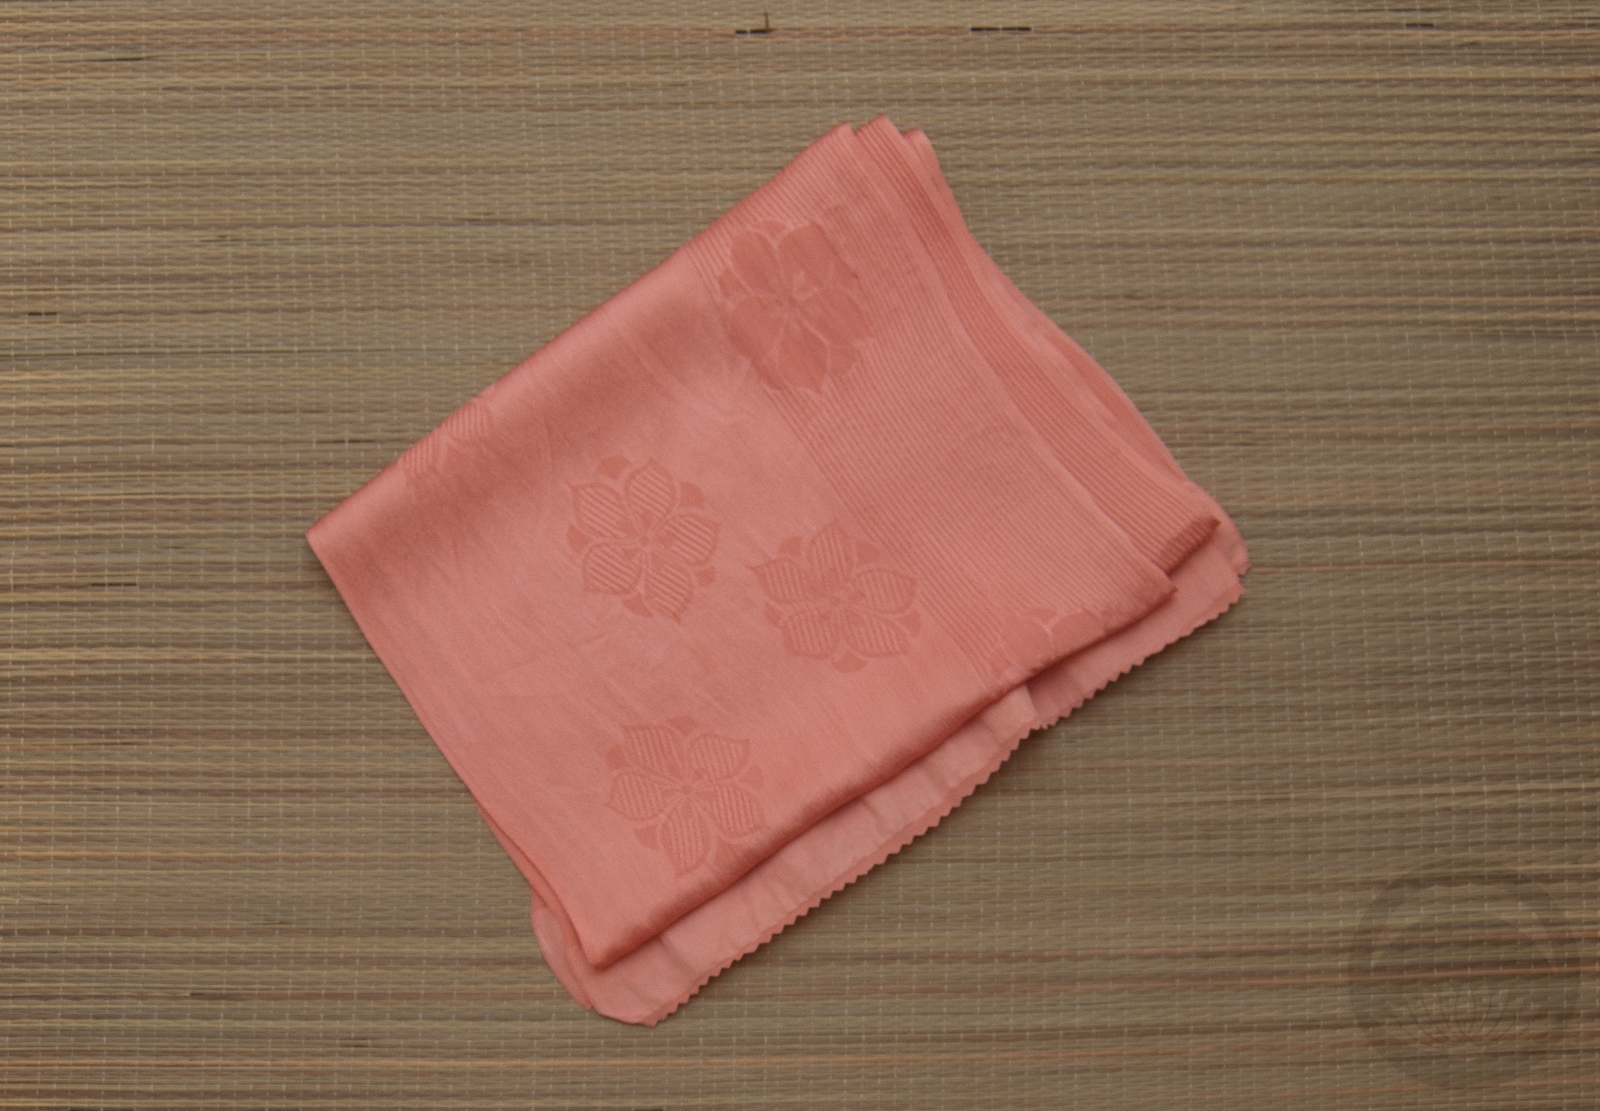
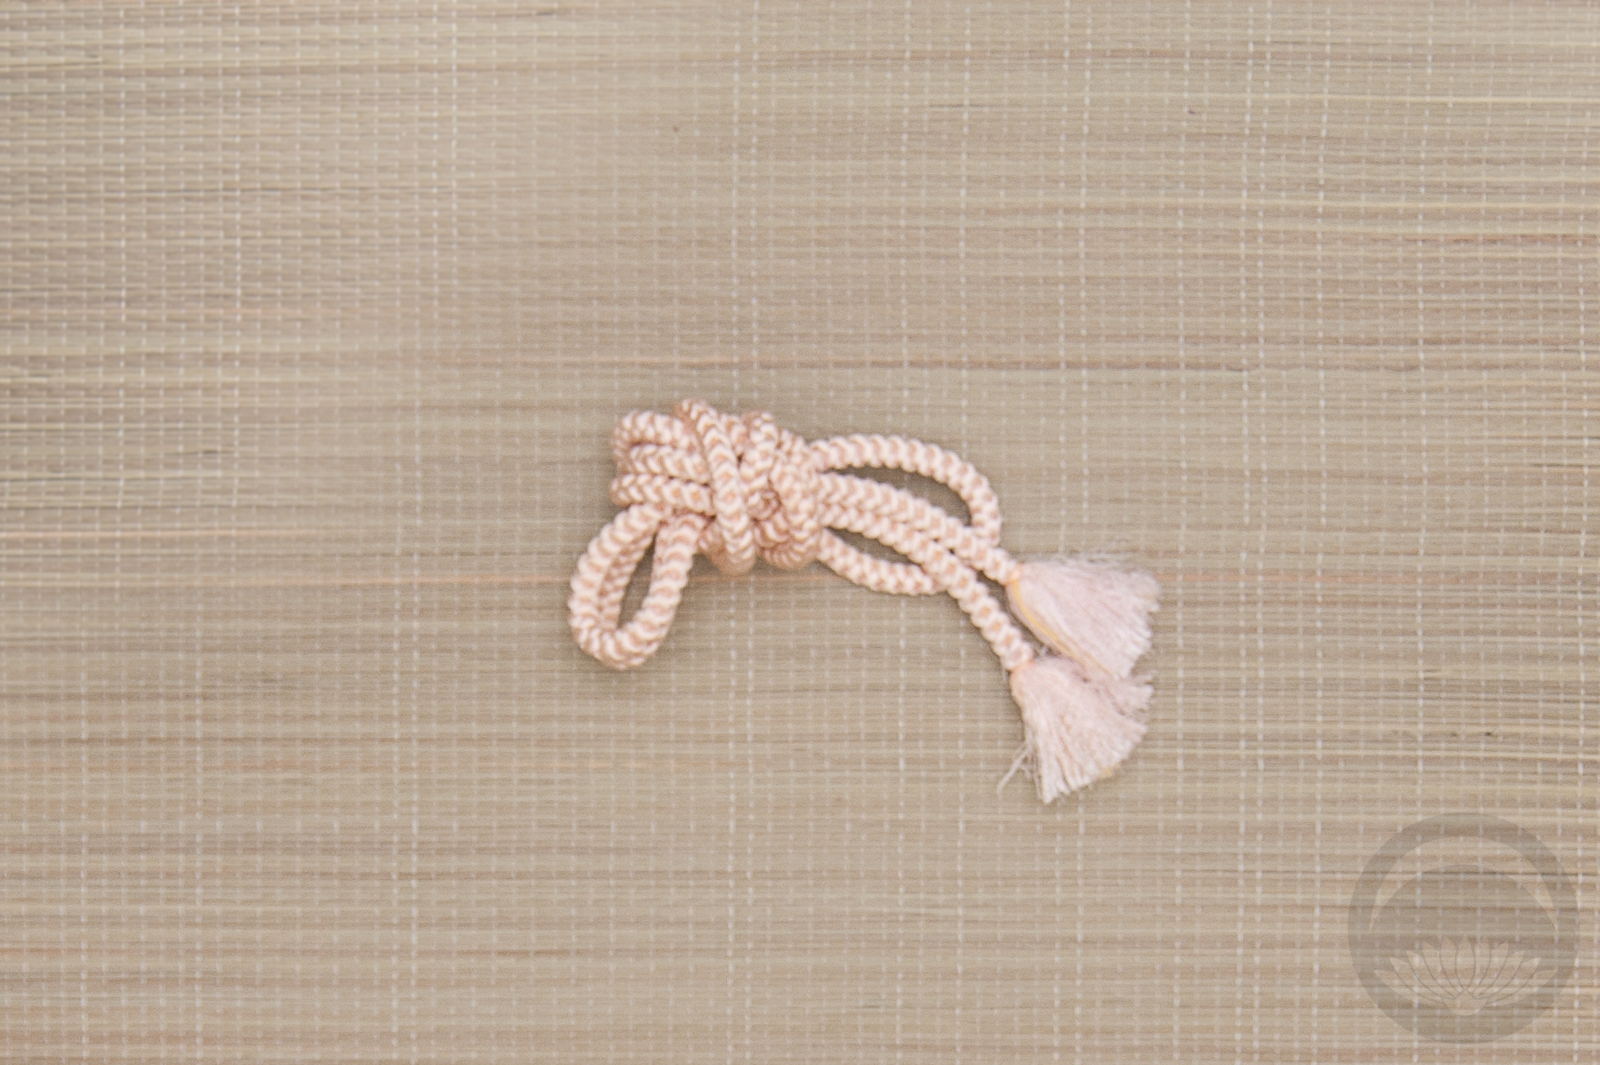
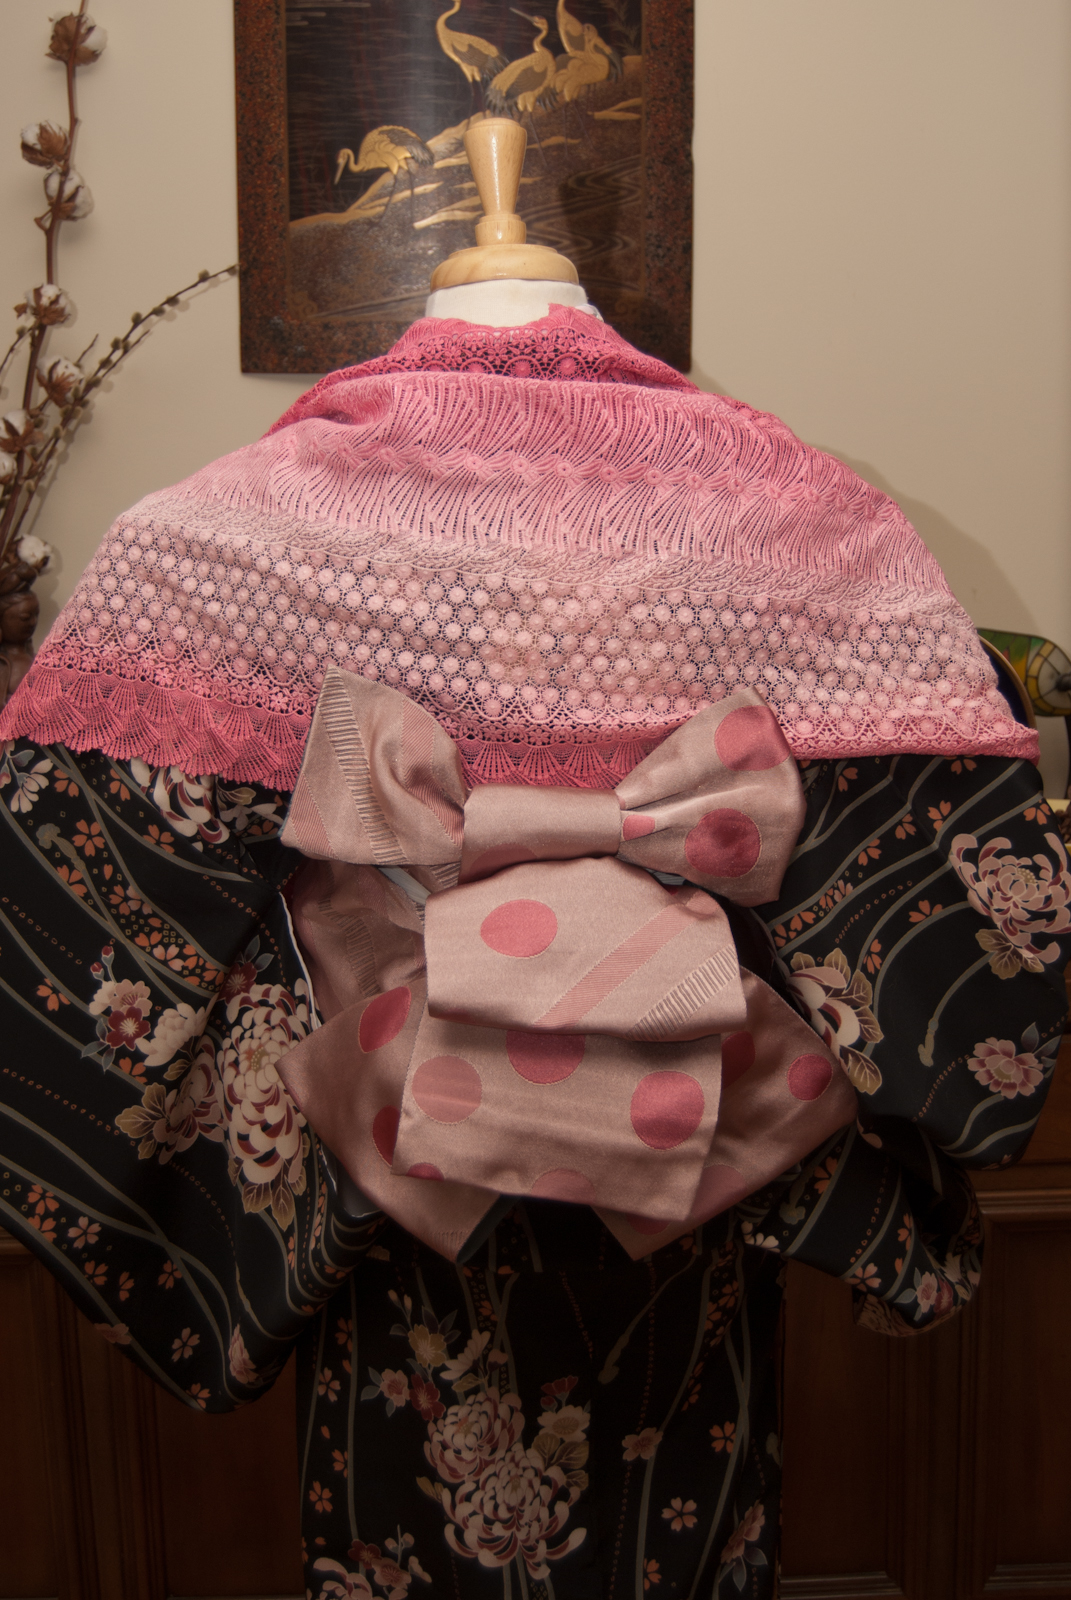
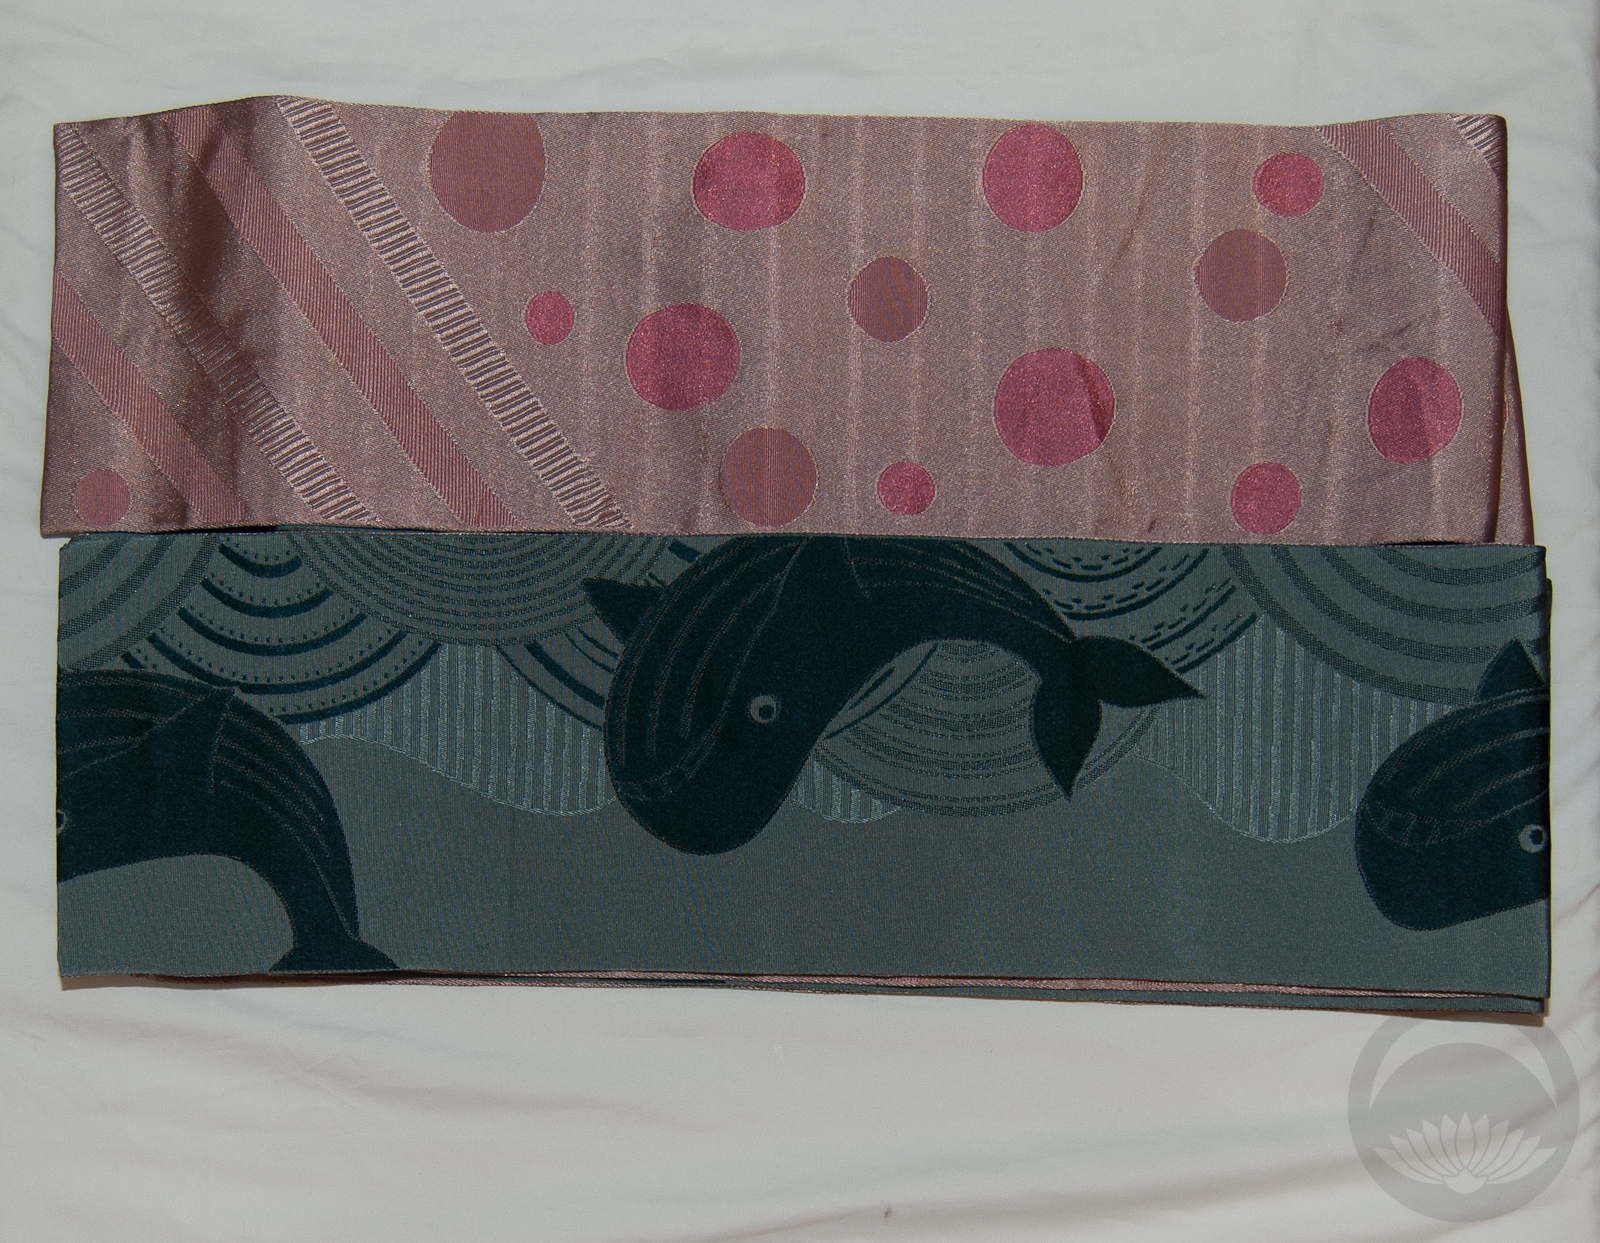
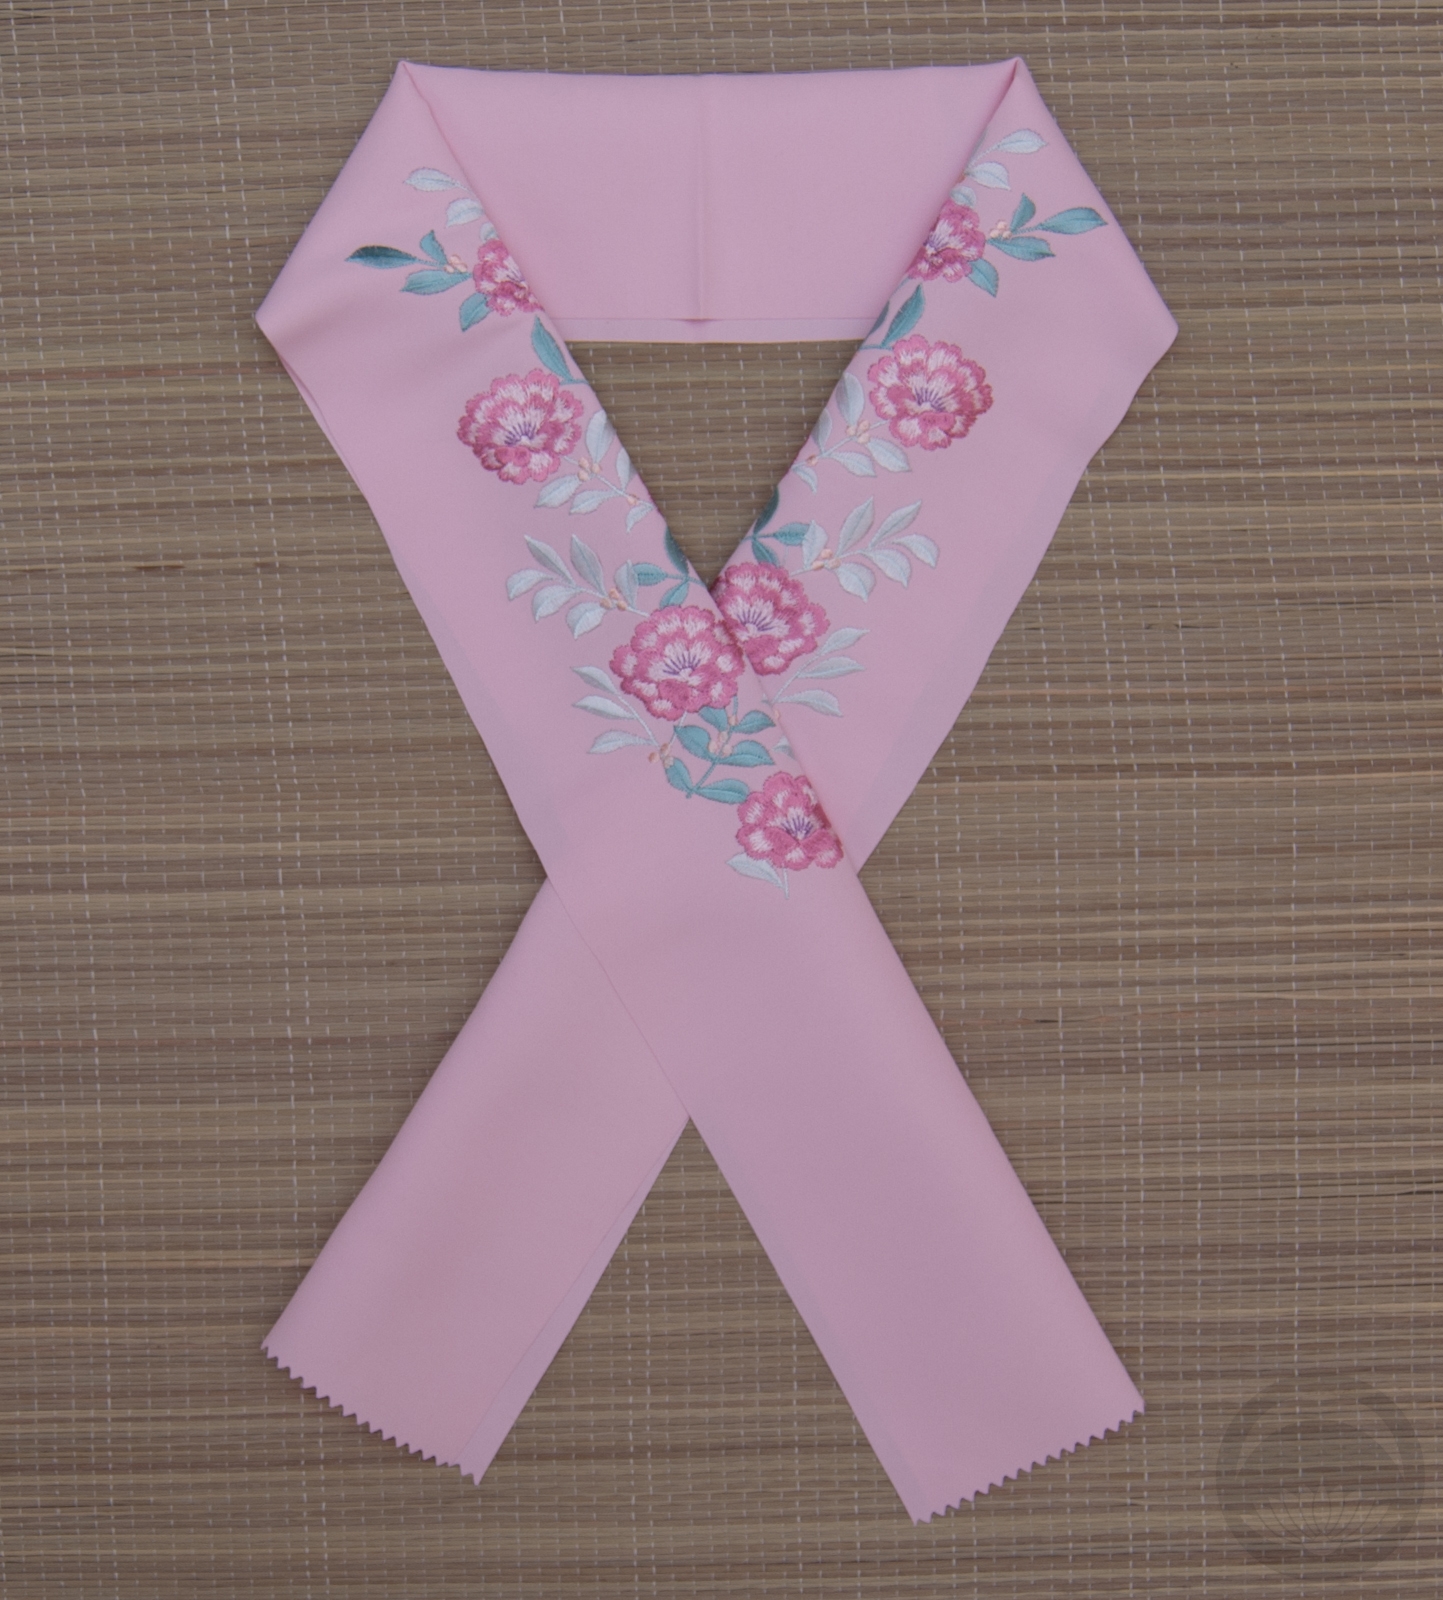
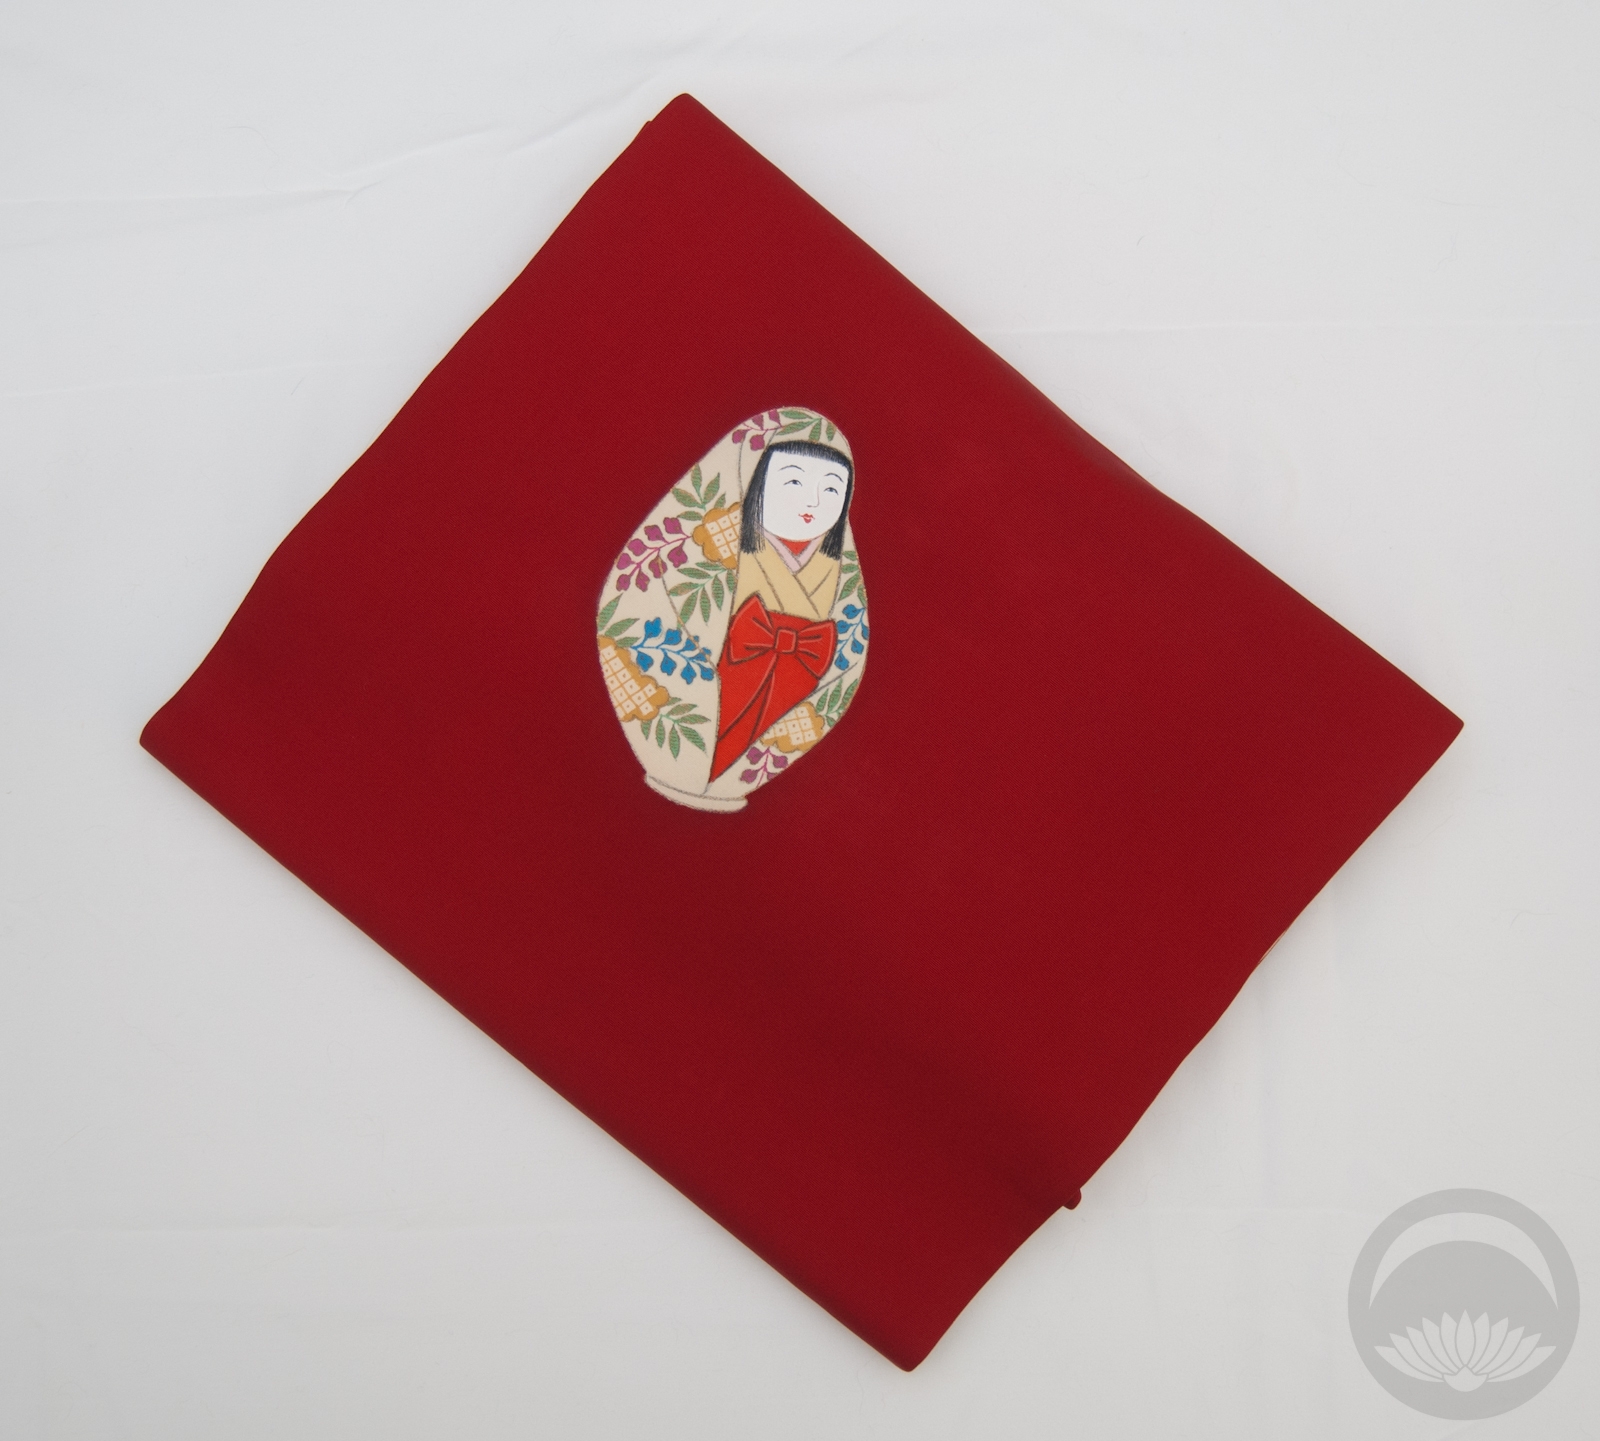
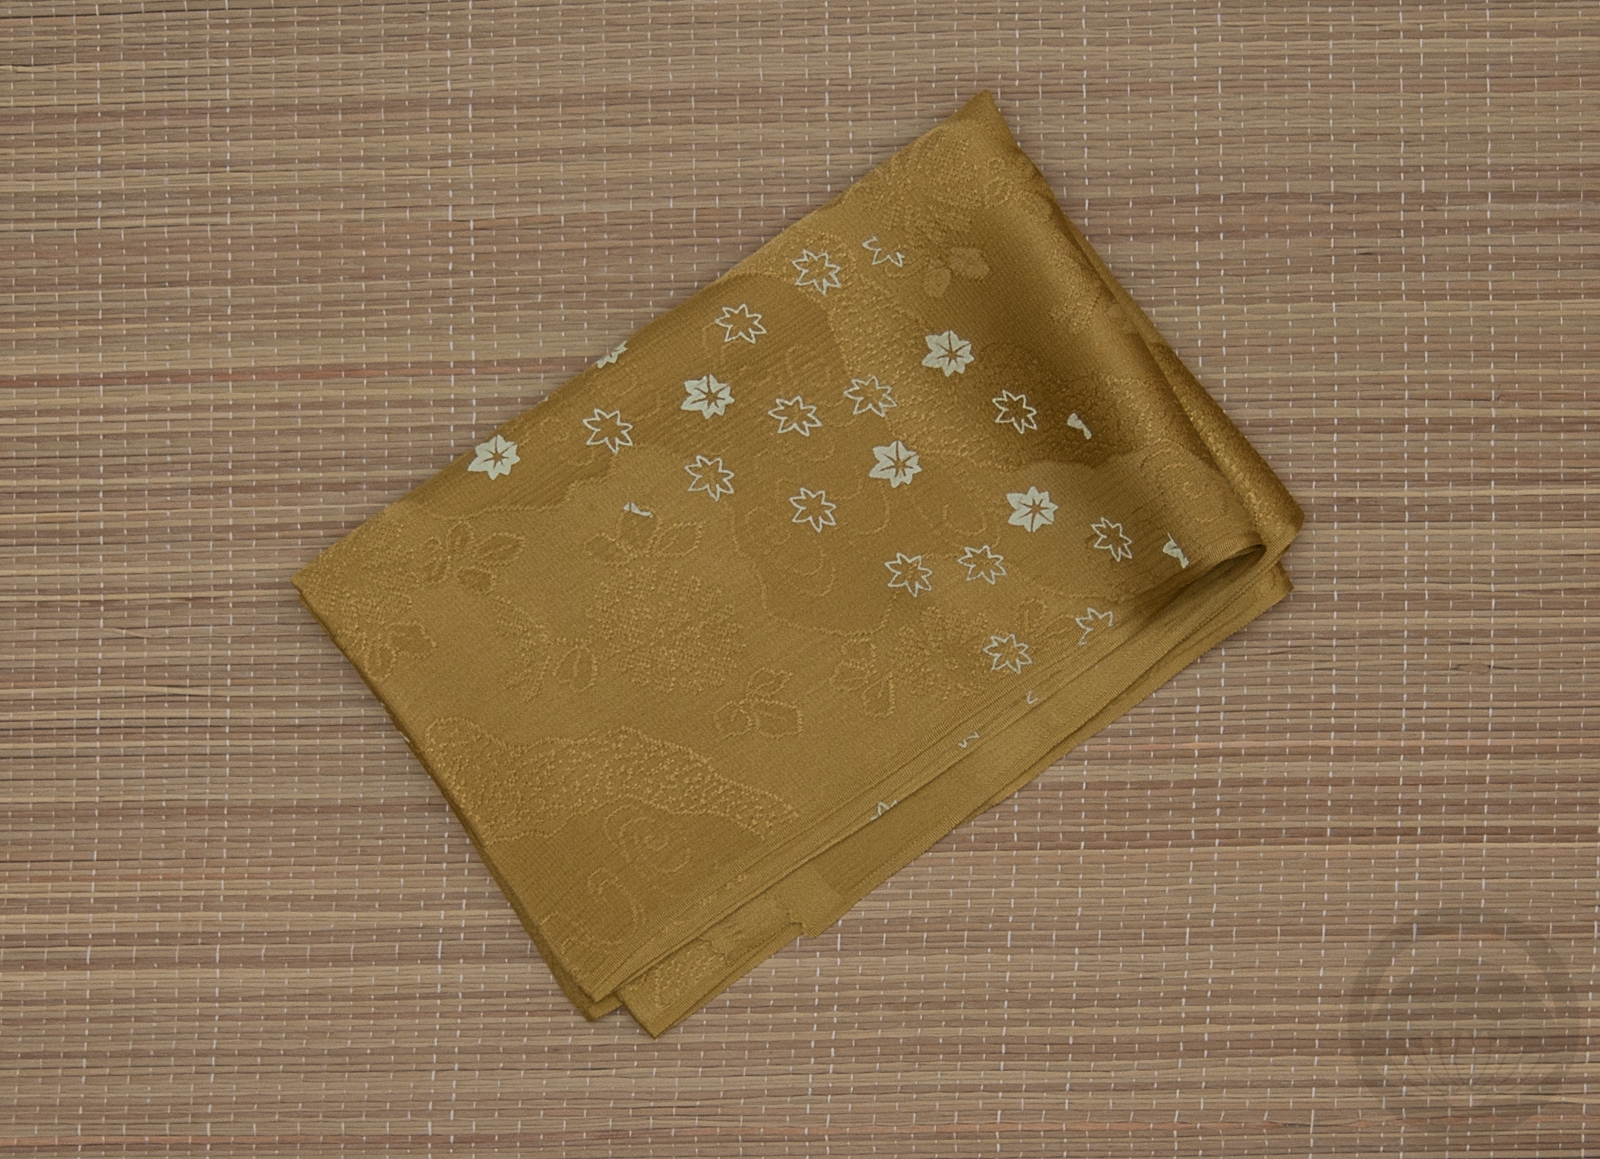
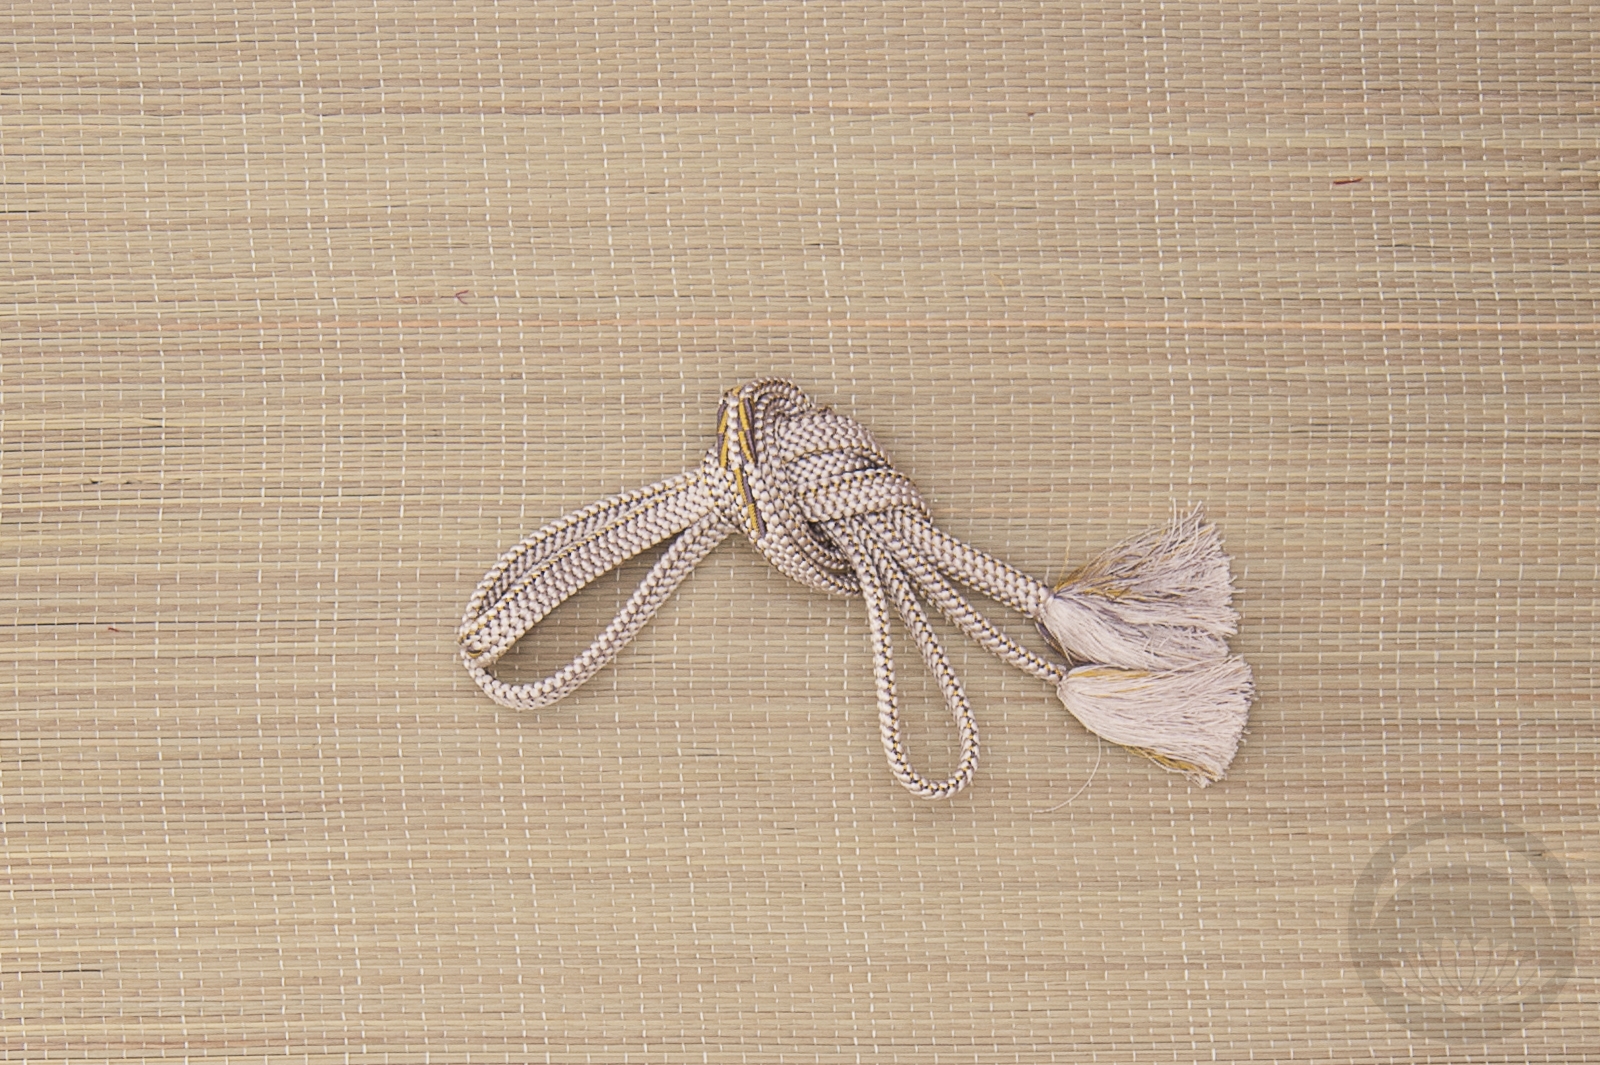
Aside from the utterly lush purple kimono, I used the mofuku obi I painted a while back, since you can still see the lovely water pattern in the black fabric. The obiage is a soft pink that ties in well with the obi, with a rinzu design of sakura and geometric lines. I tied it in a little bow for more sweetness and softness. I’m honestly not sure if the haneri counts as rinzu, the weave is much more textured and raised than anything else I own. But the design is woven, not painted or embroidered, so I ran with it. As for the obijime, the only rinzu one I own is an all-black mofuku piece, which felt too heavy against the black obi so I just went with a soft pink round braid.
The outfit is quite simple, but I think it does a fantastic job of showing off all the gorgeous woven design and texture that is rinzu silk!
Items used in this coordination
-
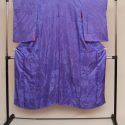
- Vintage Purple
-
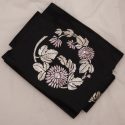
- Stencilled Kiku
-
- Textured Kiku
-
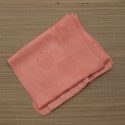
- Salmon Rinzu
-
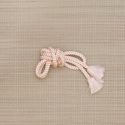
- Pink Round


 Bebe Taian
 CHOKO Blog
 Gion Kobu