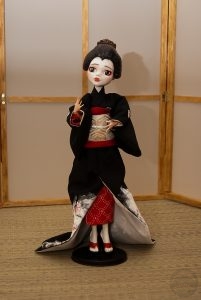
Tsukihana, Custom Geisha Monster High Doll

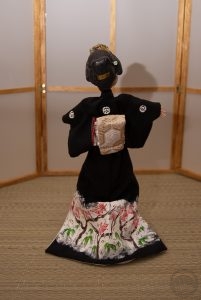
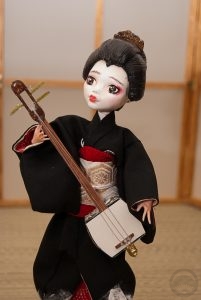
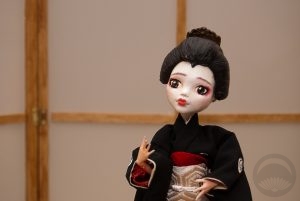
Hello everyone! I’d like you all to meet Tsukihana! Back at the beginning of the year I got a bee in my bonnet and decided I wanted to customise a doll. If you follow me on Instagram, you’ve likely seen sneak peeks and progress shots, but she’s finally complete and I’m so excited to share her.

She started life as a Draculaura doll I bought on the cheap off eBay. I chose Draculaura because I liked the shape of her face, and her skin colour was close enough to a normal human skin tone that it wouldn’t be too difficult to tone down the few visible bits. I also wanted a doll with primarily black hair, but that ended up not mattering in the end.

I started out with her face. I stripped down the original paint, toned down the back of her head and neck with soft pastels, and used white chalk paint as oshiroi. The face details were a combination of pastels, watercolour pencils, and acrylic paint. The Draculaura doll’s face sculpt reminded me very much of a now-retired geiko named Mamehana, so I referenced the following photos of her quite heavily while painting. (1, 2, 3).

My next step was to change the colour of her hands from pink to a more natural tone. Somehow during this process, I lost her hands. I looked for them for literally months, but they’re just… gone. In the end I gave up and bought a replacement set on eBay. I toned them with brown and yellow chalk pastels that helped neutralise the bright pink tone.

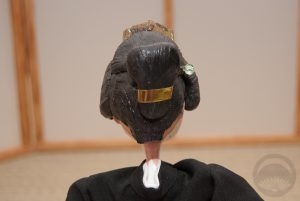
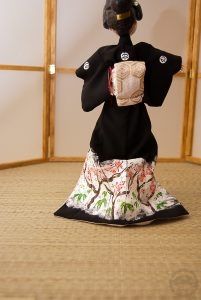
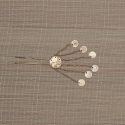
When it came to repainting the face and body, I found Dollightful  and Poppen Atelier, two very helpful YouTube channels with lots of information on customising Monster High and similar dolls. Initially, I’d planned to style her original hair using these traditional katsura styling videos but in the end her hair proved too stubborn and poofy, and it looked pretty awful no matter what I did, so I chopped it all off and sculpted a hairstyle out of clay. It’s primarily based on the tsubushi shimada, but I had to take a few creative liberties. Her kanzashi are beads and charms I had lying around.

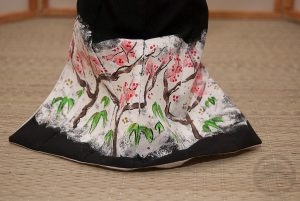
The outfit was a co-production. Makiko of JaponSakura (who also made this beautiful Pullip kimono) was kind enough to custom-make me a plain black hikizuri-style kimono and coordinating obi using the fabric I selected, since it reminded me of the moon. Once I received it, I painted the plum and bamboo design around the hem and the custom crests myself, I thought since it was such a small scale, using regular acrylic would be fine, but if I were to do another custom like this I’d definitely invest in fabric paints instead. The crests might seem a bit proportionally large by modern standards, but any smaller and they would have just looked like blobs. Her momi (the red fabric wrap geisha wear beneath the obi), juban sleeves, and underskirt are just scraps of red fabric I hand-sewed and tacked into place. The zori are a pair of MH shoes I repainted and modified slightly – they originally looked like this. I removed some of the strap bulk and painted some white to make it disappear a little. I did debate reforming her feet so they would be flat, but I was hesitant to experiment that much and risk ruining the doll. Makiko also included tabi with the kimono but they made her feet too bulky to fit in the shoes, so in the end I just sanded some detail off her toes and painted her legs with the same chalk paint I used on her face.

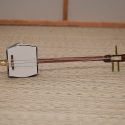
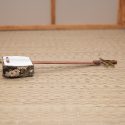
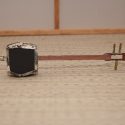
Her shamisen was improvised, made from foam board, stir sticks, and gorgeous washi tape from The Rare Orchid. I got a bunch of beautiful paper and tape from them, a full review is coming!

This beautiful lady has been a labour of love. For my first custom doll, I think she turned out spectacularly. I don’t think I’ll be doing this on a regular basis, as she was a significant investment in time, workmanship, and materials, but I might make her a friend or apprentice maiko in the future. I’m also seriously considering turning a Skelita Calaveras into a very stylised Jigoku Dayu but that will definitely be a much longer and more detailed project if it ever comes to pass.

Fudangi First Friday – Busy Beauty

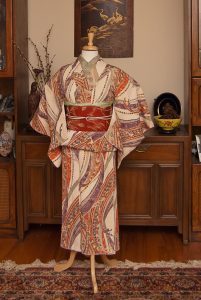
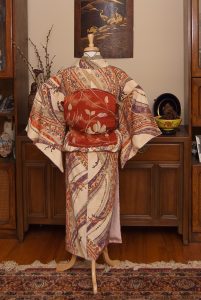
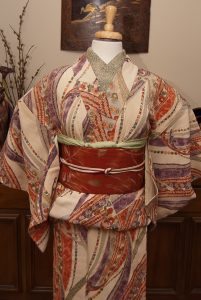
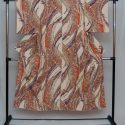
It’s the first Friday in June, so you know what that means! Time for this month’s Fudangi First Friday. This kimono just barely qualifies. While it’s technically a komon a lot of effort was put into matching the pattern up, and there are metallic accents. This arabesque-patterned busy beauty gives me such conflicted feelings. The heavy, slightly rough quality of the silk and the bachi-eri (pre-folded collar) make it really easy to work with, but the pattern is so overpowering that it can be hard to coordinate.

I was determined to do something with it since it’s been languishing in storage for eons, and then I remembered I have this beautiful vintage nagoya obi that has a lot of very similar colours. It’s in bad shape, the lining’s coming unsewn and there are several moth holes in it, but it’s still solid enough to put on the mannequin. I really love how they look together, the colours are a great match and it’s just plain enough that it doesn’t compete with the obi but it’s not boring. Initially I went with all-green accessories but none of the obijime I tried felt right, so I pulled out a cream and red one that echoes the base colour of the kimono and I think it’s perfect.

I’m glad I’ve found another way to use this piece. There’s just something so captivating about all the different colours and patterns in it. I feel like I find something new every time I look at it.

Items used in this coordination

Bountiful Garden Ikebana

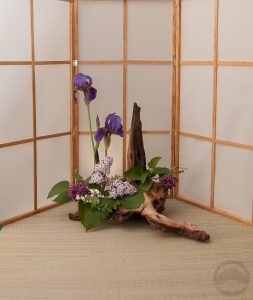
Today’s ikebana is inspired by our beautiful, bountiful garden. I love this time of year. It’s not oppressively hot or humid yet, but it’s warm and sunny and there are flowers blooming everywhere! It’s not great for my allergies, but they’re so pretty I can deal with it.

Everything in this arrangement came from the garden. Irises are one of my favourite flowers of all time, and my mother planted these gorgeous rich purple ones for me. I managed to catch them at the perfect time, freshly bloomed and vibrant. The lilacs are reaching the end of their life cycle, but I still liked the soft, textural quality they brought to the arrangement, helping to balance out the roughness of the wood. The leaves are from a huge ligularia plant. It’s nowhere near blooming yet, but I do hope to use some blossoms off it when it does.

I’m still riding the wave of motivation I got at the ikebana display last week. I was particularly inspired by the use of driftwood in several pieces there, as well as in one of those charming books Naomi sent me.  I put my smaller kenzan in a little glass dish and nestled it into one of the natural curves of the wood. Funny story, this piece of wood is actually an old decoration from our aquarium. Our plecostomus likes to chew on them and smooth them out so we’ve got a bunch of old ones lying around.

Of course, I had to make use of the screen I made last week. I’m so pleased with how it looks, and it has an added bonus of helping diffuse light which makes the photos look much more even. I’m certain you will be seeing a lot more of this screen! I’m tempted to make one in black as well but I have lots of other things that need to be finished first.

#monoKIMONO Challenge – Wedding White

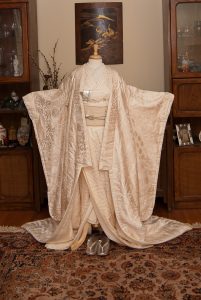
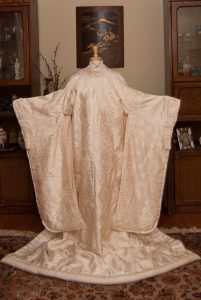
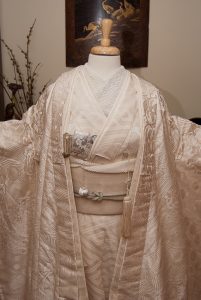
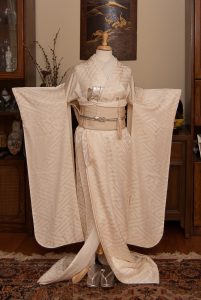
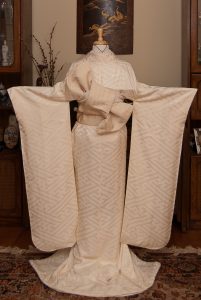
I never set out to assemble a full wedding white ensemble, but once I had, it only seemed logical to feature it as a #monokimono outfit. Since lots of folks are still talking about the recent Royal Wedding, I decided to run with it for May!

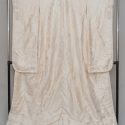
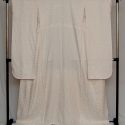
I originally got this ivory silk uchikake waaaaay back when I first started collecting. I had no intention of buying one, but a professor in the college IT lab where I was working overheard me talking to a co-worker about my collection and asked if I’d be interested in buying a piece that’d he brought home from Japan as a souvenir years earlier. I said I’d take a look, but I’ll be honest, I was fully expecting some satiny tourist robe. So imagine my shock when he showed up lugging a gorgeous warm ivory uchikake in a trash bag! Of course I had to rescue it, and he accepted my ridiculously low offer.

Fast-forward to earlier this year when I stumbled across an astonishingly inexpensive ($18) ivory shiromuku furisode on Ichiroya. Since neither piece was pure white, I expected a close coordination but not an exact match, so you can imagine how thrilled I was when I discovered they’re spot-on perfect.

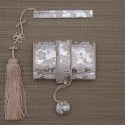
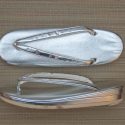
The rest of the accessories kind of fell into place after that. I love the look of beaded obijime, and found a white one on the cheap. The hakoseko set was also a bargain and happens to tie my silver zori into the outfit really nicely too. I don’t usually include footwear in these outfits, but with a wedding set it’s really Go Big or Go Home, right?

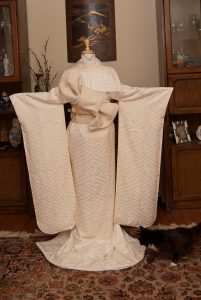
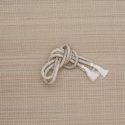
Technically, I should have used one of my off-white fukuro obi, but I couldn’t get over how well the hakata coordinated. And I’m firmly of the mindset that hakata ori goes with everything. Since this isn’t actually being worn to a wedding (unless my mannequin’s hiding something from me…) I figured I had a little more leeway. It’s also not unheard of now for brides to add a little more personal and non-traditional touches to their outfits. I love this look with extra lace and a lovely hat instead of the traditional white tsuno-kakushi hood, for example. Since I’d veered off-track with the obi already, I couldn’t resist using my silvery-white beaded obijime as well. This also makes the fact that I’ve yet to find an ivory kakae obi (the narrow, stiff band worn below the regular obi) a little easier to overlook, honestly.

Bonus: For those of you who  miss my furry little interlopers, they’re still around, they just tend to ignore the mannequin. Tribble decided to show up today though!

Items used in this coordination

DIY Tabletop Shoji Screen

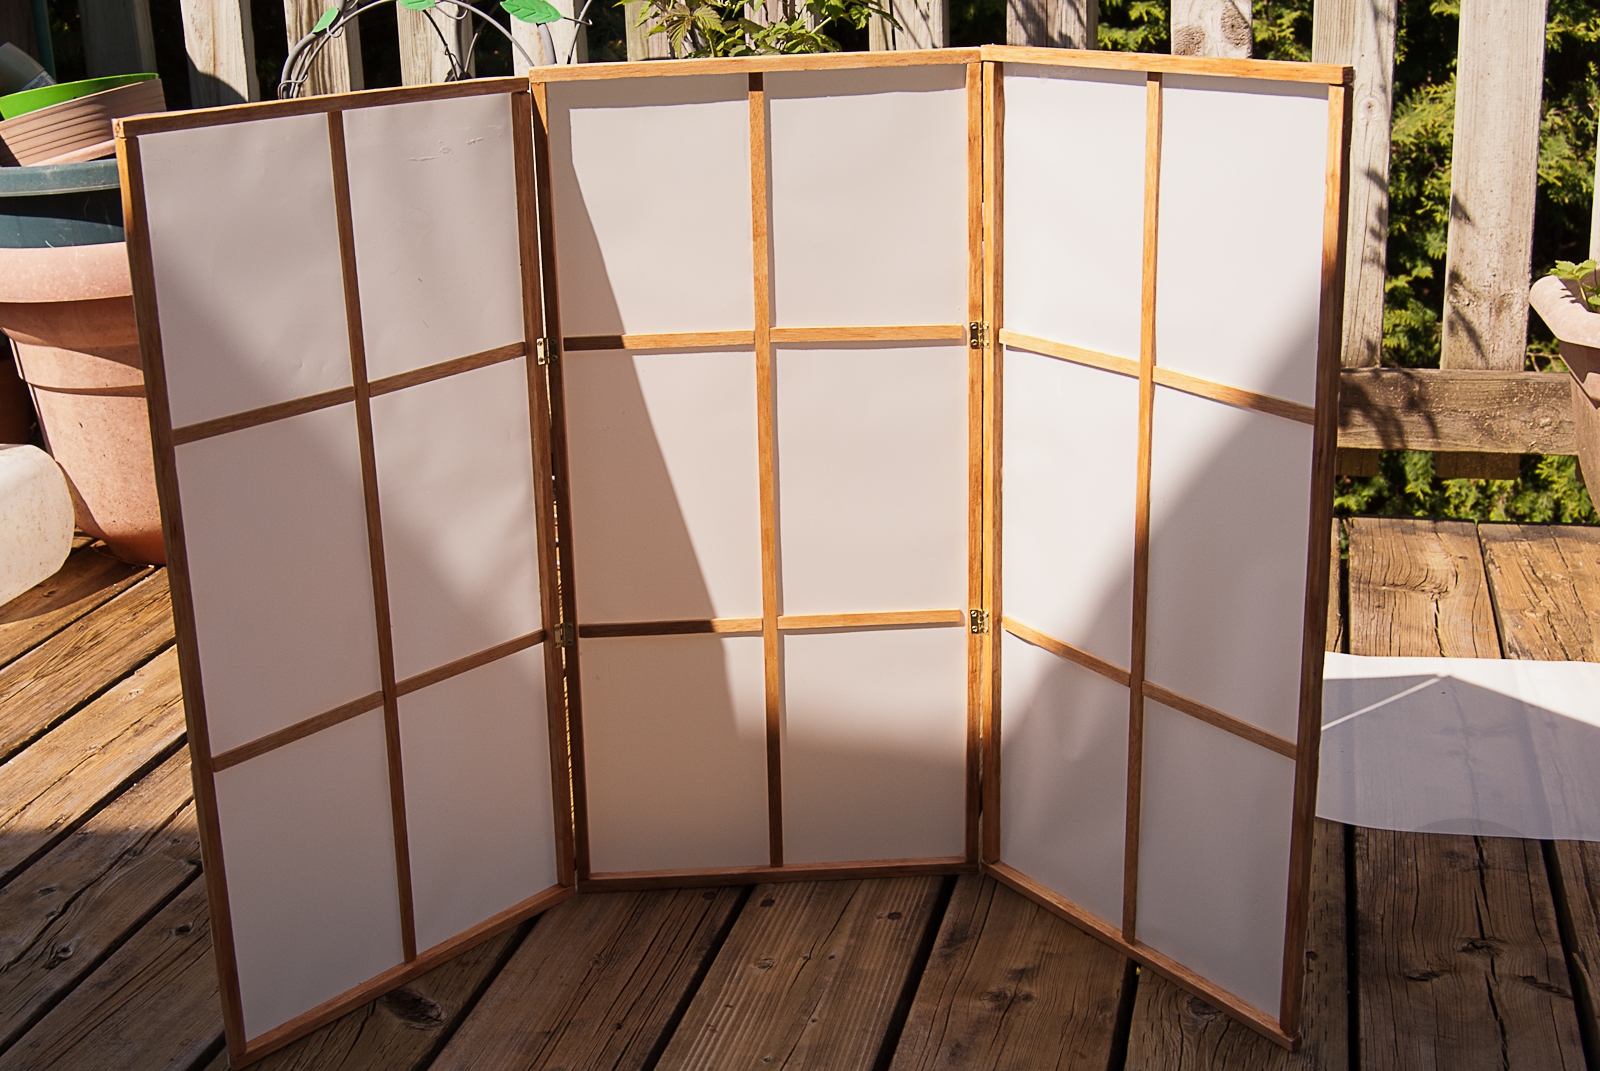
When I said I was inspired by the ikebana displays at the Botanical Gardens this weekend, I bet you didn’t think this was what I meant! But I was so charmed by the smaller-proportioned tabletop shoji screen  used as a backdrop for one of the arrangements, I knew I wanted one as soon as possible. I browsed around and found one online but the cost + shipping came 0ut to $60 US, which was more than I was looking to spend. So I hit up the local Michael’s craft store yesterday and bought a couple of supplies, and with two short afternoons of work out on the back deck enjoying the lovely weather, I’ve got something that I’m really quite proud of. It’s incredibly light and easy to store. It is a bit fragile, but since it won’t be bearing any weight or staying on display for extended periods of time that’s fine with me.

If you’d like to make one of your own, just read on! I will give the exact measurements for this one, which comes out to three feet wide and two feet tall, but you can absolutely scale up or down for your needs. You can also dress it up with fancier paper and different stain or paint on the wood if you want to. I plan to use this as a neutral backdrop for ikebana and product reviews, amongst other things, so I went with plain white and a fairly mid-range cherry stain.
Continue reading