
Odds are, at some point in your life as a kimono collector, you’ll end up with one or two mofuku (funeral wear) items in your hoard. Wearing them as-is can often feel disrespectful or inappropriate, but upcycling them into something new and wearable is a wonderful way to give a piece new life. Not only does it make something more wearable, it also fits perfectly with the Japanese theory of mottainai, a disdain for waste and a philosophy of recycling.
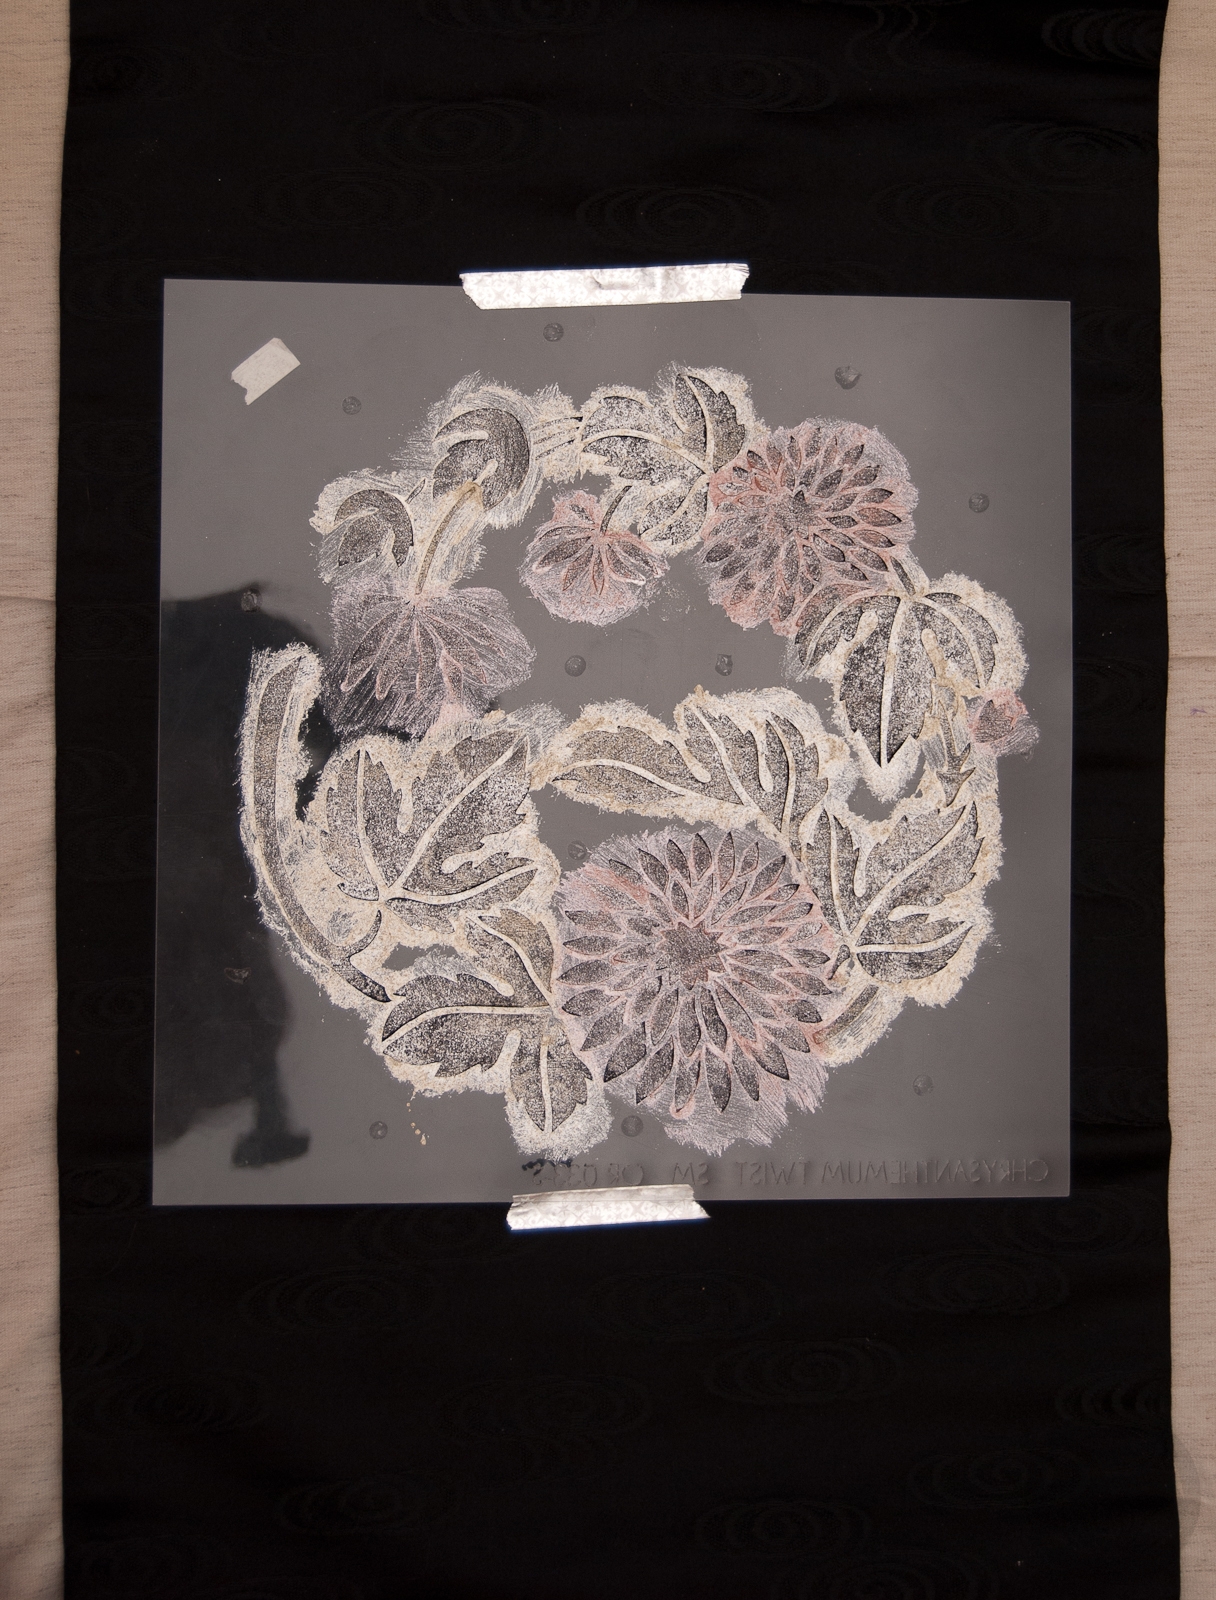
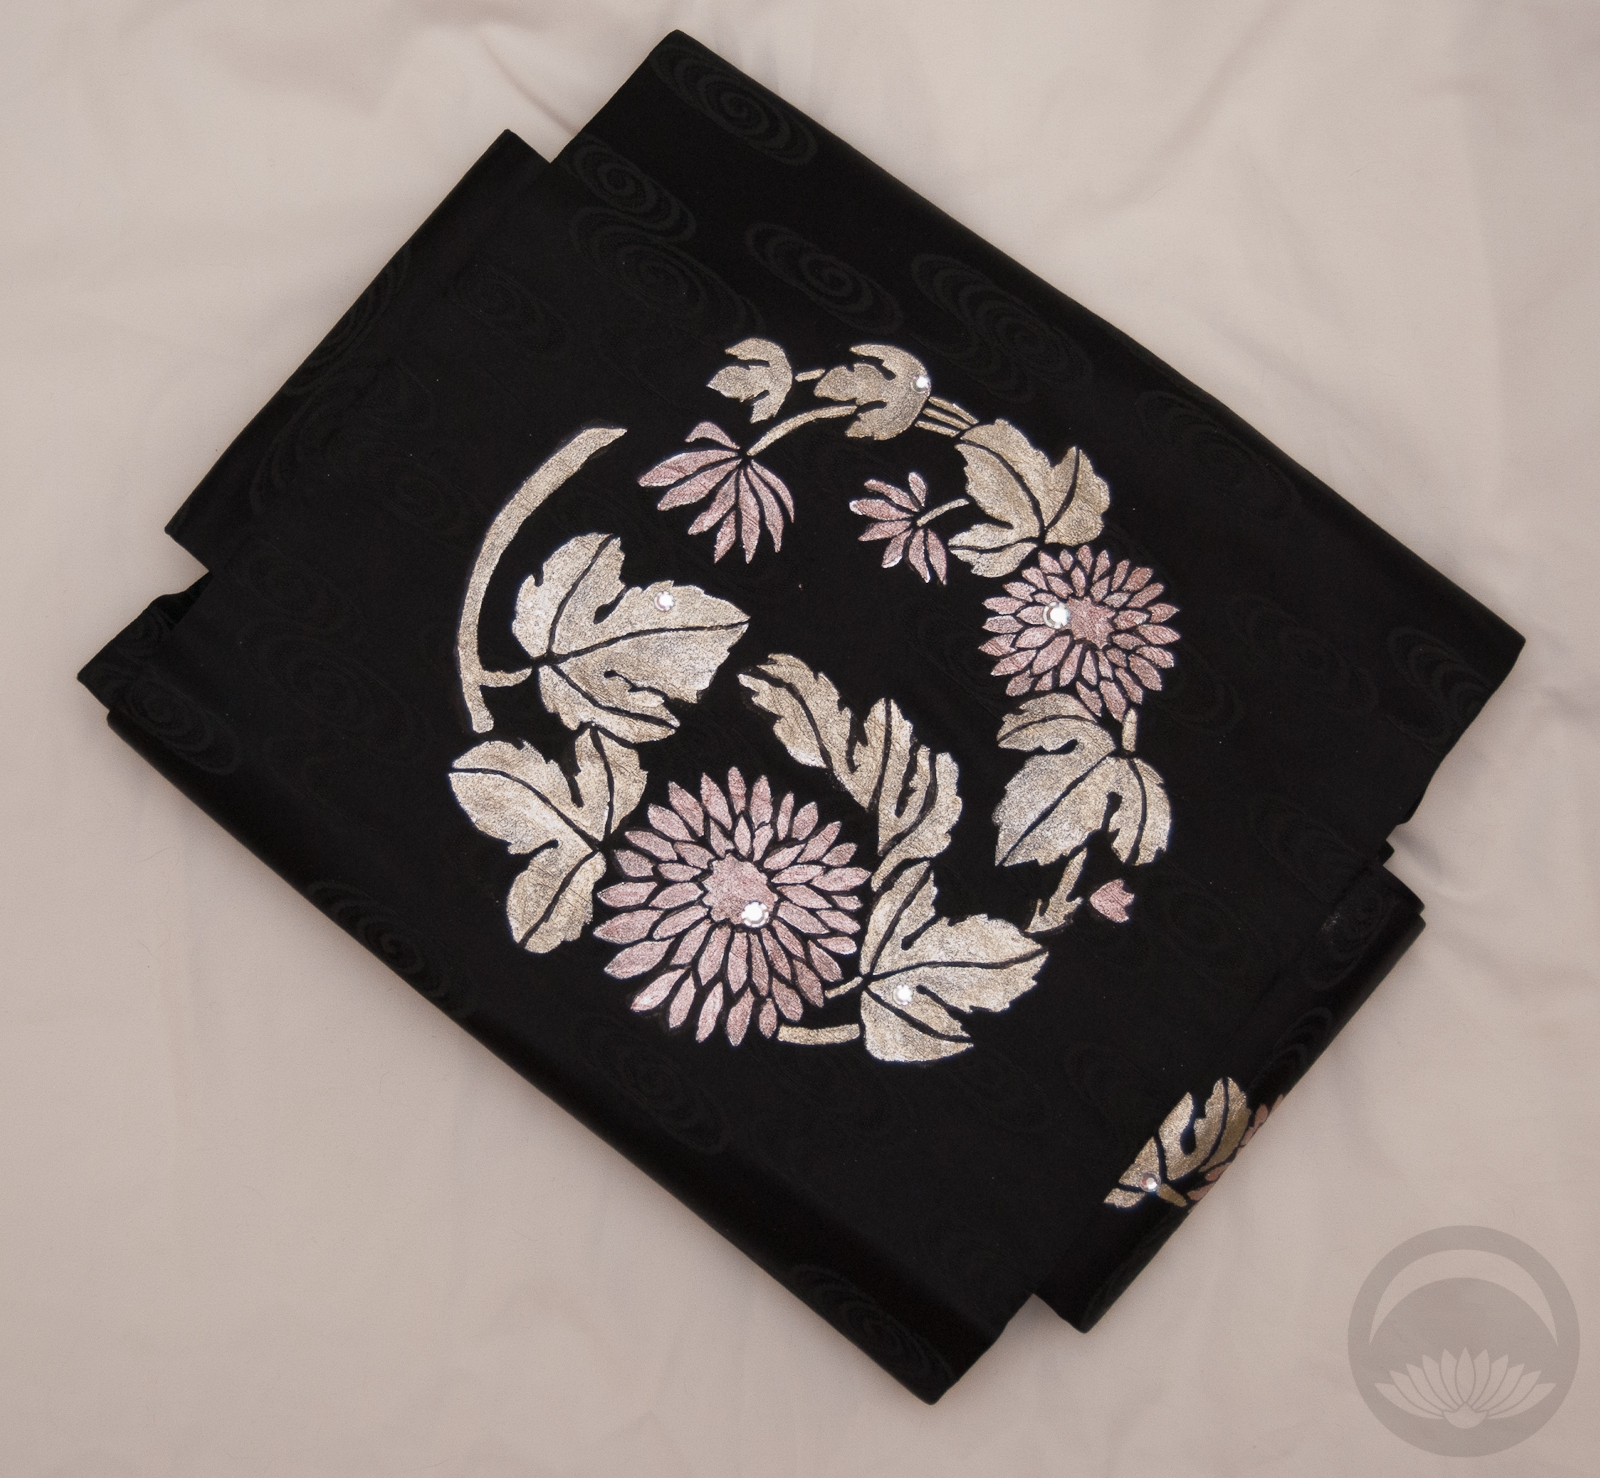
I’ve paired up with Cutting Edge Stencils to take this obi, which is in excellent condition but relatively unwearable due to the funerary associations, and turn it into something new! They have a fantastic selection of Japanese inspired wall stencils, but what really caught my eye were the ones inspired by botanical mon, the round family crests found on formal kimono. I love kiku, so of course the Chrysanthemum Twist stencil called out to me the most strongly, and it’s the one we’ll be using today.
Painting over items (particularly black silk) actually has quite a long tradition when it comes to kimono. The technique is often referred to as pente, and showed up frequently in the post-ration era after WWII when access to more traditional techniques and materials was slim. Those of you who are familiar with my amazing lobster tsuke-obi might recognise it as being pente. So this project is really quite appropriate!
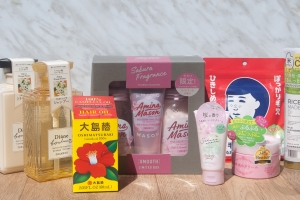
What you’ll need:
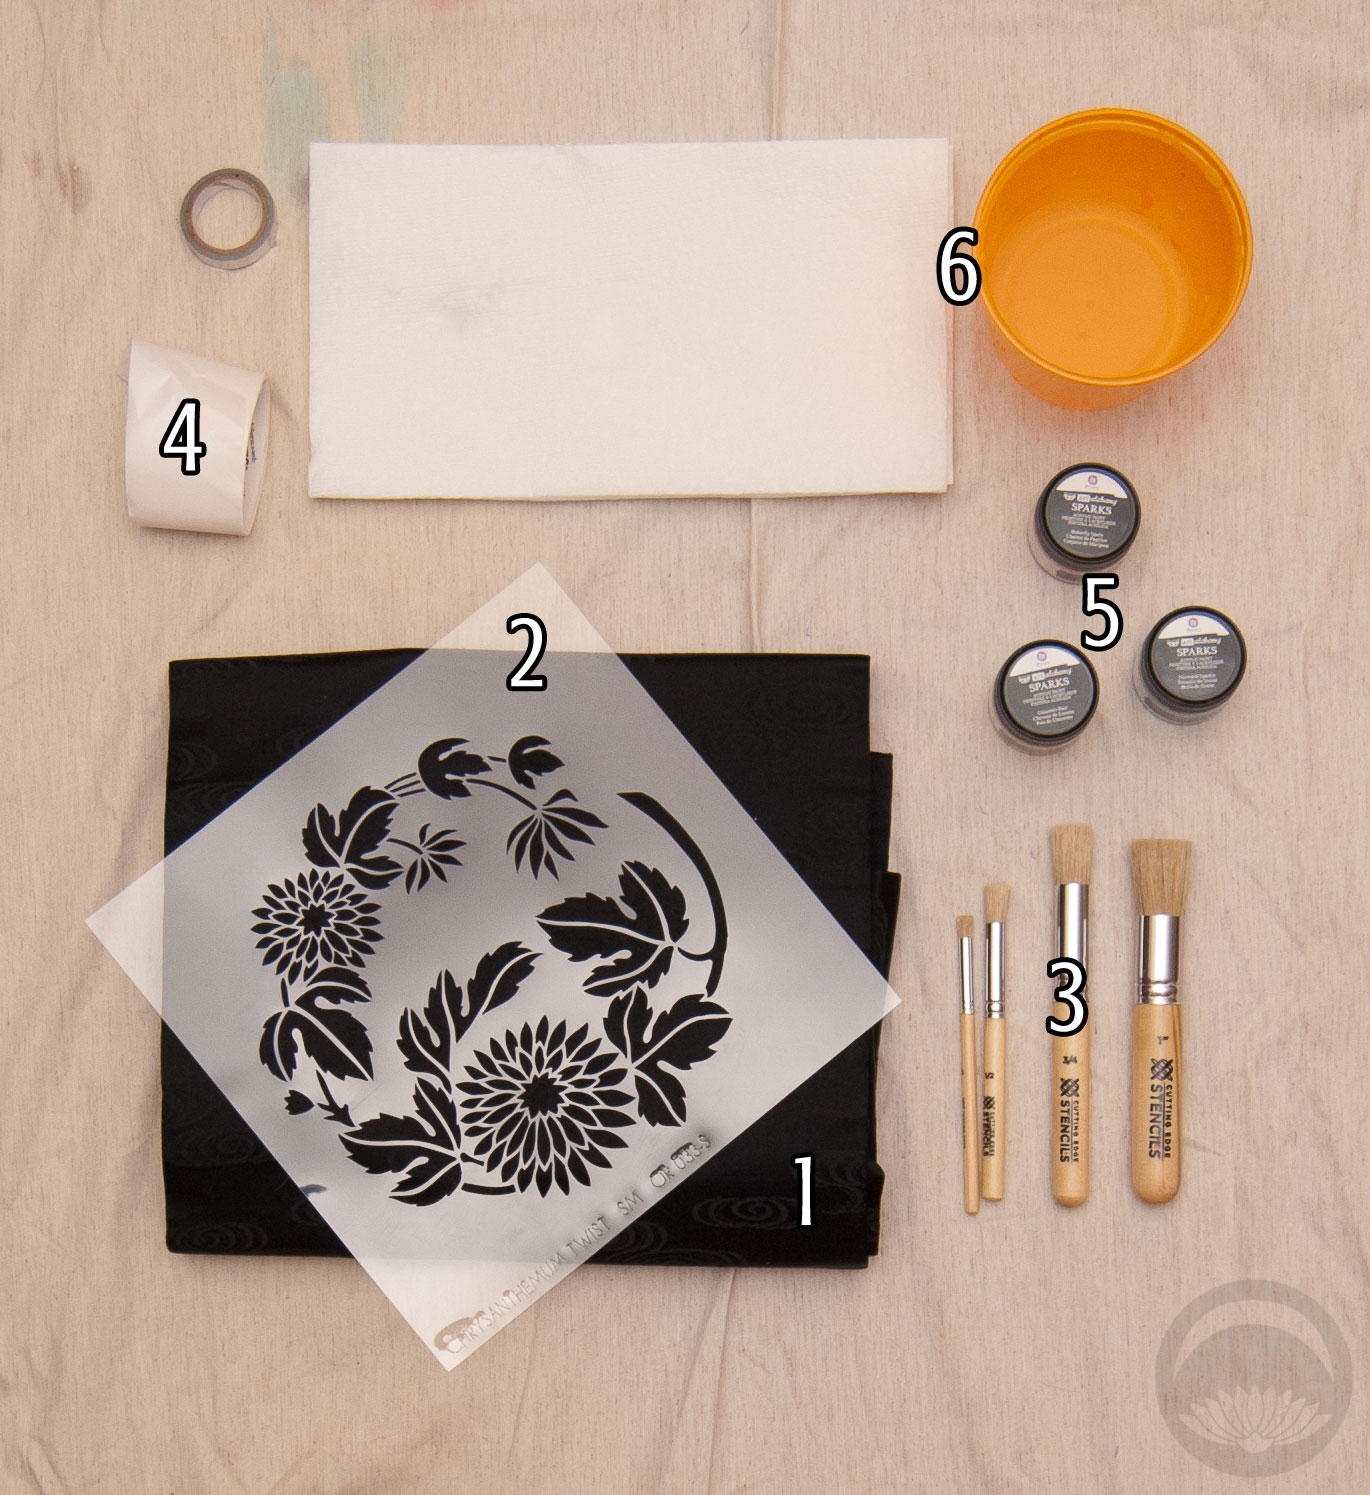
- Solid coloured Nagoya obi
- Small-sized (8″) Japanese mon stencil from Cutting Edge
- Stencilling brushes
- Something to hold down your stencil (I used Zots, which are super useful repositionable sticky dots)
- Fabric-safe paint (I used Finnabair’s Art Alchemy Sparks in Butterfly Spells and Unicorn Hair which look amazing on the black fabric)
- Painting supplies (Water, paper towels, drop cloth)
- Not pictured: Fine detail/line brush, paint in the same colour as your obi
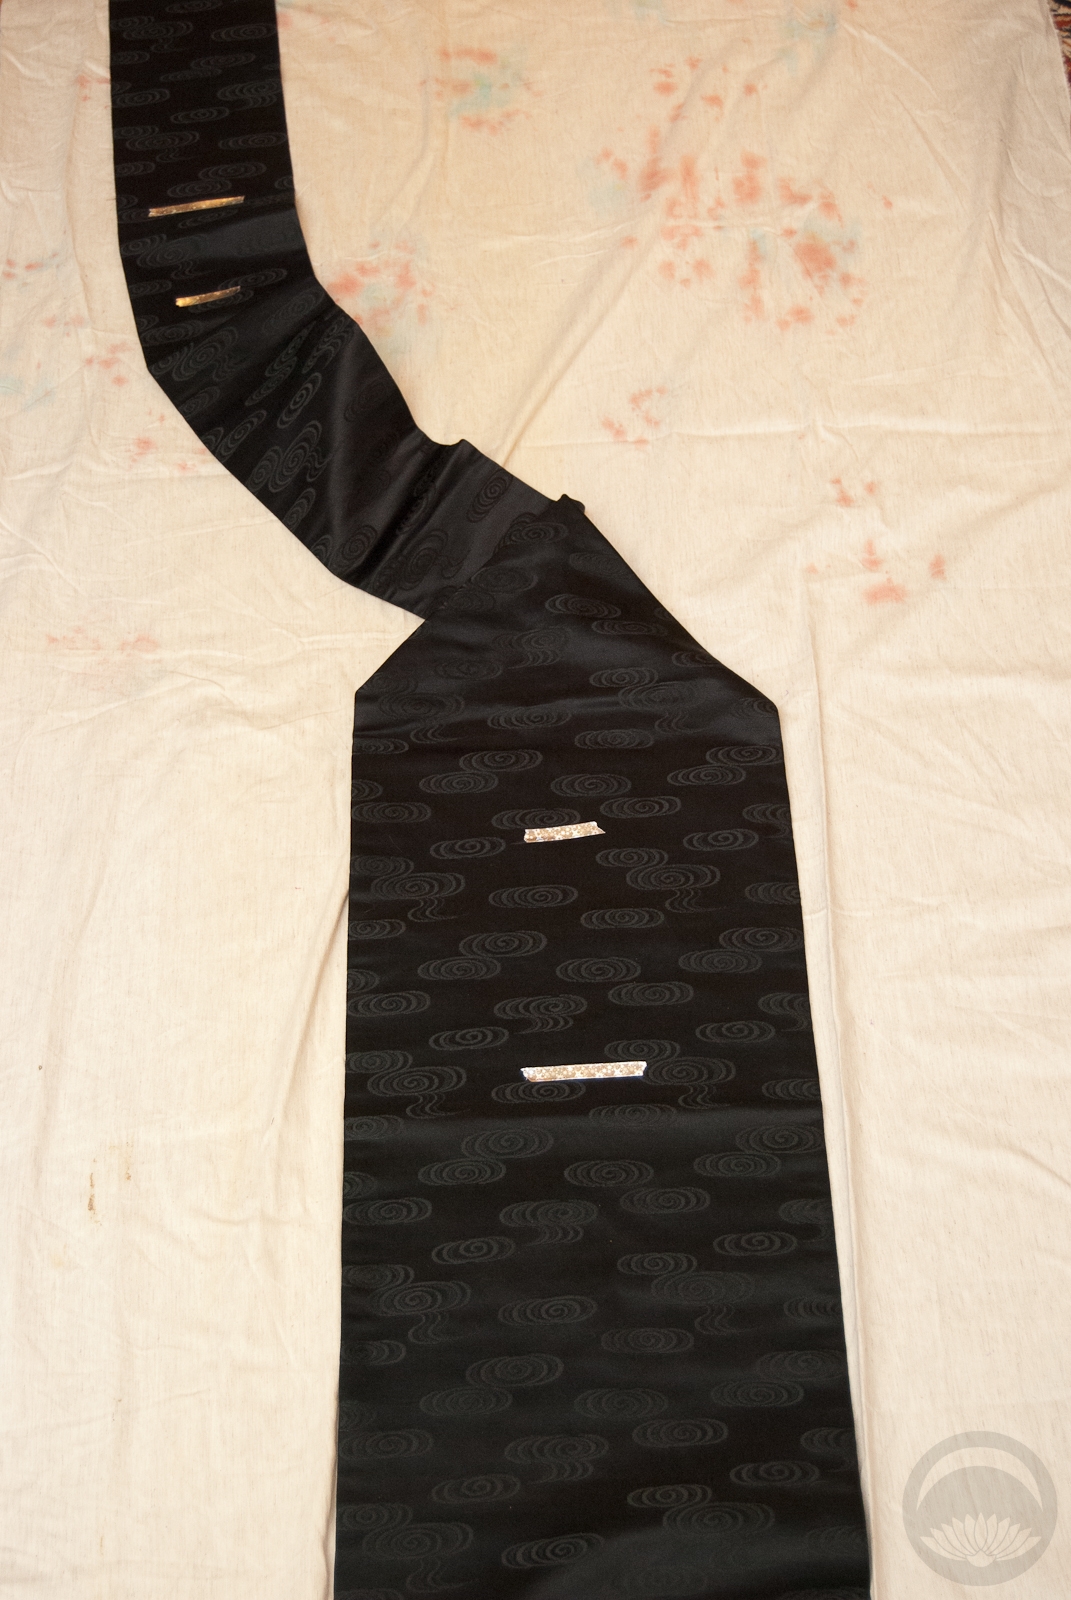
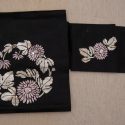
Using an existing Nagoya Obi for reference, determine where you want your stencils to go. I went with a very standard arrangement, the full design on the wide drum and a smaller accent on the front. I used low-adhesive paper tape to delineate my areas because a white fabric pencil could potentially leave visible marks on the black silk.
-
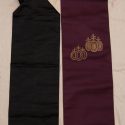
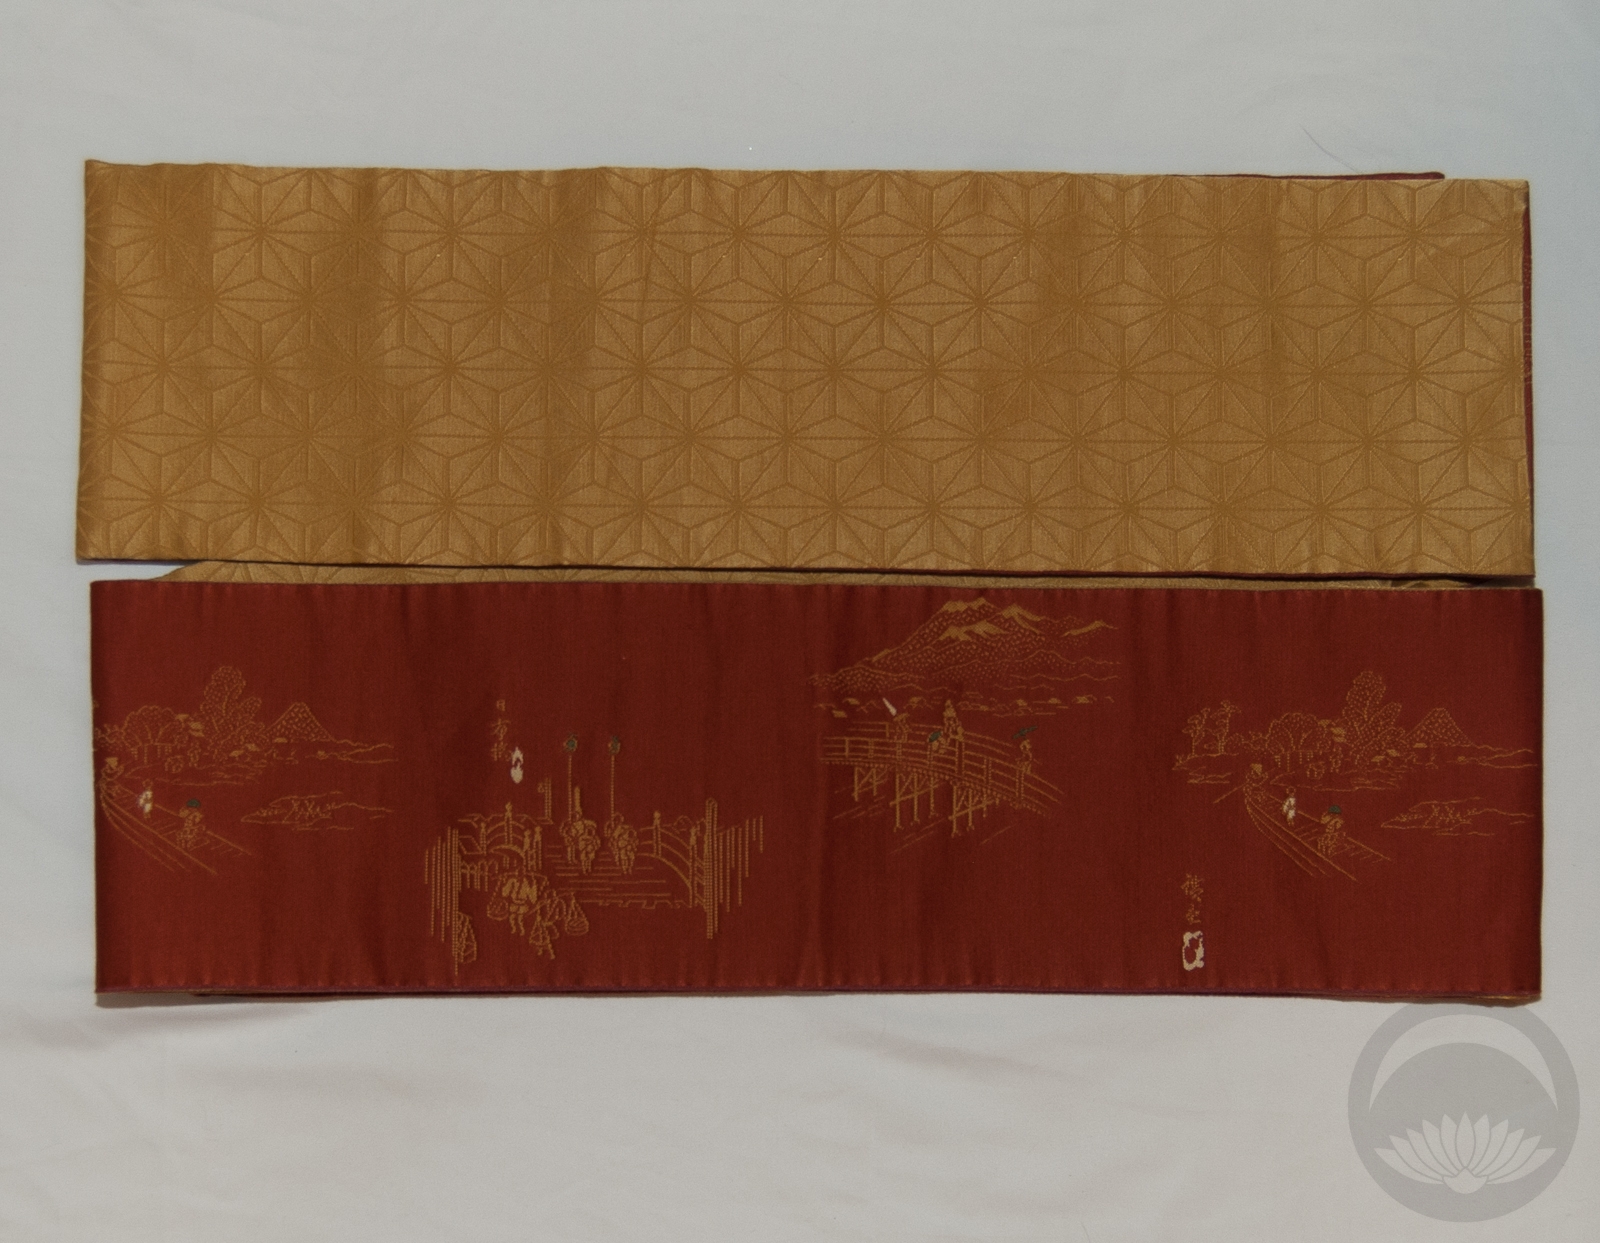
- Two obi for comparison

-

- Area marked off
-
- Stencil in place
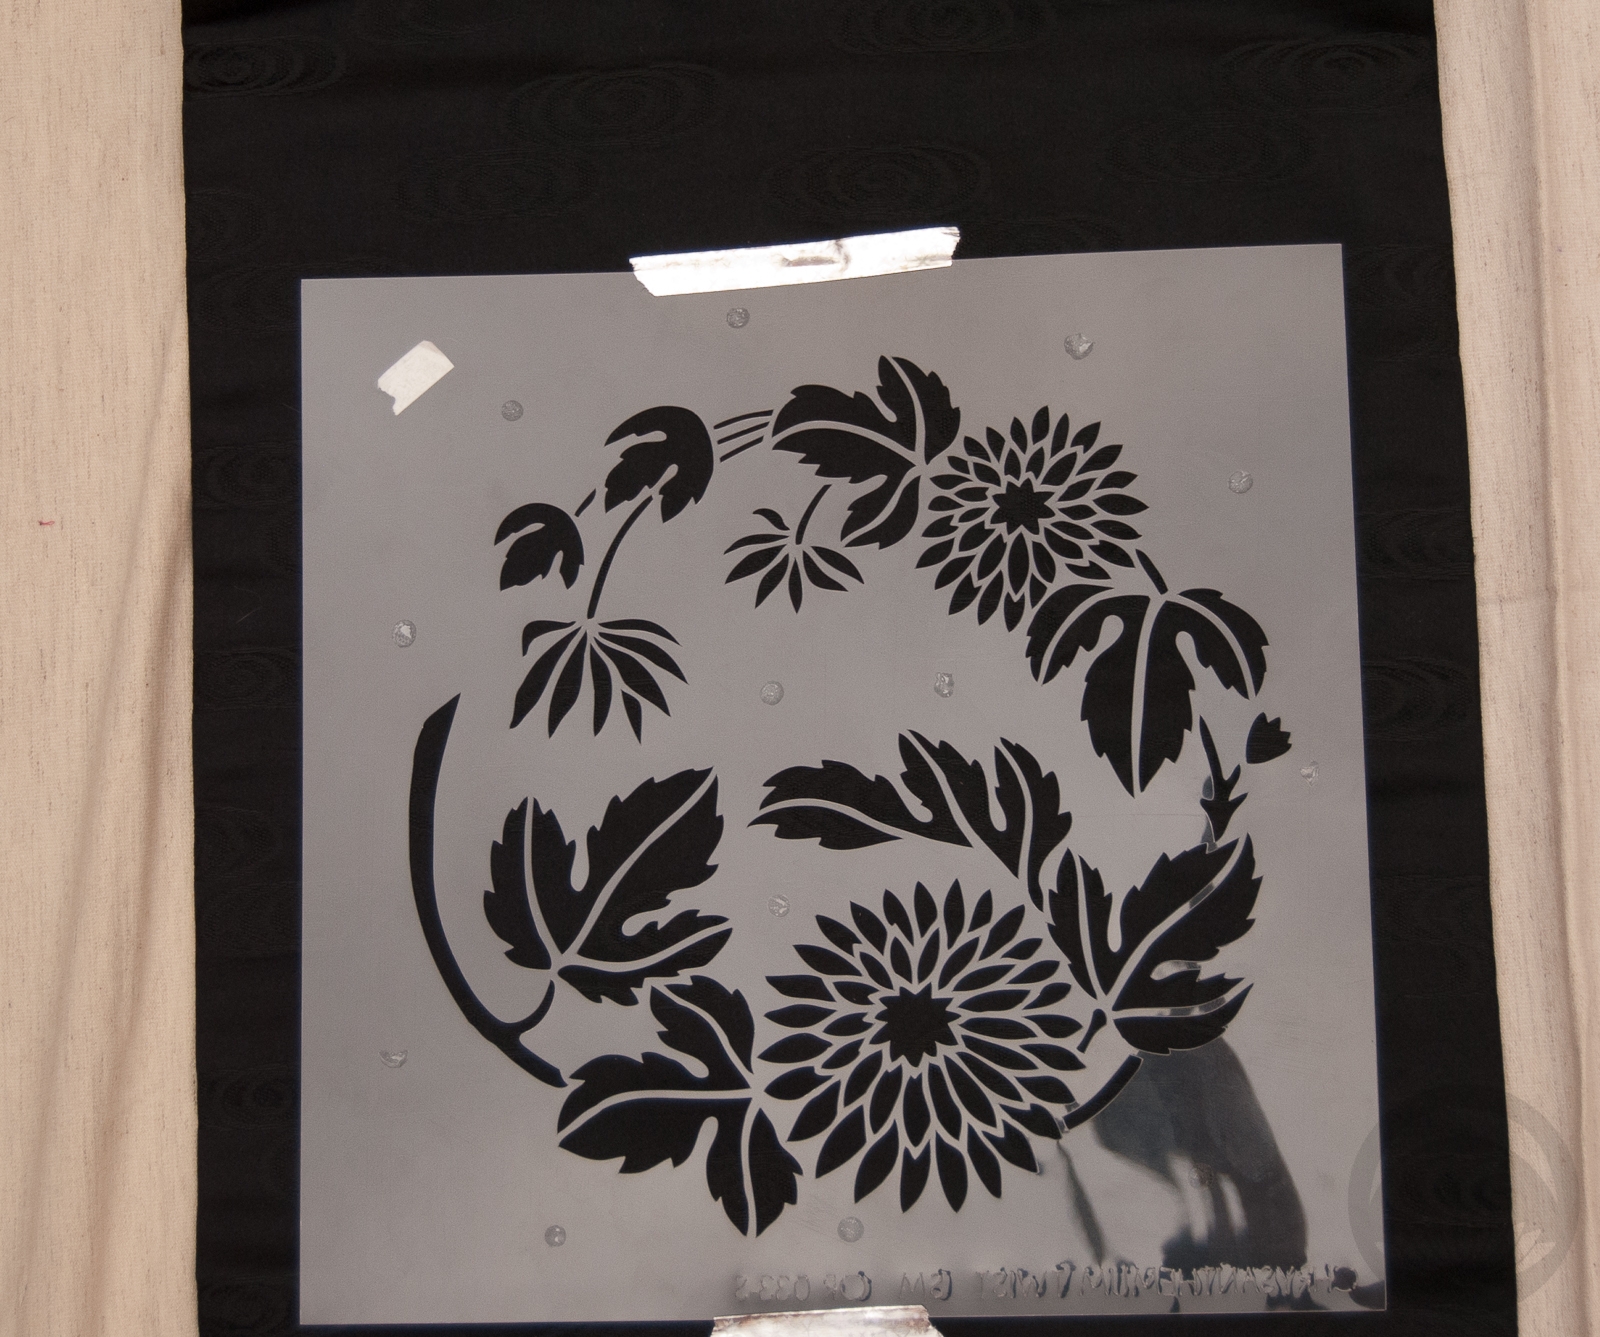
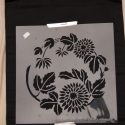
Lay your stencil out on the drum and use your temporary adhesive of choice to fix it into place. You want to make sure it’s not going to wiggle. Cutting Edge’s stencils are made thicker than a lot of other stencils, so they’re nice and weighty and lay very flat, but you still want to be certain there’s no shifting while you’re painting.
-
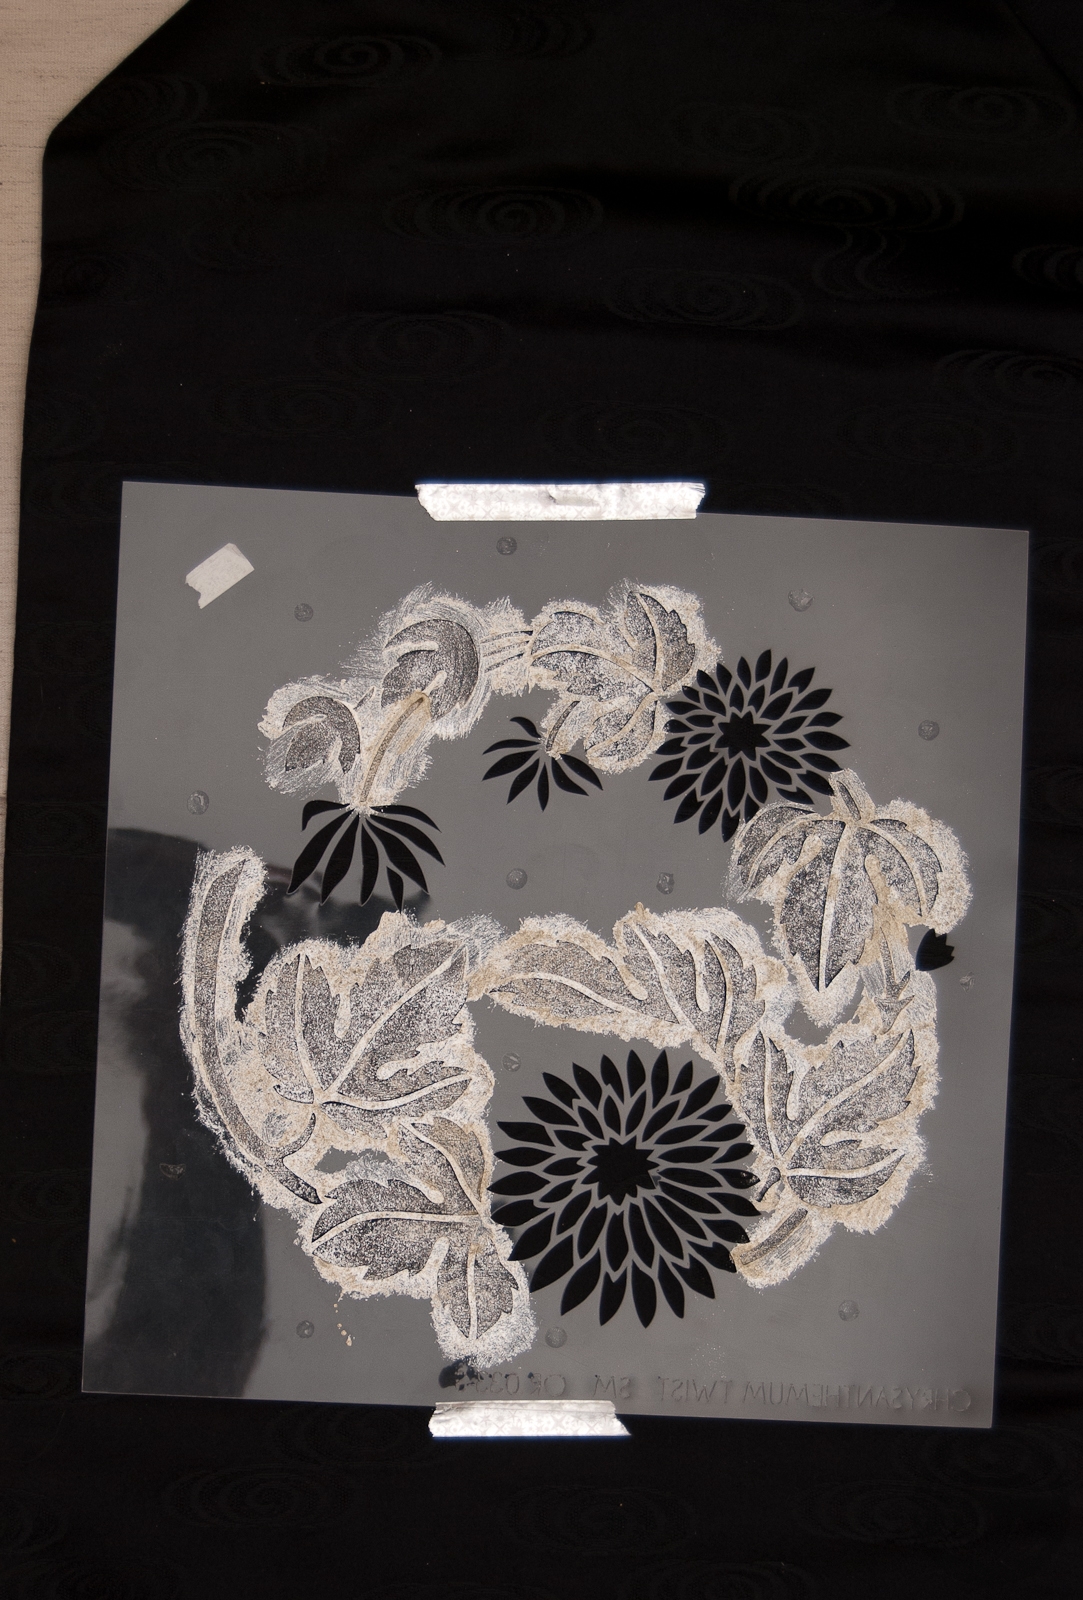
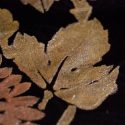
- Leaves painted, one coat
-
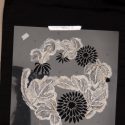
- All painted, one coat
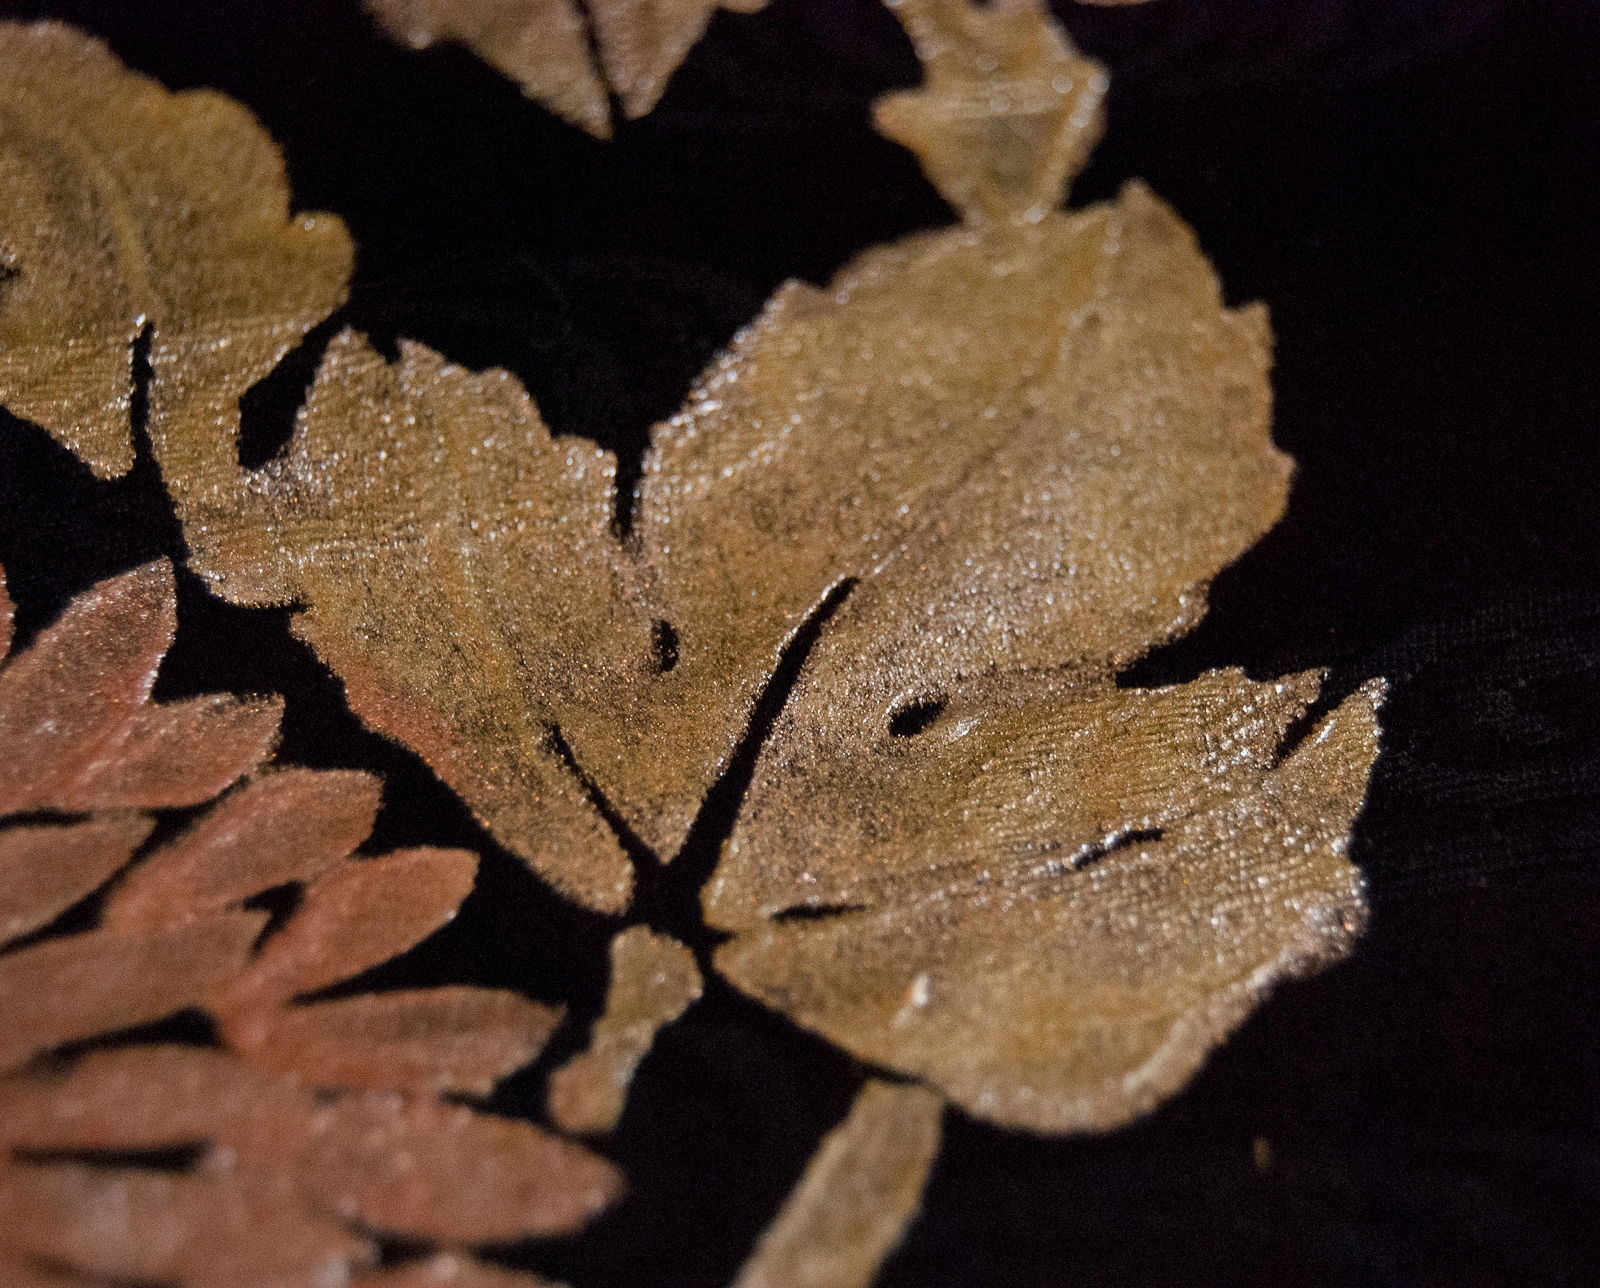
Dip your brush in the paint and wipe off as much excess as possible. When stencilling, it’s always better to start light and add another layer. If you start out too heavy with the paint it can bleed heavily under the stencil and you won’t have clean, crisp lines (note: a little bit of bleed is unavoidable, we’ll be fixing it later, but using a light touch now will save you work and heartache later). Using a very light hand and a gentle swirling motion, begin filling in one colour. I started with the foliage but you could just as easily start with the flowers.
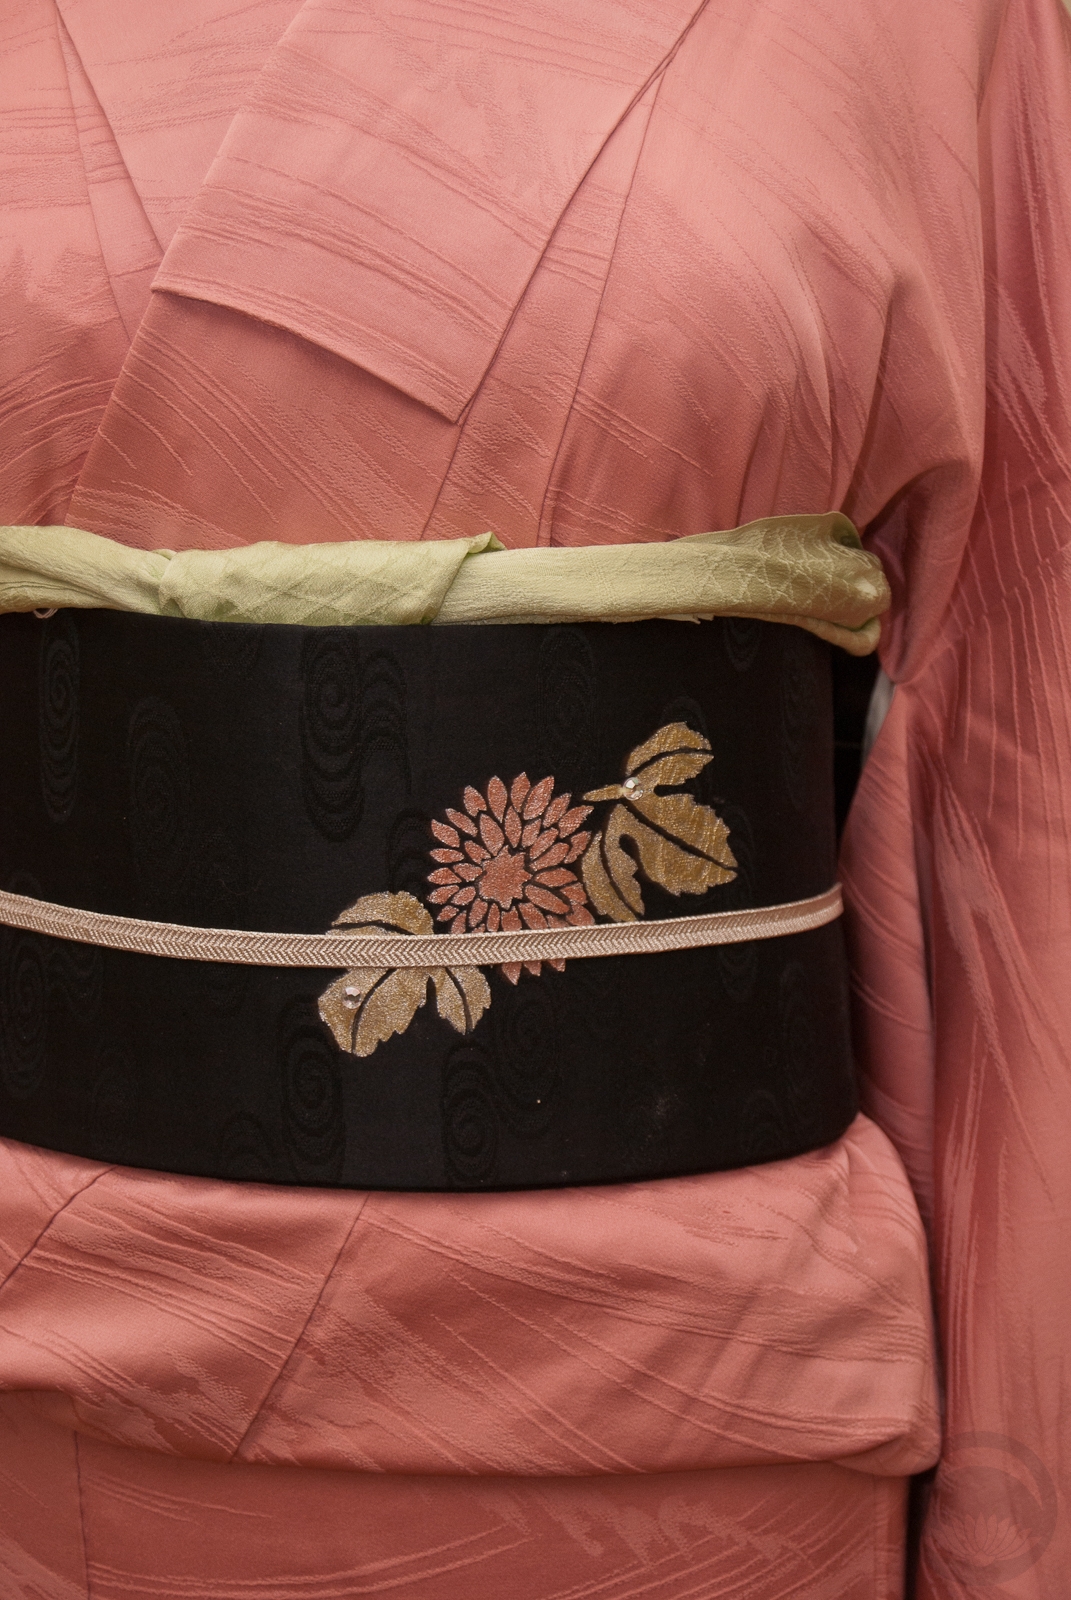
You might be tempted to lift the stencil and paint the front part, but it’s best to leave it on in case you need to do a second coat. Getting them lined up perfectly isn’t worth the hassle. Do your two coats if needed, and then carefully lift the stencil away. No matter how careful you are and how high-quality the stencil is, odds are high there will be a bit of bleed. This is to be expected when painting on a soft, absorbent surface like fabric. Once the paint is dry, it’s time to do your cleanup. Using your liner brush and acrylic paint the same colour as the obi and carefully paint over any messy edges. Take your time here, it will be slow and tedious but the results will be so much better, I promise. Once you’ve cleaned up your edges, let the obi dry completely overnight to ensure you don’t inadvertently smudge any paint. I also used the same stencil to decorate the front, only filling in one flower and a couple of leaves.
-
- A little bleed before cleaning
-
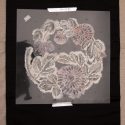
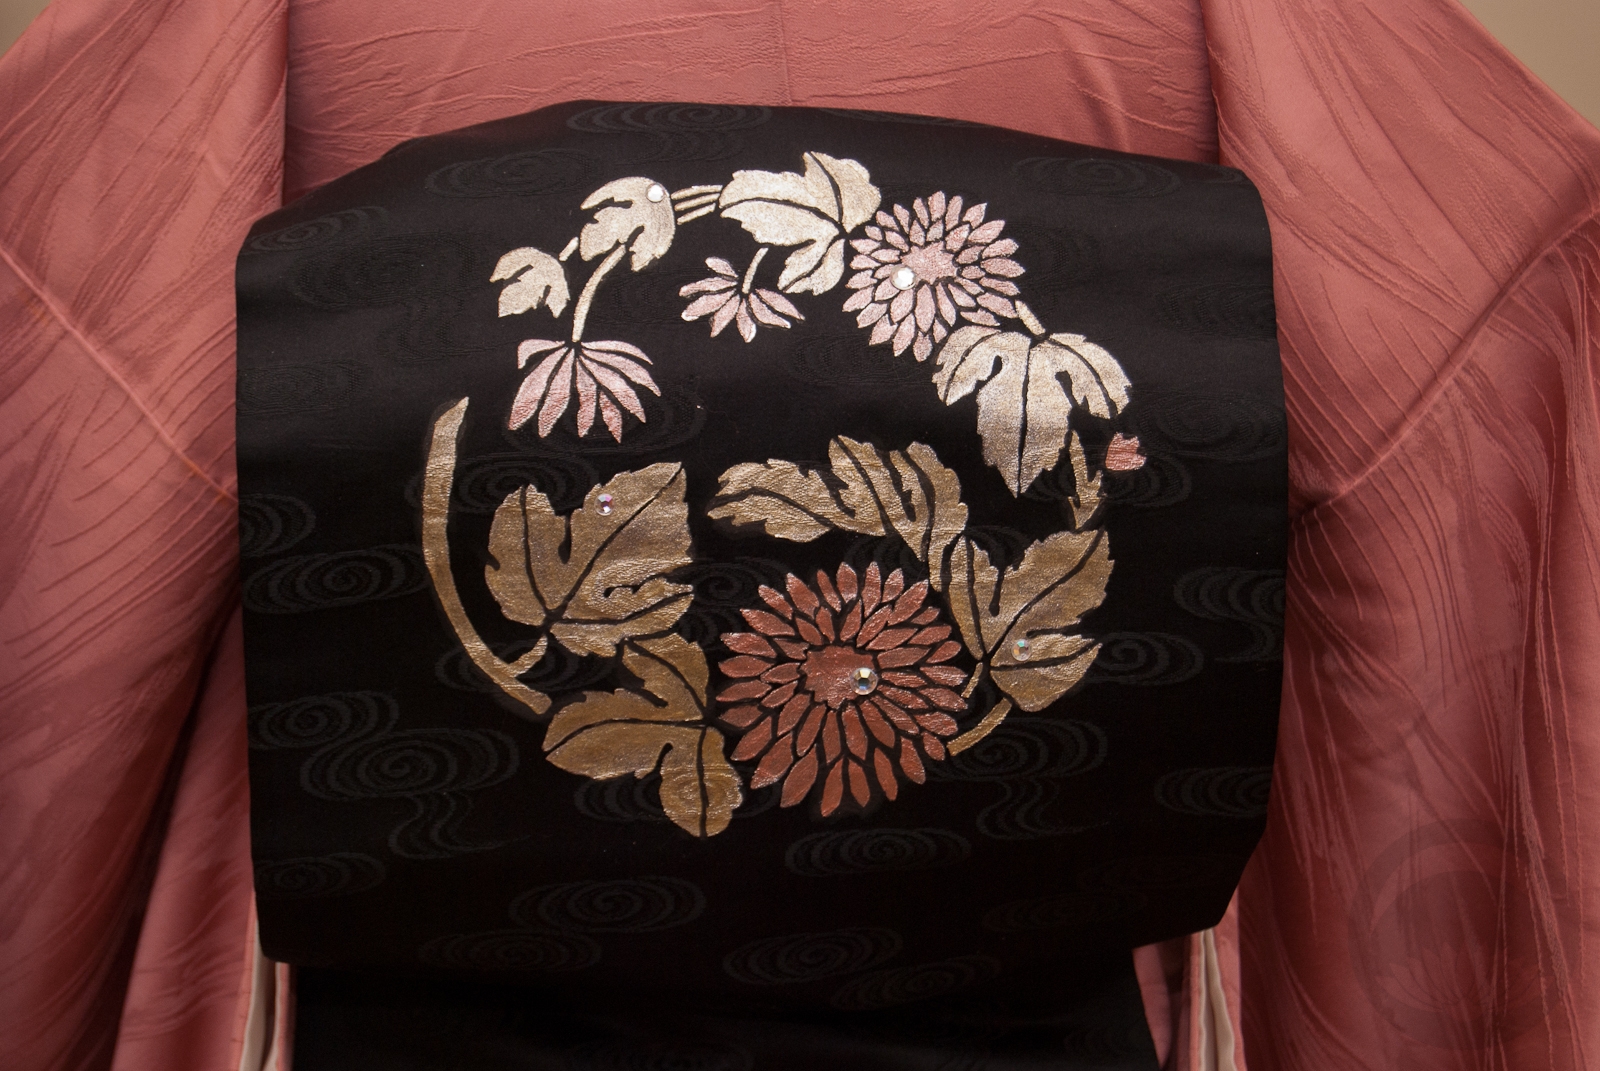
- All crisp and beautiful

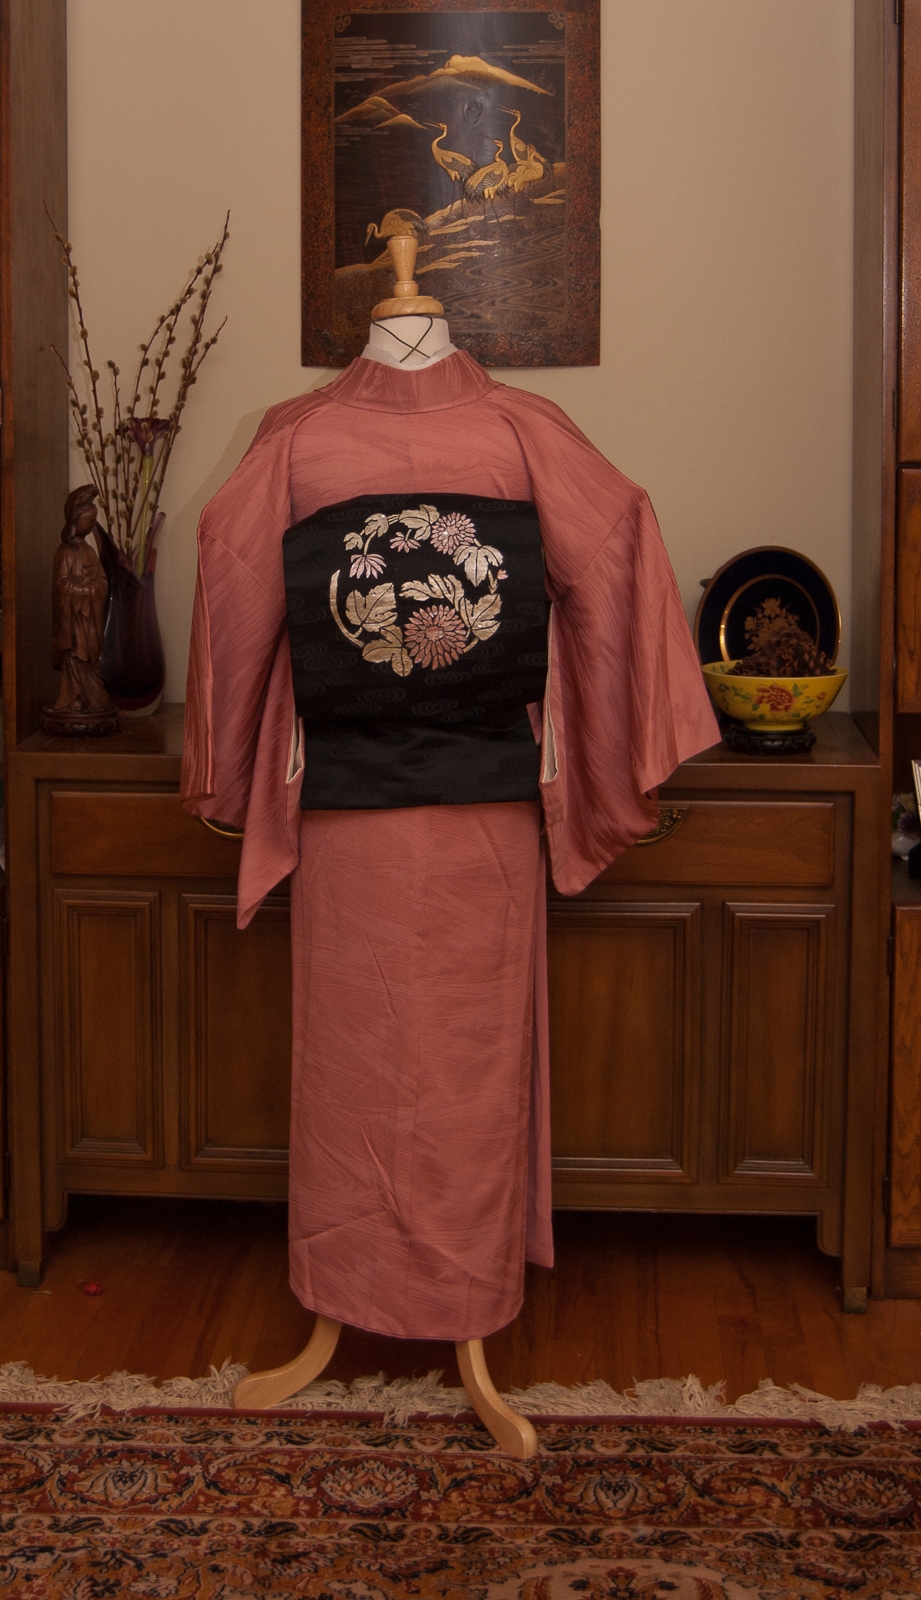
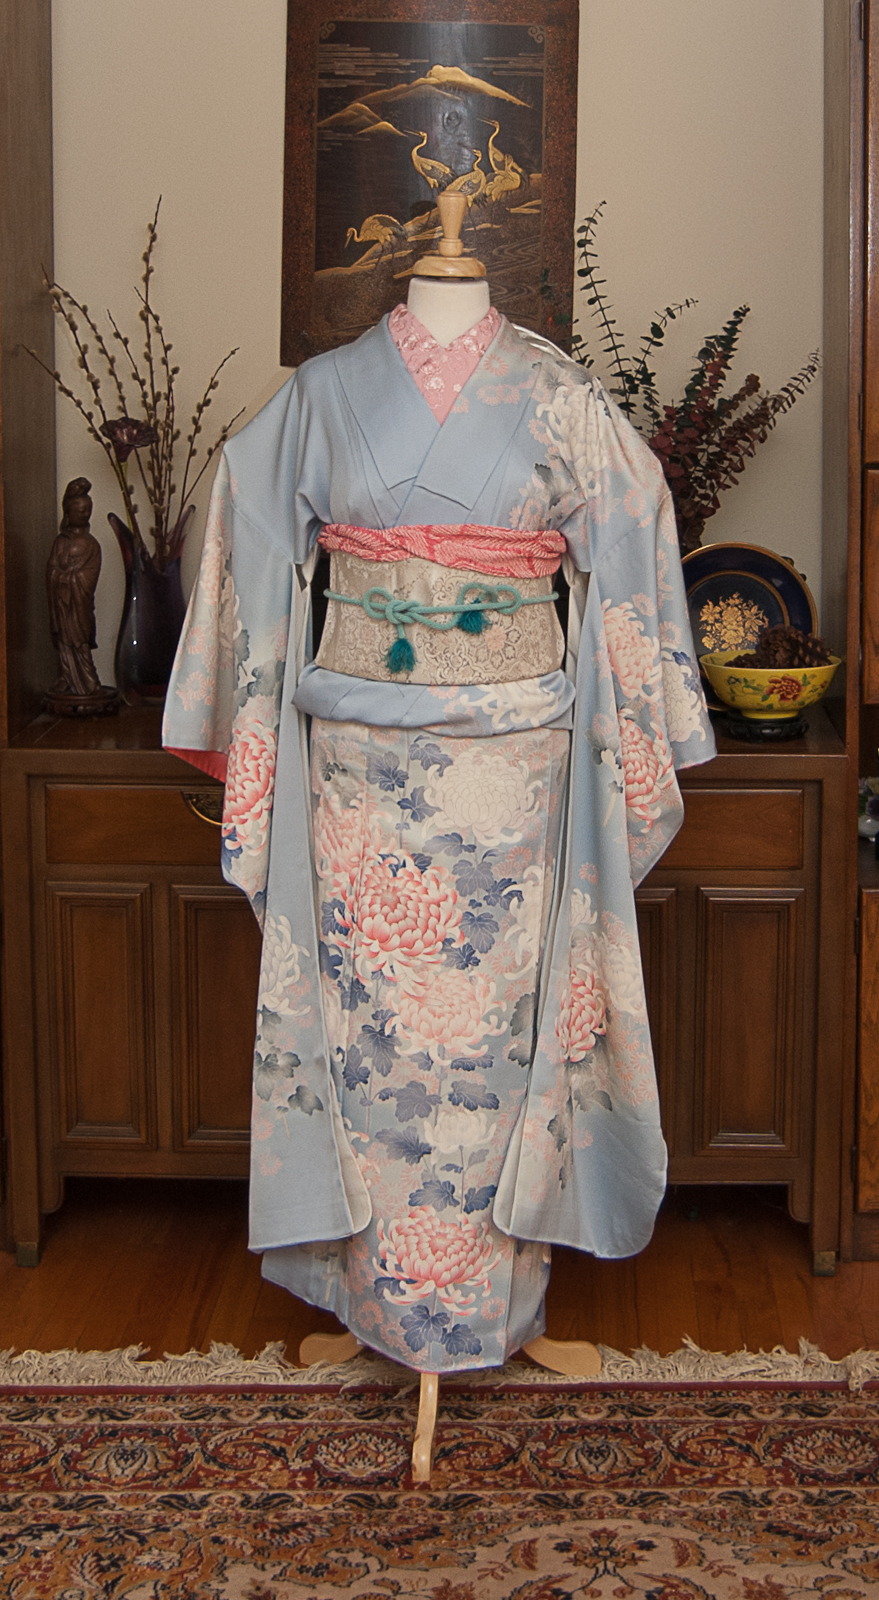
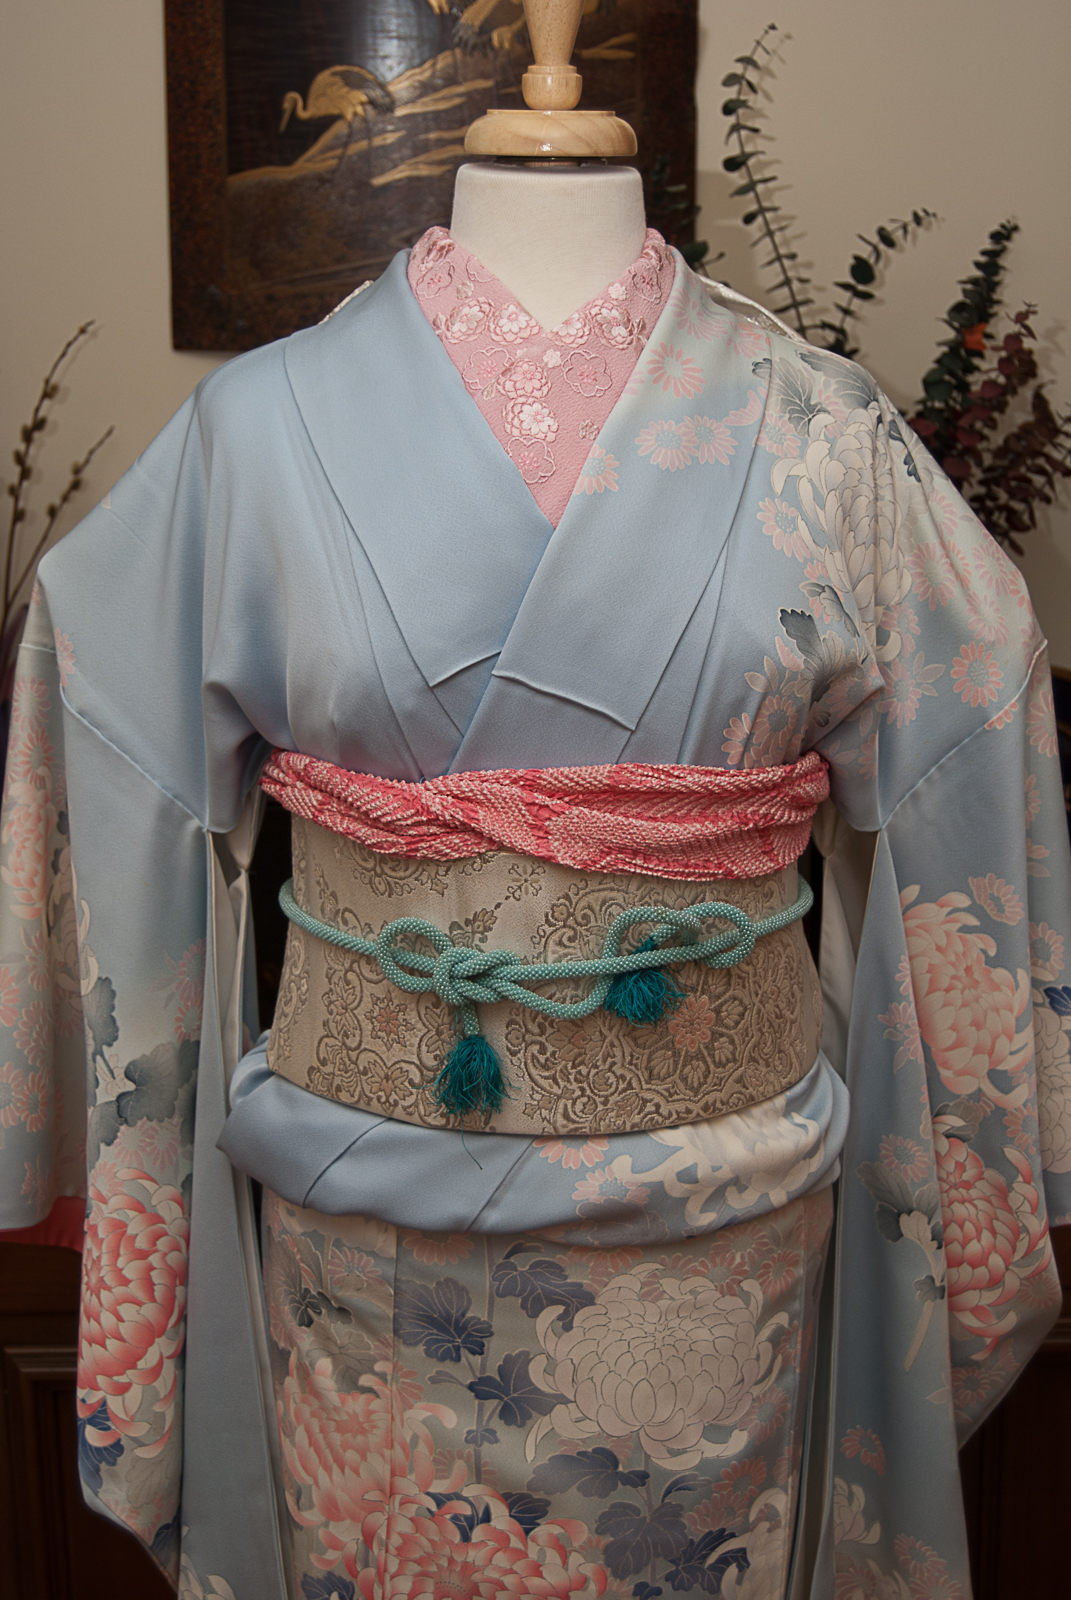
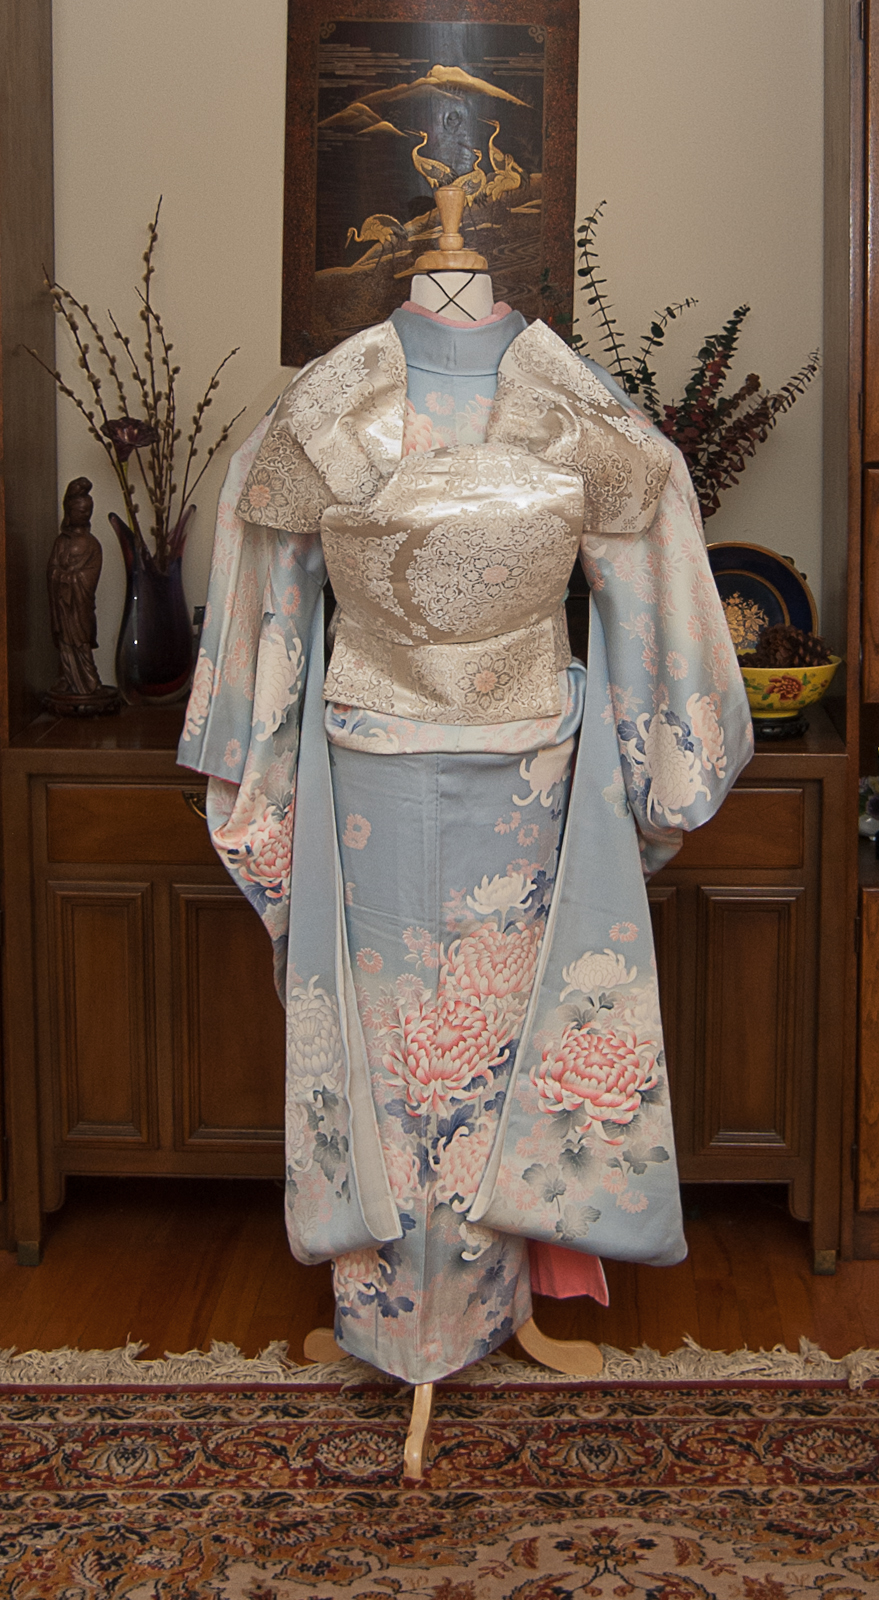
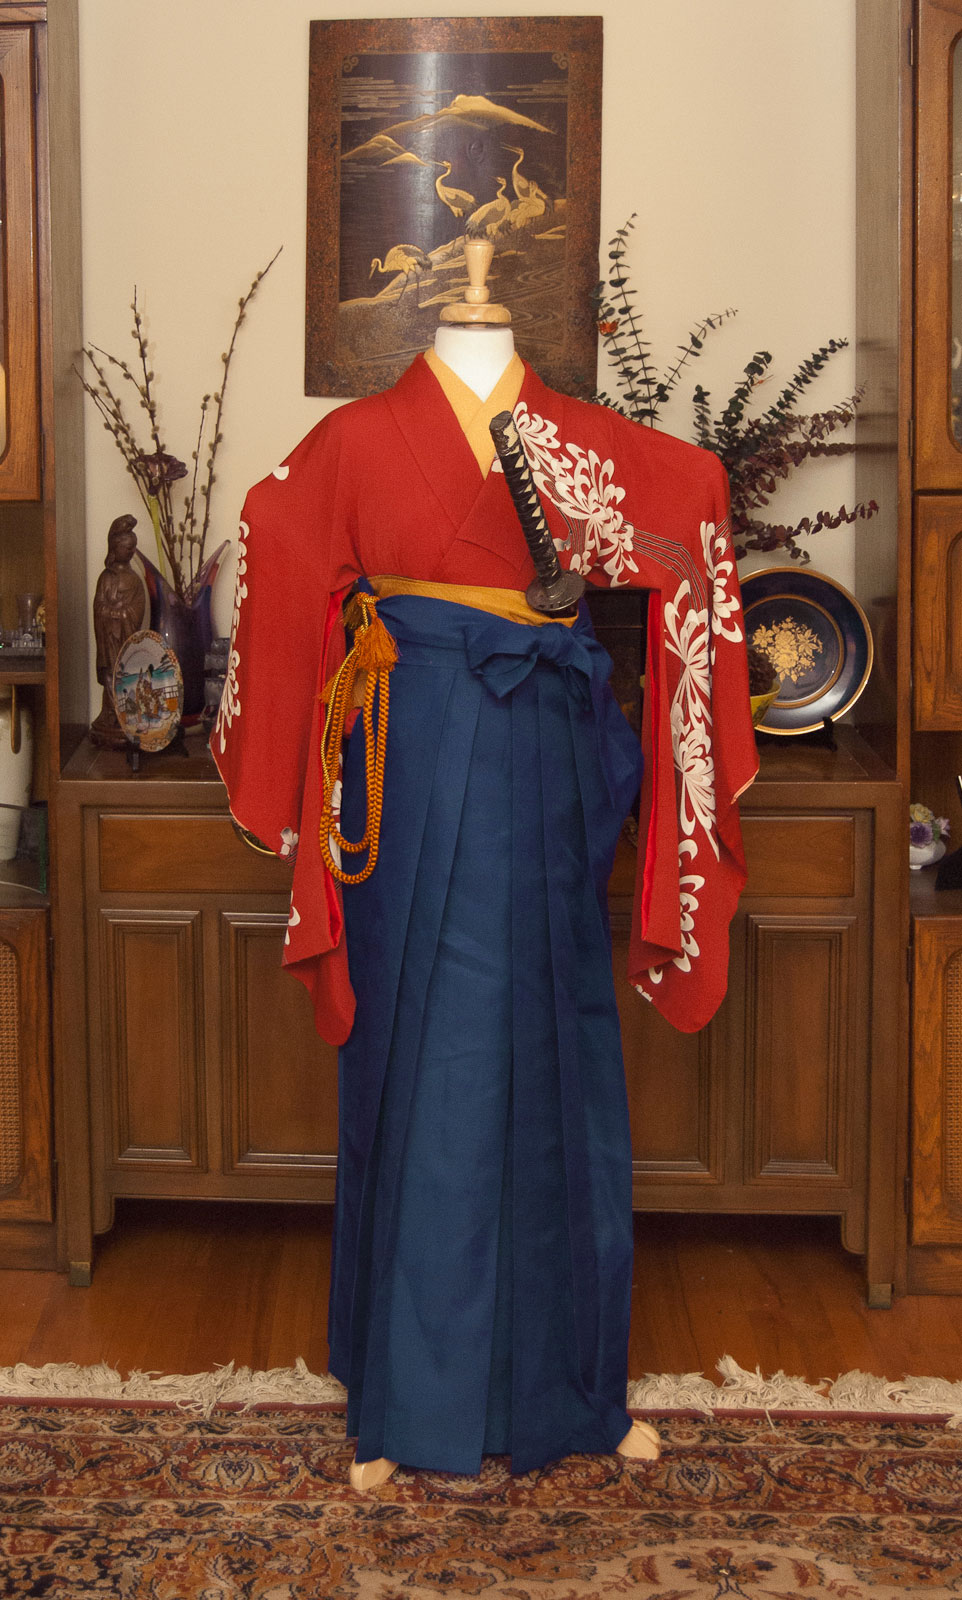
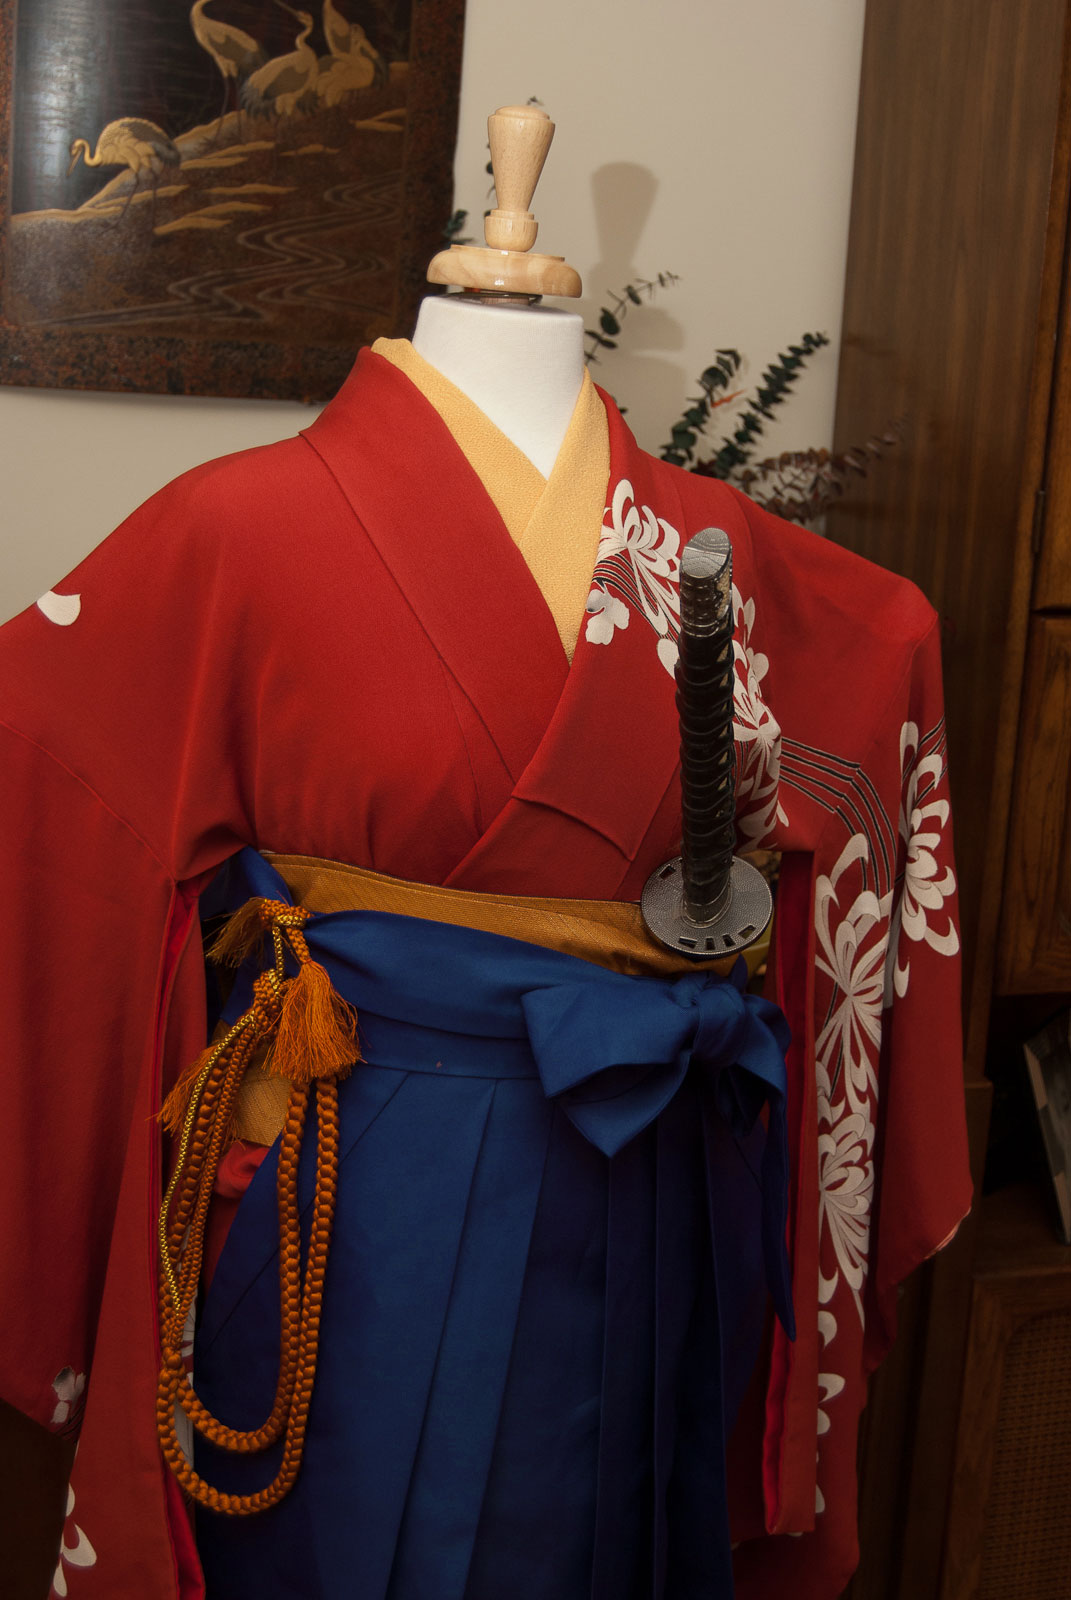
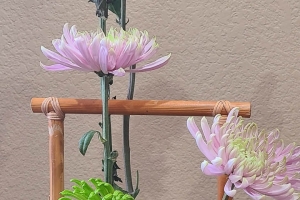
I can’t get over how beautiful the finished product is! They may be marketed as wall stencils but you can’t tell me this design isn’t absolutely perfect in this context, both in size and subject matter. Of course, as soon as I was certain it was fully dry I had to see how it looked on the mannequin. I also couldn’t help adding a few adhesive rhinestones as a finishing touch, I love how they pop against the metallic paint and look like drops of dew.

These stencils can obviously be used on fabric and look fantastic on the drum of a nagoya obi, but they would also be beautiful on walls, or used to make pillows or artwork. Cutting Edge actually sent me a couple of smaller bonus stencils, including a swallowtail and a koi fish. I used the swallow and more Art Alchemy Sparks in Mermaid Sparkle to make this pretty trinket dish, and I love how it turned out! I can’t wait to use the fish for something, I just need to figure out what.


Giveaway Time! – Giveaway now closed 01/09/2018
If you’ve read all the way down here, congratulations! Cutting Edge Stencils have also been generous enough to organise a giveaway! One lucky reader will receive an amazing $50 towards the stencil of their choice. The beautiful stencil I used is only $12.95 so that’s quite a fantastic offer. All you have to do is browse their site, and then comment below on this blog entry before August 31st with which stencil is your favourite and what you would do with it if you won. Be sure to include your email address in the proper field so I can contact you if you win. For an extra entry, comment on this facebook post!
*Winner will be chosen using Random.org and must be of legal age and a resident of Canada or the United States*
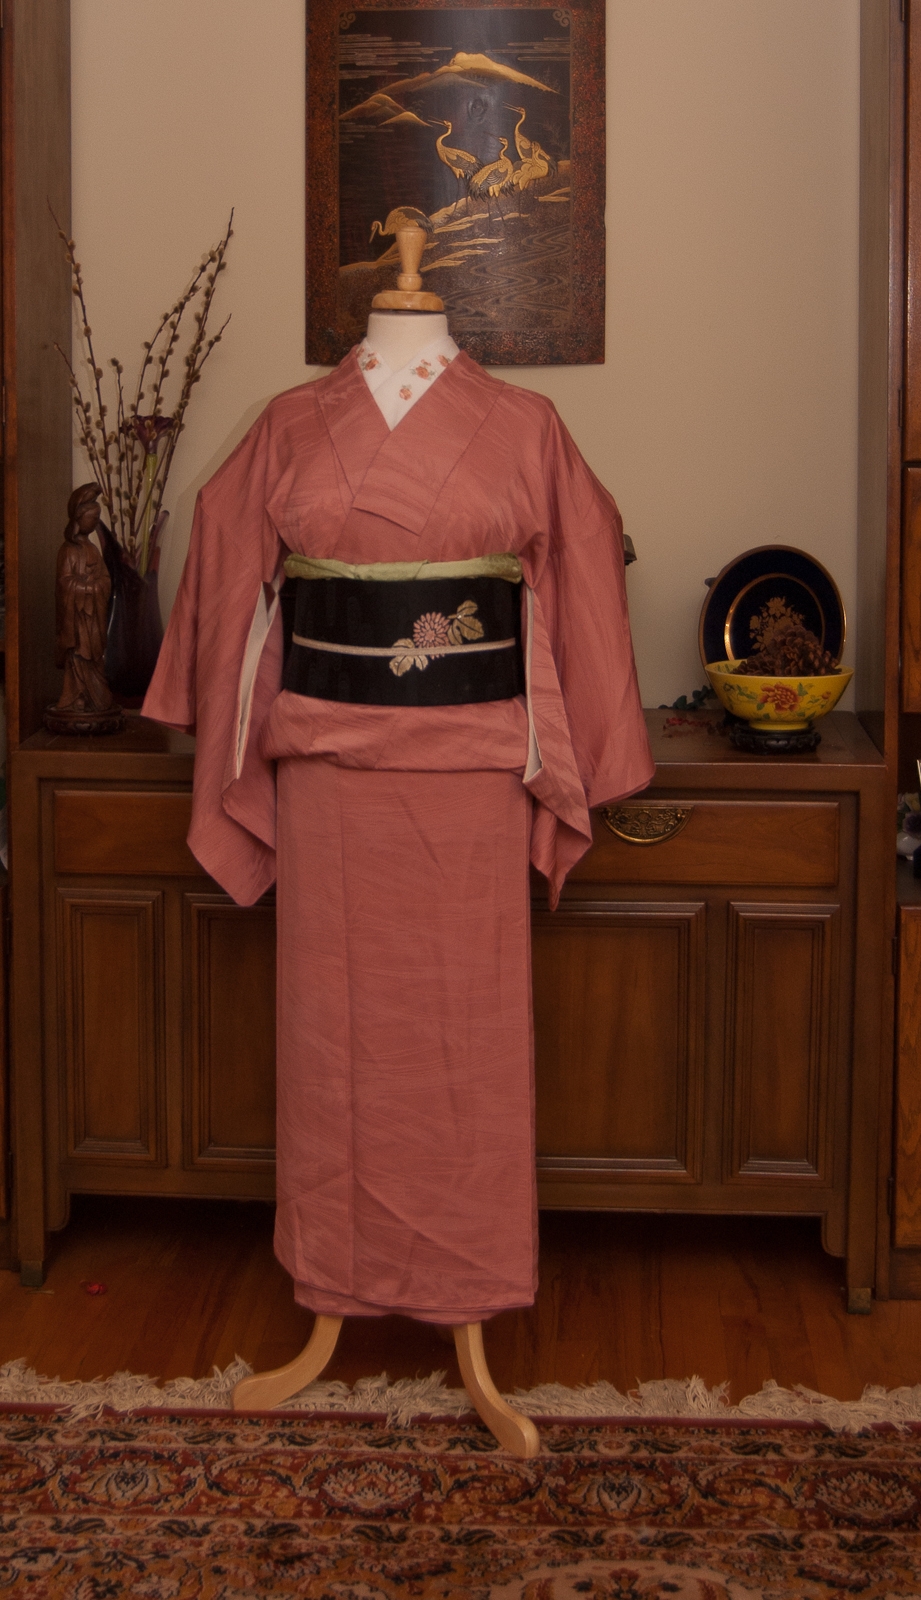
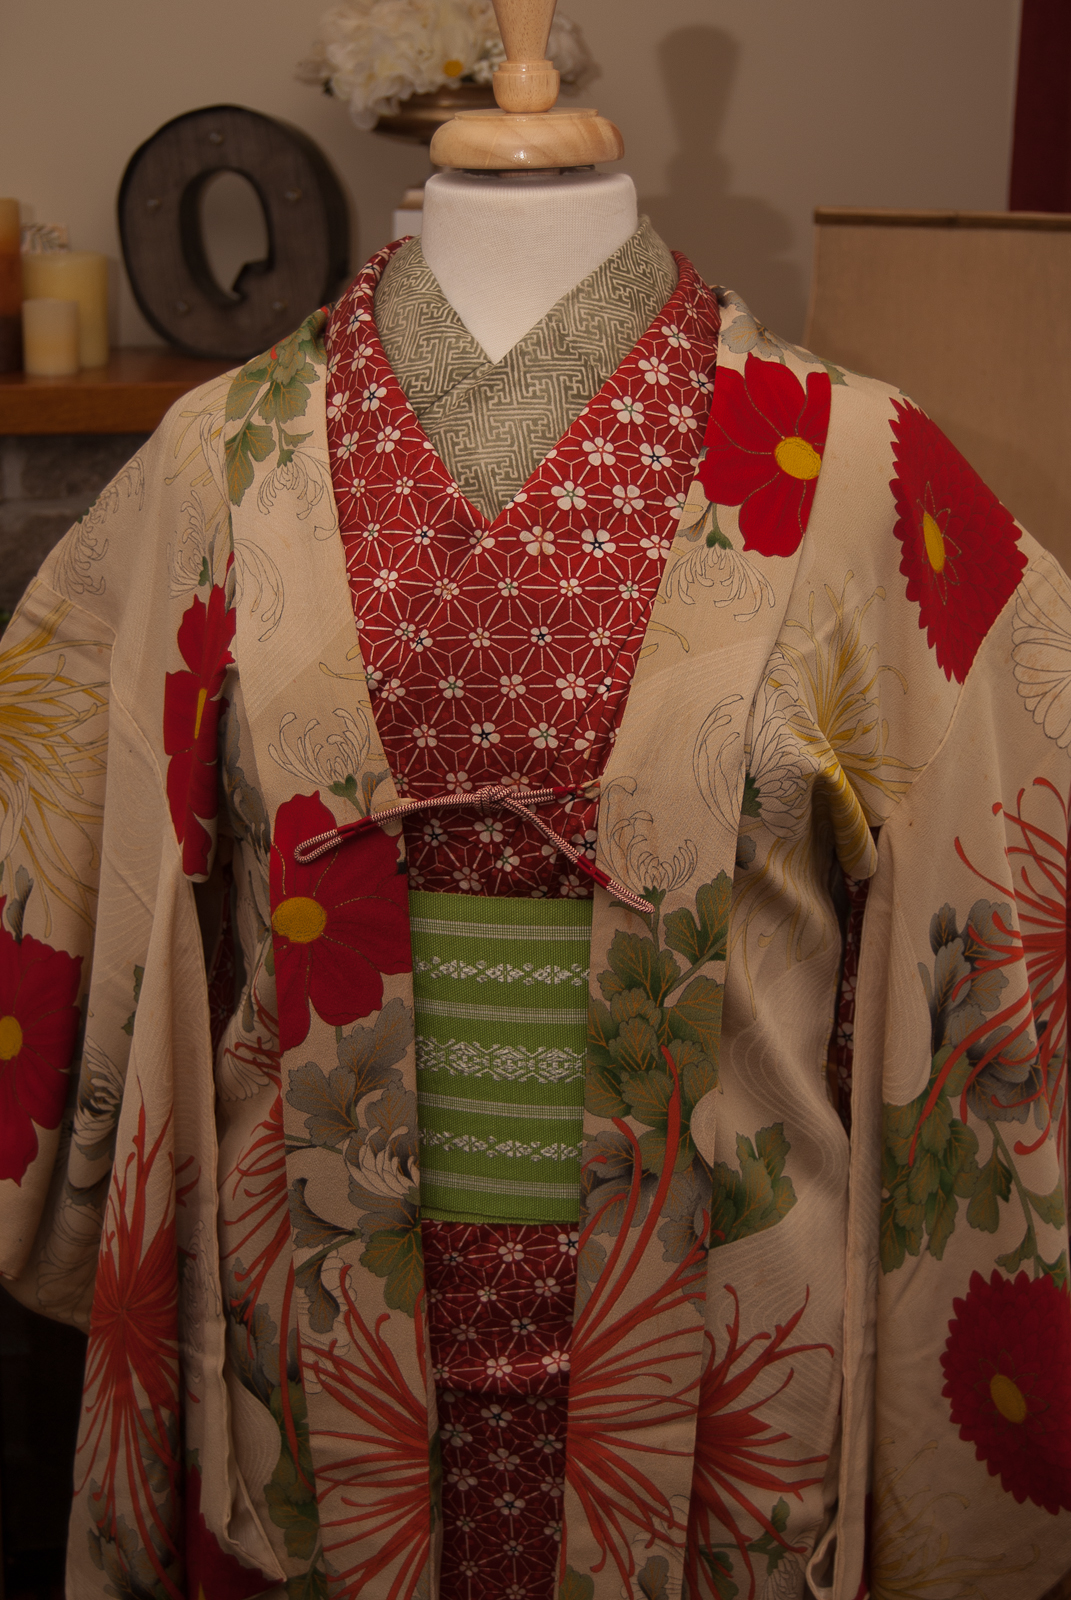
Items used in this coordination
-
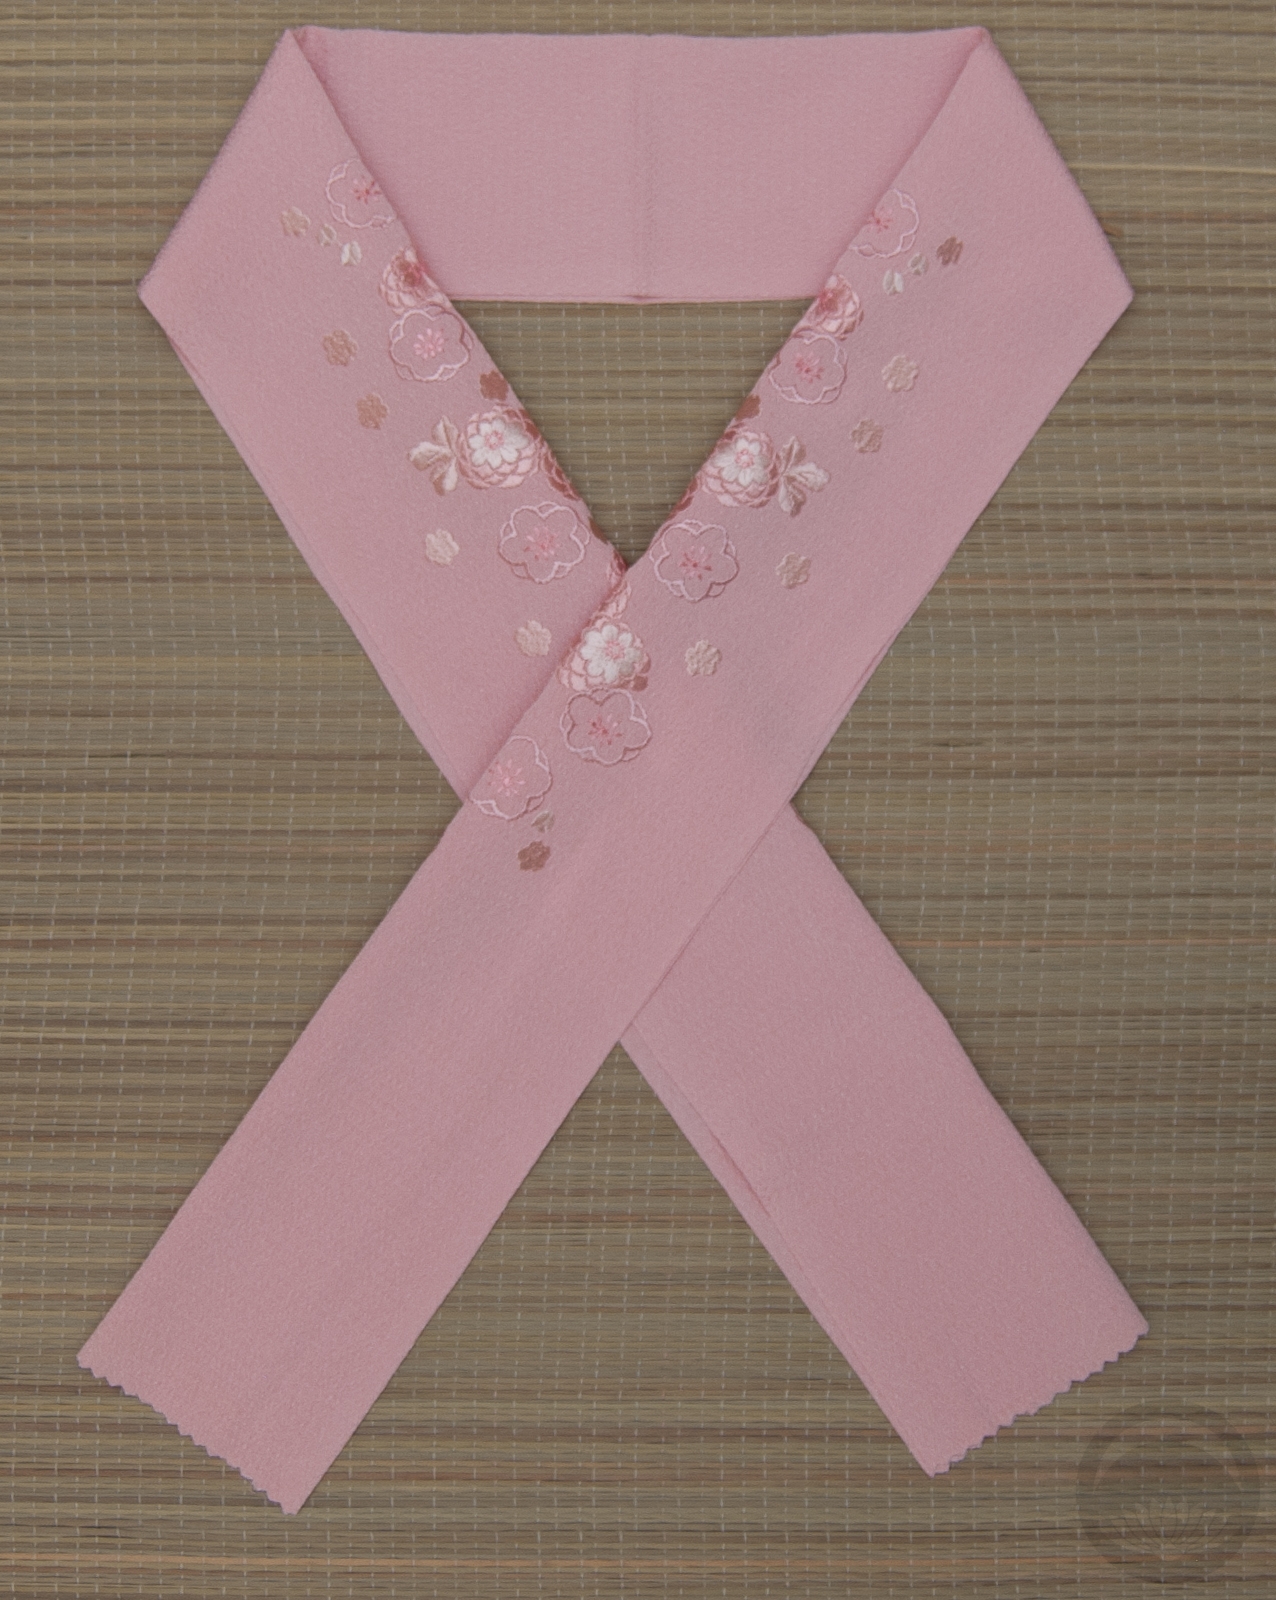
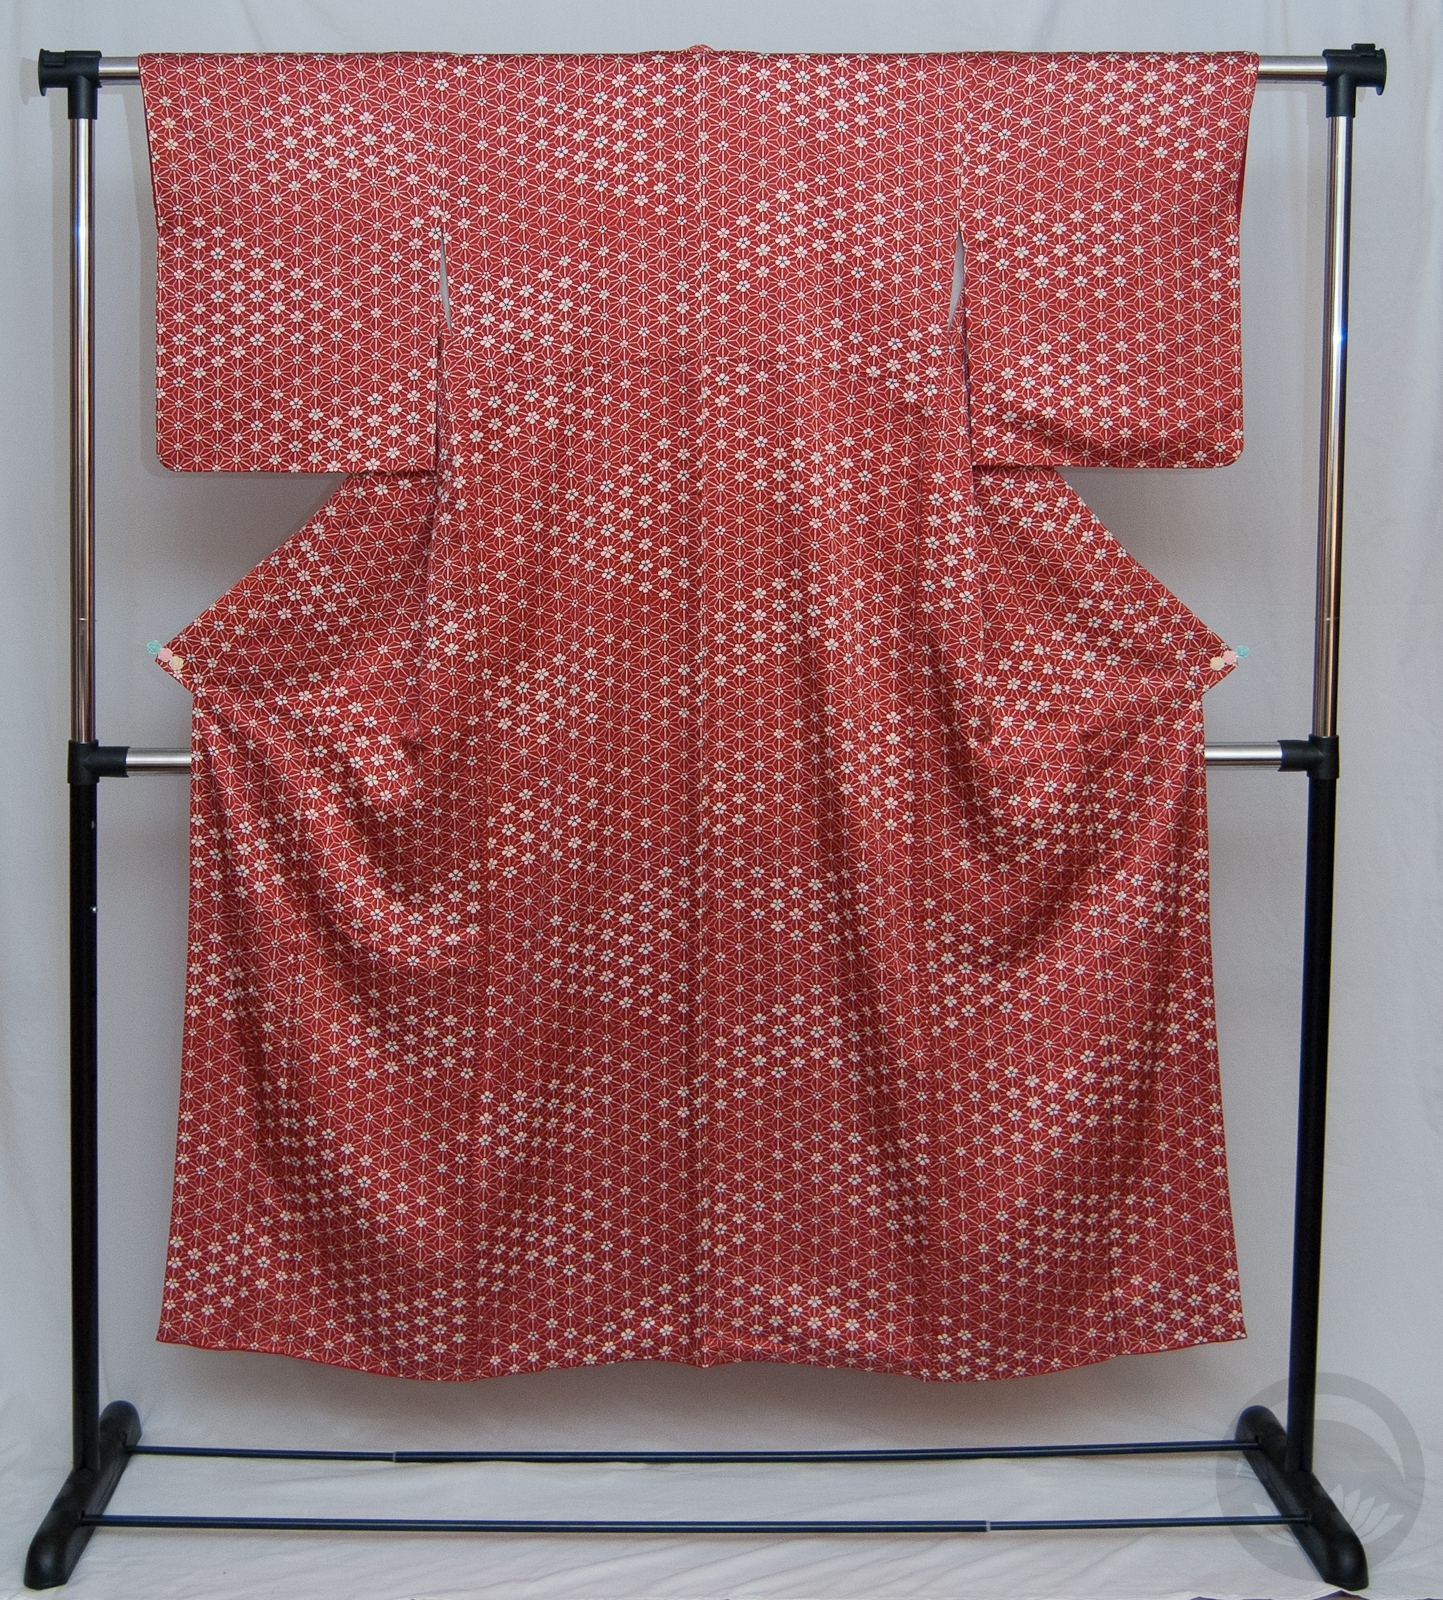
- Rose

-
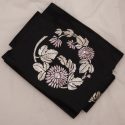
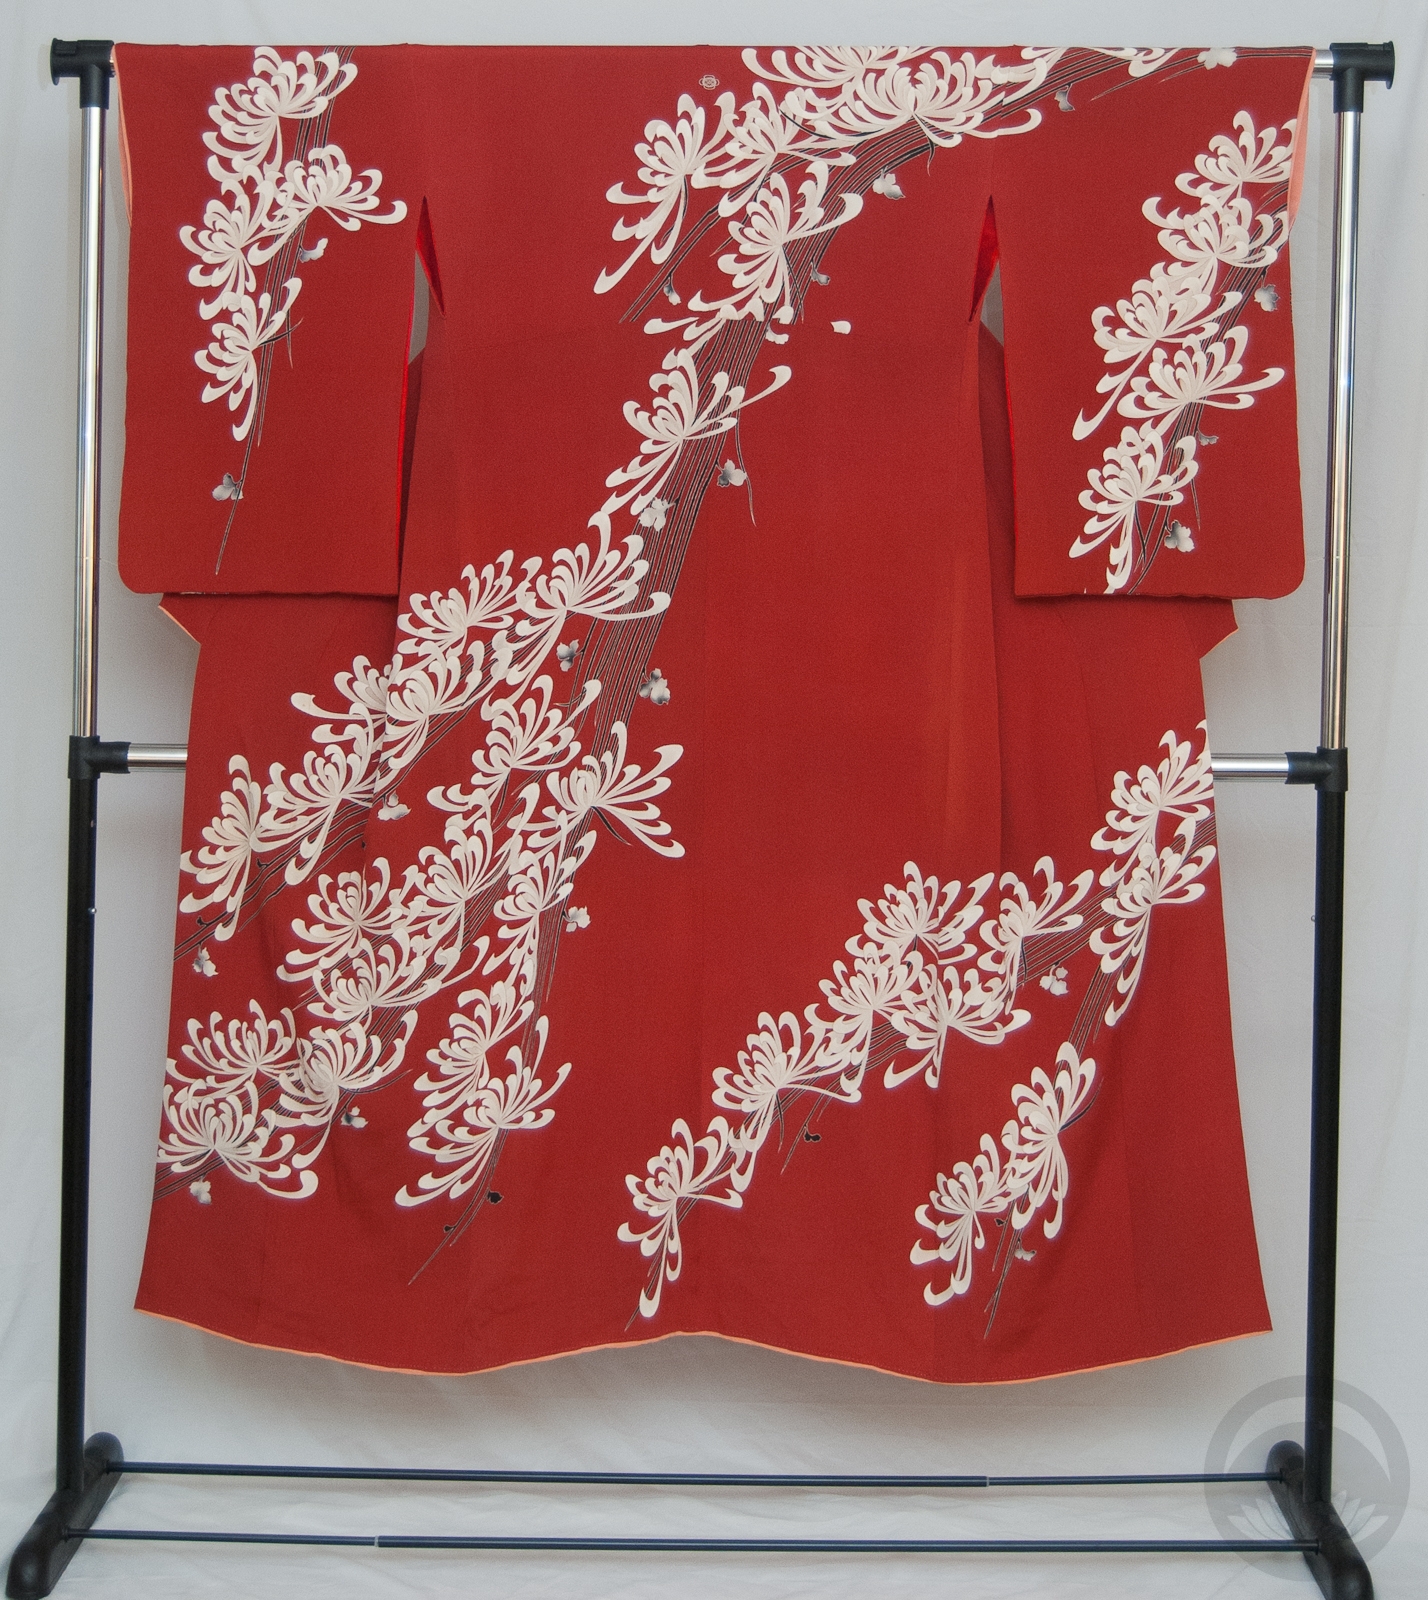
- Stencilled Kiku
-
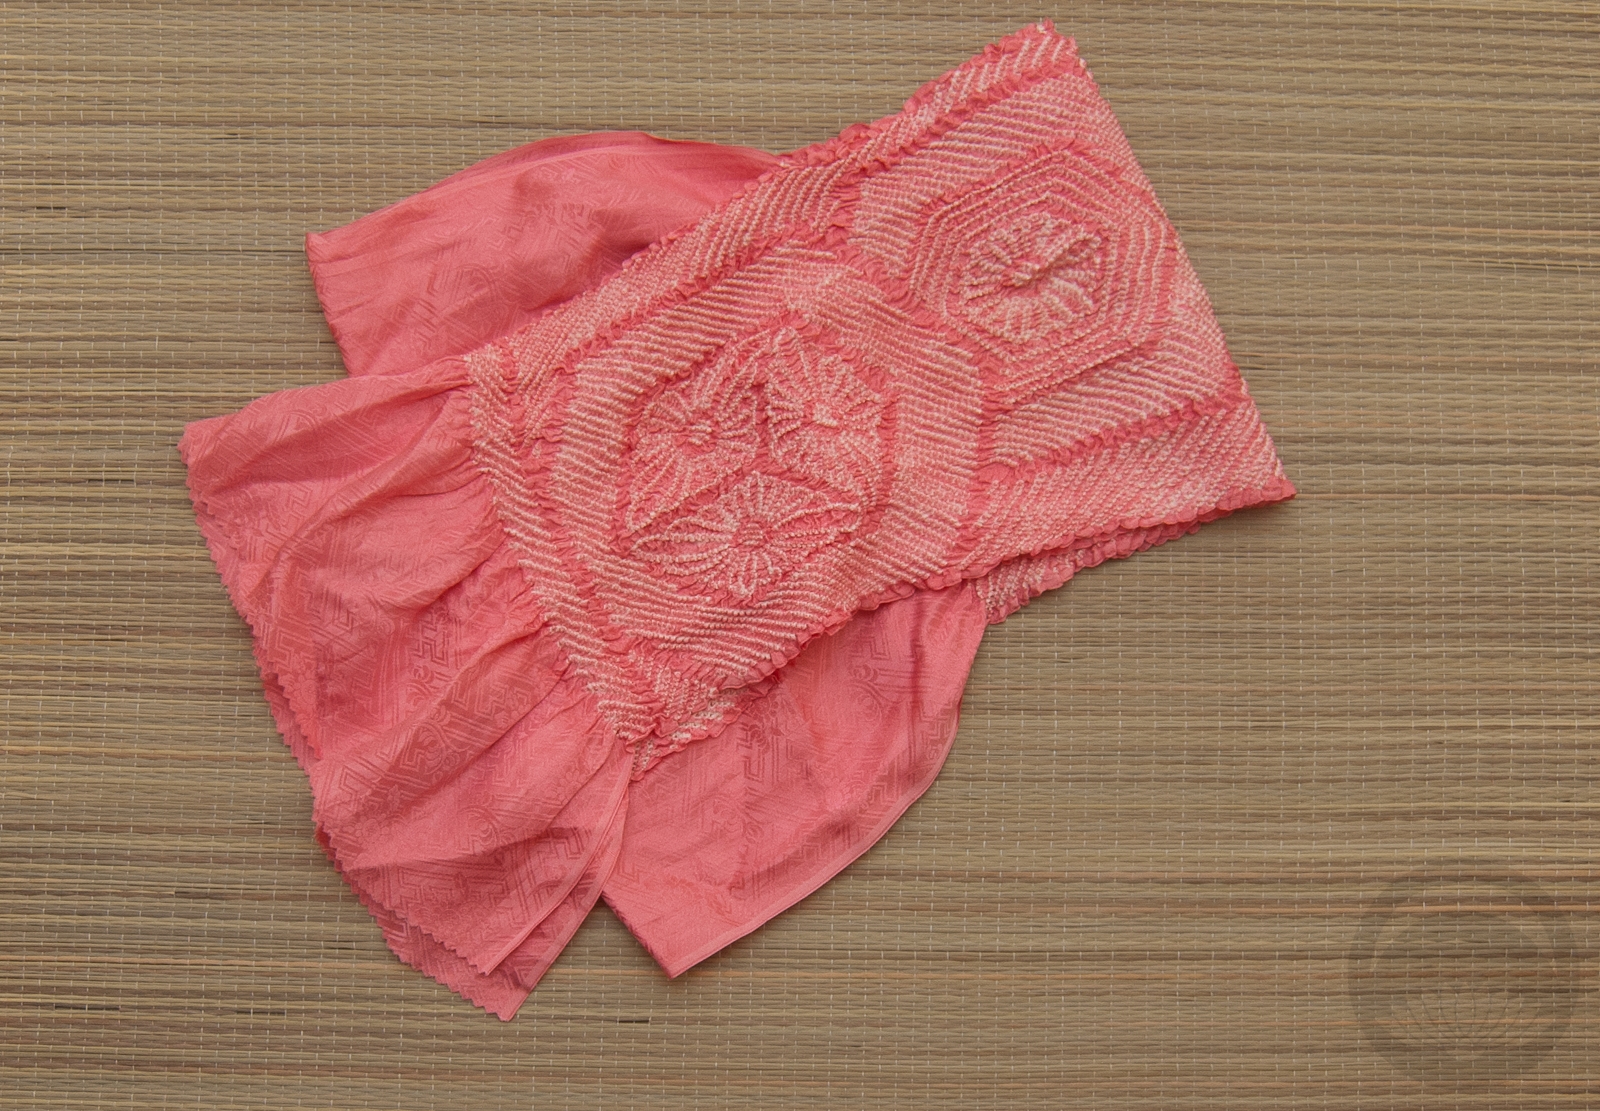
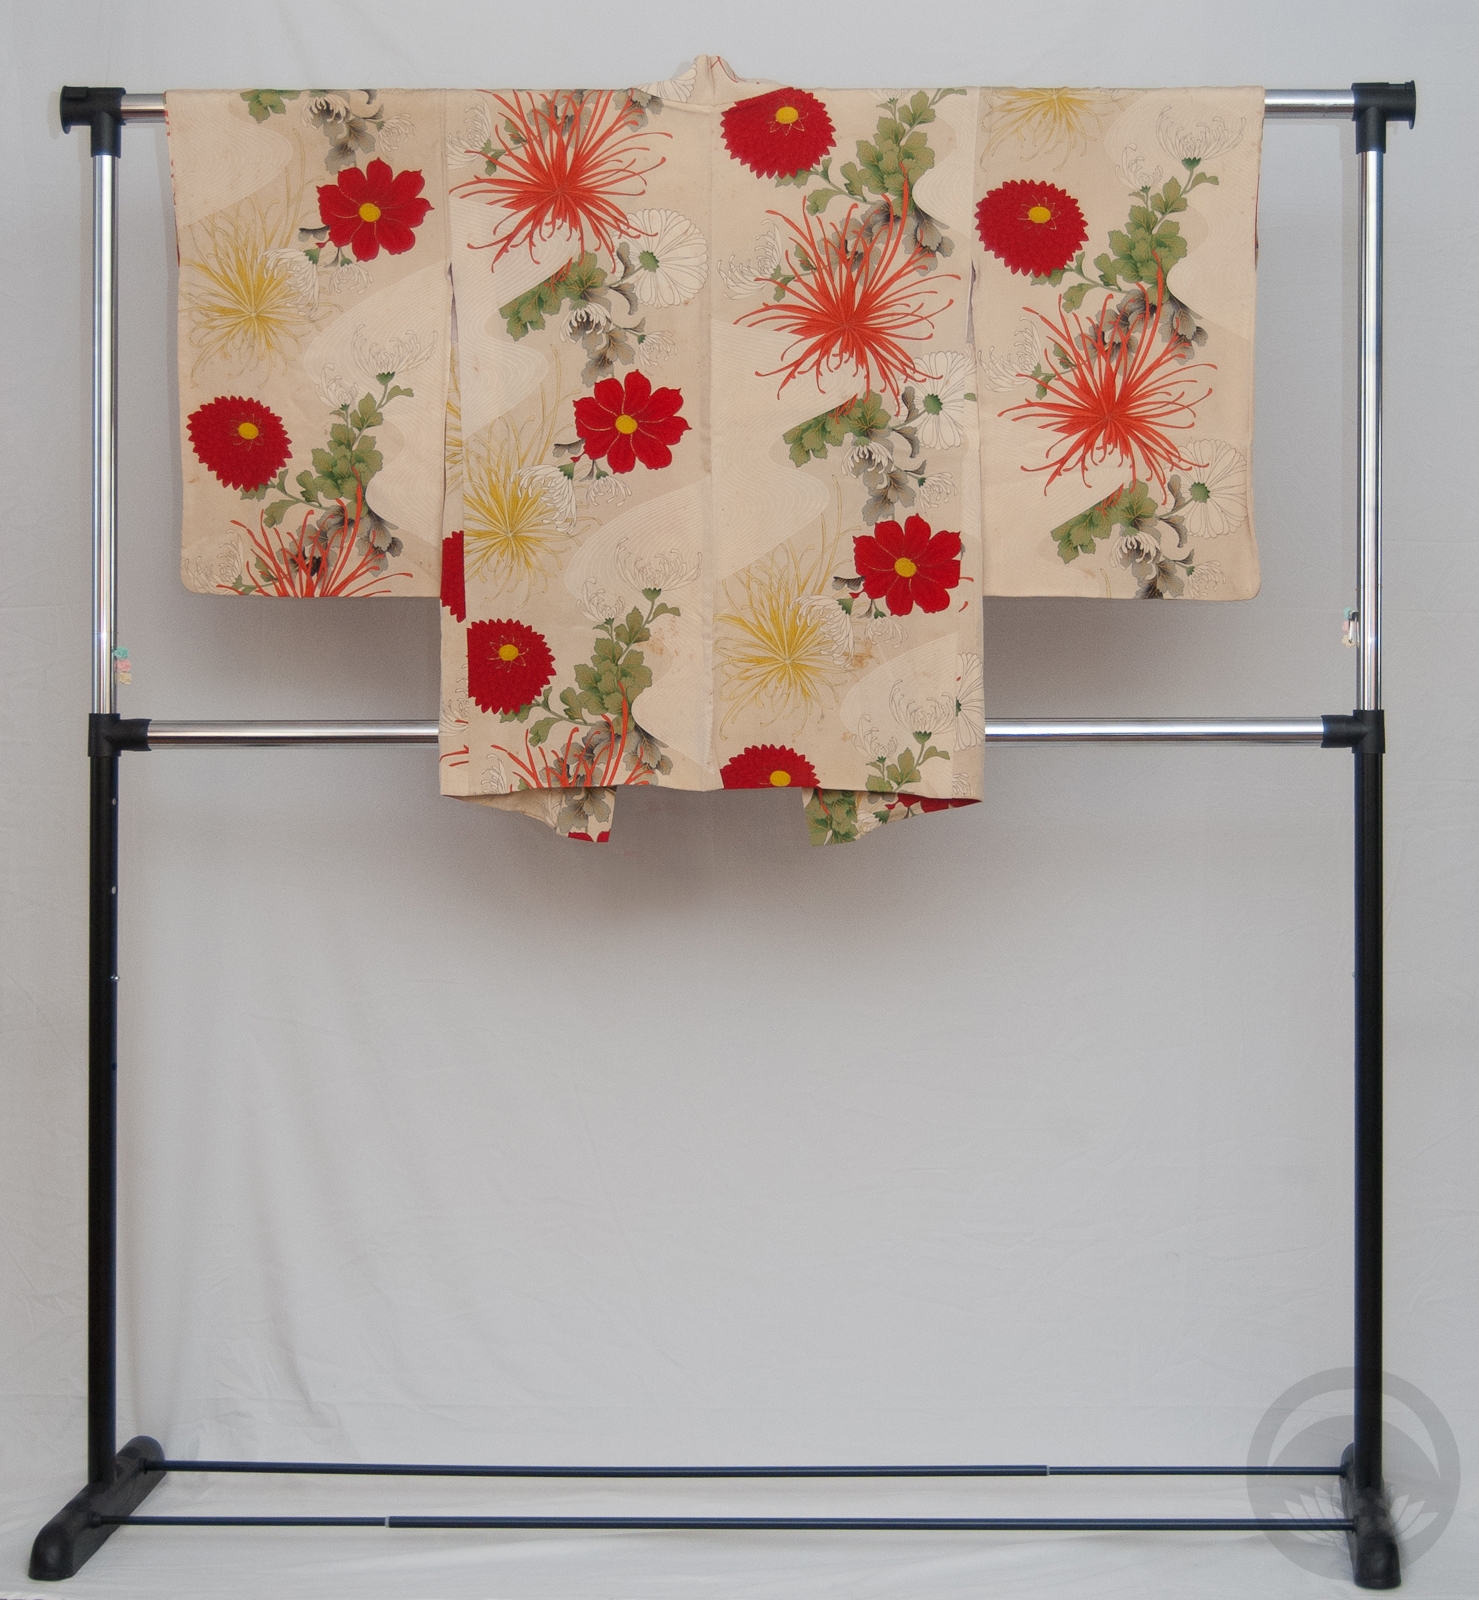
- Dusty Pink Botan
-
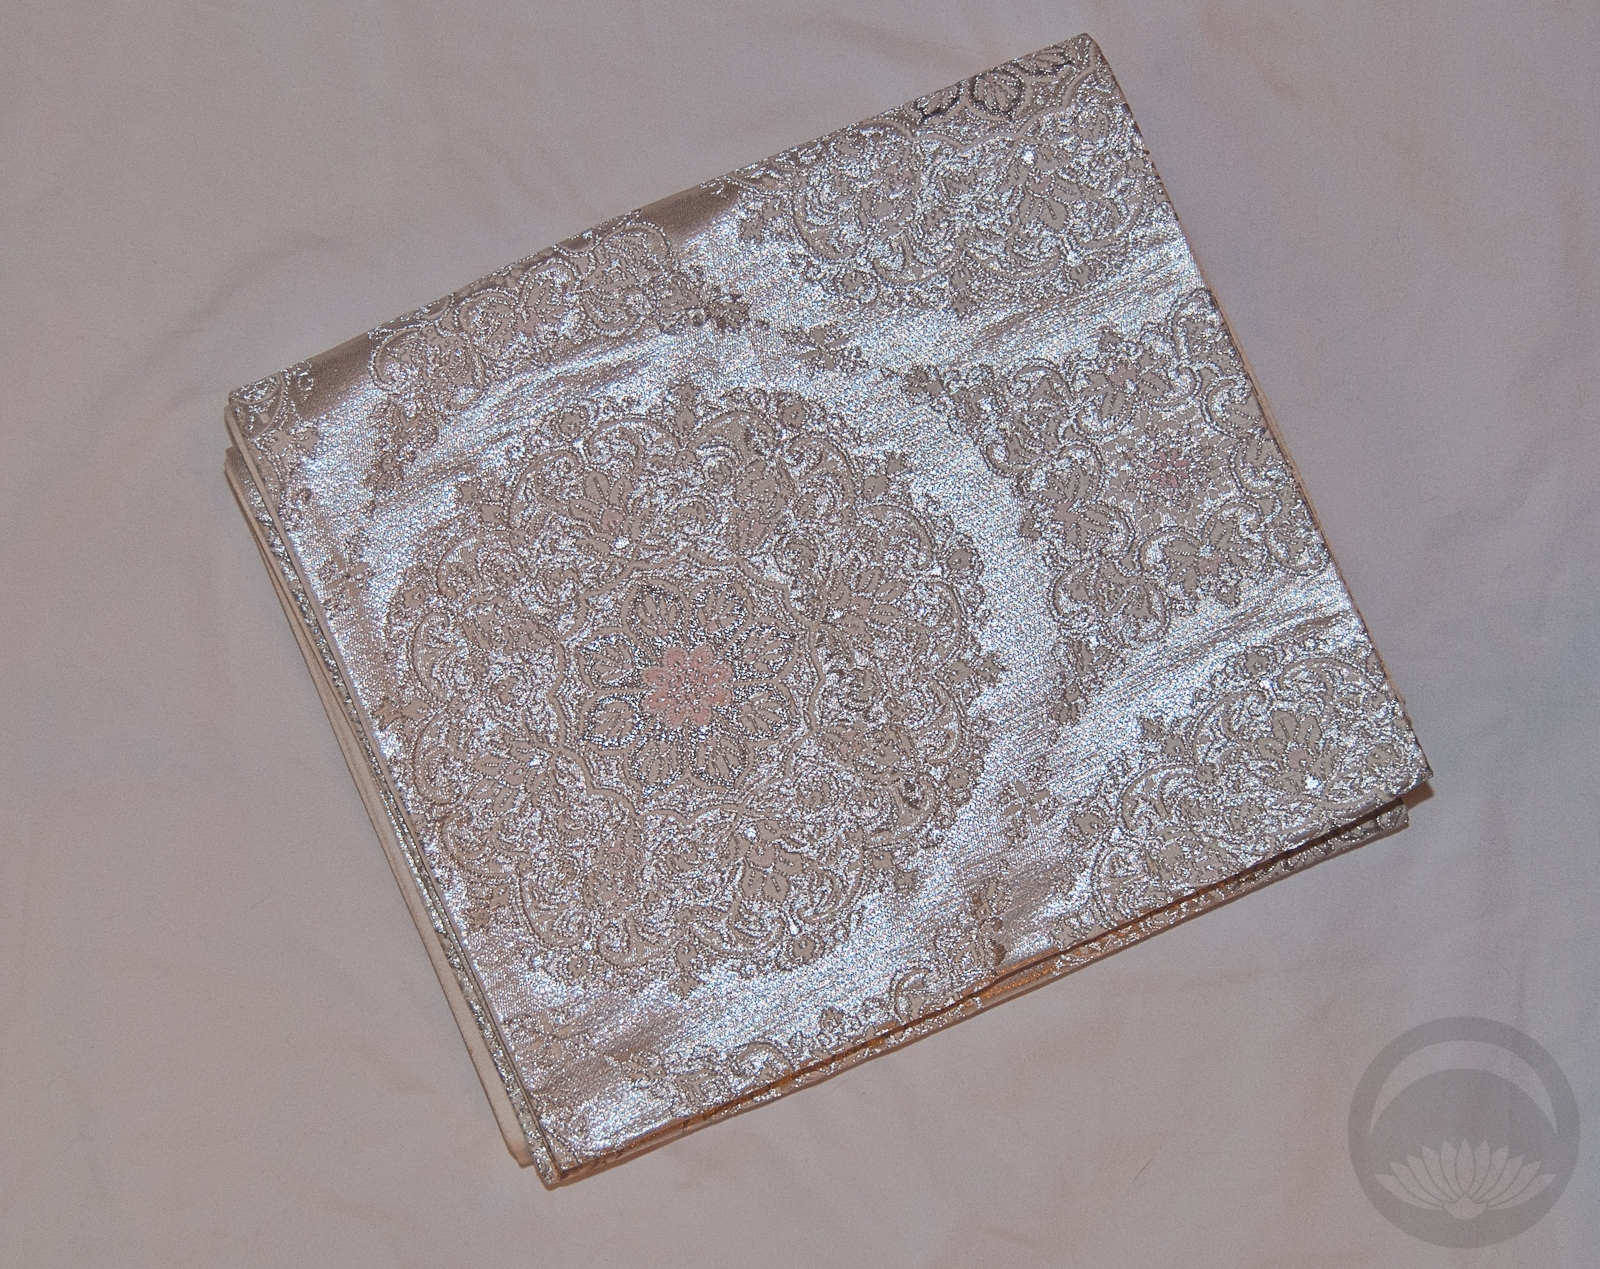
- Silver

-
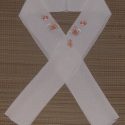
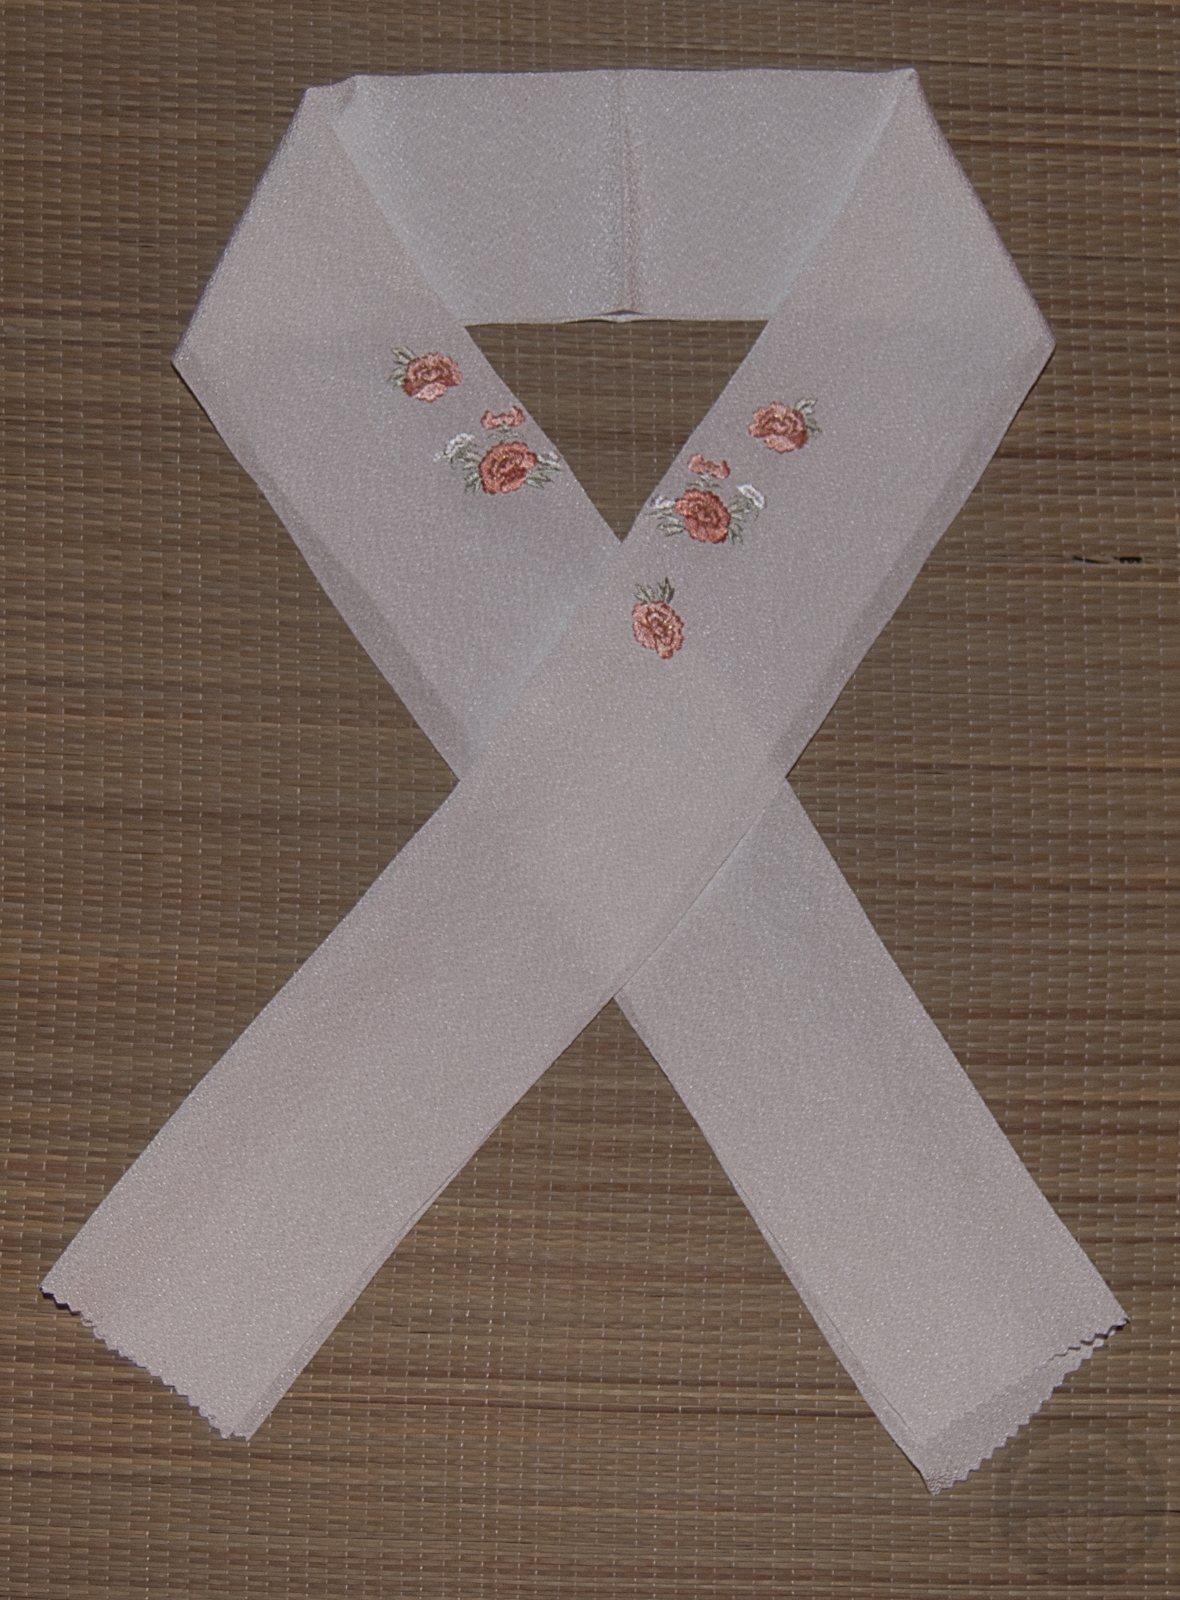
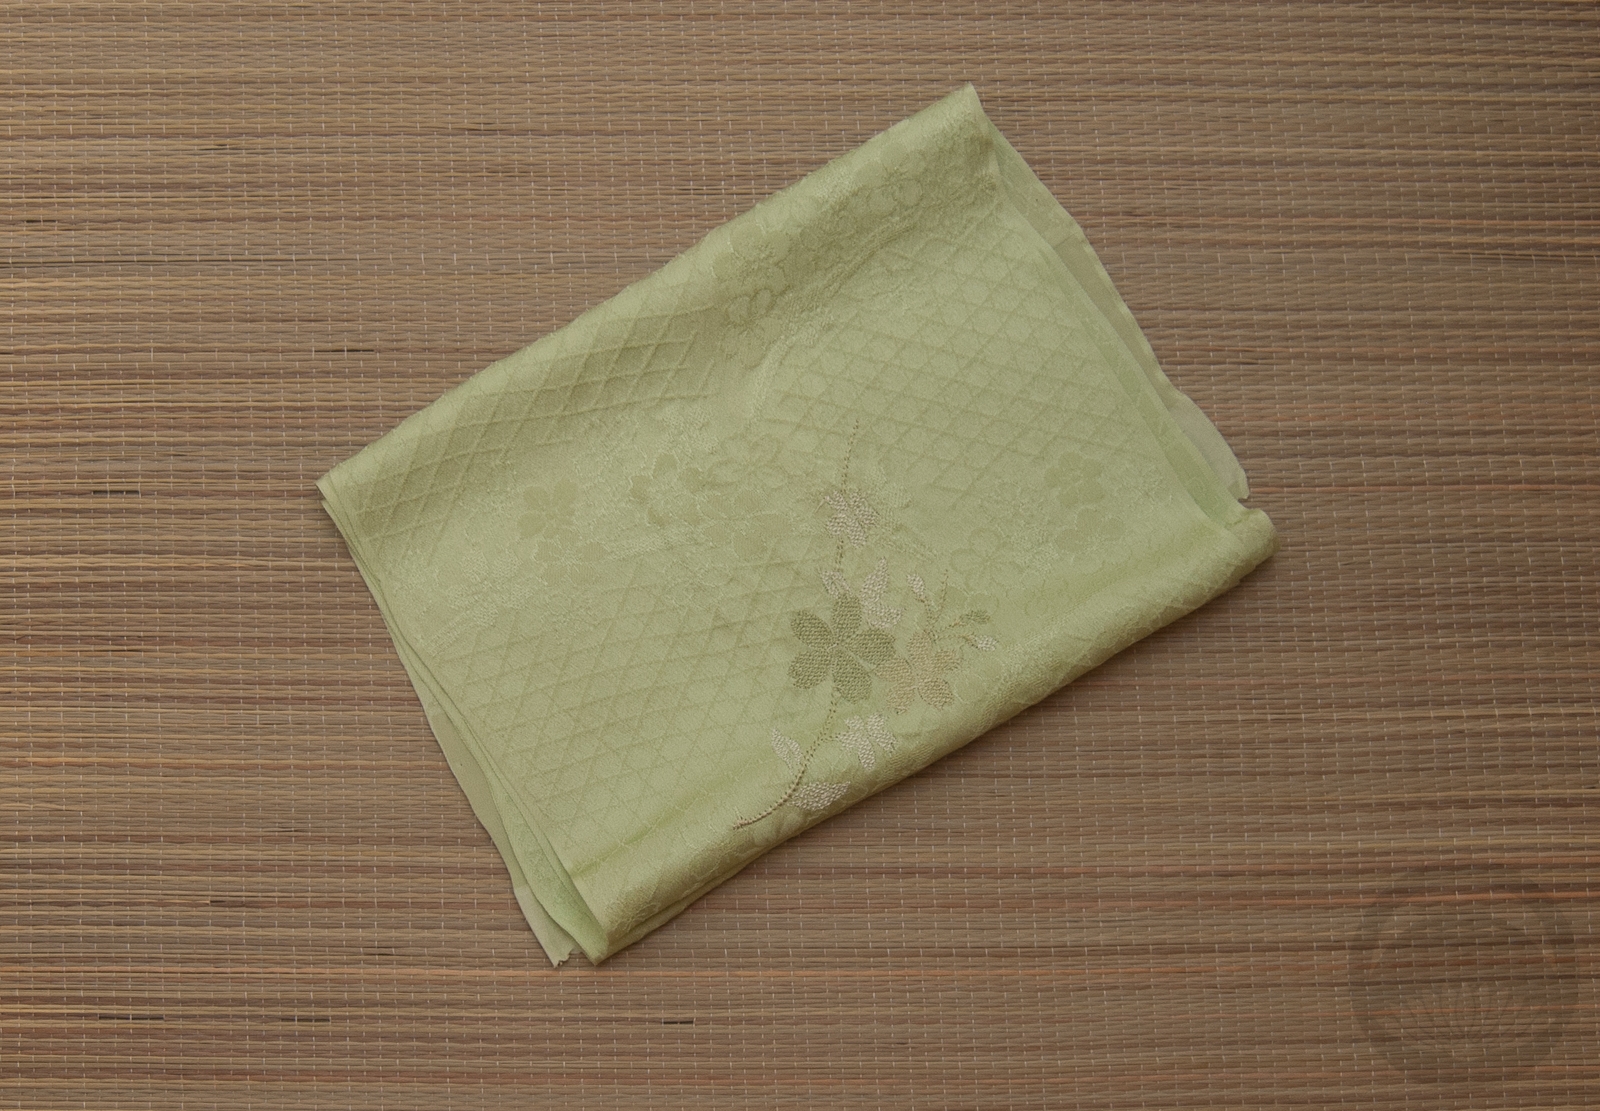
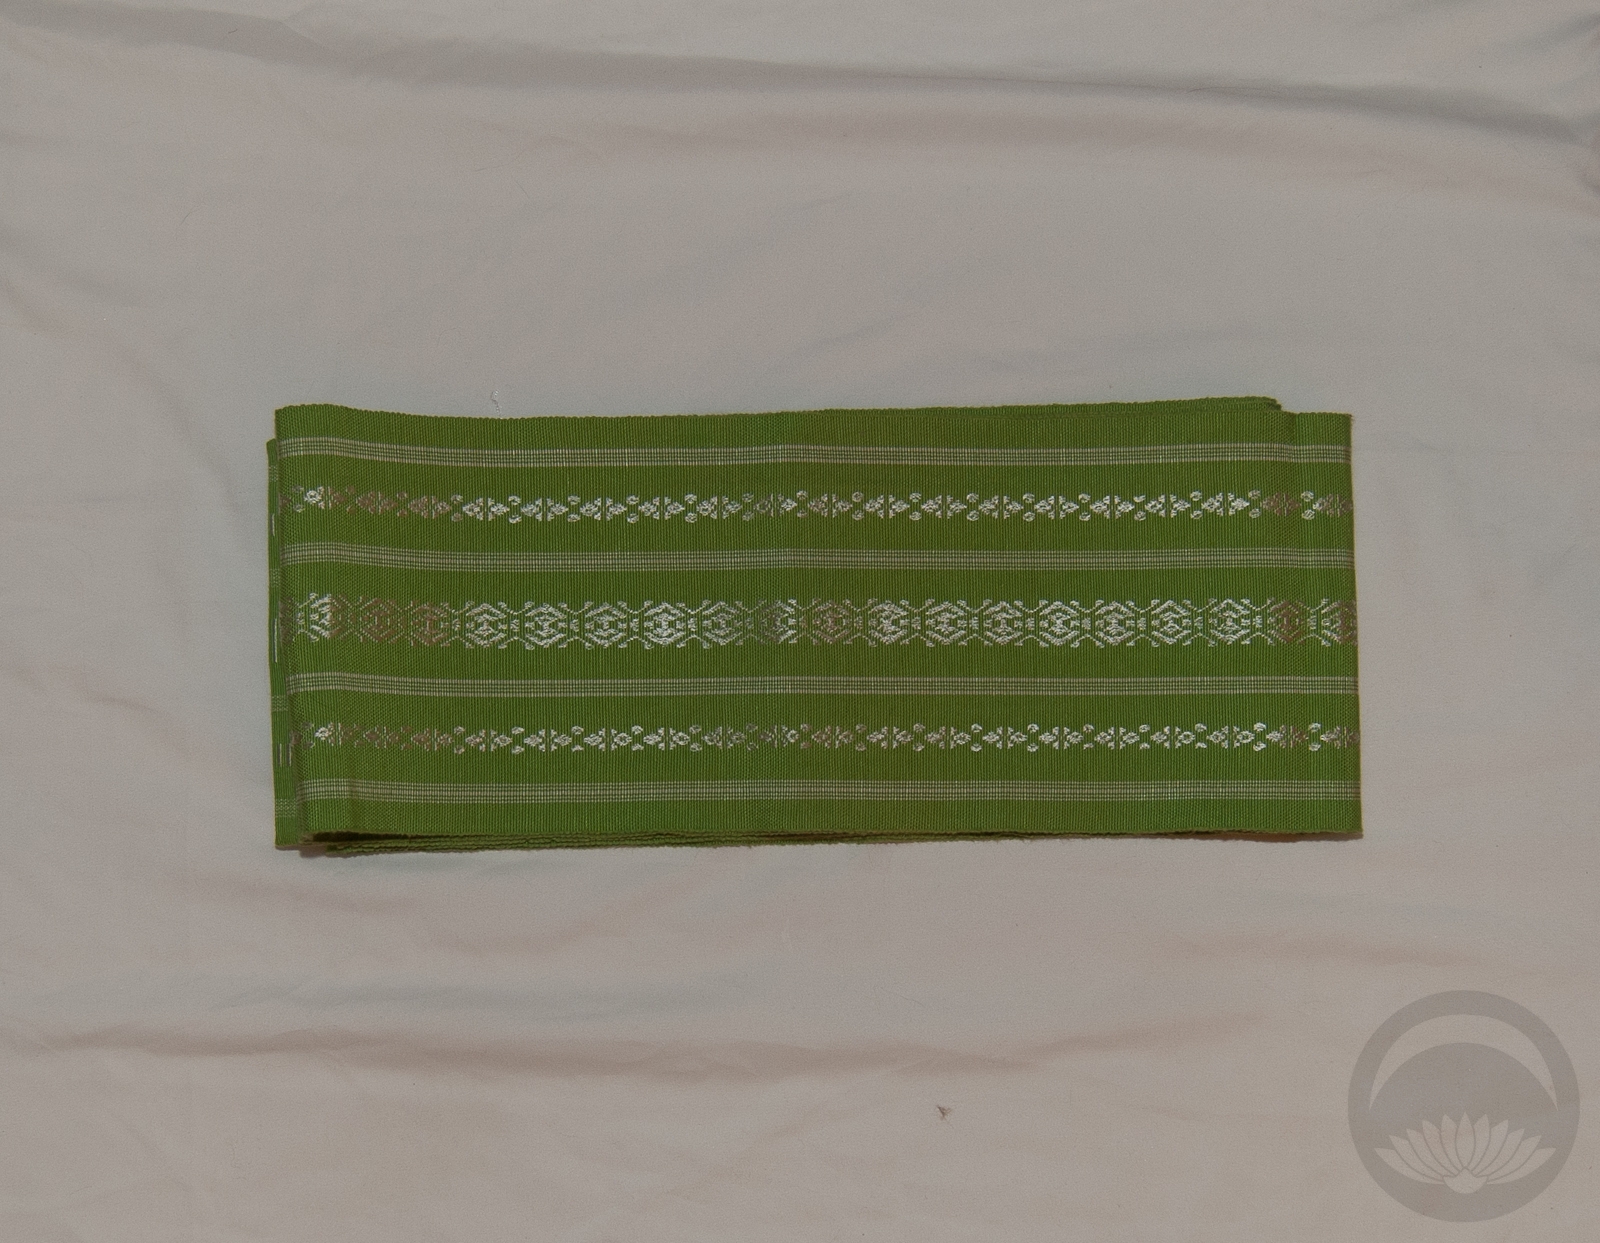
- Pale Green Rinzu with Embroidery
I received this item from the retailer or manufacturer for honest review purposes.If you have a topically appropriate craft, product, or service you would like me to review, please contact me.This post contains affiliate link(s). If you choose to purchase, I receive a small rebate or commission which goes to the continued maintenance of this site.


 Bebe Taian
 CHOKO Blog
 Gion Kobu
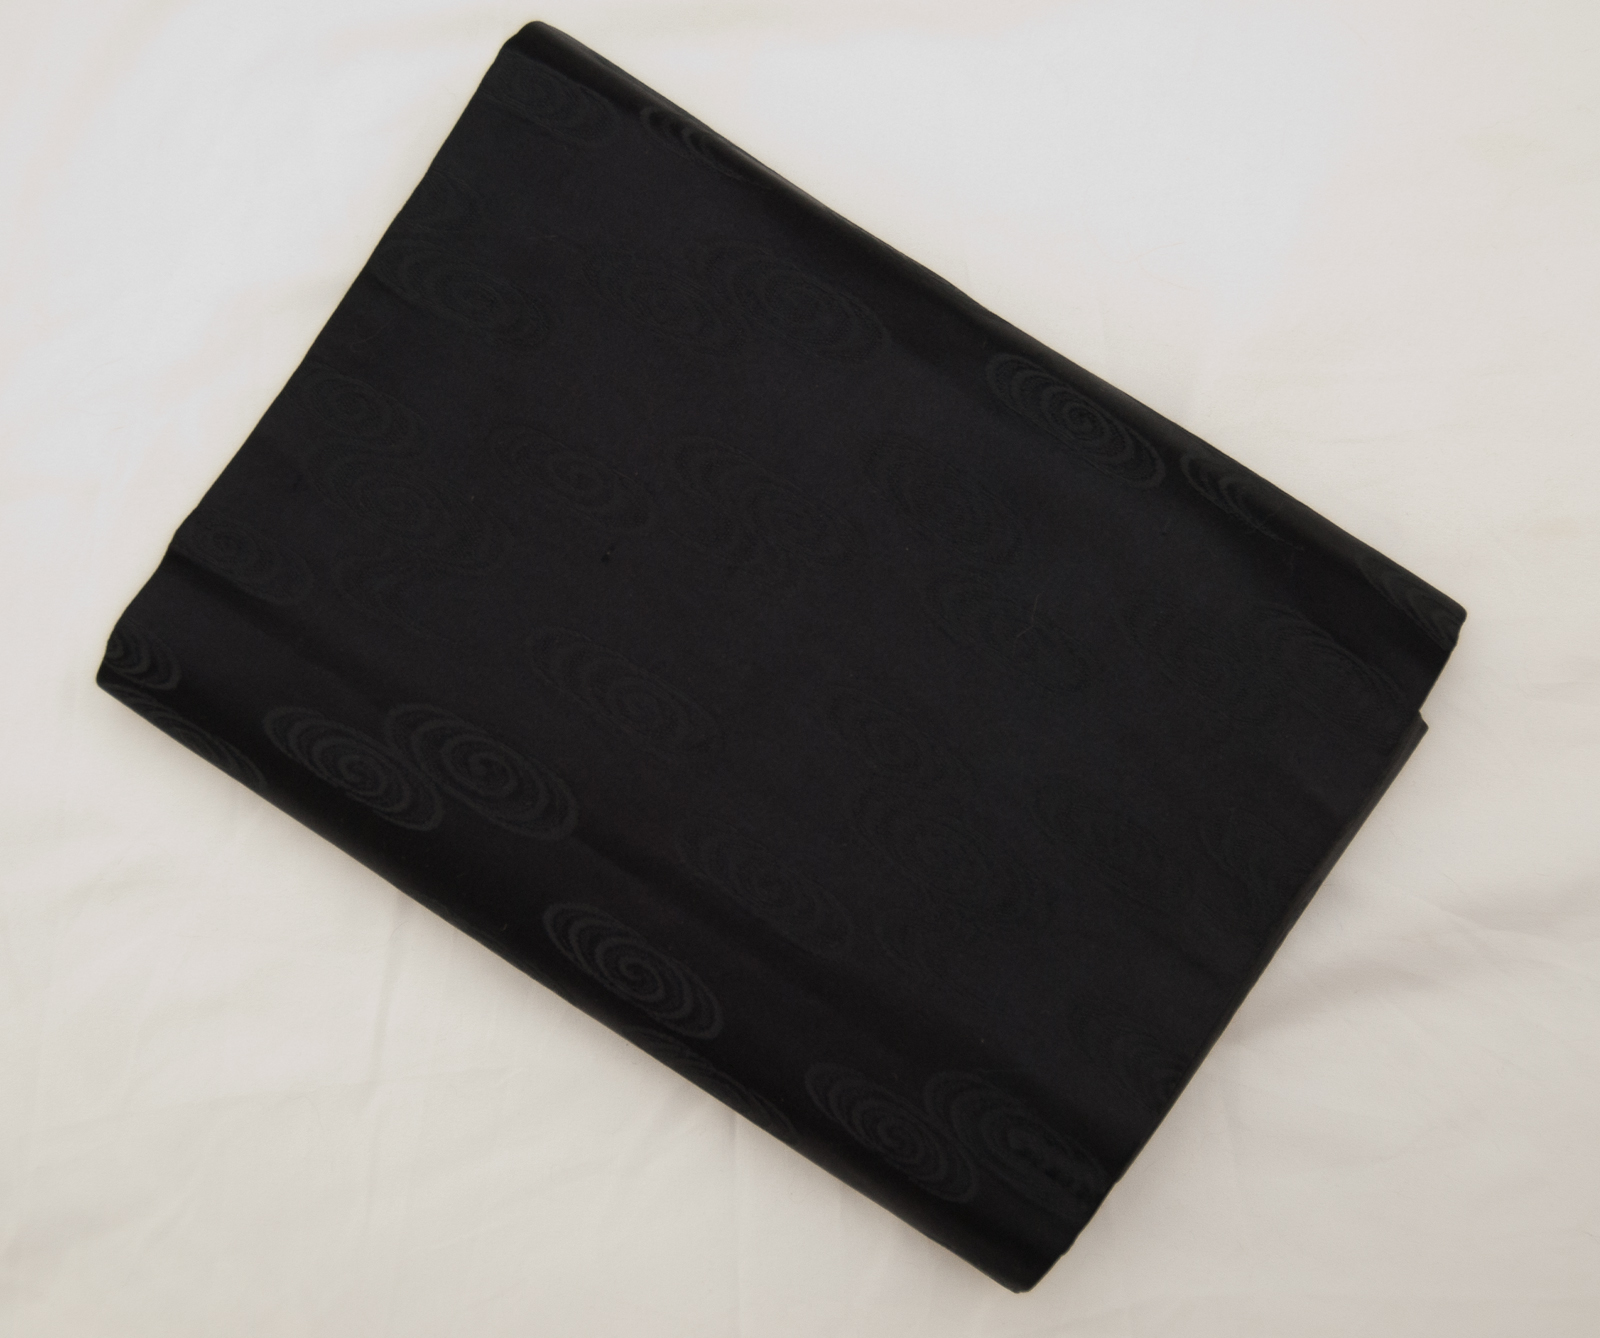