
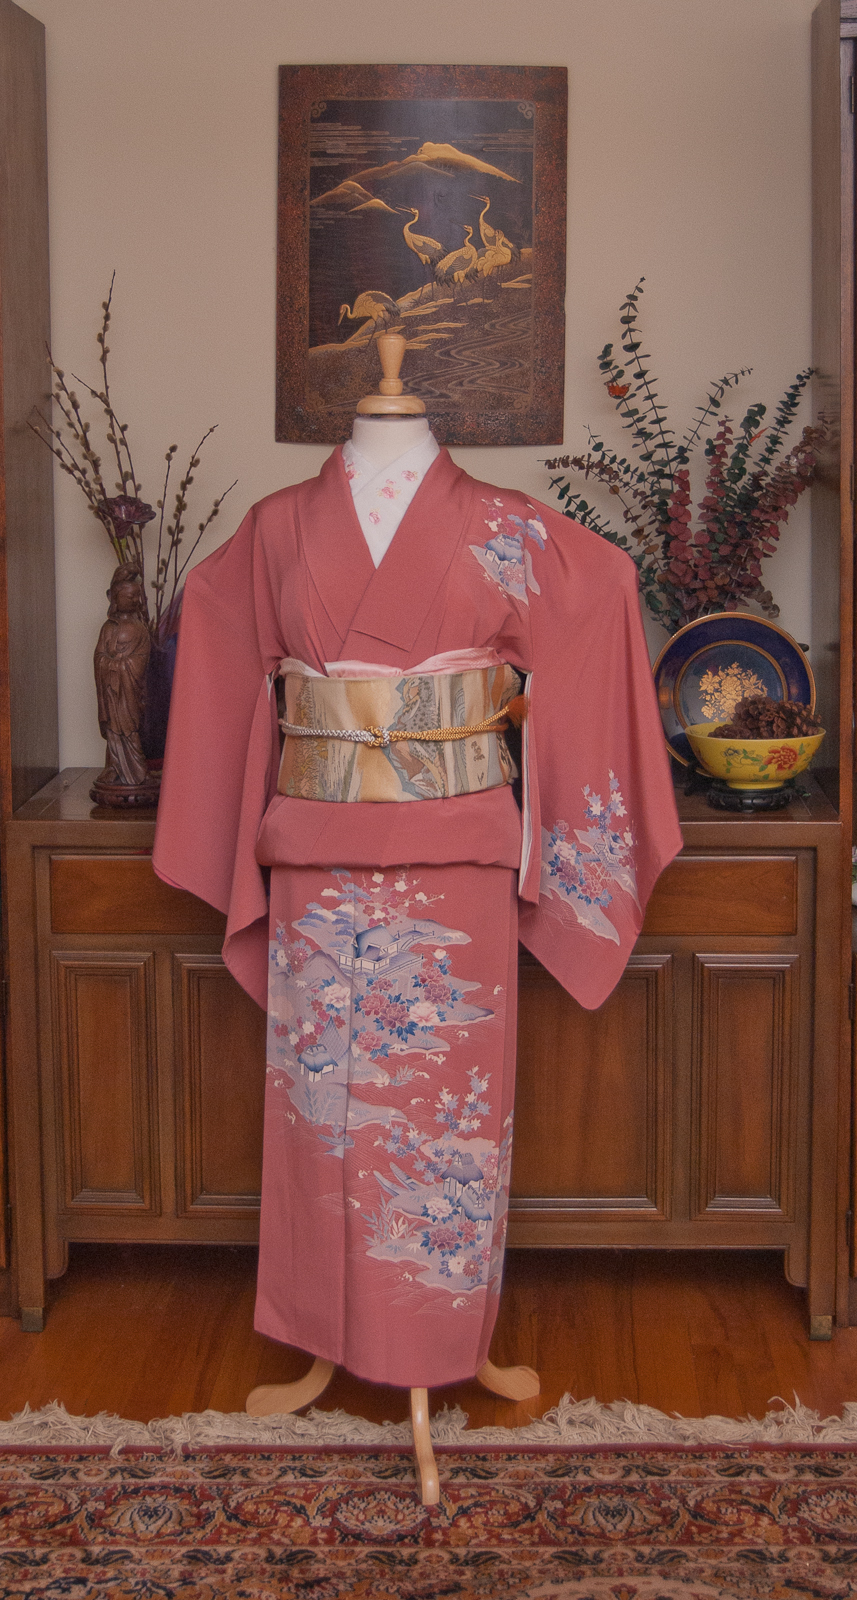
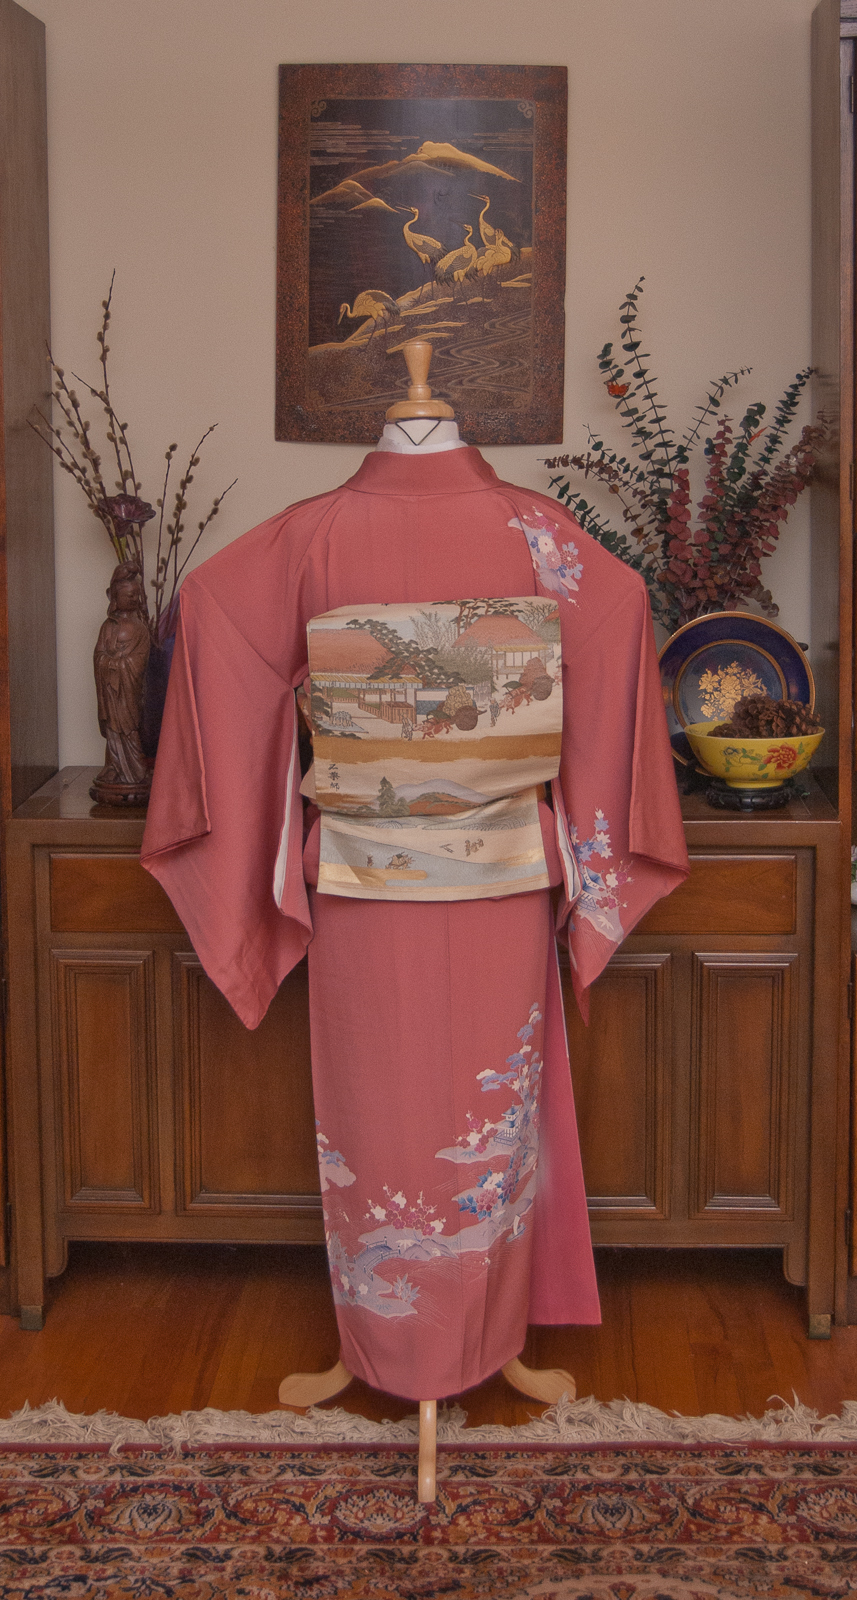
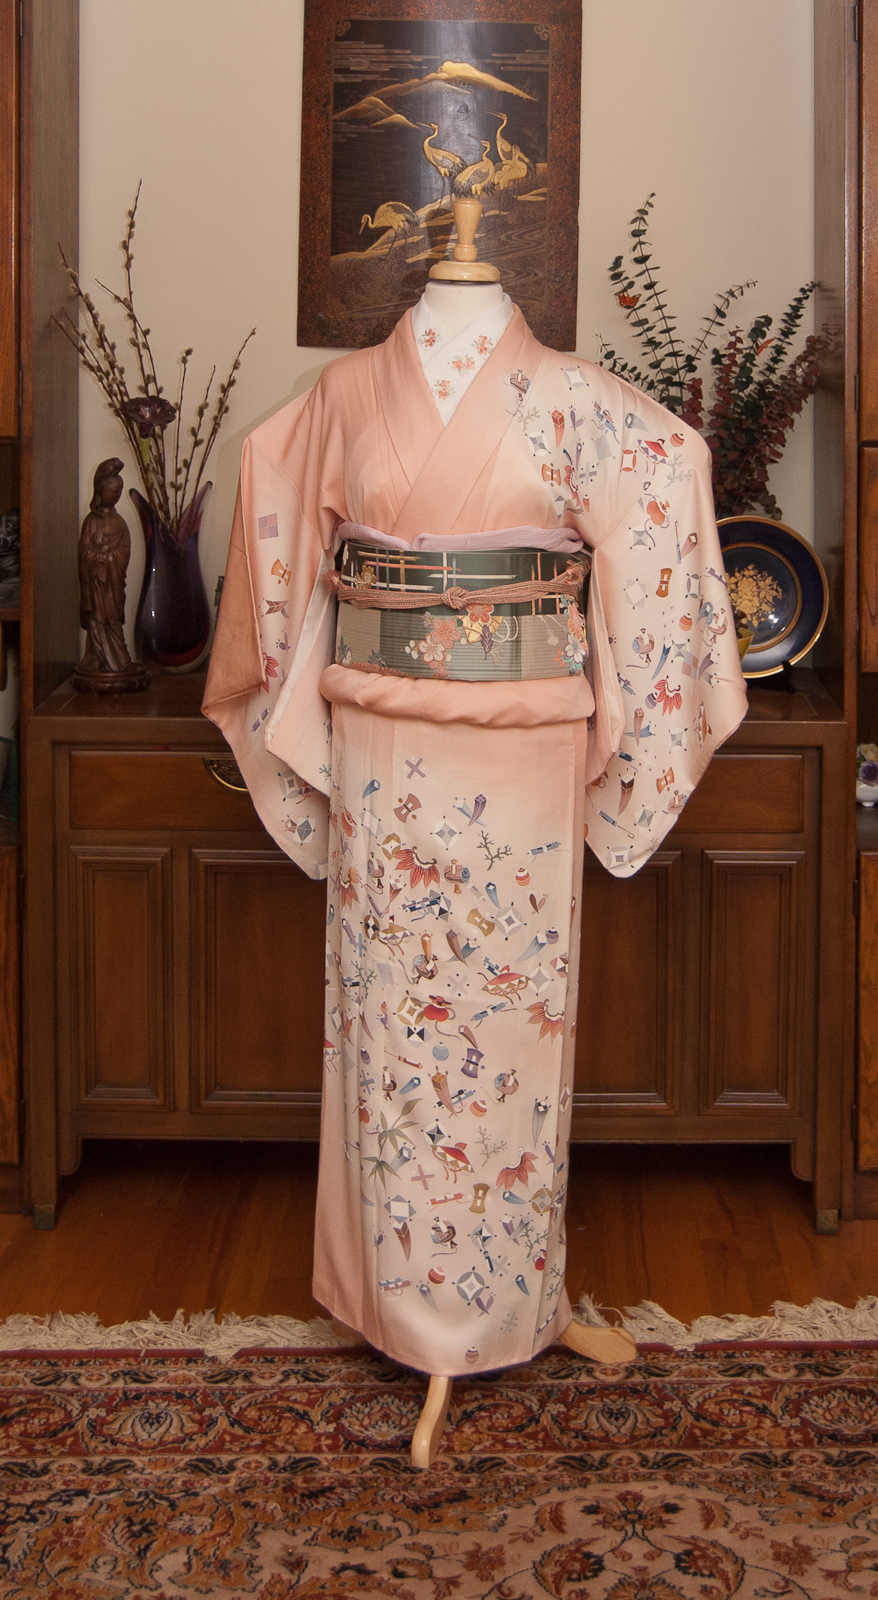
Okay, maybe not such a grand finale after all, but a finale nonetheless! Today’s outfit serves two purposes – the last day of this project as well as Fudangi First Friday.
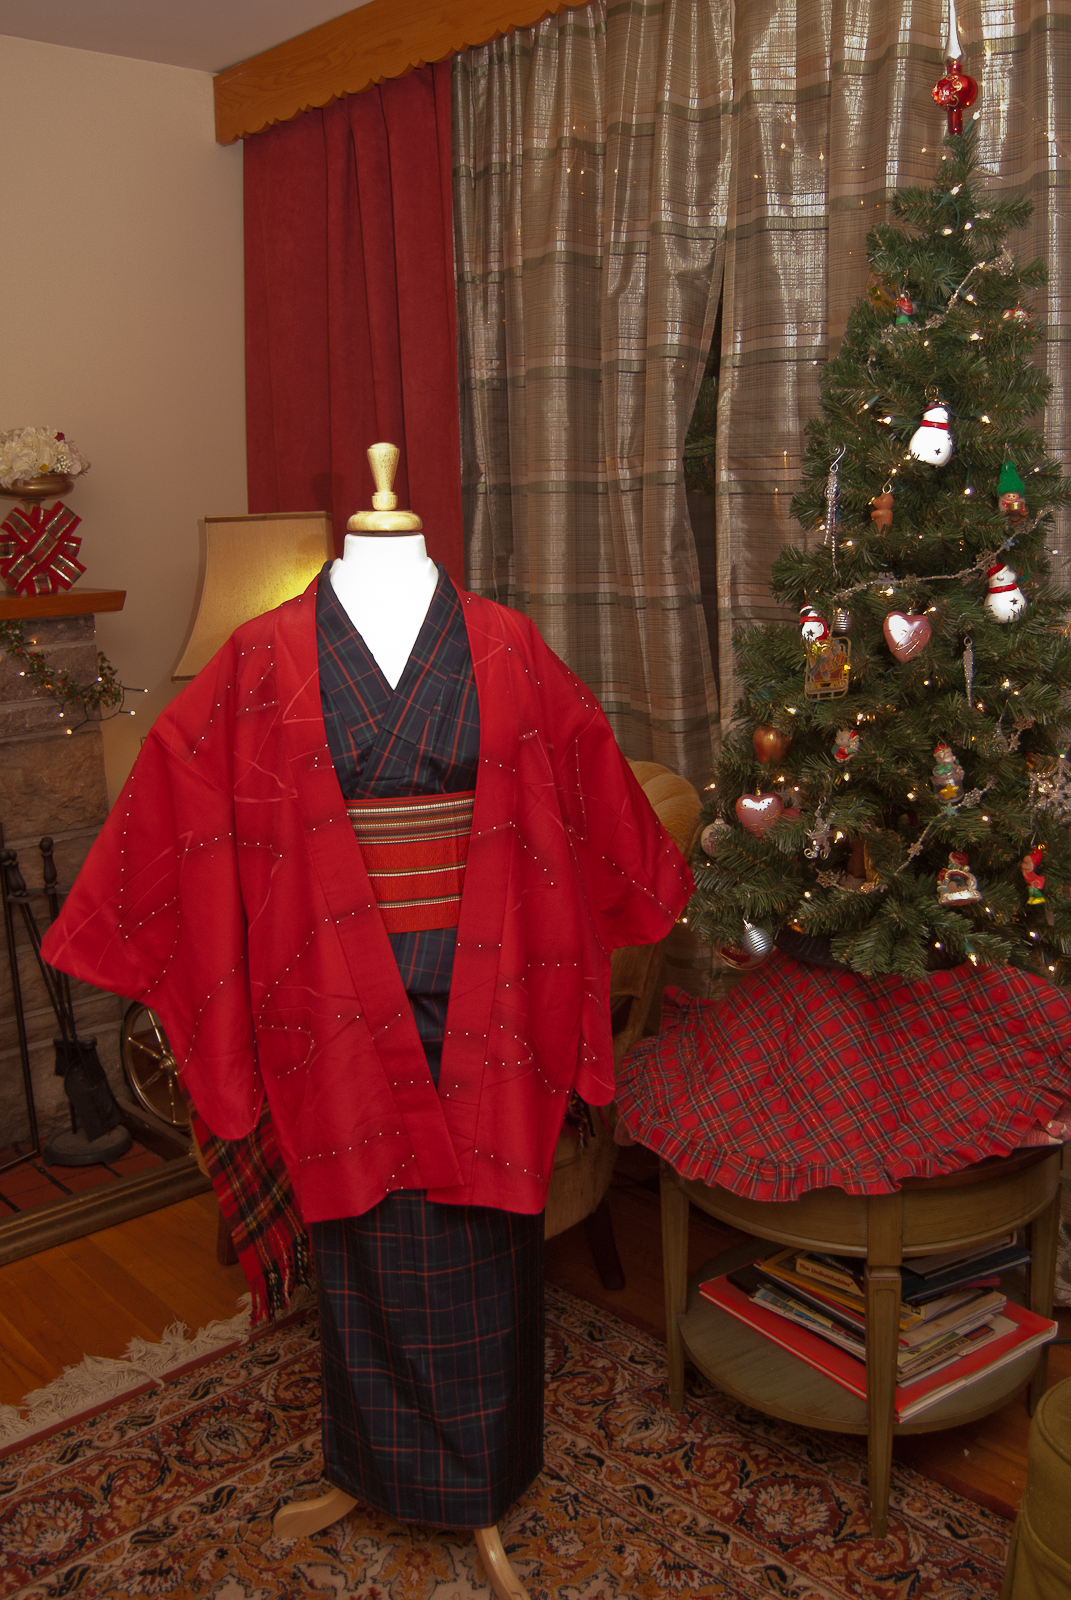
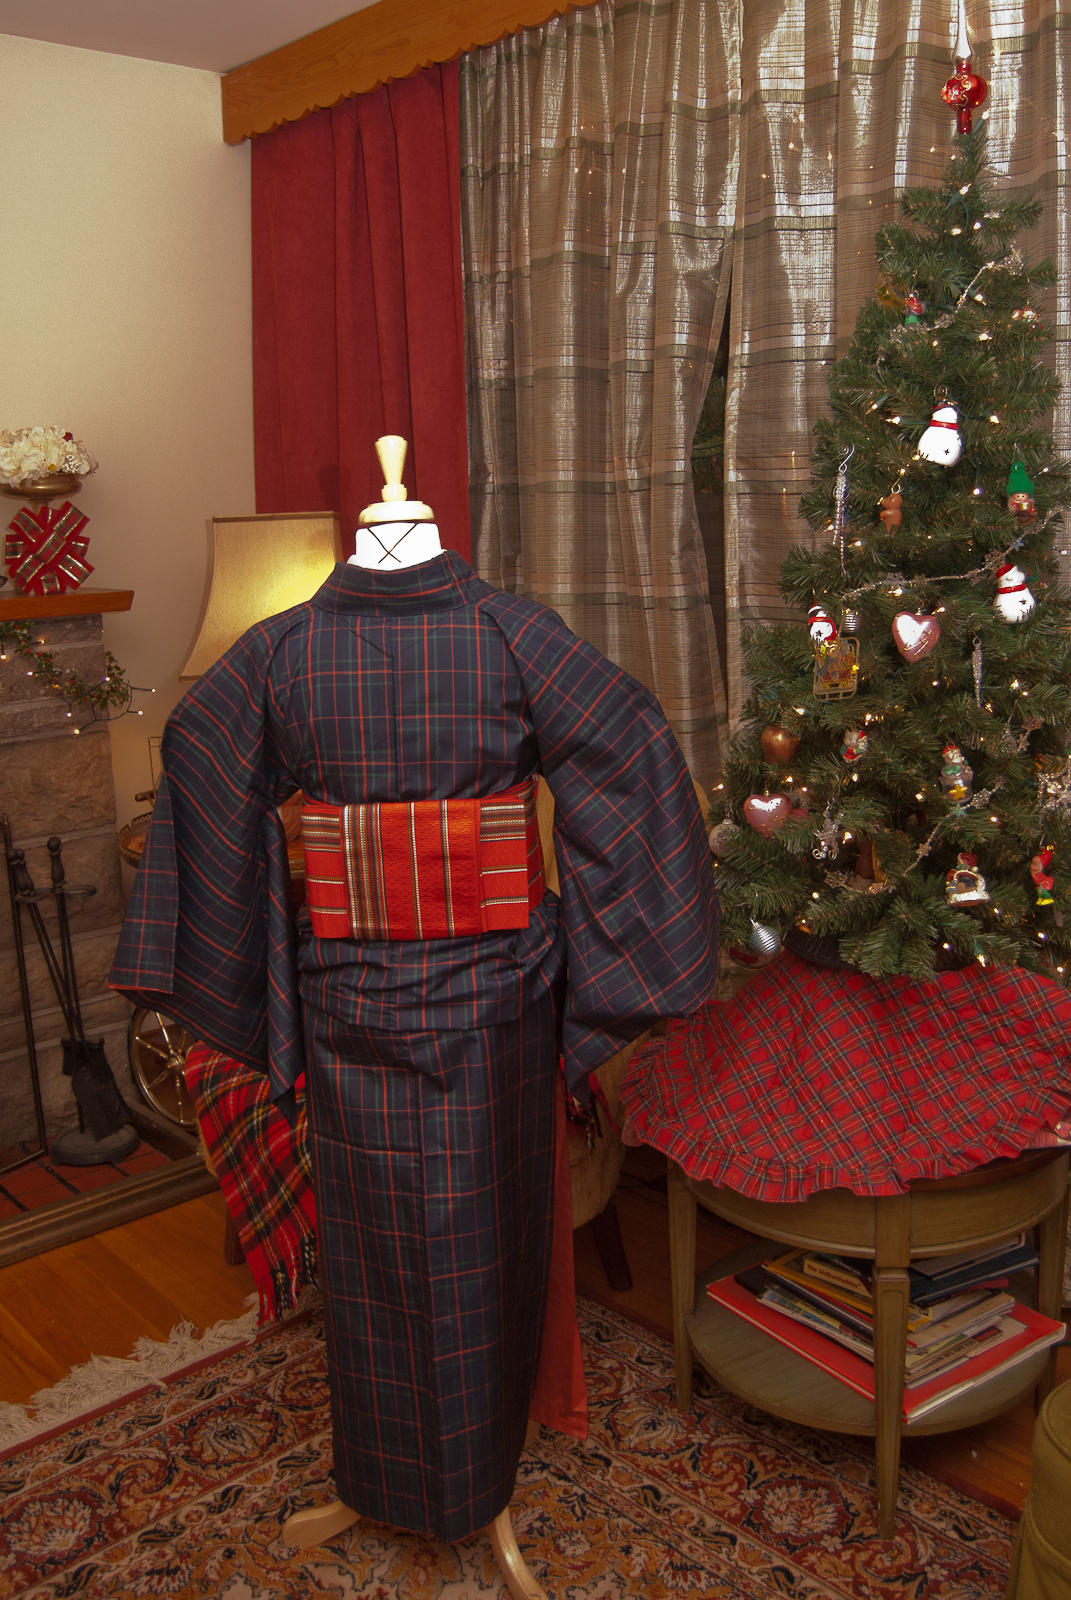
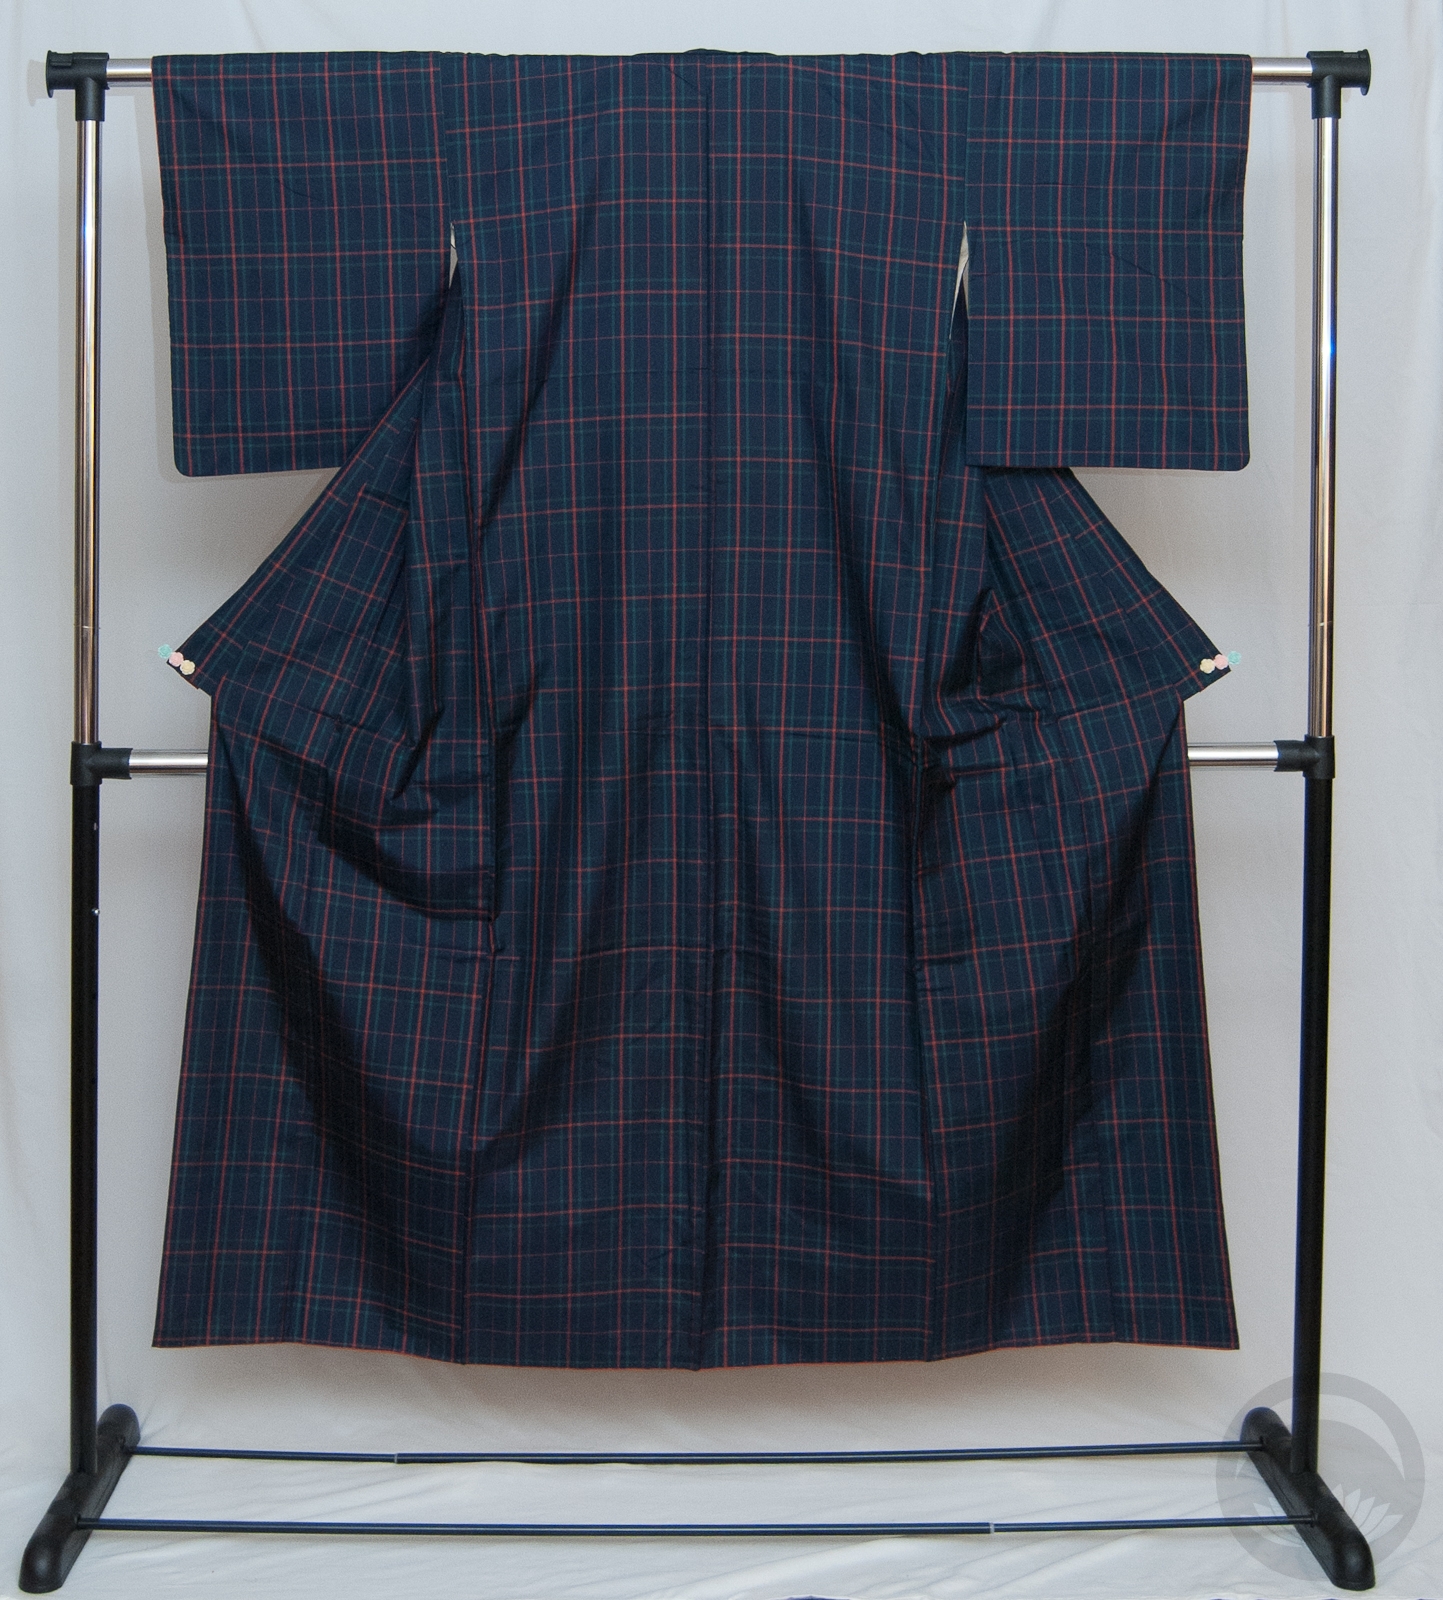
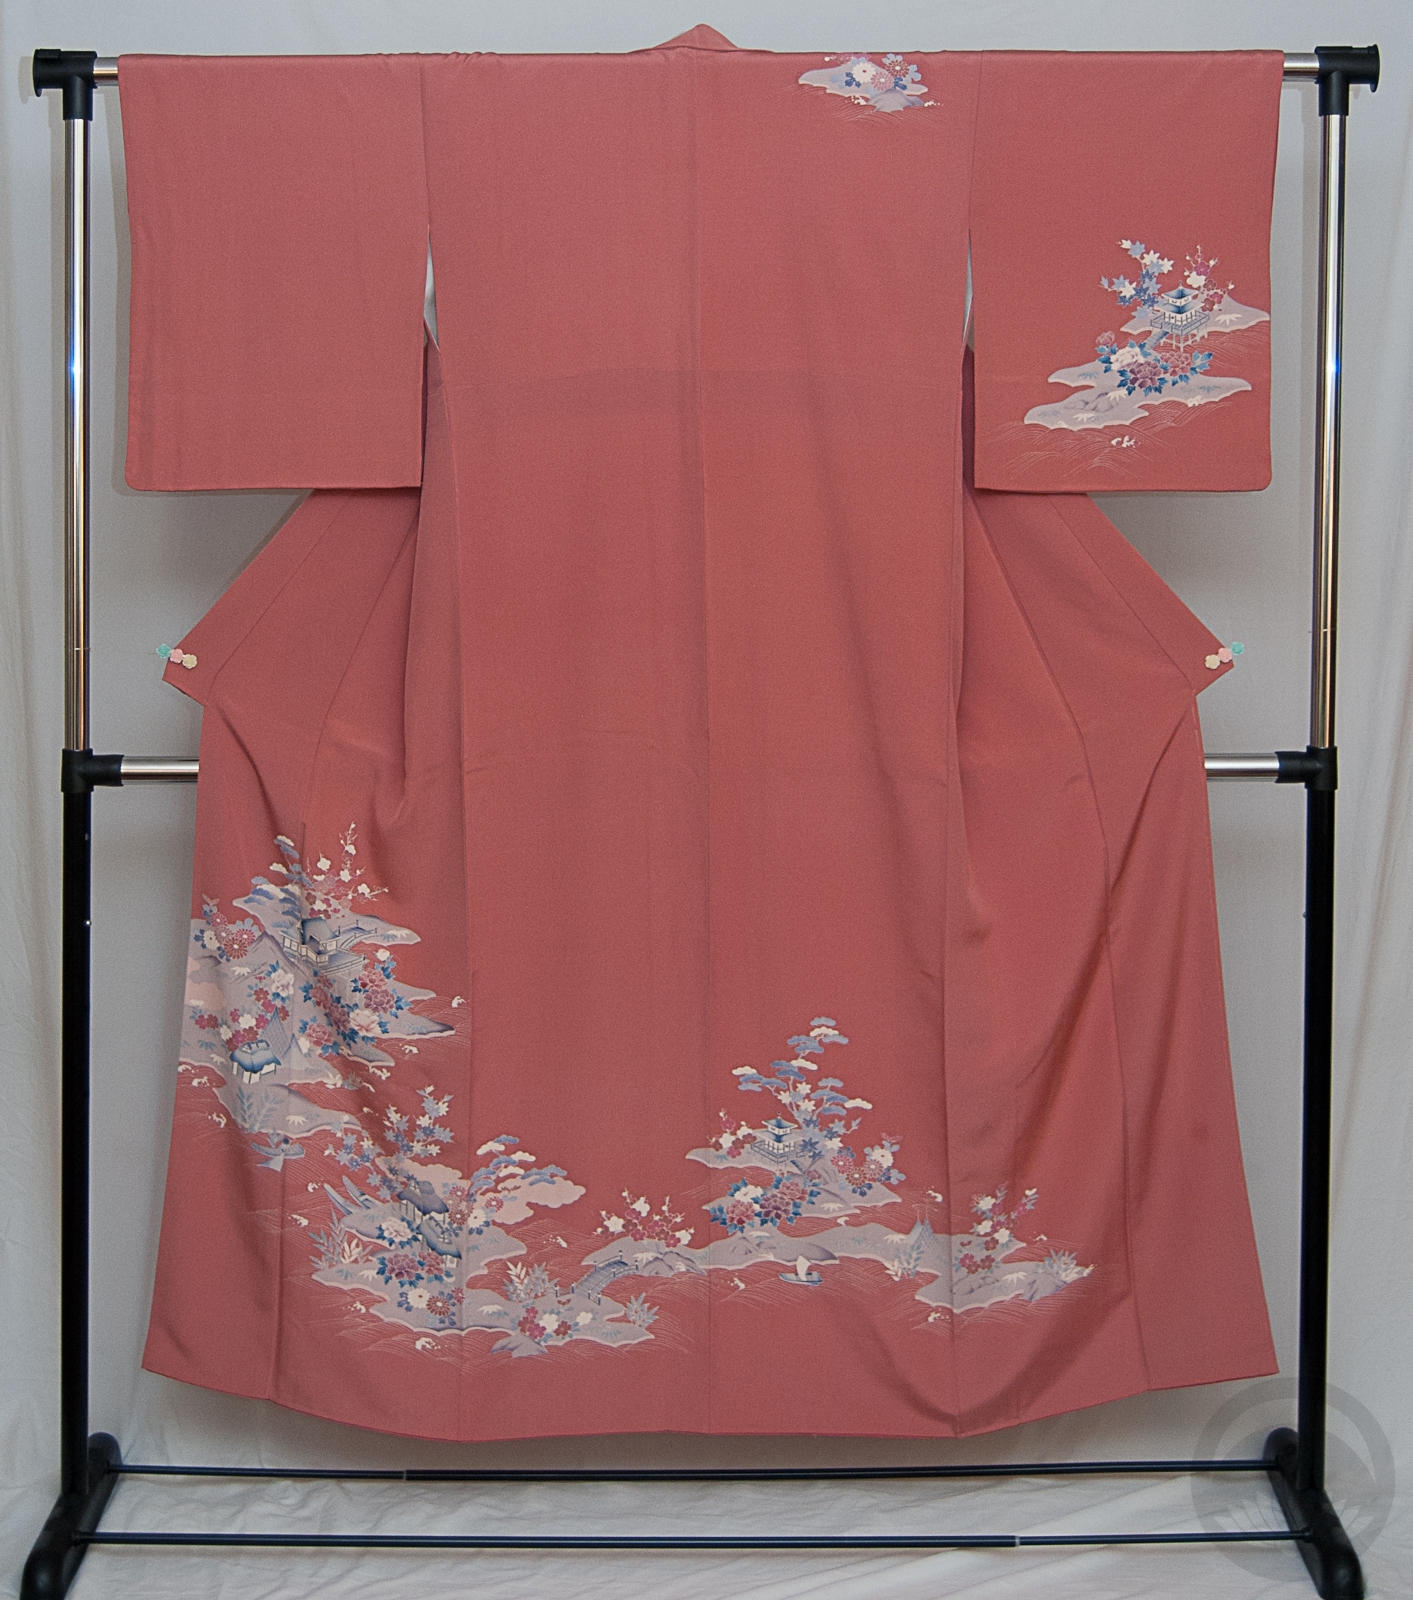
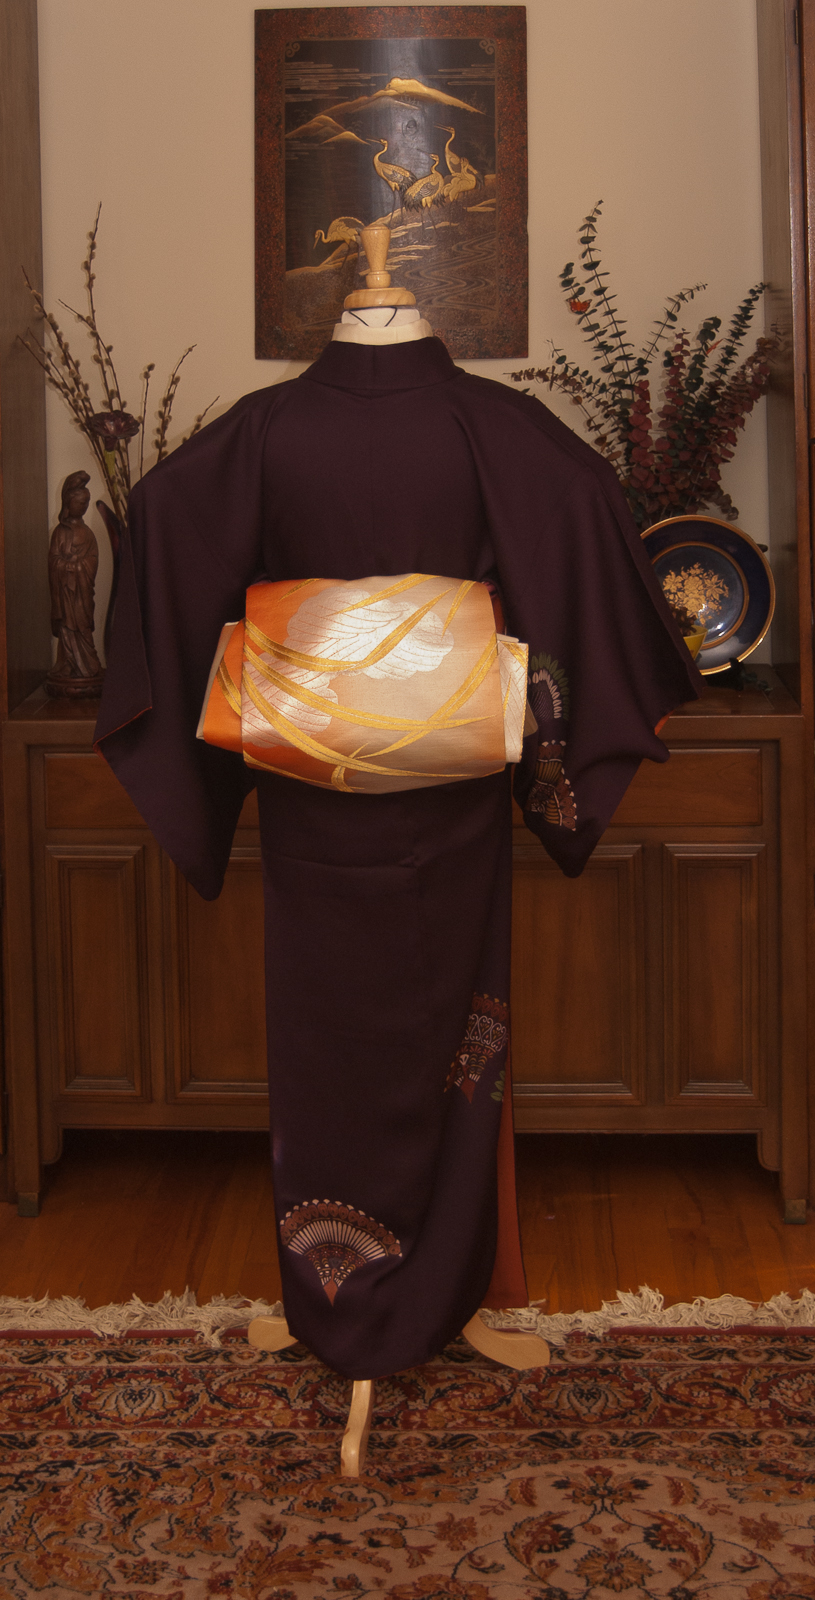
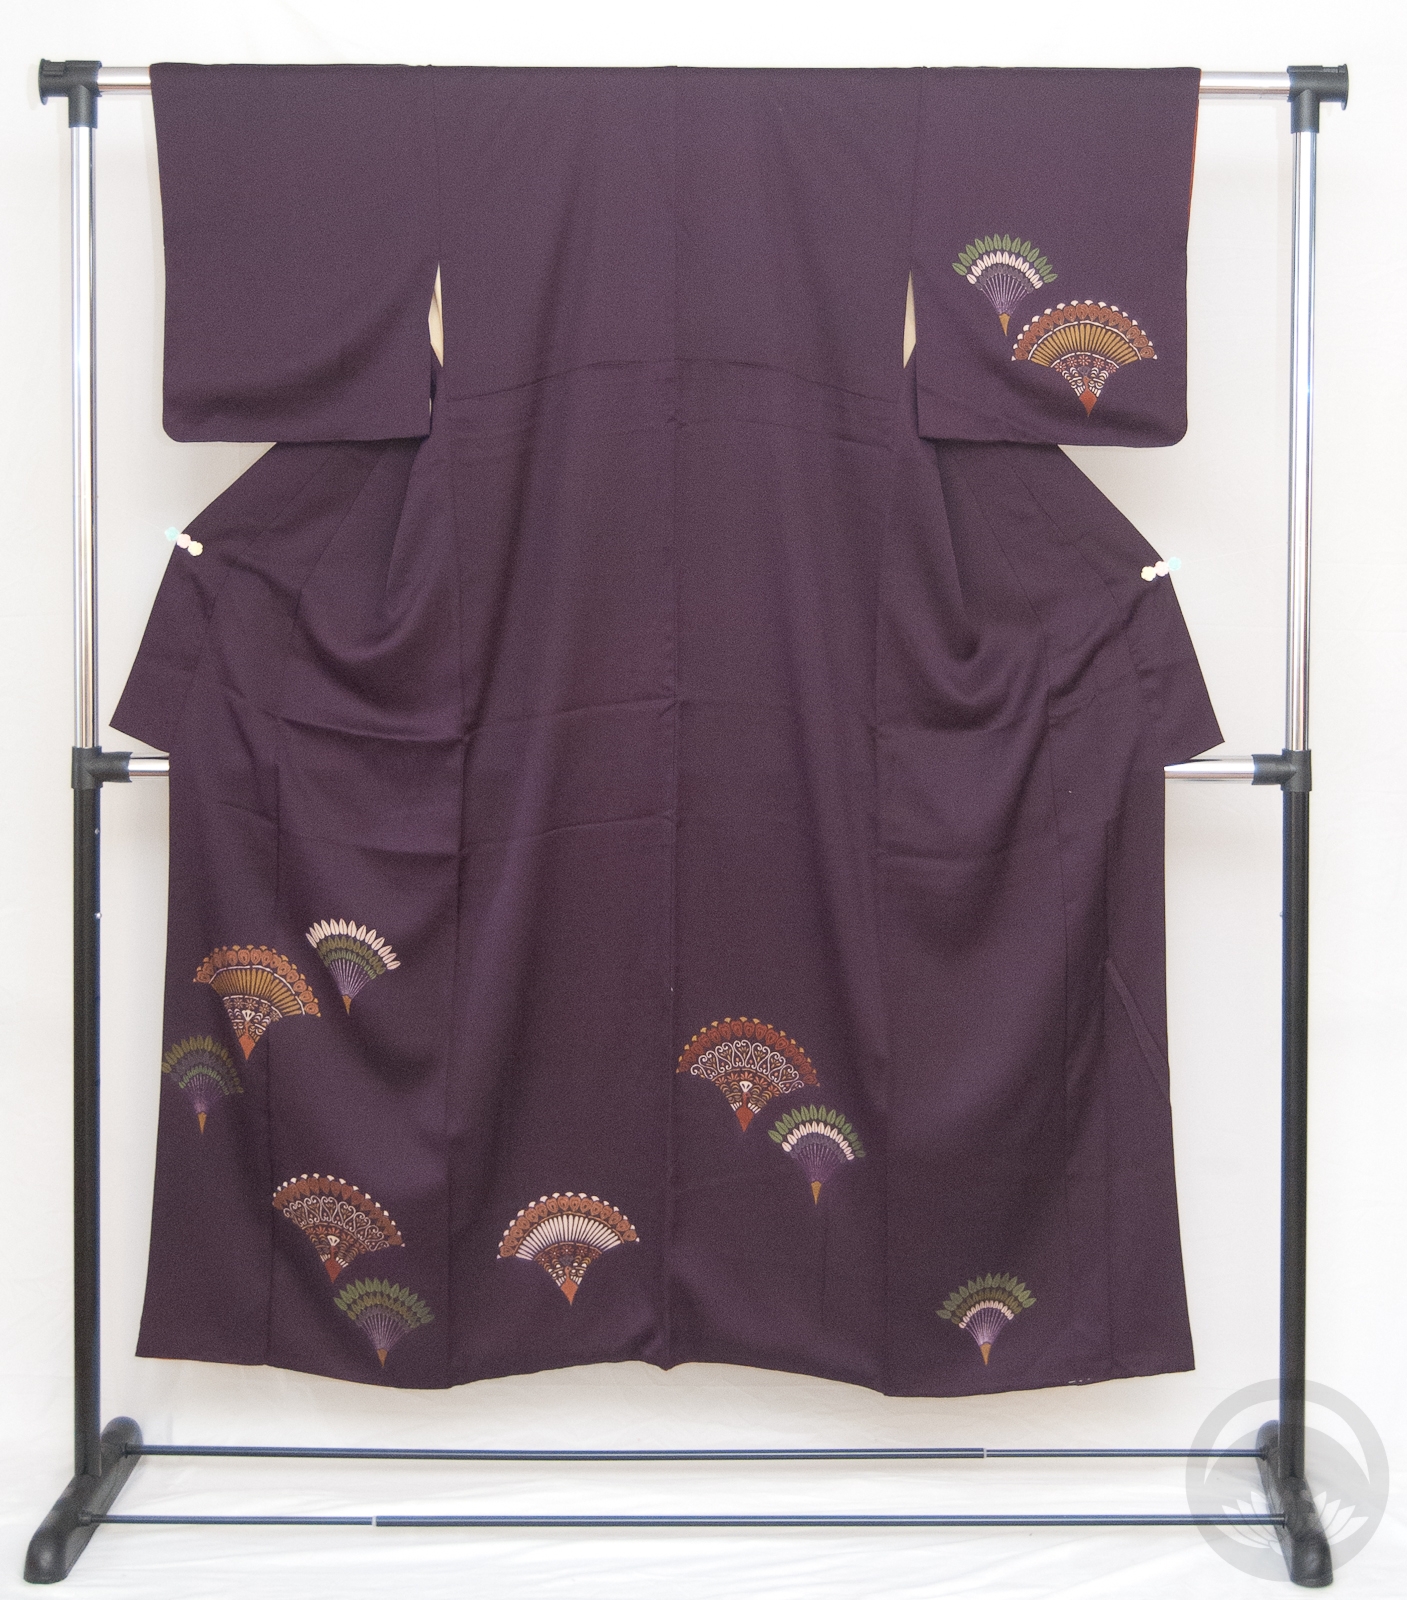
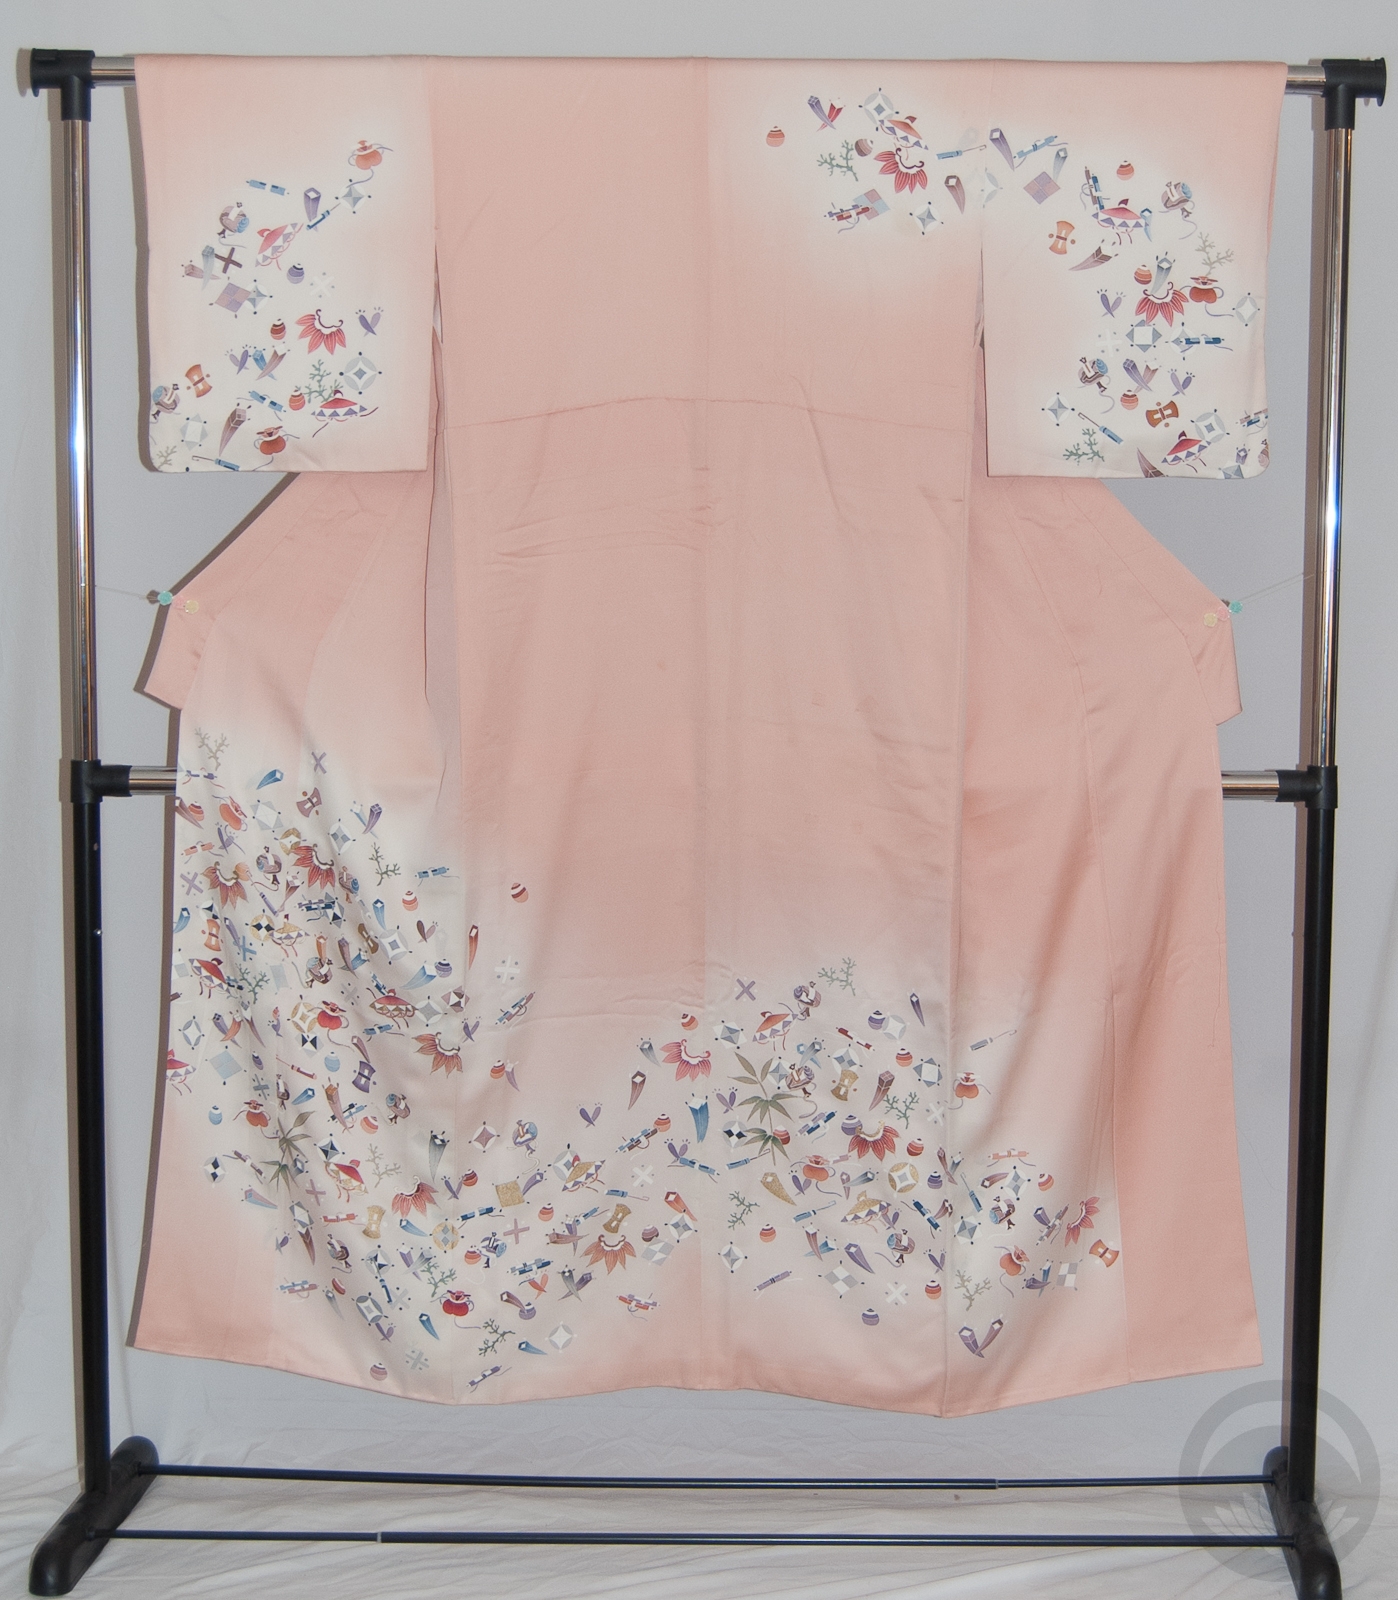
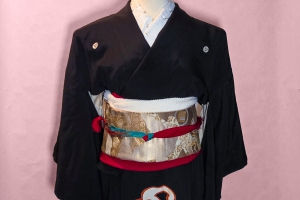
This kimono, despite being quite casual, has always looked somewhat festive to me. Something about tartans and plaids just feel like Christmas. It’s a common pattern on wrapping paper, and (as you can see in my photos) tree skirts and decorations. So using this kimono in an outfit was a given, clearly.
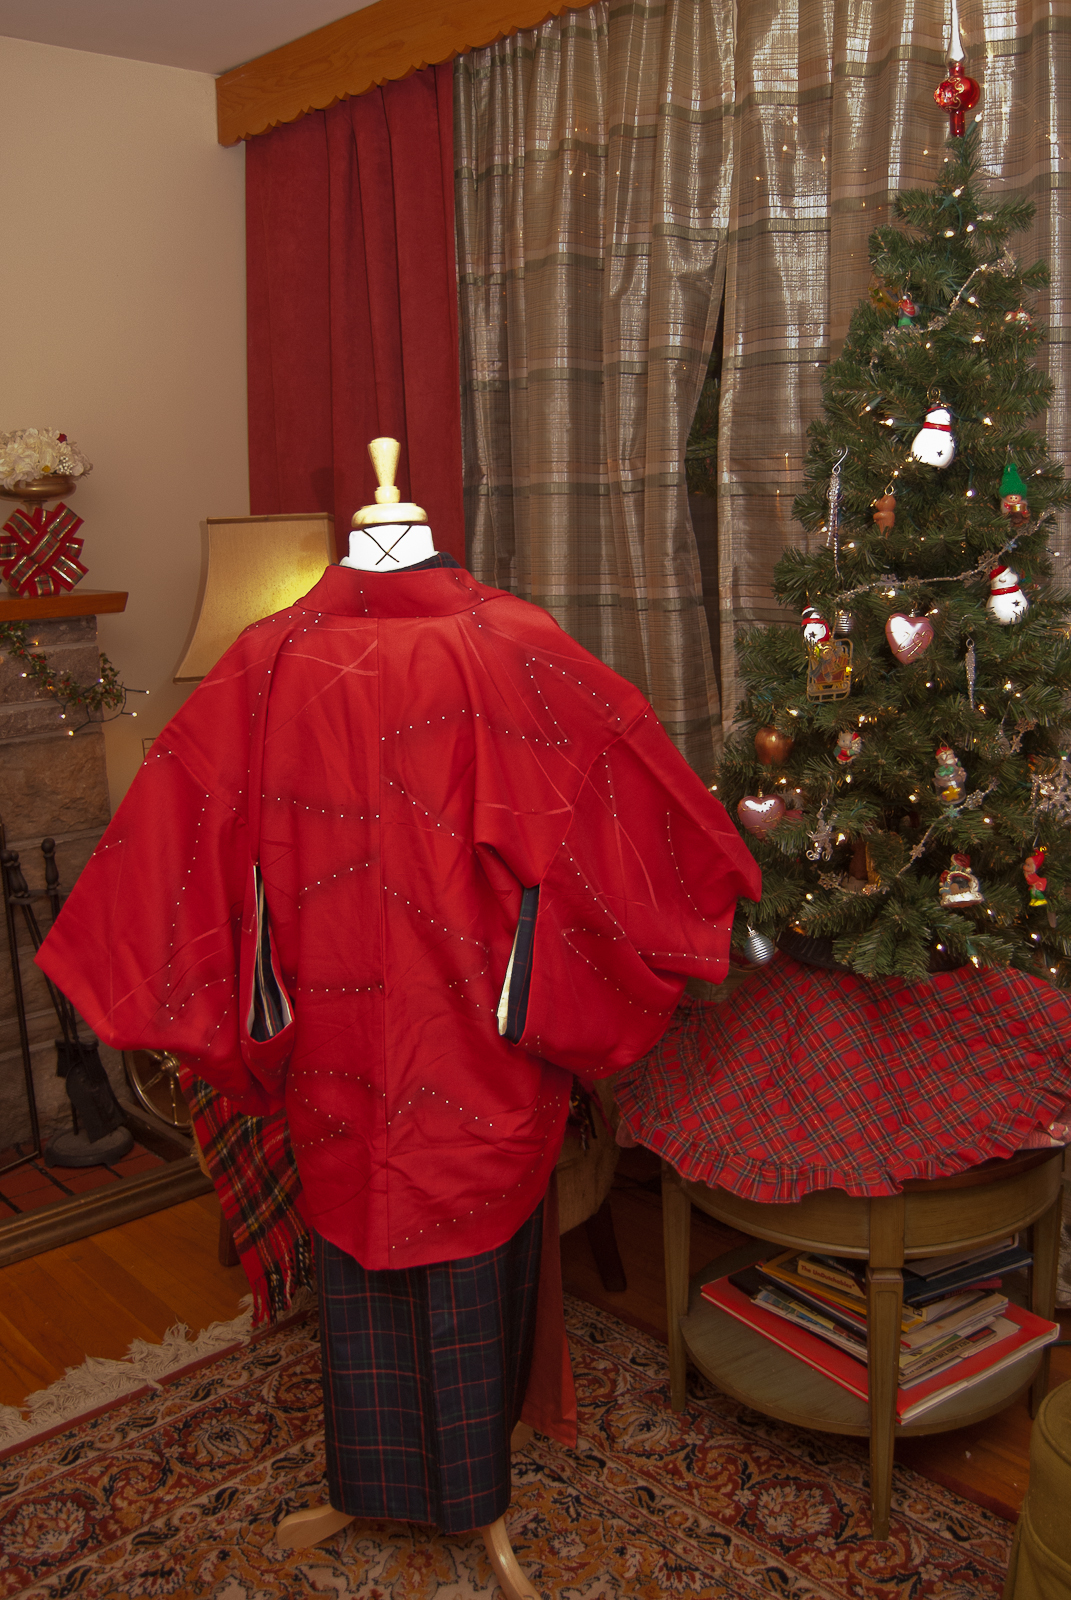
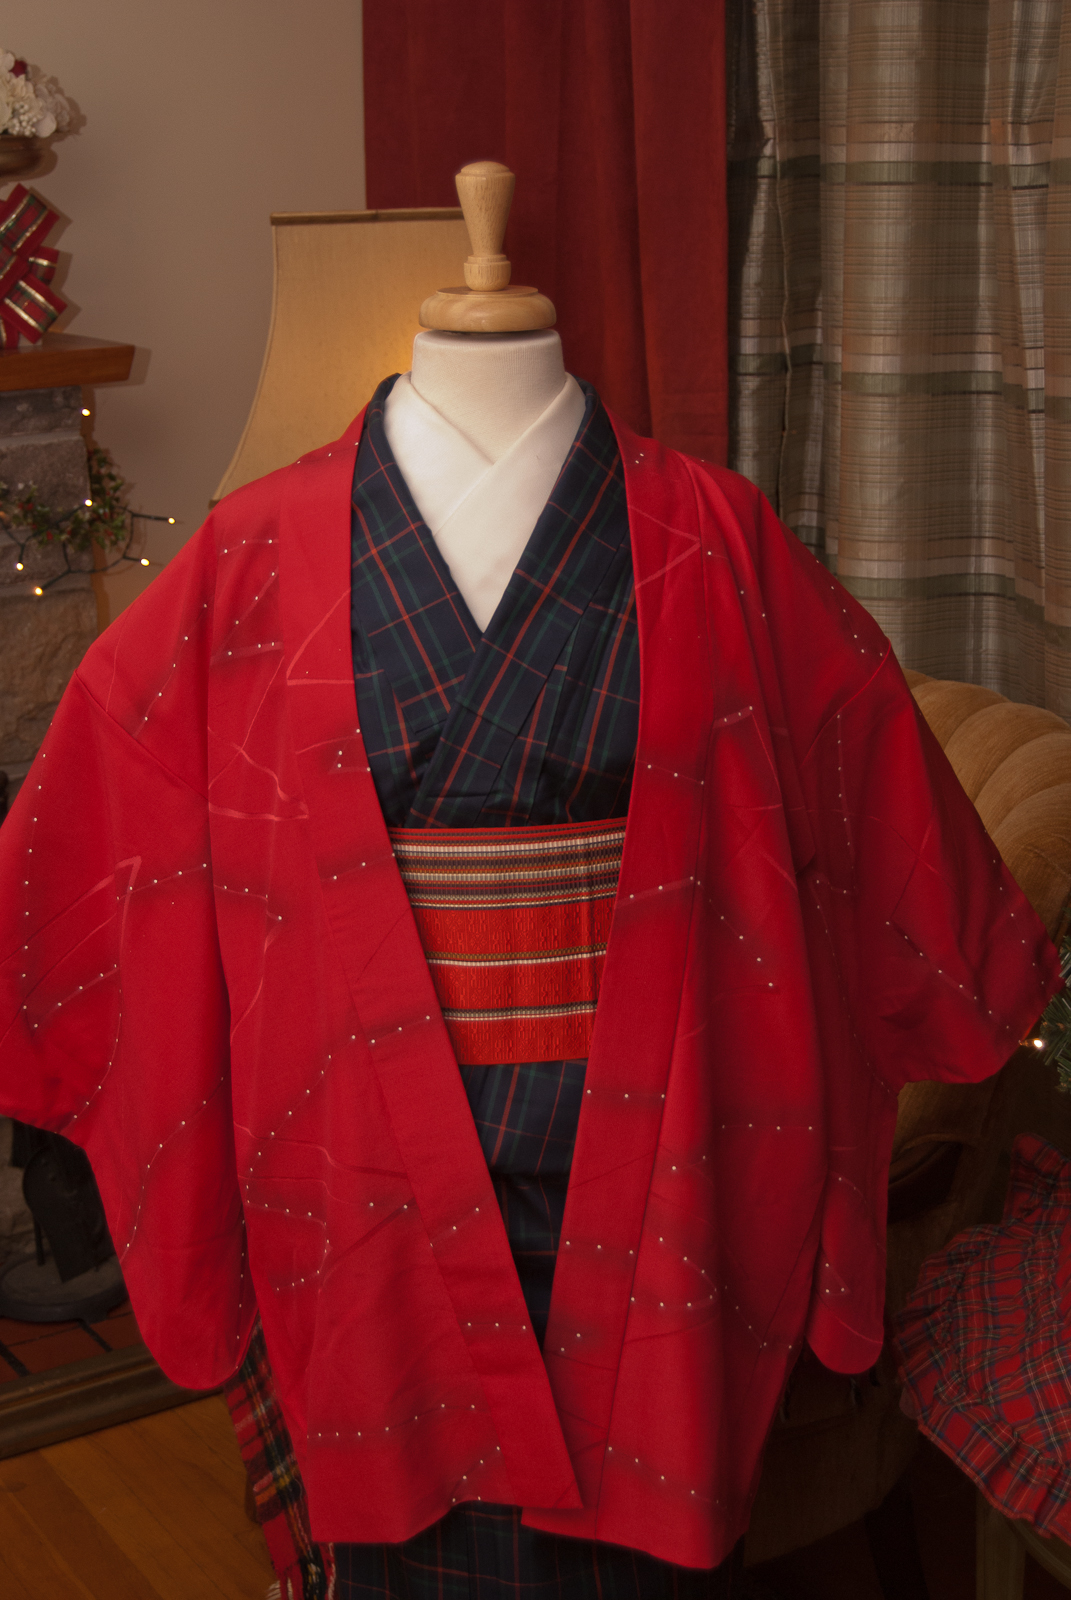
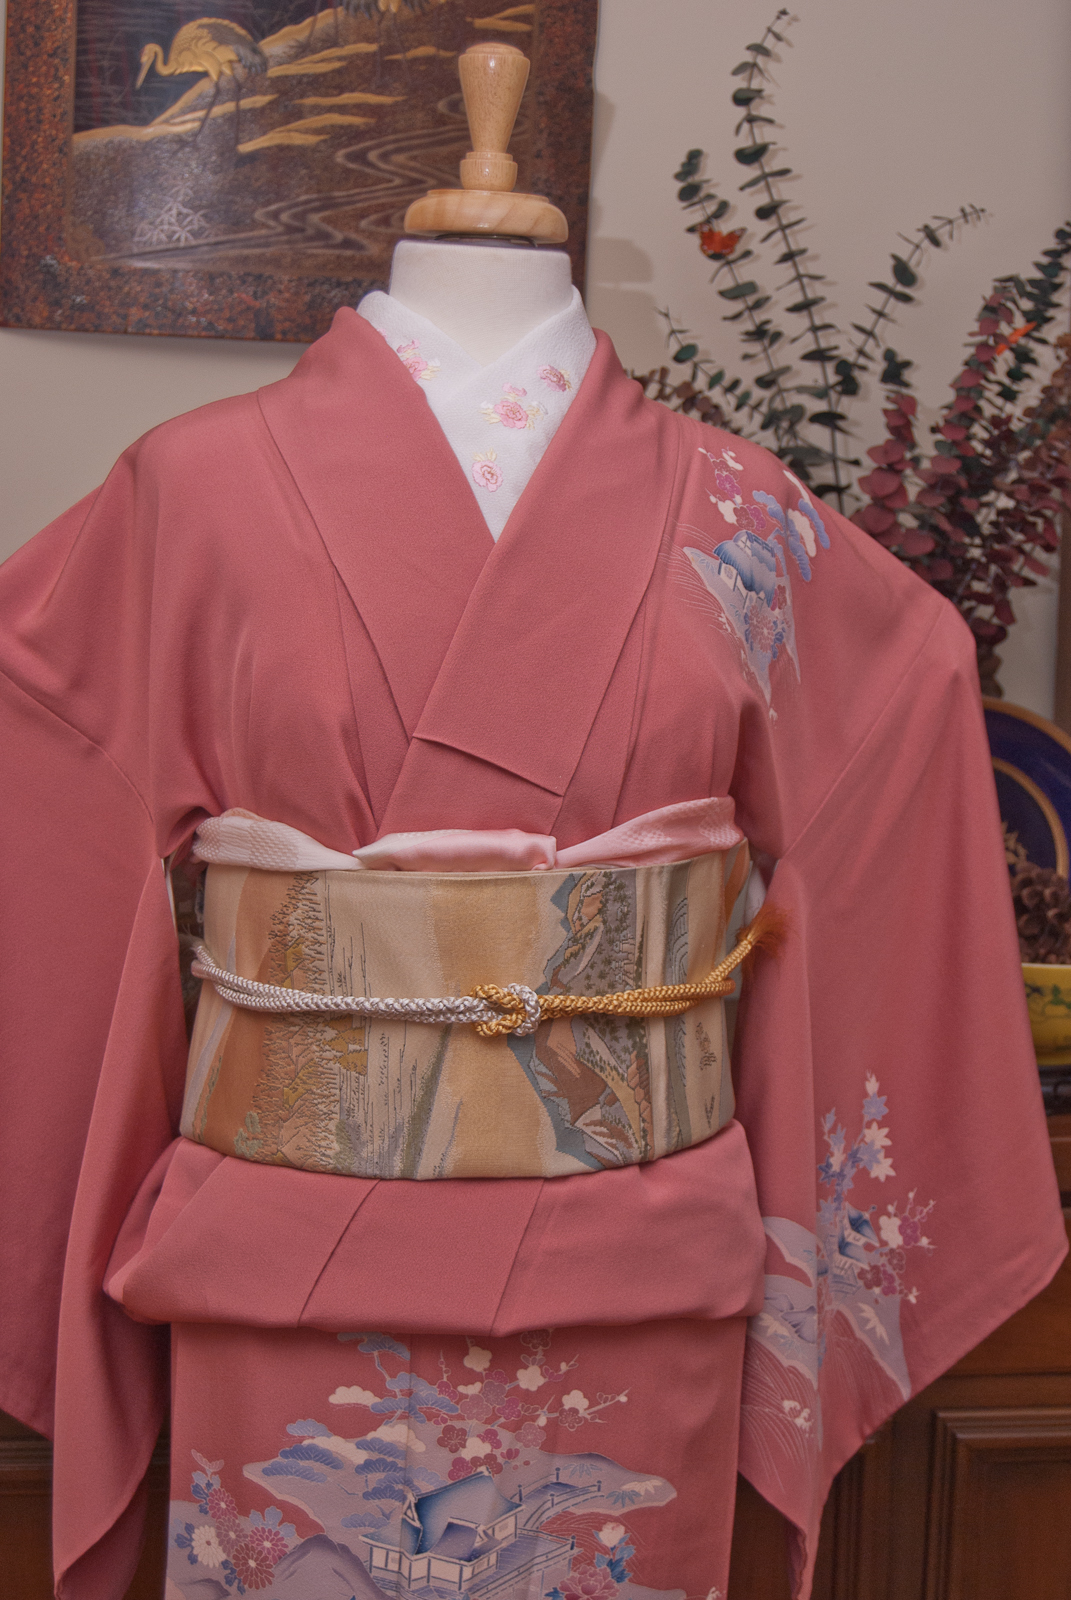
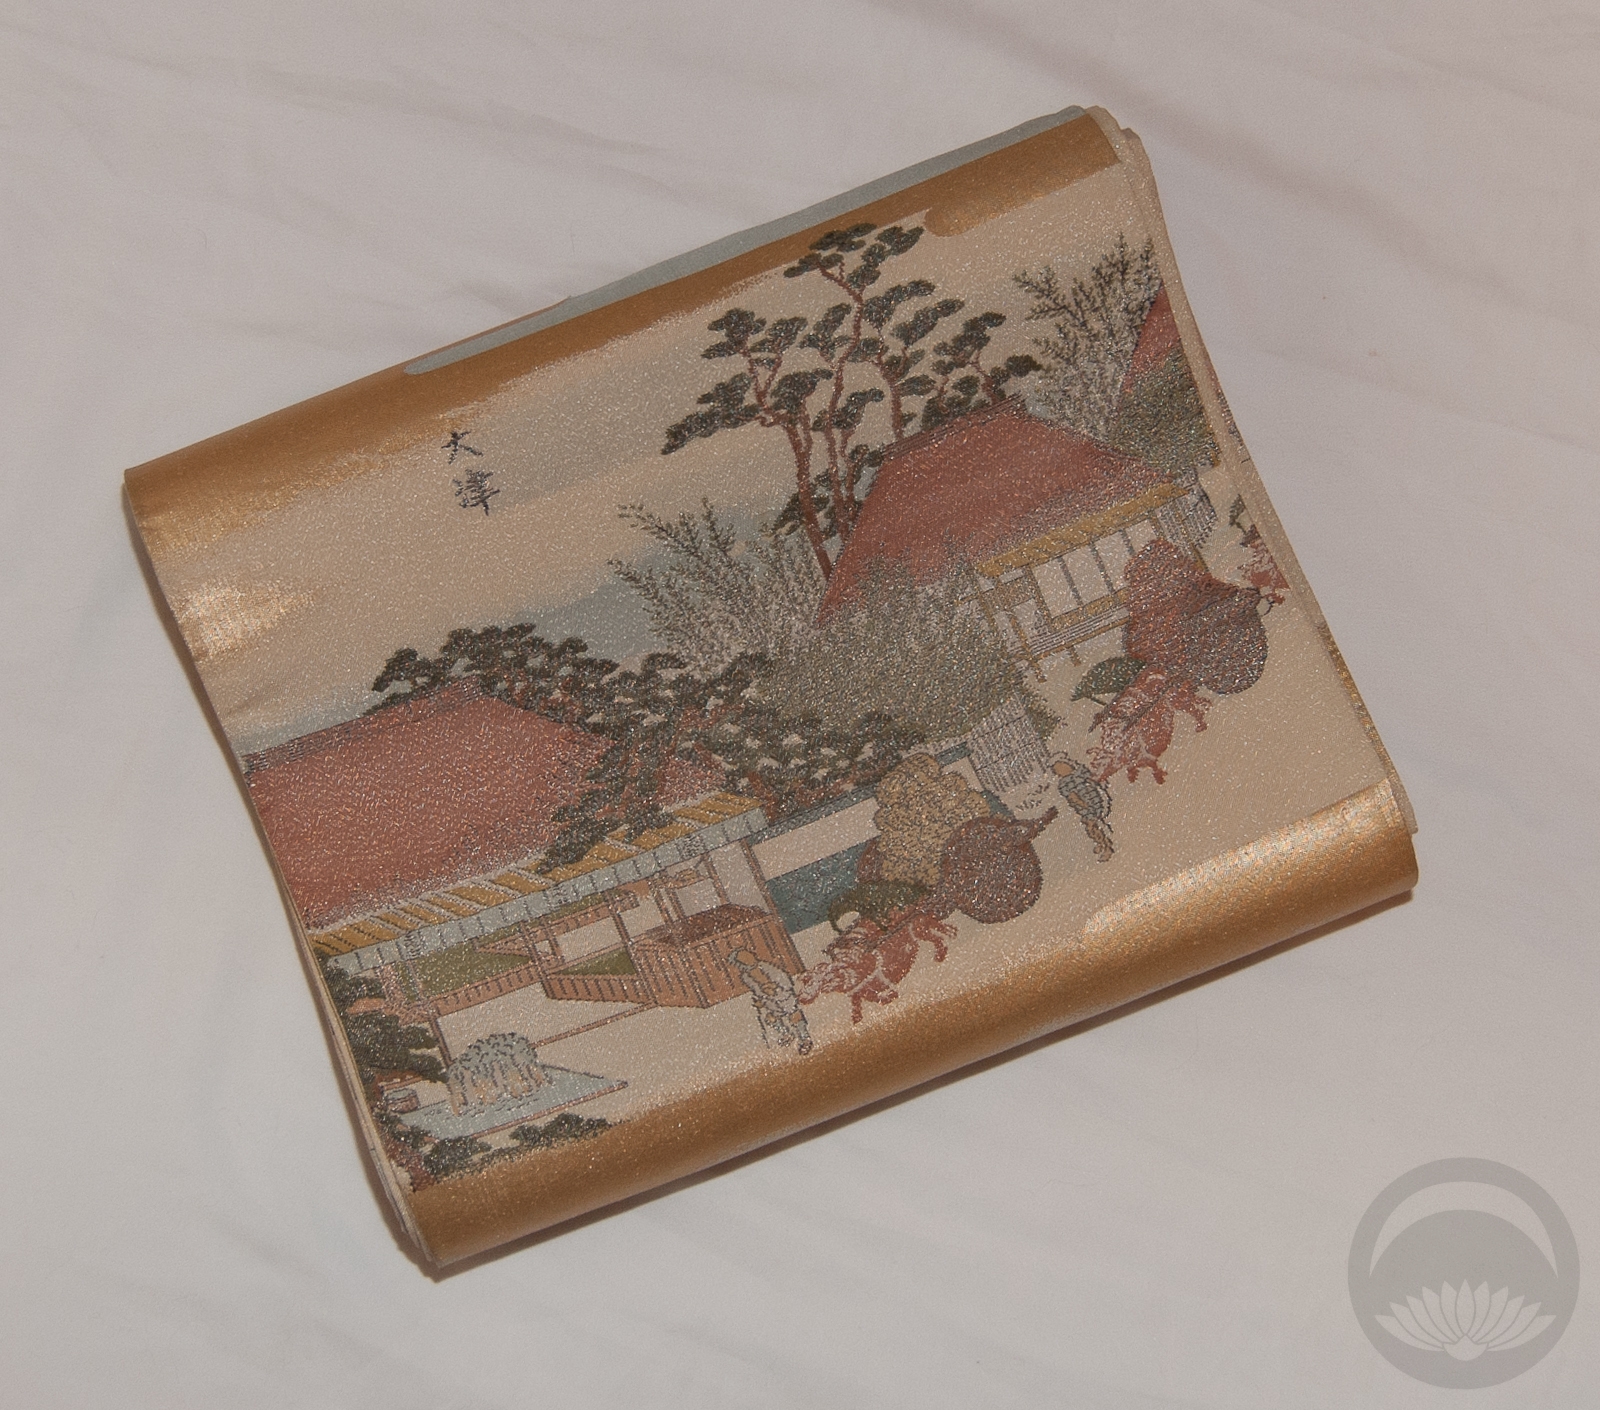
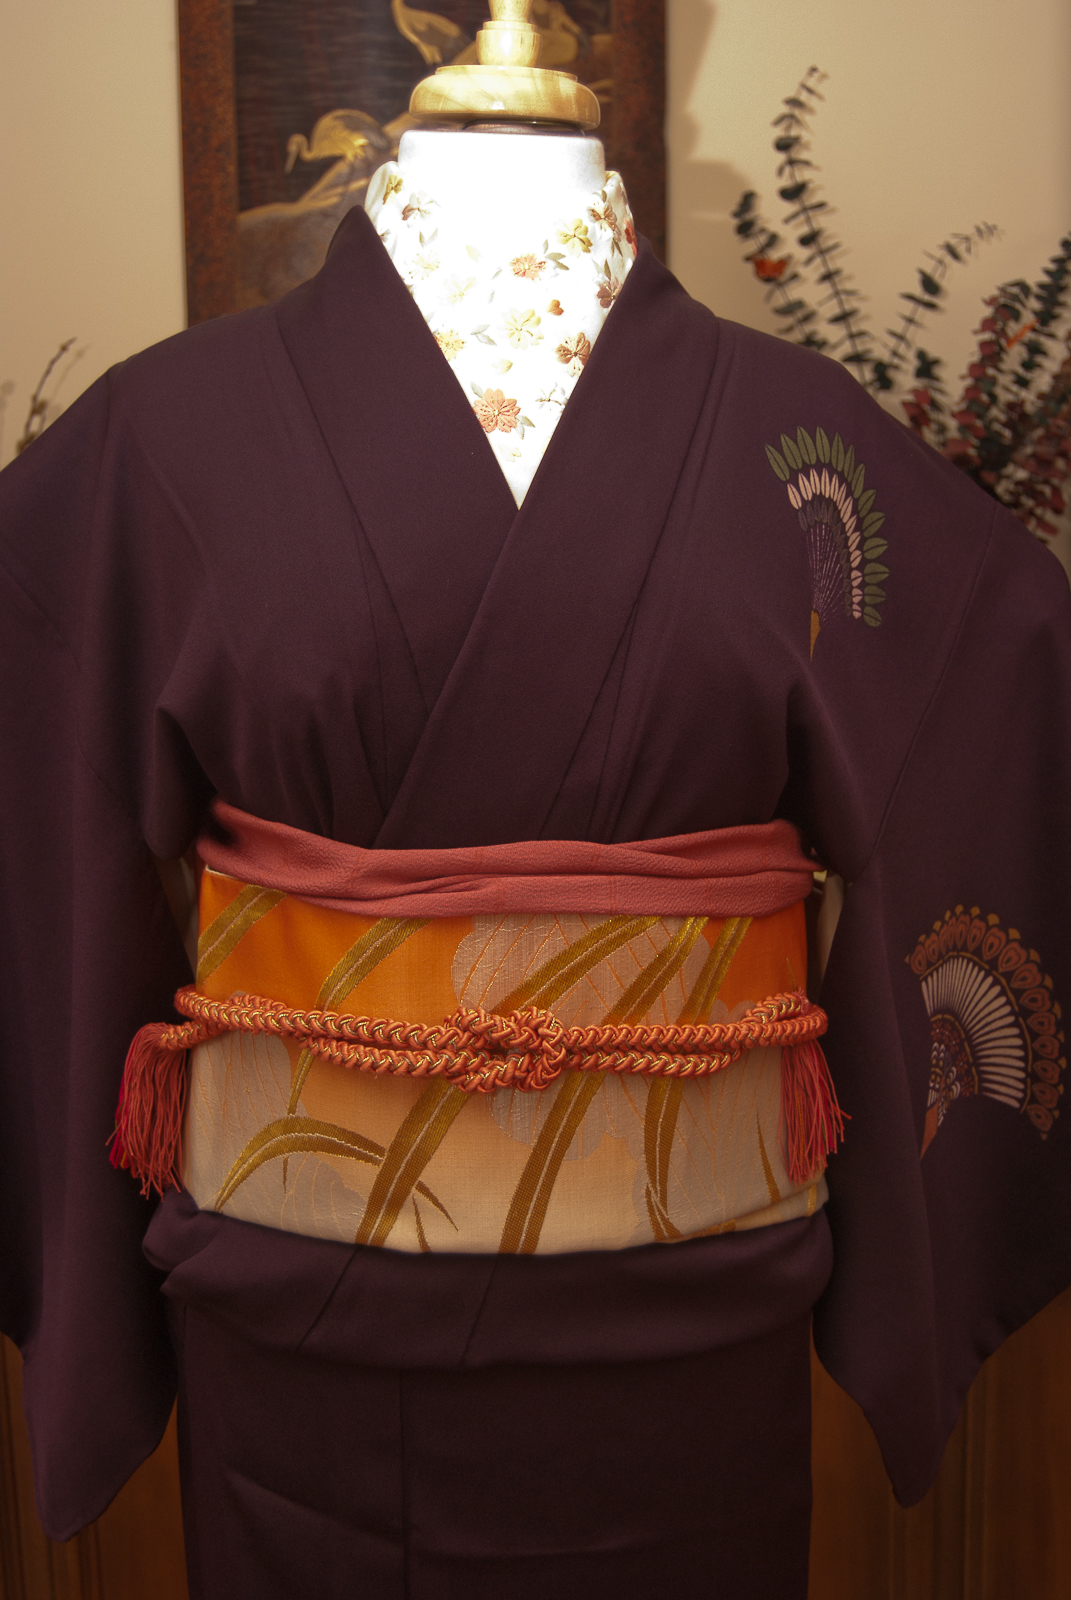
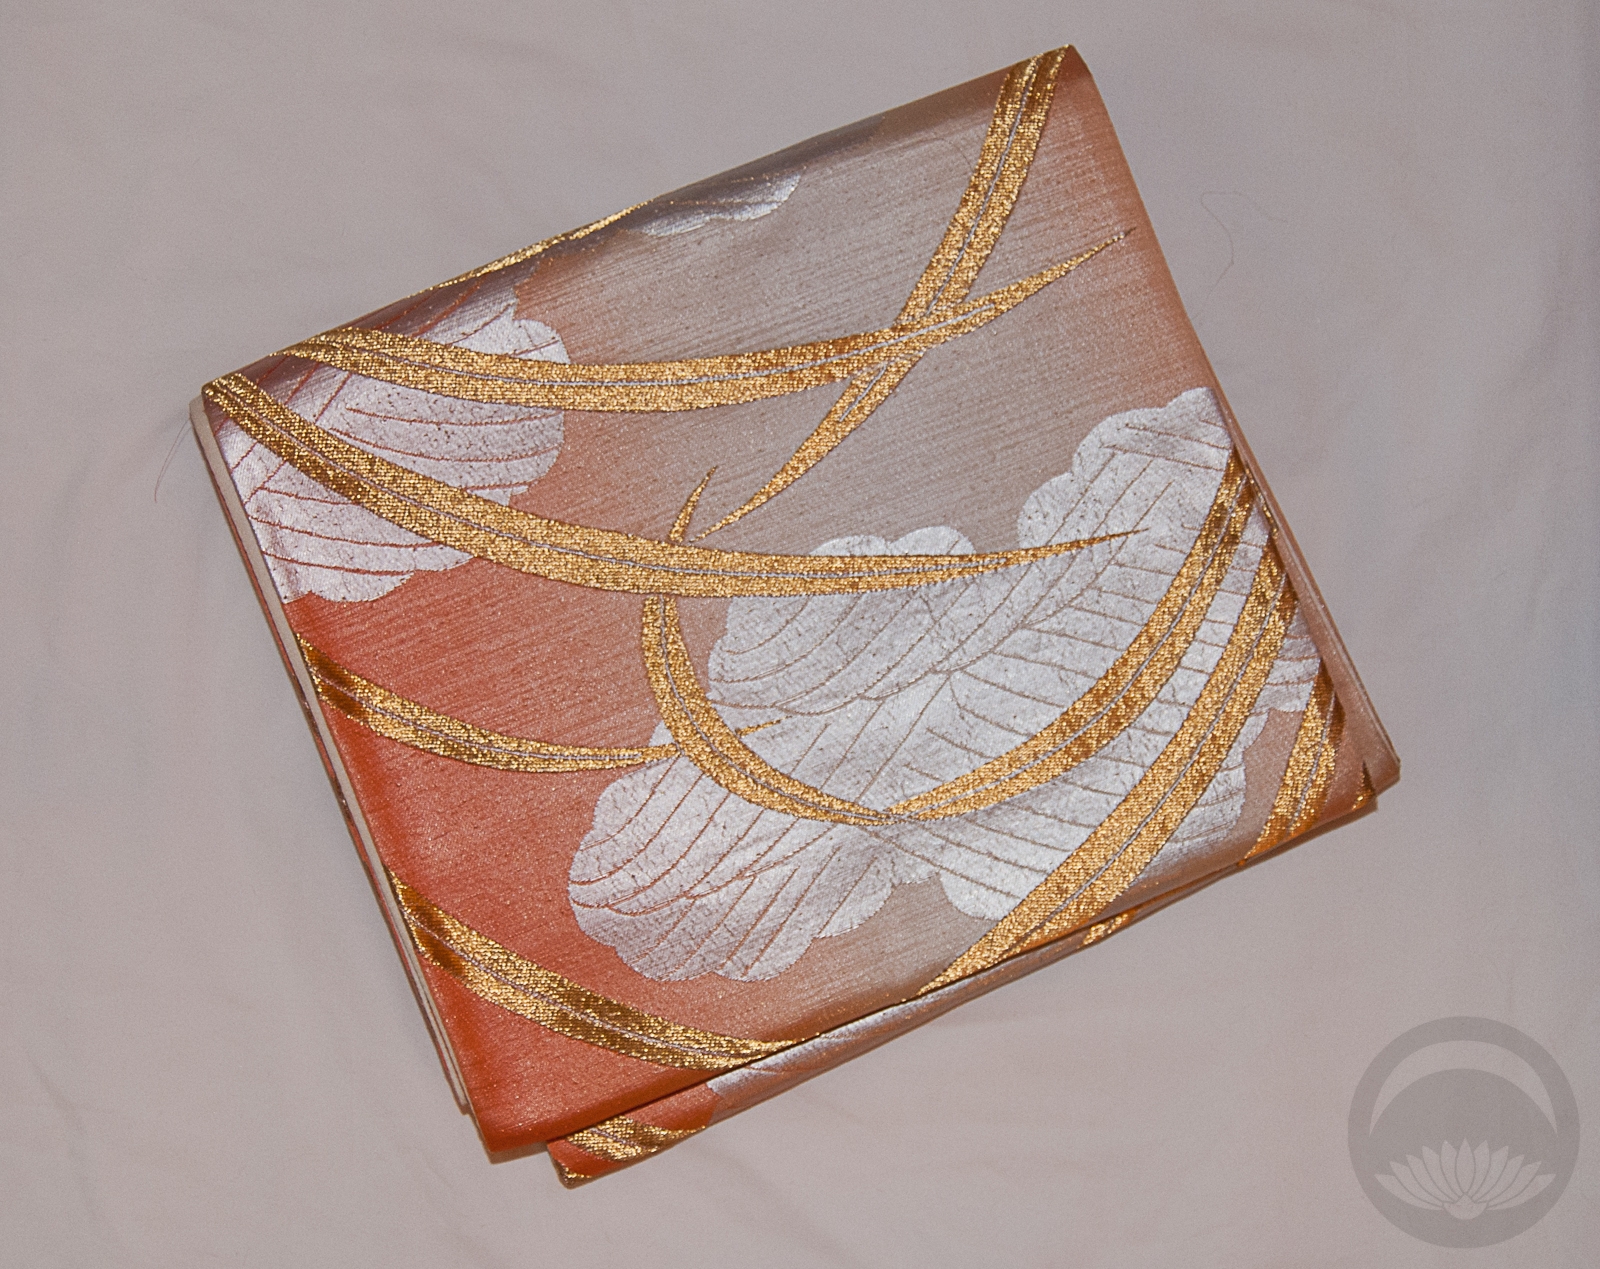
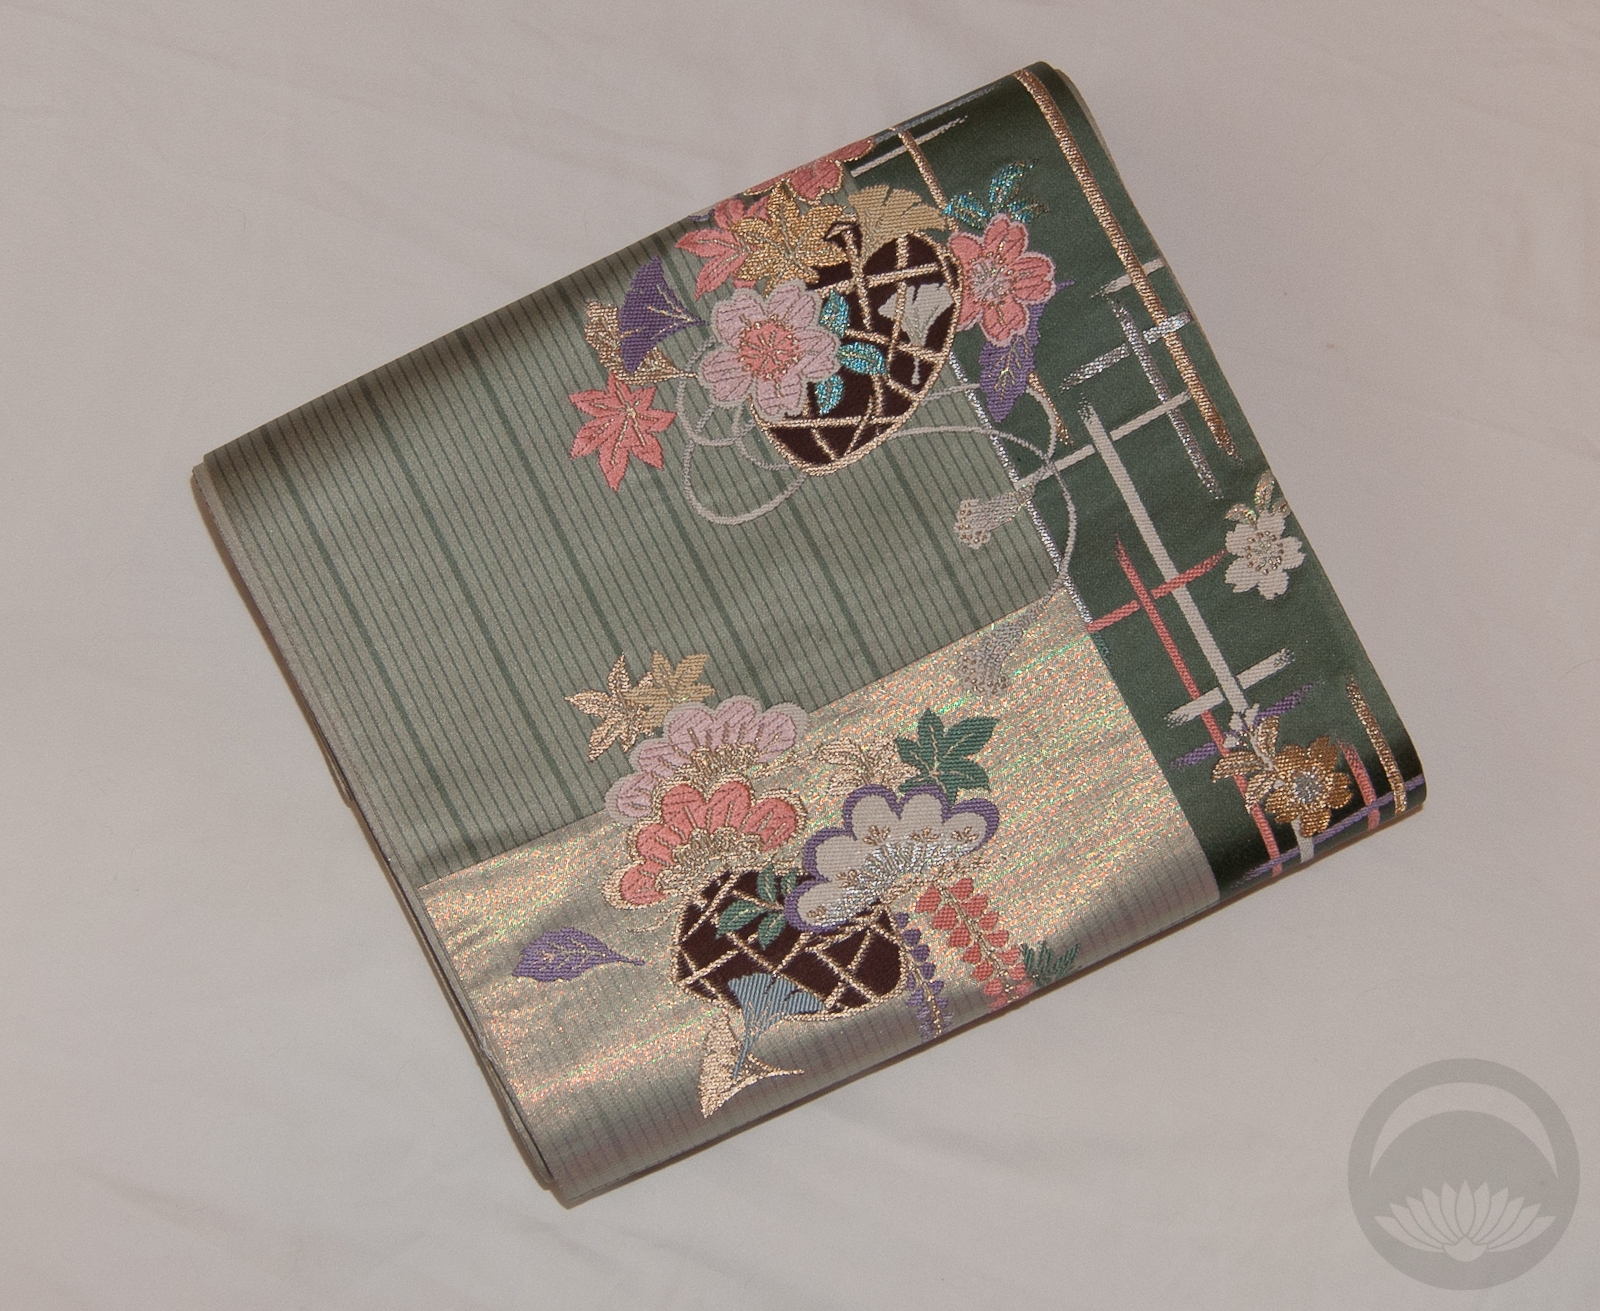
Pairing it up with red to make it punchier might be a fairly straightforward and expected coordination but it just works so well! I love how the faint stripes in the obi echo the other colours of green and navy. Initially I had no plans to take a picture of the back of the mannequin without the red haori, but I realised as I was tying the obi that the karuta musubi looks like a present, so I had to capture that too.
Okay, so this is certainly not the most dramatic or exciting coordination of the project, it’s comfortable and cute and worked out quite well. It was also easy to put on after a frustratingly long day that started with me slipping on ice and smashing my elbow and ended up with me nearly being trapped at work because the lock on the front door froze. I honestly didn’t have the energy for anything more complicated.
While this has been a mostly enjoyable project, if I’ve learnt one thing from it, it’s to never commit to twelve consecutive days of anything, no matter how much you enjoy it. Between holiday stress, work, family stuff, etc, I am burnt the heck out right now . I think I will be taking a little hiatus from blogging for a bit, maybe a week or ten days. I’ve got lots of stuff in the works though, so I promise I’ll be back in full force very soon! <3
Items used in this coordination
-

- Tartan
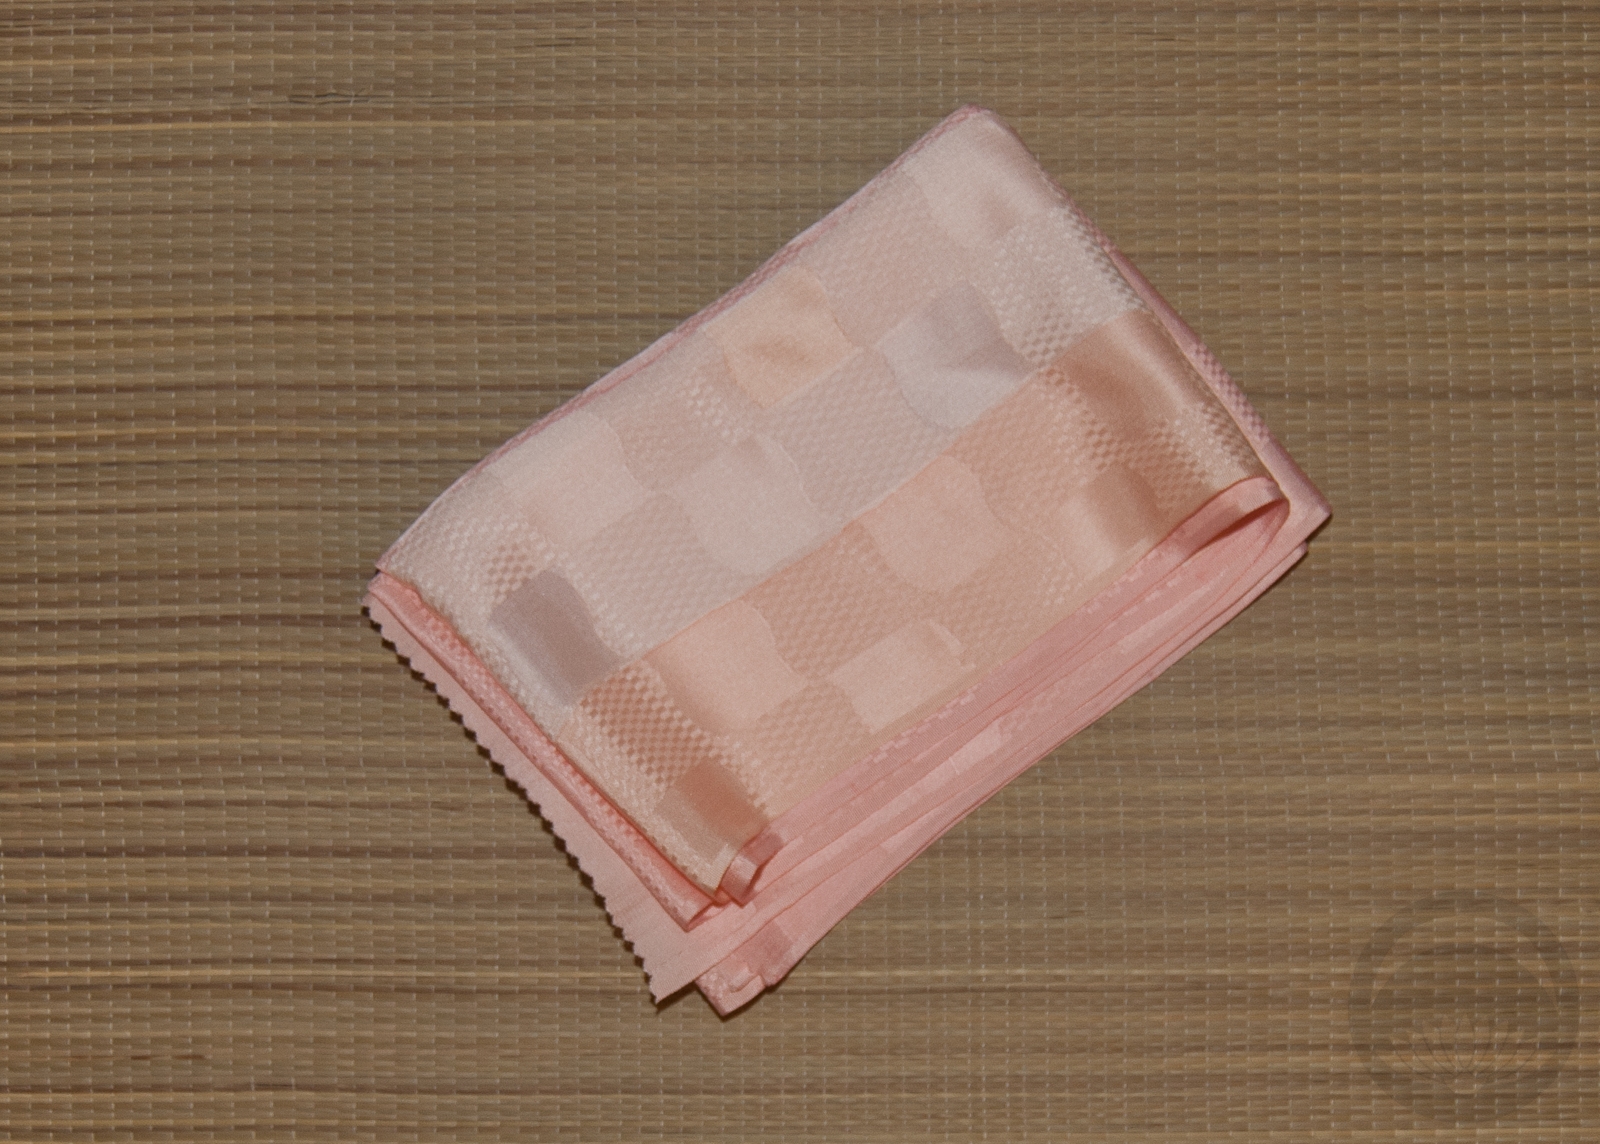
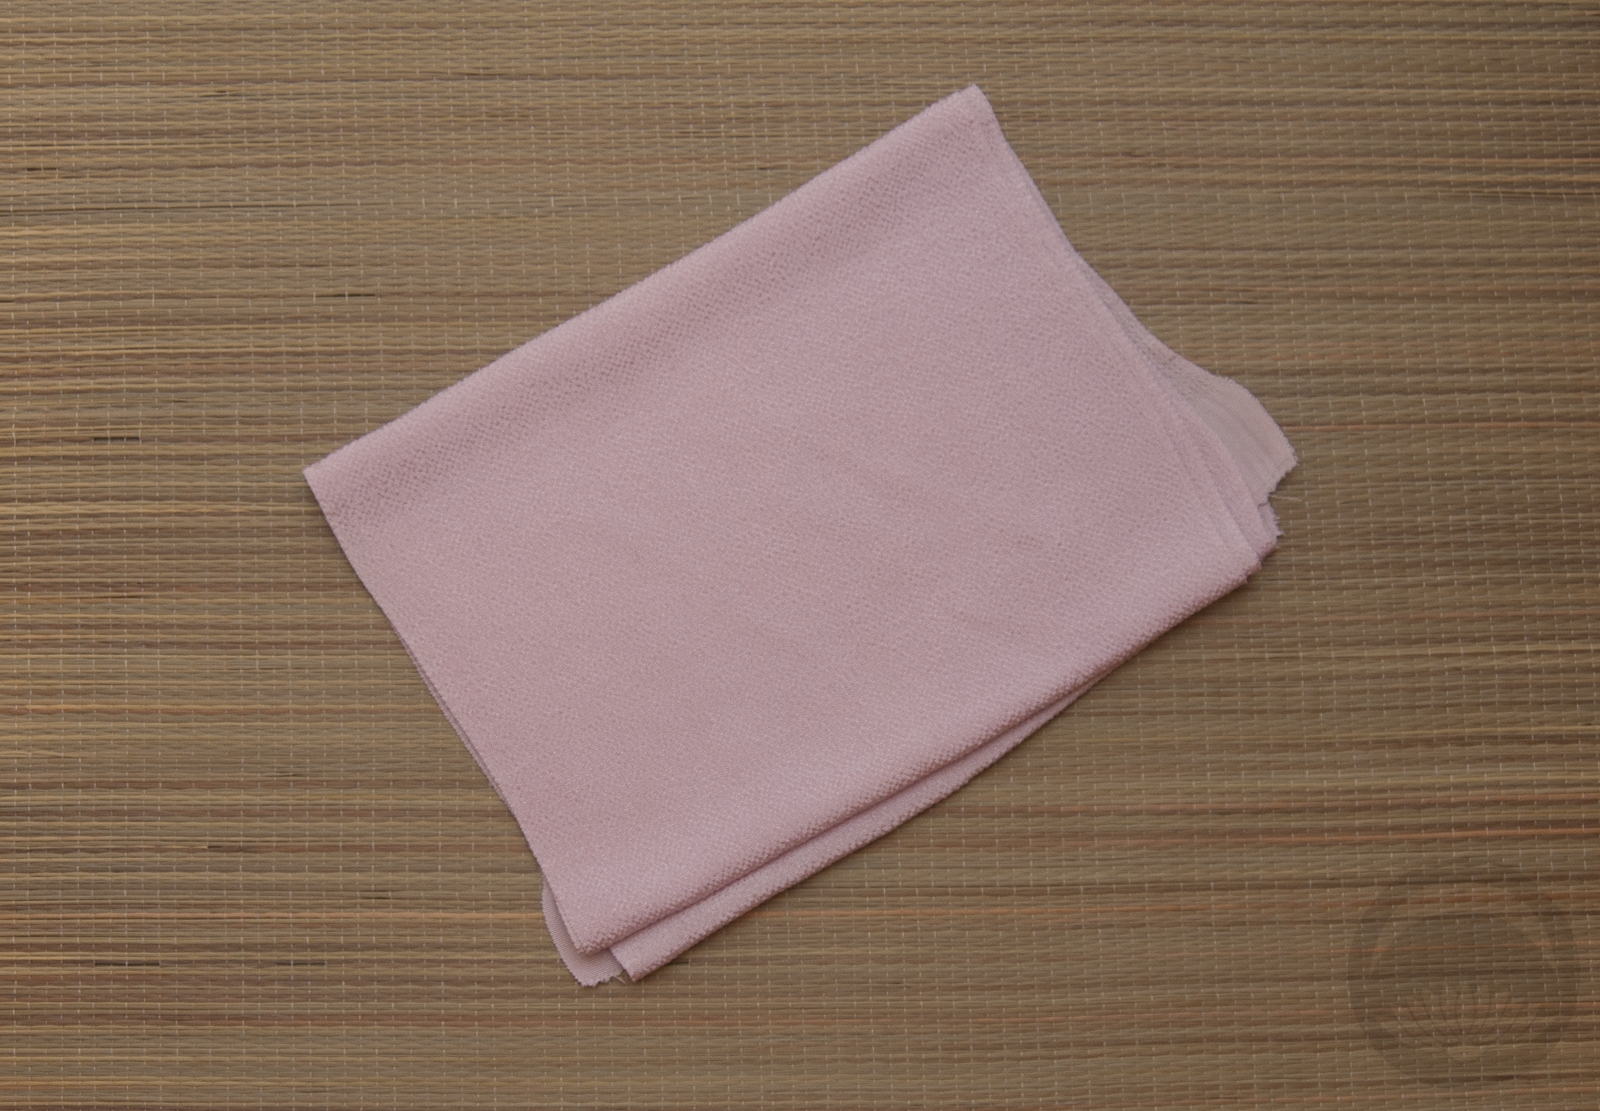
-
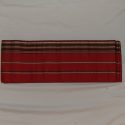
- Red Stripes

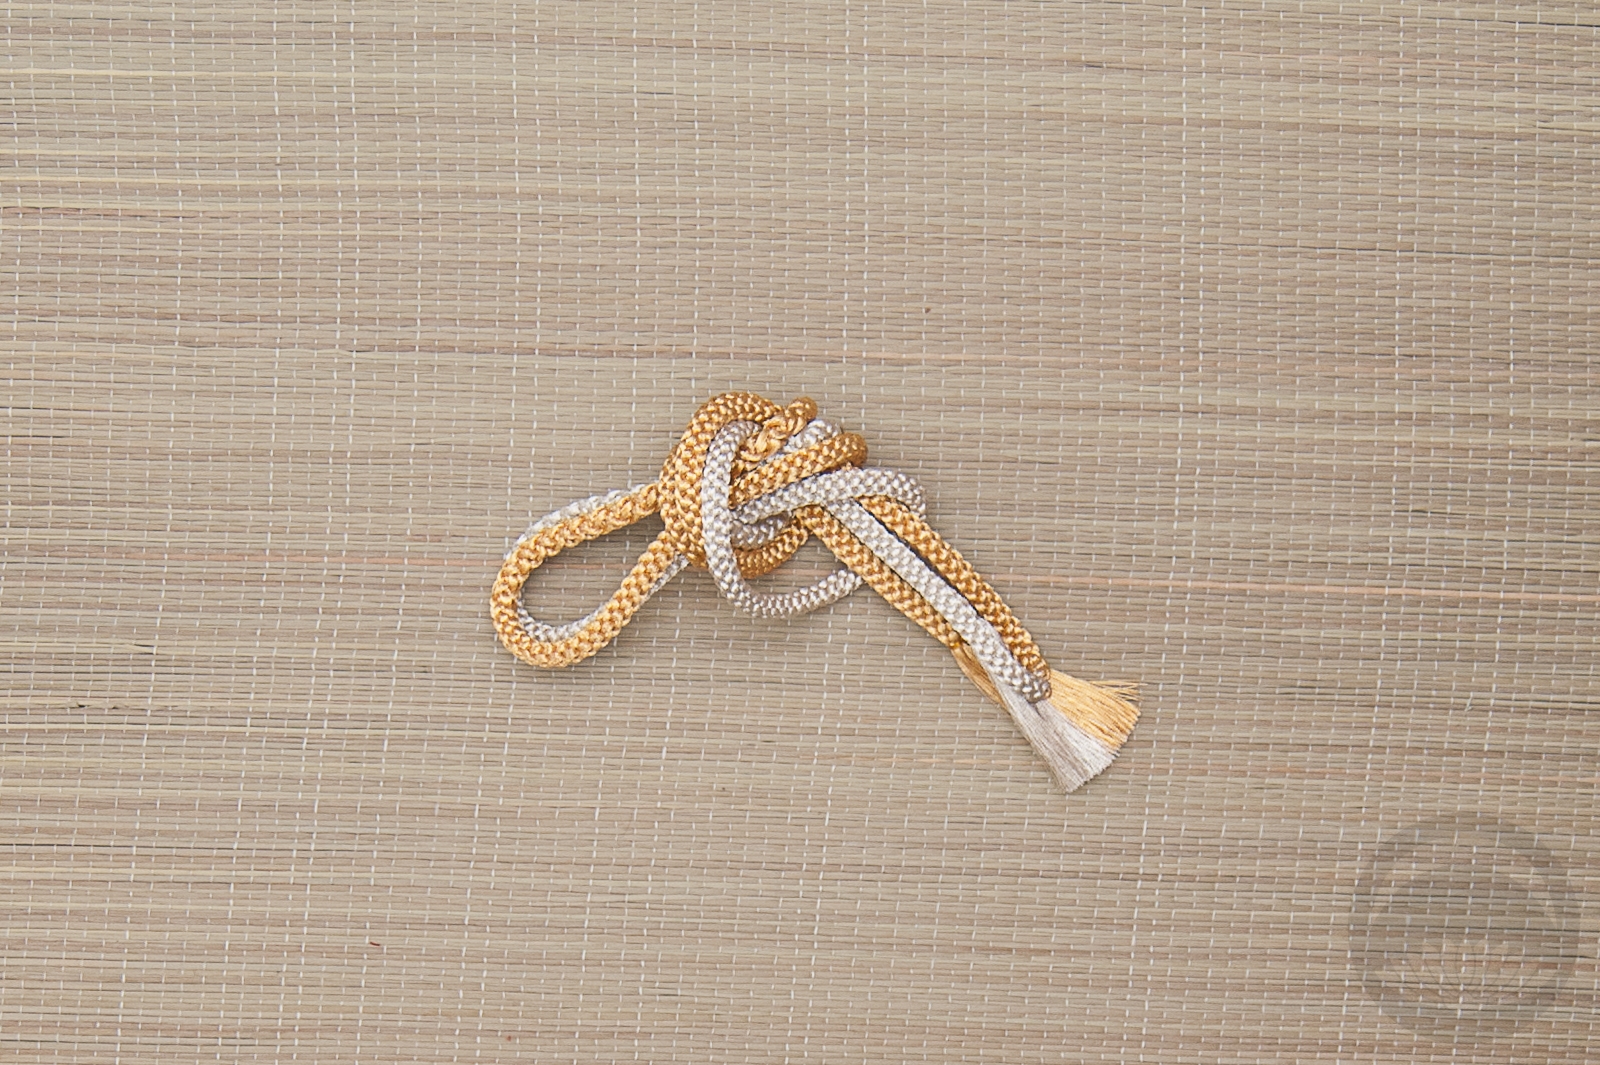
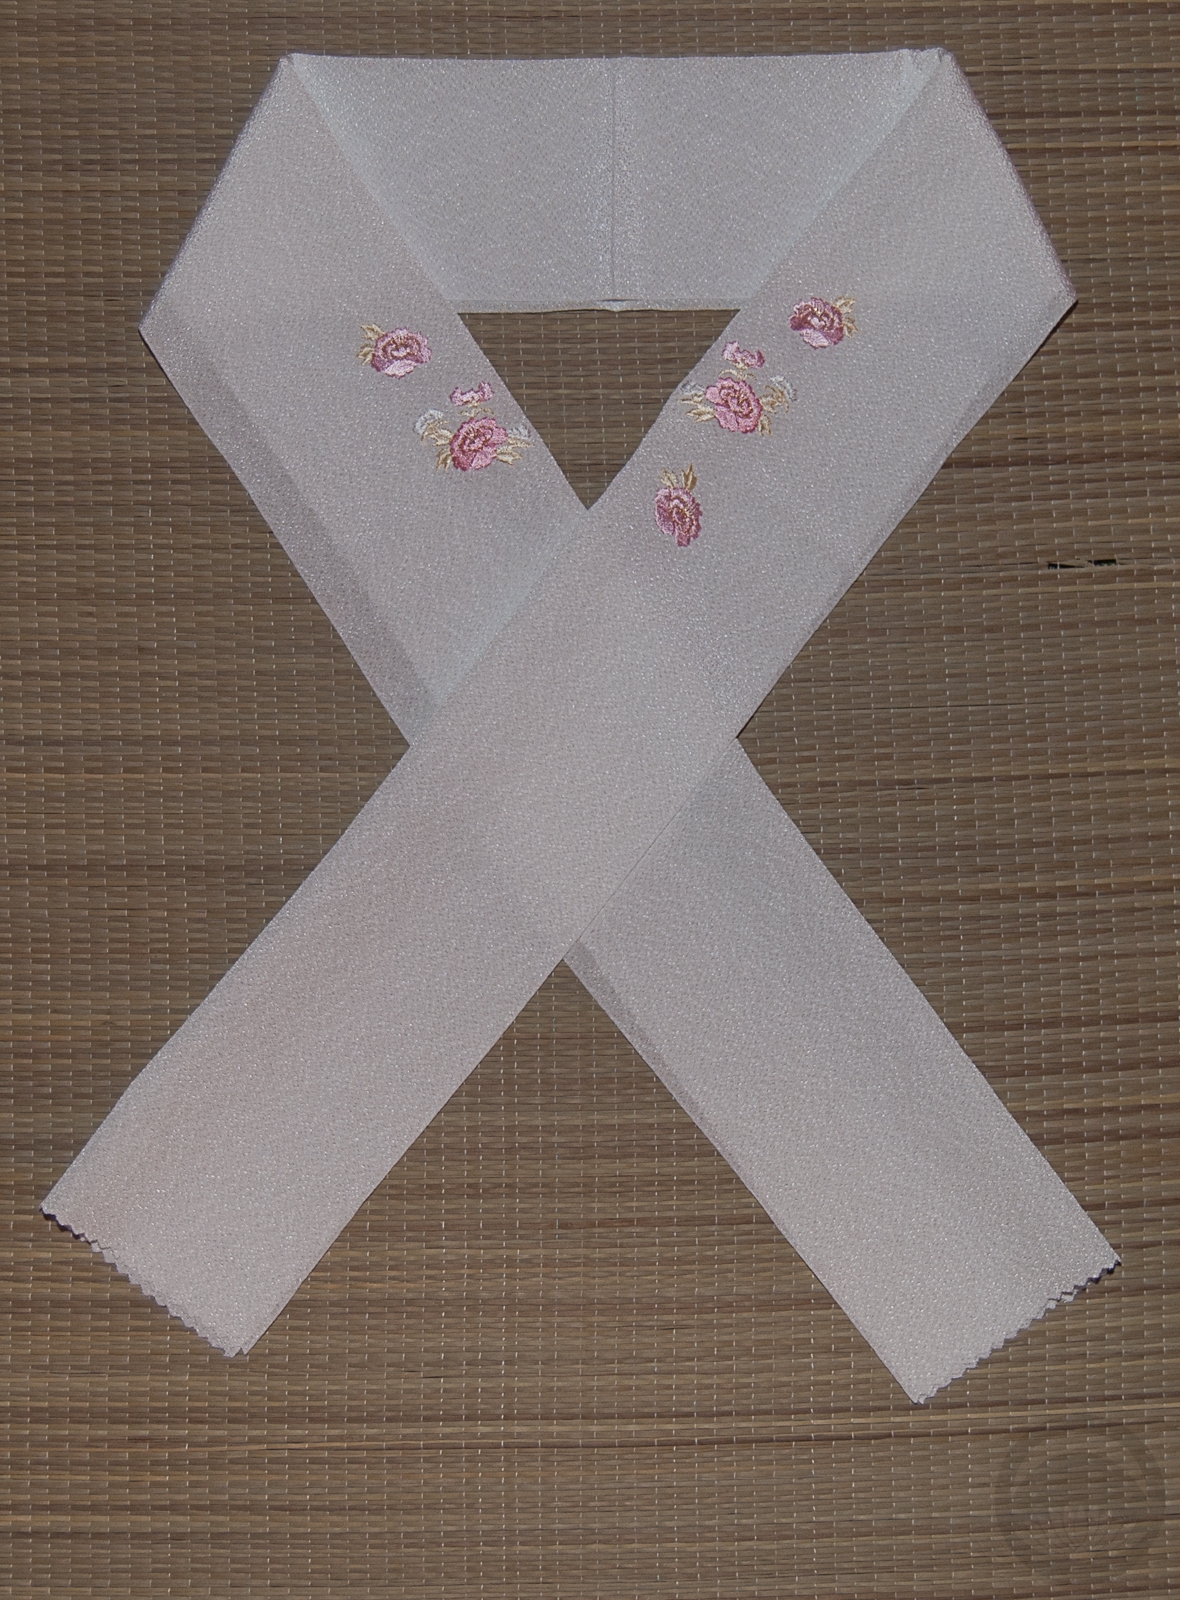
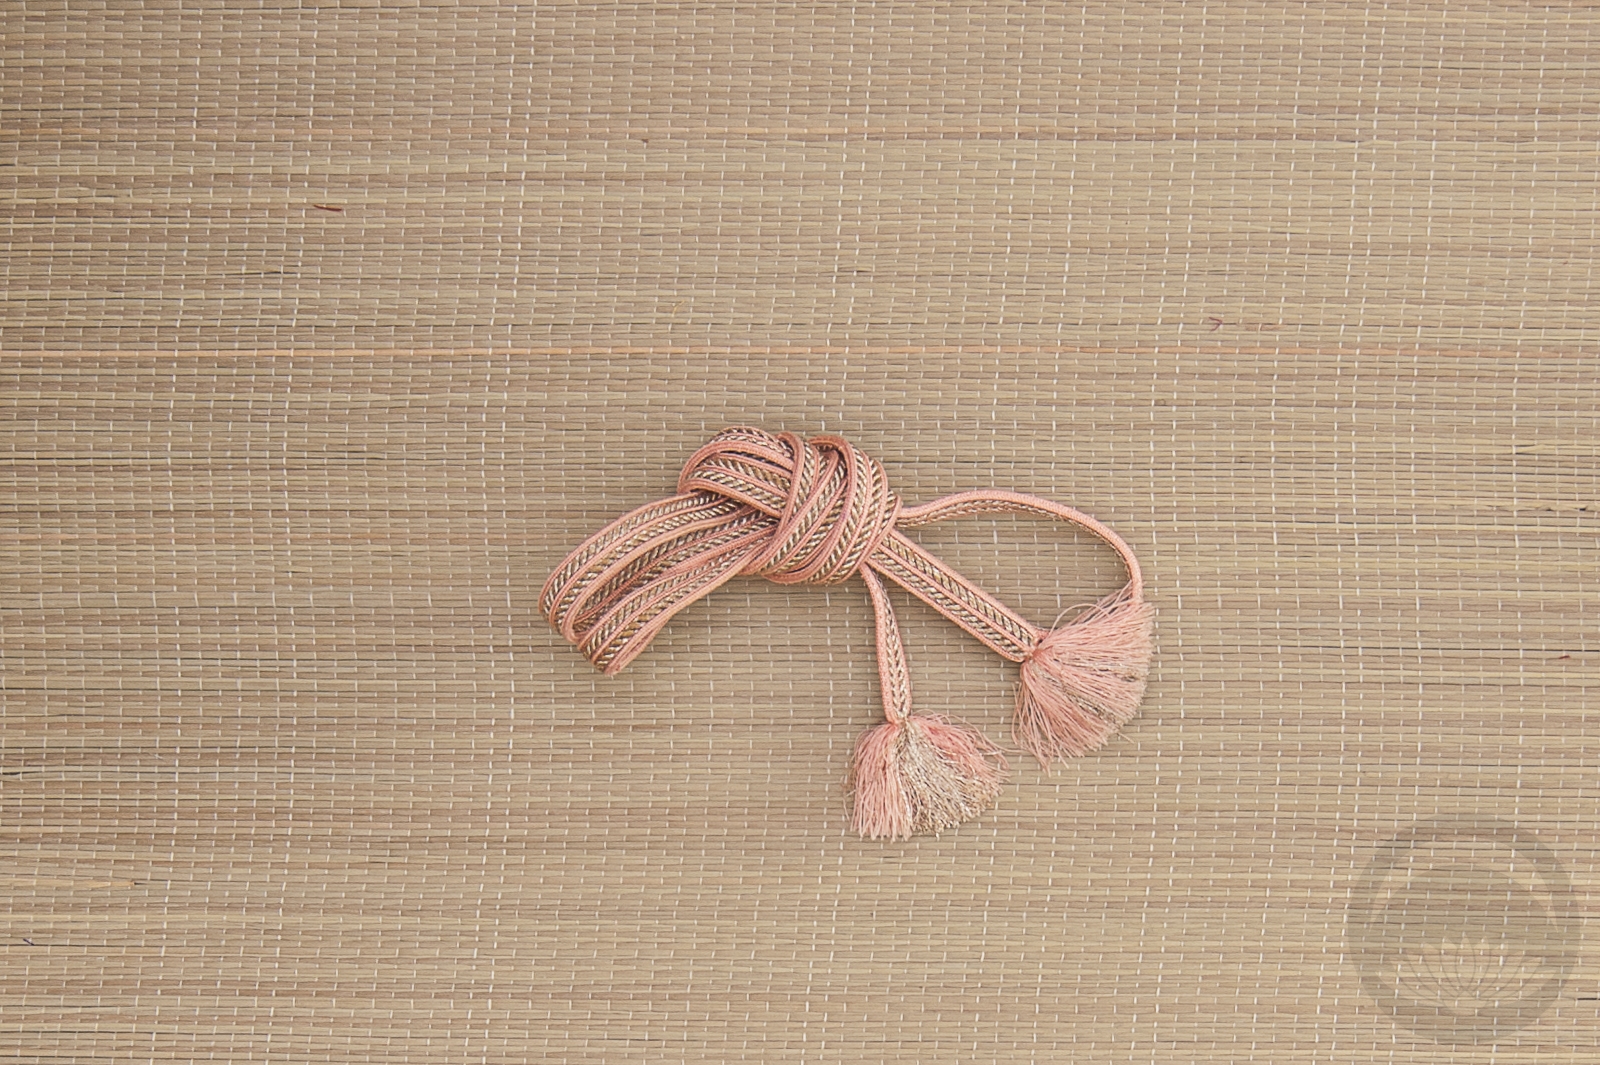
-
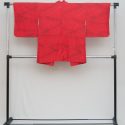
- Modern Red


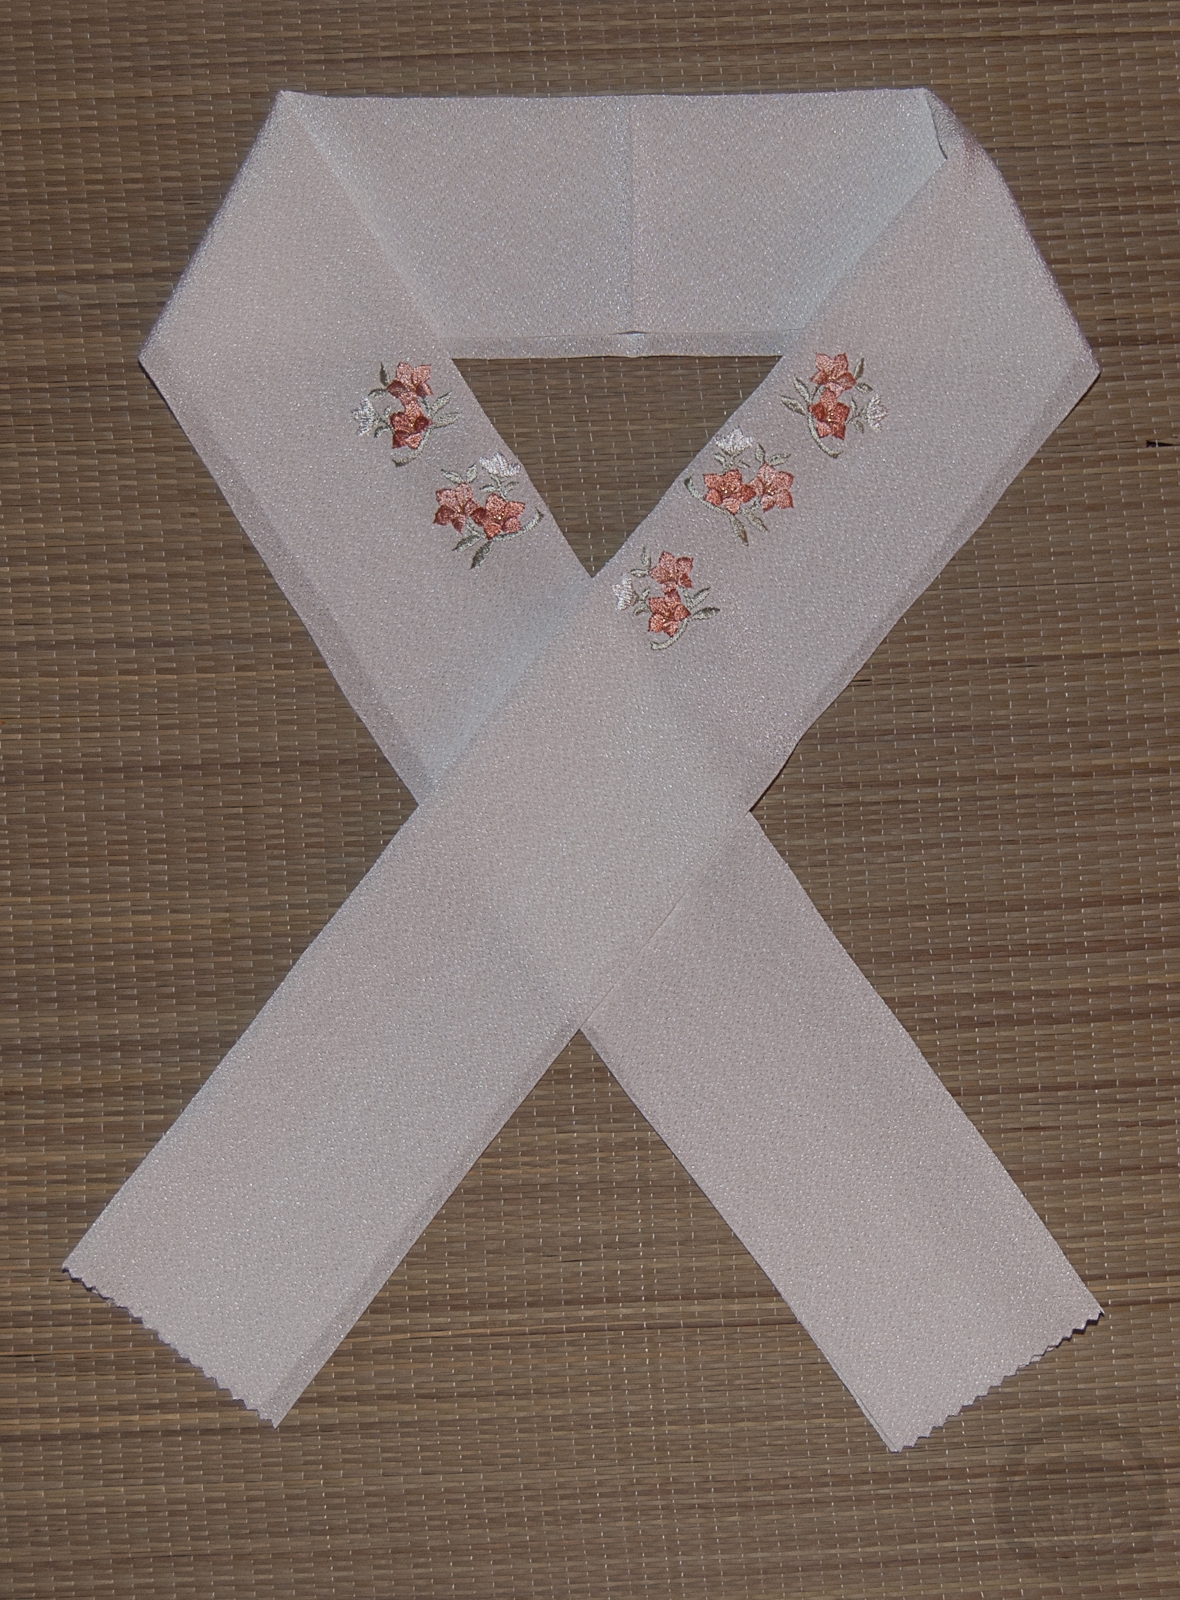


 Bebe Taian
 CHOKO Blog
 Gion Kobu