
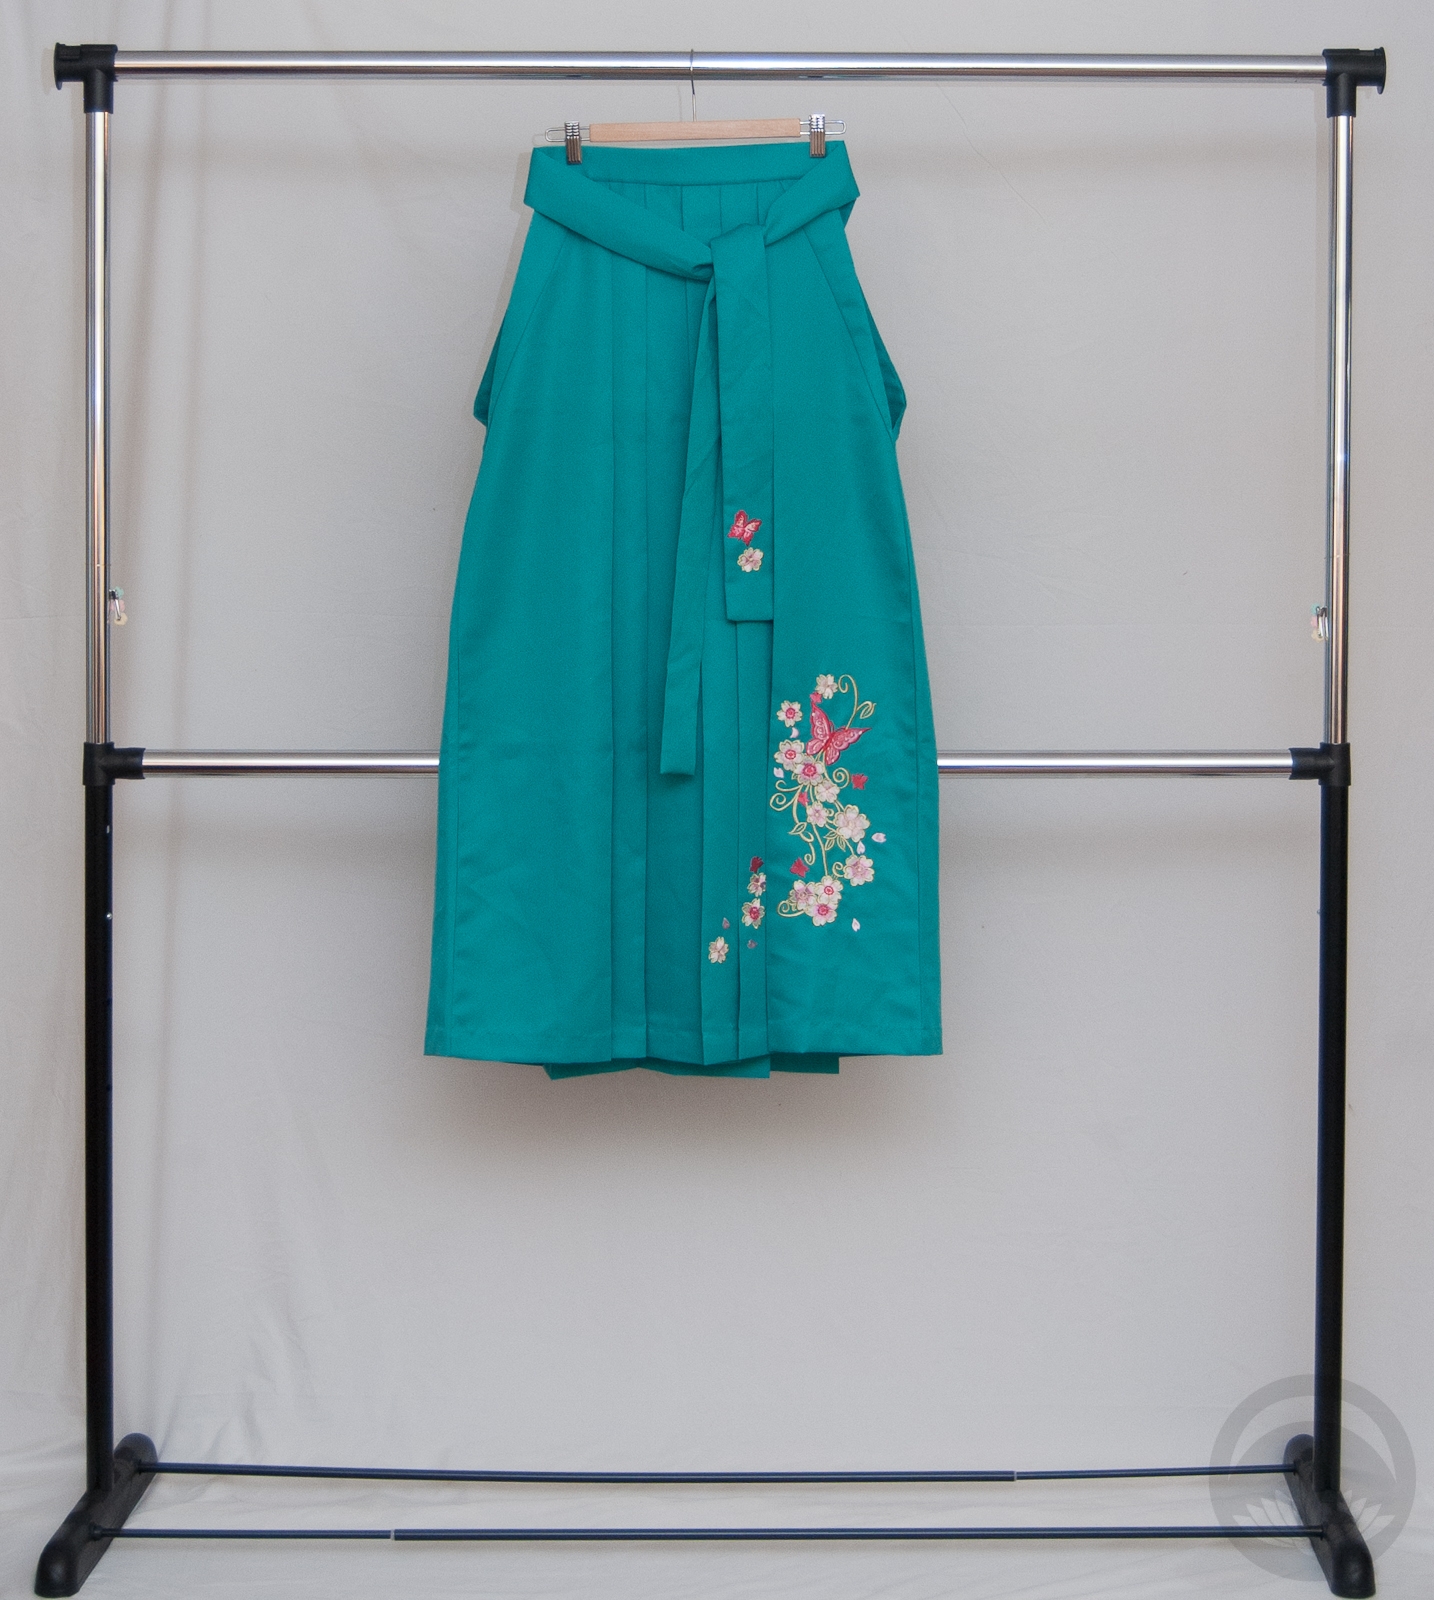
After Gofuku no Hi, I realised owning at least one other hakama would greatly expand my kimono wardrobe. Even though I’m still far too chunky to fit into most of my kimono properly, they do a great job of hiding a less-than-ideal hip wrap. I found a lovely modern teal polyester hakama from ebay seller Yoshihori and snatched it up. The seller had embroidered ones too, which were utterly lovely, but significantly more expensive. So I decided to be reasonable and buy the plain one. So imagine my surprise when the seller contacted me, incredibly apologetic, telling me the plain one was sold out and would I like the embroidered one instead, for no extra charge? Of course I said yes!
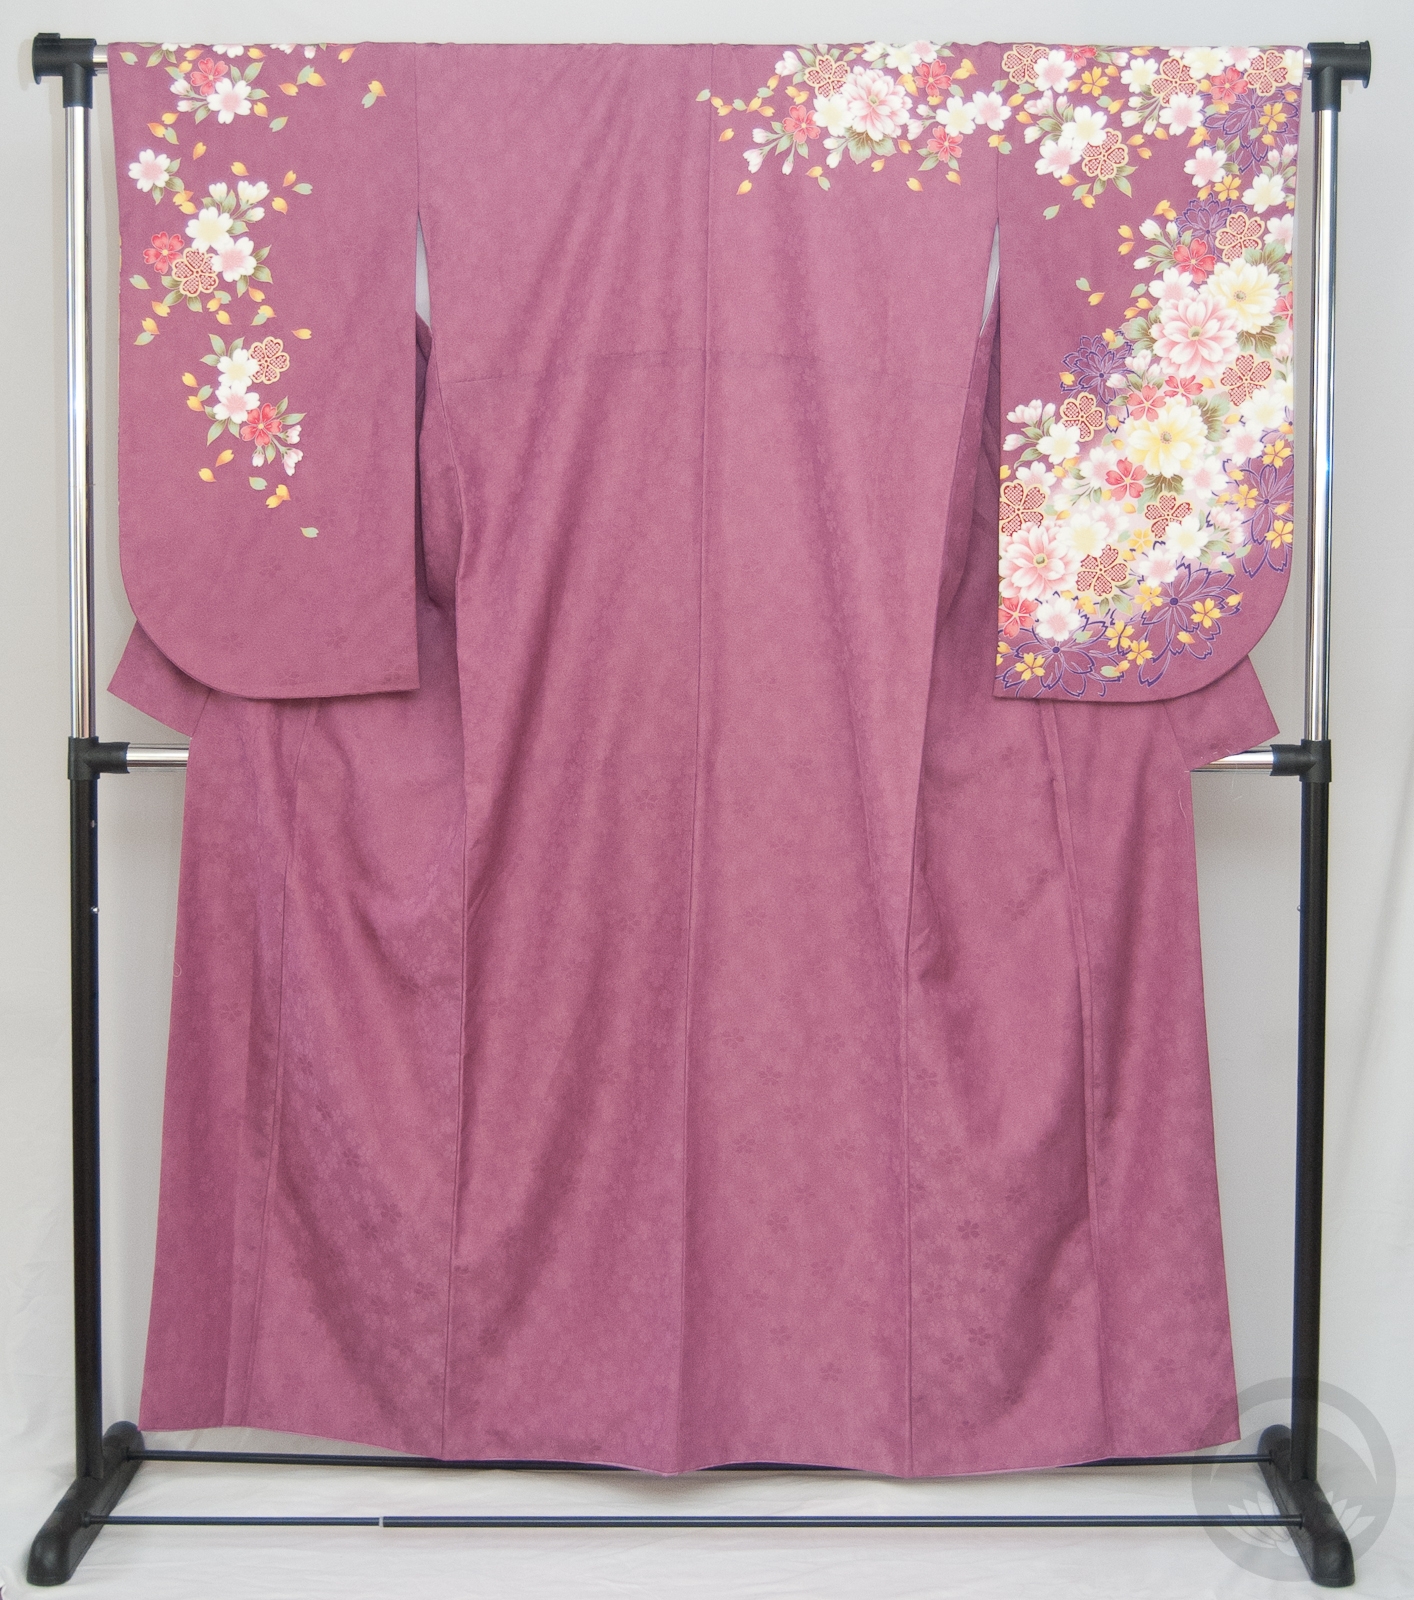
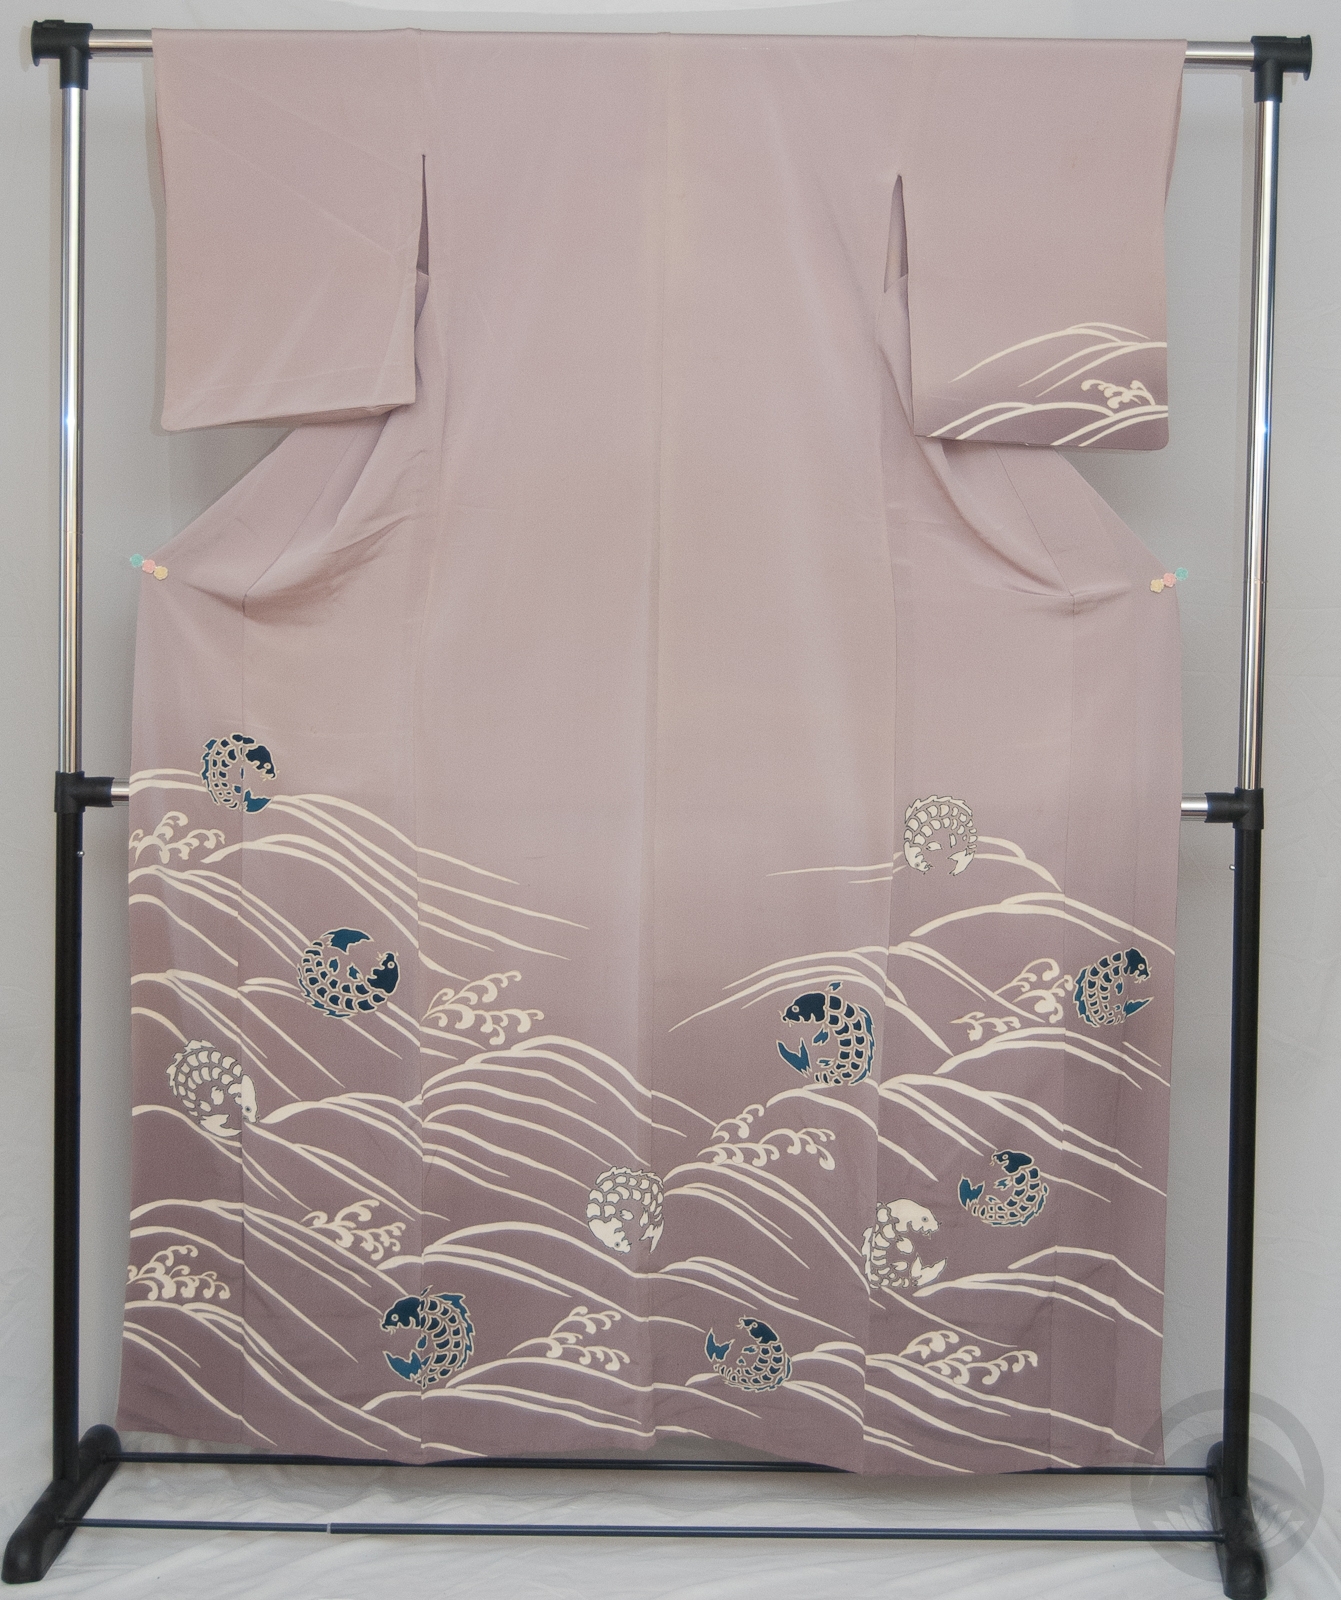
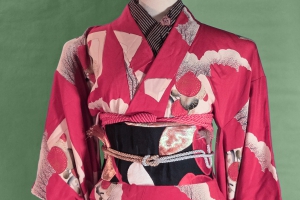
A few days after I bought it, but before it had arrived in the mail, a friend of a friend posted on facebook that she was selling off a large chunk of her collection, including a gorgeous mauve kofurisode that was clearly meant to be worn with hakama. The colours were gorgeous, and it had a wonderful sort of large-scale Taisho-inspired feel to it. I knew it had to come live with me, and be paired up with the new hakama as soon as it arrived in the mail.

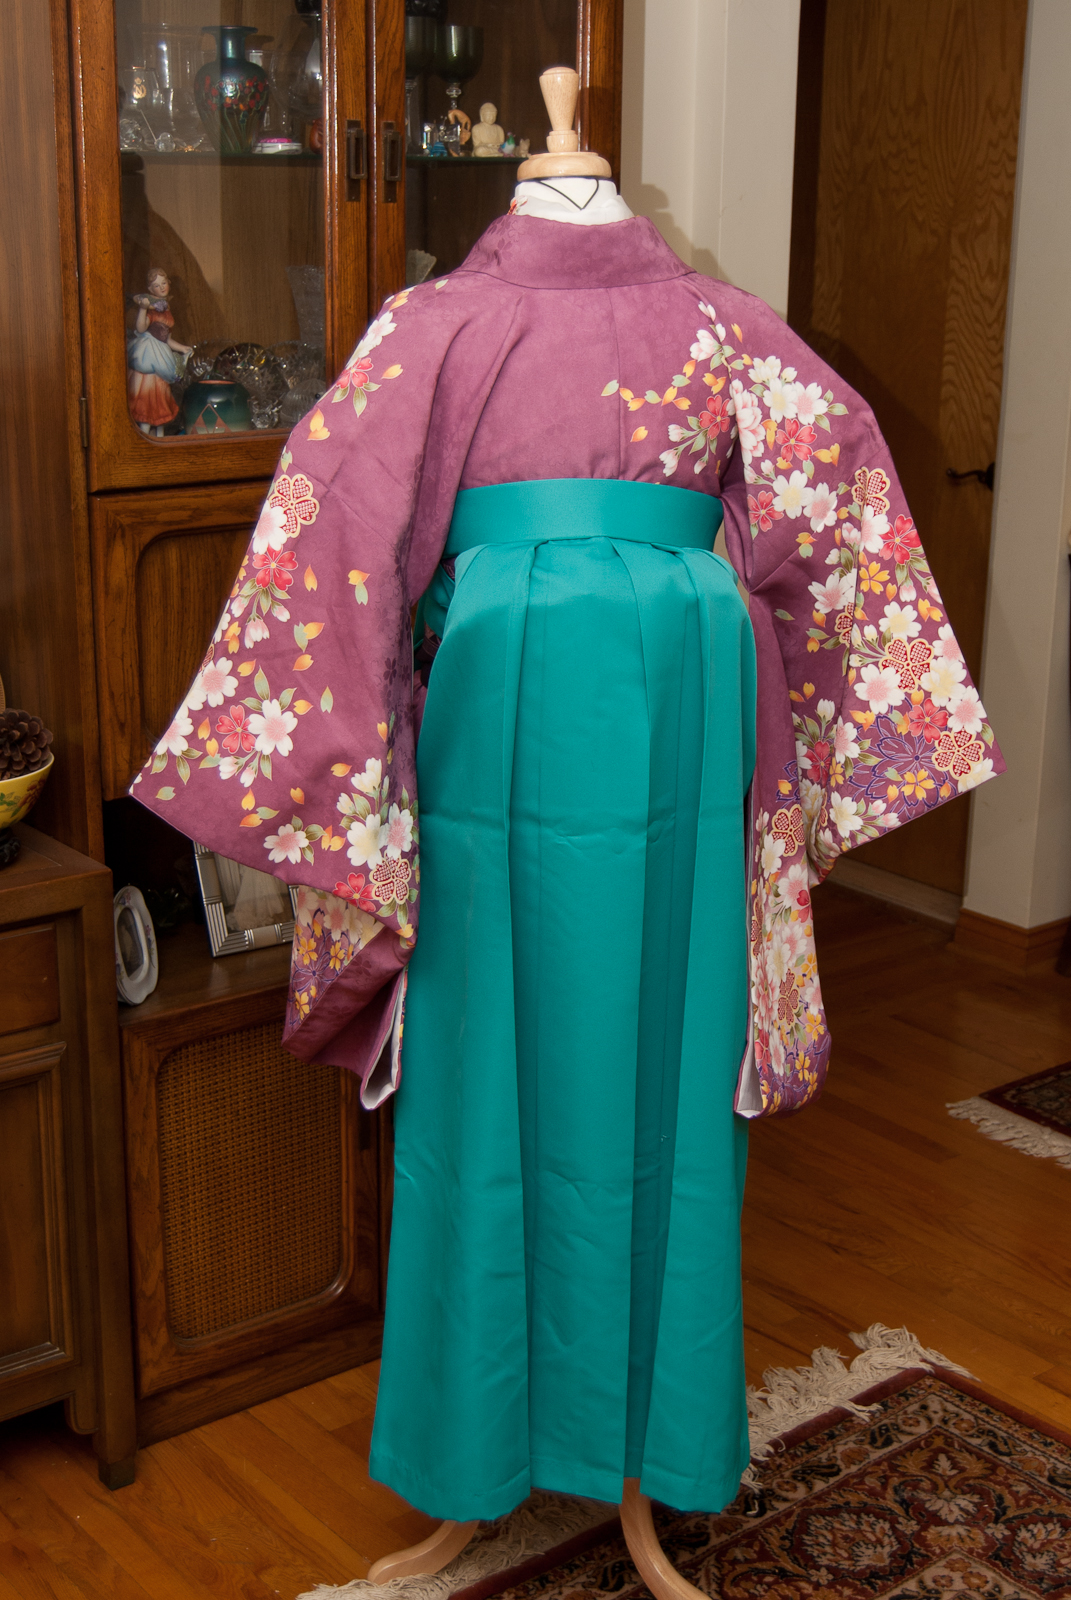
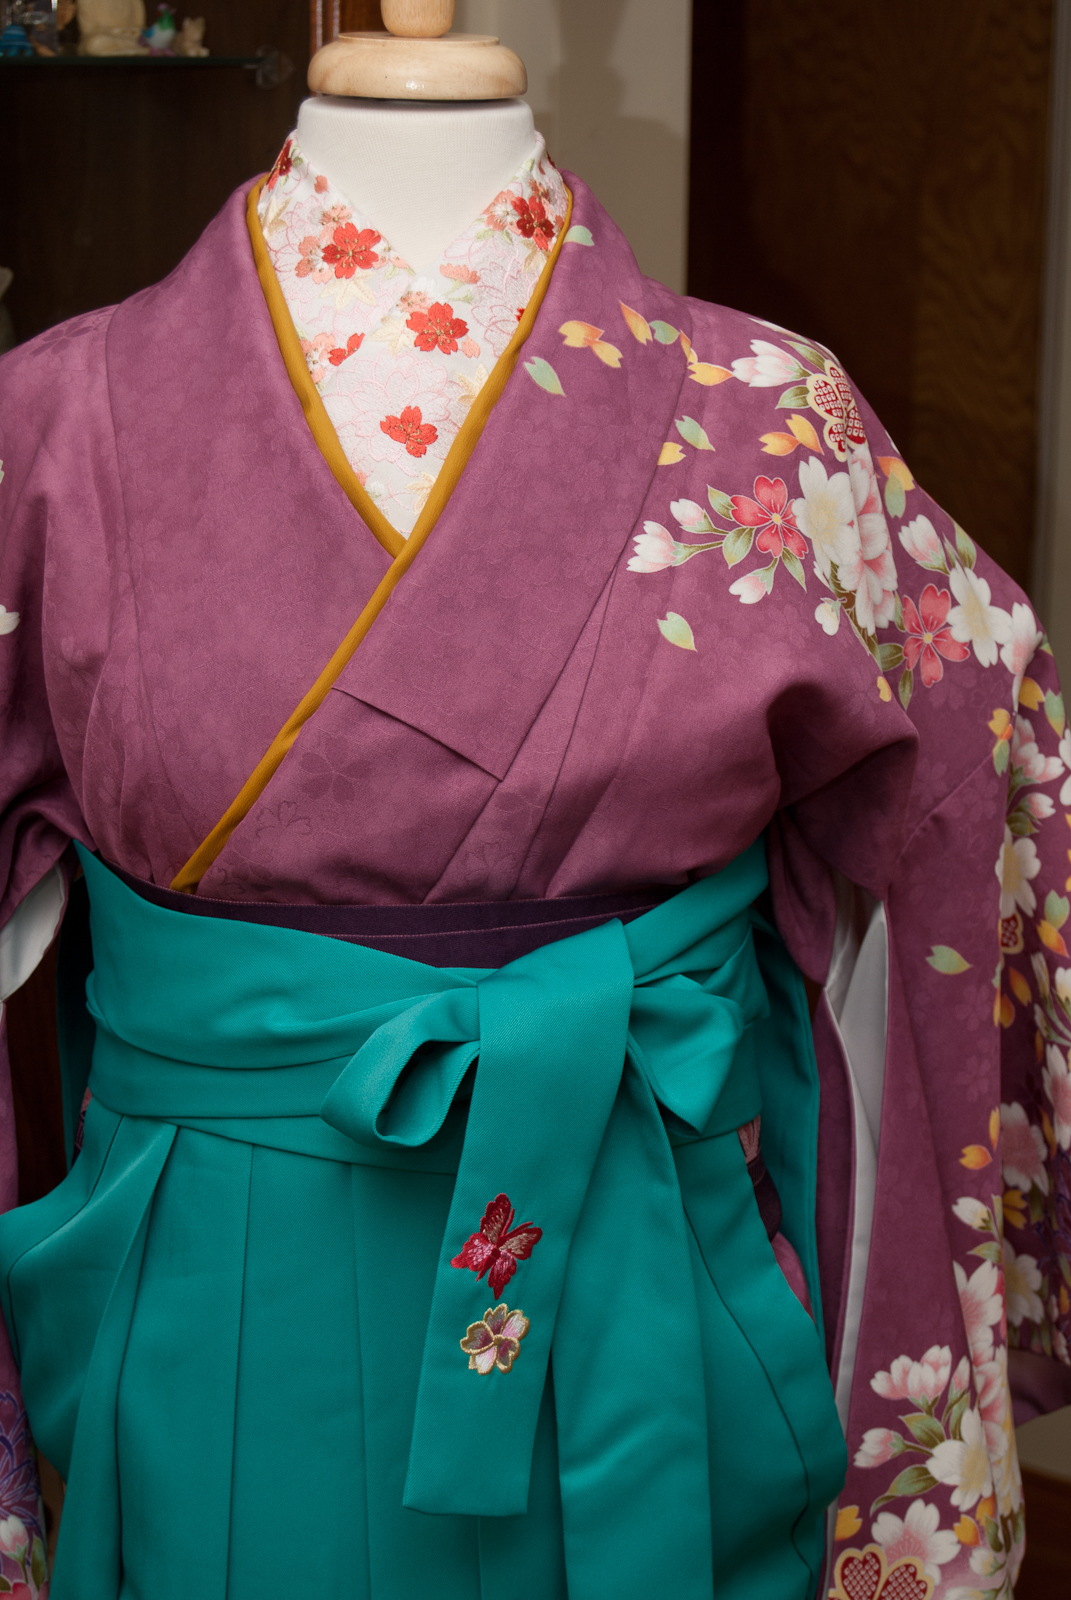
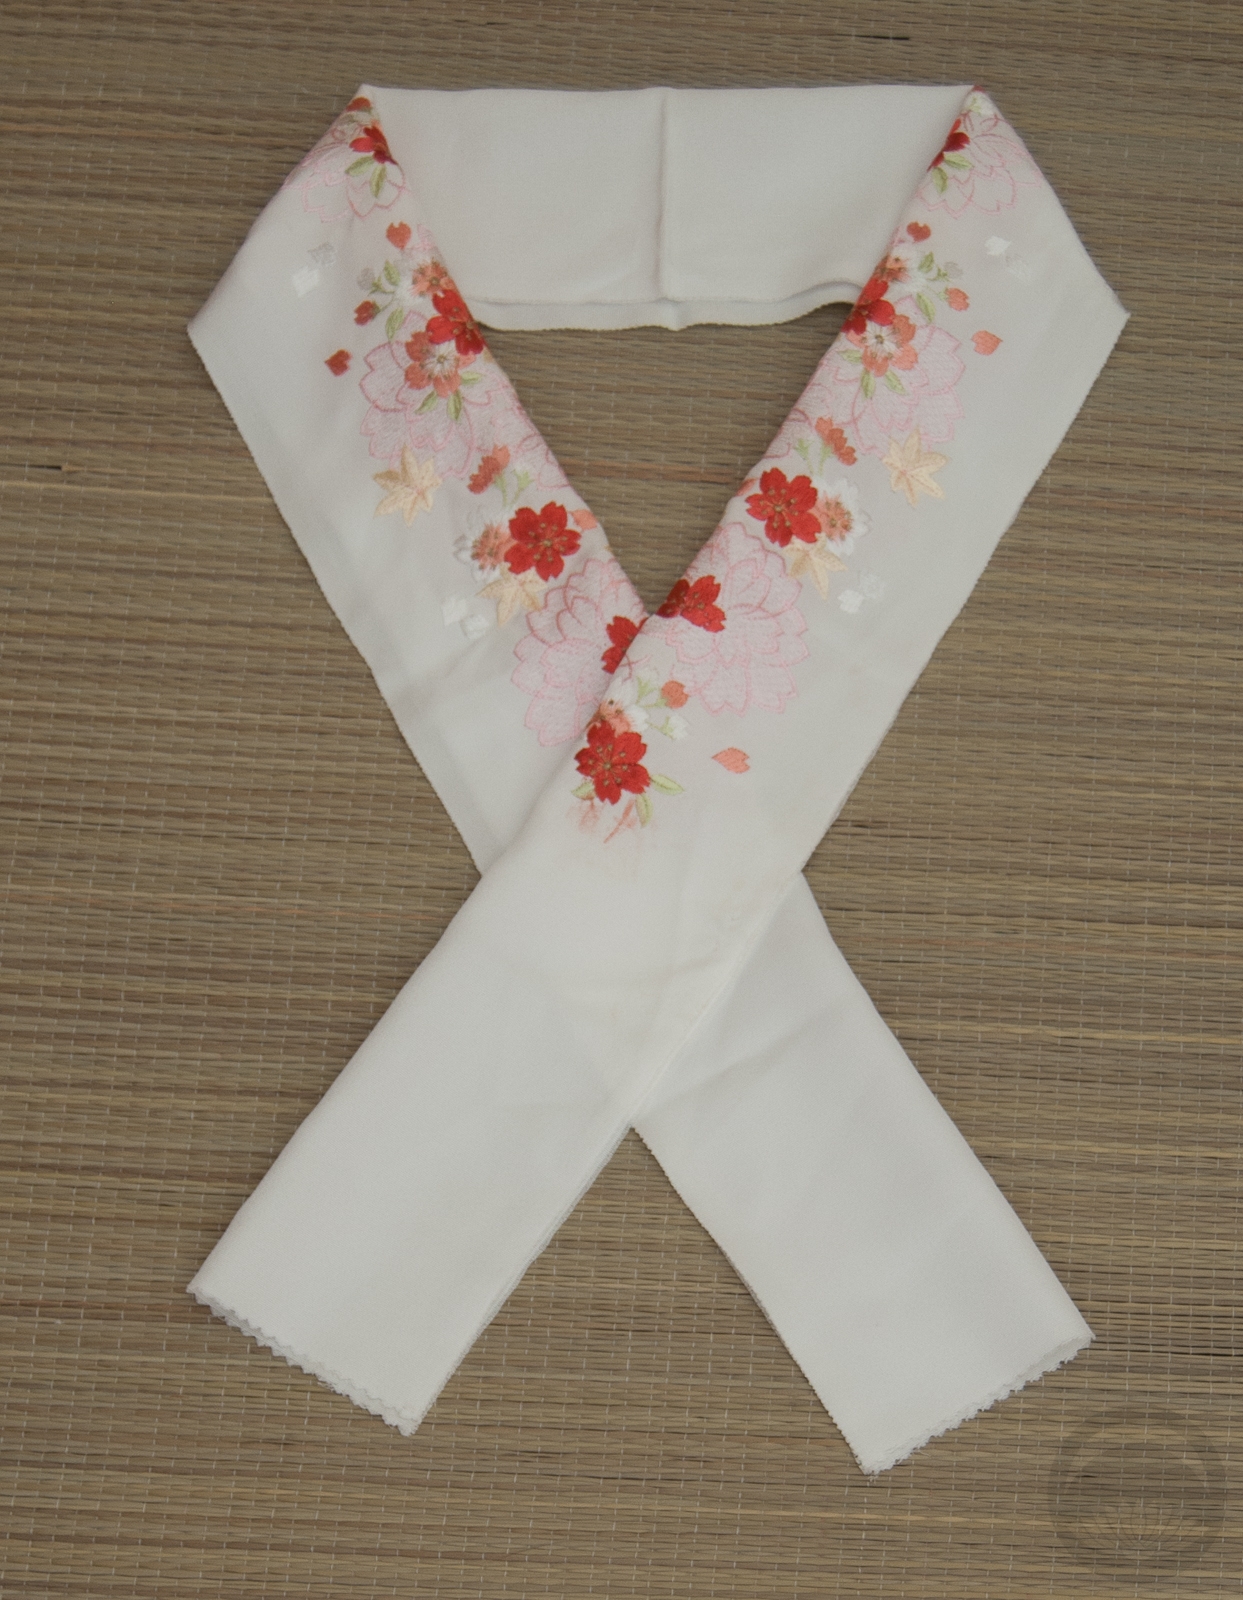
Initially, I’d planned to wear the ensemble to Otakuthon, Montreal’s big anime convention. However, it’s in the middle of August and we’re already regularly breaking the high 30s temperature-wise. Even in a heavily air-conditioned convention centre, there’s no way I could wear synthetic awase and not die. So I decided to put the outfit together to see how it looks. Everything is very heavily decorated with sakura, so of course I chose a coordinating haneri. I waffled a bit between yellow and purple obi, but decided to use the purple so it sort of disappeared. The kimono and hakama are busy enough, the outfit didn’t need another level of contrast.
I know I say this a lot, but I love love love how this turned out. I can’t wait until it’s cool enough to wear it. Maybe for my birthday, in November?
-
- Sakura Kofurisode for Hakama
-
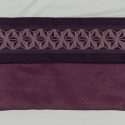
- Purple Geometric

-

- Sakura


 Bebe Taian
 CHOKO Blog
 Gion Kobu