Art Gallery – Mystery “Geisha” Doll

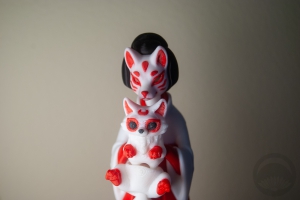
I have mentioned it before (and I’ll likely mention it again), but I am a sucker for any sort of gacha/mystery/blind-box situation, so you know darn well when I found this listing on Etsy for a 3D-printed “mystery geisha doll” from NoirVibe Studio I had to snatch one up. I figured it was high time to share some beautiful original art that wasn’t my own silly fanart, so here she is!

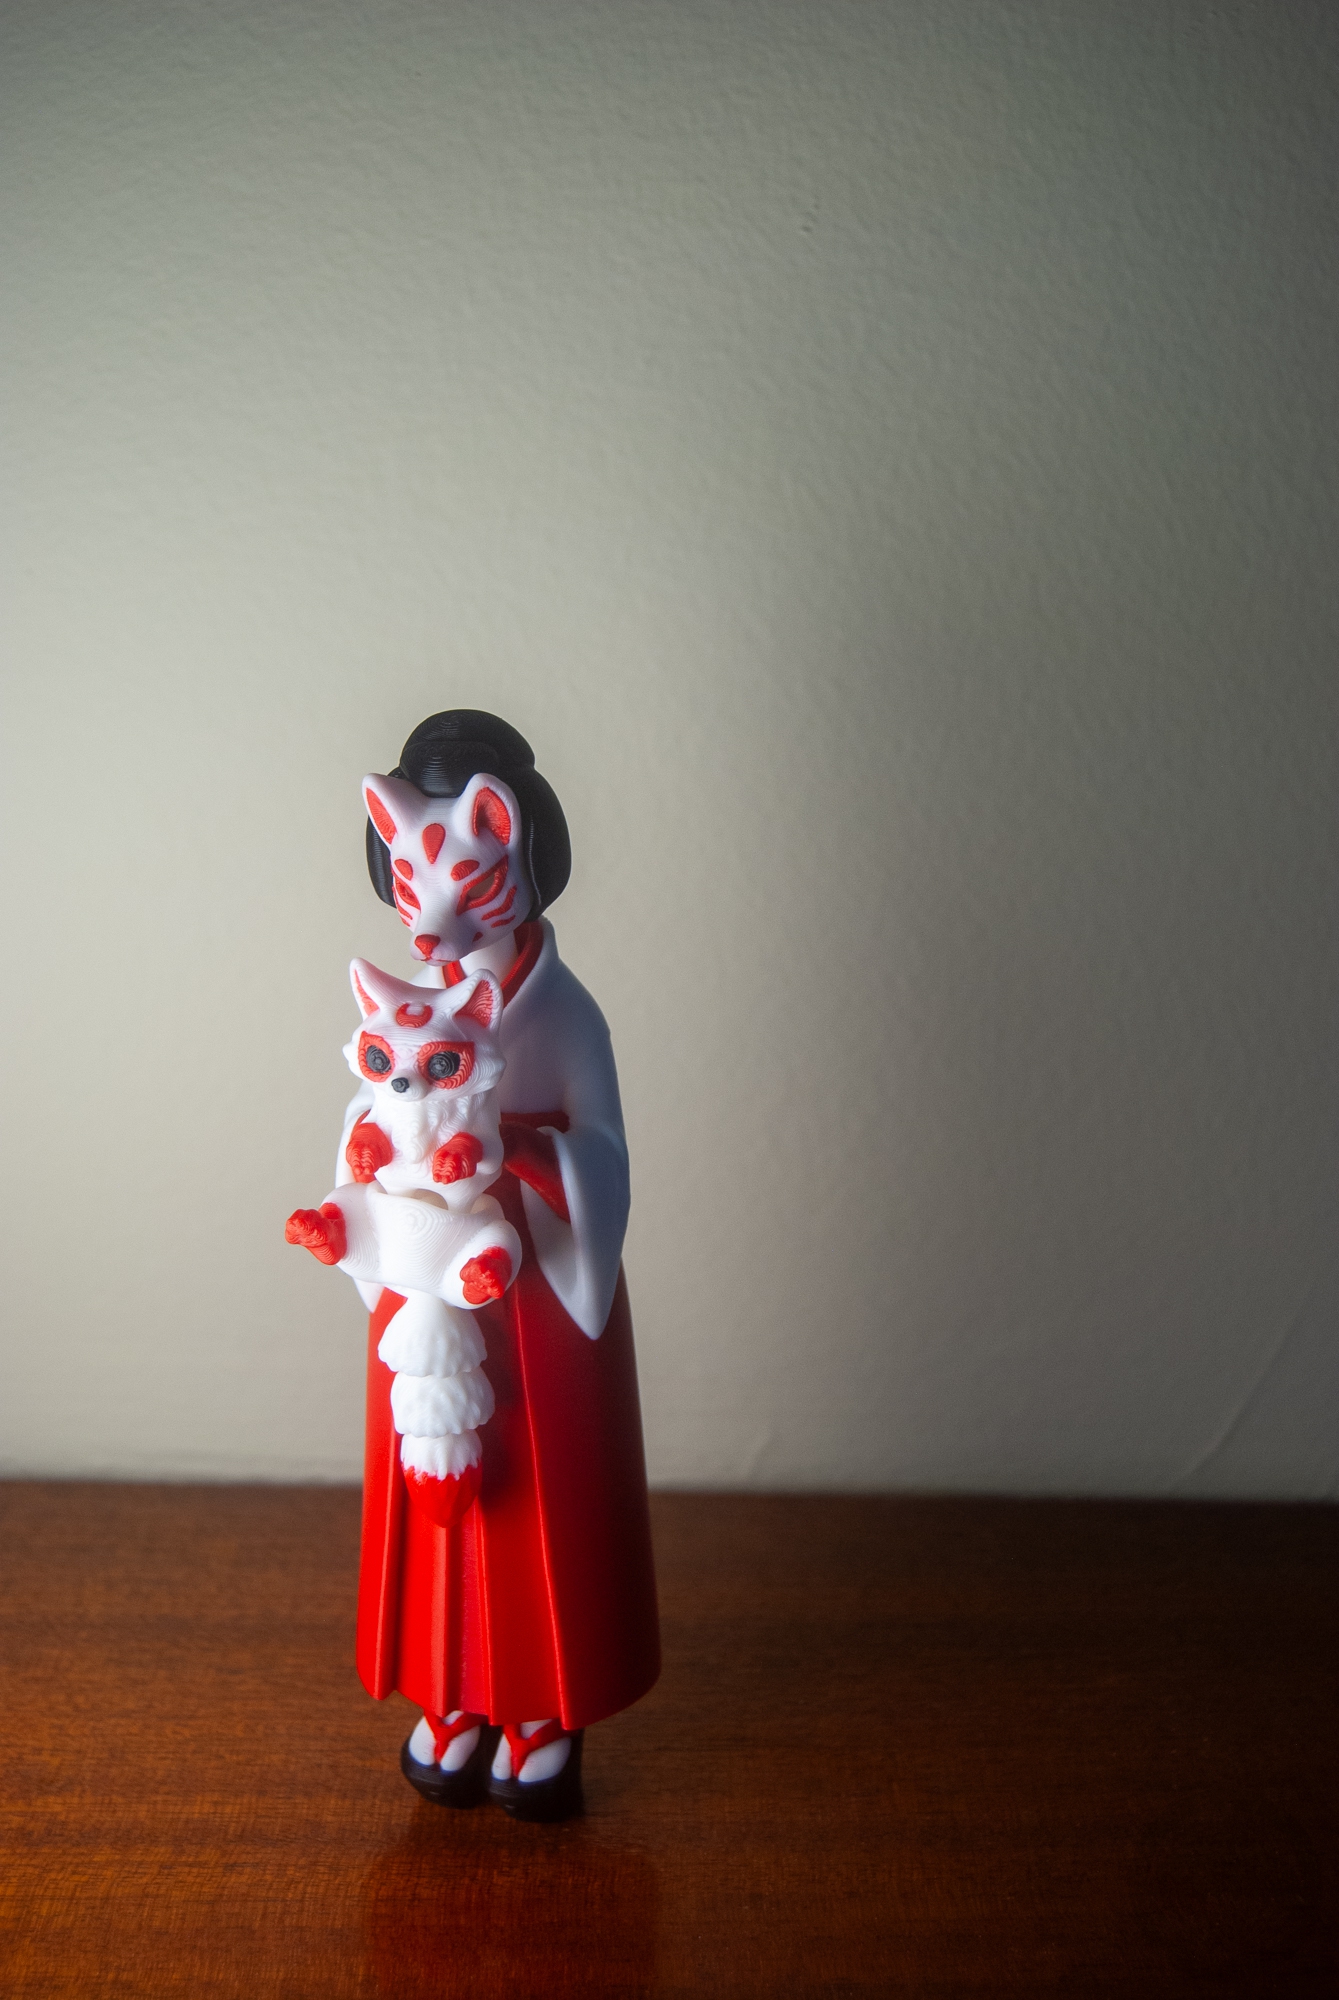
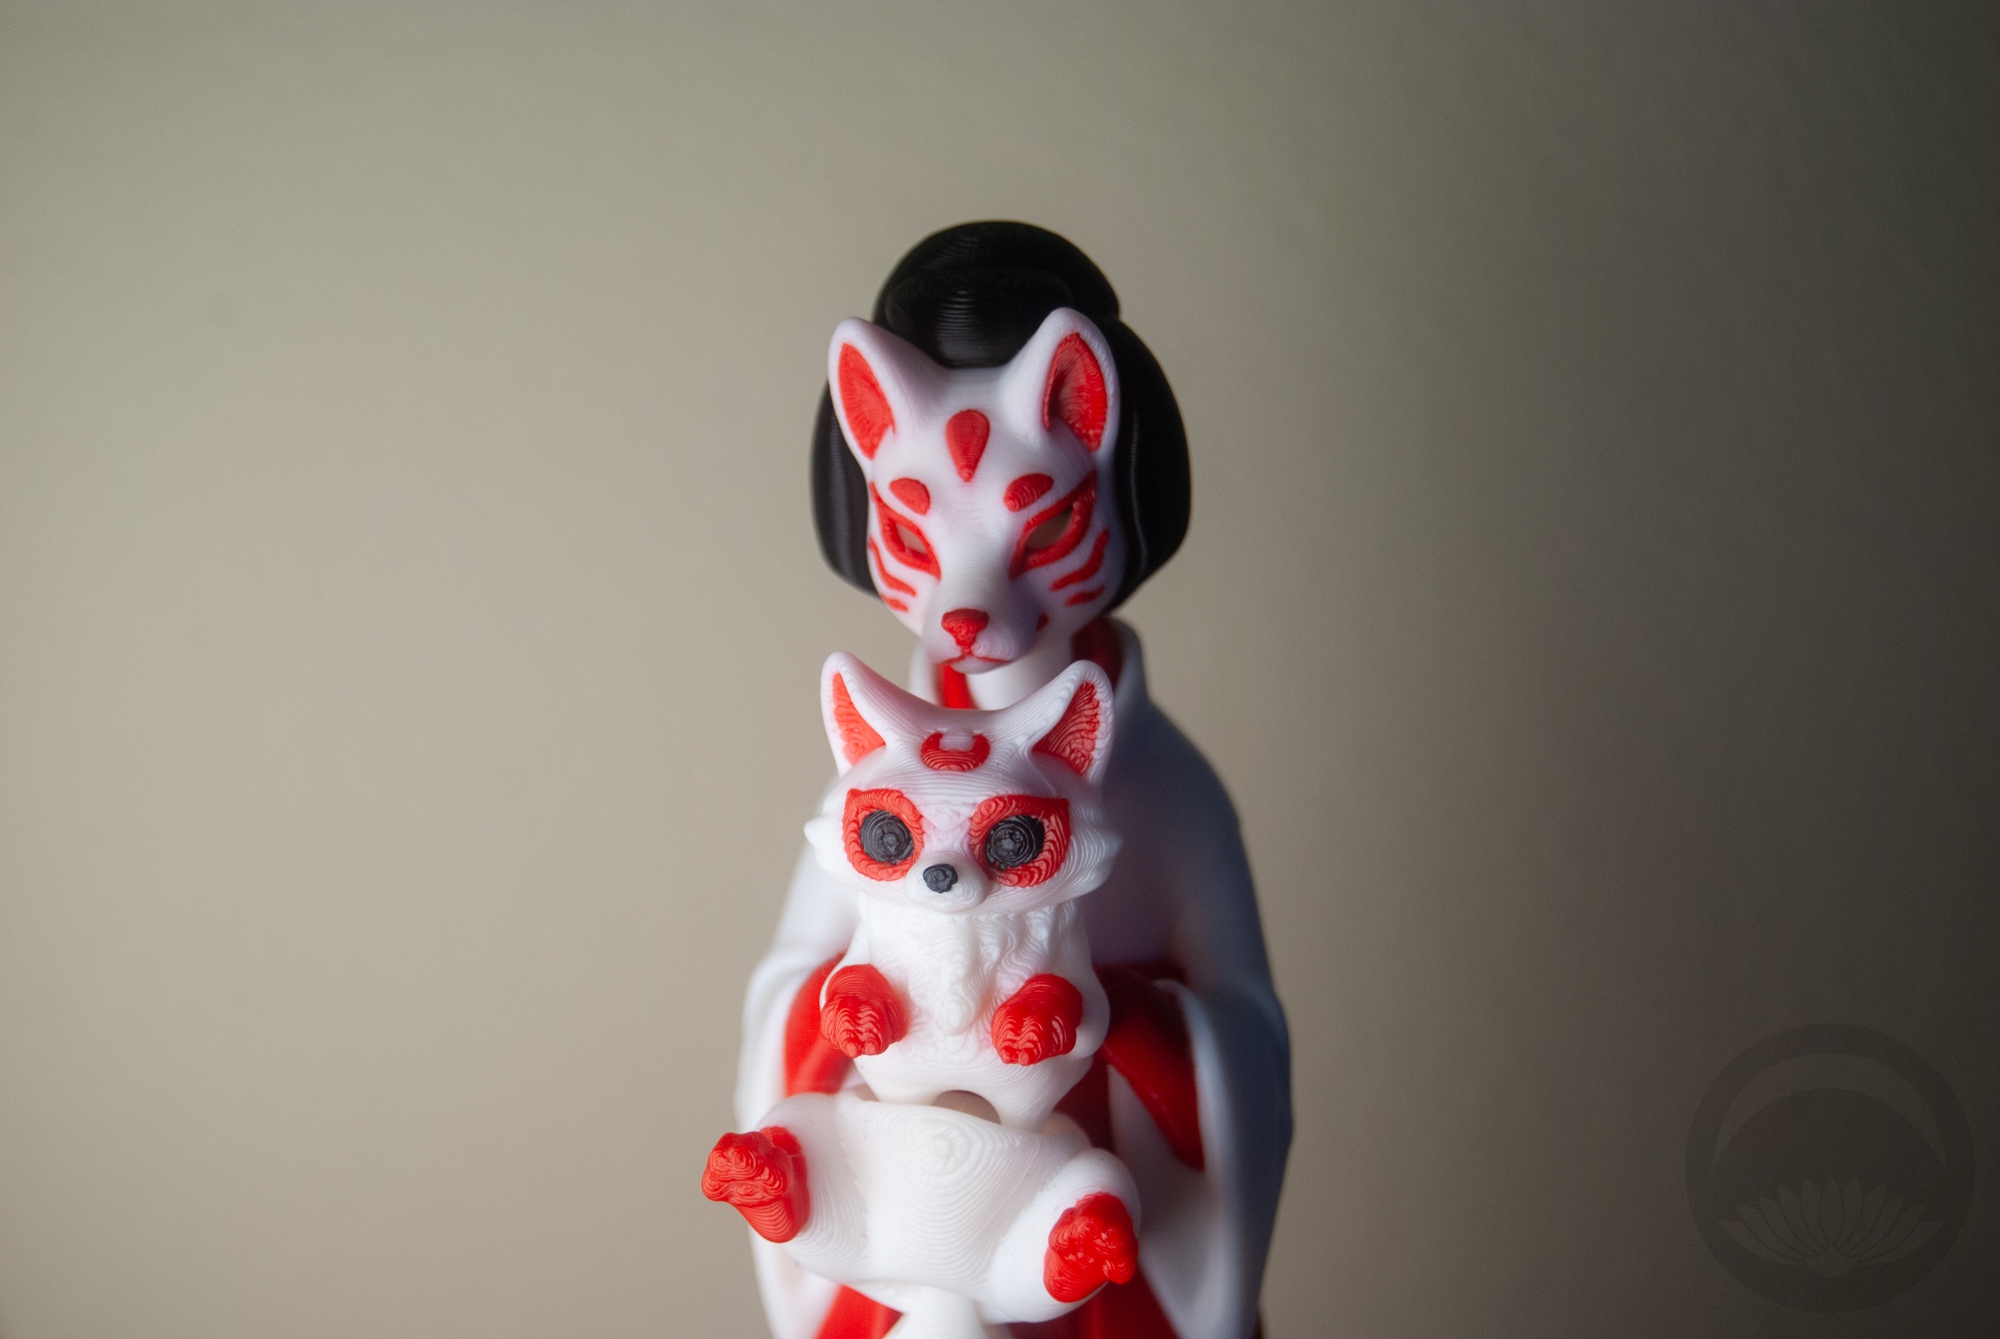
Let’s get the obvious out of the way first – this lovely lady is more of a kitsune miko than a geisha. However, I don’t blame them for the name, this one is much more likely to attract attention and for the average Etsy shopper.

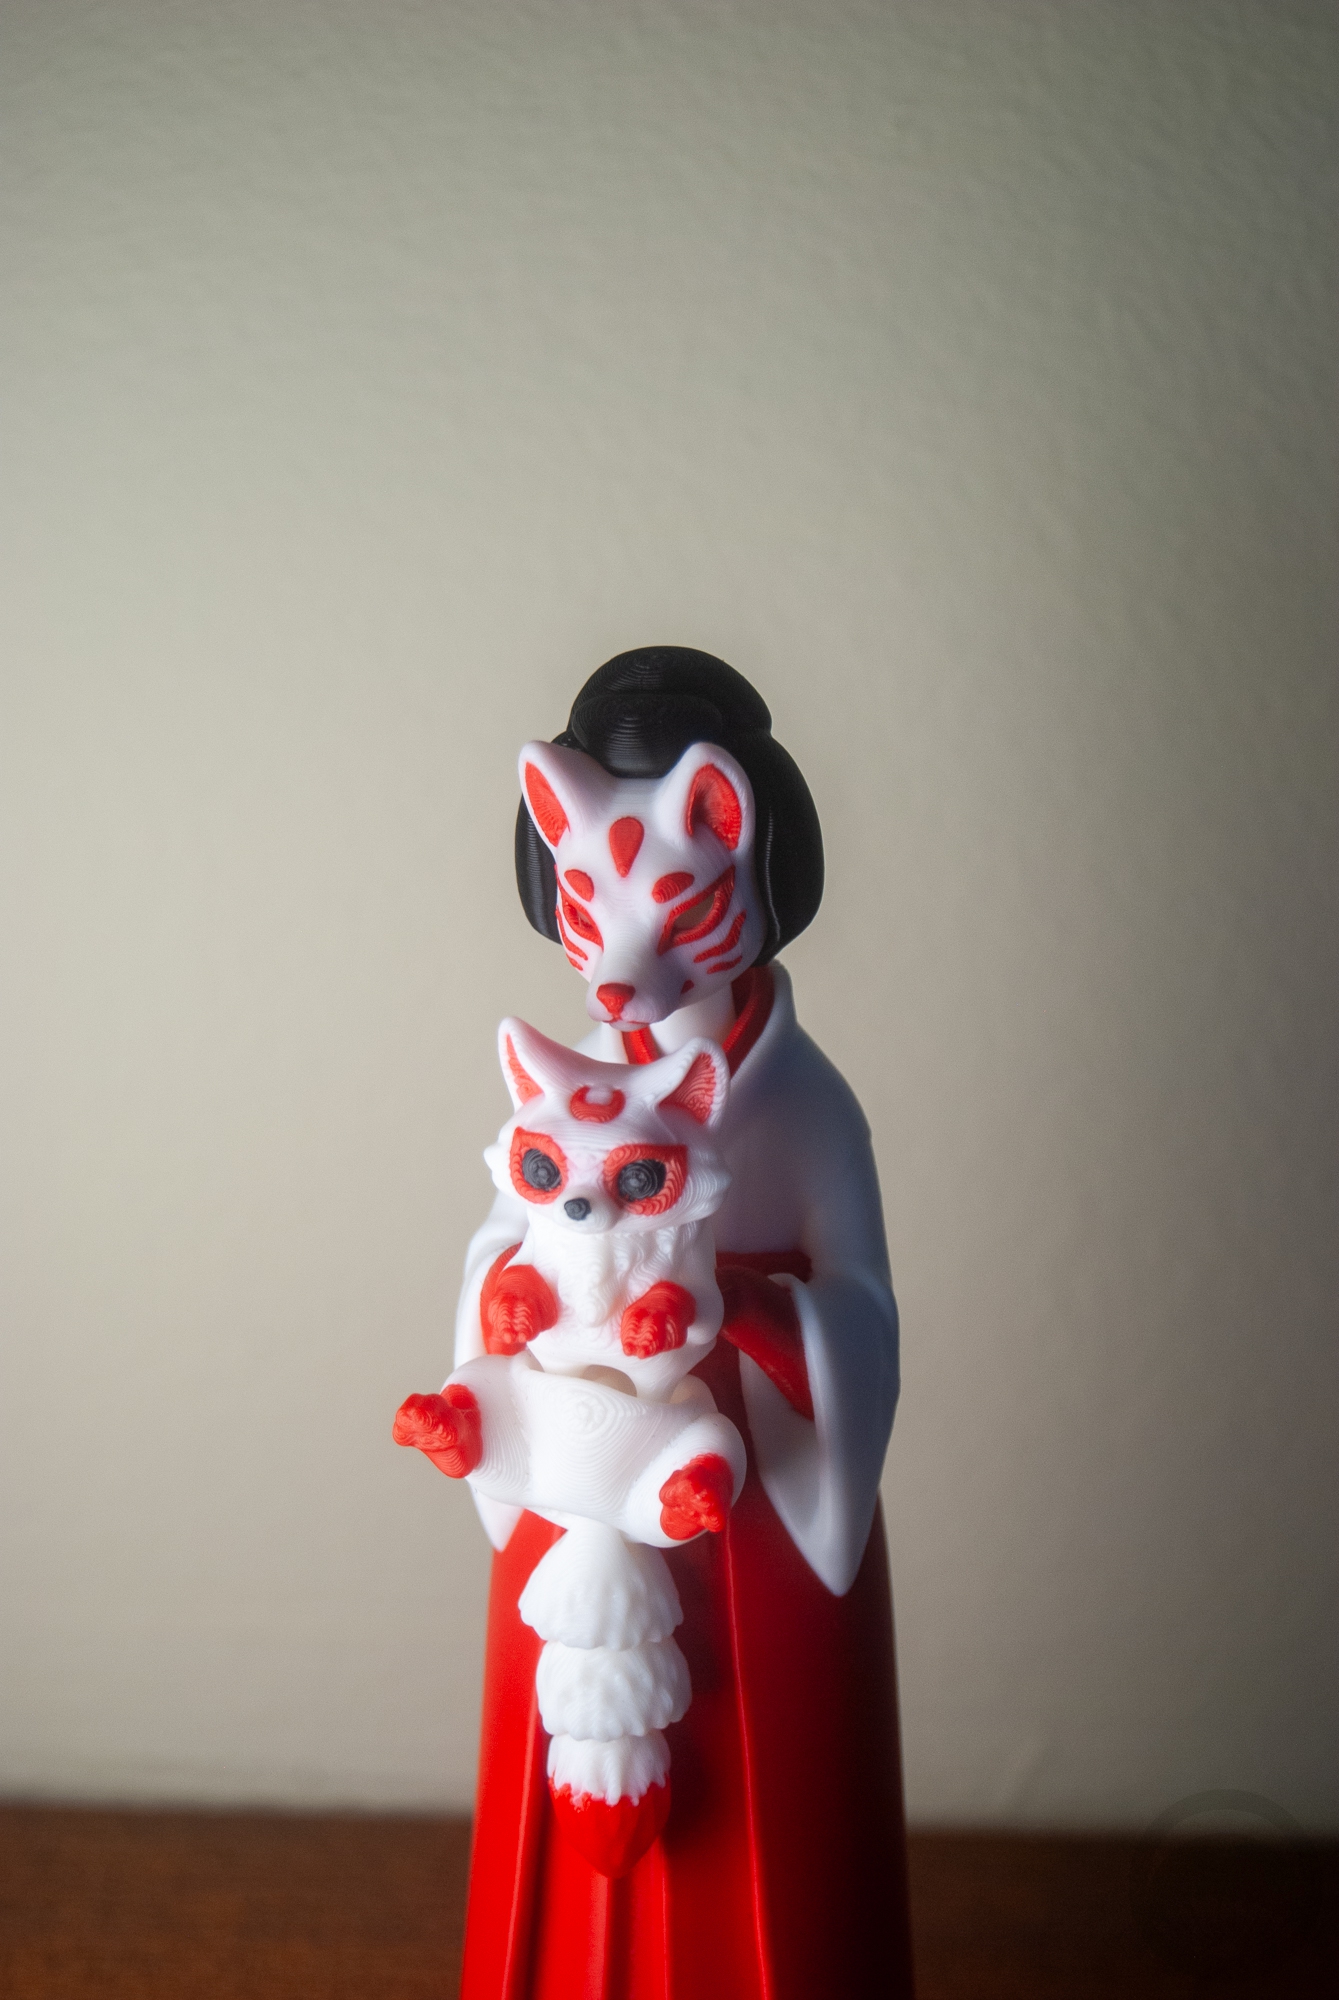
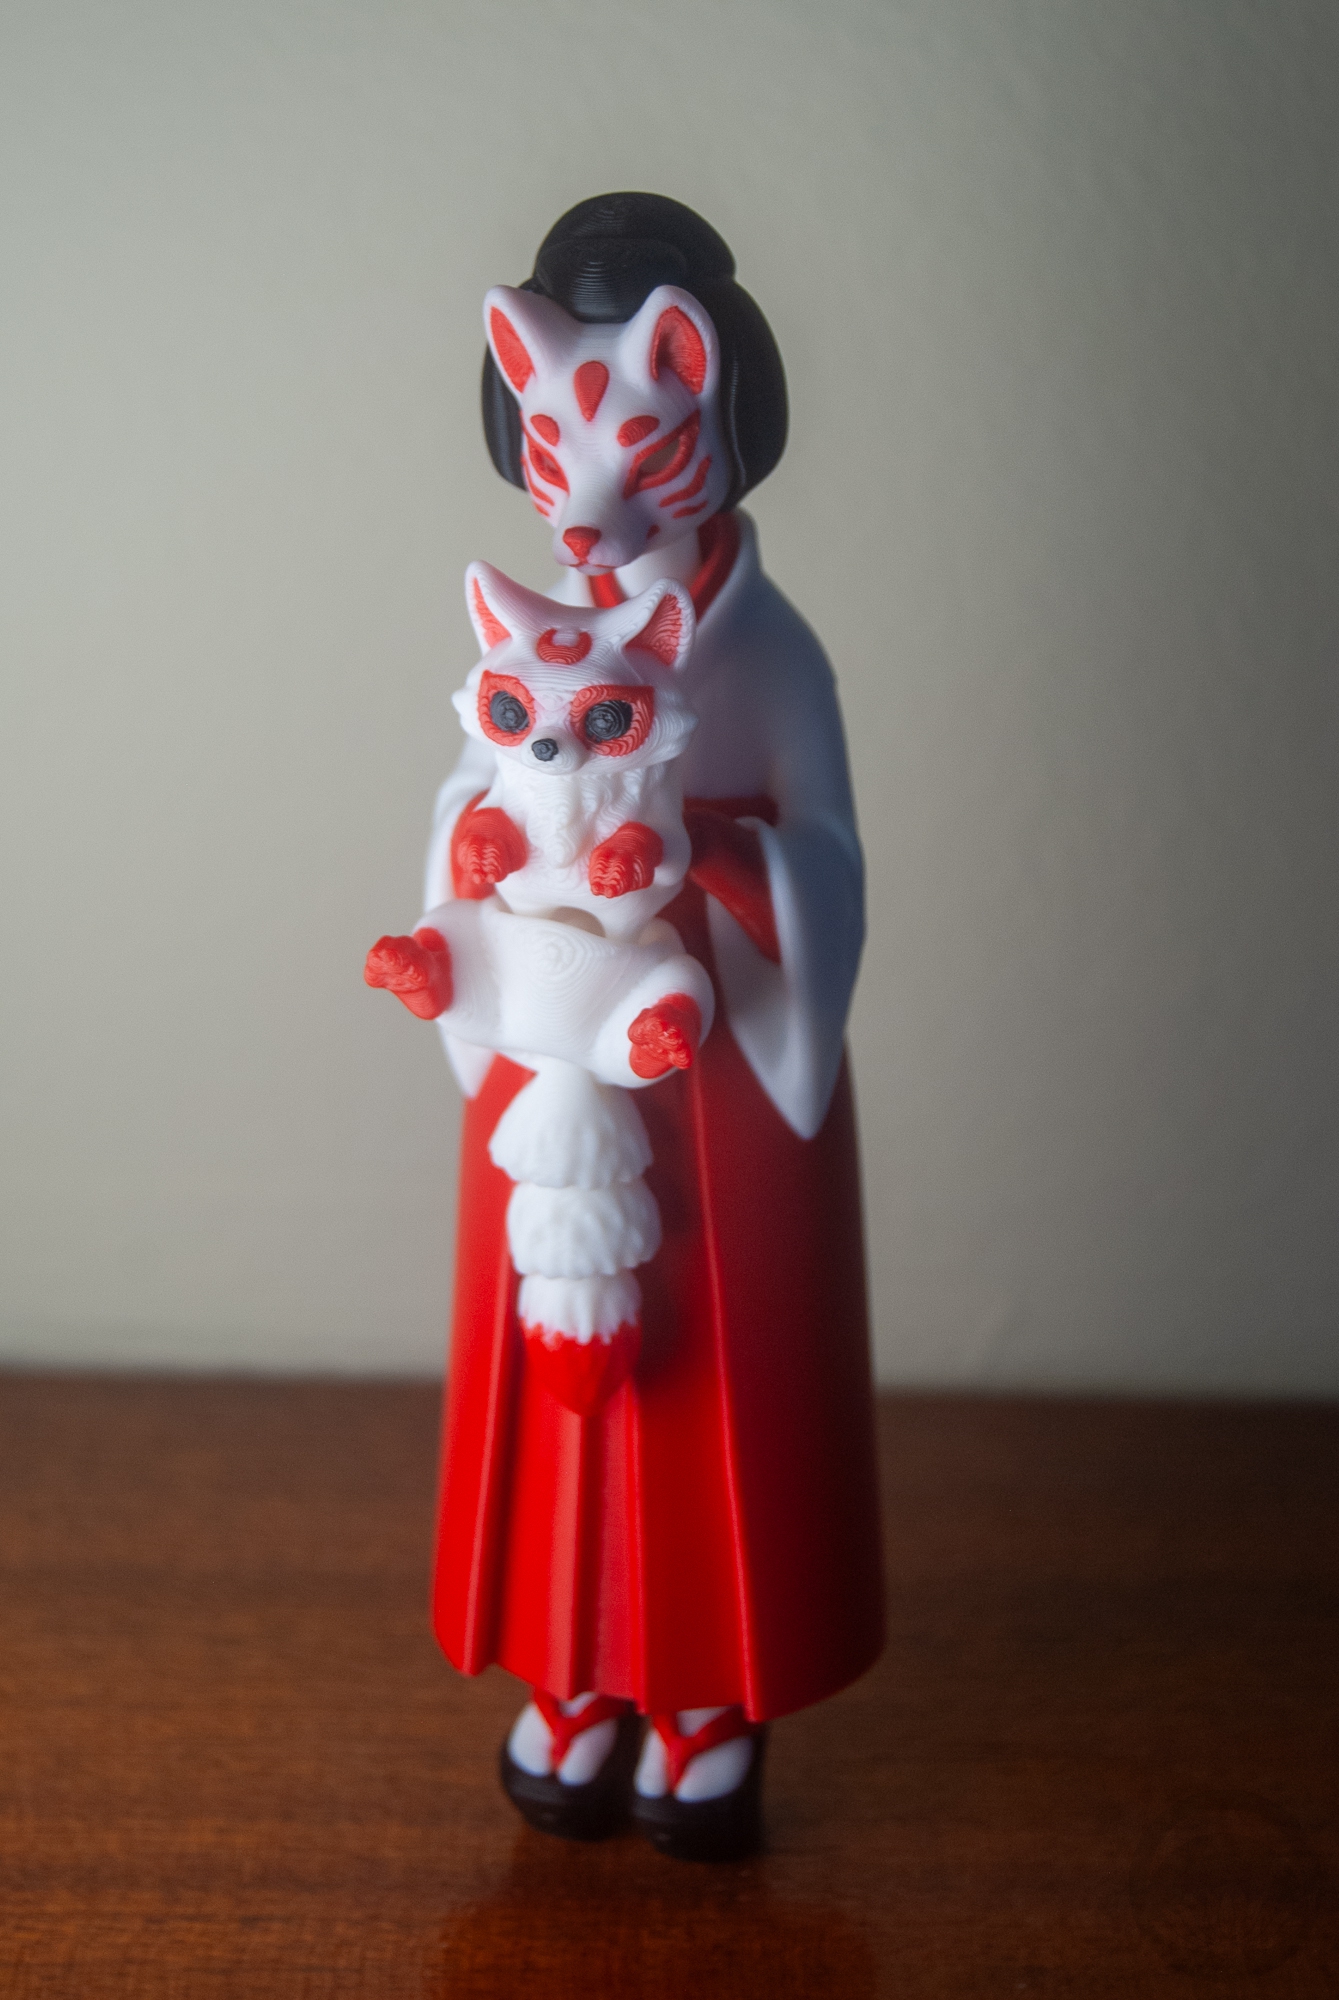
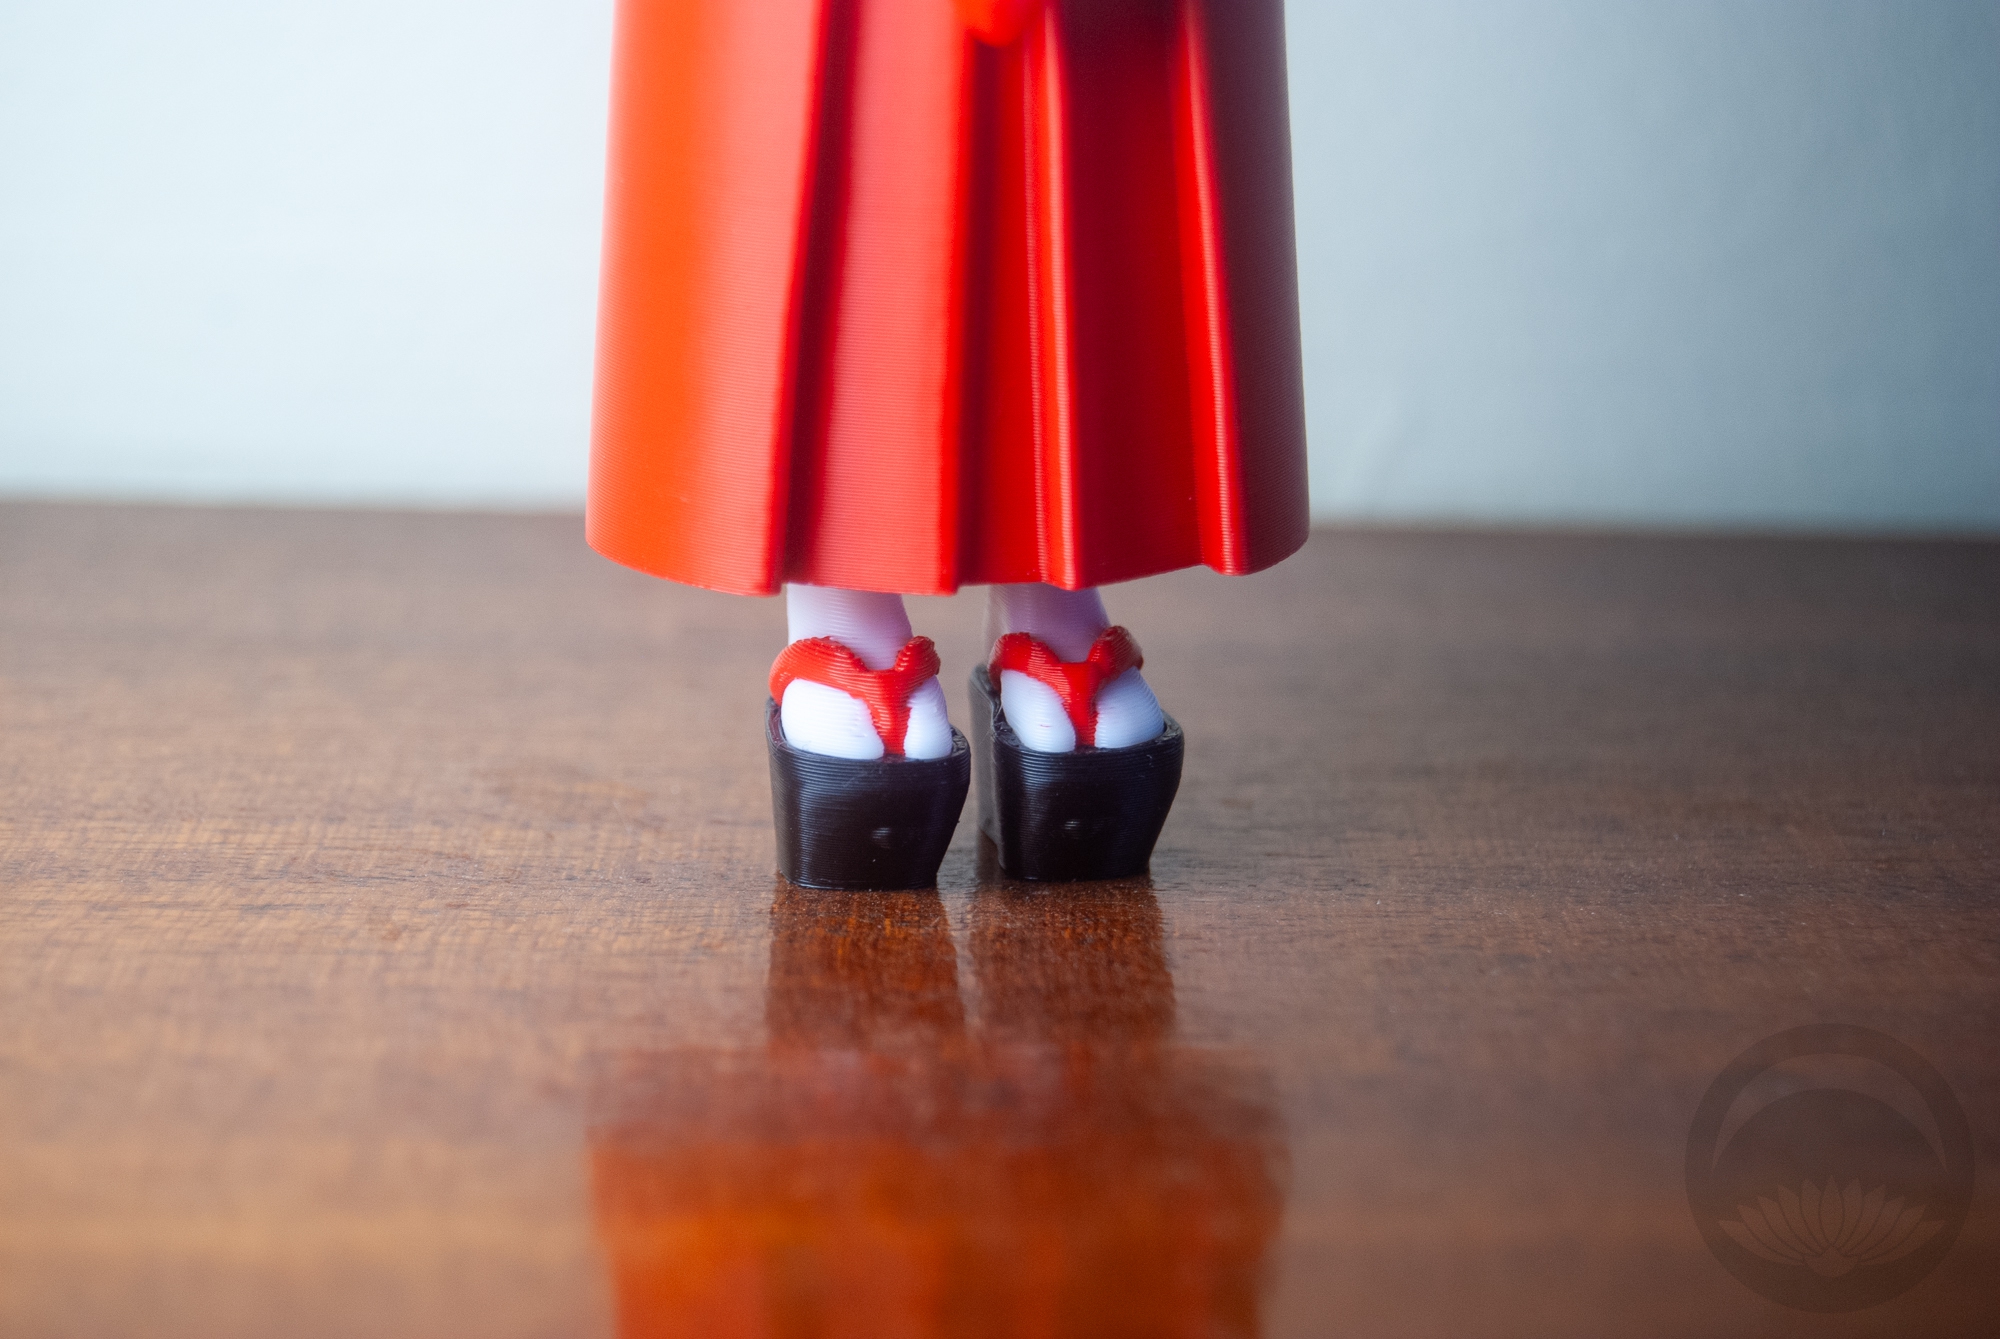
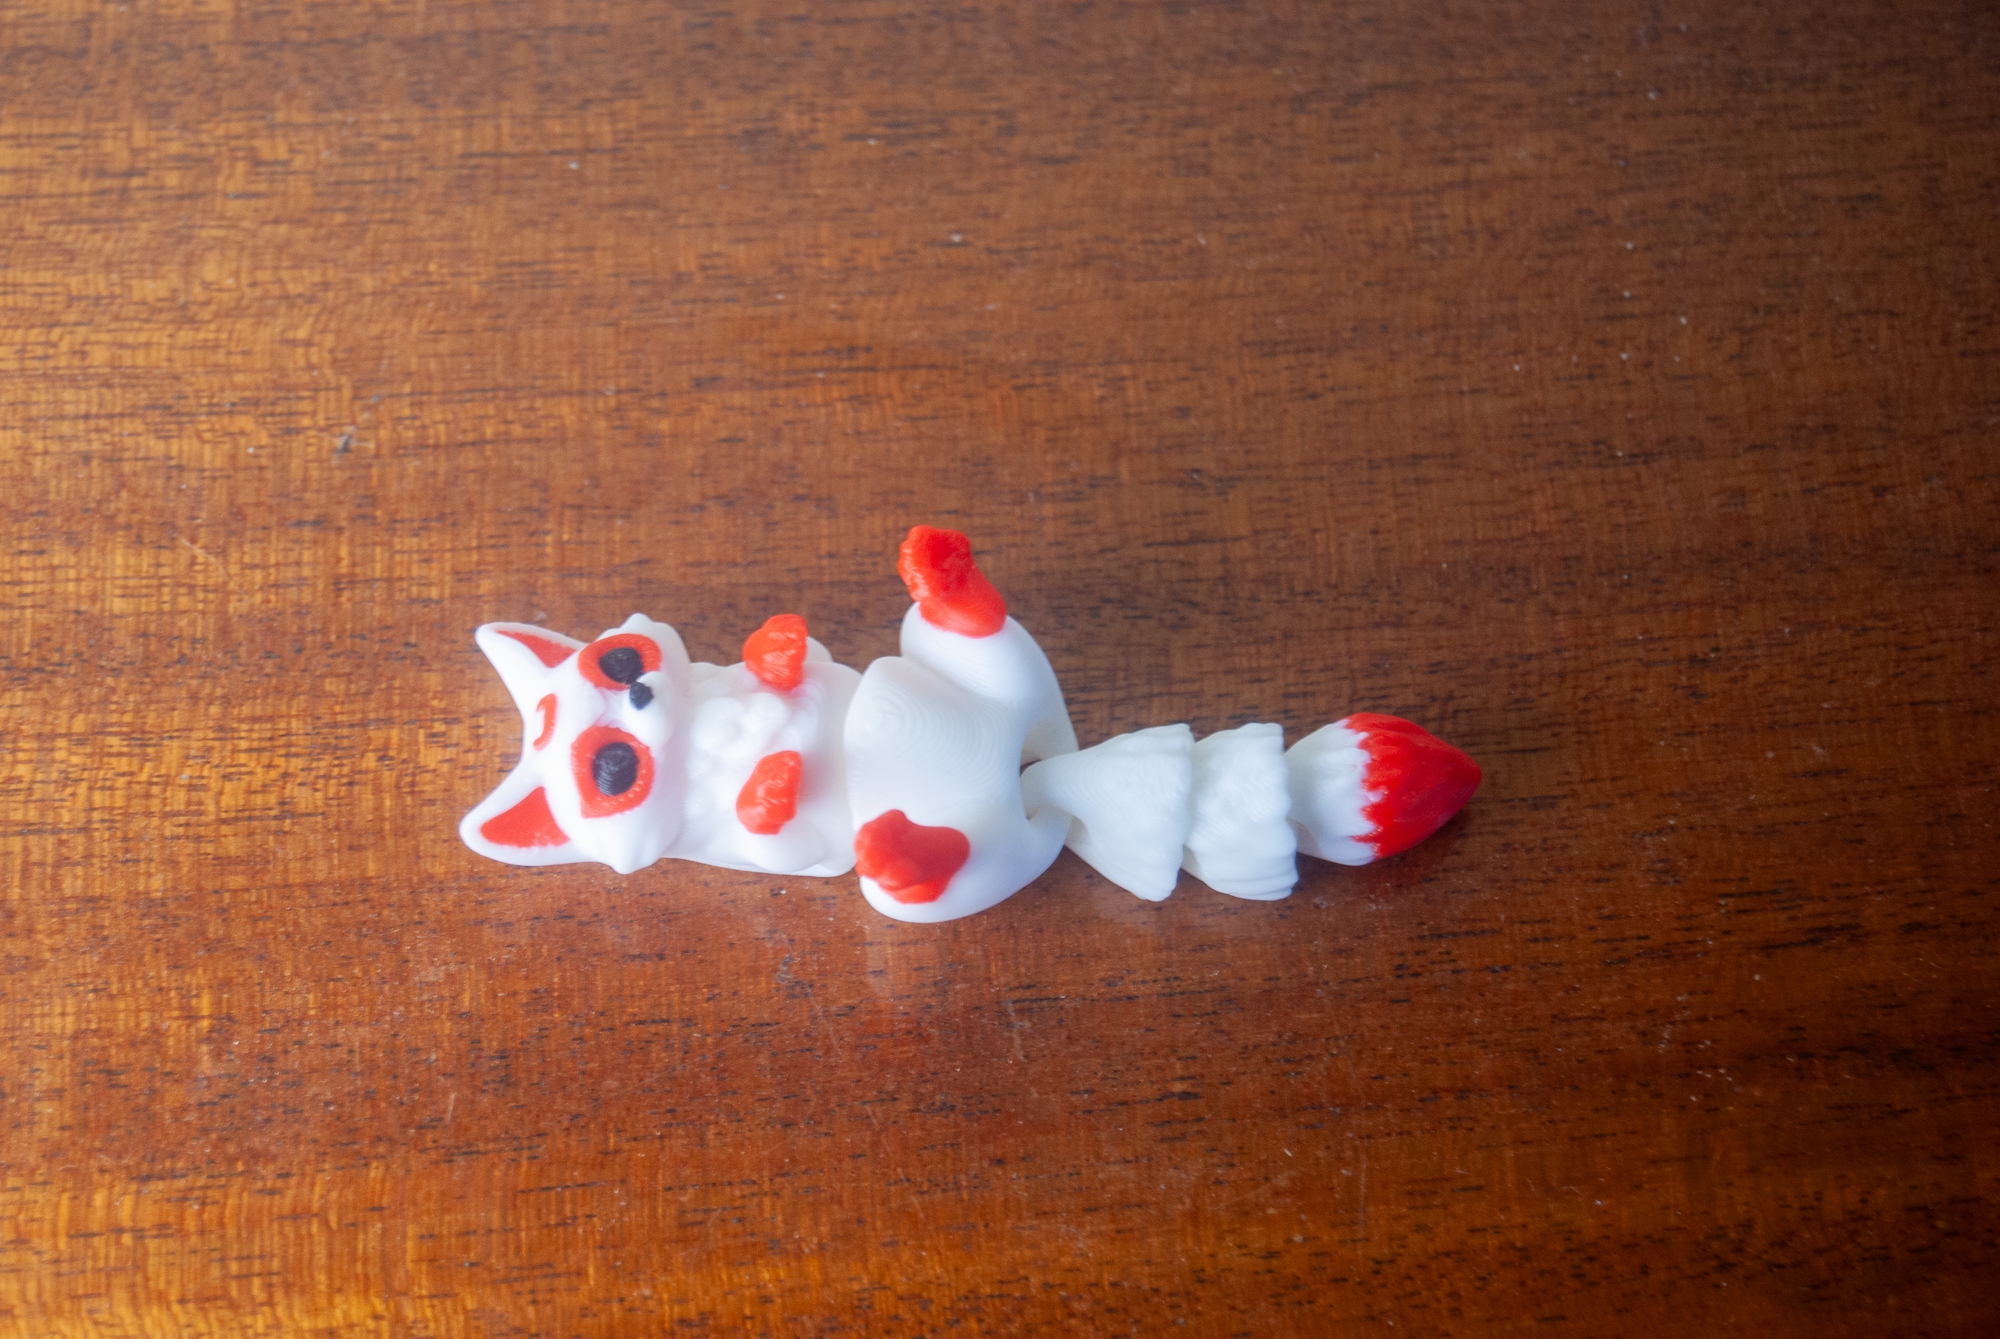
How these work is you purchase the listing, and you can request specific parts for the shop to mix-and-match, or you can be surprised. I told Nikolett I liked the black okobo and red hakama, but wanted a surprise for the face and hair. I’m very happy with the one I got! There only seems to be one option for the kitsune, but I absolutely love how it’s detachable and functions as a fun little fidget toy!

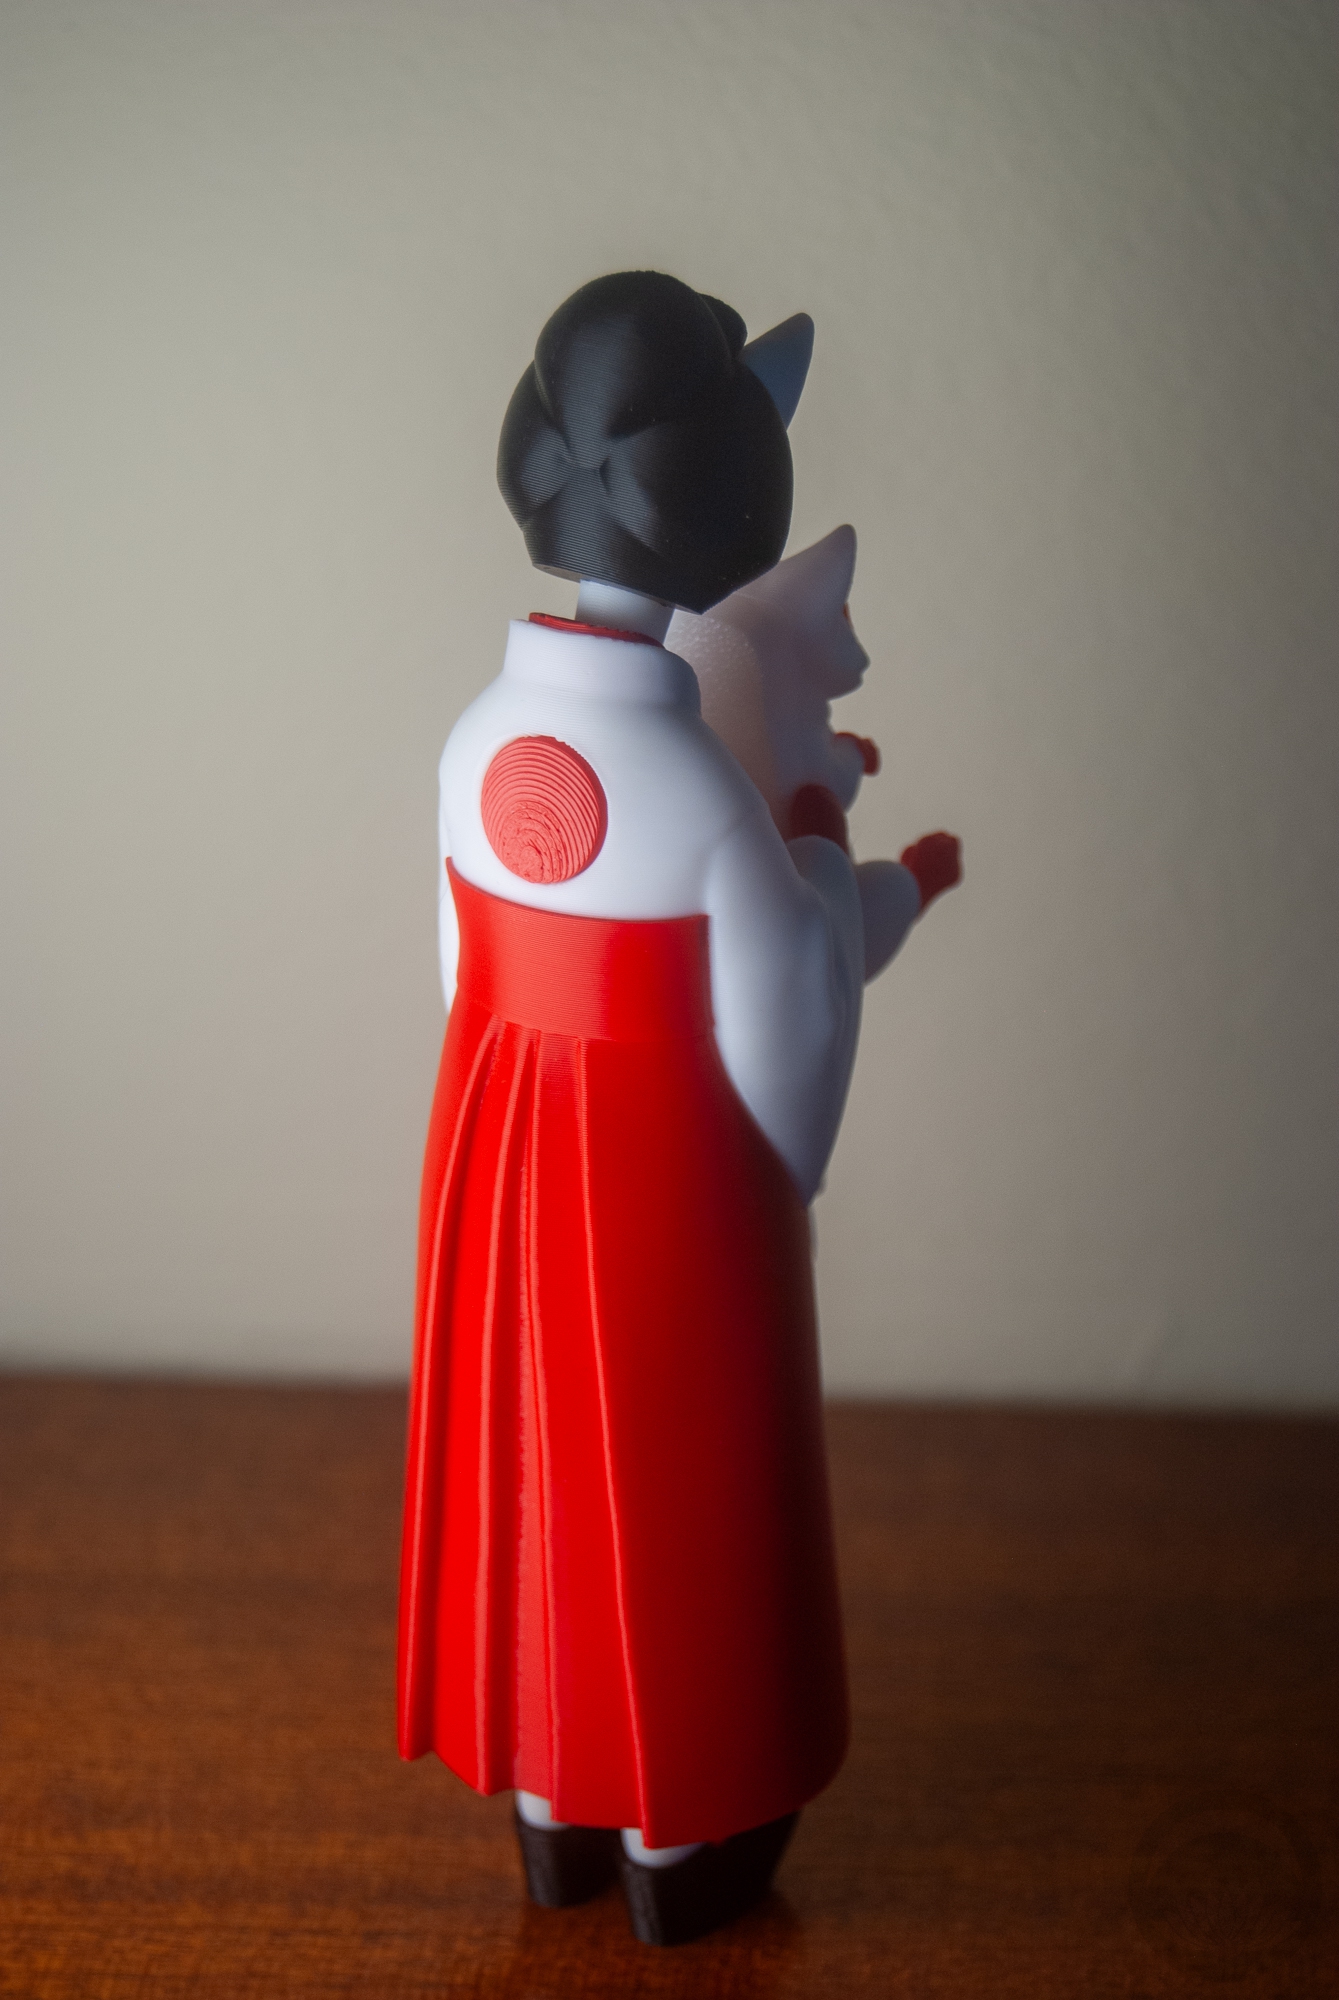
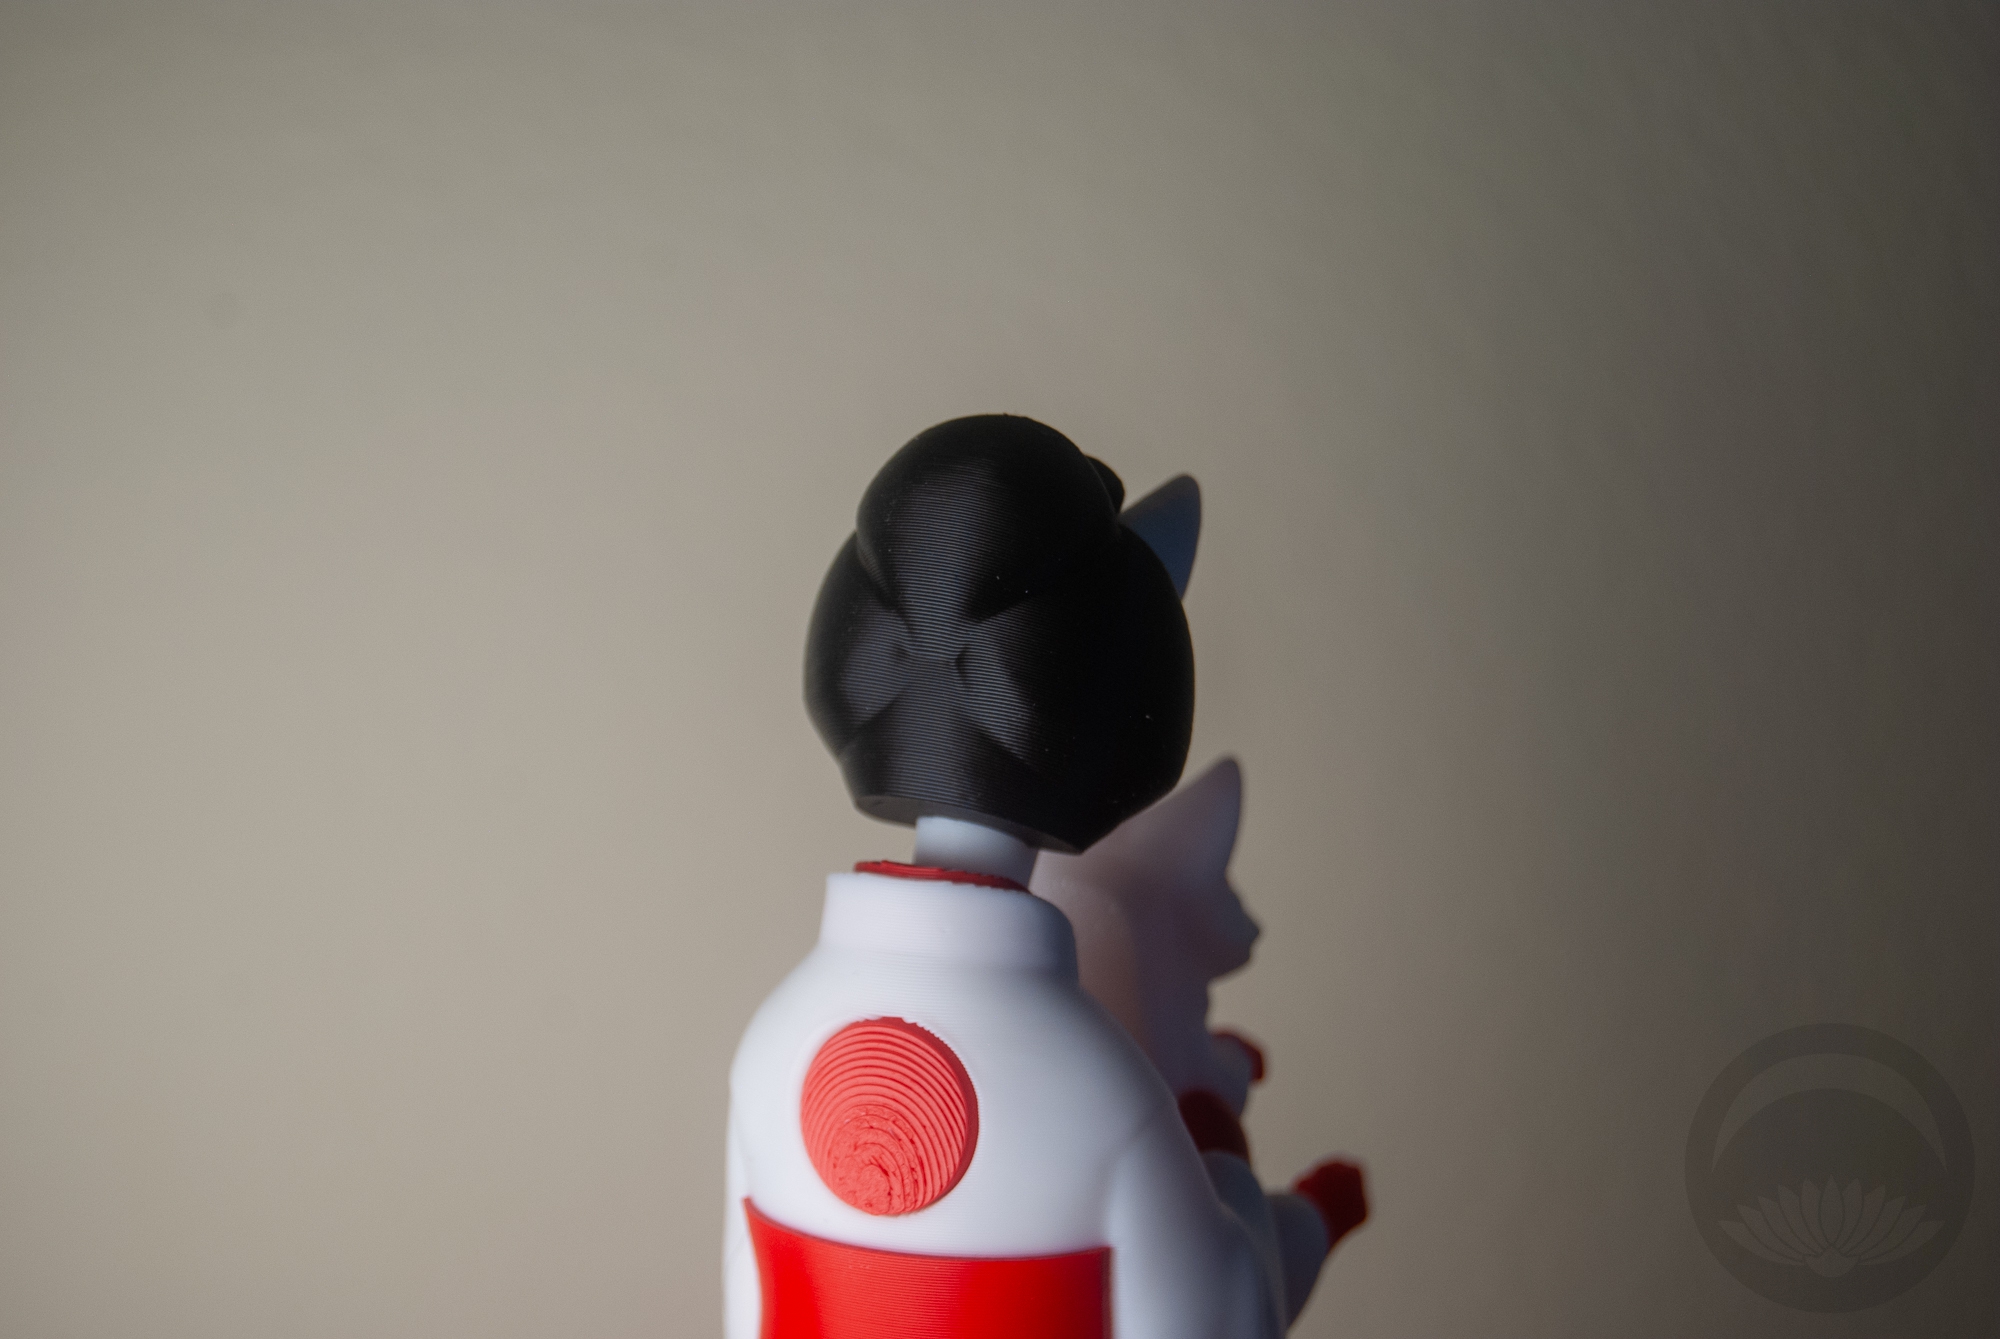
The quality is lovely, she’s very solid and well-assembled, and the 3D-printed parts all fit perfectly together. There are, of course, some print lines — but this is to be expected and doesn’t detract from the figure at all. The quality is good enough that they’re only visible if you’re very close, and I actually find it adds an interesting texture to things like her hair and the large red mon-like dot on the back of the kimono.

Overall I am very happy with this purchase, and am considering buying another though, in a black and white outfit and the skull face.


Kimono-inspired Nails with Maniology Stamping Plates

Back when I wore kimono regularly, I used to love matching my nails to my outfits. Obviously in recent years that’s gone out the window, but when Maniology released a set of very clearly kimono-inspired stamping plates I knew I had to give them a shot. Nothing wrong with having a fresh set even if they don’t match your outfit, right?

I knew I wanted to make a set that match this blog, so of course I grabbed the Sashiko Stitch plate. I also fell in love with the Draped in Elegance plate that featured a variety of kimono design motifs.

Where possible, I have linked to the polishes I used. However, I’ve been hoarding collecting nail polish nearly as long as I’ve been hoarding collecting kimono so many of these colours are no longer available. In one case the brand doesn’t even exist anymore! I do recommend getting a good white polish if you plan to use it for stamping, especially over dark colours, but the selection for the yuzen-style manicure has a ton of room for interpretation.


Sashiko & Kintsugi Blog Manicure

Plate used:

Maniology M650 – Sashiko Stitch
(plus the asagao from the plate below)

Polishes used:

Navy – Expressie Feel The Hype
White – Maniology Bam! (B170)
Gold – Maniology It’s Lit (B262)

fkjjdslkfsjhdljfsdlf


Golden Yuzen Manicure

Plate used:

Maniology M677 – Draped in Elegance

Polishes used:

Plum base – NARS Tokaido Express
Gold stamping – Maniology It’s Lit (B262)
Red – Nubar Sultry Red
Orange – OPI Totally Tangerine
Green –  Zoya Midori
Blue –  Revlon Blue Siren
Purple – Revel Nails Whirled View
Pink – CND Tutti Frutti

@kimono_tsuki

Kimono nails featuring @hellomaniology stamping plates マニキュア #着物

♬ original sound – Kimono Tsuki 着物月 – Kimono Tsuki 着物月


Other tools & products used:

Medium almond nail tips
Polish stamper and scraper
Nail art liner brushes
Nail stand
Silicone mat


I did standard straight-to-nail stamping for the sashiko manicure, and made my own transfers for the yuzen-style one. If you’re curious I did make a little video of the process for the transfers, but there are plenty of incredible videos out there that explain how to use stamping plates far better than I could. I would suggest starting with Maniology’s own YouTube page, they have tons of clear and helpful videos.

These plates were a dream to use and the stamping polish made things so smooth and intuitive. I’ve tried some very basic stamping in the past and didn’t have nearly as much luck, and this was my first time doing anything layered or complicated, and I can’t get over how well they turned out. If you want to give yourself a manicure to match your favourite kimono, or just bring a little bit of Japan to your fingertips, I highly recommend these! My only regret is that I didn’t buy more of them. I’ll have to snag some other ones from this collection in the future.

If you buy anything from Maniology, you can use my code TSUKI for 10% off!

 I purchased this item myself and chose to review it.This post contains affiliate link(s). If you choose to purchase, I receive a small rebate or commission which goes to the continued maintenance of this site. 

Kokeshi Picrew for Hinamatsuri!

Today is Hinamatsuri! In the past, I’ve usually either done a coordination, displayed dolls I’ve collected, or done some sort of DIY to celebrate. This year, I had bigger plans; Sophie and I were going to attend a gathering at a local tea house over the weekend. Unfortunately, I woke up with the most miserable cold and sore throat I’ve had in eons, to the point where I could barely swallow. I wasn’t up to doing much and did not want to risk spreading the ick. I was at a bit of a loss on what to do for today but then I realised it would be the perfect time to share my newest long-term project!

You all know how much I love finding and reviewing picrew avatar creators, and I figured it was high time I make my own! Presenting the official….

Kimono Tsuki Kokeshi Doll picrew maker!


It’s been a labour of love for the past few months, puttering on weekends and after work. I still have plans to continue updating, adding more hairstyles, more hand-held items, a variety of kanzashi, maybe a haori layer… if you have any other ideas or suggestions please don’t hesitate to let me know! For fun, here’s a variety of dolls that have been made using it, by myself and my friends.


If you need a primer or a refresher on how to use the Picrew.me interface, I broke it down in my first post about the site, which you can read here. I hope you have fun with it, and if you make any cute dolls please show me! I would love to see!

Dearest Gentle Readers…

Tonight, the ton gathers to celebrate that most esteemed of events, the second half of season four of Bridgerton. Yes, I fully admit it — I am addicted to that fluffy, frivolous, historically-inaccurate fantasy. Waiting for Benedict to get his head out of his perky little posterior has been driving me batty!

I decided to mark this most auspicious of television evenings by doing a coordination inspired by Lady Violet Bridgerton and her delicate, tasteful pastel colour palette. Ideally I would have had some blue in there but nothing in my extant collection quite fit the bill. I think mint and lavender do quite nicely though. I also think that the very textured, nearly sculptural feel of the kimono and the shimmering silver in the obi are very reminiscent of a lot of the brocades and lush fabrics used by the show’s costume department. All together, this does feel like something she would wear in a different imagining of the series, does it not?

Wisteria is a motif I’ve always wanted but I don’t currently have anything that really features it front and centre. It would have been the perfect choice, due to the huge boughs covering the front of Bridgerton House, alas. I did debate this multi-floral obi, but the colours were too bold and the wisteria isn’t exactly the star of the show, so I decided to stick to my original pastel vision. I did, however, tie the obijime in a fuji musubi to at least call back to it. With the outfit being as simple as it is, I made sure my kitsuke was as impeccable as possible, to let the elegance and subtlety shine, but I feel like that was the one slightly more “fun” touch that finished things off nicely.

How about you, gentle reader? Are you a fan of Bridgerton?

Items used in this coordination

Kabuki Glamour

For today’s outfit I was inspired by the lush decadence and pure kabuki glamour of the costuming in Kokuho, which I reviewed earlier this week. This astonishingly big and heavy stage hikizuri was the perfect base, and for once I’m actually in season with it. I waffled between my black and white hakata tsuke-obi and this green short han-darari style, but in the end the bling and the drama of the darari won out. I also really like how it picks up the green in the ume branches of the kimono. They feel very theatrical together, don’t they?

Colour-wise, there was already more than enough going on so I figured white accessories with a lot of rich texture would be the best accent, and I’m glad I didn’t add in anything else. I went with my tried-and-true textured kiku haneri, the white and silver maruguke obijime from one  of my bridal sets, and my white obiage with red shibori clouds. I think they make an excellent combo!

This kimono is so big, and the obi so easy to put on, that I am seriously debating wearing this entire outfit myself and going to take photos in the snow before it melts. We’ll see if I end up finding the time and energy. (ed note: Don’t get your hopes up, the writer is tired)

Also one fun note about this kimono, there are still trace of oshiroi smudged onto the red inner layer. I should have taken a close up, now that I think about it.