
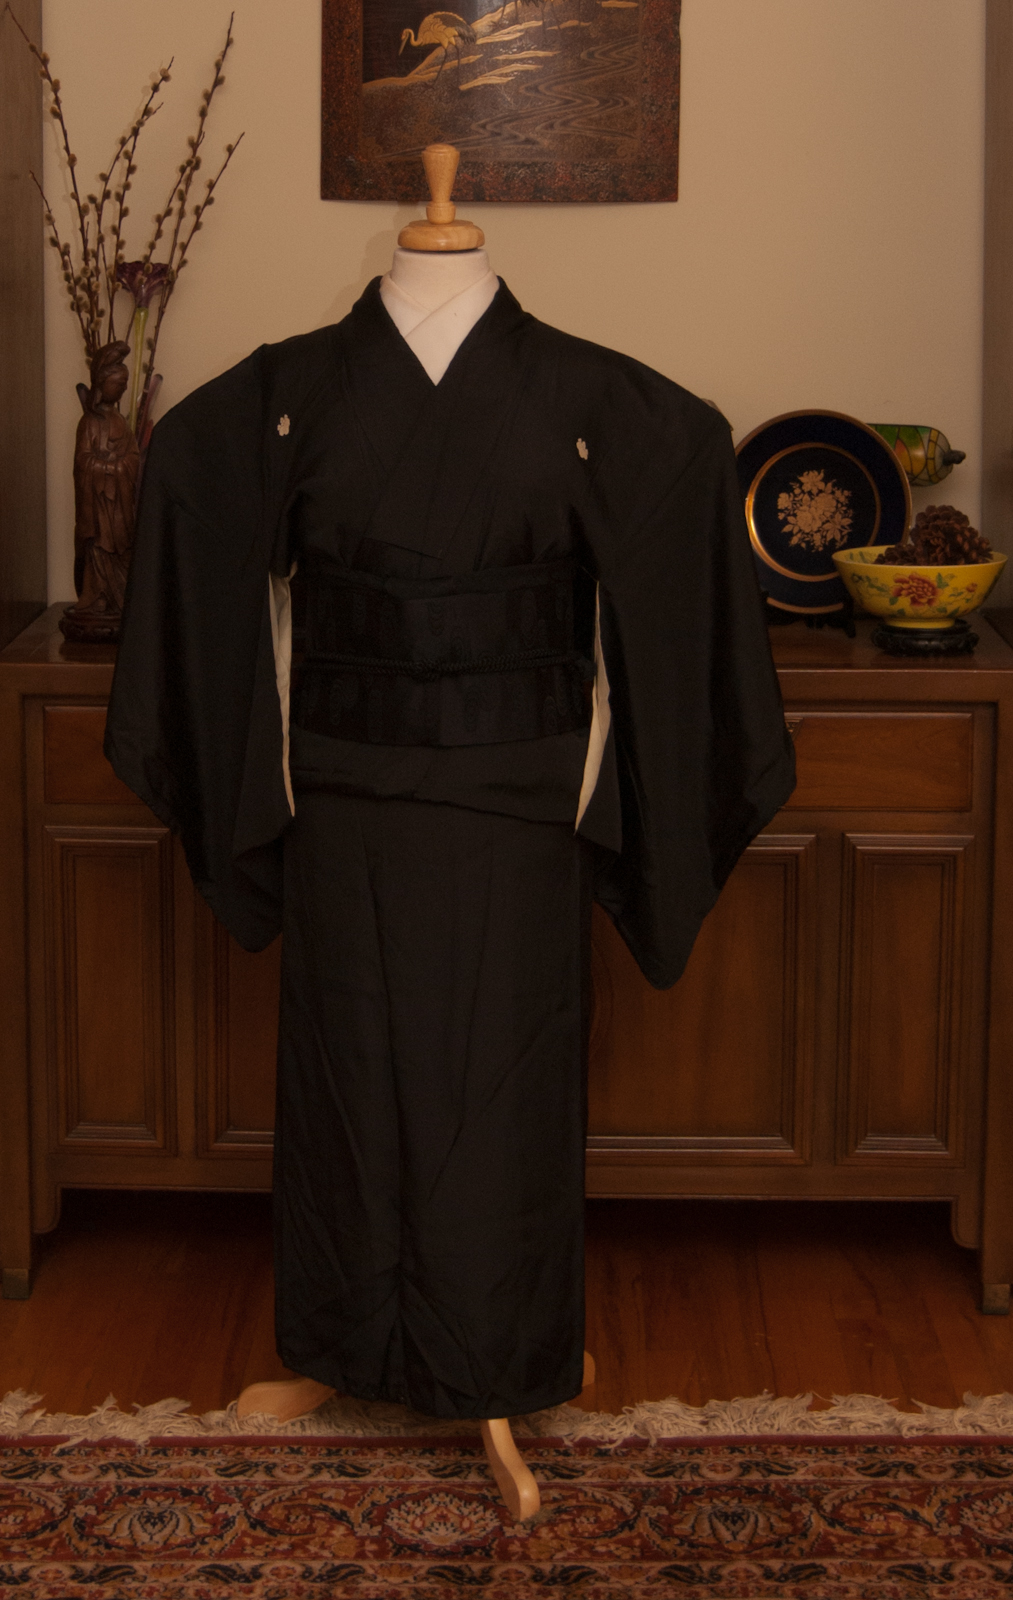
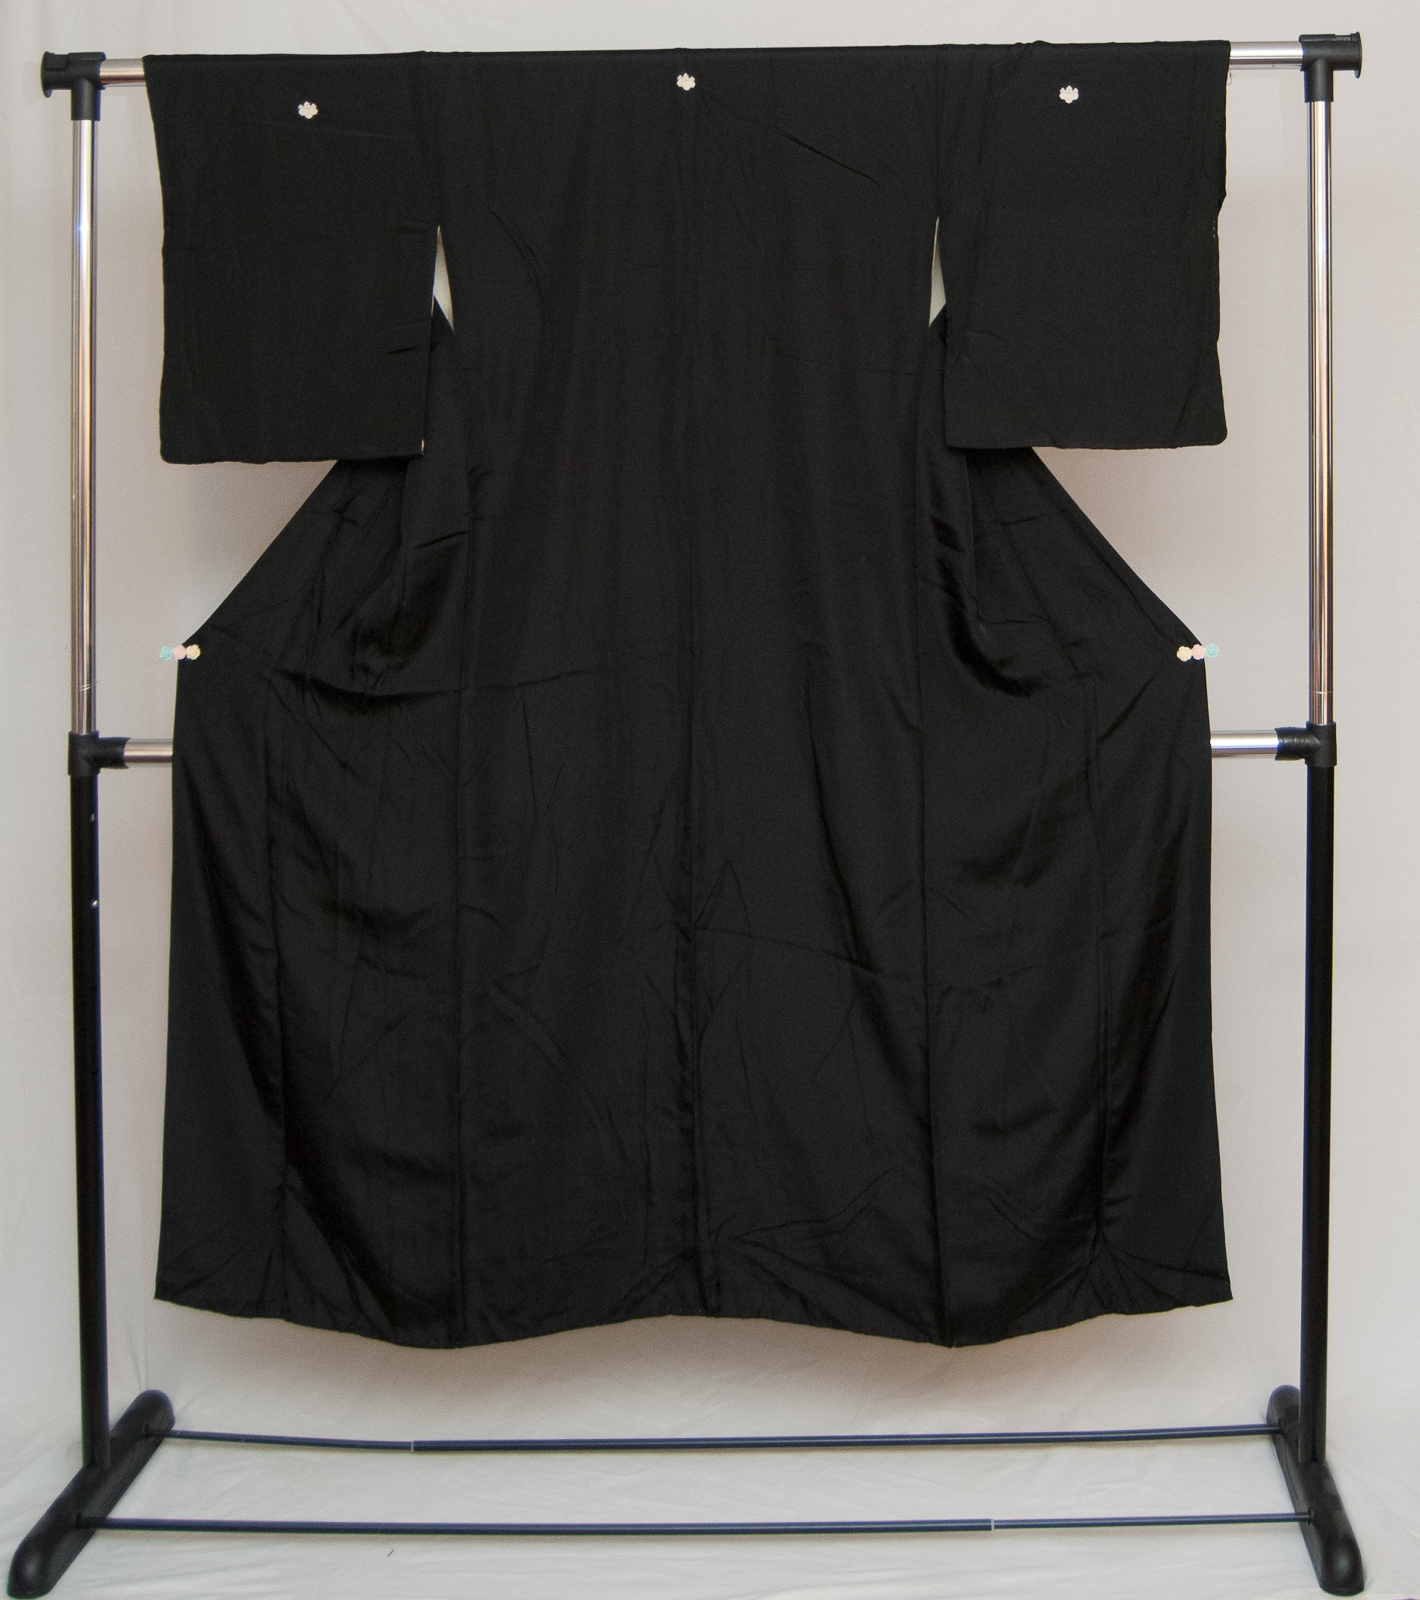
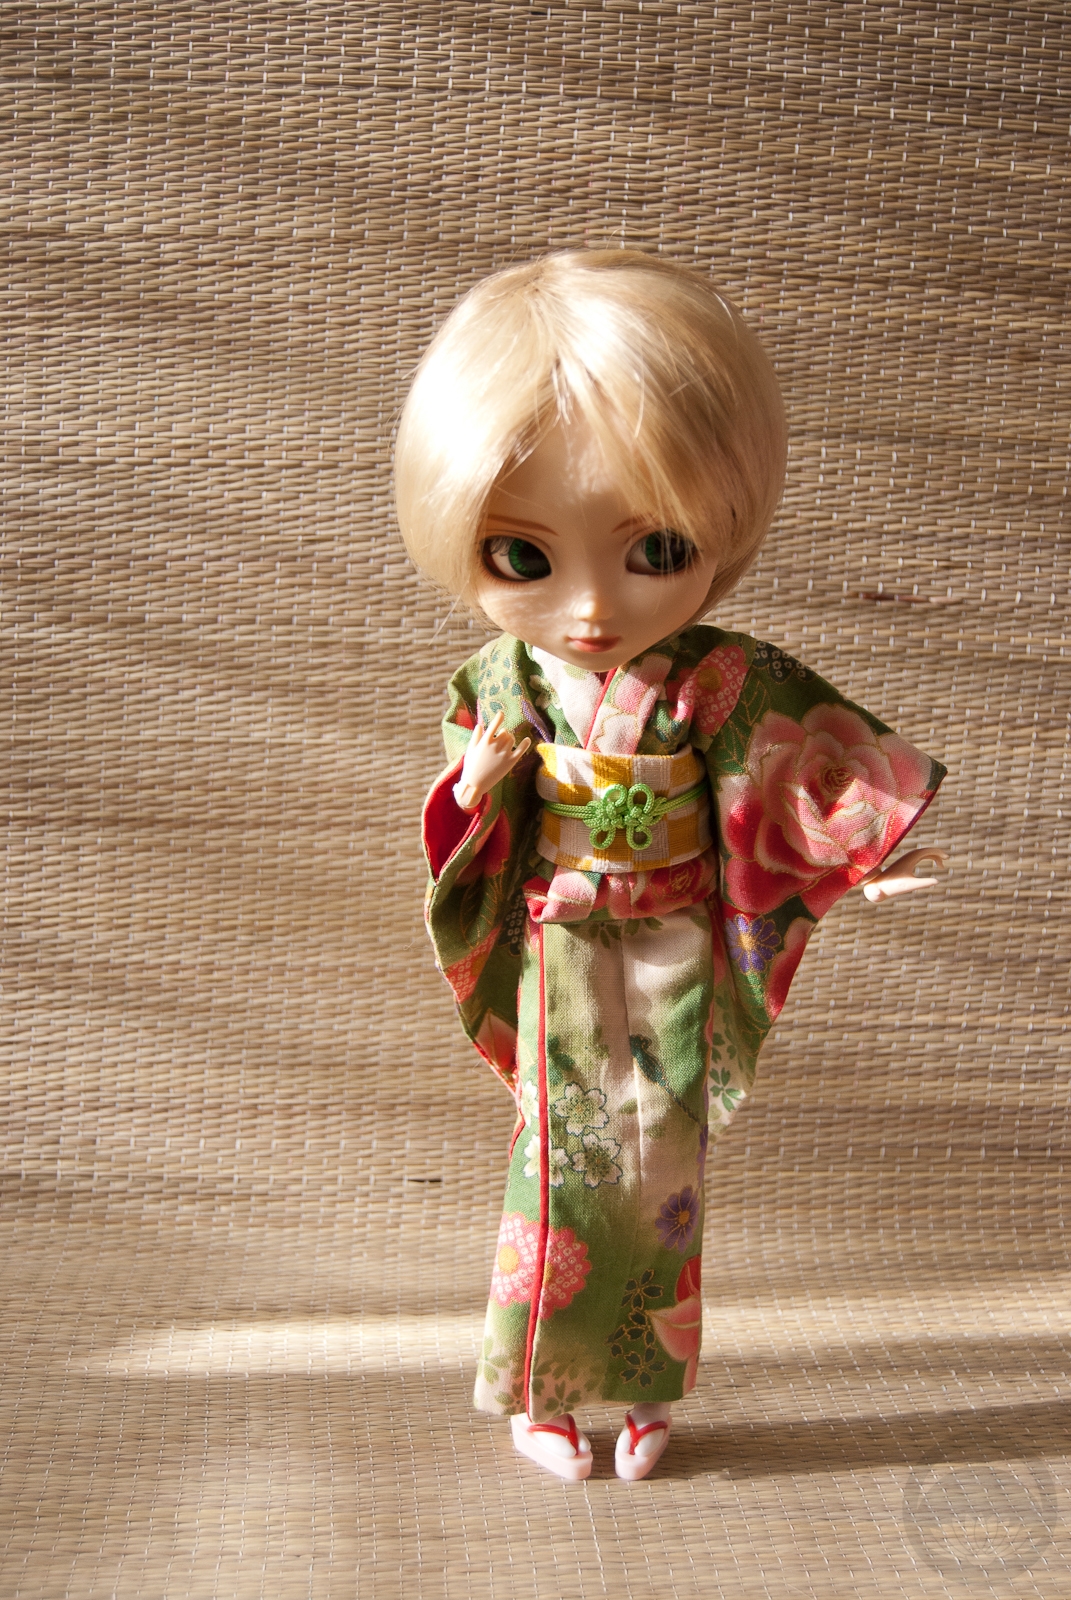
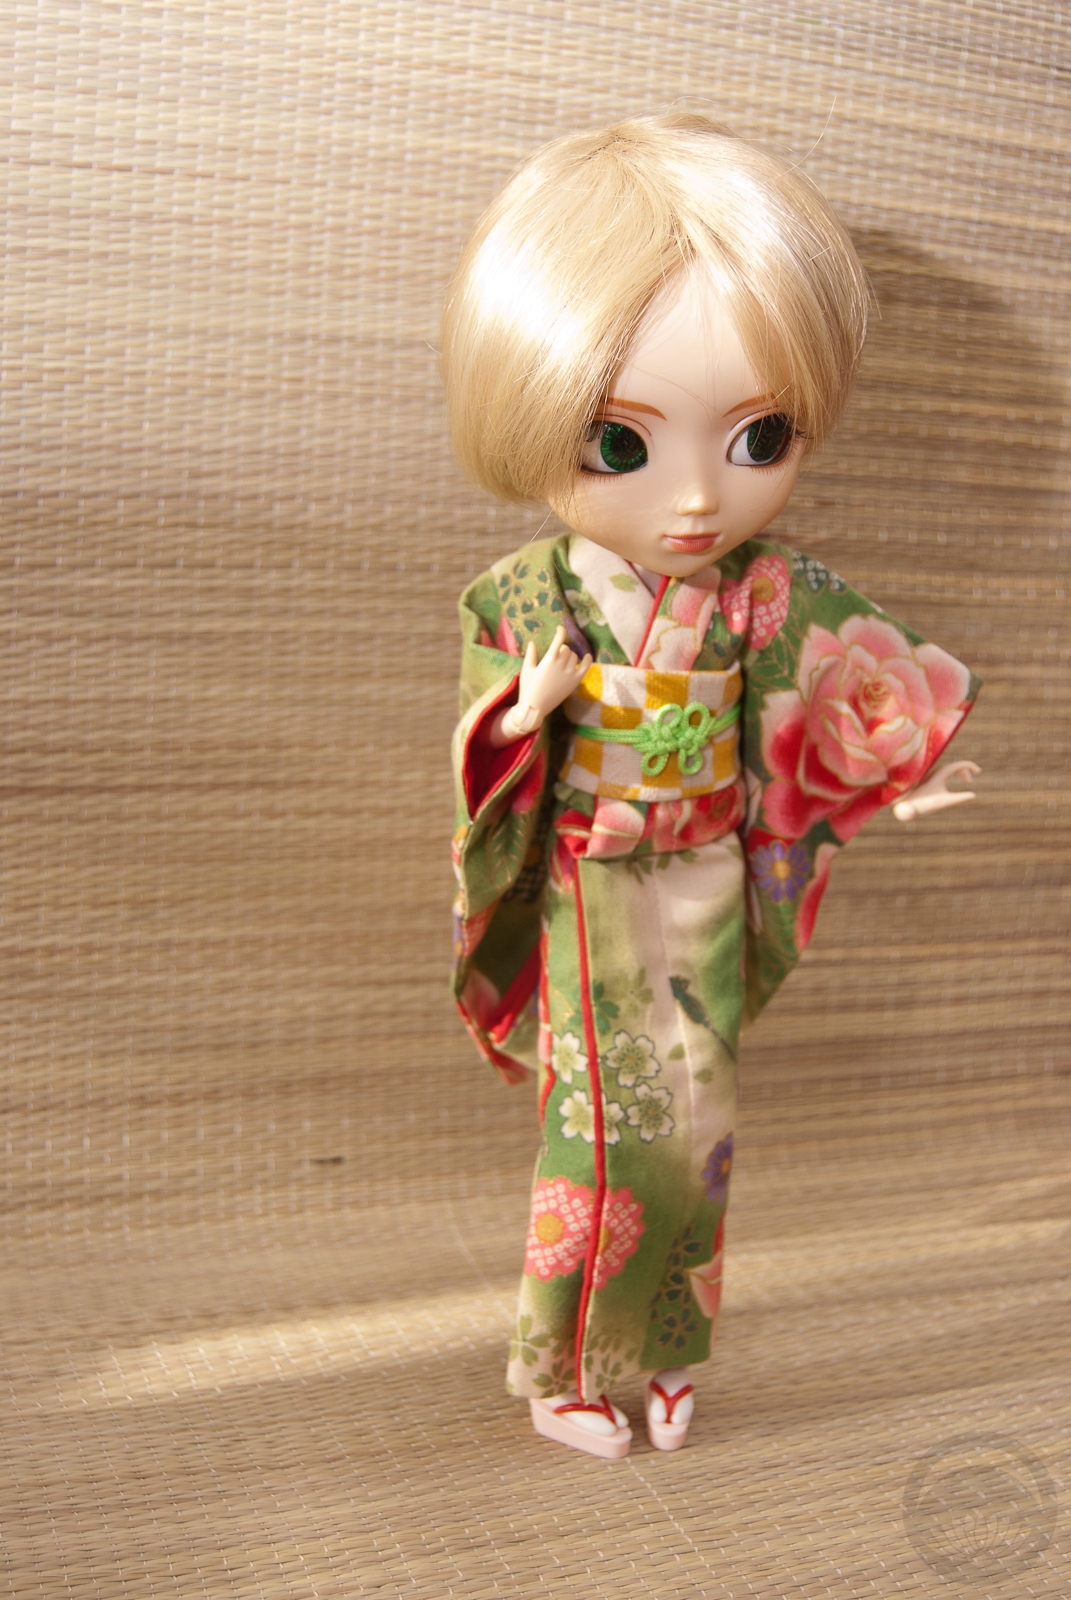
One of the few traditionally monochrome kimono coordinations would be mofuku, or mourning clothes. I debated whether or not to do this outfit, but in the end I figured it was the perfect opportunity to demonstrate something I’d never really have another opportunity to show, and it felt right for this time of year. It’s clearly not appropriate for everyday wear but it’s definitely interesting.
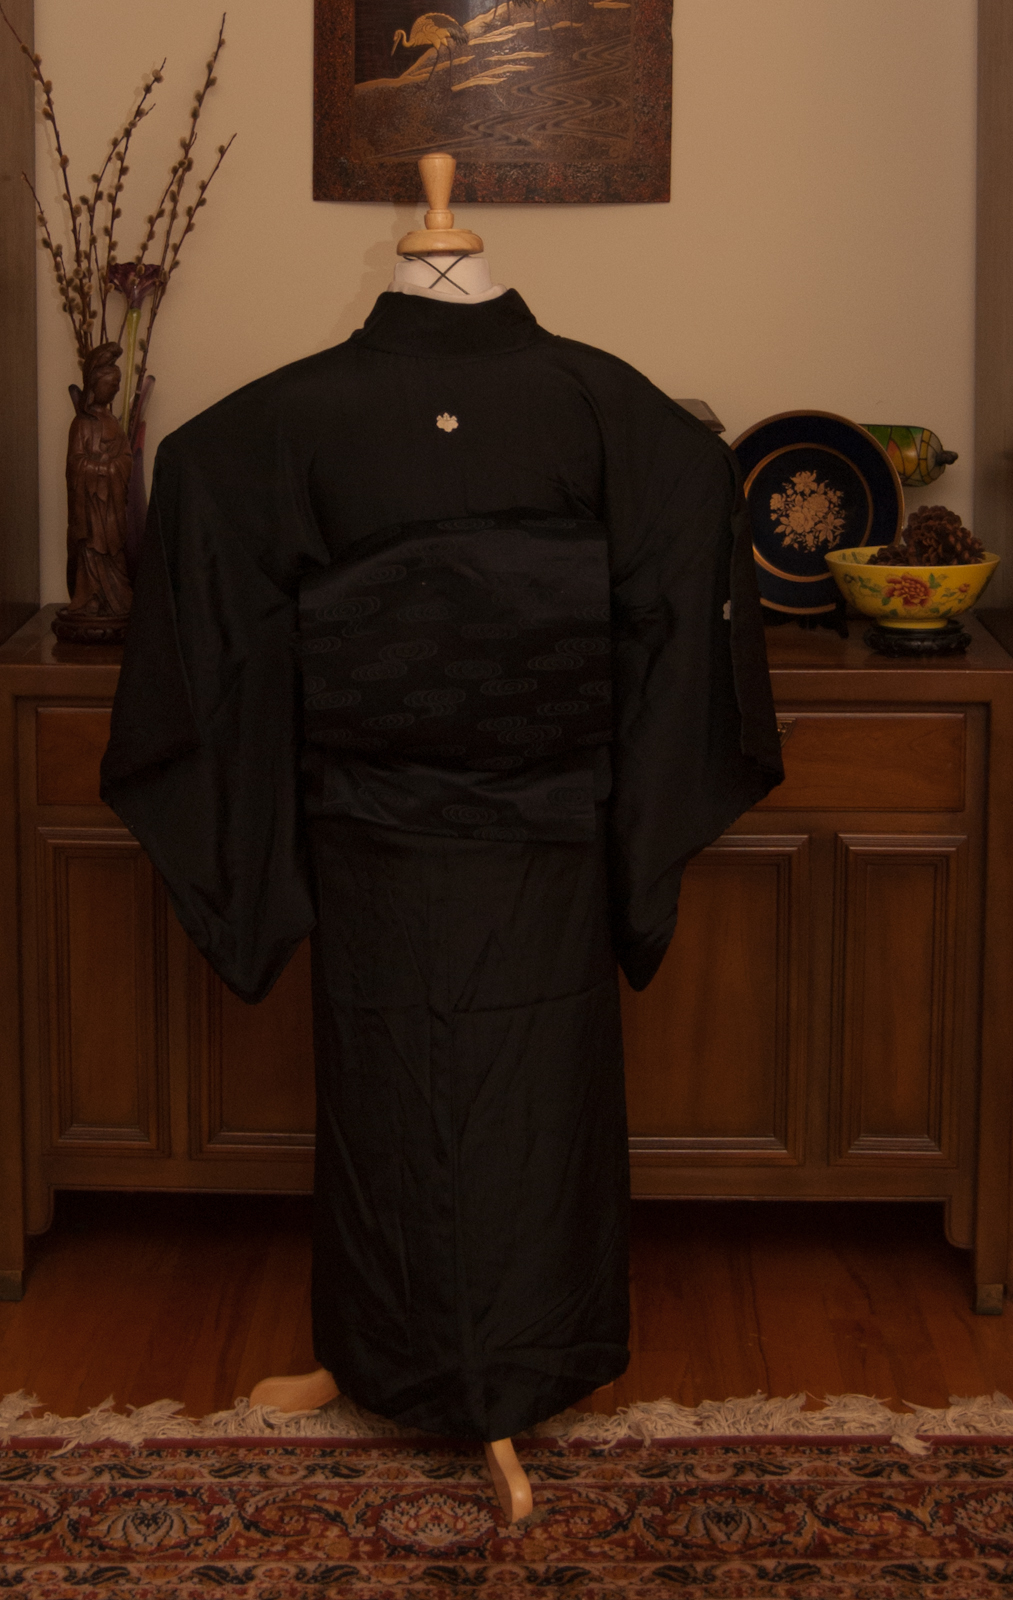
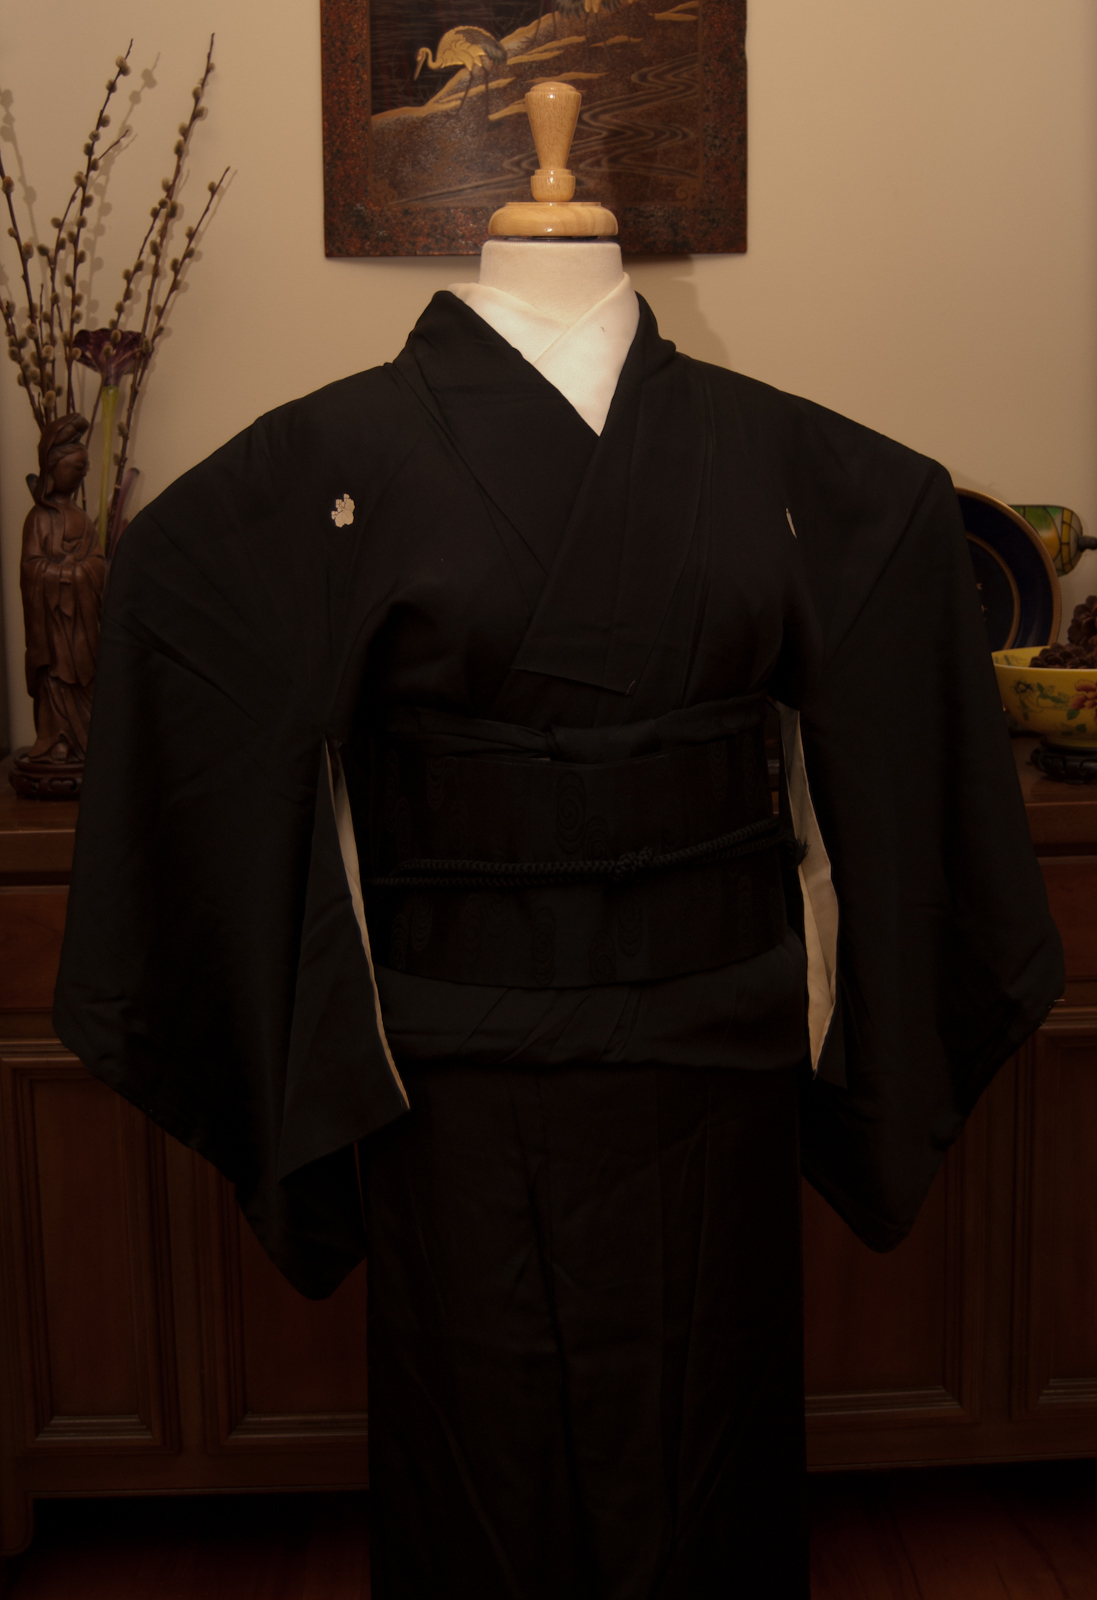
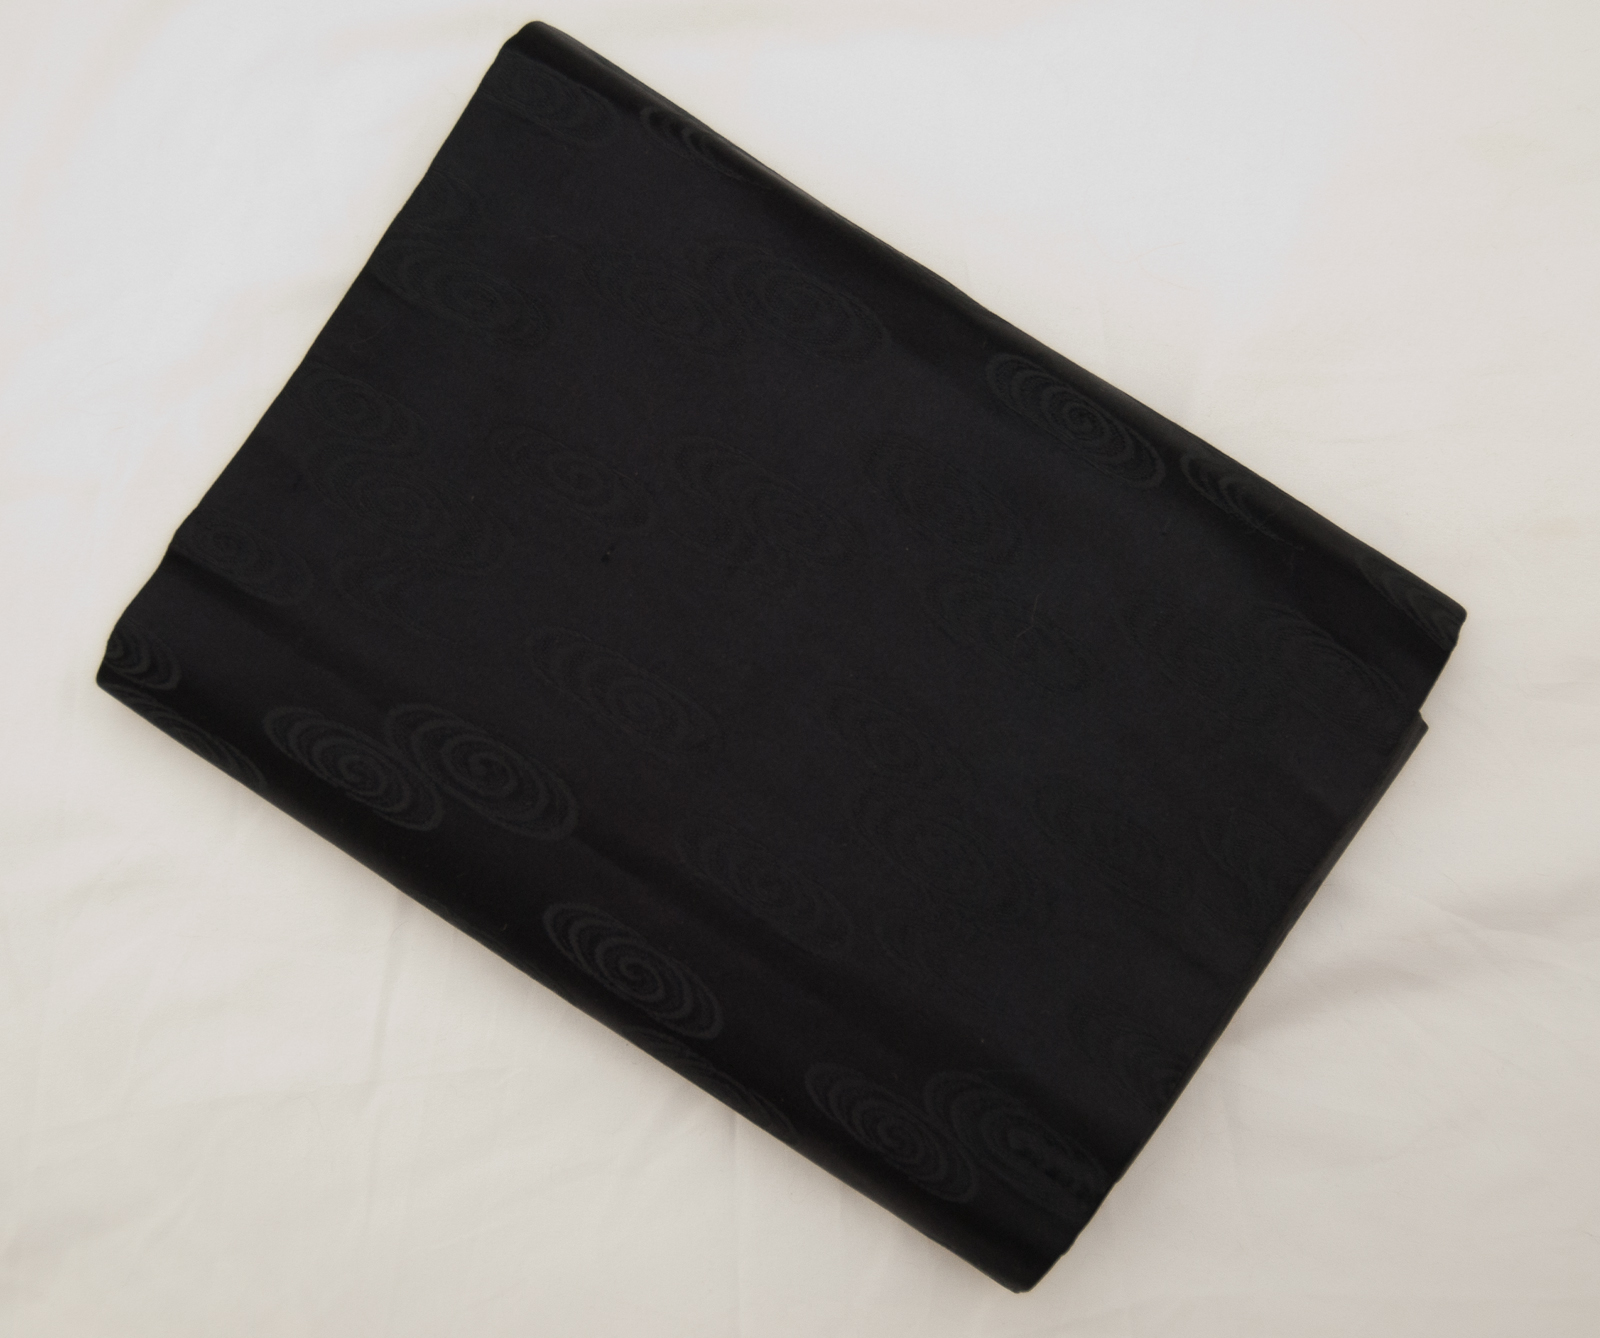
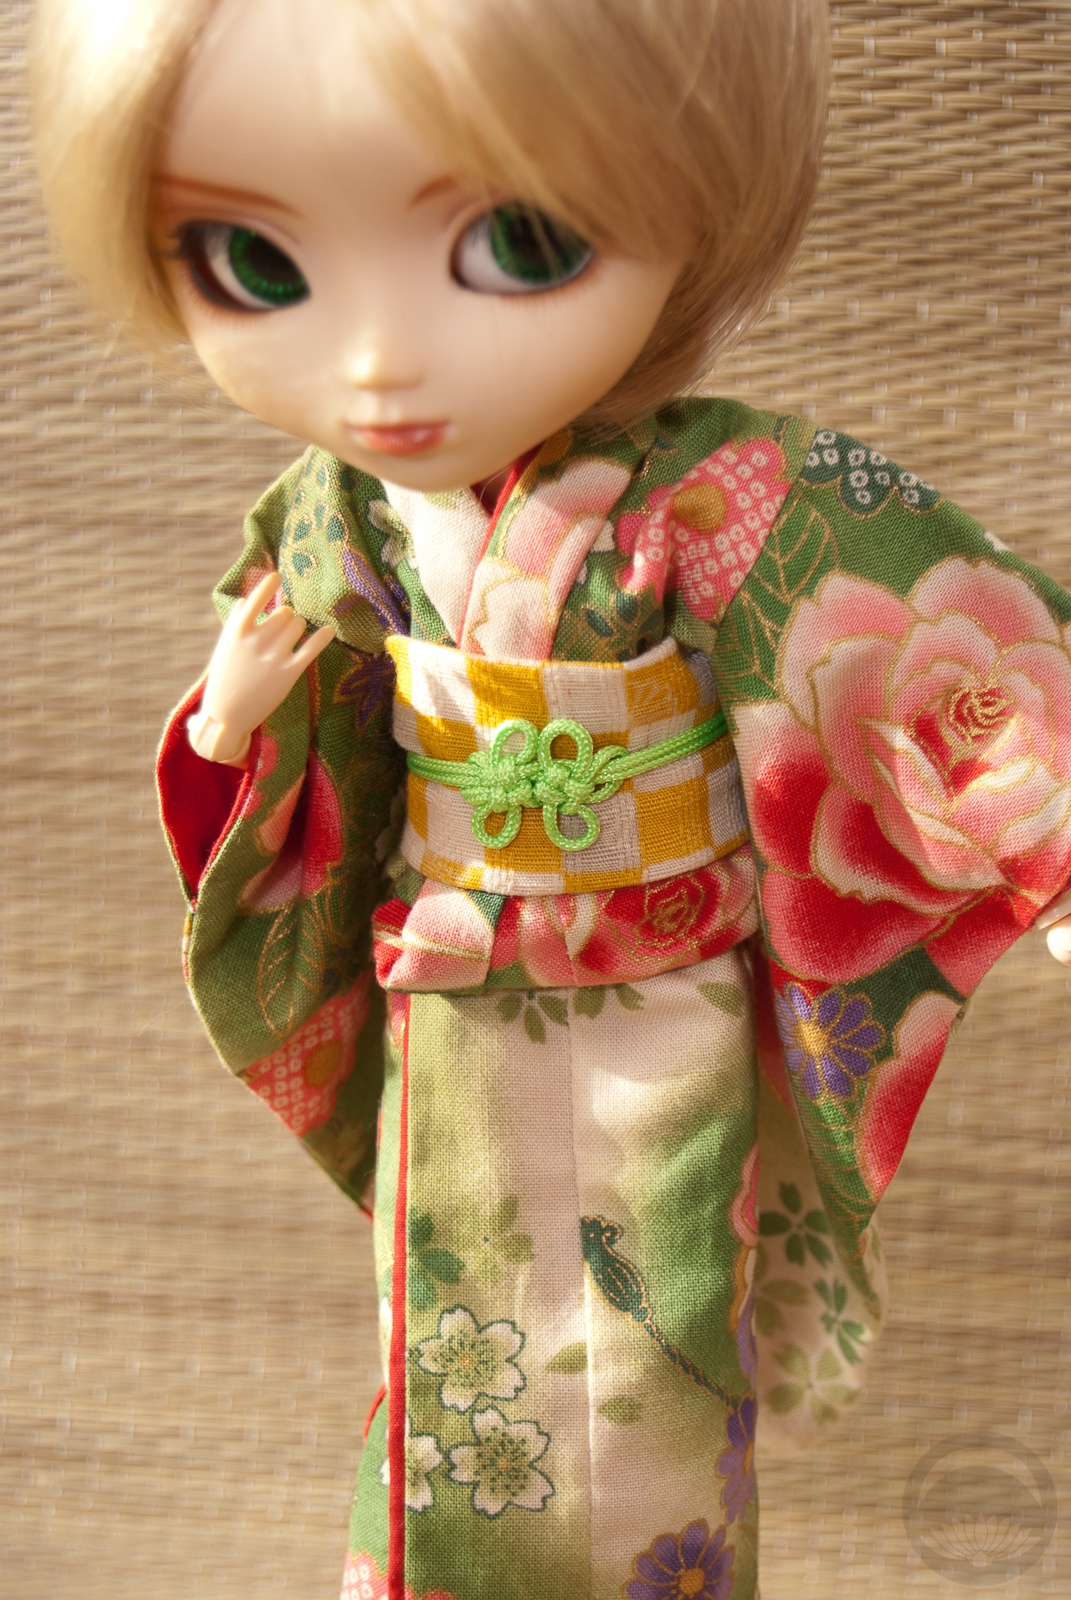
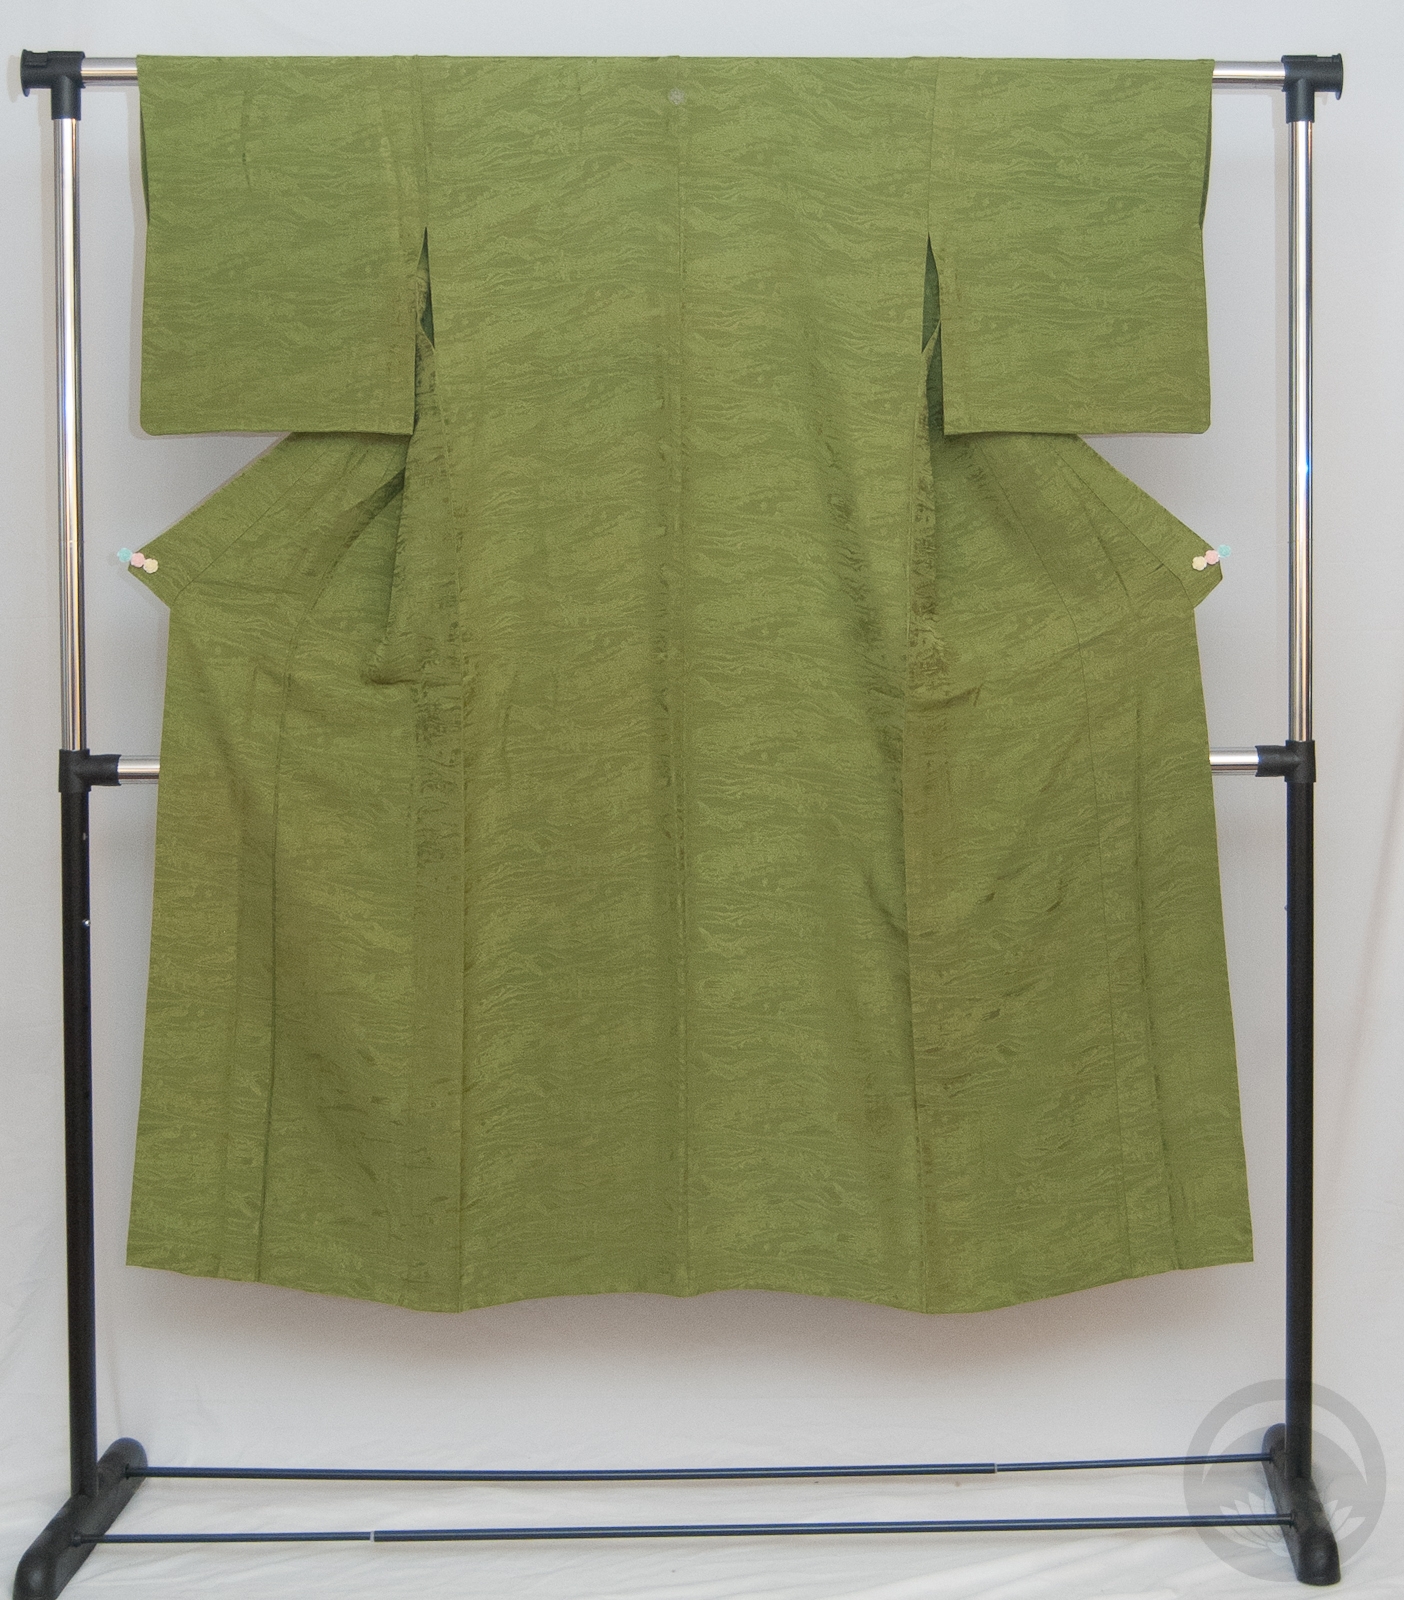
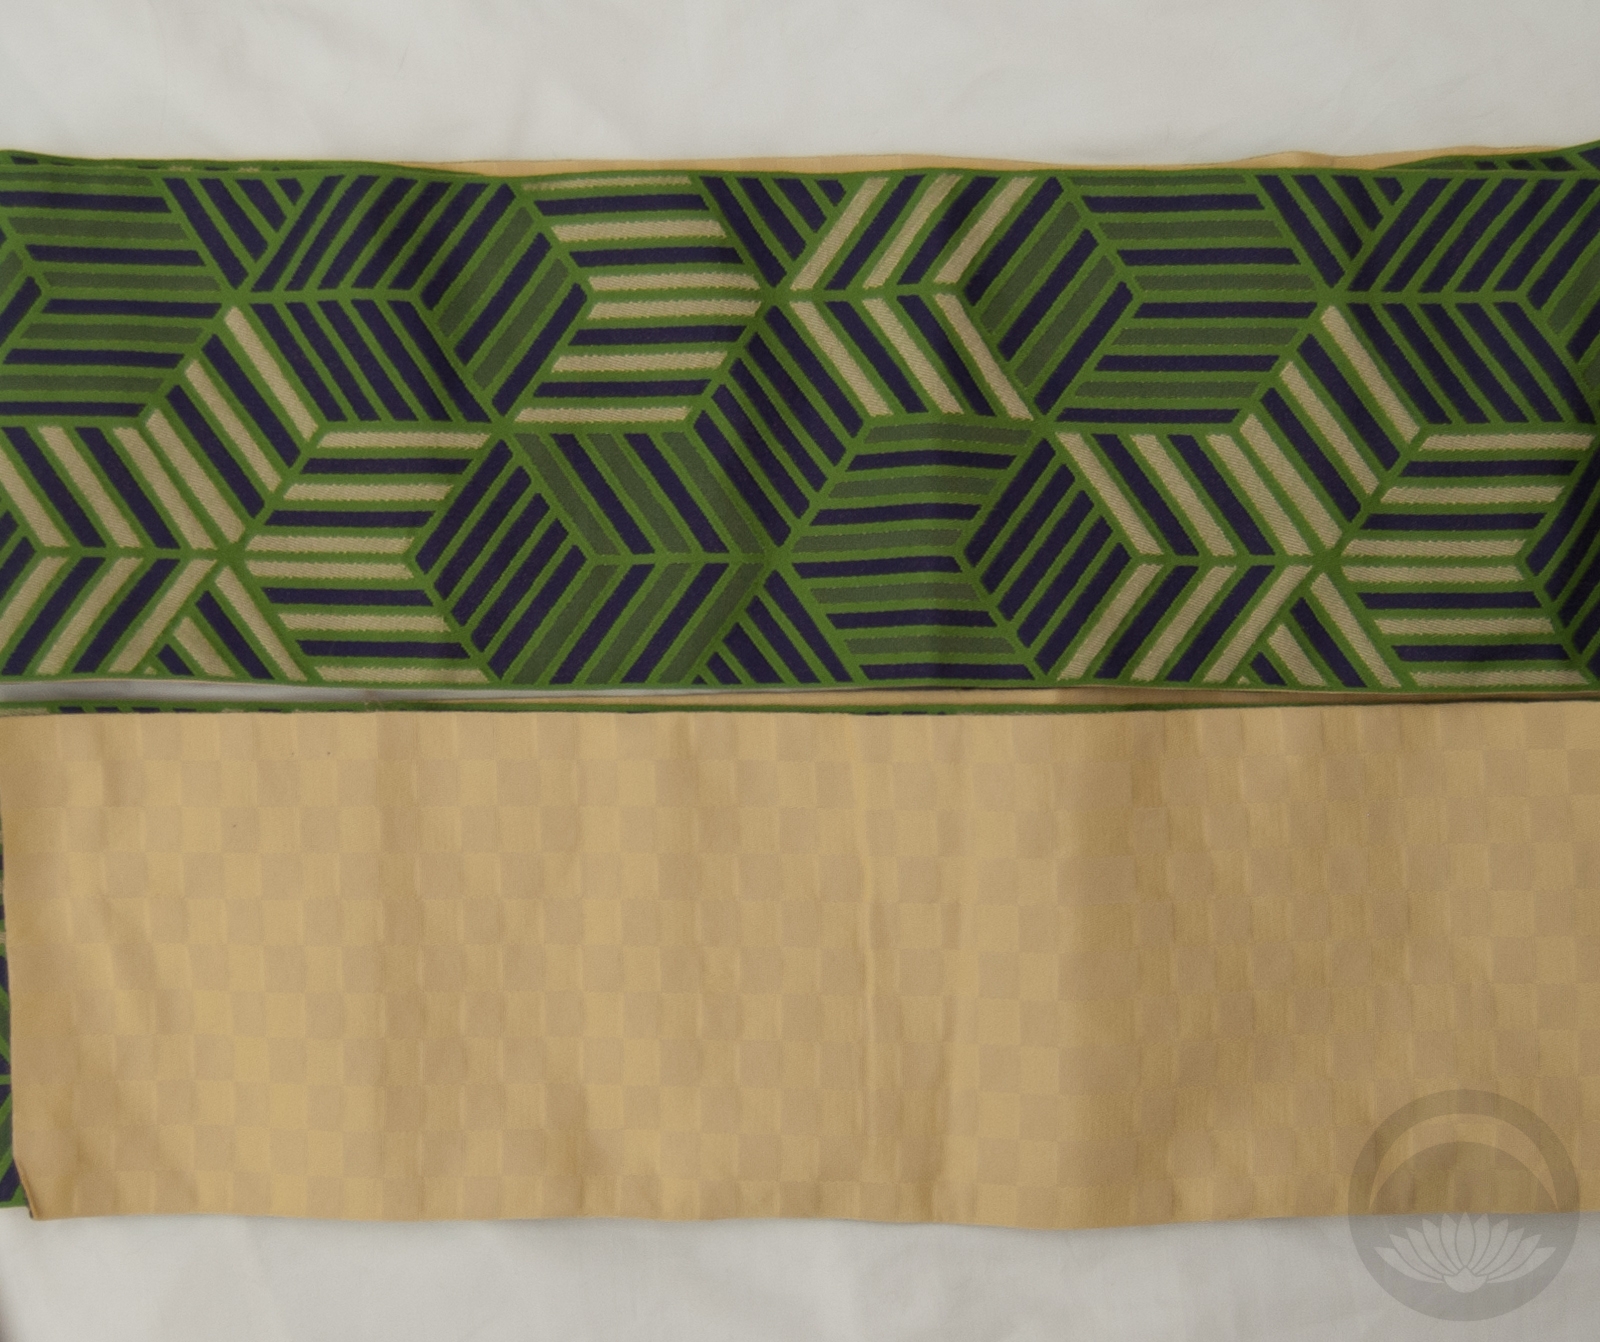
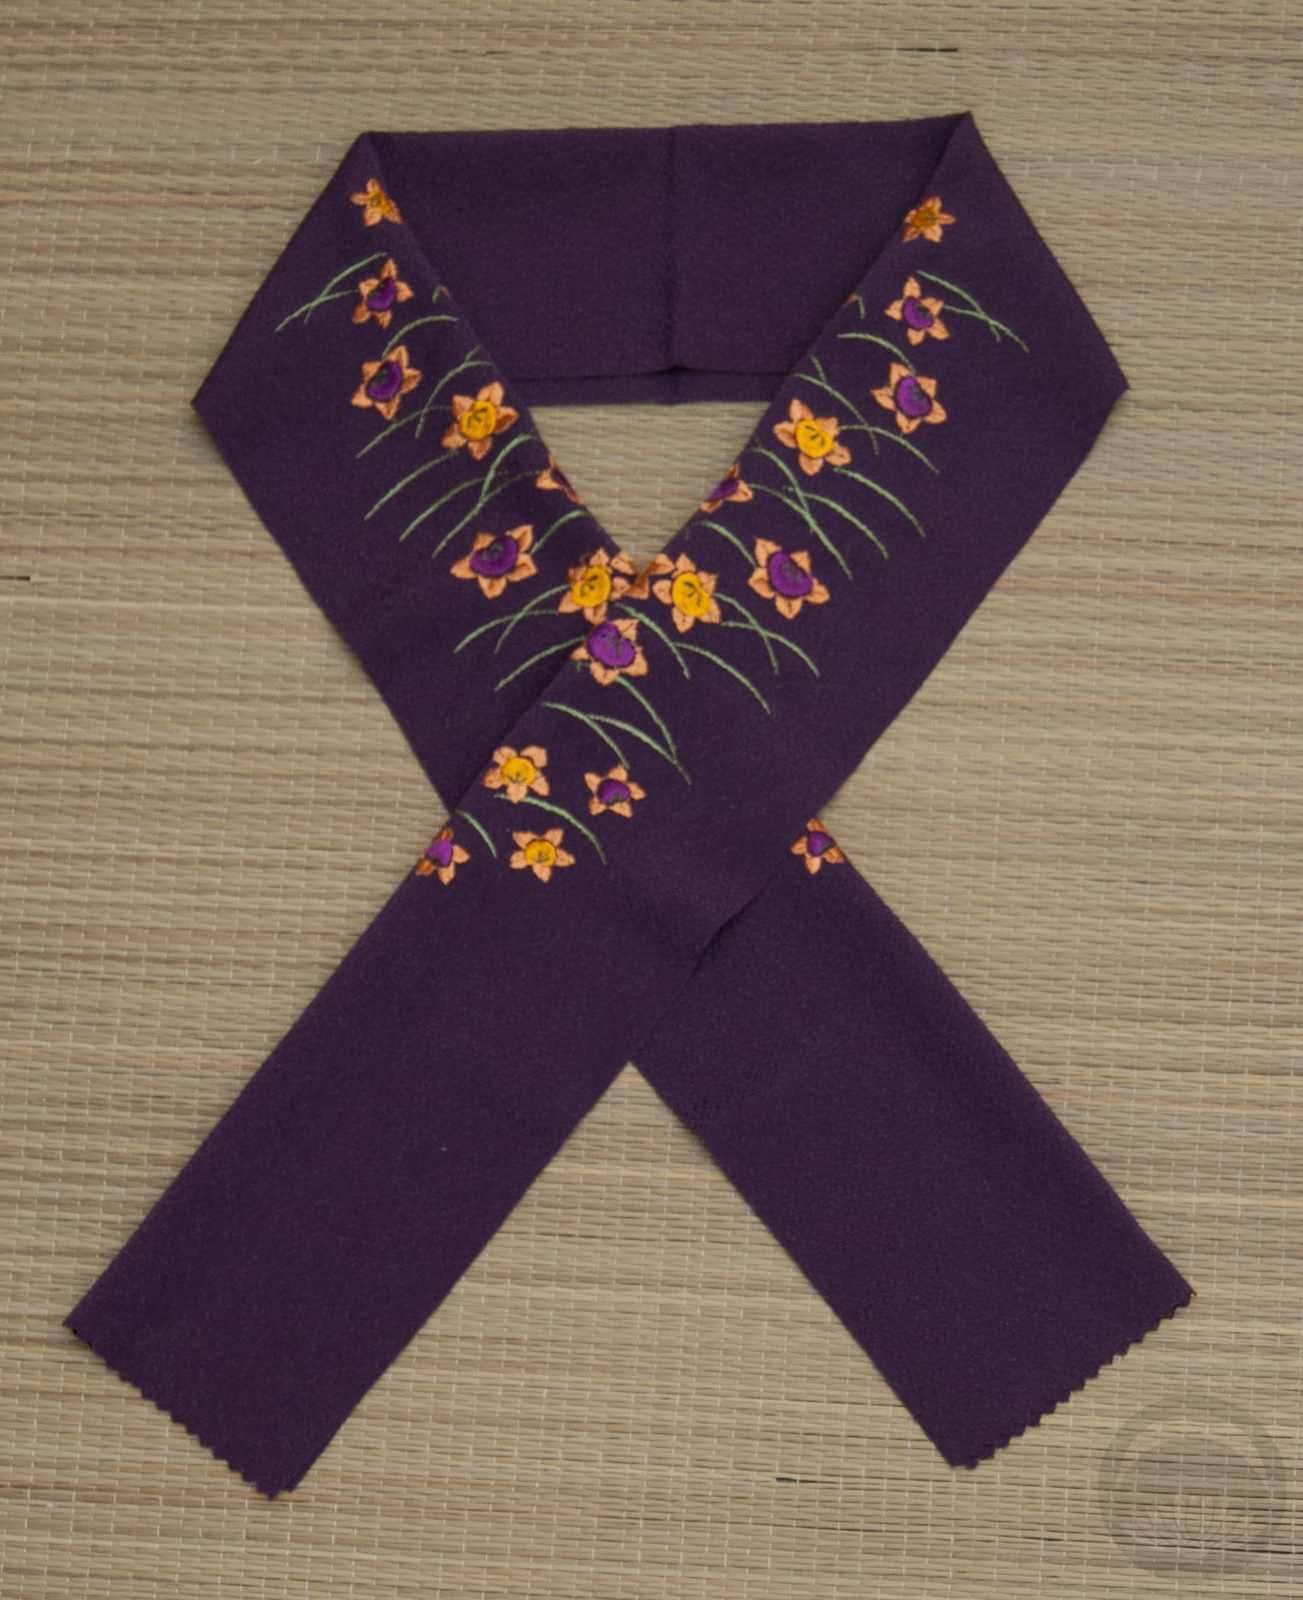
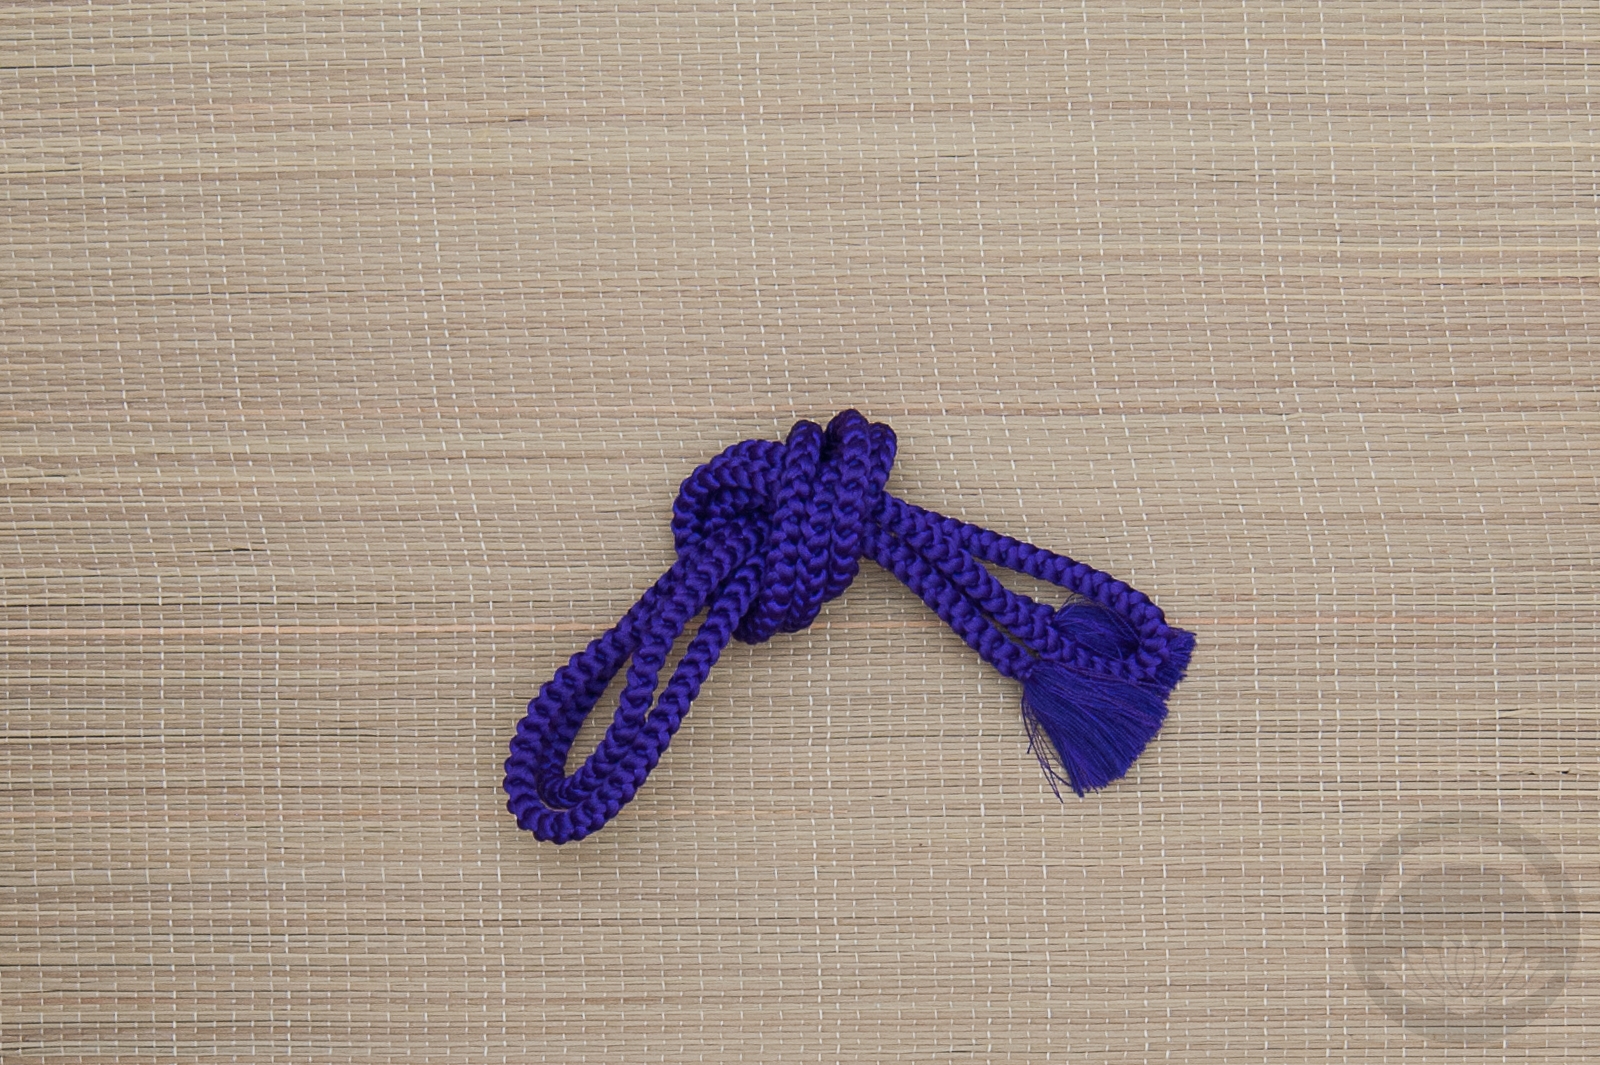
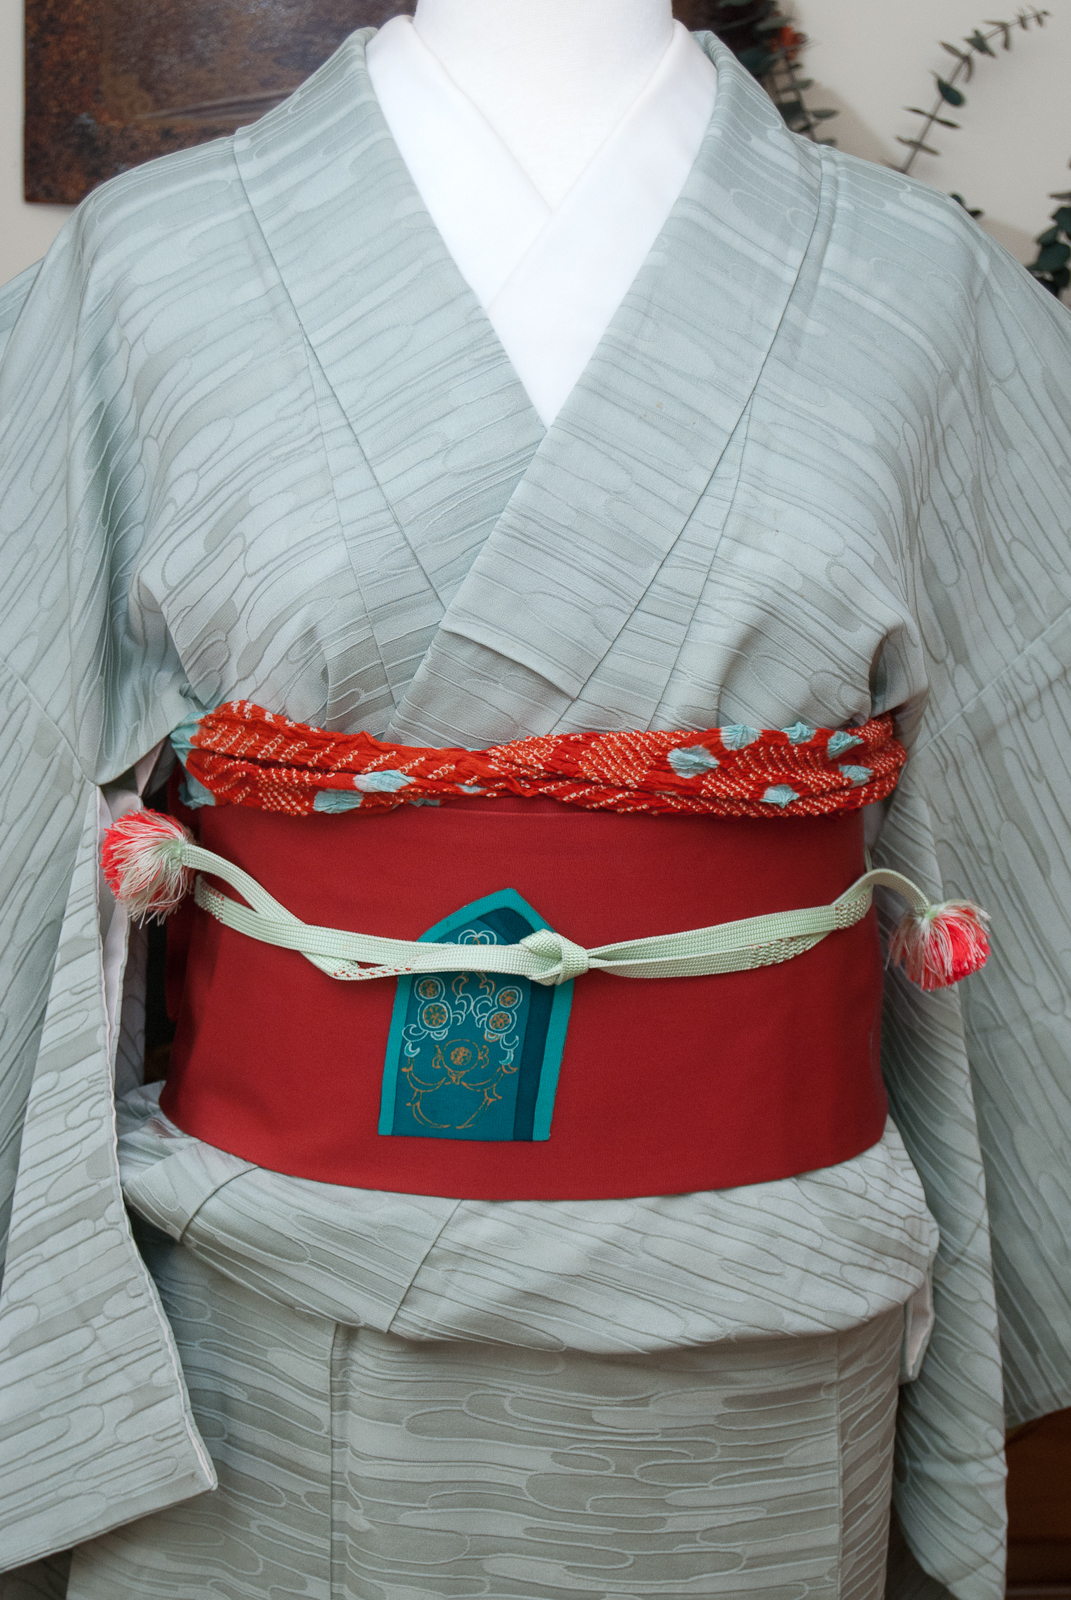
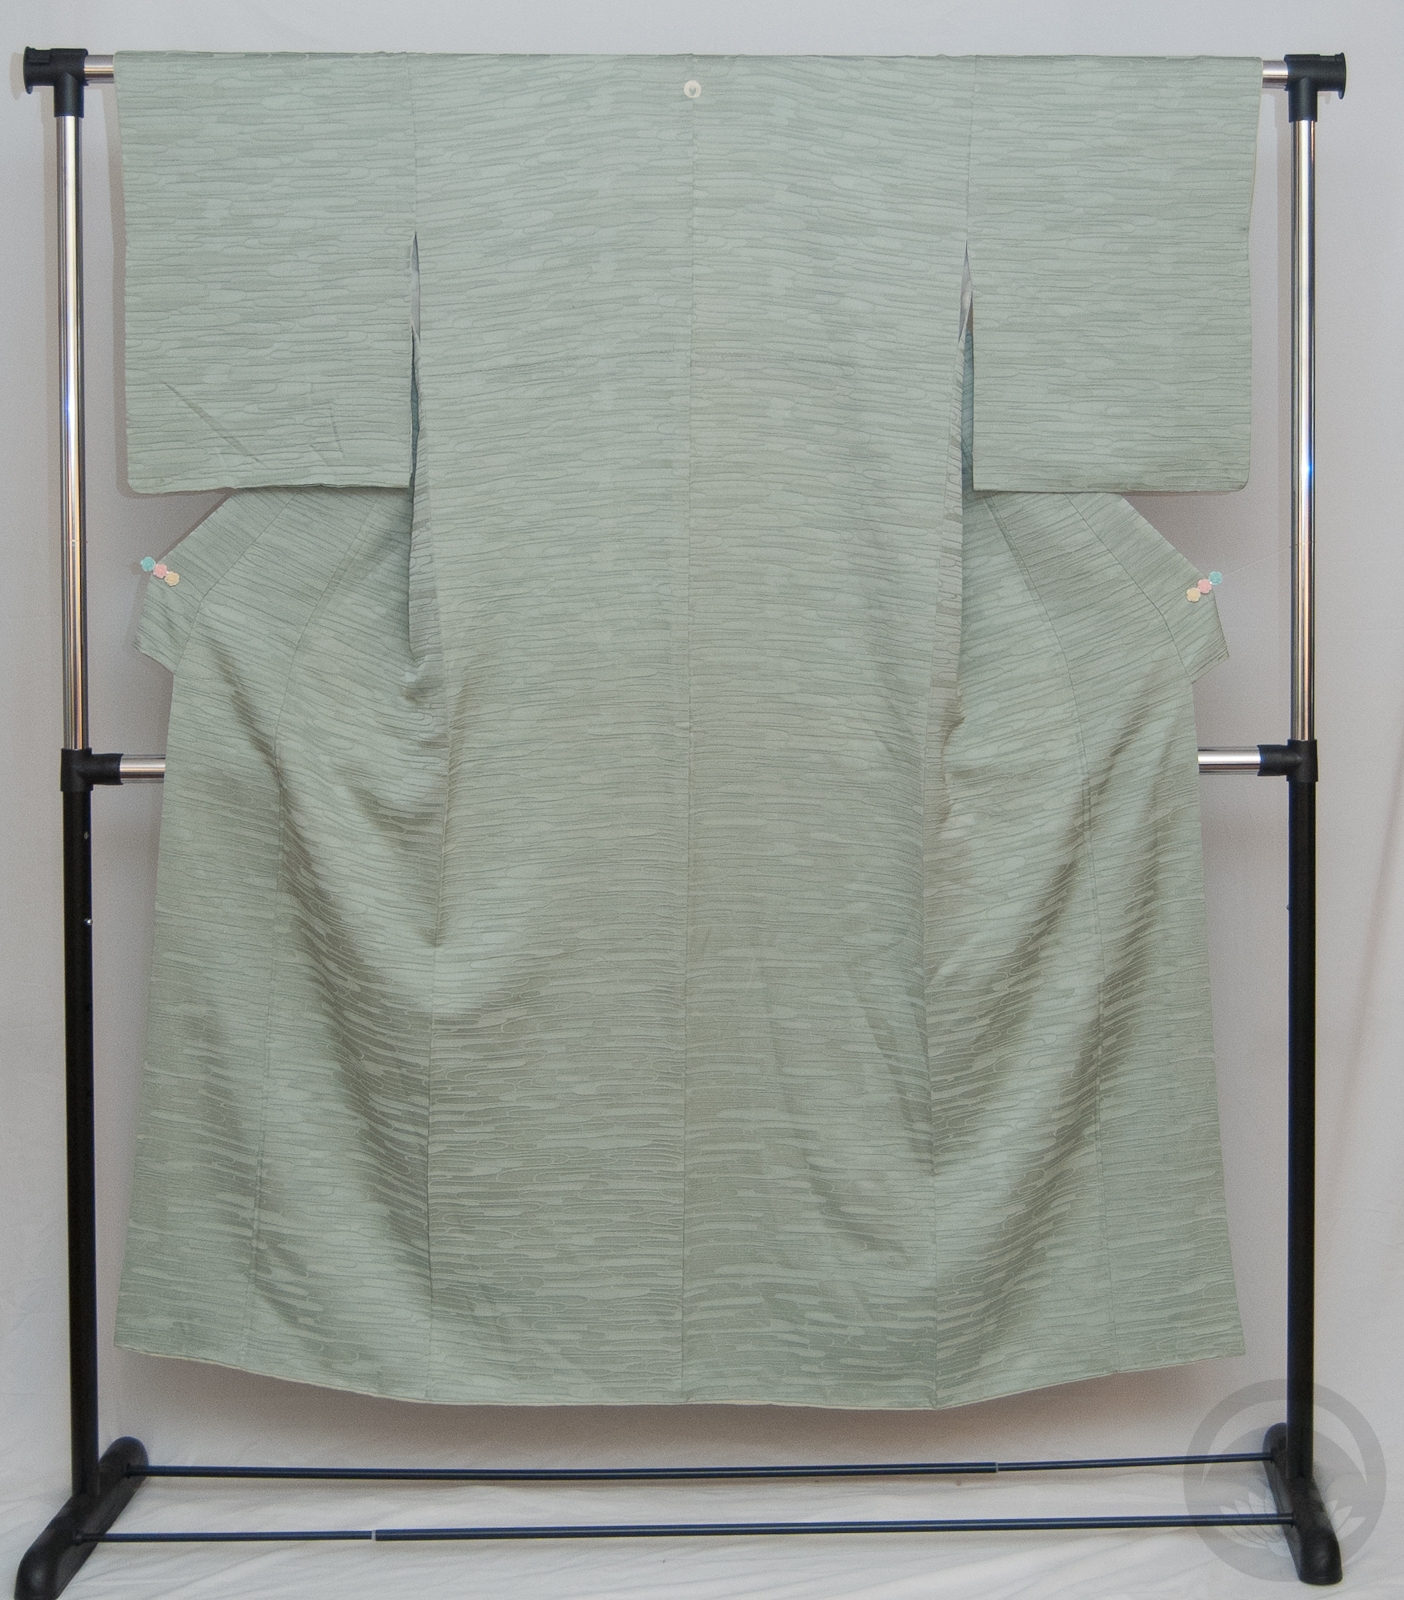
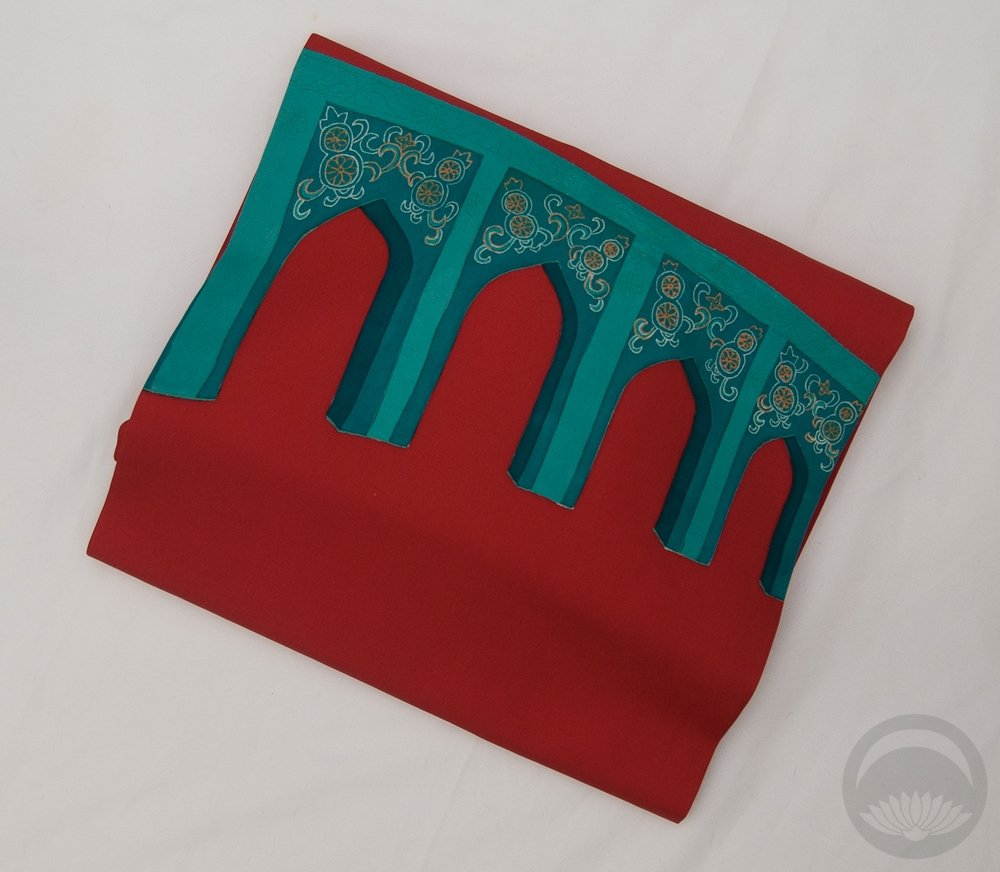
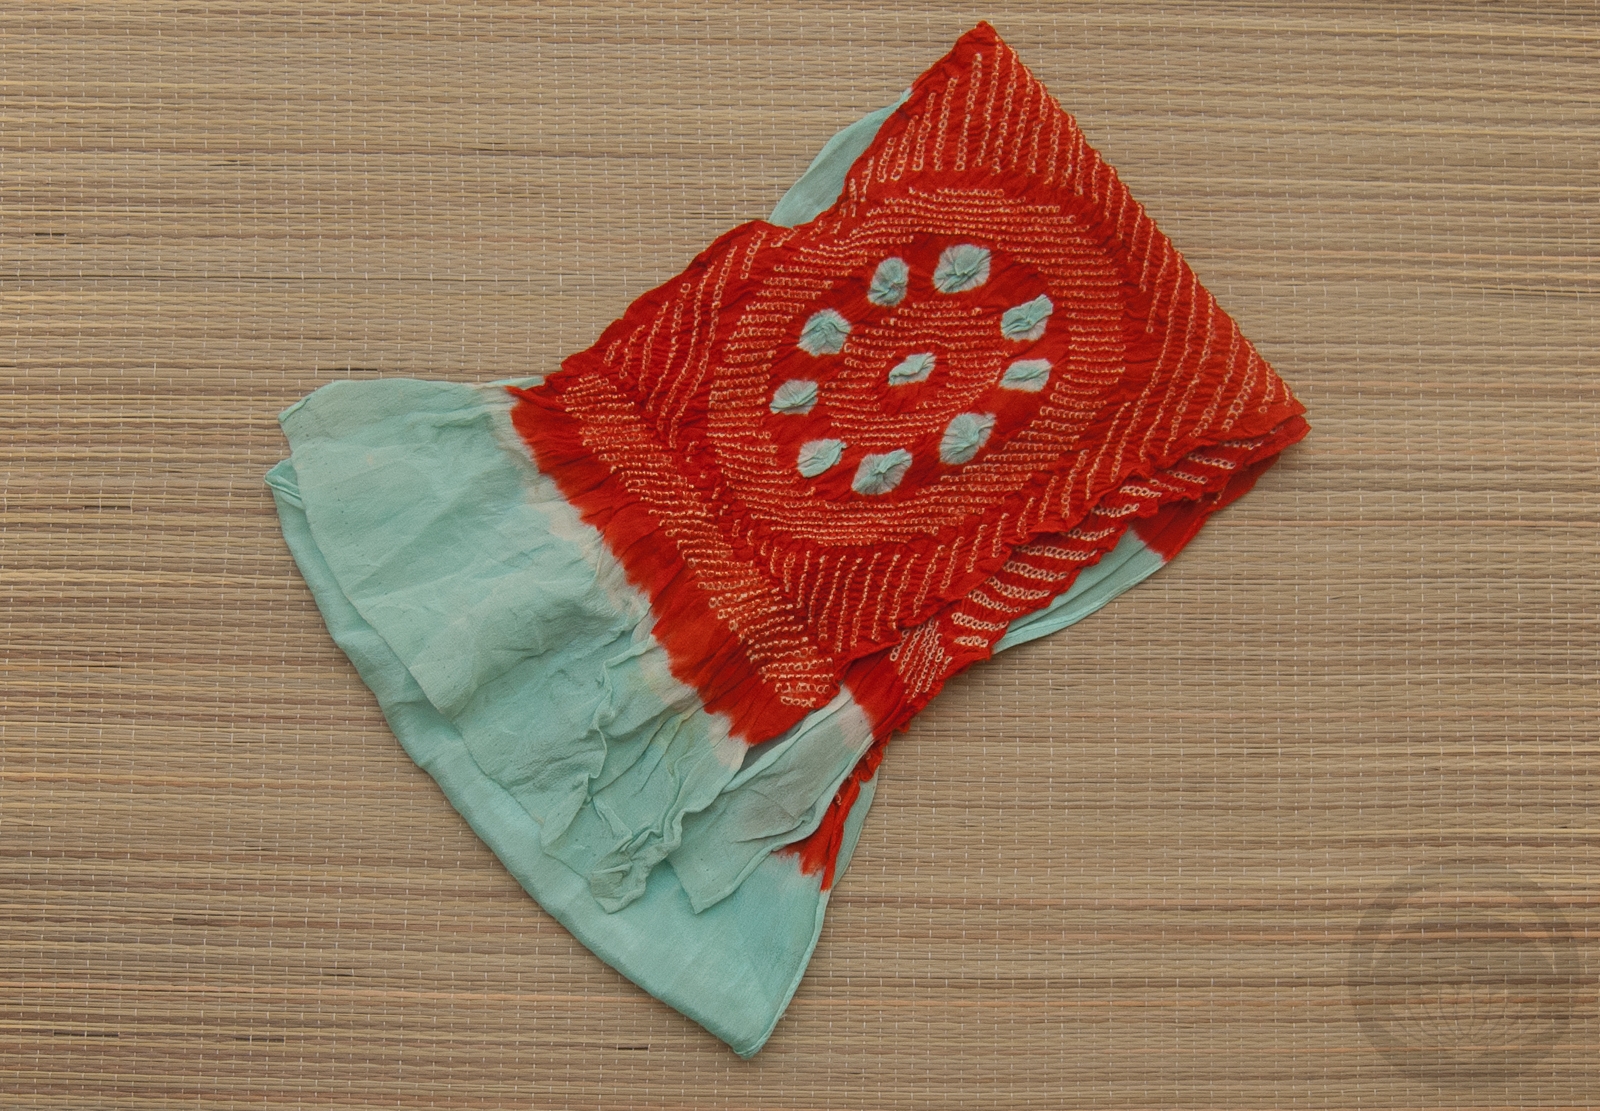
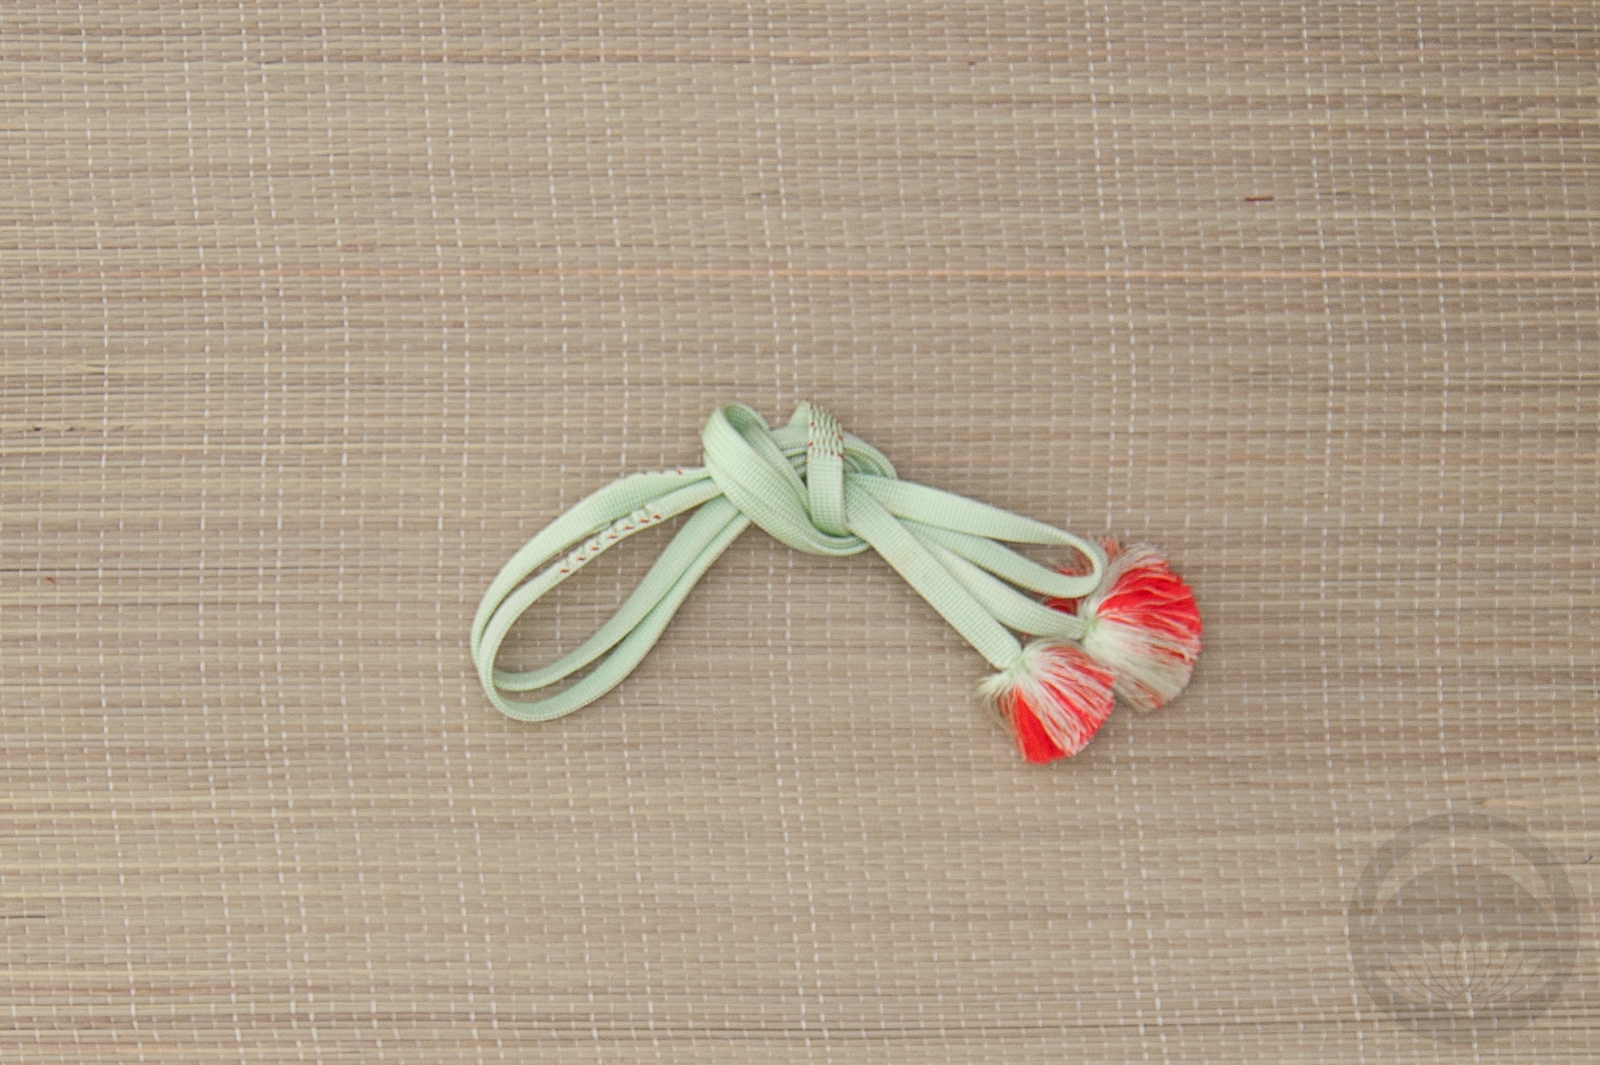
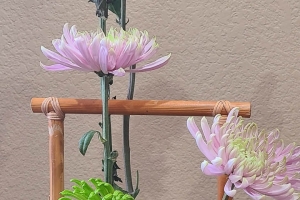
Mofuku kimono are always flat black silk with five crests. There will never be any noticeable texture or rinzu patterning on the kimono. However, obi will occasionally have a subtle woven design like this one does. Obiage and obijime should also be black, while undergarments (juban, haneri, tabi) will always be plain white. You really can’t get much more monochrome than that.
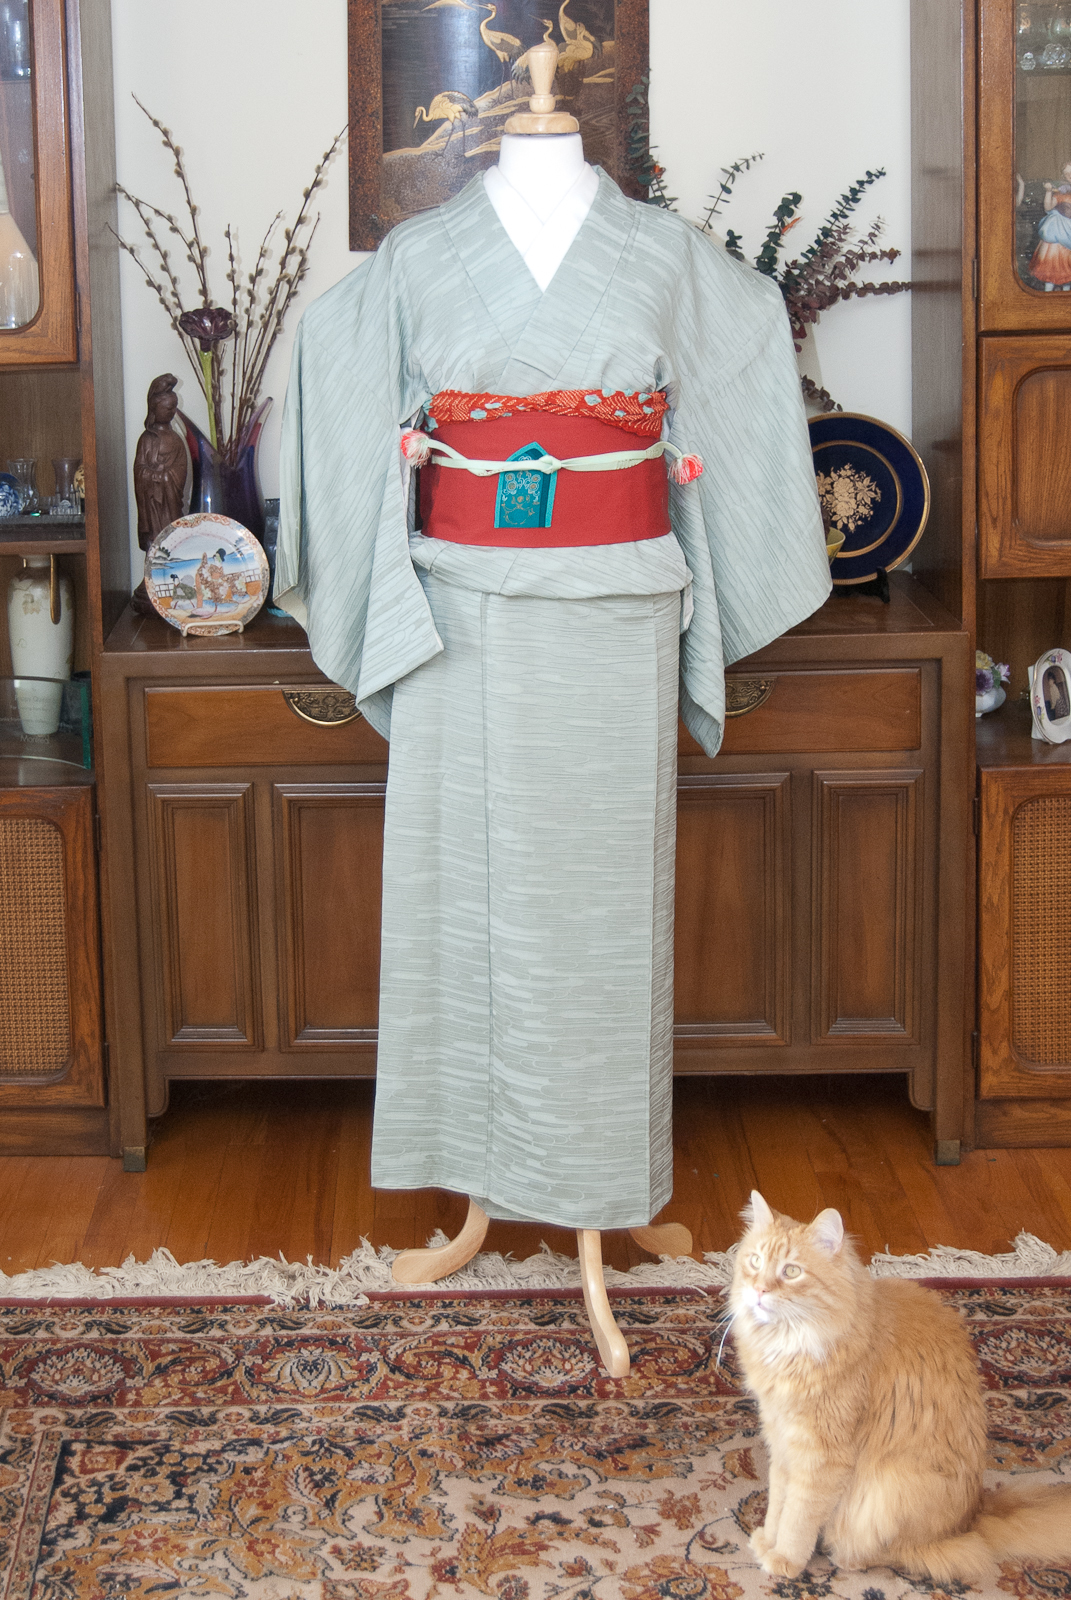
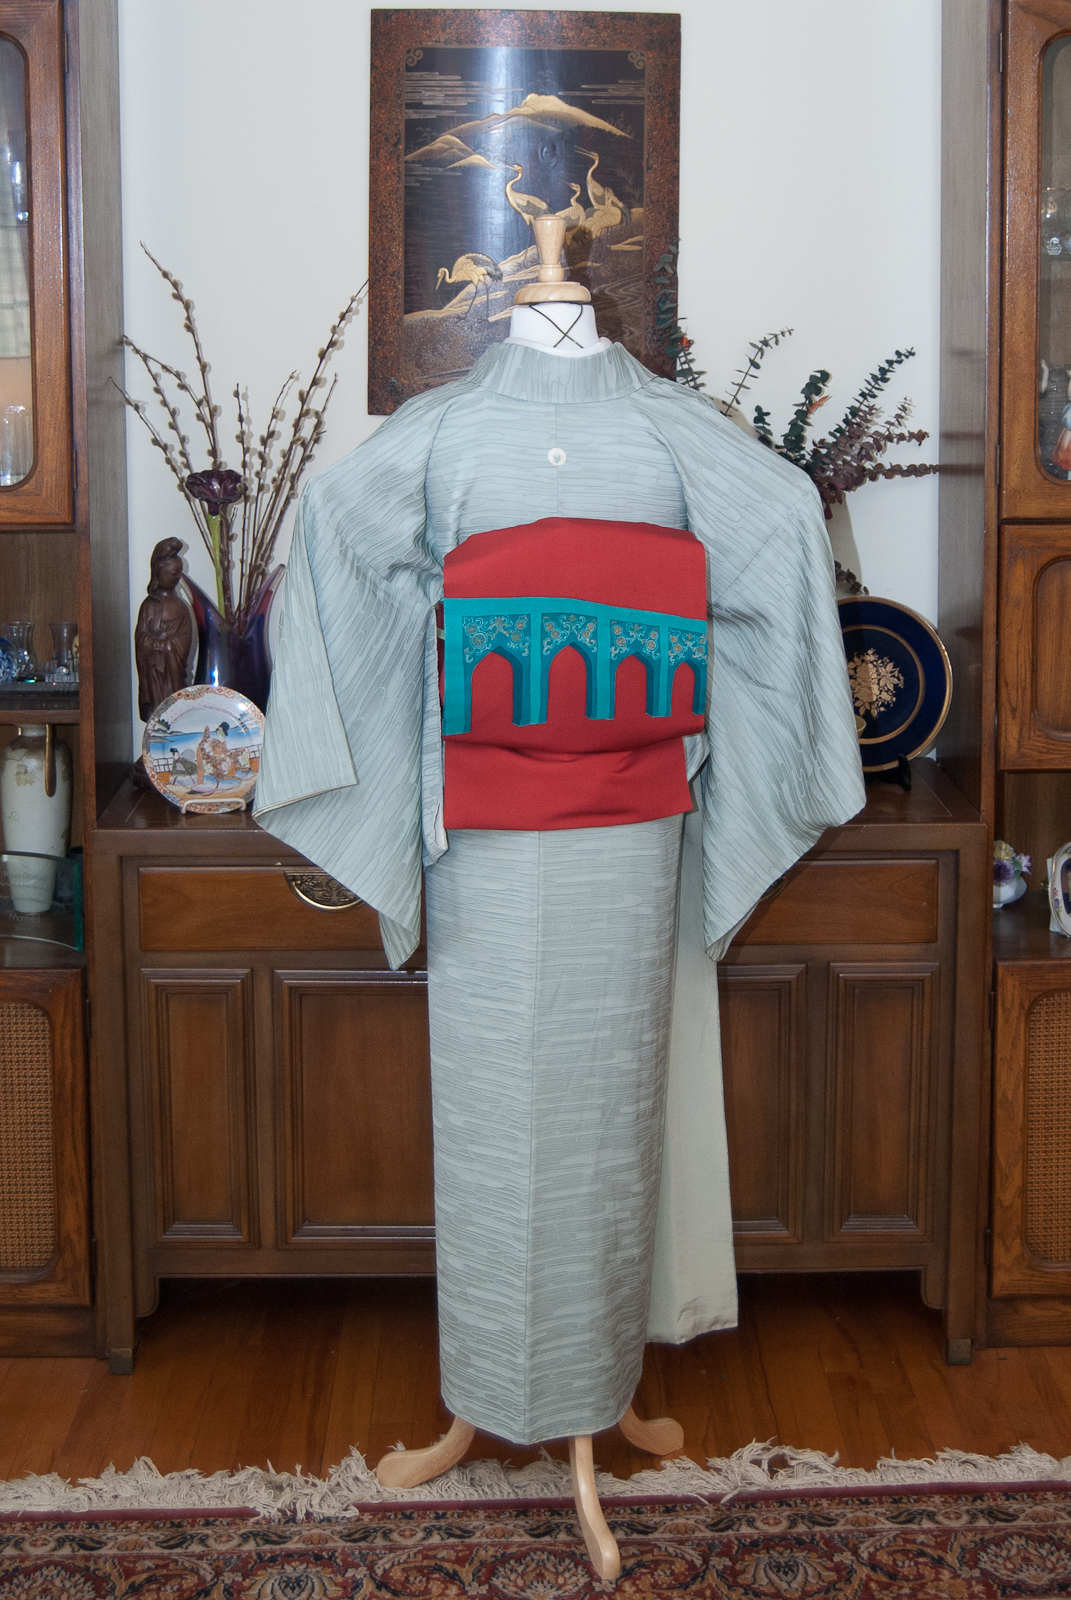
People further from the deceased can wear iromuji in dusty, subtle colour like greys, steel blues, and lavenders, and keep to black accessories, and as the mourning period progresses more colour can be injected into the coordinations.
While I typically like to inject my own flair and personality into nearly every outfit I put together, I felt that doing anything “out of the ordinary” here would be disrespectful, even if it is just on a mannequin. This sort of coordination means something, and it’s not my place to change that.
There’s still two more Yokai outfits to come before the end of the month, so we’ll be getting back to those tomorrow.
Items used in this coordination
-
- Mofuku Kimono
-
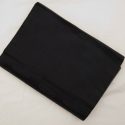
- Mofuku Nagoya Obi
-

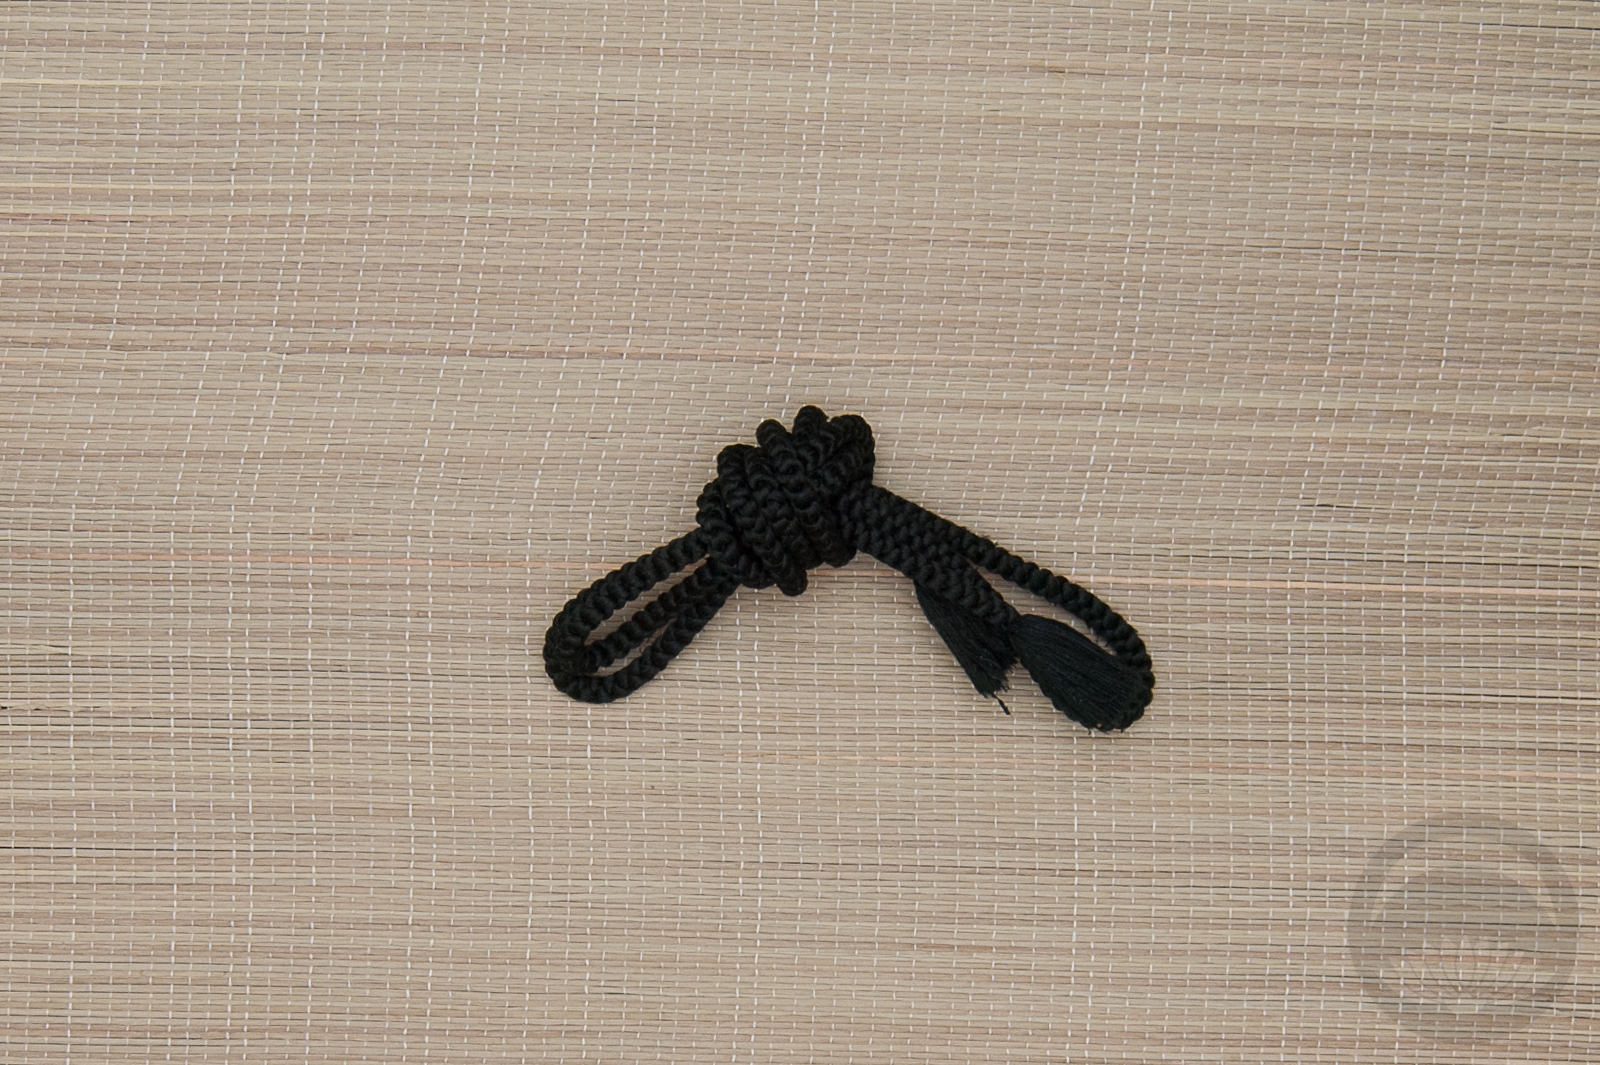
- Mofuku Rinzu Obiage

-
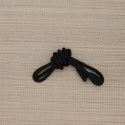
- Black


 Bebe Taian
 CHOKO Blog
 Silk & Bones
 Gion Kobu