Art Gallery – Fuji Musume Doll (and repairs)

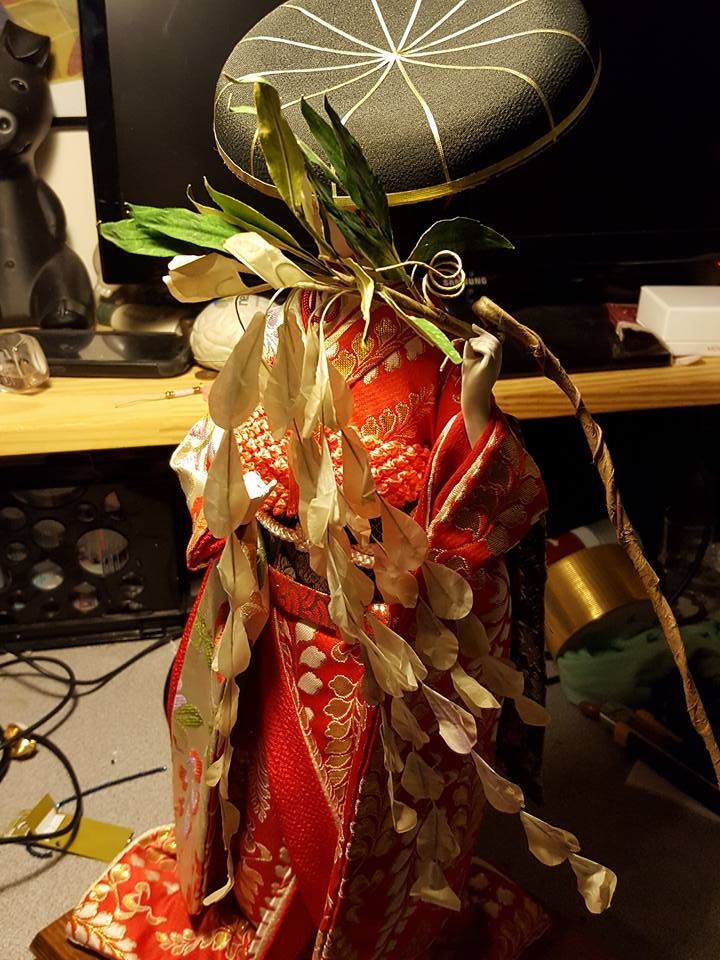
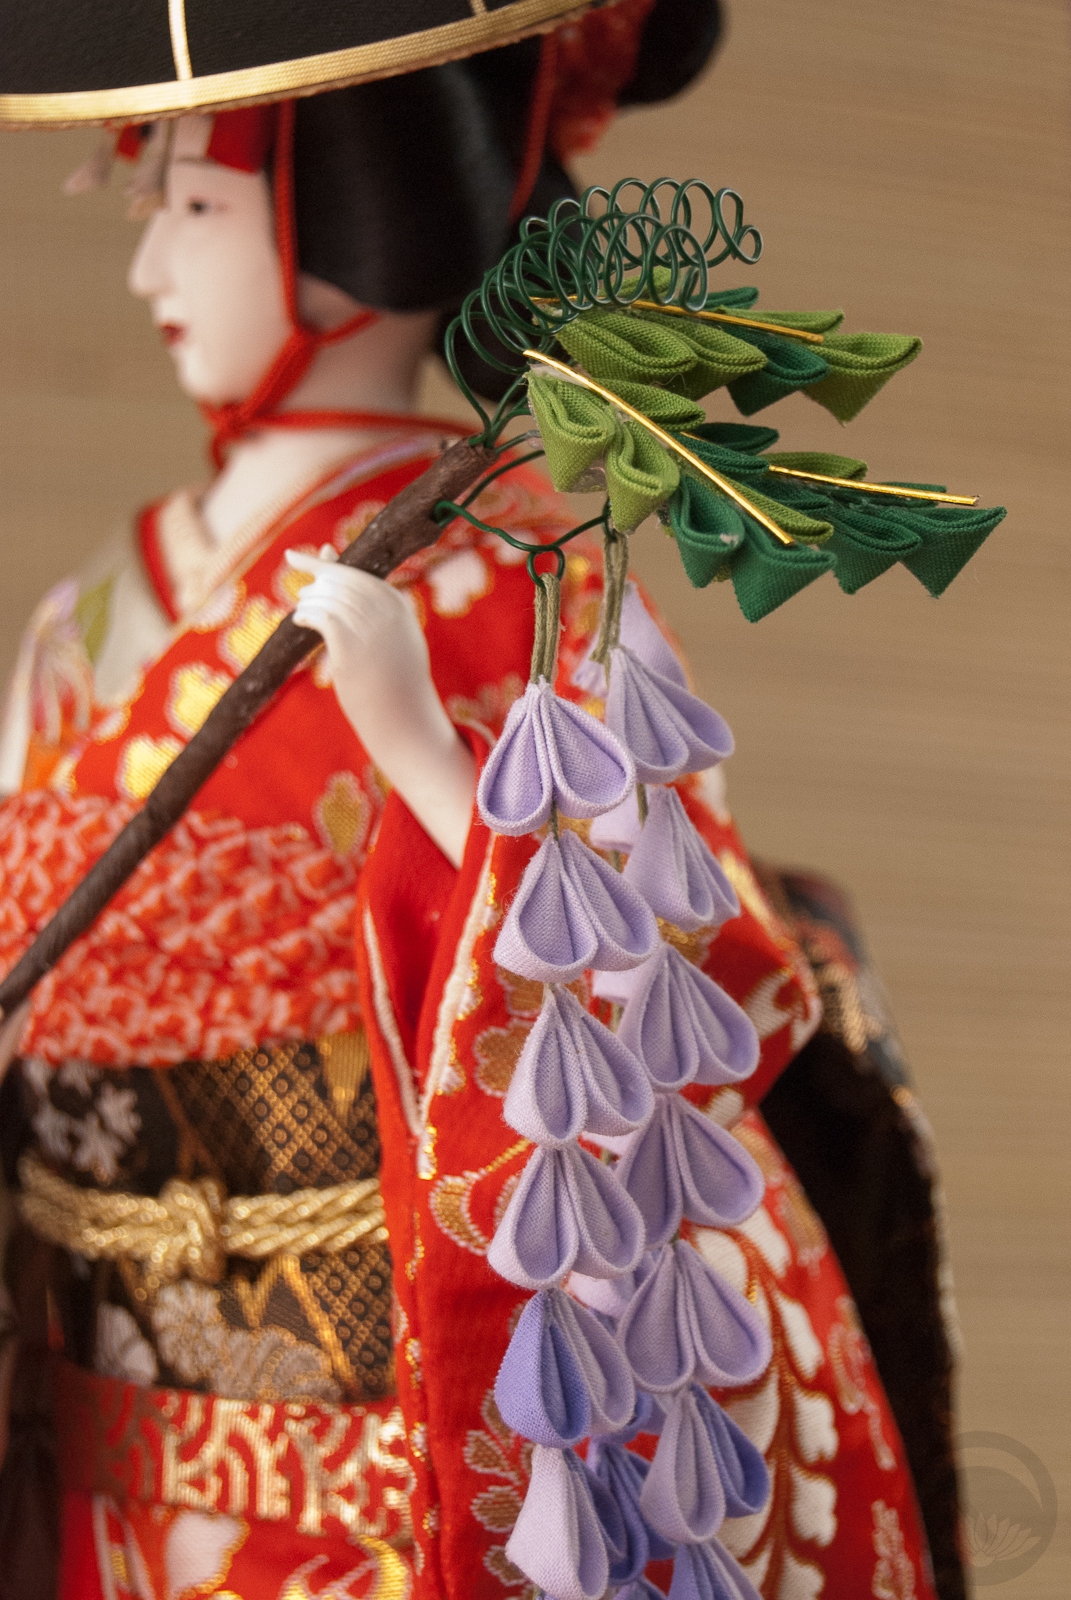
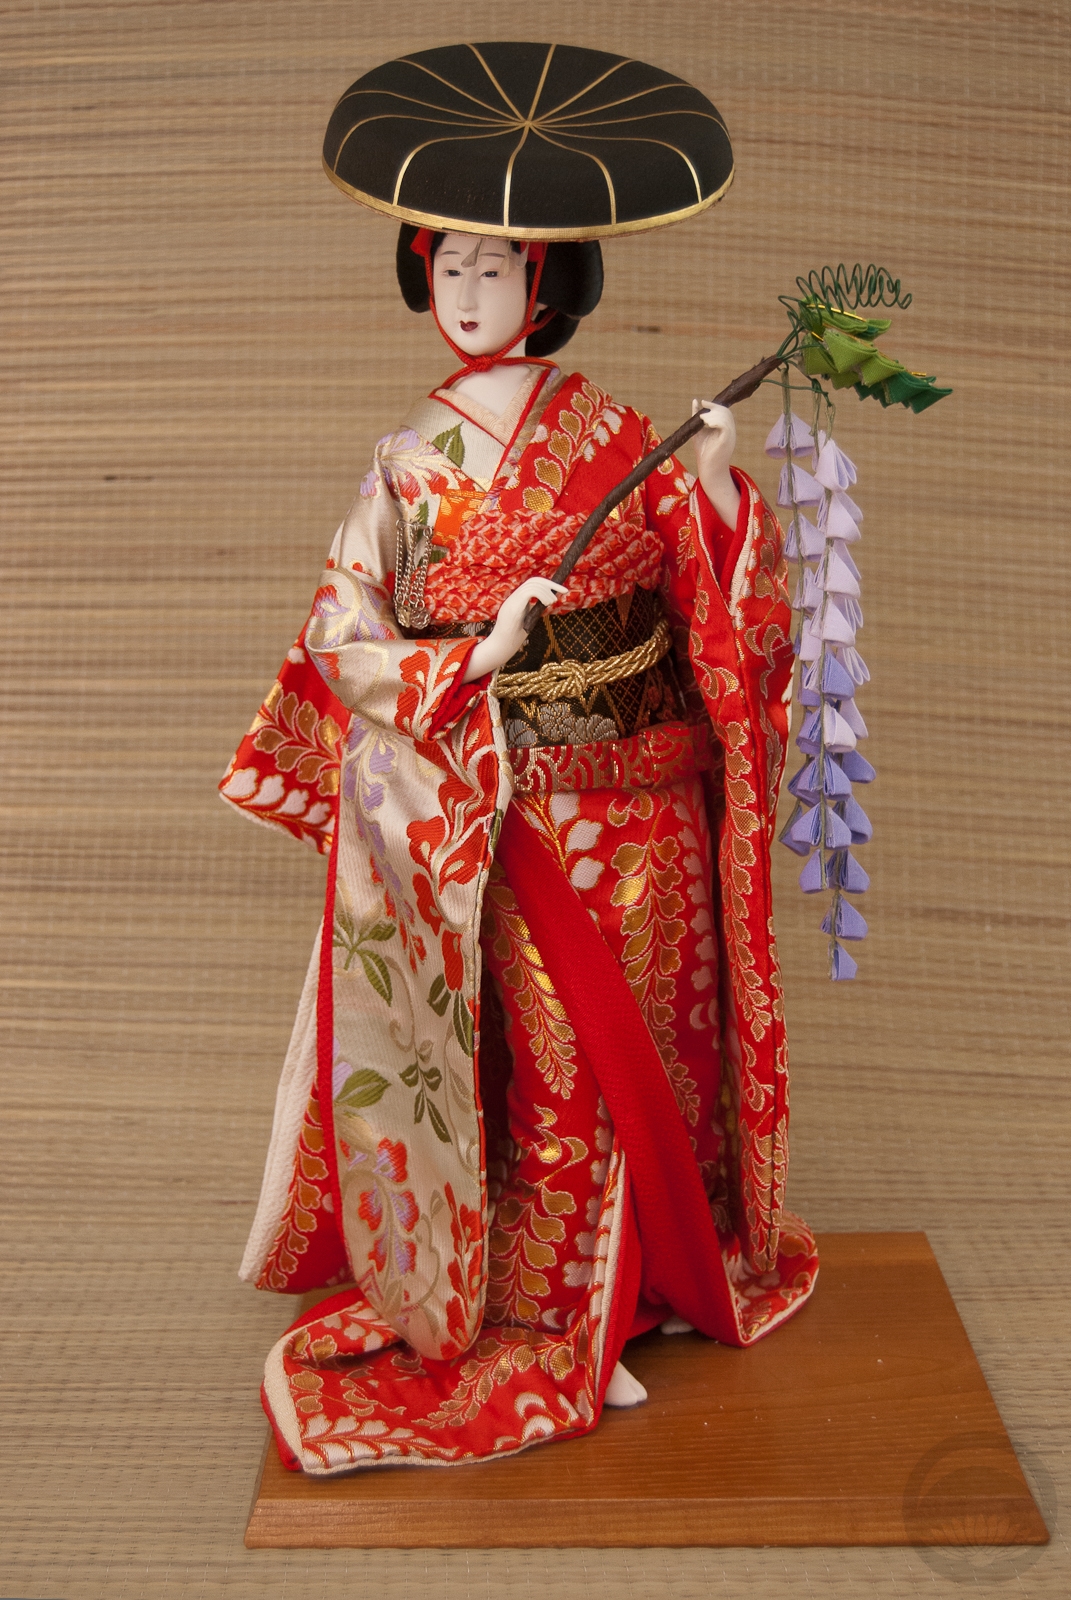
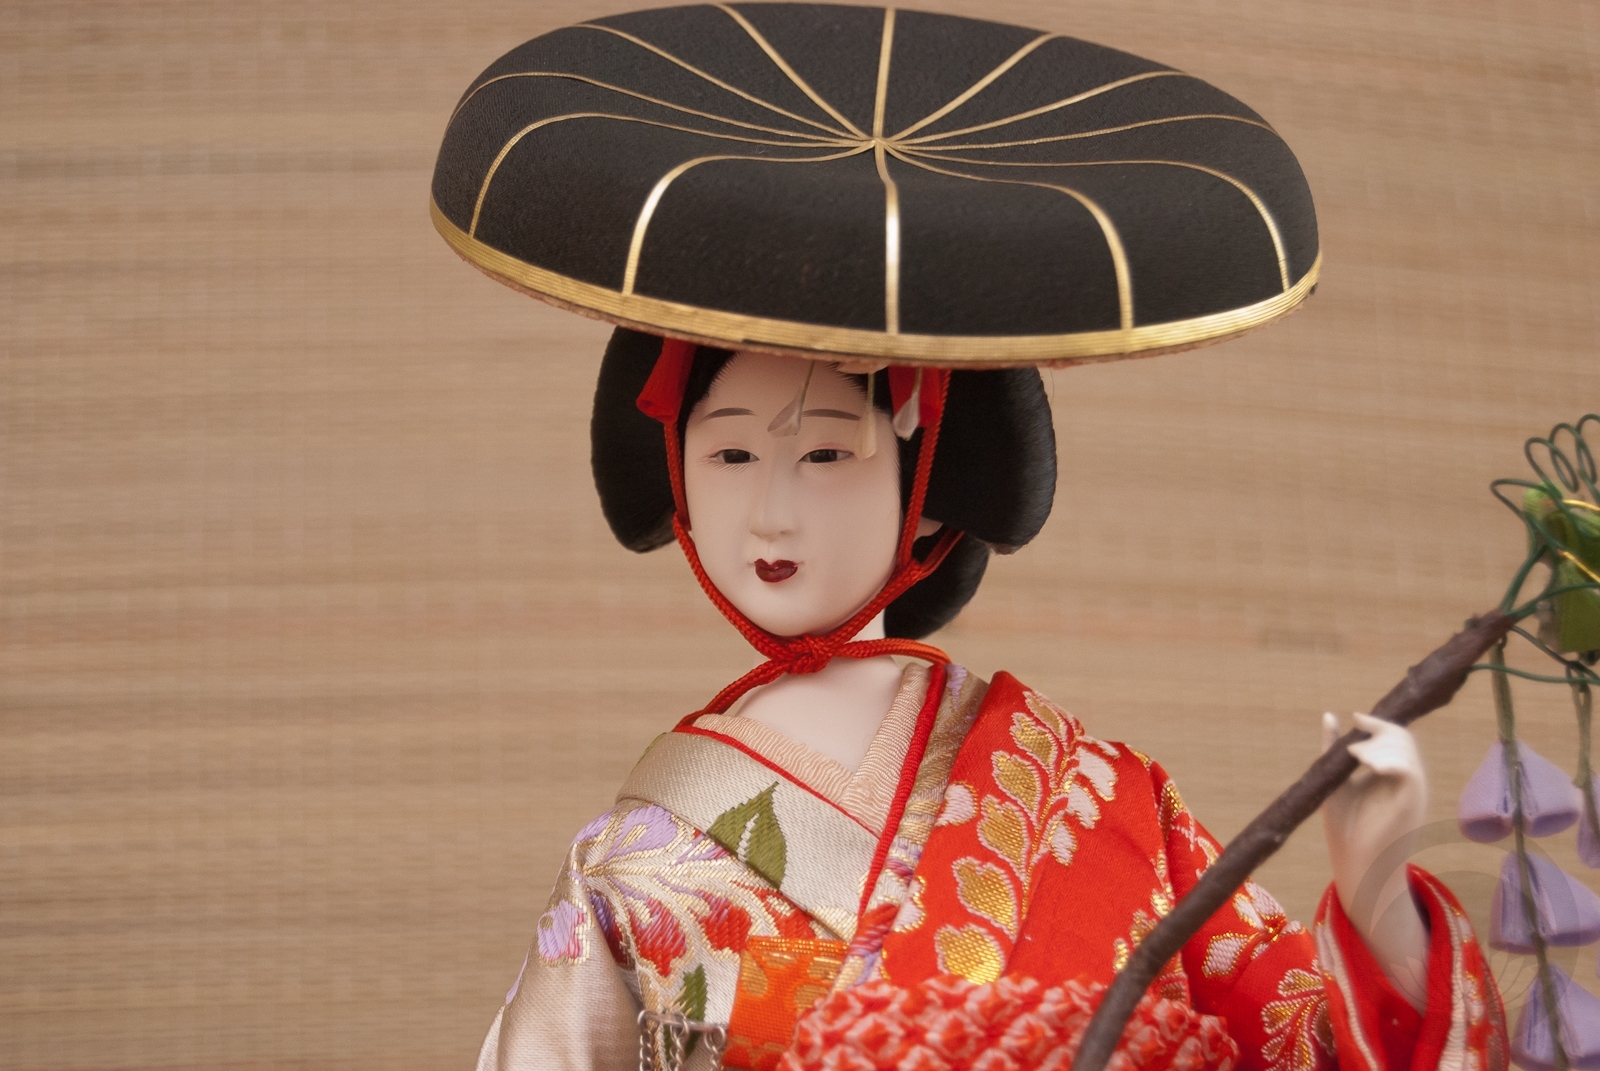
You may have seen the little souvenir doll I fixed up recently, and maybe even the ceramic hakata-style dancer I refinished, but this pretty Fuji Musume has been waiting for her moment in the spotlight since February of 2016! She had a very brief cameo on my Instagram account but has been in hiding ever since, unless you’ve been in my bedroom.

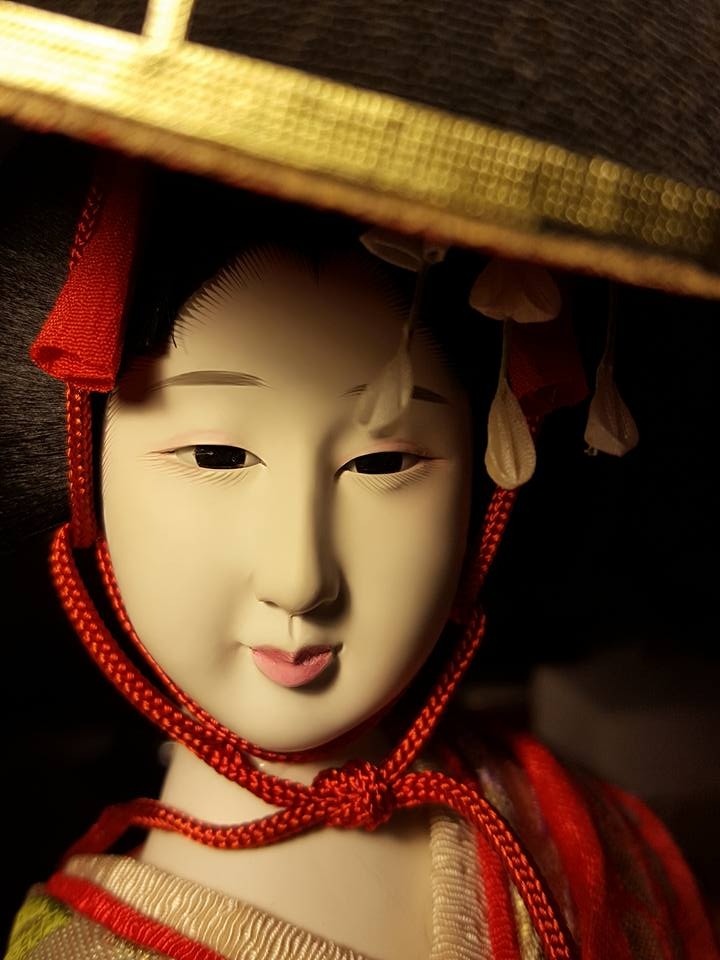
I found her in an antique shop near my house before I found the other two dolls. The owner tried to tell me she was in “perfect condition”, but once I took her out and had a good look at her I could see that absolutely was not the case. The delicate painting on her face was faded and chipped, her wisteria branch was sun-damaged and brittle, the structure under her hair was almost bleached, and there was a not insignificant crack in the bisque on the back of her neck. I managed to talk him down to a more than reasonable price for her and her glass case. I knew I wanted to restore her beauty, but I had no idea where to start, aside from the obvious things like getting her a new wisteria branch. While that was in the works, I focused on the other dolls and the things I learnt doing those two helped prepare me for more on her.
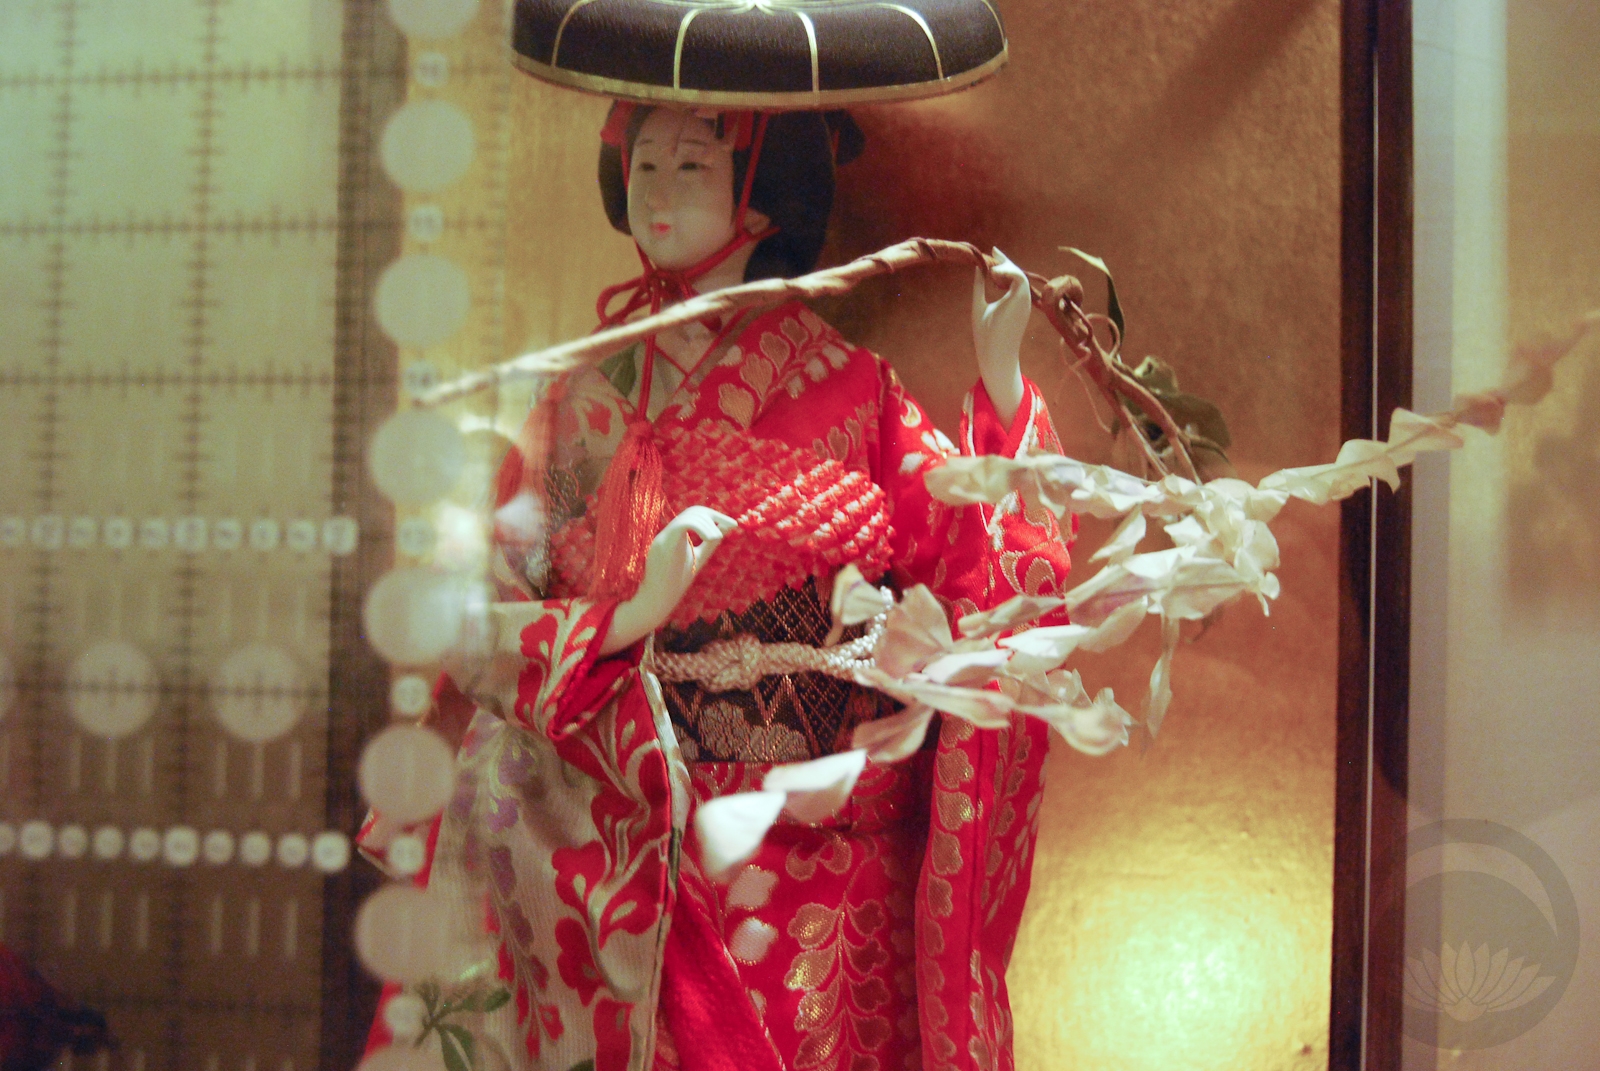
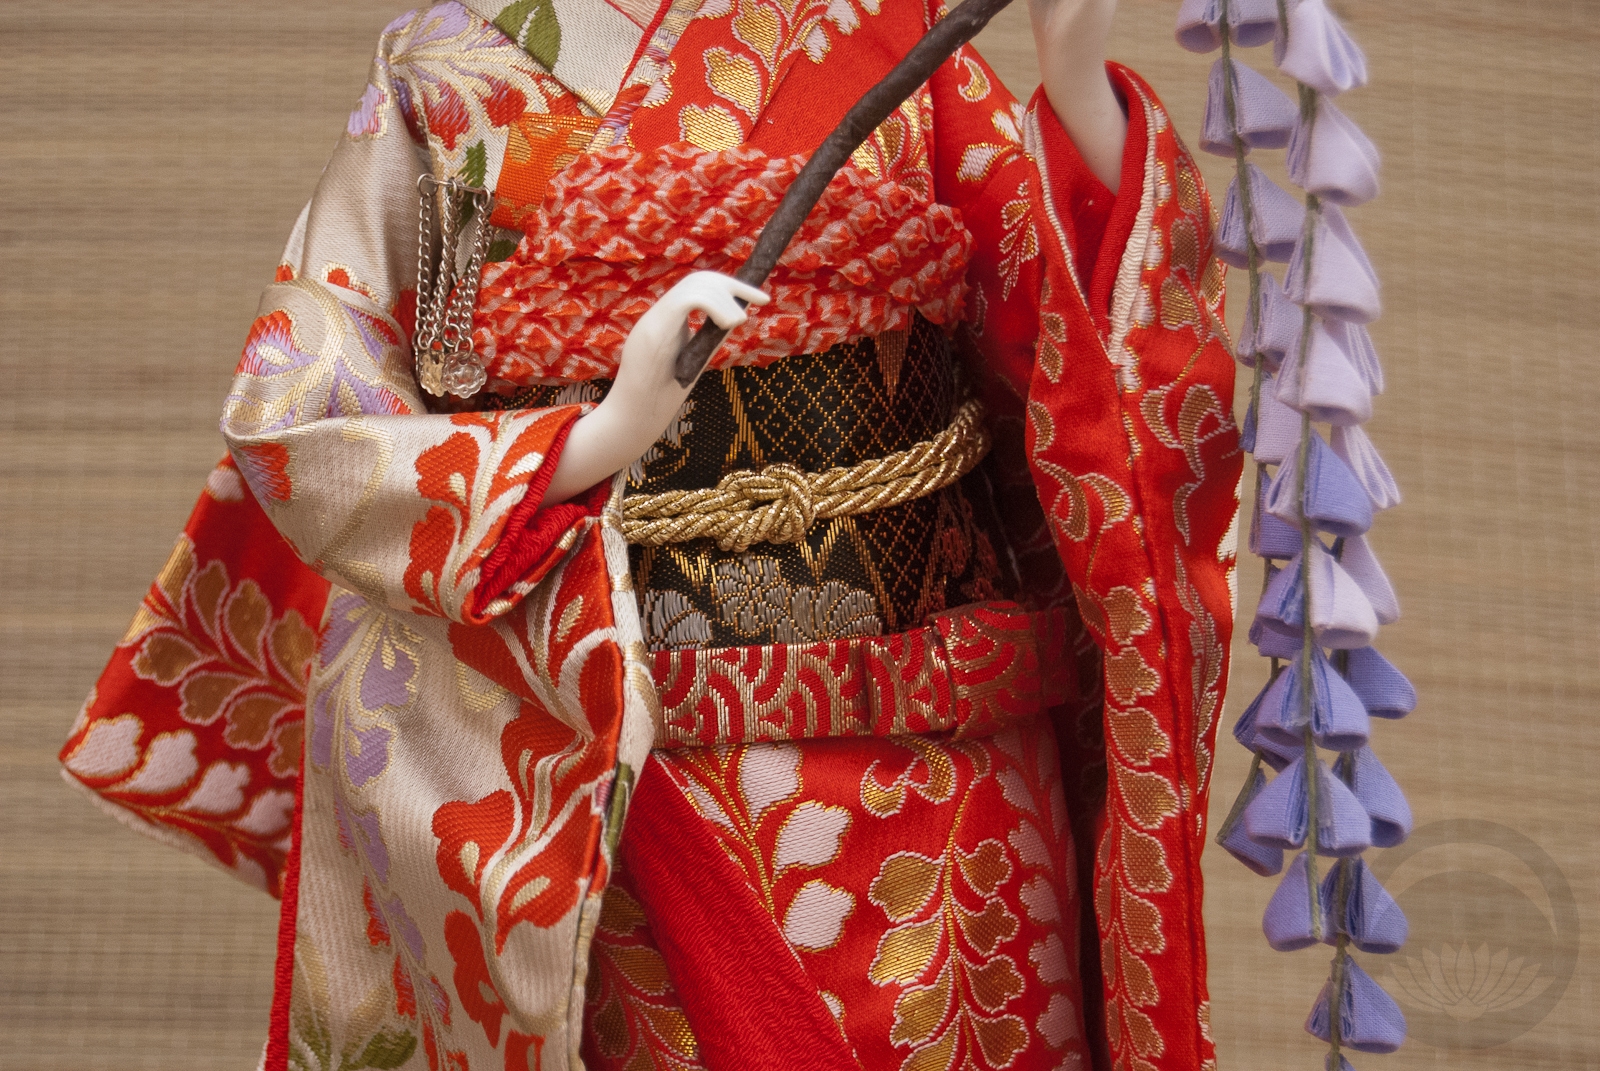
Jess from Tiaras ‘n Teakettles came to the rescue for the wisteria! I sent her photos and measurements of the original branch and she crafted this beautiful tsumami branch by hand. It’s got a lovely weight to it, the dangles flow gracefully, and it fits perfectly between her hands. I didn’t even have to glue it, it balances so well.

Once that was sorted I knew it was time to tackle the more serious issues. Her lips were lacquered in an almost glassy red that had cracked and split and faded over time. I ended up having to use Tamiya paint thinner to strip the original off properly, and then used watercolours to repaint her lips and add a tiny hint of red to her eyes. I feel like it helps breathe new life into her facial features.
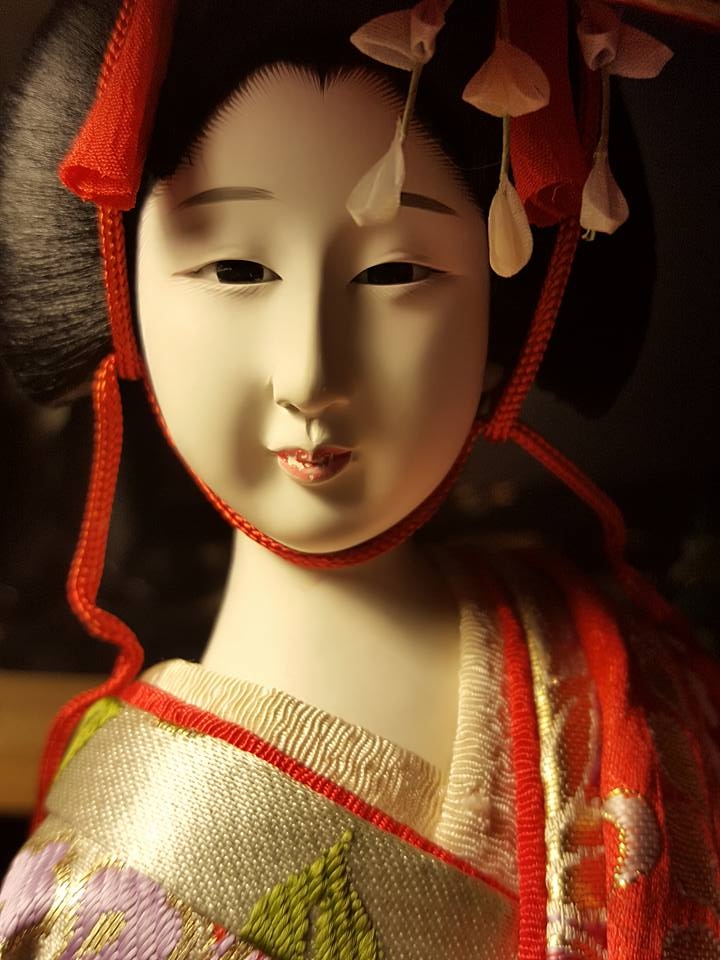
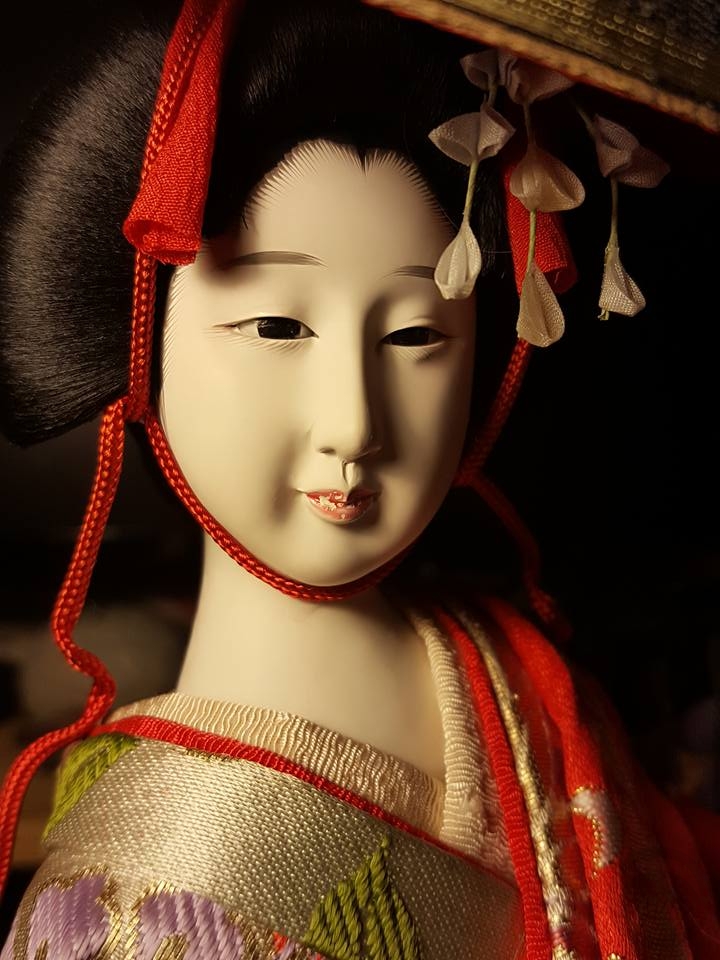
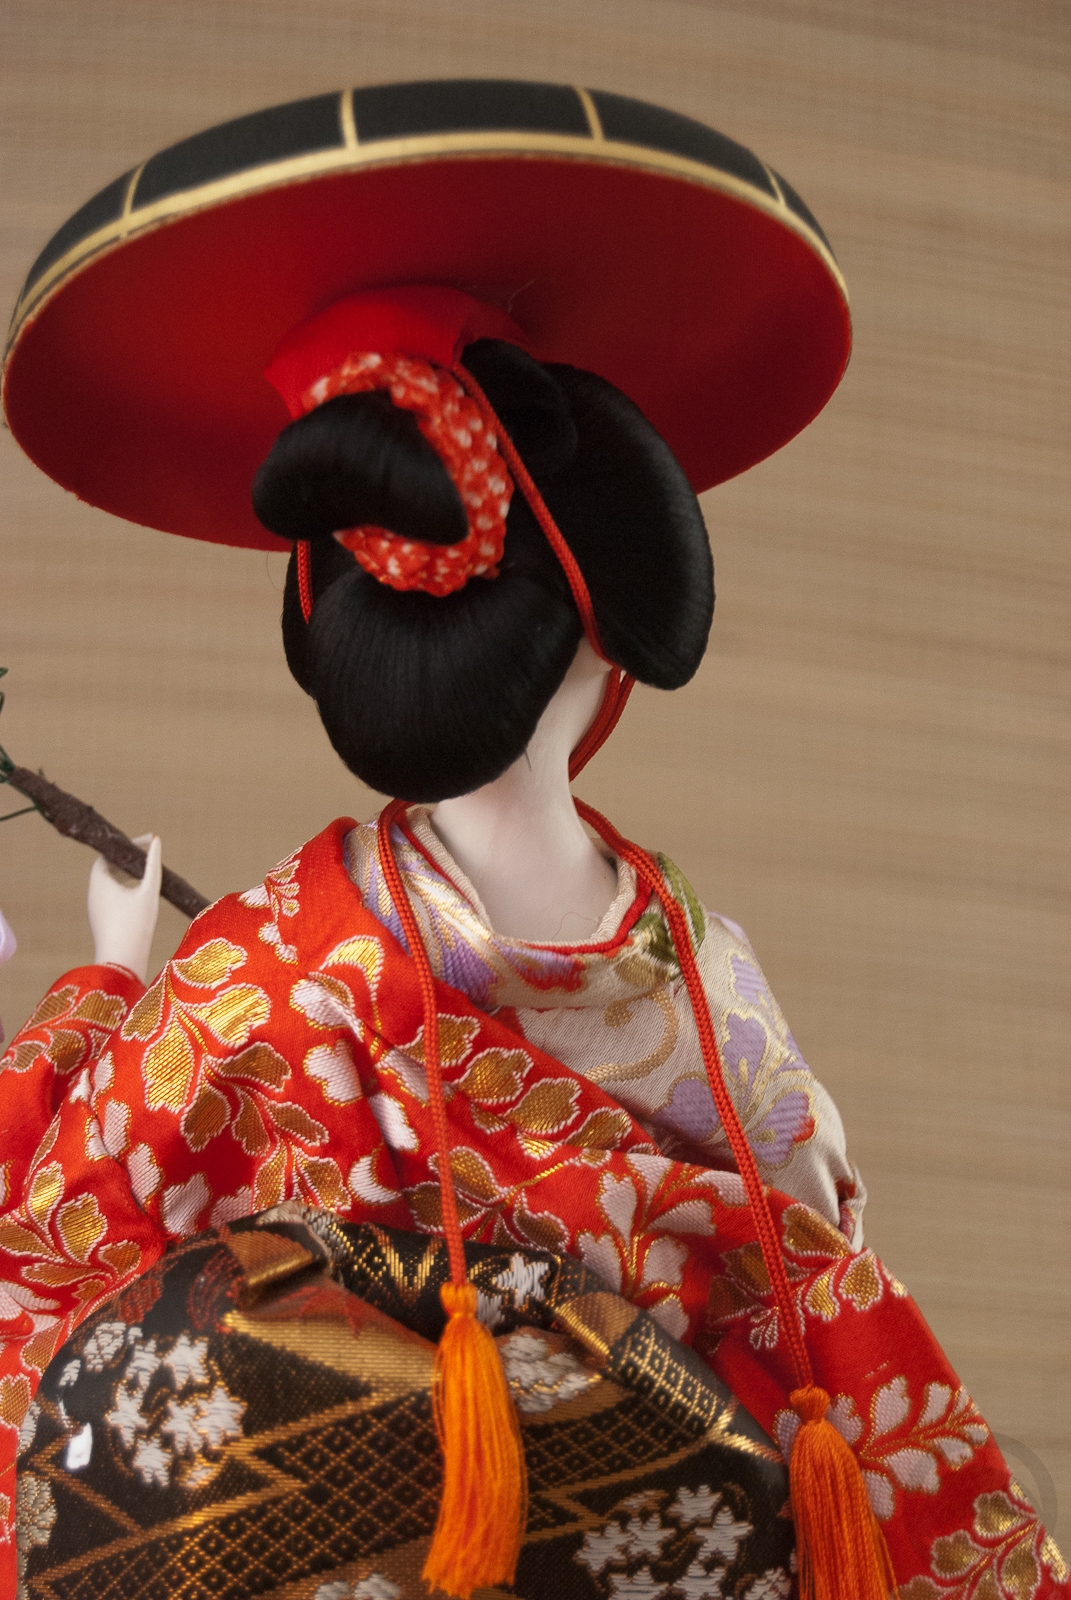
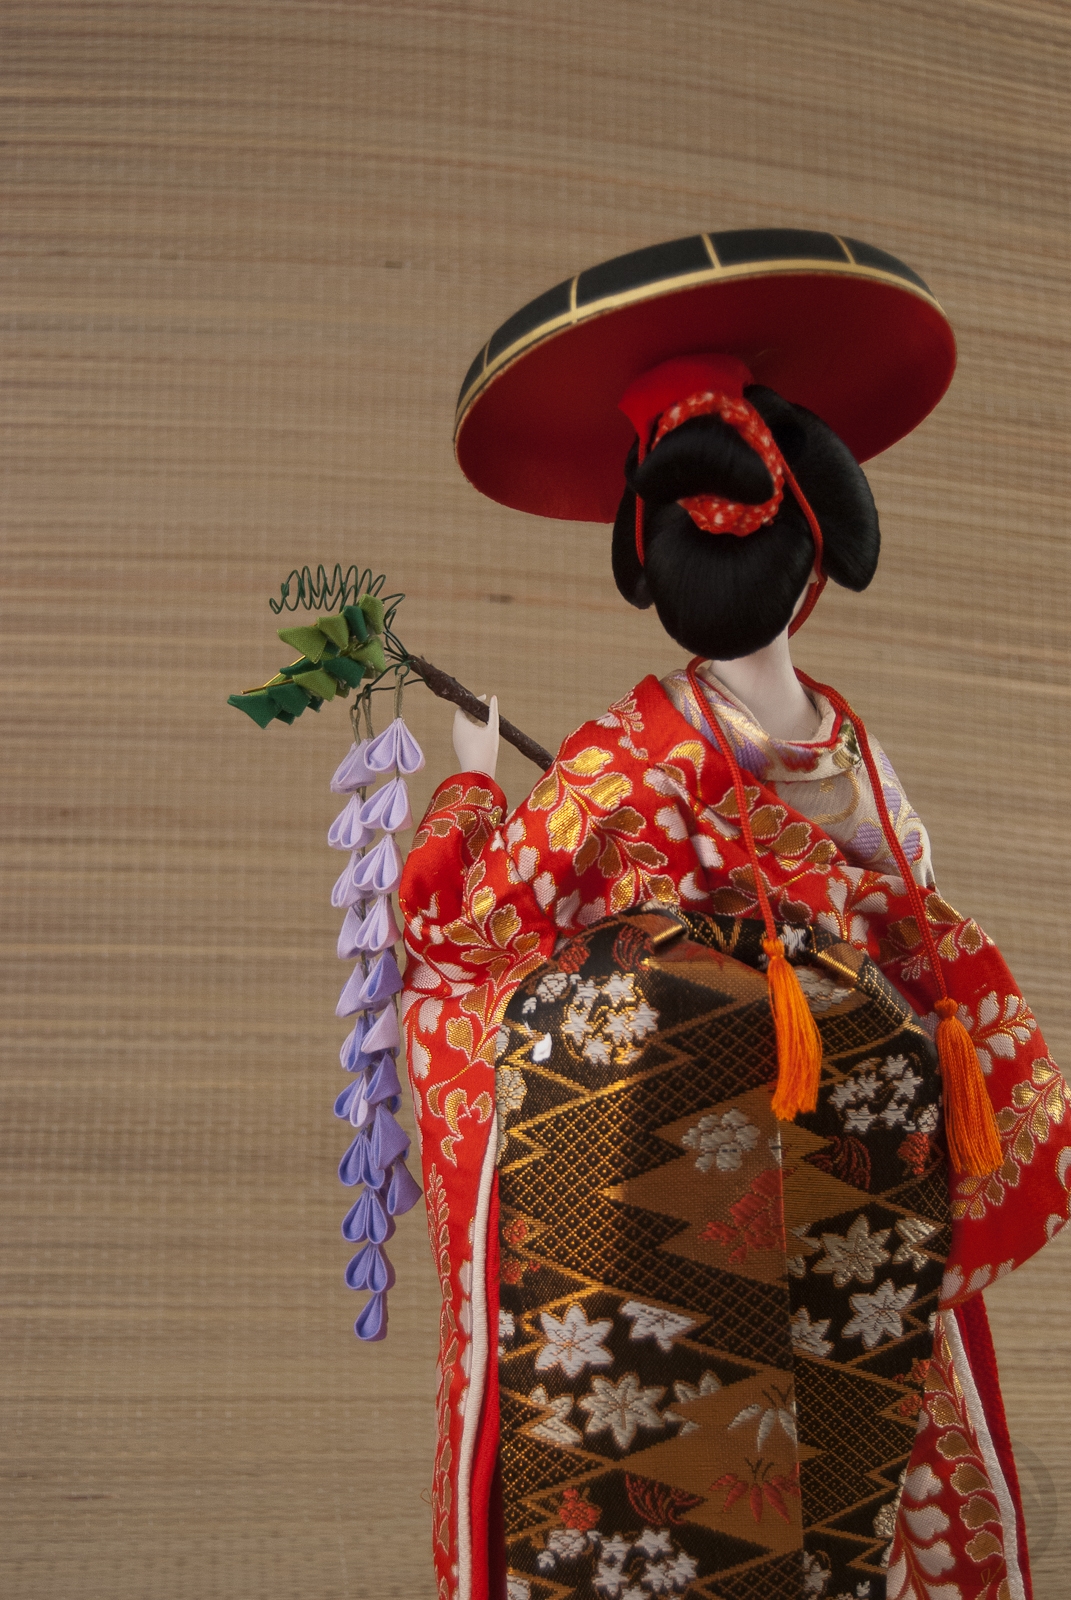
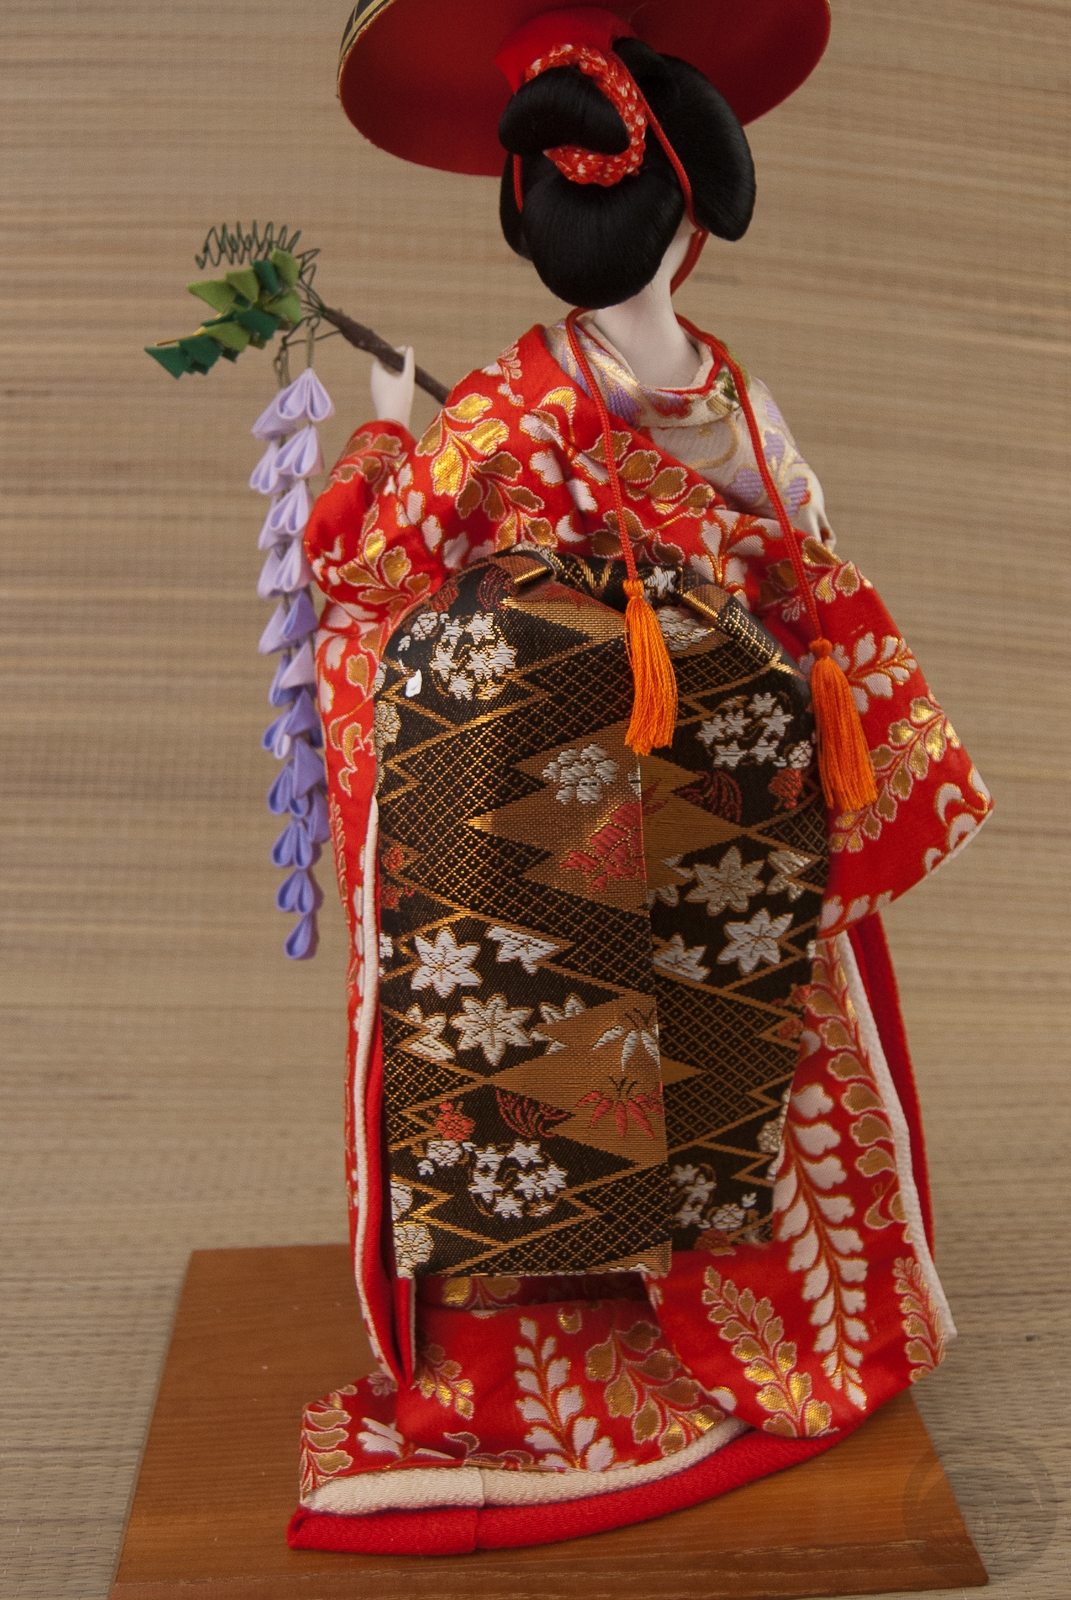
Next up was the most challenging bit; repairing the cracked bisque on the back of her neck. Thankfully it was just a surface defect, not a structural one, and with the way she stands in her display case it’s virtually unnoticeable, but I knew it was there and I wanted to fix it. I tried a few different things before stumbling upon crafting chalk paint. It’s easy to find in any large craft store such as Michaels. I bought a bottle of white and mixed in the tiniest amounts of peach and brown to make it warmer and less stark. I worked in incredibly thin coats, brushing it over the crack and wiping away the excess each time, essentially filling the crack in with the chalk paint and blending the edges out with a wet brush. If you’re right next to her or looking through a camera lens you can see it faintly, but it’s nearly gone.

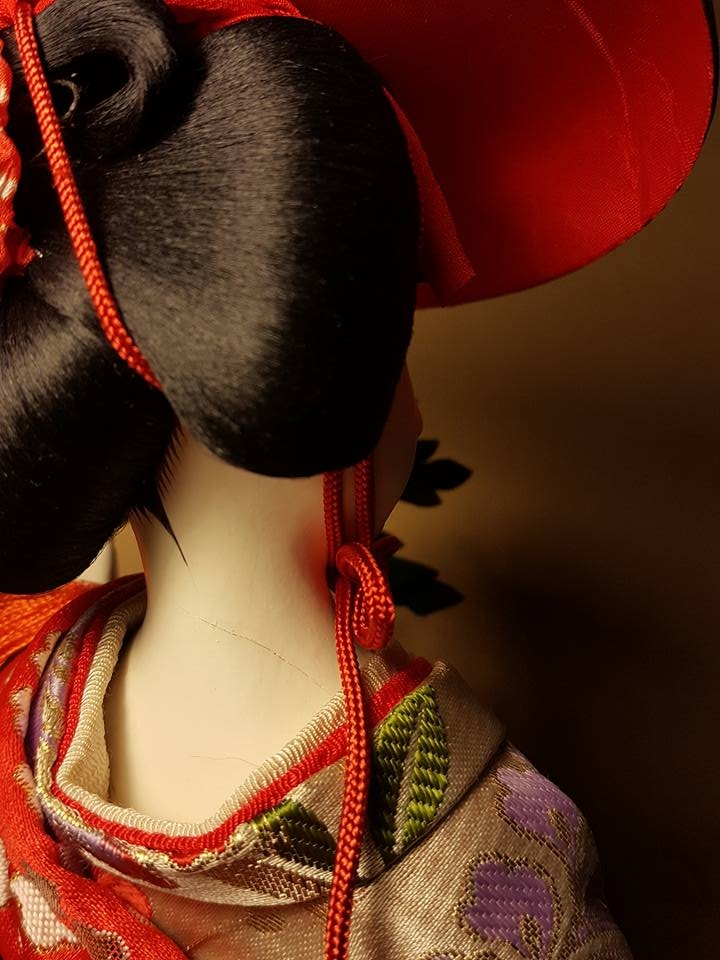
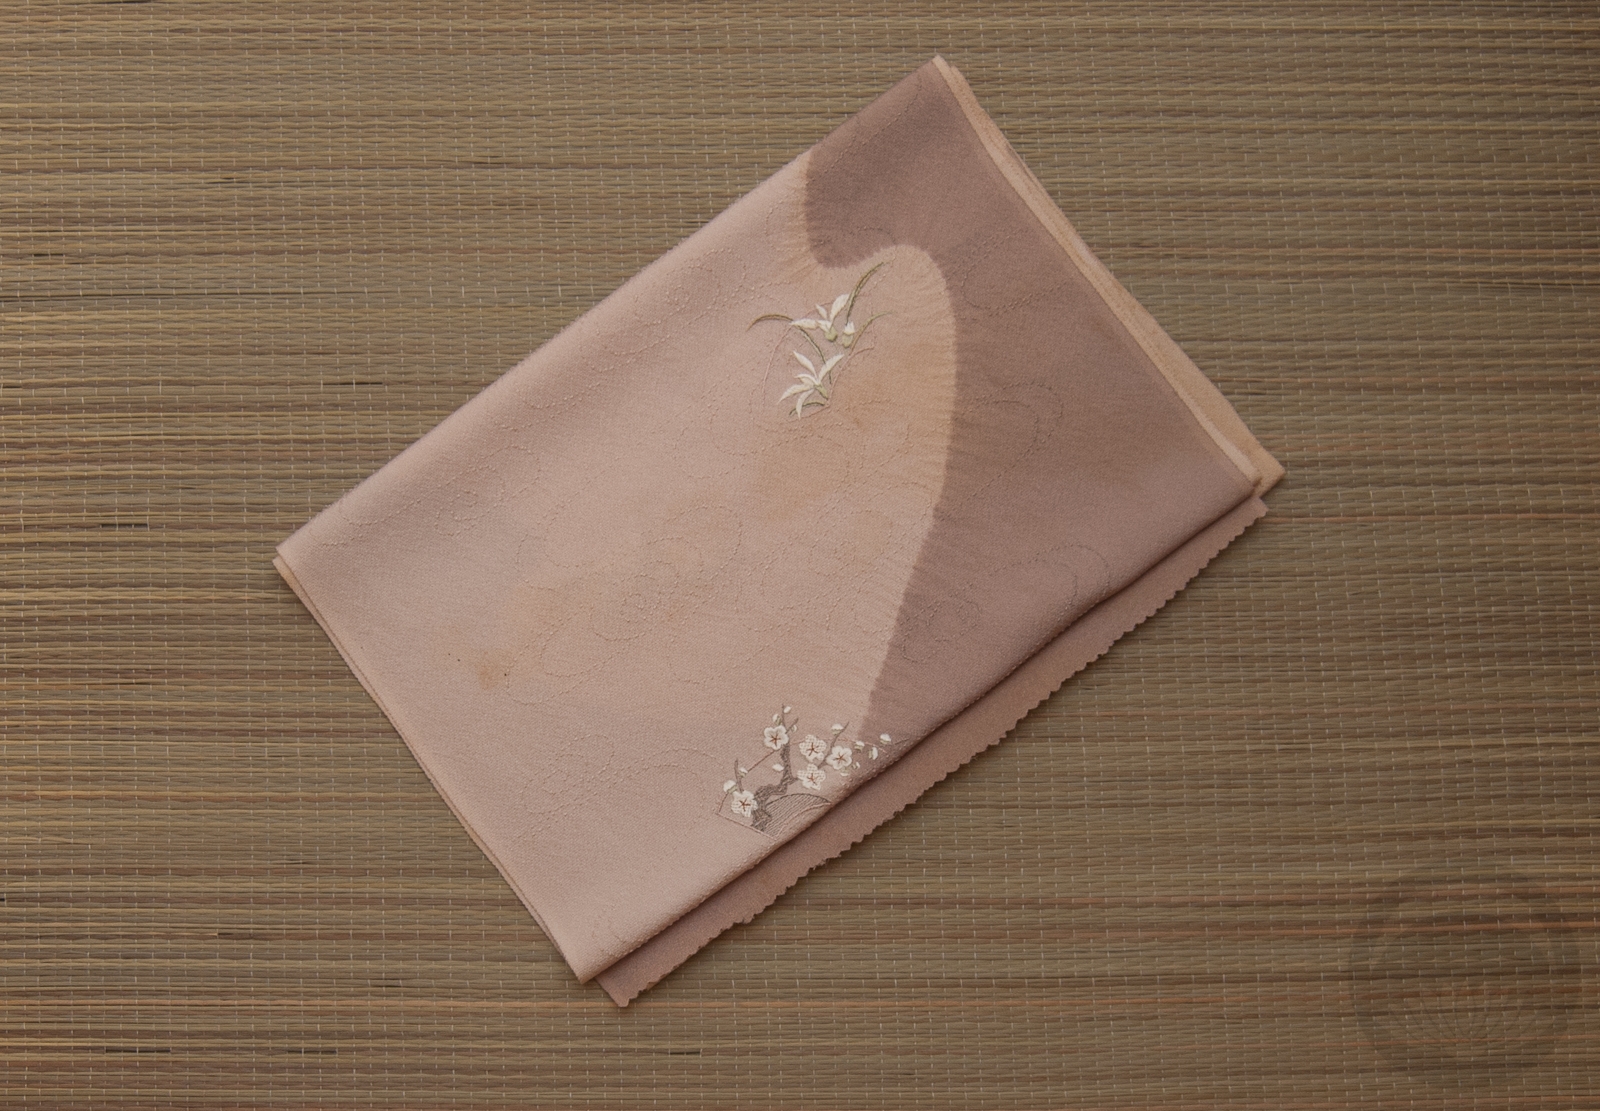
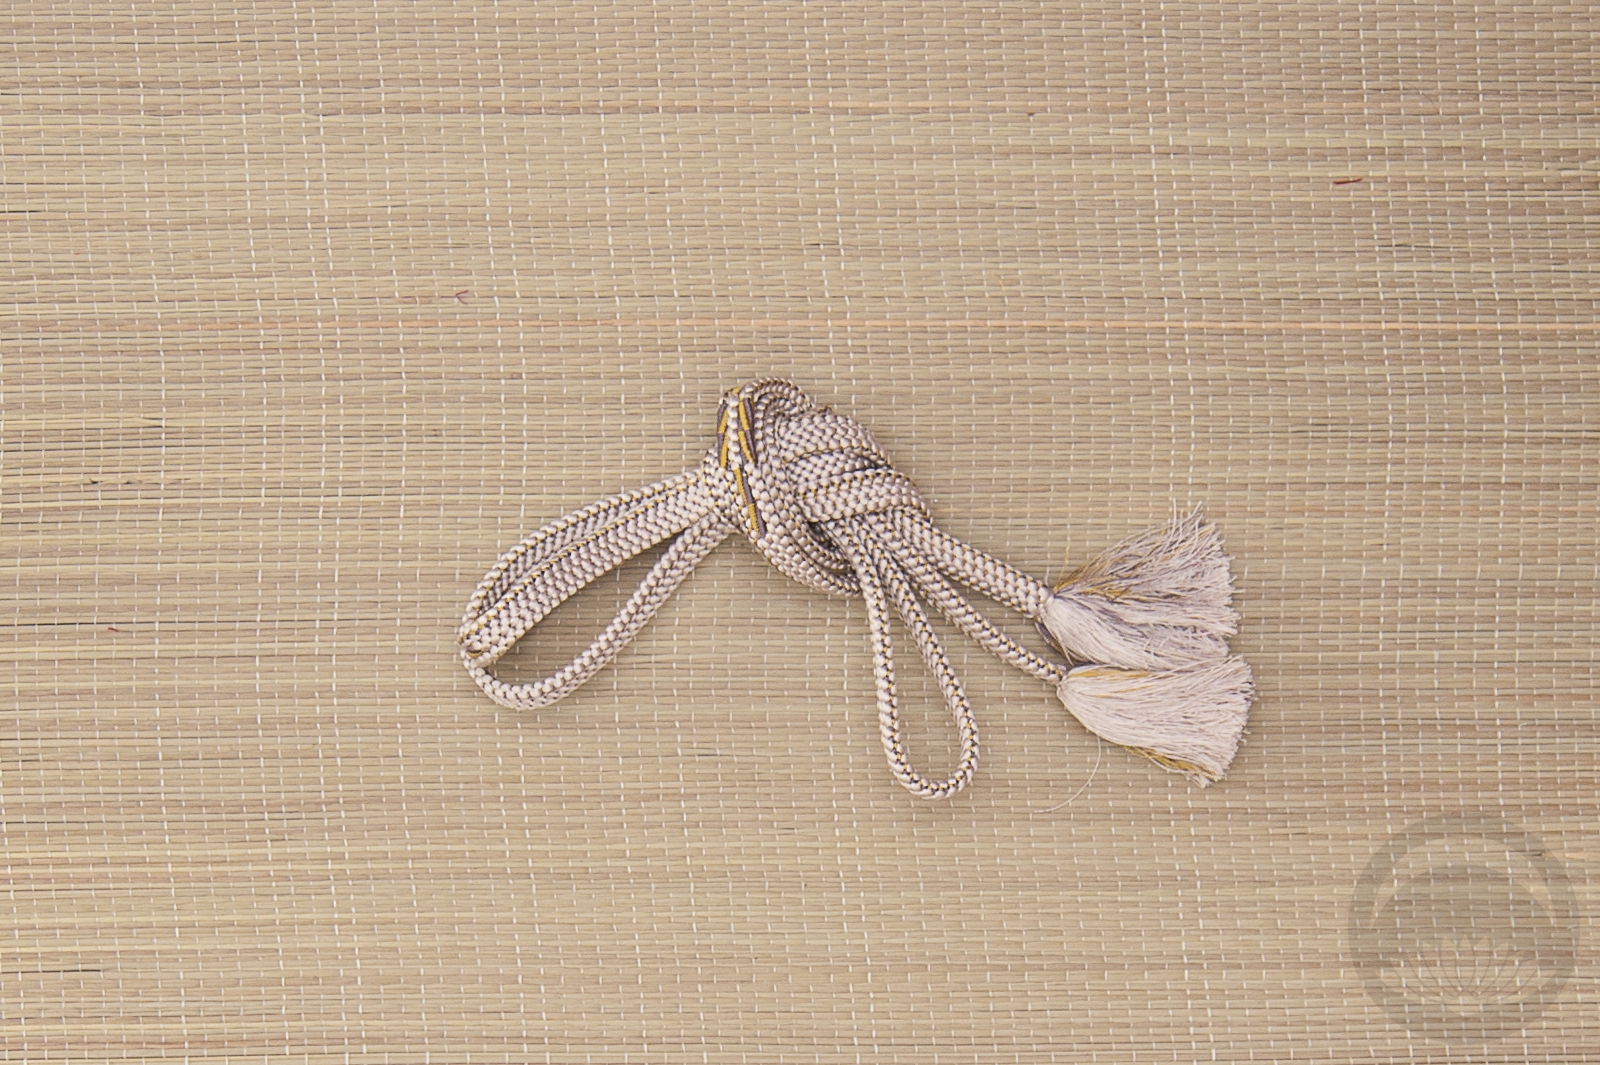
Finally I used a black marker to fill in the bald spots on the sides of her hairstyle, repositioned her obiage and gave her a new obijime. I felt that the original one she came with was too big in scale and to starkly white, but I found this thinner gold cord that works perfectly.
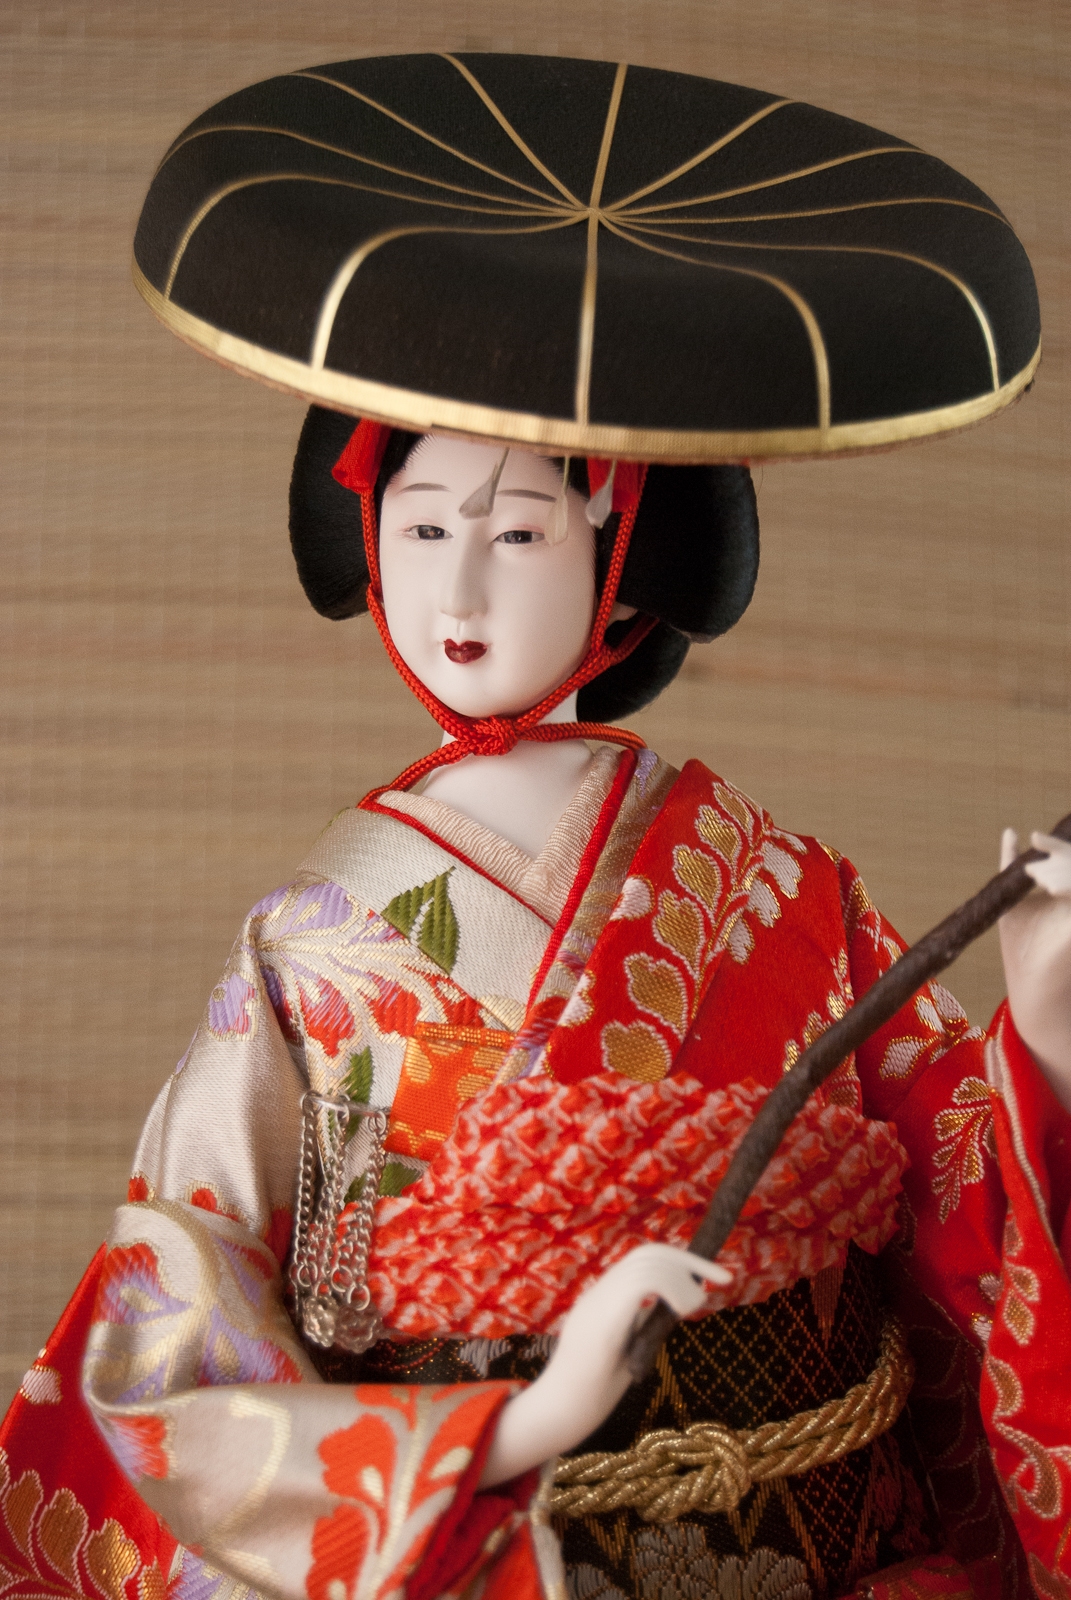
I am so glad I waited to work on her, because I know I’ve done the best job possible instead of eagerly rushing through things as I am sometimes wont to do. I love her to bits, and she occupies place of pride on a table next to my sofa now.

Also, you may be thinking to yourself “Isn’t this primarily a kimono blog? Why aren’t you posting any actual kimono lately?” and I would like to address that briefly. I’ve been feeling under the weather, and combined with the heat and humidity this summer, I have no energy to even wrestle with the mannequin. However, I do have a big project in the works, and hopefully it will make up for the sparsity and somewhat disjointed nature of the posts lately! I just need the weather to calm down a little, and the last of the pieces I’ve ordered to arrive in the mail.
One Kimono, Four Ways – Week 3: Punchy and Popping

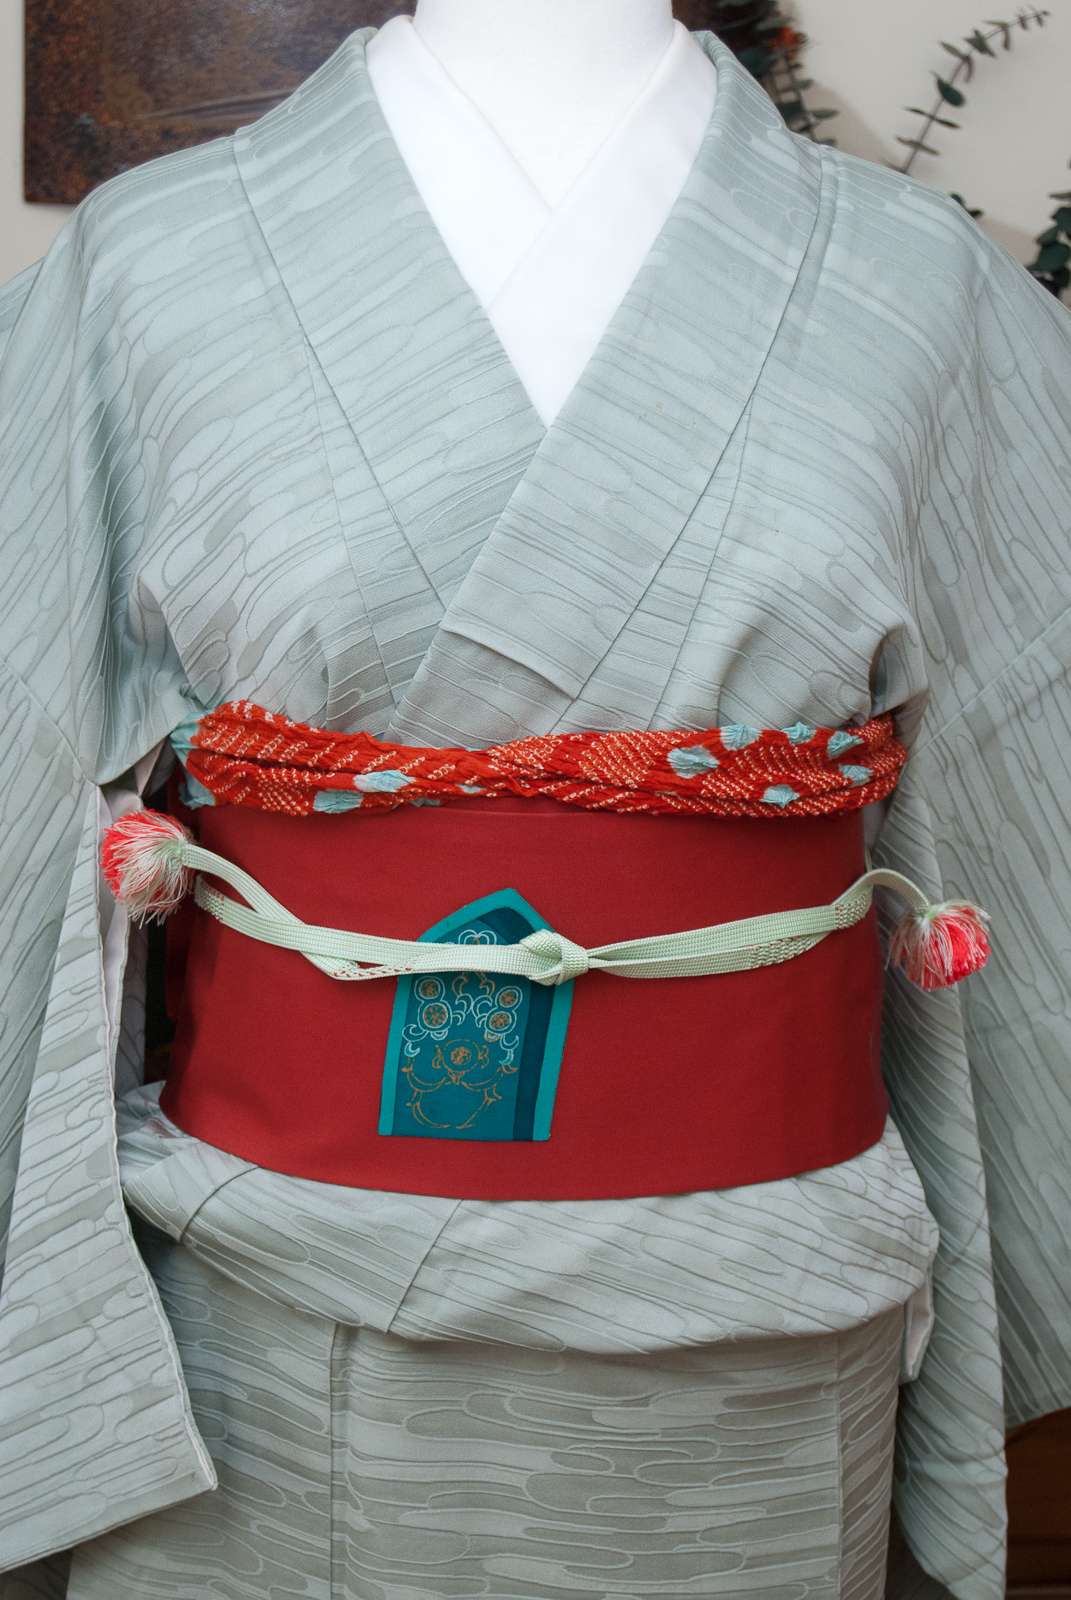
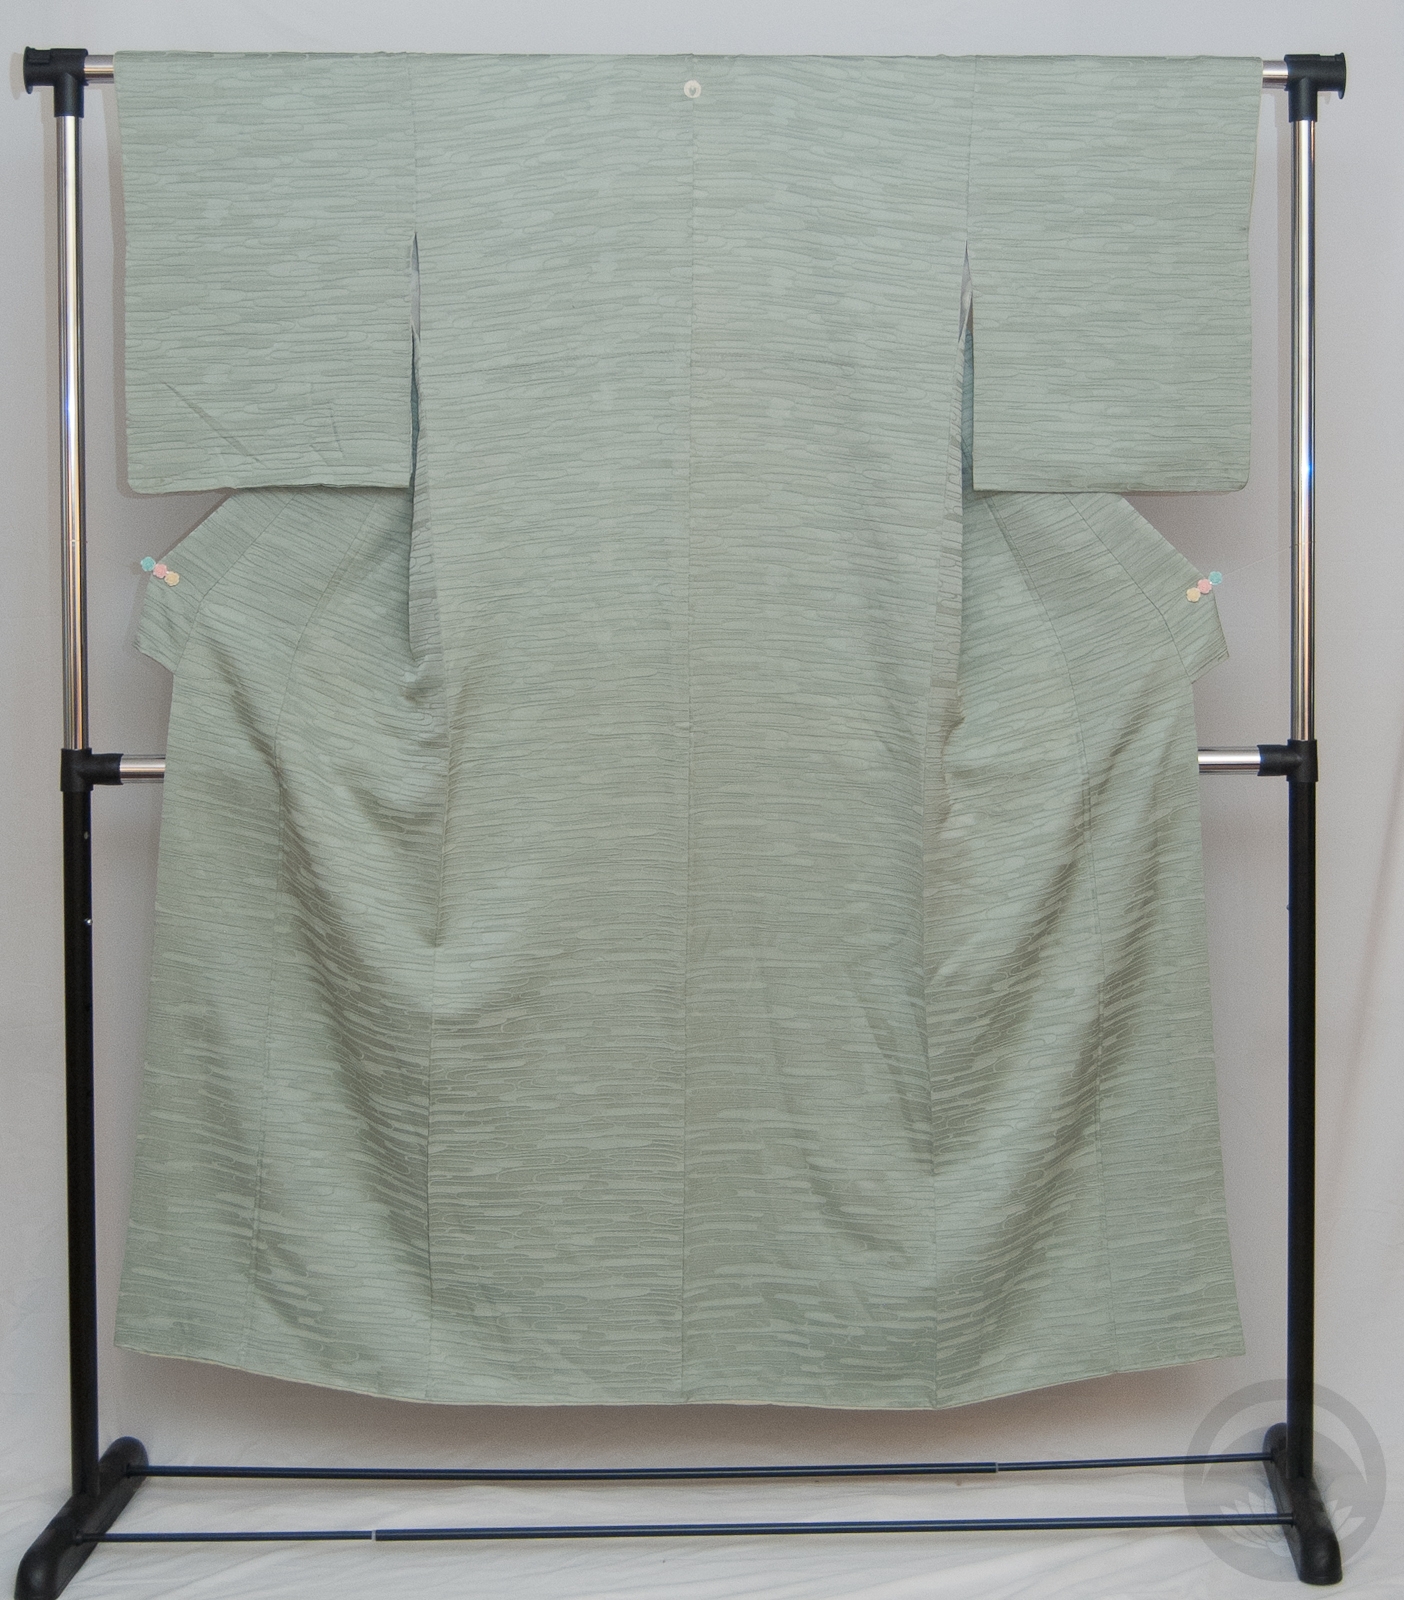
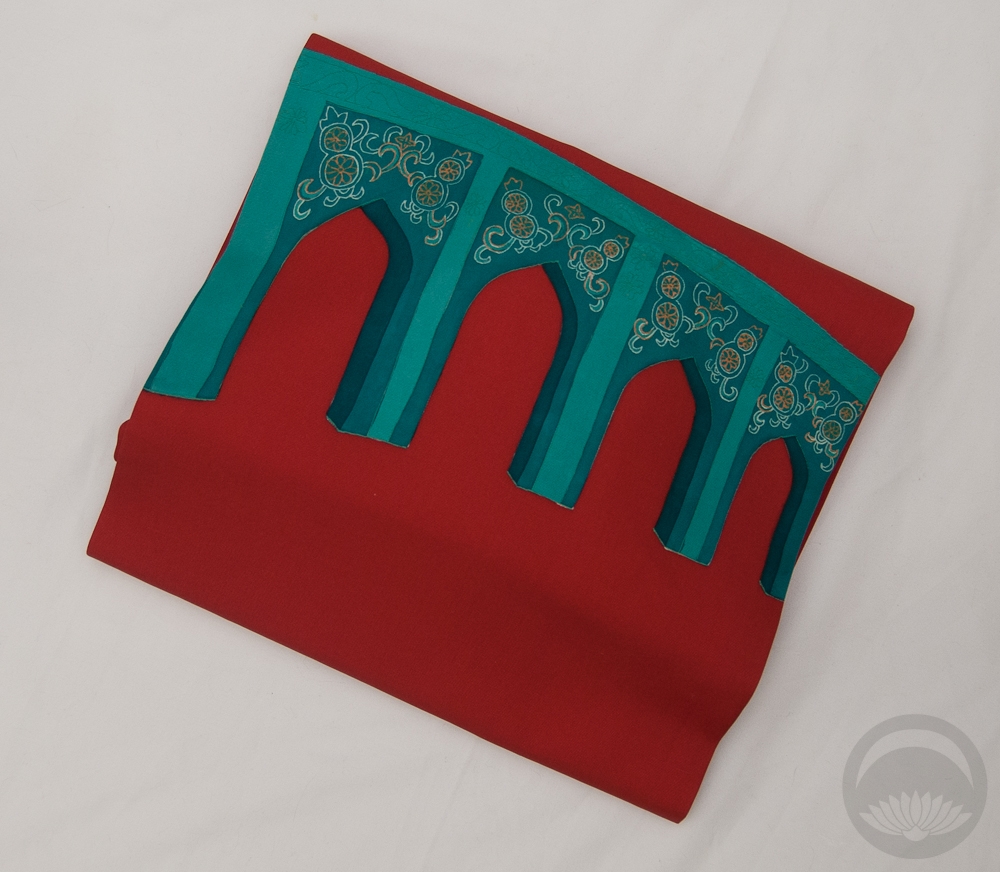
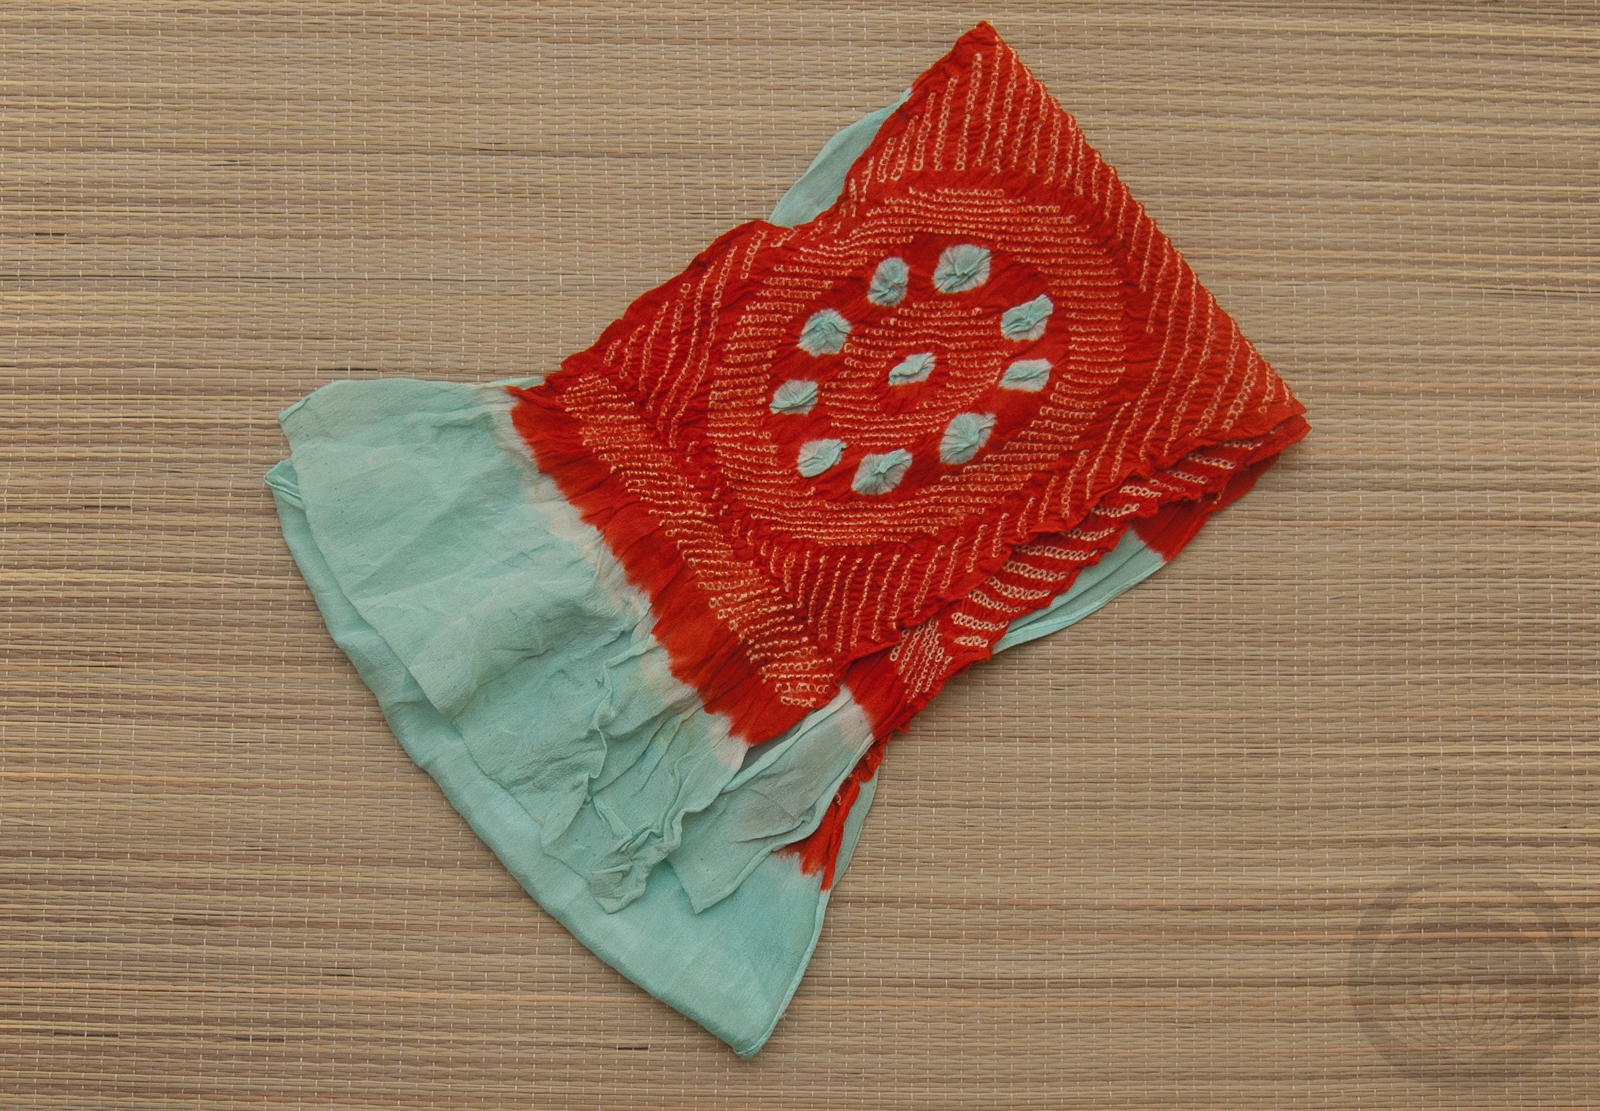
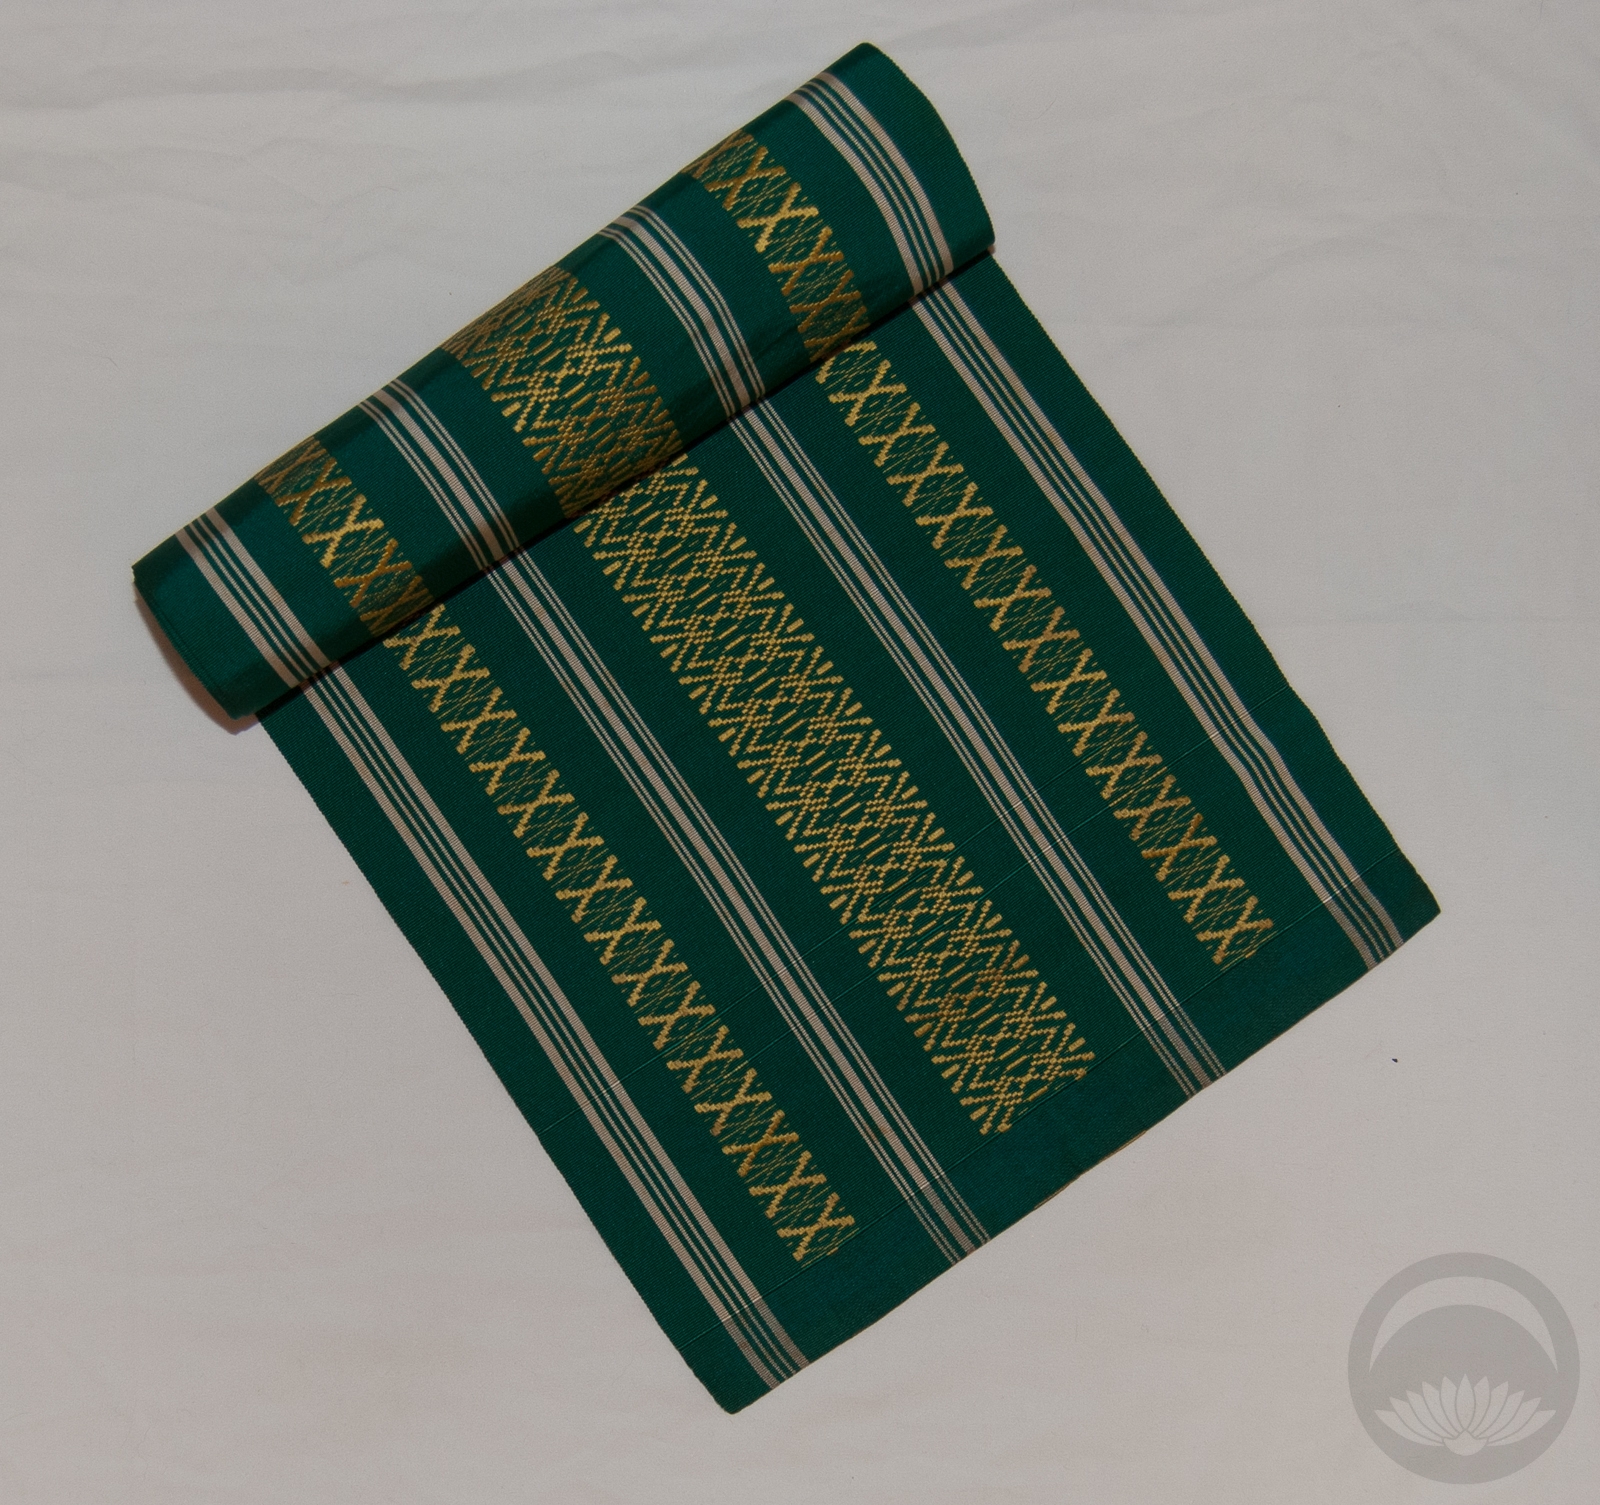
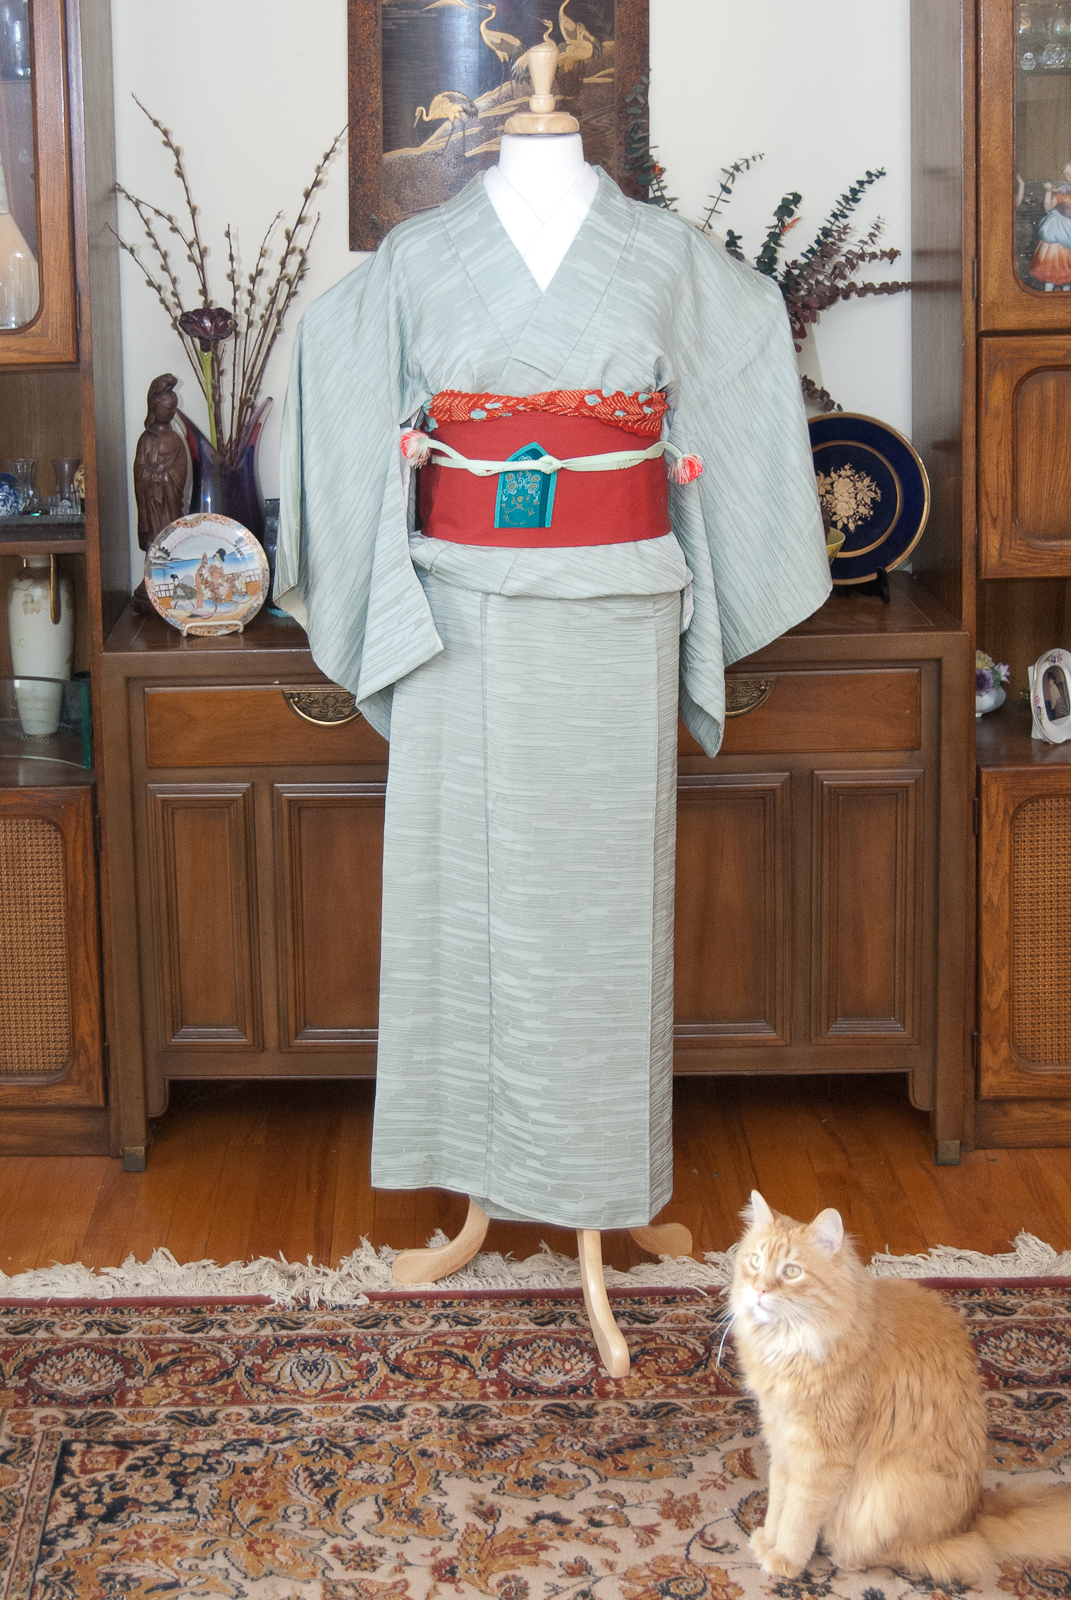
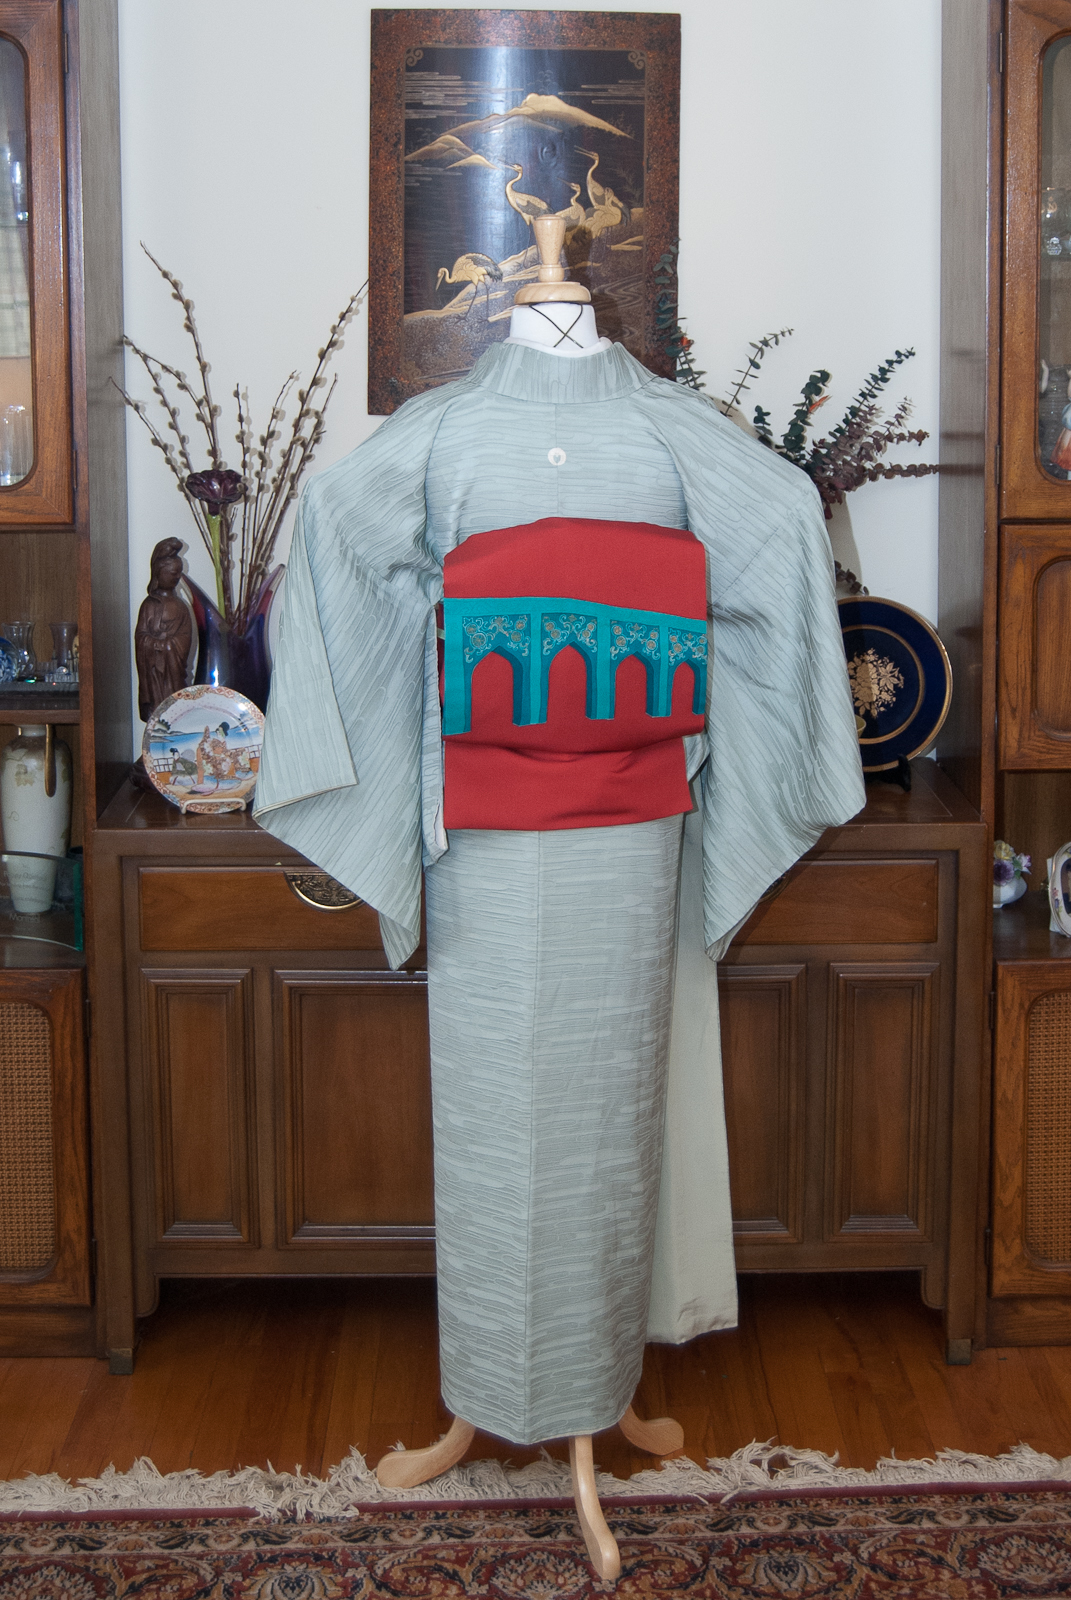
One of the great things about iromuji is how they can allow you to really focus attention on something other than the kimono itself. They make a great neutral canvas for a really bright or busy obi. I decided for this week’s entry that I’d do a really high-contrast coordination with a lot of “punch” to it, and this obi was the perfect place to start. It’s a very special obi; I received it anonymously from some lovely person online. I suspect their intent was to have me coordinate it with my Shah Mosque houmongi, but in the end the styles and colours were too different and I could never get them to work together. This kimono, however, is ideal. It’s a similar background colour to the houmongi and the orange-red of the obi really pops against it, but it doesn’t compete with the pattern on the obi itself. It’s a wonderfully neutral foil for the gorgeous obi, and the colours couldn’t work better together if they’d been made to go together. I’d initially thought of using a third bright colour (yellow or pink) for the obiage and obijime but then I remembered these pieces, and everything just clicked.

We’ve also got a special guest photobomber today! Those of you who are longtime readers have probably seen Vinnie before. He usually avoids the mannequin but today he decided he wanted to be the star of the show.

I hope you’re enjoying seeing these posts as much as I’m enjoying doing them! We’ve got one left, and then it’s time to focus on newer things.

One Kimono Four Ways

Items used in this coordination

One Kimono, Four Ways – Week 2: Modern and Monochrome

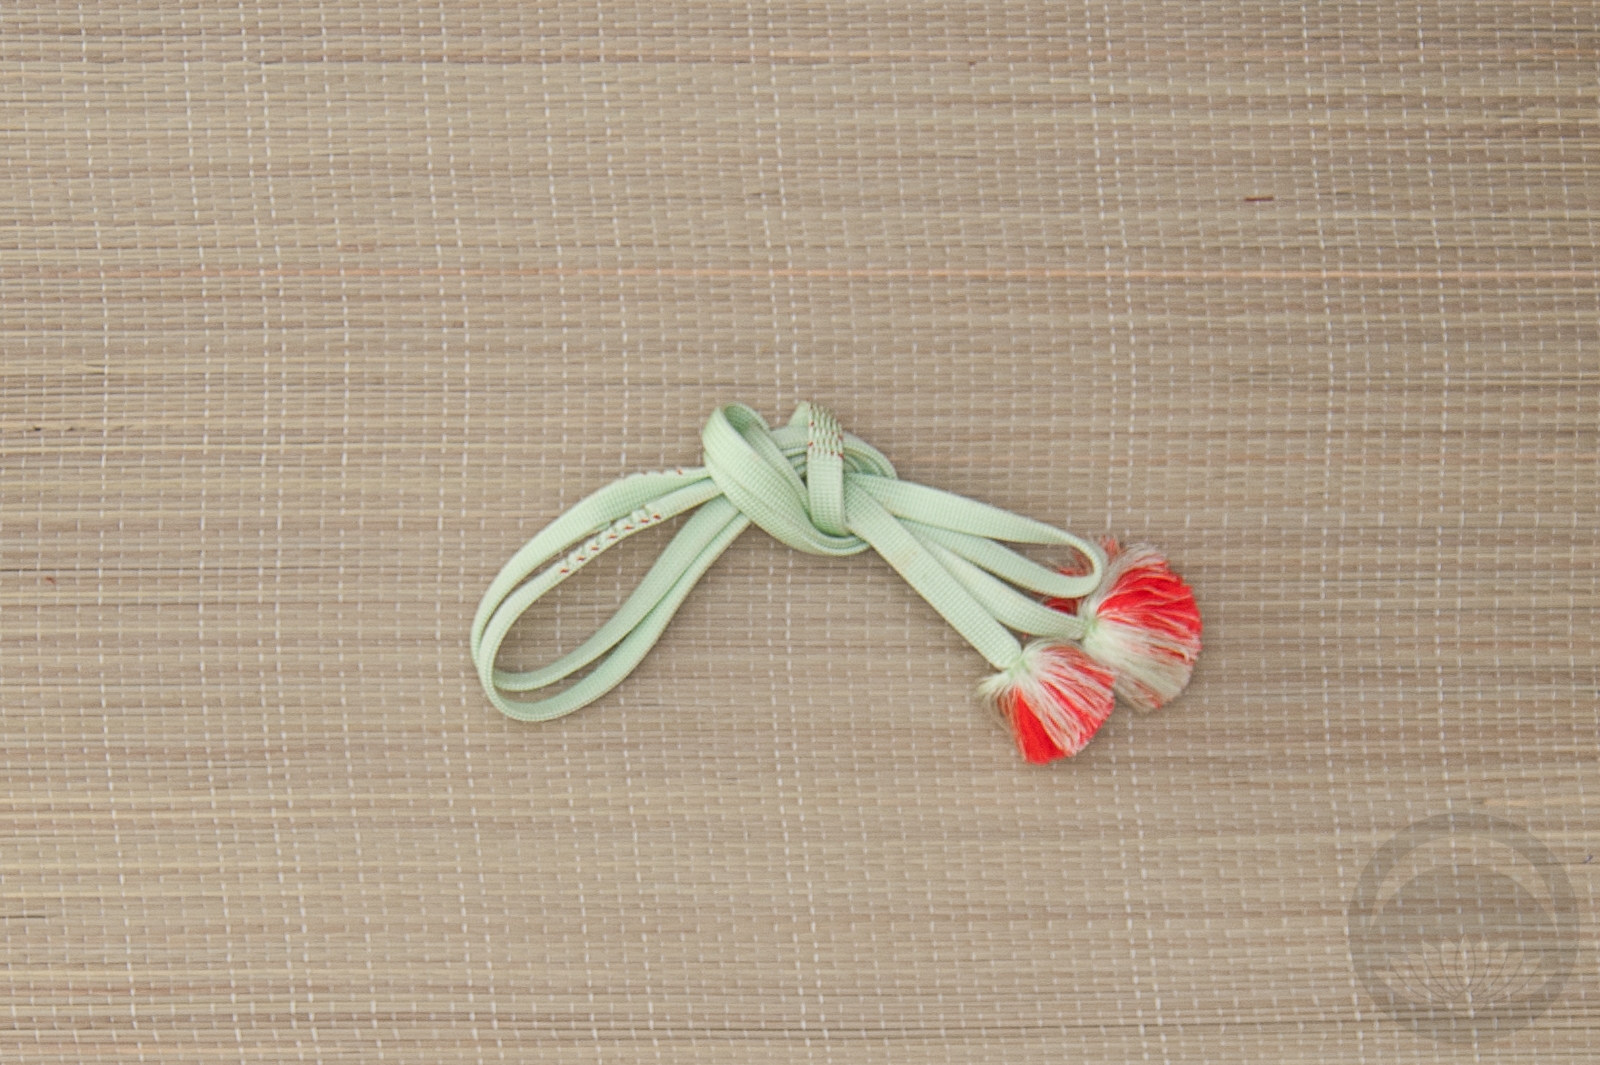
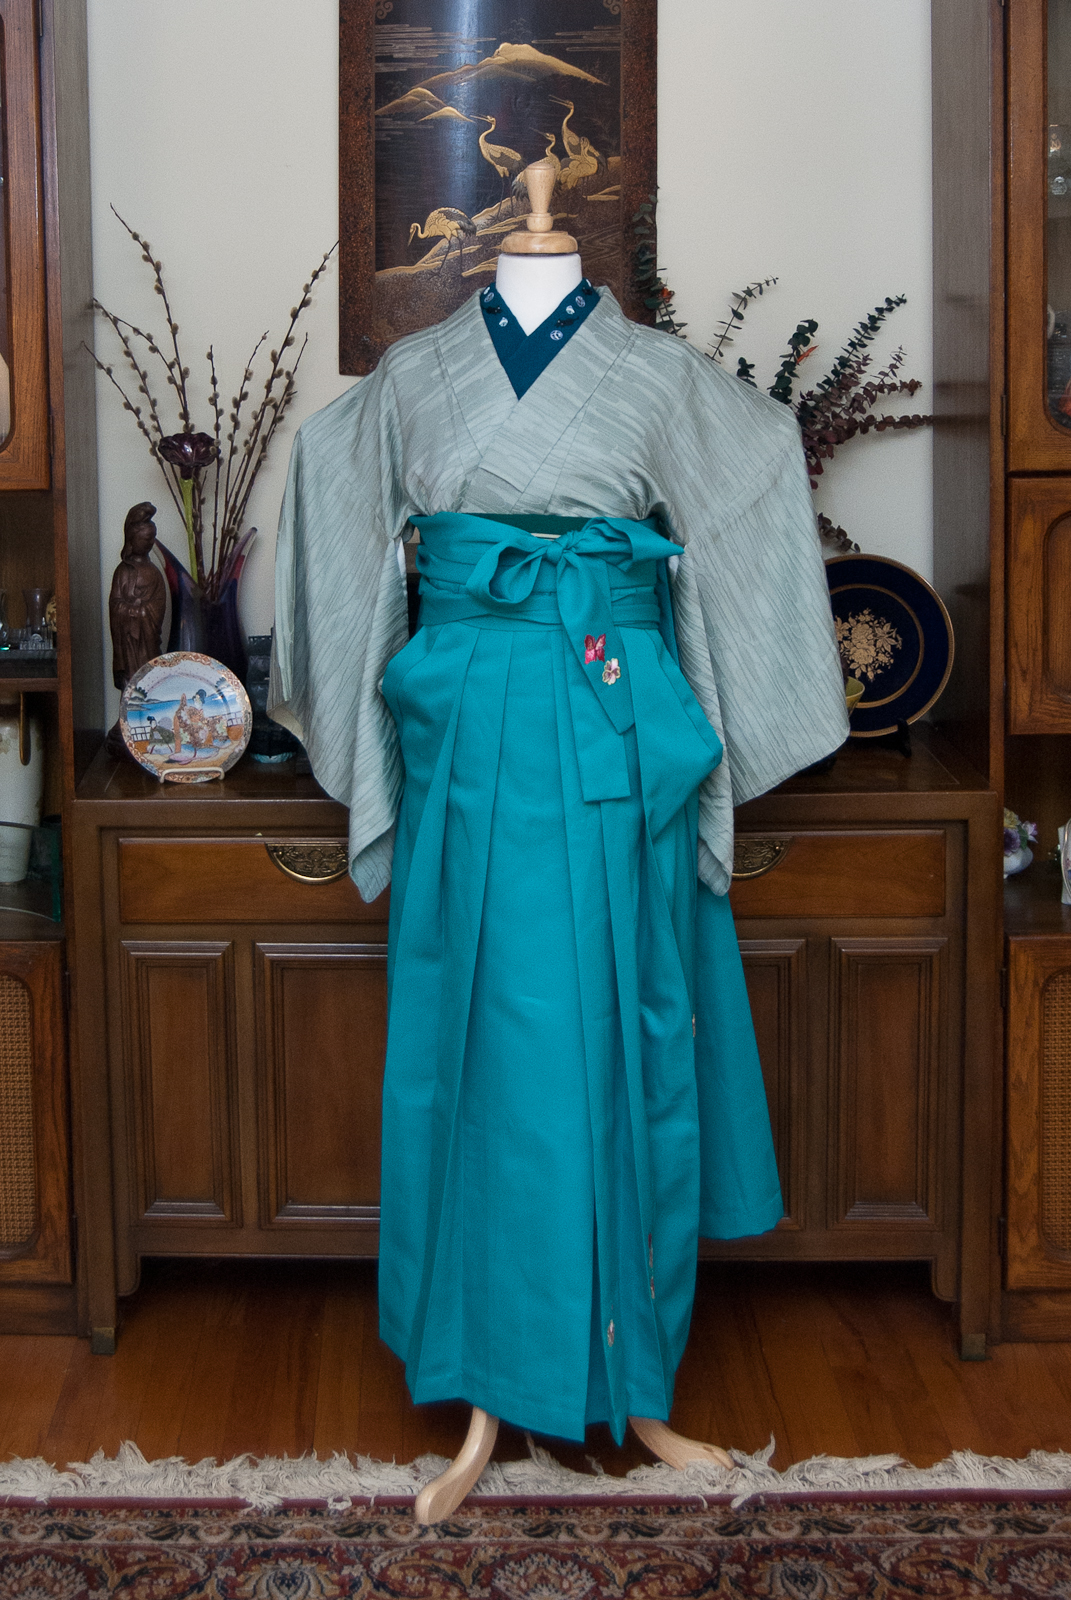
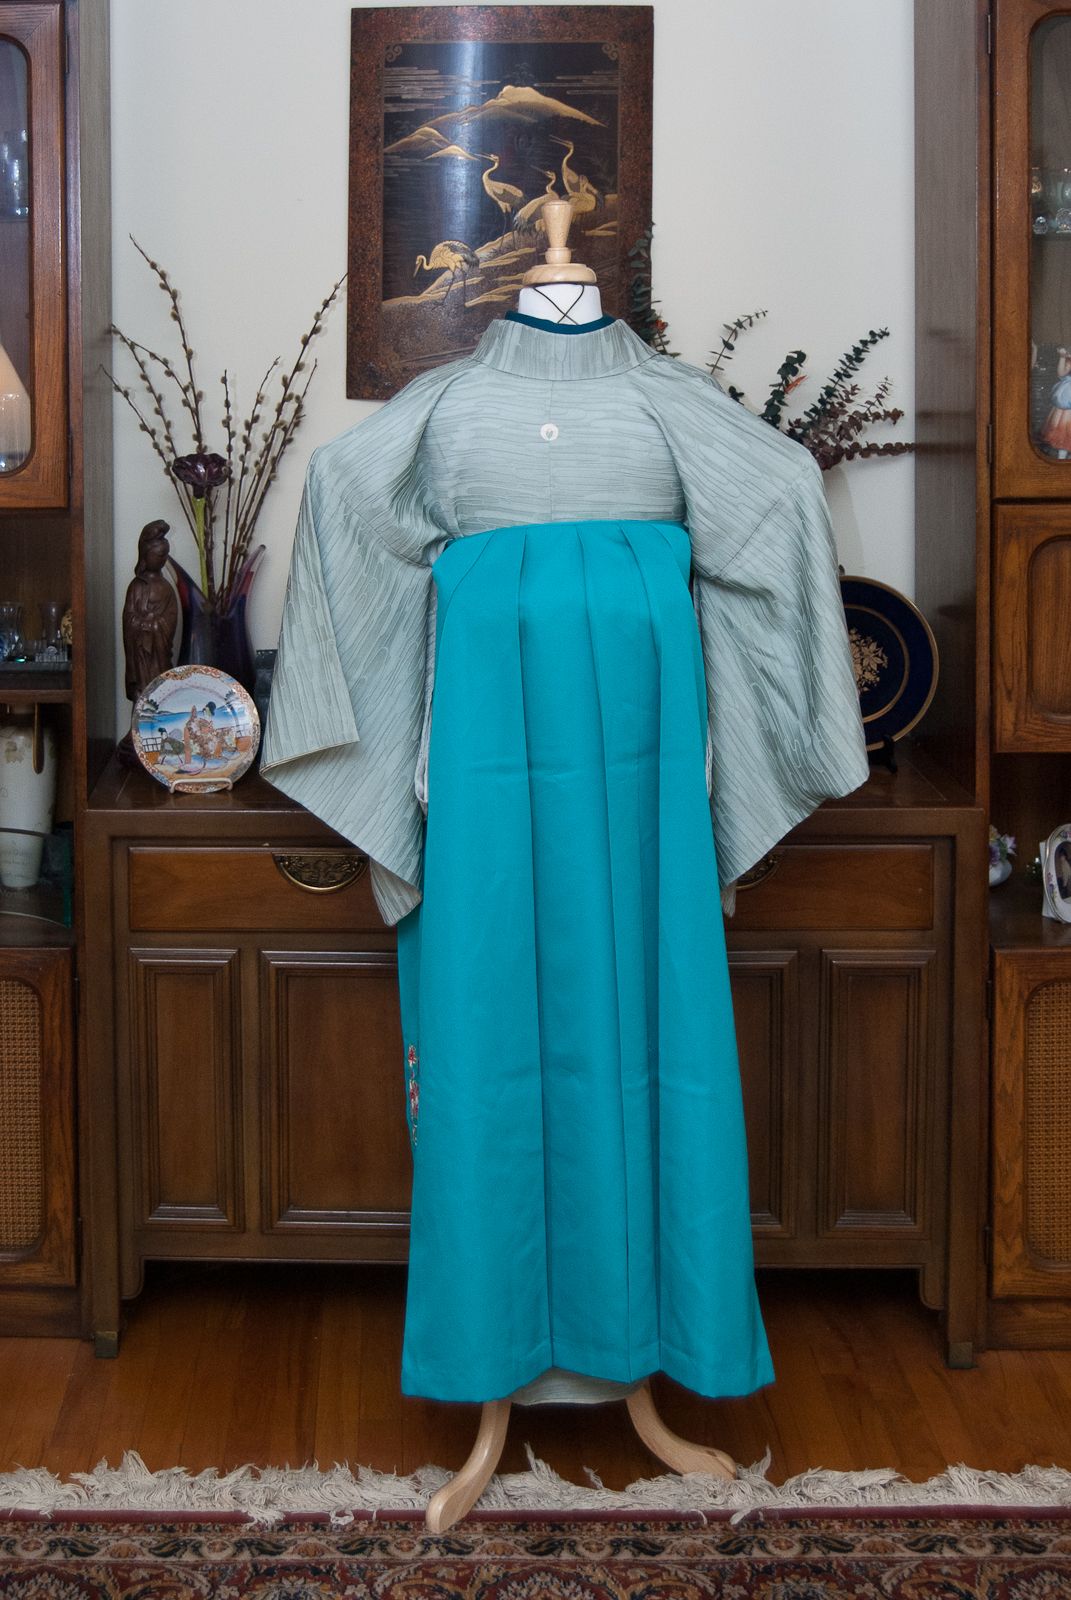
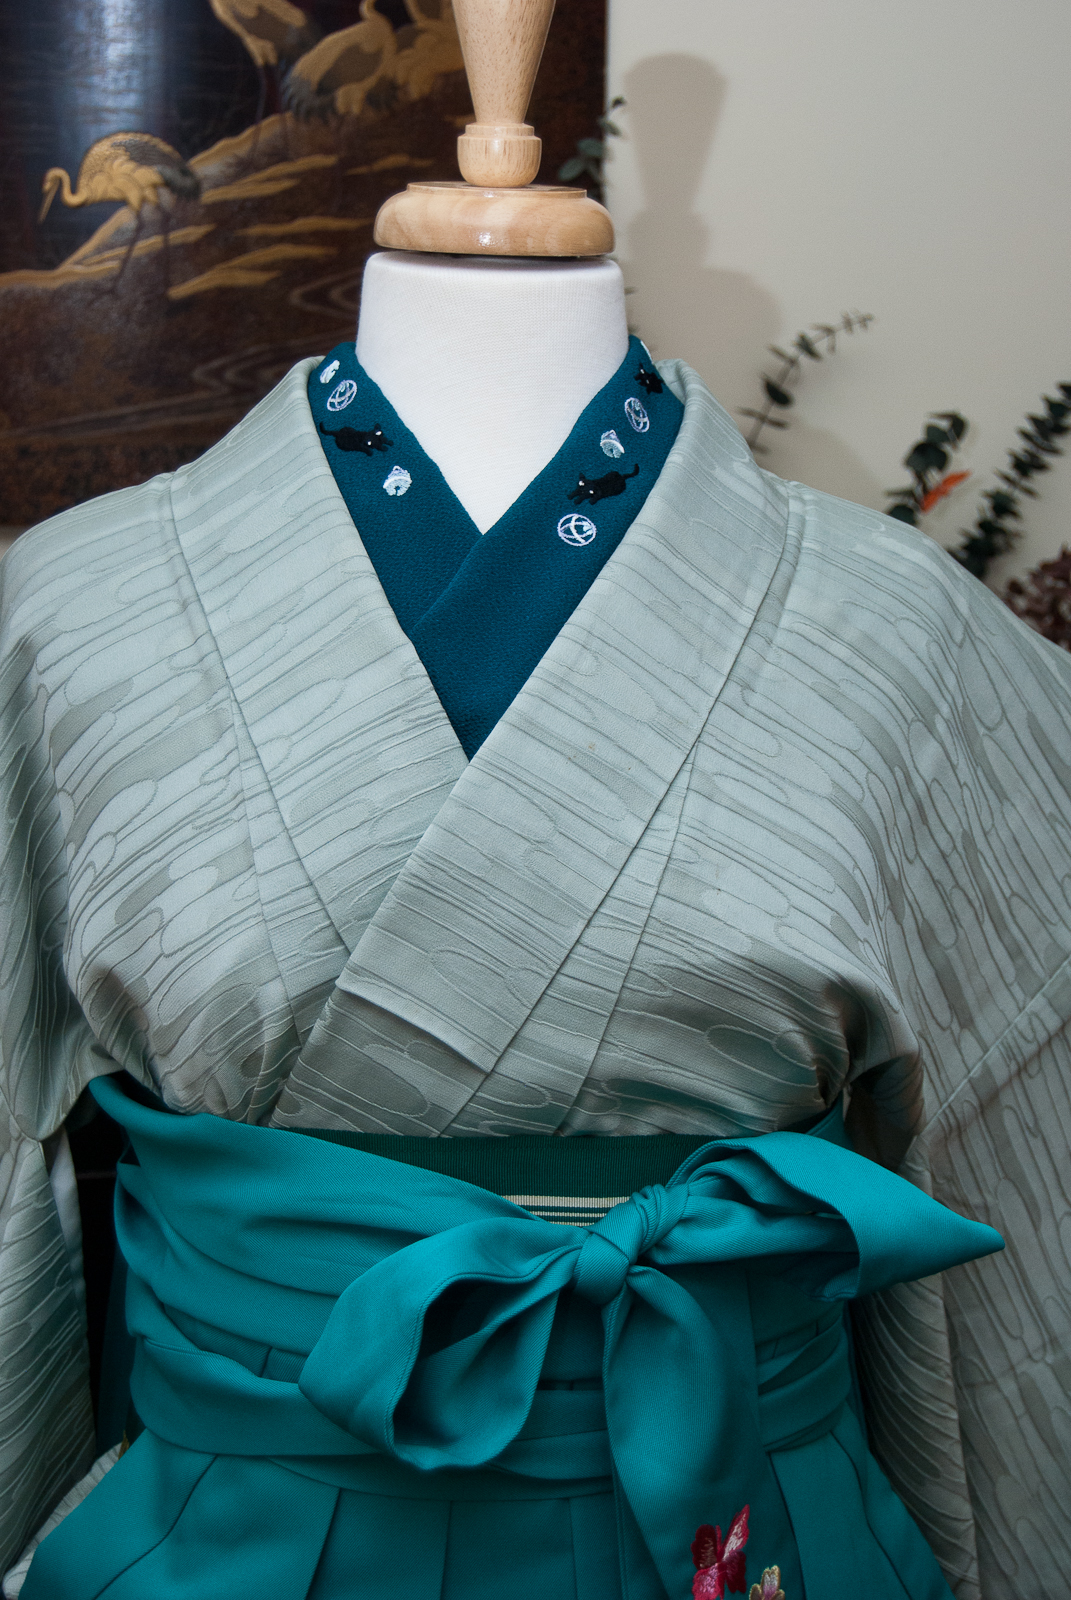
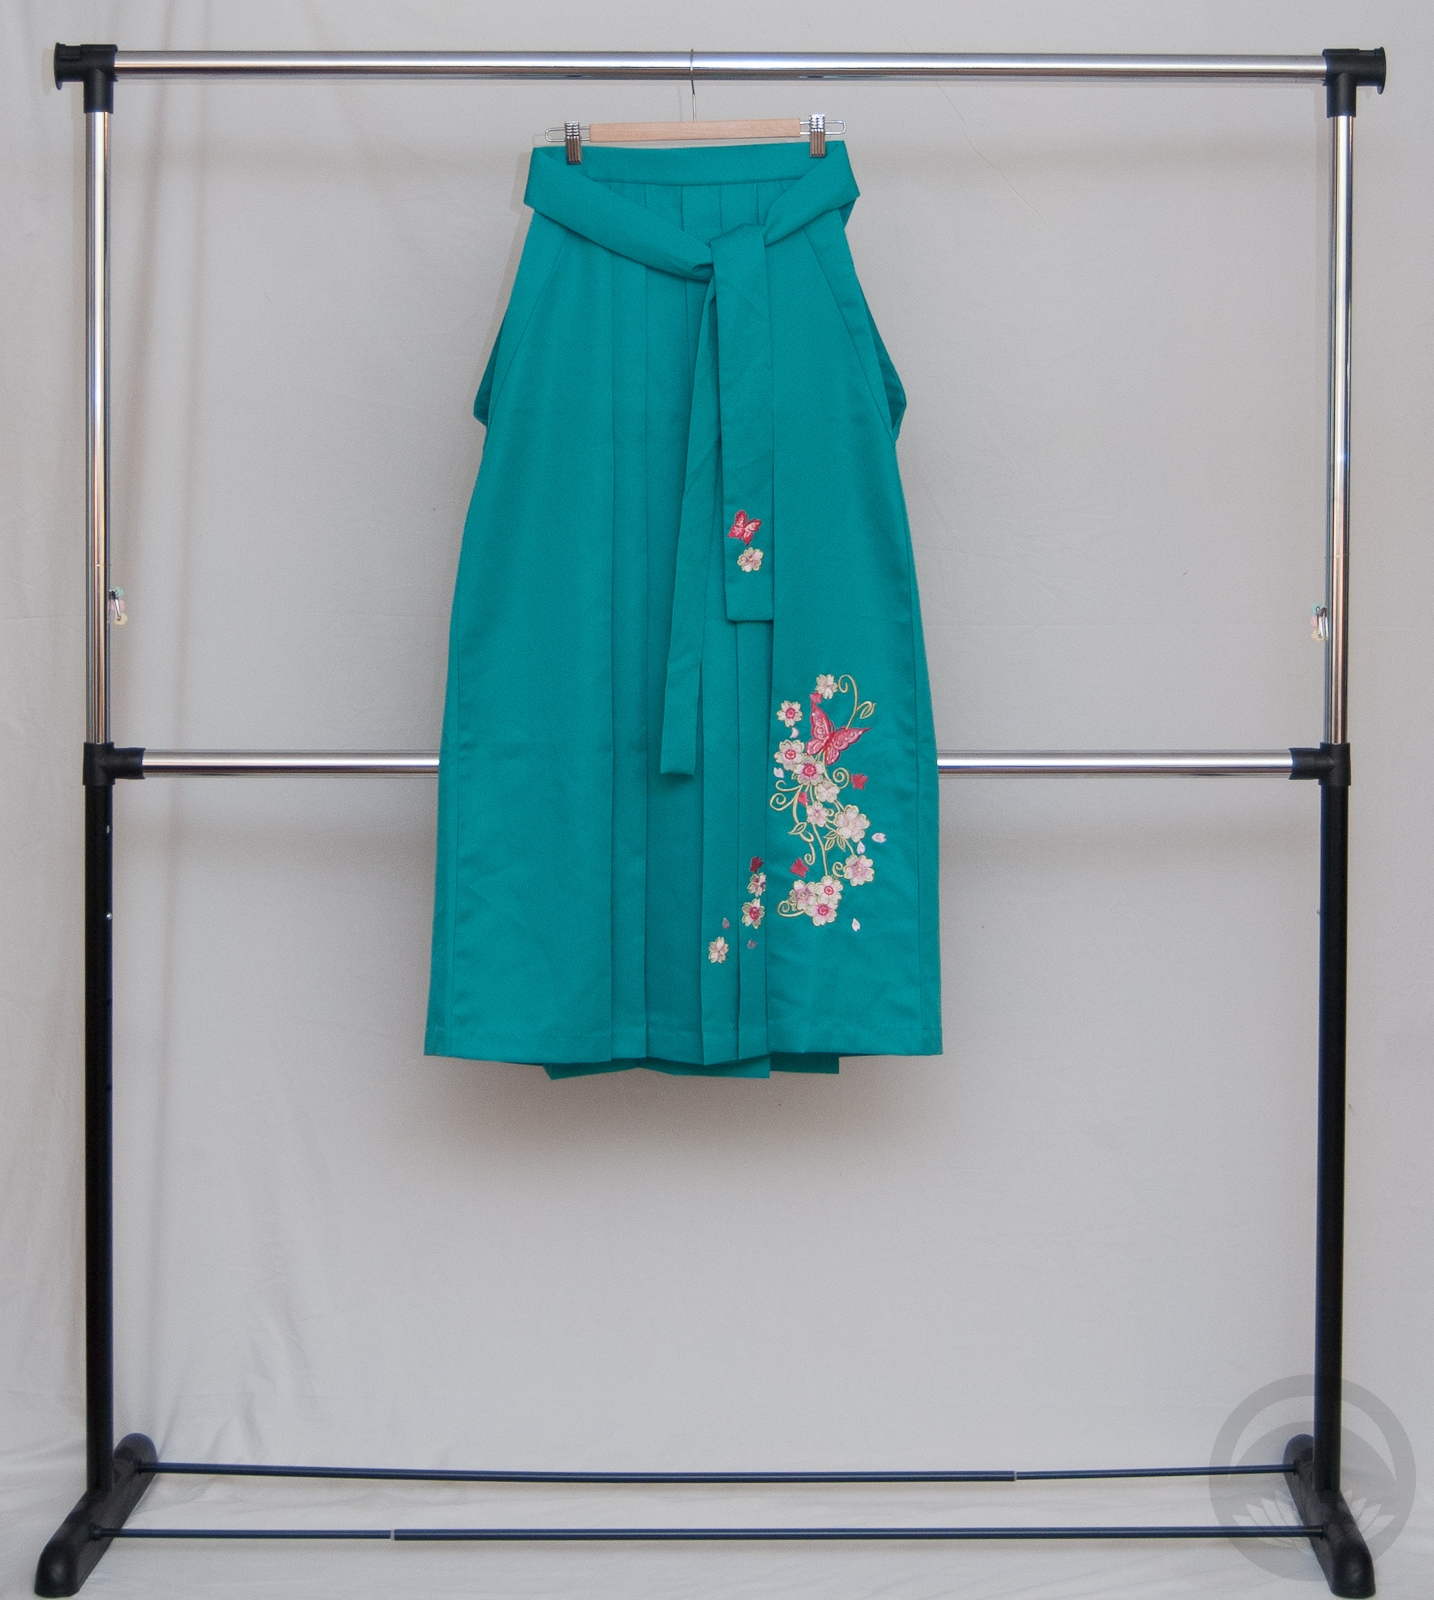
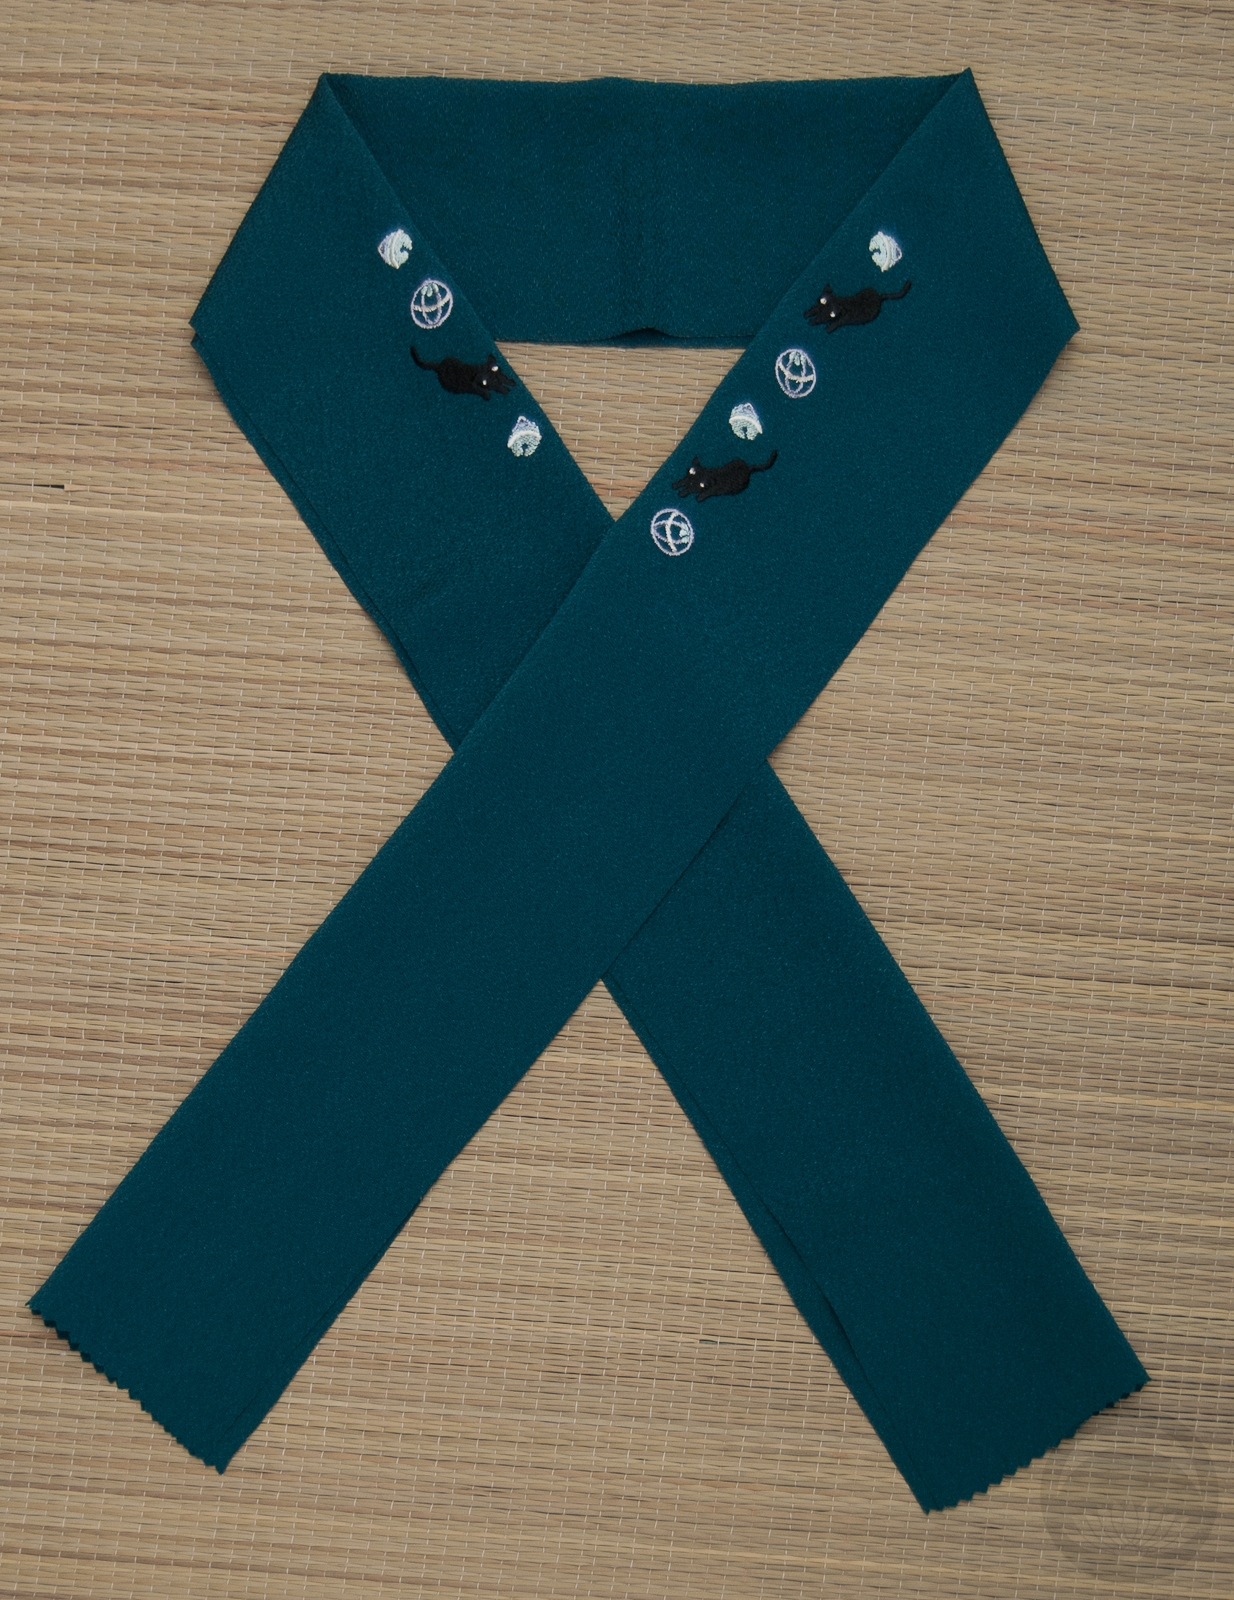
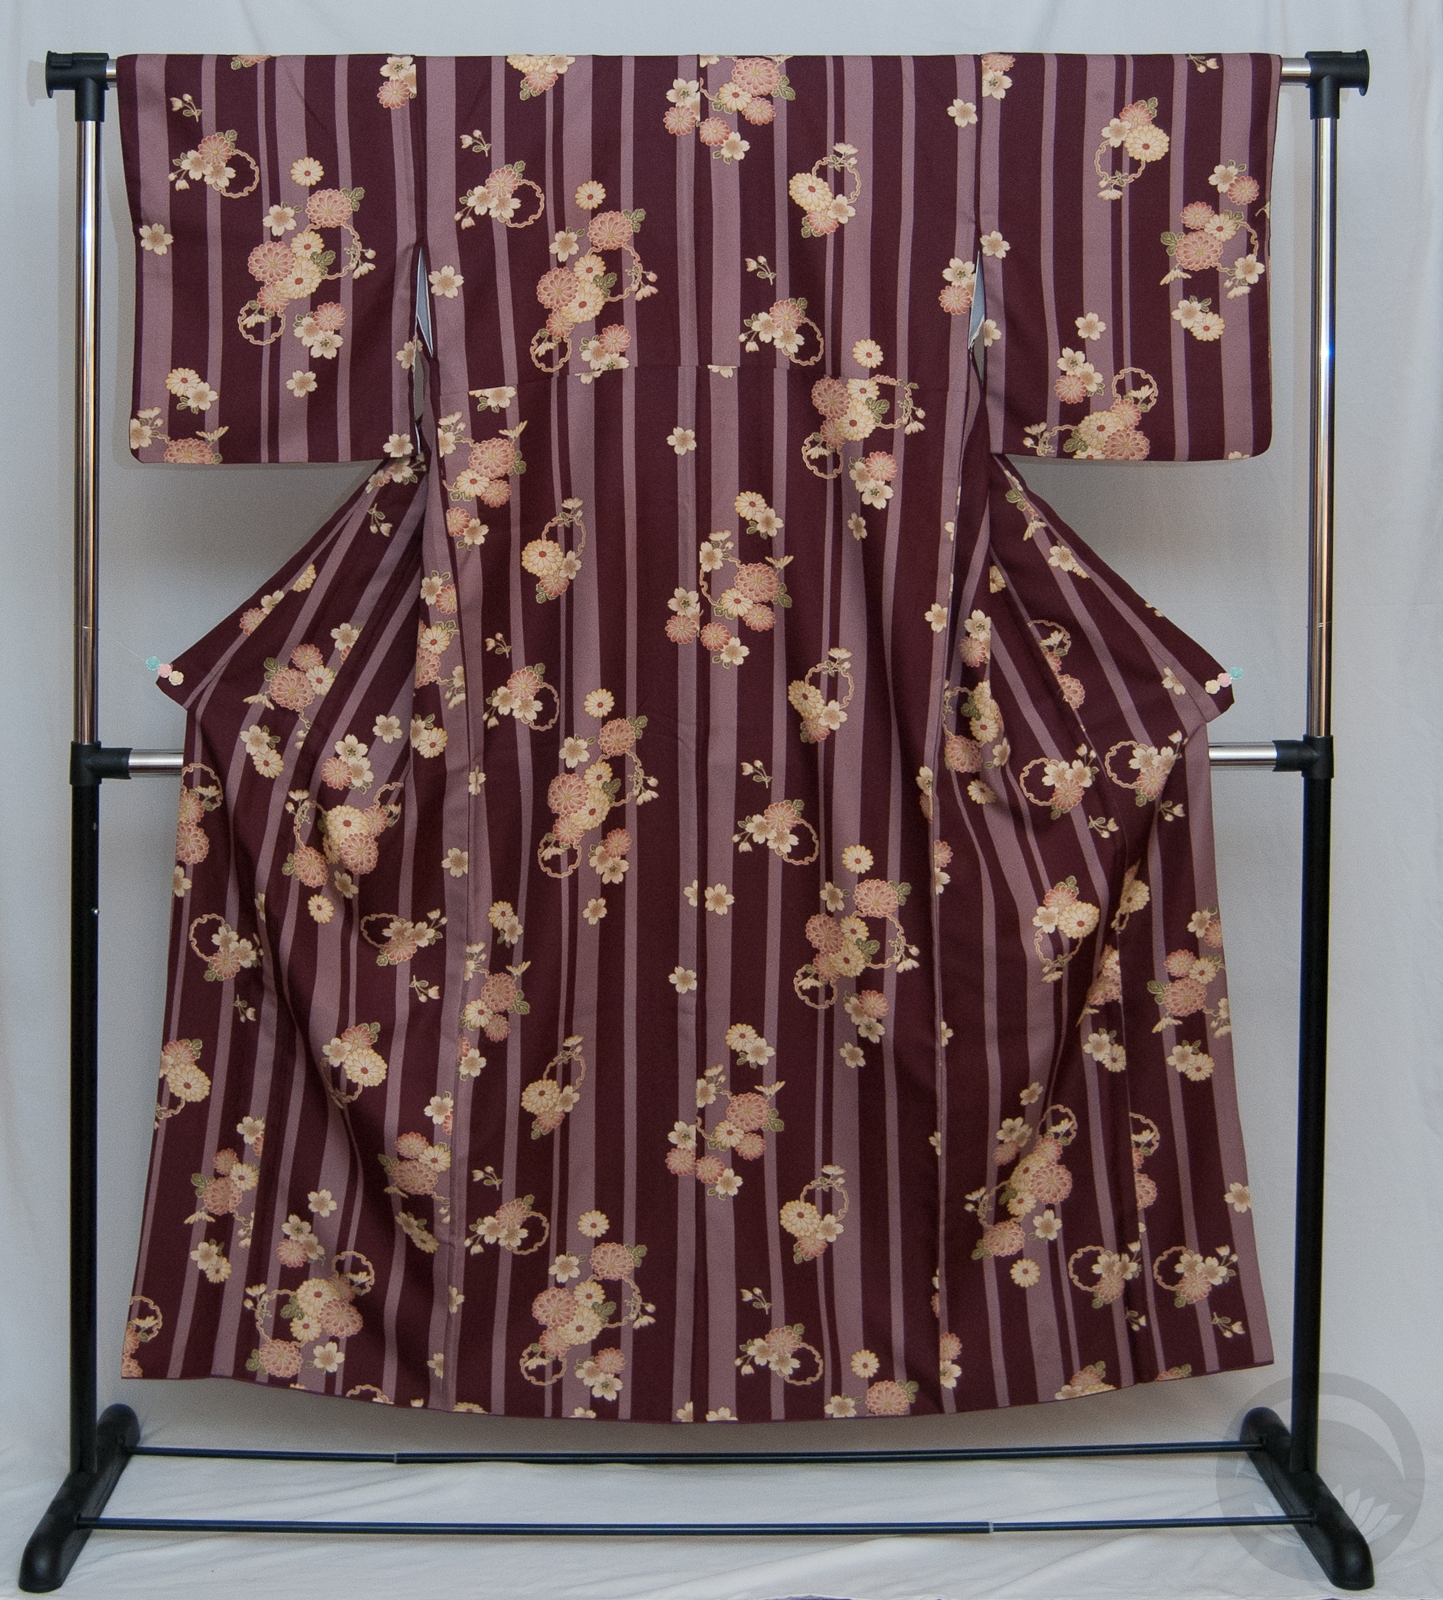
For this week’s outfit featuring my mint iromuji, I wanted a big departure from the very standard coordination from last week. This adorable kitty haneri is a very deep rich teal, and it struck me that I had a bunch of similar items in various shades of the same colour. I think pairing the iromuji up with them and using cooler lighting than last week’s photo really drives home the point that I was trying to make, that one kimono can look incredibly different with different accessories, and in different situations. Surrounded by the cool tones of the haneri, obi, and hakama the kimono itself leans much more towards the blue side of things than it did against the gold and lavender of last week.

So far, I think this experiment is going swimmingly! I look forward to seeing what else I can do with this piece.

One Kimono Four Ways

Items used in this coordination

Knowledge: Types of Kimono

Kimono can be an overwhelming thing to get into, especially since there are so many different types of kimono. To the beginner, they may all look similar, but a basic knowledge of the types of kimono and appropriate situations for wear is always handy. I have explained this very slightly in the Kimono Terms Glossary but in this entry I will elaborate further, with photo examples, and suggestions on where to wear each type. I will be doing a similar entry about obi shortly, which will help elaborate on the types of obi mentioned in this entry. (edit: Here is the corresponding entry about obi)

Do keep in mind that as with anything in life, there are always exceptions to the rule. There exist many types of hybrid or unique kimono that can be a combination of one or more of these styles. These are the most common and standard acknowledged varieties of kimono, but if you find one that doesn’t easily fit into one of these categories, that does not necessarily mean it’s not a true kimono.

[table id=kimono /]

*Thanks to Ichiroya for the permitted use of their images. Originally these items were all available for purchase and the images linked back to the sale listings, but they have been sold!!

Vintage vibe, modern fit!

Last week I managed to snag an amazing deal. In this entry I mentioned that the best thing a big girl like myself can do is to buy items that fit. Imagine my shock when I found a brand new, synthetic, washable komon that fits me quite well, and has a great vintage vibe to it. Not only that, but it was marked down to $9.85! It arrived in a week, which is even more awesome.


I decided to pair it up with my spider obi – I’d forgotten what a pain in the butt that thing is to tie. Thankfully, my father is patient, kind, and always willing to lend a hand or two when I’m having trouble with my obi. I realized that the mauve on my new embroidred obiage tied into the stripes very nicely, so I decided to use that too.

My dad helped me align my obi so there are three awesome, adorable spiders visible. The tare is a bit long, but that was an intentional decision for optimum spiderosity. Yes, spiderosity is totally a word.

Overall, I’m quite pleased with this outfit. I think maybe an embroidred haneri of some sort might increase the vintage feel, but the white works fine for the time being.

Bonus: I had to kick someone out of “his” chair before taking the pictures. He was not amused.

Items used in this coordination