Giving an old obi new life

When I first started this blog, I posted about my amazing crow obi, and mentioned that the silk backing had rotted out due to age, and I had plans to replace it.

Fast forward um, a year and a bit, and my procrastinating self has finally accomplished something! The obi fabric and original lining had been sitting folded in a bag for quite a while and I decided it was high time to finally give it the respect it deserves. If you’ve ever been curious about the construction of an obi, or have an obi yourself that needs to be redone, please read on!
The first step was to separate the obi silk from the obi-shin (stiffening core). They were not sewn together, but have been stuck to each other for what may be nearly a century at this point, so this involved a bit of careful peeling apart.
Isn’t my kitty ironing board cute? You’ll be seeing an awful lot of it in this entry XD

Once the two pieces were separated, I carefully ironed the seam allowance of the obi silk open. I ironed it enough to make the piece lie flat, but left the original fold line visible so I would have a straight line to sew along later without having to mark up the fabric.

Here is the whole piece with the seam allowance ironed flat. You can see how much the colour has faded over the years, but since the allowance will be hidden this isn’t really a problem. I just thought it was interesting and worth sharing.

The next step was to pin the wrong sides together of the obi silk and the black satin I was using for a backing piece. This was exceptionally tedious and I pricked my fingers several times!

Here’s the entire thing pinned together and taking up too much space on my floor. Yes, there is a disgusting area rug on top of disgusting wall-to-wall carpet on my basement. The floor gets cold so I’d rather icky and comfortable over stylish but clammy!

Once everything was pinned together, the next logical step was sewing. Lots and lots and lots of sewing. Due to the fragile nature of the silk and the fact that the obi gets tugged and pulled a lot, this all had to be done by hand, in a closely-spaced but loose slip stitch. I saved a huge amount of time by doing Japanese-style hand-stitching. This is hard to explain, but it basically involves holding the needle still and rocking the thread back and forth until a handful of stitches are lined up on the needle, and then pulling it through. This video gives an amazing visual demonstration with no explanation needed. Once you get the hang of sewing like this, it is an enormous time-saver.

Once both long sides are completely sewn, I ironed the seam allowances down again so it would lie flat. I found it easiest to do one fabric and then the other, rather than trying to press both sides at the same time.

Once the outer parts of the obi were sewn together, I folded them carefully, put them aside, and got to work on the shin (core). An obi is constructed somewhat like a sandwich, with the two visible pieces of silk on the outside, like the “bread”, and the shin in the centre, like a filling. The shin is usually a piece of heavy cloth, sometimes flannel, sometimes duck-cloth, and it serves to give body and stiffness to the obi. Without the shin, the obi would not lie flat and smooth when wrapped and tied around the body. If you’ve ever seen a cosplayer with a really crumpled, lumpy obi that has sort of collapsed on itself over the course of the day, odds are they made themselves an obi without using any sort of a shin or core.

The obi had a shin inside of it, a sort of brushed flannel-y material, but it had gotten incredibly soft over the years, so I decided to reinforce it. I found a roll of obi-shin fabric on eBay, but if you can’t find one specifically, any thicker fabric with a bit of body will work. Because the fabric of the obi itself is so thin, I figured a bit of extra stiffness would be good and used both the old shin and the new one together.

I used the old shin to determine the size of the new one. After I’d folded it to match the size of the old piece, I pinned it down and ironed it flat so it would stay in shape.

I pinned both shin together temporarily, just to make them easier to deal with and prevent things from shifting around while I worked.

With the two pieces pinned together, it was much easier to lay them out and tuck them into the folded seam allowances of the obi lining. Thankfully, I had assistance in the form of a Tribble. And yes, that is her tongue sticking out in the large version. For a mutt-cat, she is incredibly brachycephalic and tends to leave her tongue hanging out a bit because it doesn’t fit in her mouth properly. Poor boo.

Once all the pieces were sandwiched together inside-out, the next step was to turn the whole thing right-side-out. First step was to remove all the pins to make sure none got trapped inside when I was done. Unfortunately I do not have any photos of this phase, because both my arms were very busy and my father was helping me. I will do my best to explain how we did it. I held the end open while he reached inside and carefully pinched all four layers and pulled them outwards through the other end. If you’ve ever cased a sausage, it was a similar procedure. After it was properly turned, I used some delicate fabrics hemming tape to shut the ends. I could have sewn it, but I’ve used the hemming tape before and was pleased with how gentle and permanent the results were so I figured I’d save a little time.

And here she is, finally finished! I’m very proud that I actually finished this, and am very pleased with the results.

Because I can’t go anywhere without buying something!

Thank you to Rick and the team at Websytz for getting my technical issues sorted out!

I recently got back from a wonderful week in Boulder, Colorado. It was really nice spending time with my friends, catching up with people, and just enjoying what I’ve truly come to believe is my second home.

Of course, I had to make a visit to Janine at the Vintage Kimono Showroom. I had no plans to buy anything, but she had one incredibly amazing haori and an obi that I’d admired the last time I was there, and somehow they magically ended up coming home with me. I also had the fortune of ordering Wearing Propaganda – Textiles on the Home Front and having it shipped to my best friend to save money, so that came home with me too. I’ll be doing a review soon. But I digress; onto the amazing stuff I bought.

Pink bellflower hakata obi


I actually first found this obi the last time I was there but somehow talked myself out of it. When I saw that it was still waiting for me, I had to cave in. I love hakata of all kinds, but especially the sort that’s not geometric, because it’s so much less common.

Eye-searingly awesome meisen spider kiku haori

I finally have meisen that fits me! So yes, admittedly it’s a haori and not a kimono, but I don’t care. It’s vibrant, it’s tacky, it’s amazing, and I love it. I have no idea what I’m going to pair this one up with, but I really don’t care. I couldn’t let it escape my grubby little clutches.

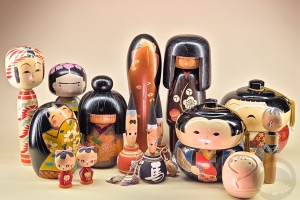
I’d originally found a subtle purple and cream striped haori while at the showroom but when Janine brought this beauty out I just couldn’t say no. It’s not something I will ever find again, and I could not pass up the opportunity. The lining is also adorable, tiny little kokeshi dolls.


I also came home to a box of goodies from Naomi, so I’ll be sharing the contents of that soon enough.

Hey, hey, wait a minute, Mister Postman!

Sometimes, I suspect the mail carriers in this area really dislike me. I’m constantly getting big packages. Today, I really surpassed myself with three separate deliveries! One, a book called When Art Became Fashion: Kosode in Edo-Period Japan, arrived in the regular post and I will be writing a review of it when I have time to read it properly. First impressions are very positive though.

The other packages were larger, and more unwieldy, and the mail carrier was kind enough to leave them with my neighbours since I was at the cardiologist. Getting home was like having an unexpected birthday, or Christmas come early! So much pretty stuff! Since there are so many things included here, I have used smaller-than-usual photographs. Please click on them to view big versions, they will open in a new window.

Black zori with red chirimen accents

One of the few things I actually truly needed was another pair of casual, comfortable zori. Nearly all the footwear I owned prior to this was very dressy, all in shiny metallic vinyl or silk brocade. These fit nicely and I absolutely love the colour combo and the little chirimen silk insert in the stacked heel. They were a total bargain at $10!

Grey purse with kiku and black trim

This purse, and the one below it, were being sold by one of the sellers I regularly buy kimono from. They’re modern, and made of heavy denim-like cotton, but the designs are definitely kimono-inspired. This one in particular I can definitely see using every day. I love the contrast of the soft, girly fabric and the hard leatherette and metal details.

Red purse with ume and cream trim

This purse was bought at the same time as the previous one. It’s much bigger than I anticipated (I suspect the measurements listed were off), but definitely no complaints there! It’s fun and bright and while I don’t anticipate using it every day, it will definitely be a way to add a splash of colour and personality to a quiet outfit, either kimono or western clothing.

Now comes the find of the month, a bundle of five vintage obi for a total of twelve dollars (plus S&H). They were listed as “scrap fabric,” but as you’ll see four of them are completely wearable as-is, and the fifth one I am going to attempt to salvage and turn into a two-part easy obi.

Vintage cream nagoya obi with fans, thread spindles, and flowers

This is the main reason I bid on the bundle in the first place. I am just head over heels in love with this obi. The colours and style of yuzen make me suspect it’s late Taisho or early Showa, and even if it’s not it still evokes the feel nicely. I plan to wear it with my indigo Taisho houmongi sometime soon.

Mustard obi with flowers

I openly admit I am not very fond of the base colour of this obi, it’s a sort of a strange gold/mustard, but the woven flowers are very pretty and versatile, so I’m sure I will find a good use for it.

Cream obi with orange and silver waves

I’ve wanted something with a smooth wave motif for a while now, and this more than satisfies my urge. It’s vibrant and graphic and I like it very much.

White obi with red and gold flowers

The auction photos really didn’t do this one justice. It looked like a cute but relatively boring obi with some gold weaving and round dots. In person, both the gold and the red have such a rich silky shimmer to them that they look like rubies set in gold filigree.

Blue obi with herons

This was dubbed the Narwhal Bird Obi by my friend Kansai_Gal and I can totally see why XD. Unfortunately, it’s also the obi that is severely damaged – the silk is shredded to ribbons right above the folded area where the main heron is. Hopefully, I will be able to carefully cut it and sew it into a two-part obi. I will record my attempts and write an entry about that sometime in the near future. If worse comes to worst, I will simply turn it into haneri and possibly an obiage. The fabric will get used, one way or another.

Indigo Girl

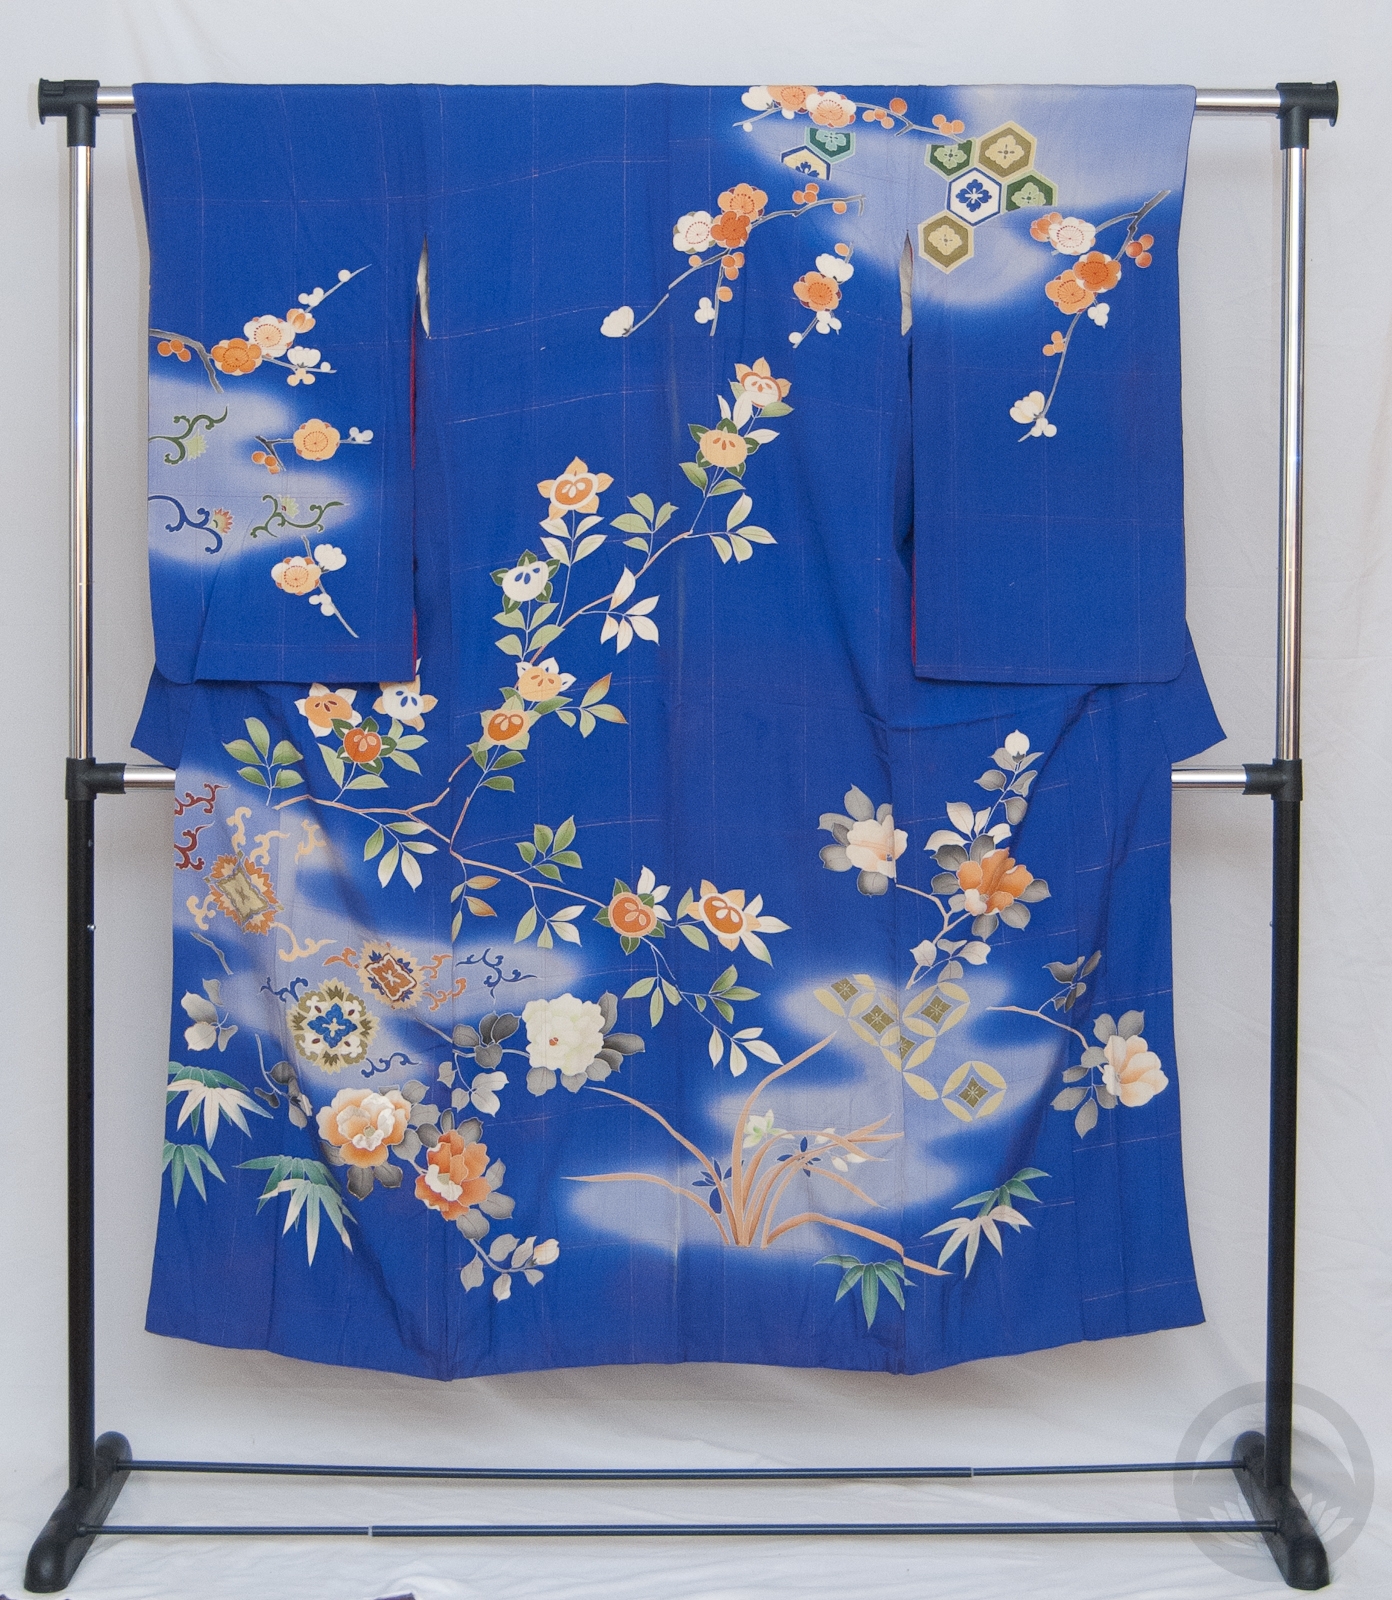
I’d been waffling about buying a Taisho-era indigo piece for a while when this came up on Ichiroya, and while it was a bit more than I usually pay for kimono, the colour, size, and condition of it were all worth the investment in my mind. This is a houmongi with era-typical long sleeves and a beautiful, multiseasonal floral design. It’s got branches of ume (plum blossom), iris, botan (peony), and bamboo around the hem, and a bold, graphic stem of tachibana, which is probably my favourite floral motif. I love how squishy and fun they look!


It also has some gorgeous, lush embroidery on some of the geometric designs

However, I think one of my favourite things about this kimono is probably one of the most subtle. Woven directly into the fabric, before the dyeing process was started, is a gorgeous red and gold windowpane plaid. You’d never see detailing like this on a modern houmongi, as nowadays that sort of design is considered strictly informal. Naomi wrote a great piece on the qualities of indigo dye, and the transitional phenomenon of putting stripes (which are very casual by modern standards) on more formal kimono. It’s a trend I think is beautiful and needs to come back into vogue.

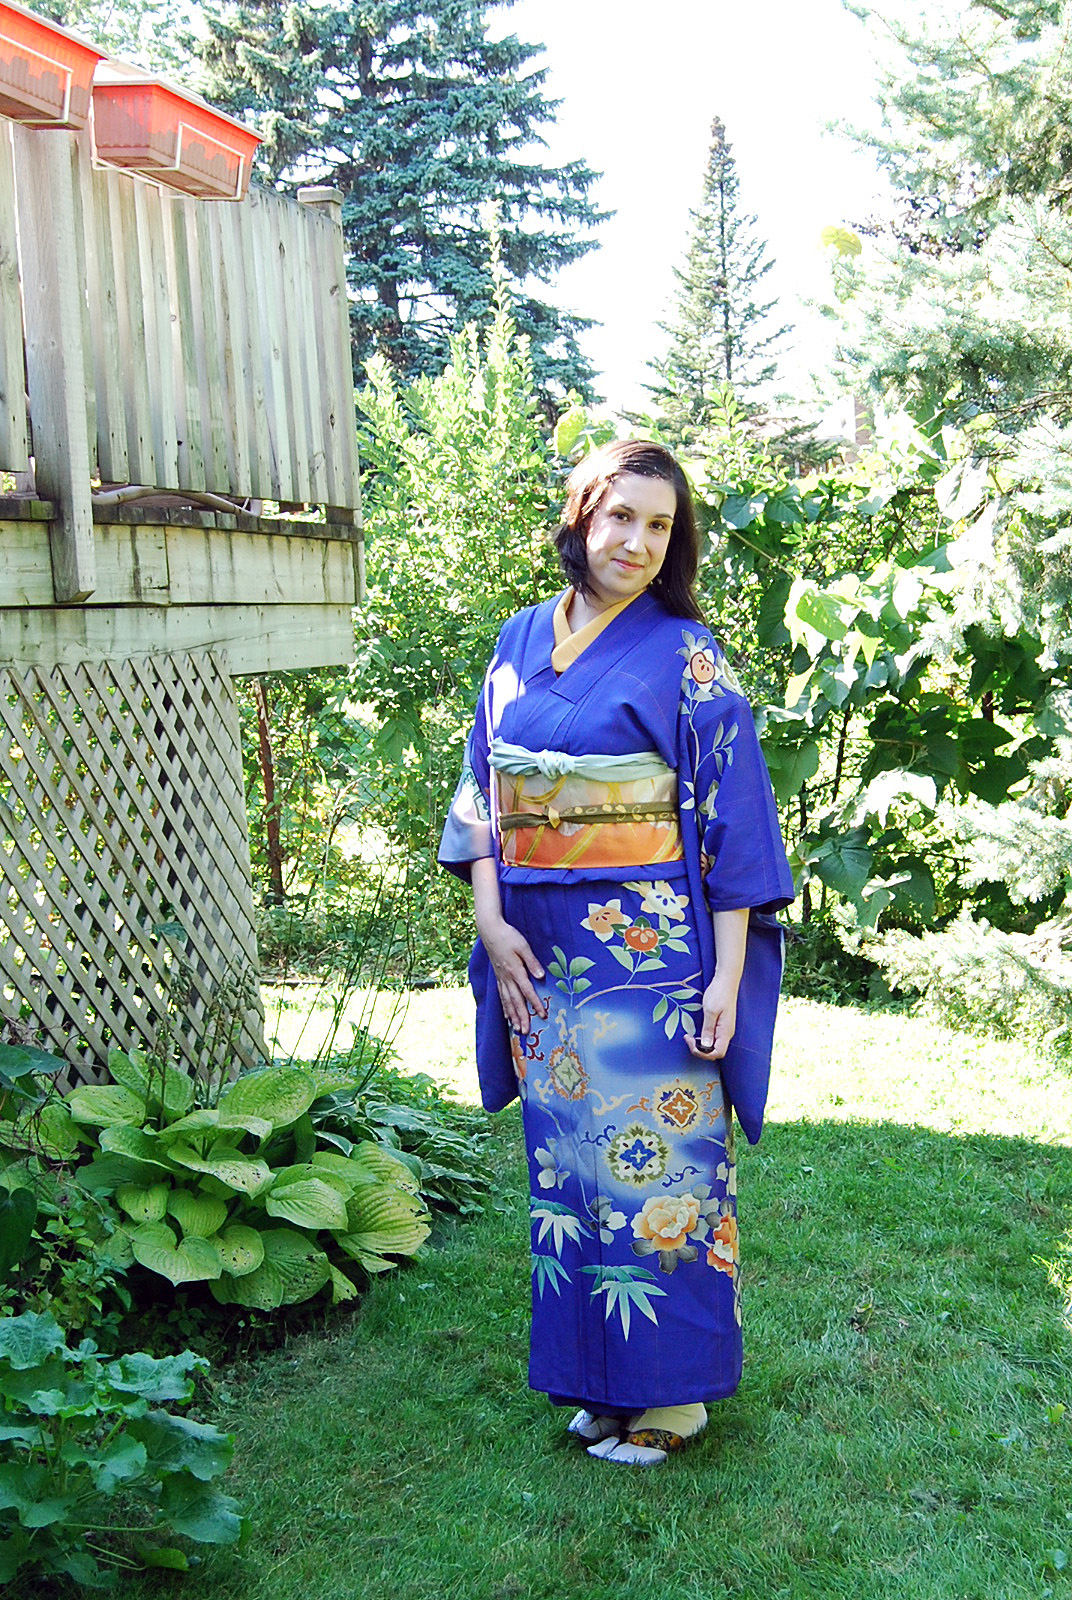
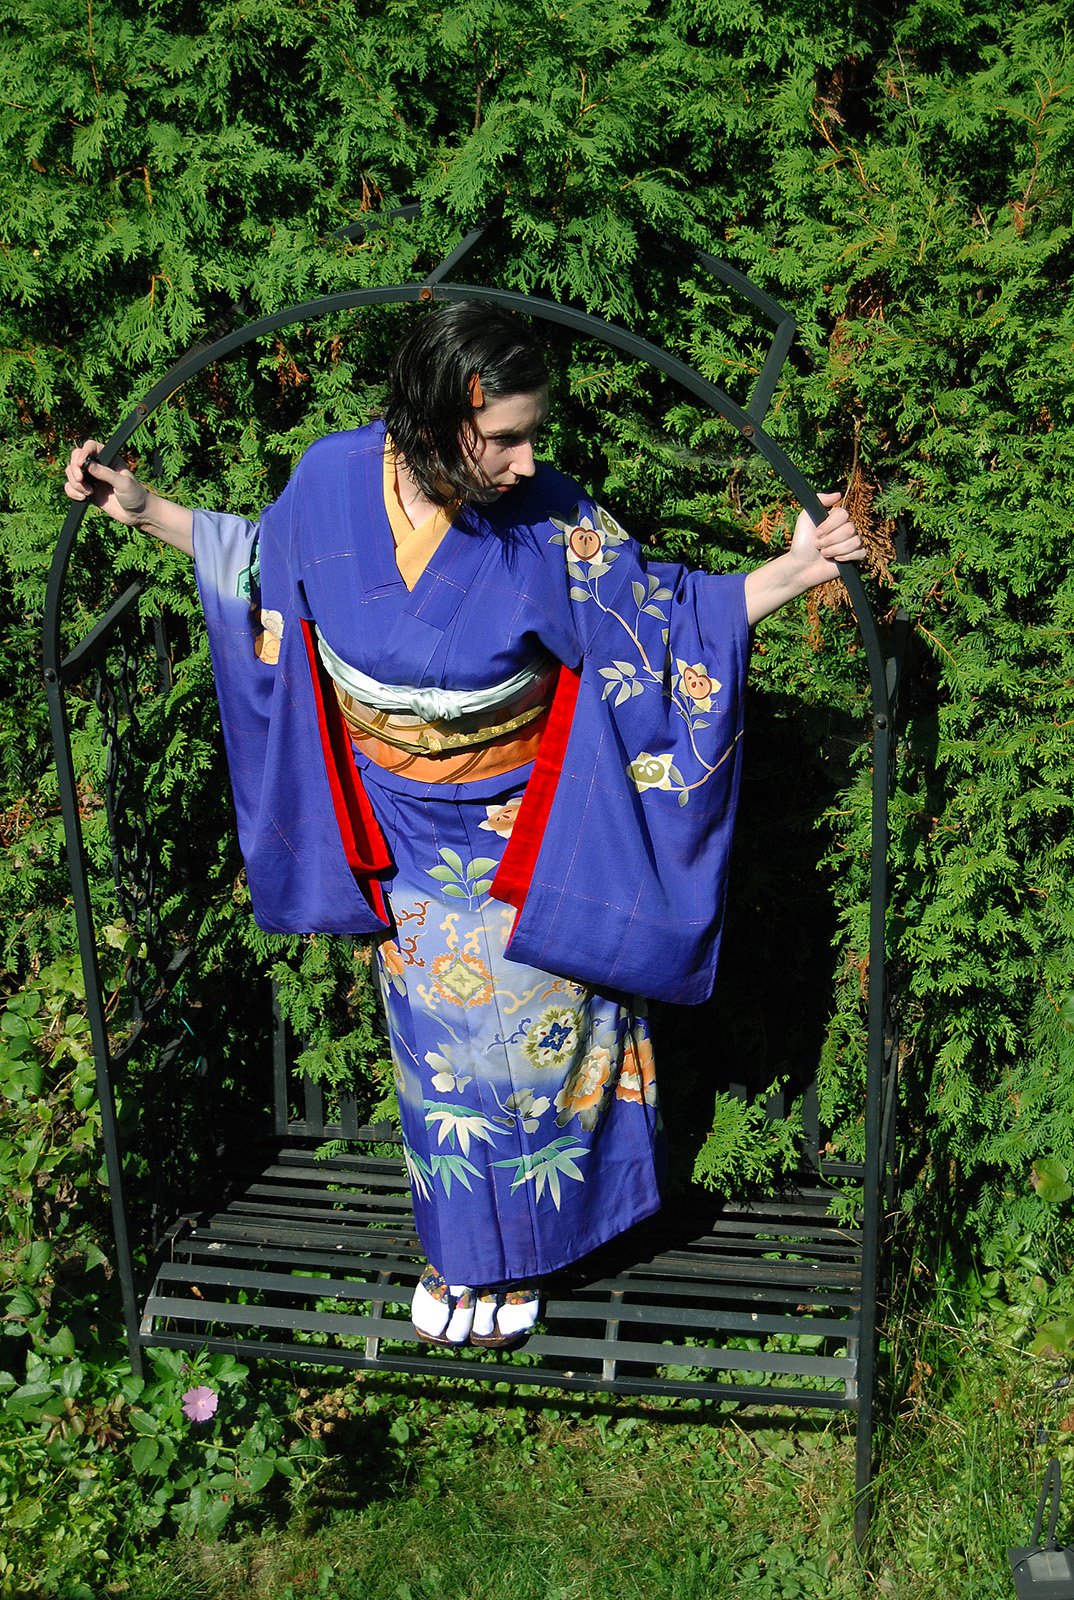
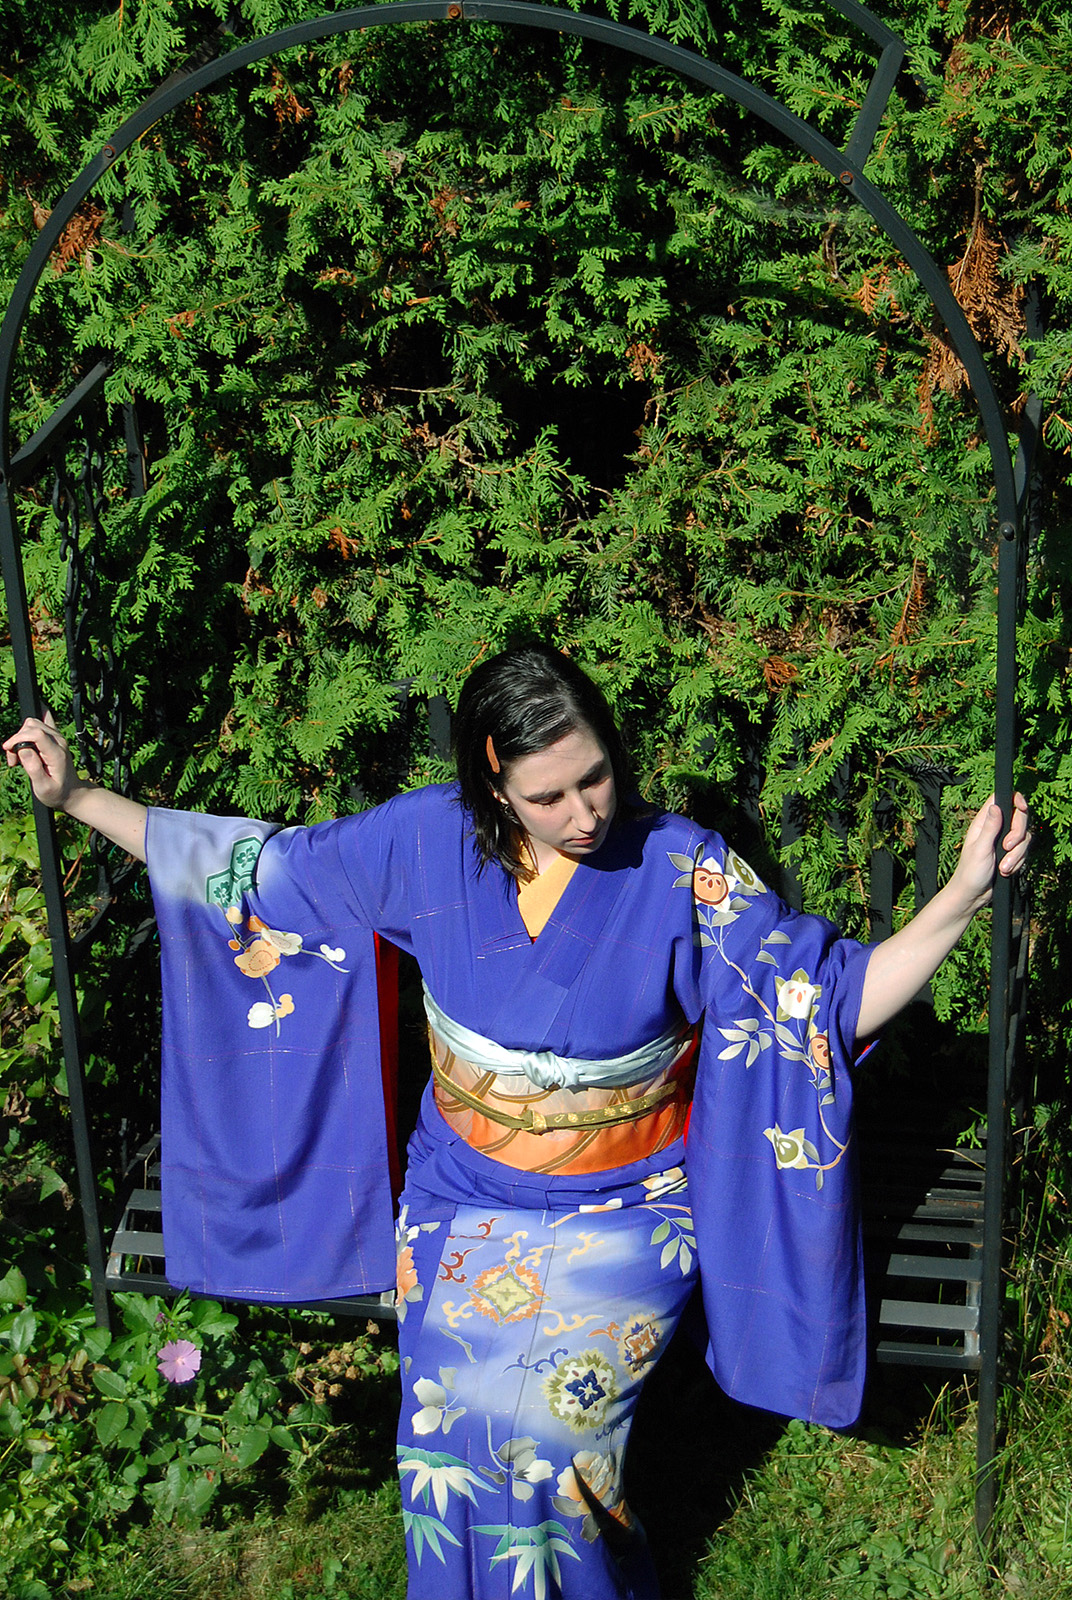
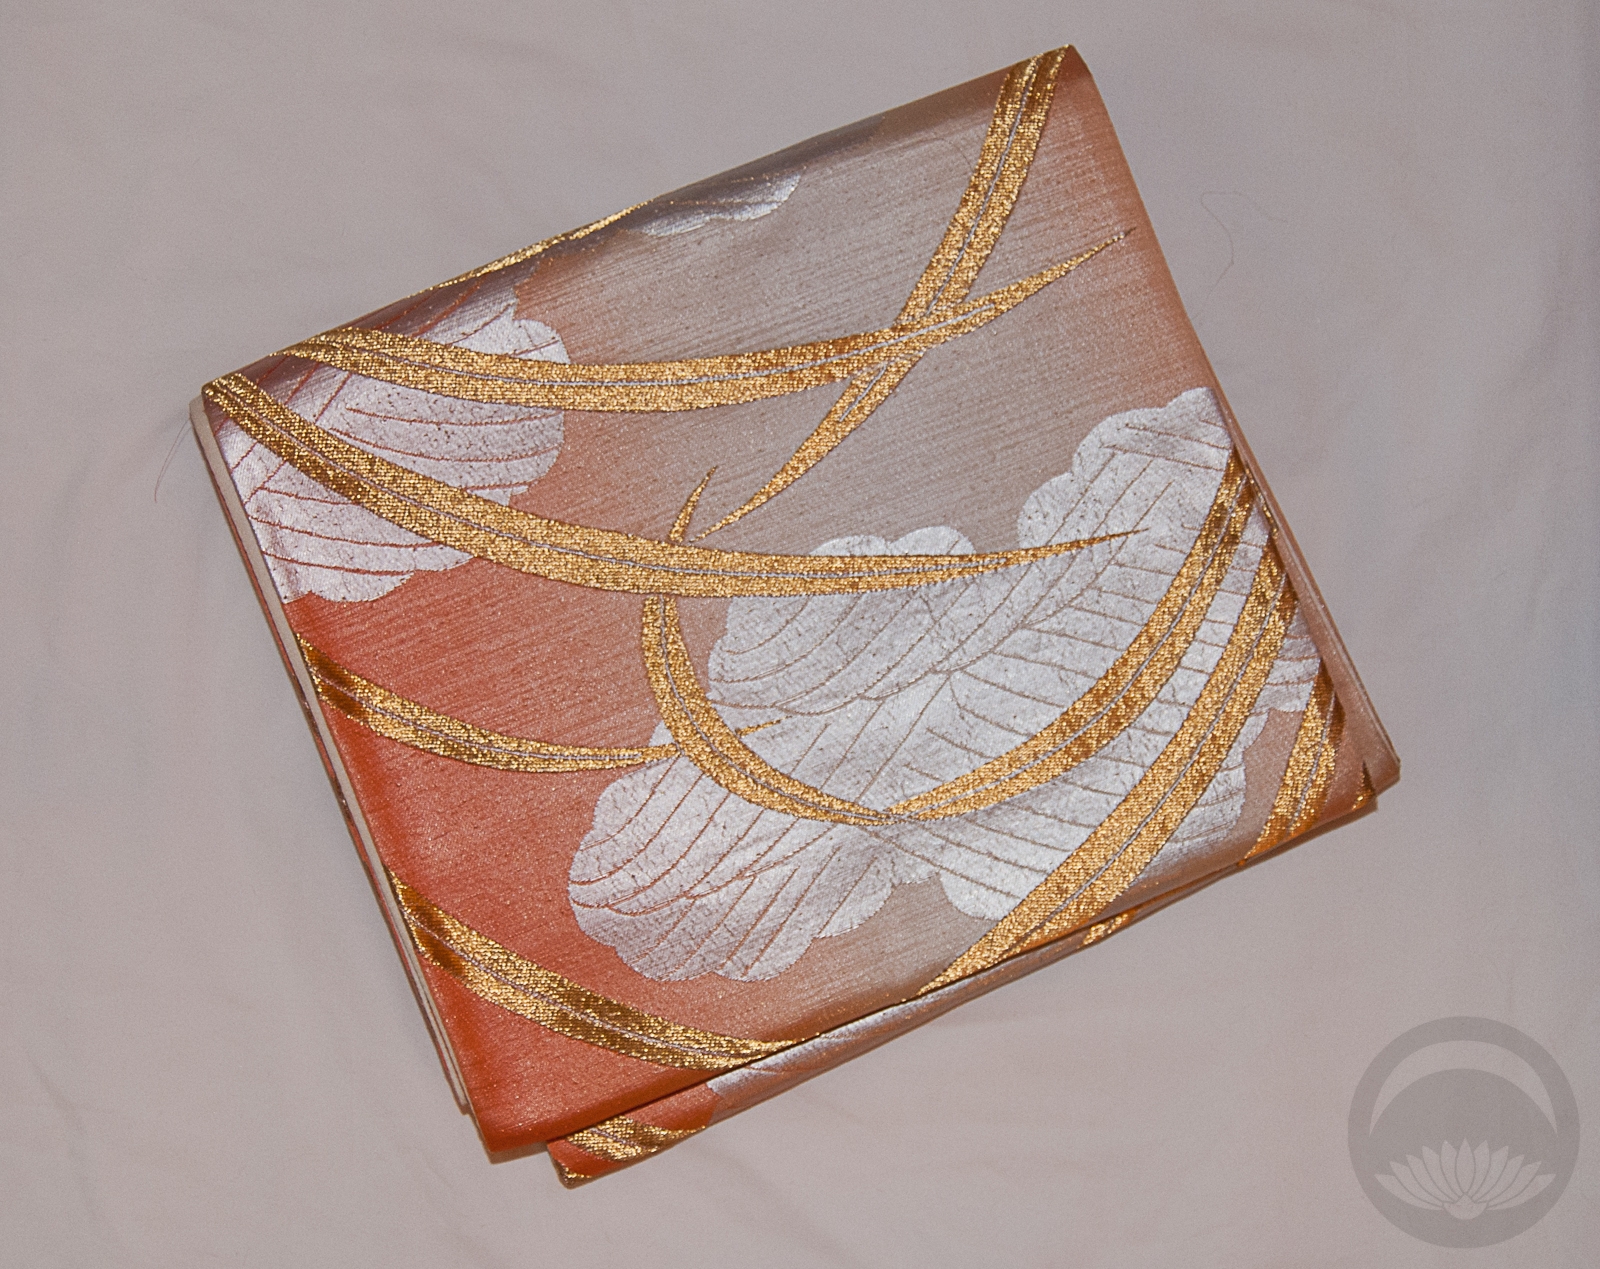
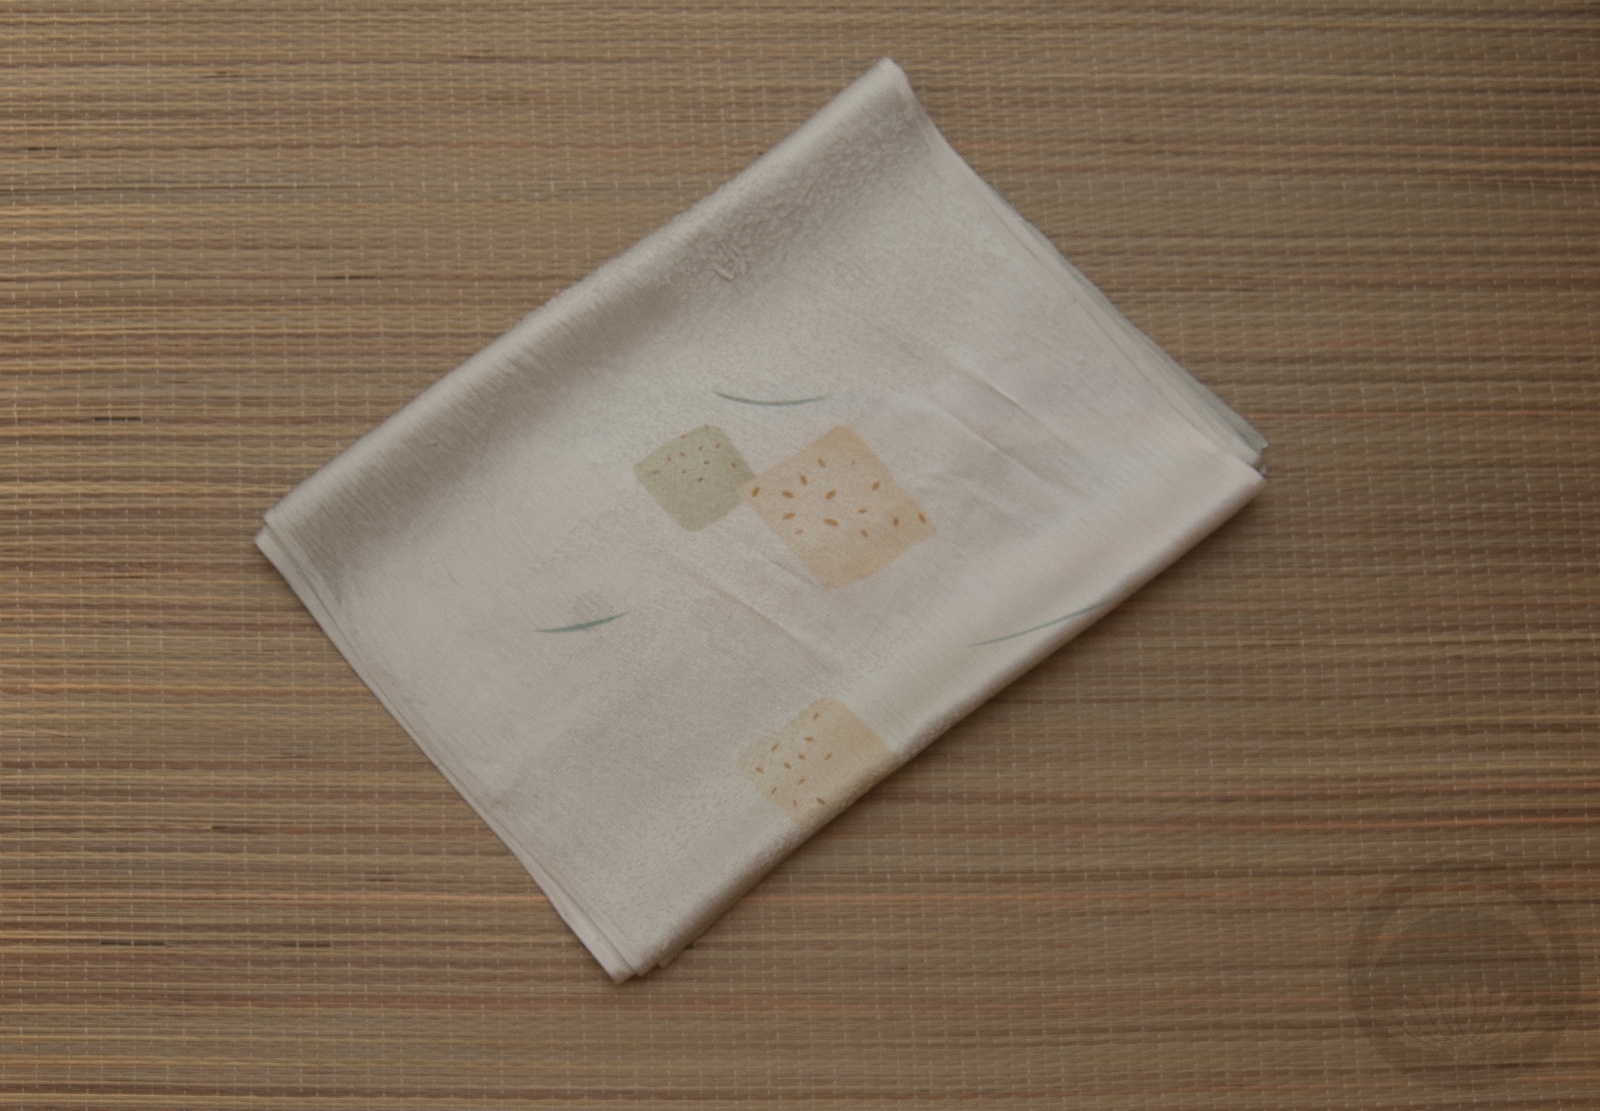
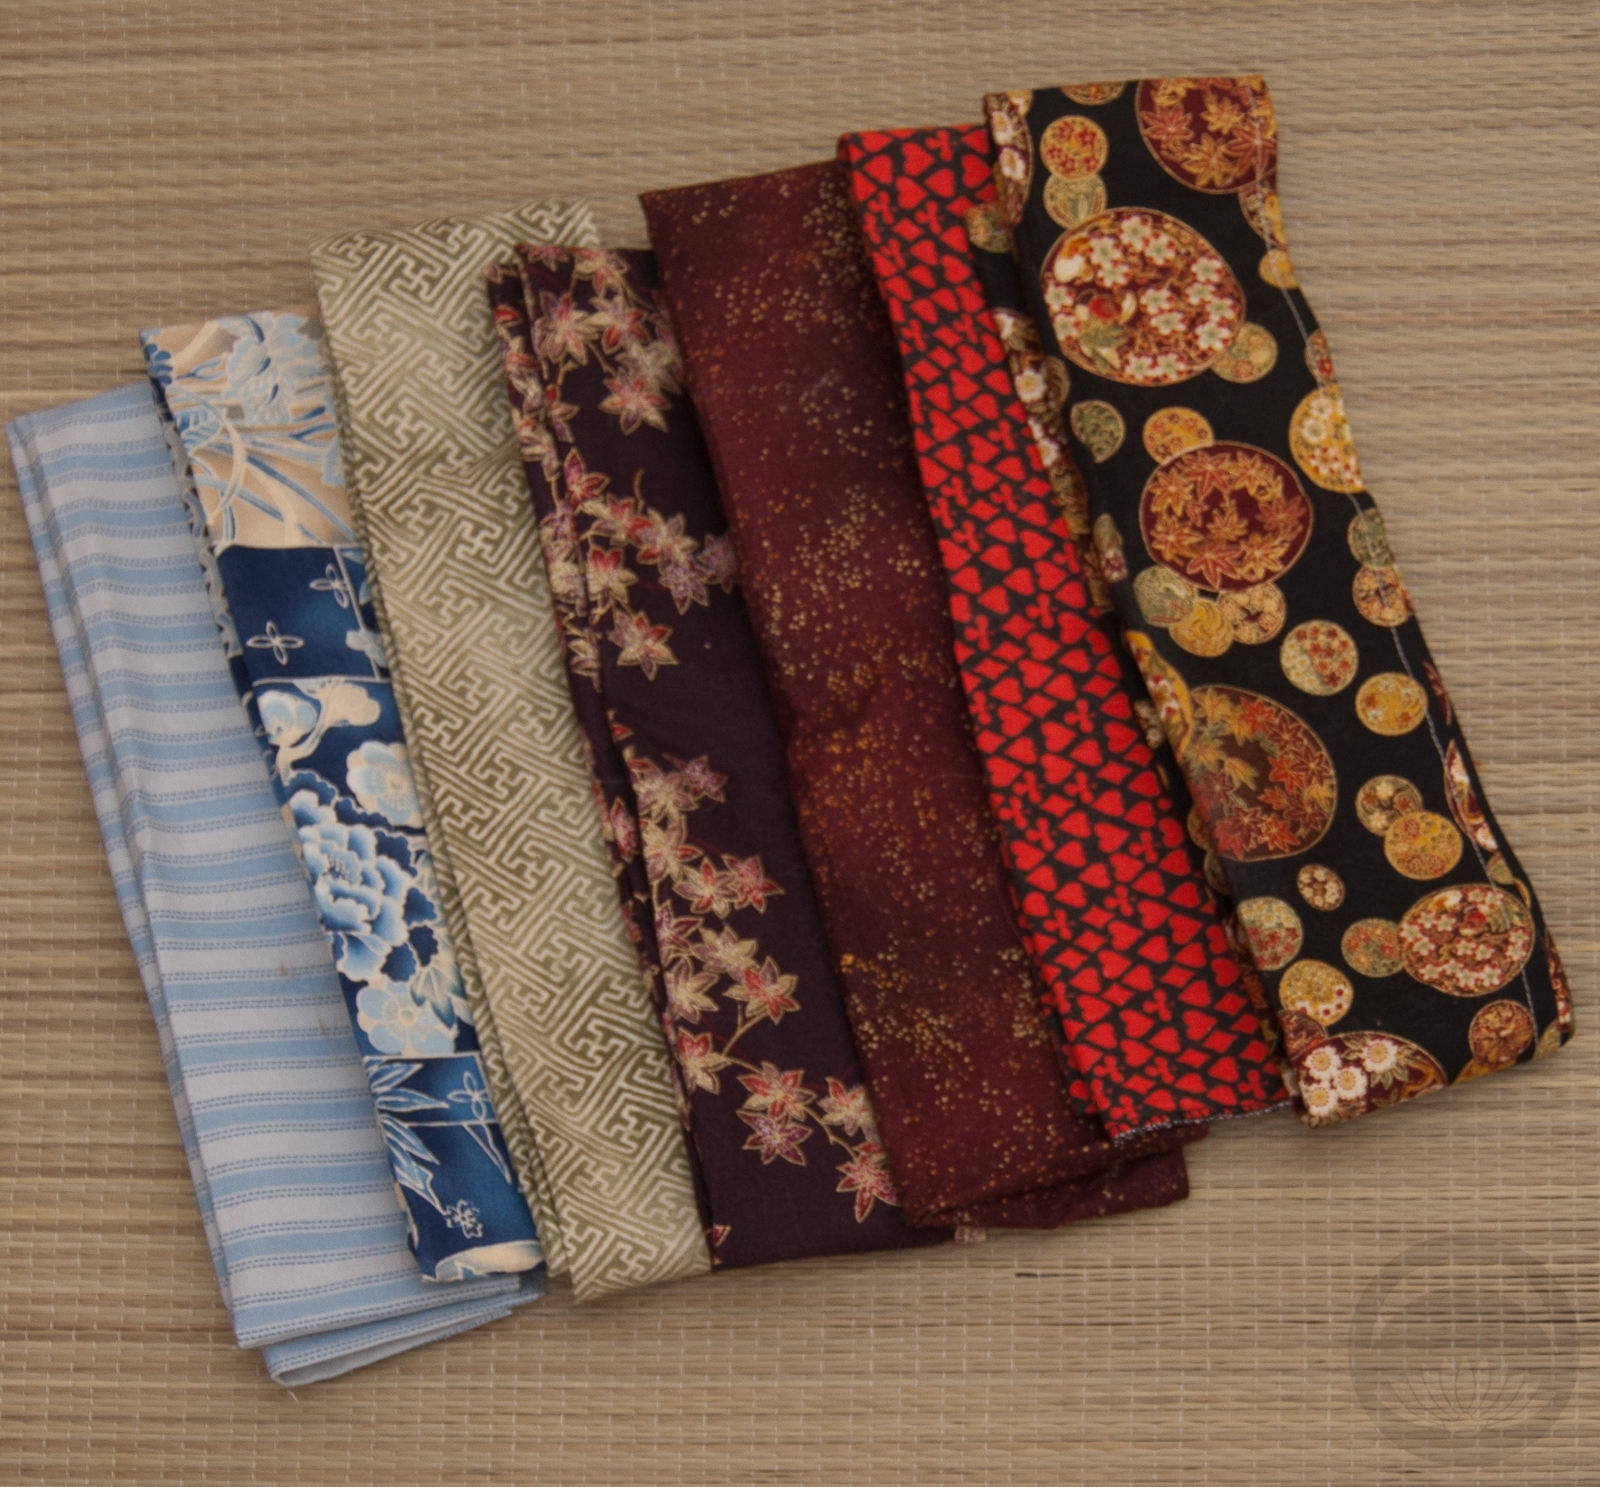
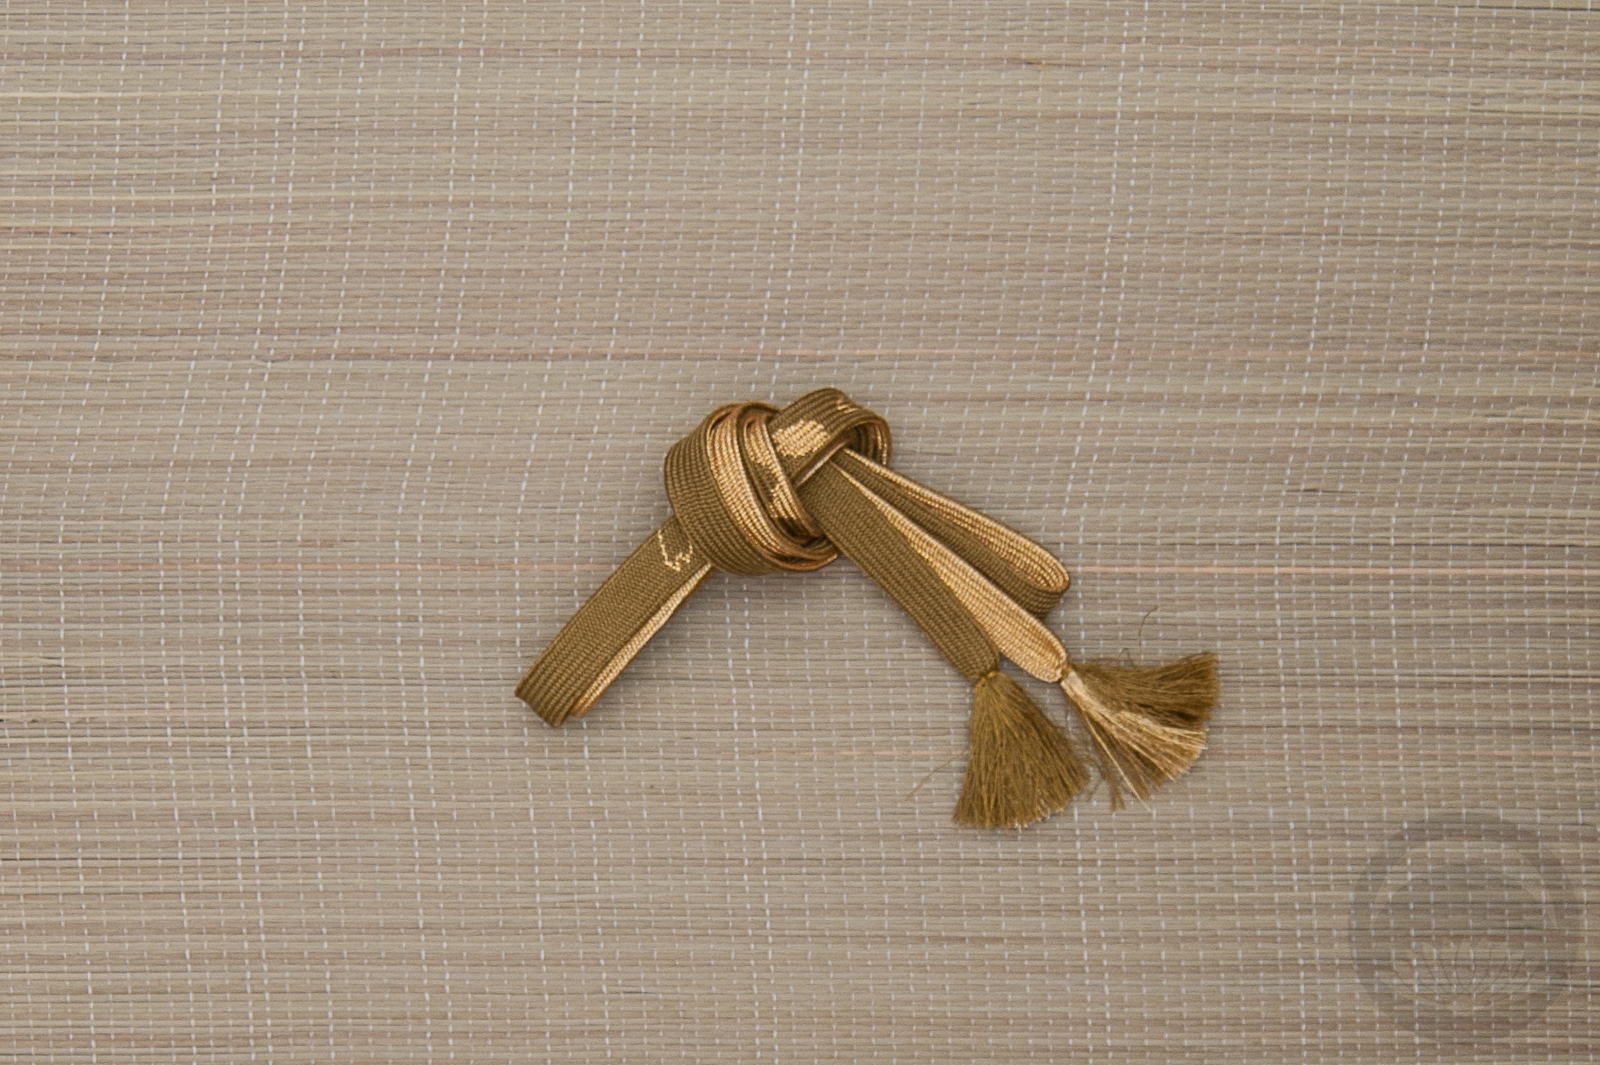
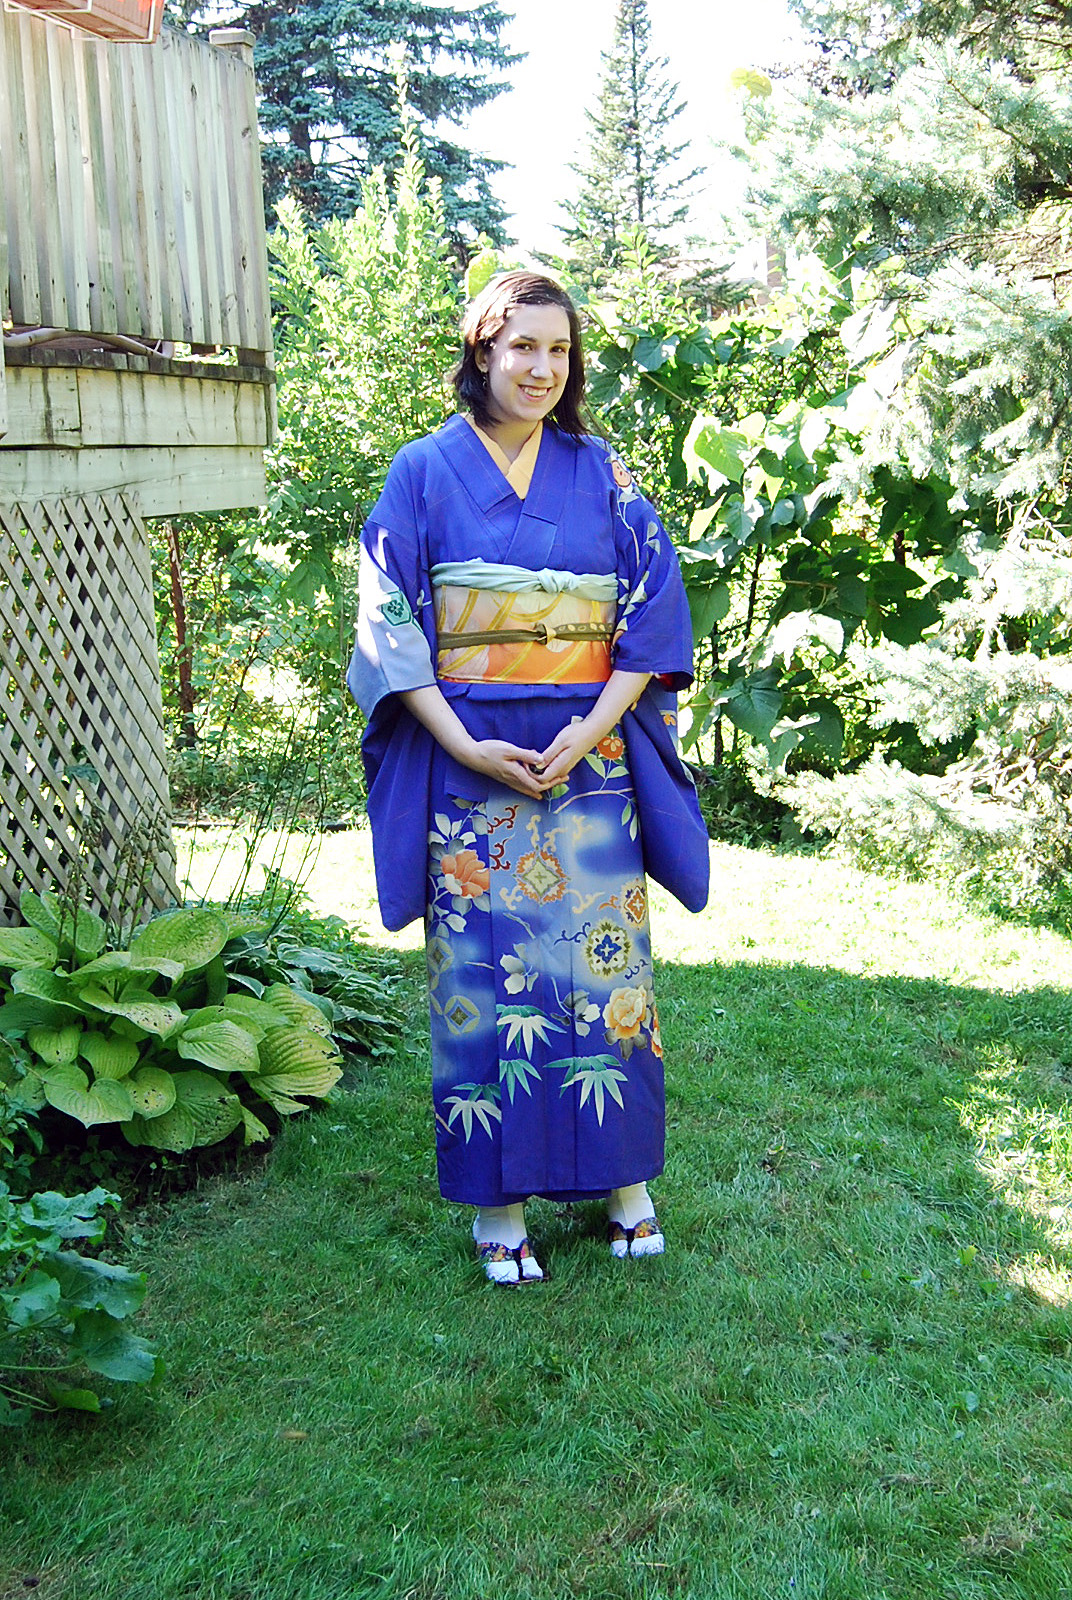
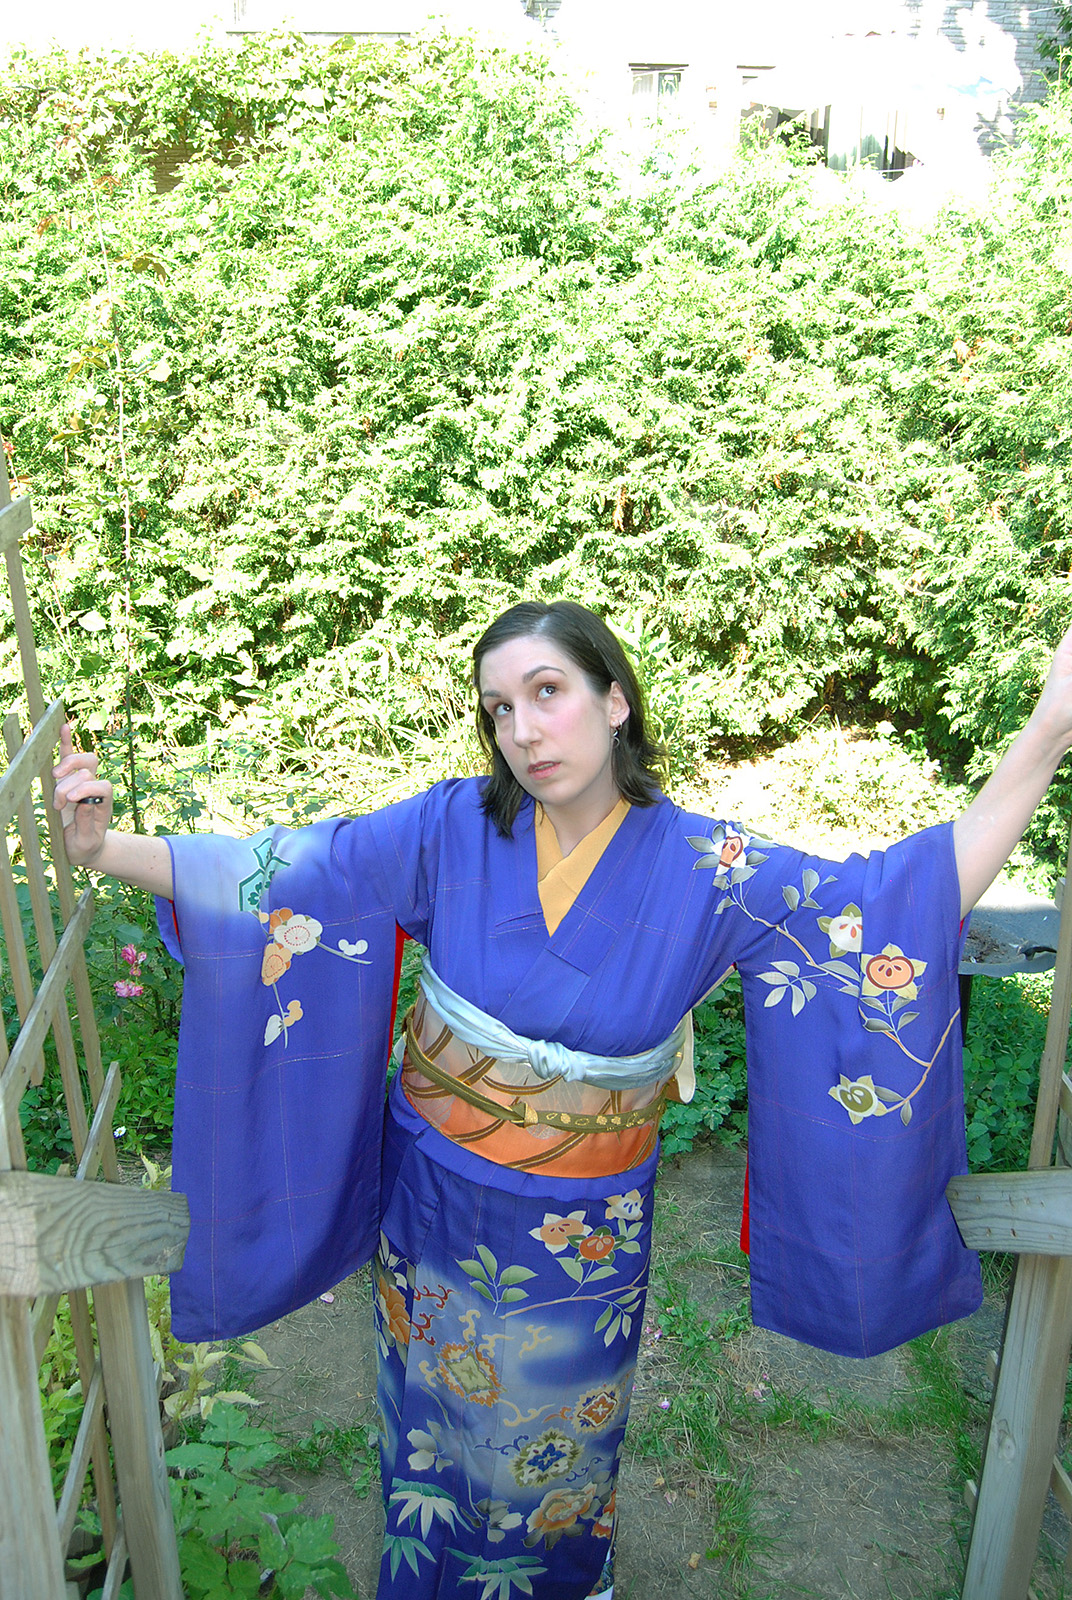
I’ve worn this kimono once, but only inside the yard, as I’m a little worried about wearing such an old piece out and about. Maybe one day when the right time and place come up, I will do so. I chose to pair it with a late-Showa era obi, which may seem odd but the clouds, grasses, and colours just seemed perfect with it. The obiage and obijime were a gift from a friend, and bring out the soft blue and olive tones in the kimono perfectly. For a vintage feel, I chose some burnt paulownia geta instead of zori.

Items used in this coordination

Birthday splurging.

Several weeks ago I was lucky enough to be able to go visit my dearest friend in Boulder, Colorado. Aside from being a beautiful city with a firm grip on my soul, Boulder is also home to a rather unexpected Vintage Kimono Showroom. Janine, the lovely owner, was kind enough to give me an early start on her holiday sale, since I was only going to be in town for a week. I went on my birthday, of all days, since my friend was stuck at work.

I managed to snag some really awesome pieces. I did my best to not go overboard, buying only things that I found really special. One piece in particular was so special that it’s going to get its own entry soon, I am just waiting on an obi to coordinate it with. In the meantime, here are the other things I picked up, behind the cut!

First up, a great little vintage yabane komon.

Based on the colours and sleeve length, I’d guesstimate it at early Showa. The sleeves are lined in red, but just by a few inches, I think someone may have added it in on their own. The fabric on this one is quite odd, it feels almost like a cotton-silk blend. It’s nice and airy, despite being fully lined, and I feel as though I could almost wear it year-round.

I also snagged two gorgeous haori, including my first-ever vintage one. The modern one is lovely, a thick black silk with karabana (fantasy flowers) in soft pastels. The way it’s dyed gives it a great artsy feel.

I actually wore this out to my birthday dinner, along with a green cowl-neck sweater and jeans, as well as the lovely pearl necklace I got from my friend. No photos of the outfit, but feel free to enjoy a blurry shot of my ugly mug enjoying a stuffed scallop!

The other haori is amazing. It’s a lush, crisp taffeta silk in a great teal, red, black and white stripe. The sleeves are deliciously long, it’s nice to finally have a haori I can wear with my vintage kimono.

The other great thing about vintage haori is the lining fabric they used to use. Often times they were much more vivid and crazy than the haori themselves.

My last addition were two obijime.

A cute, straightforward two-sided red and black casual obijime

And an adorable vivid fluorescent red-orange obijime with pastel hakata detail. I’m really loving these hakata obiage I keep finding. Another great thing about this one is that I can wear obidome with it 😀

Overall, I’m really happy with everything I got, and I am looking forward to sharing the other special piece soon!