

I suspect you’re all probably quite tired of me complaining about winter, but I’m not done yet! Still cold and damp, still sick, and now they’re predicting half an inch of freezing rain overnight! I was very much in the mood for something reminiscent of the sweltering humidity of the tropics. The little flower counter at my local drugstore is not the place I’d expect to find birds of paradise or bright red waxy anthuriums, but lo and behold, they found me and called out to me.
The flowers are so bold and dramatic that I knew I wanted to do something big and sparse and sculptural. The beautiful blue vessel was a Christmas gift from my cousin and I love how it anchors everything, is reminiscent of water, and pulls out the hint of blue in the bird of paradise flower. I tried to arrange the anthurium to almost look like steps leading up to the stark angles of the bird of paradise, and attempted some fancy weaving of the palm leaves. It didn’t hold quite as well as I’d like, I clearly need more practice! The whole arrangement was perched dramatically onto this carved wooden stand that was my grandmother’s. I love the way it raises the whole piece up and elevates it to a work of art.
Spring can’t come soon enough! Aside from all my complaints about flu season and the cold and snow, I’m also eager to go back to working with seasonal flowers from my own garden and the great outdoors. There’s a forsythia bush in our yard that I never got the opportunity to work with last year, and I’ll be damned if I miss its blooms again this year!
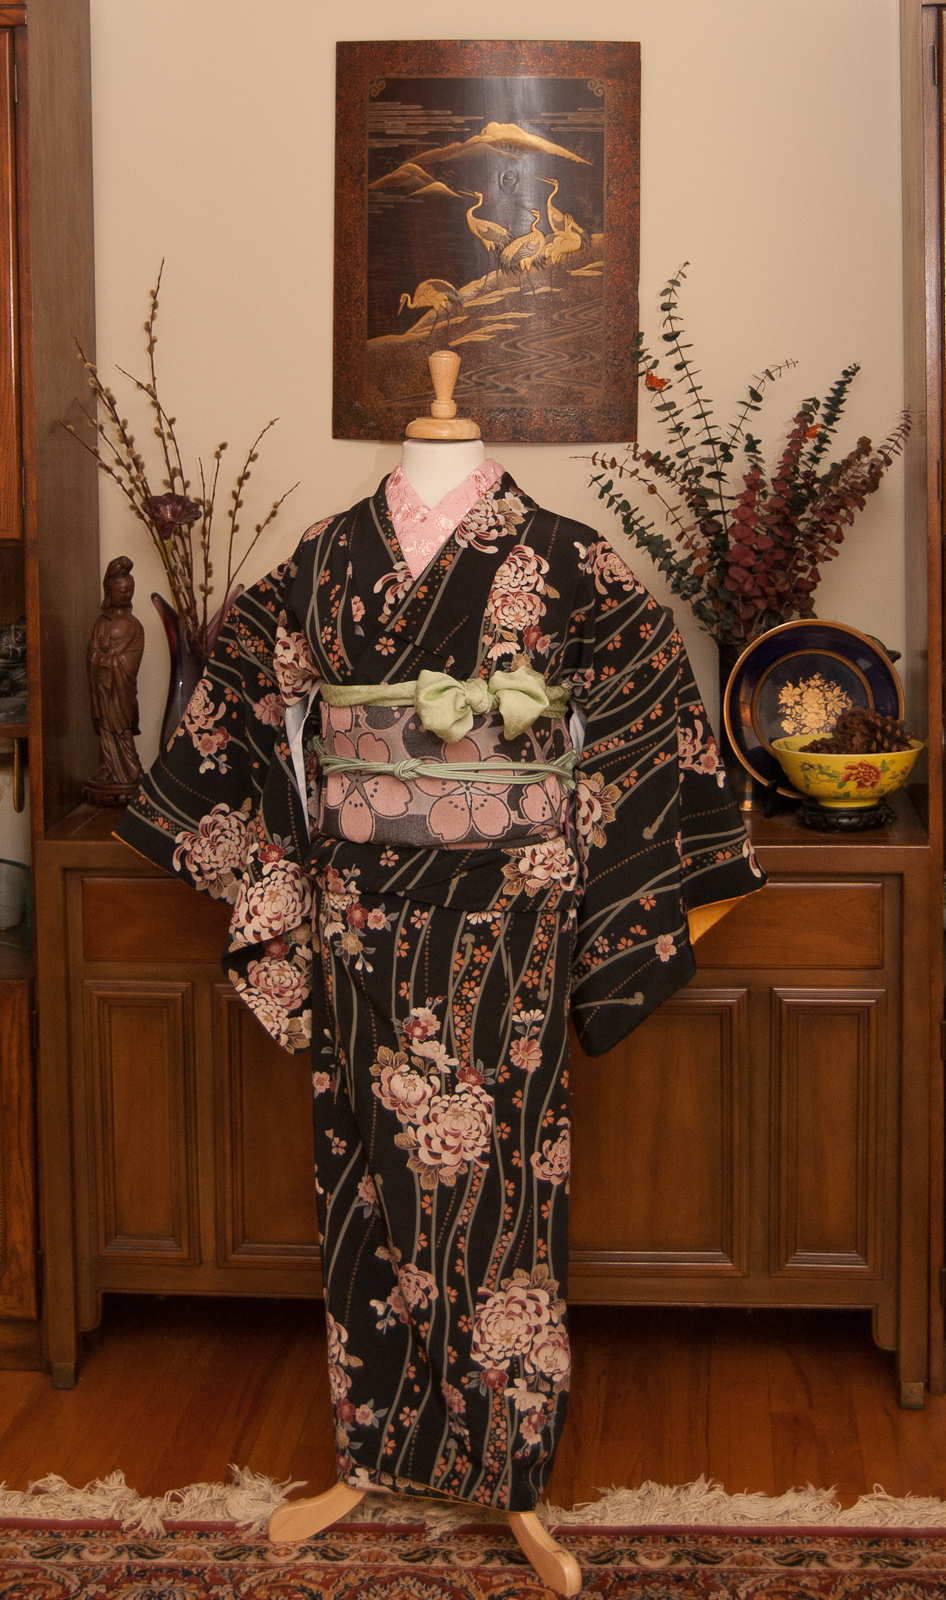
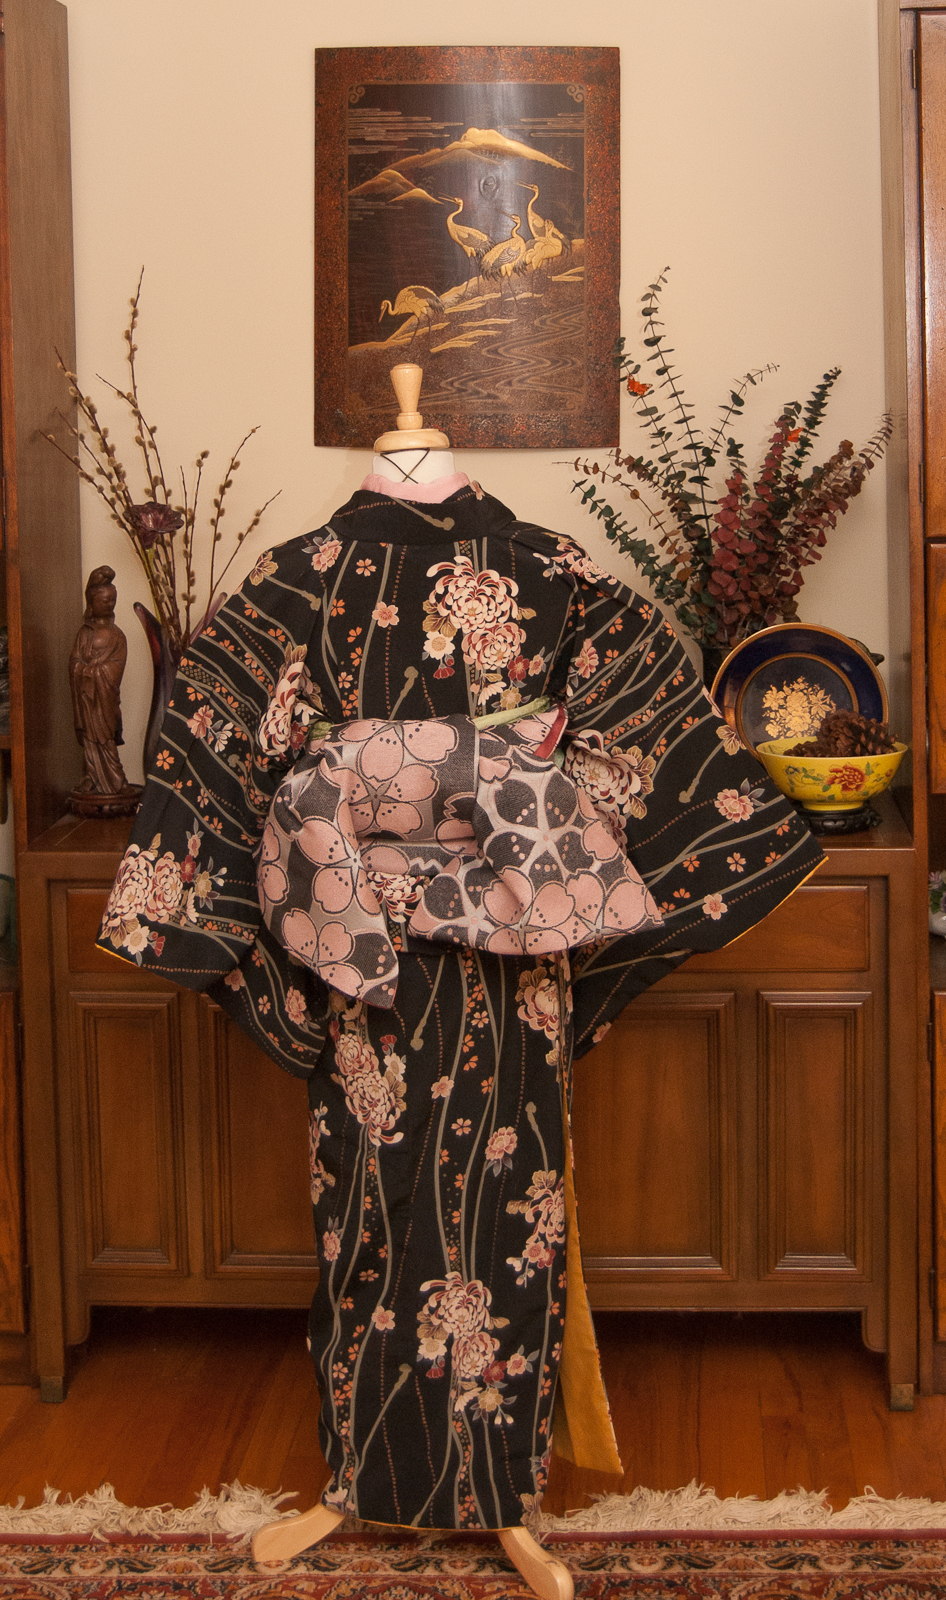
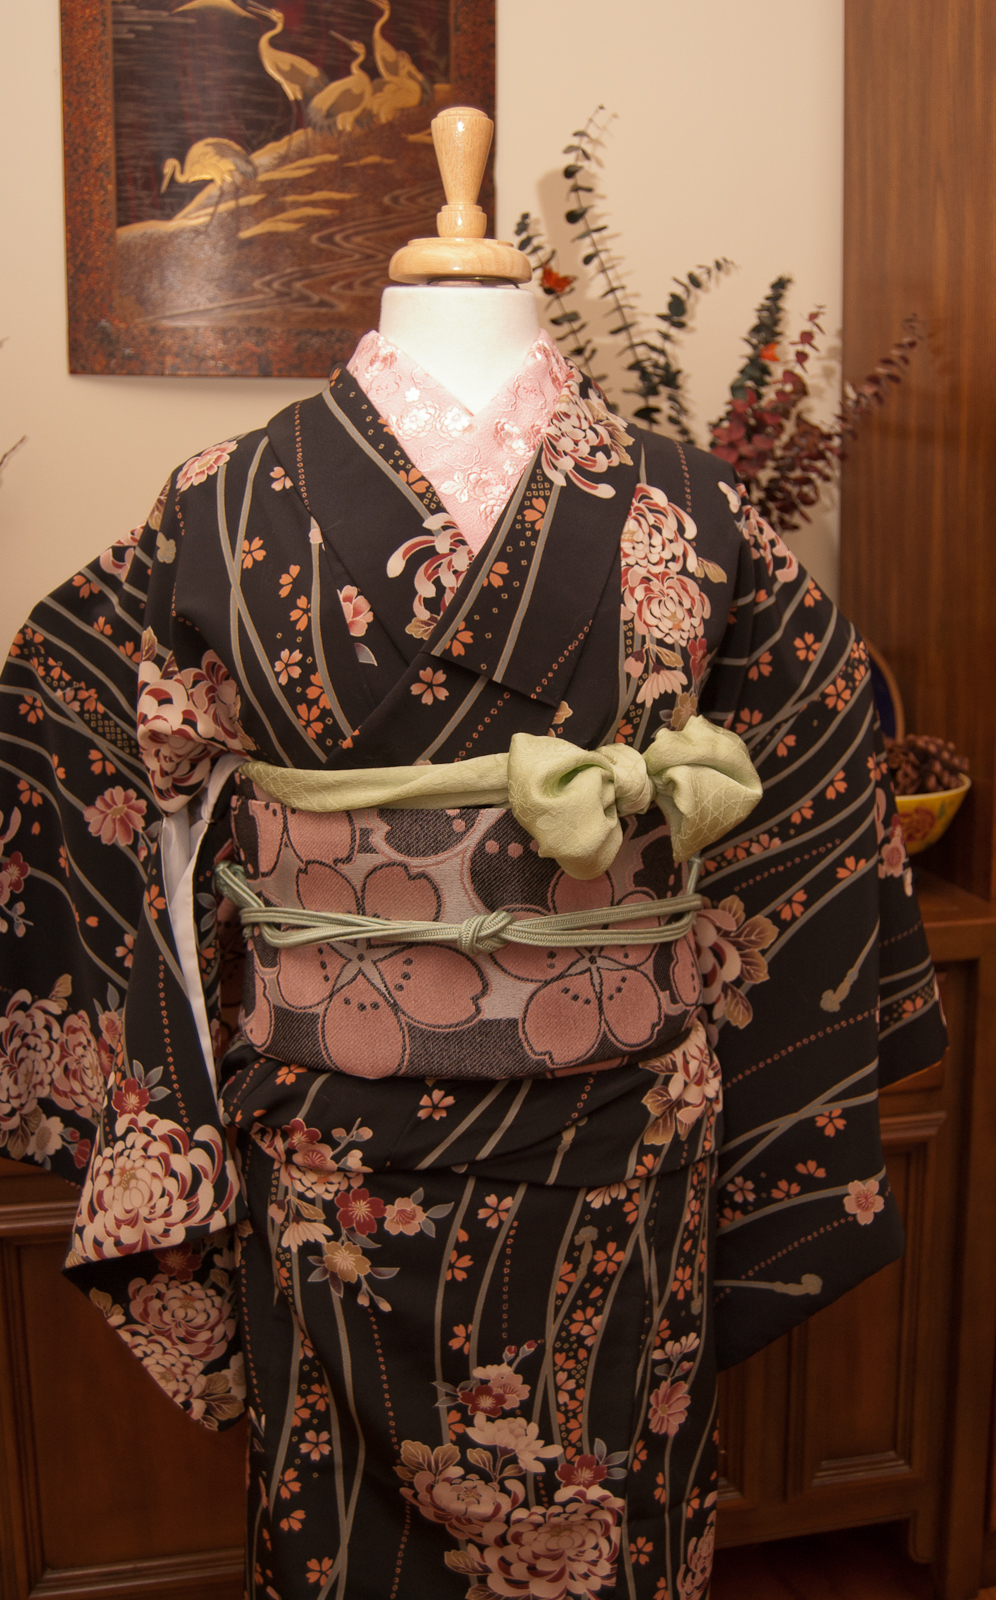
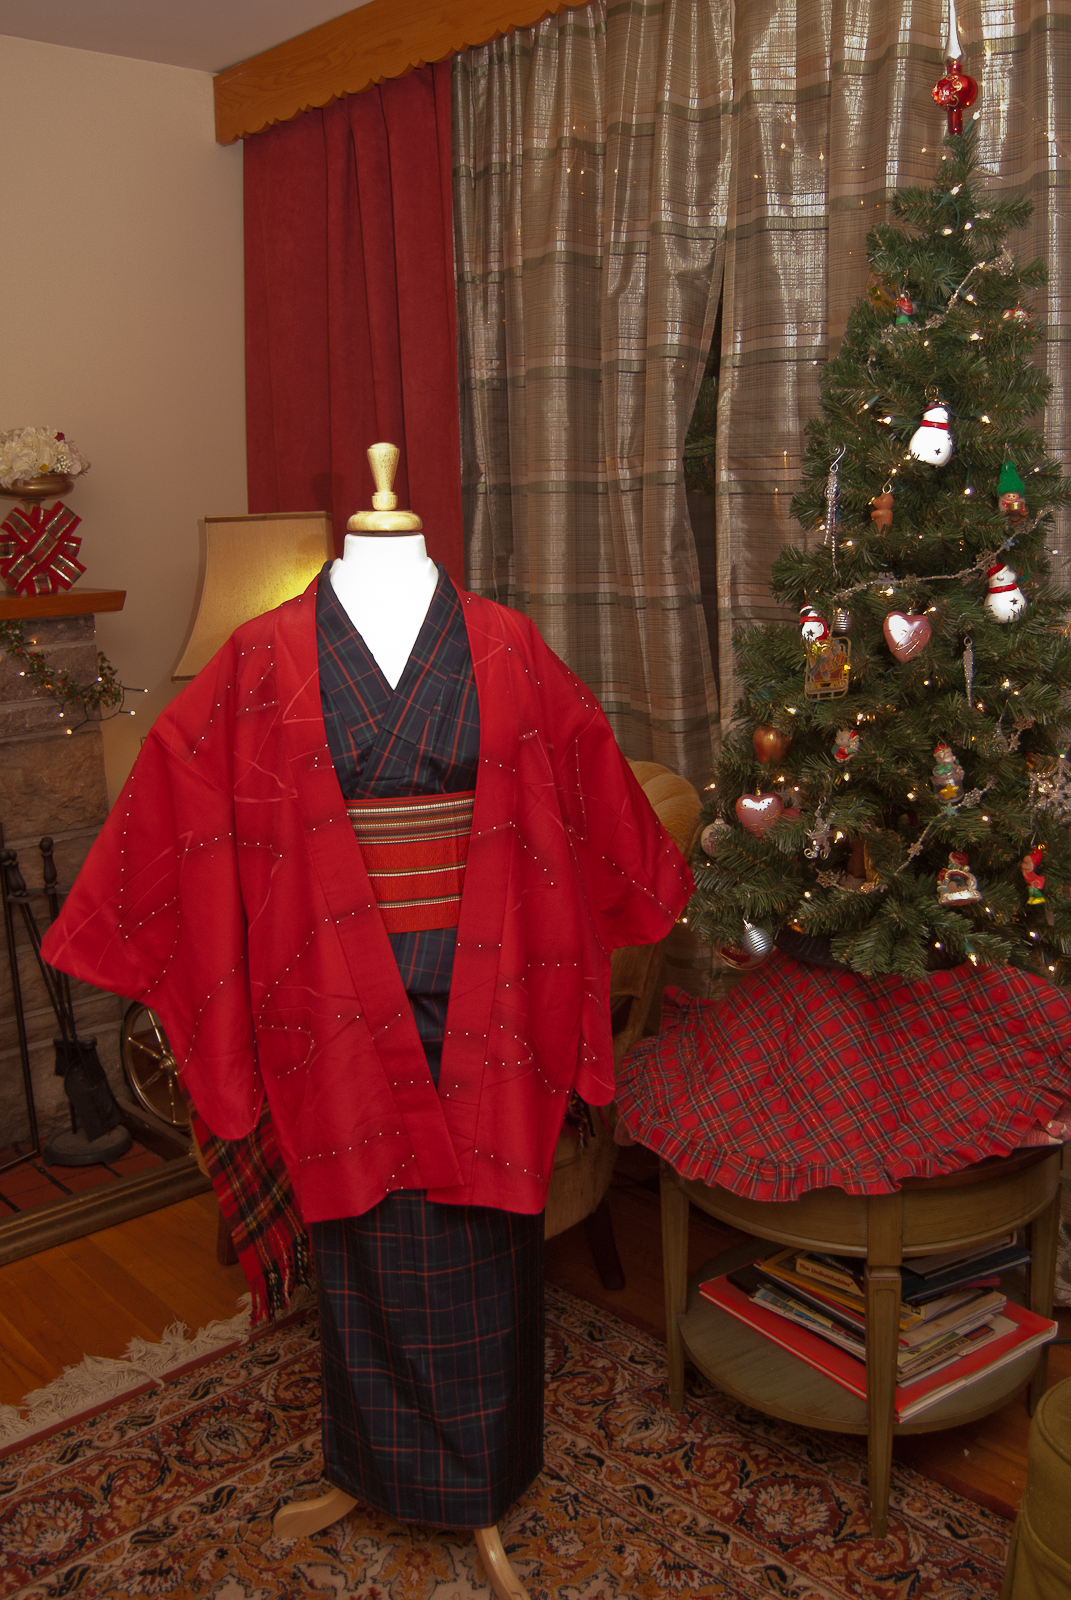
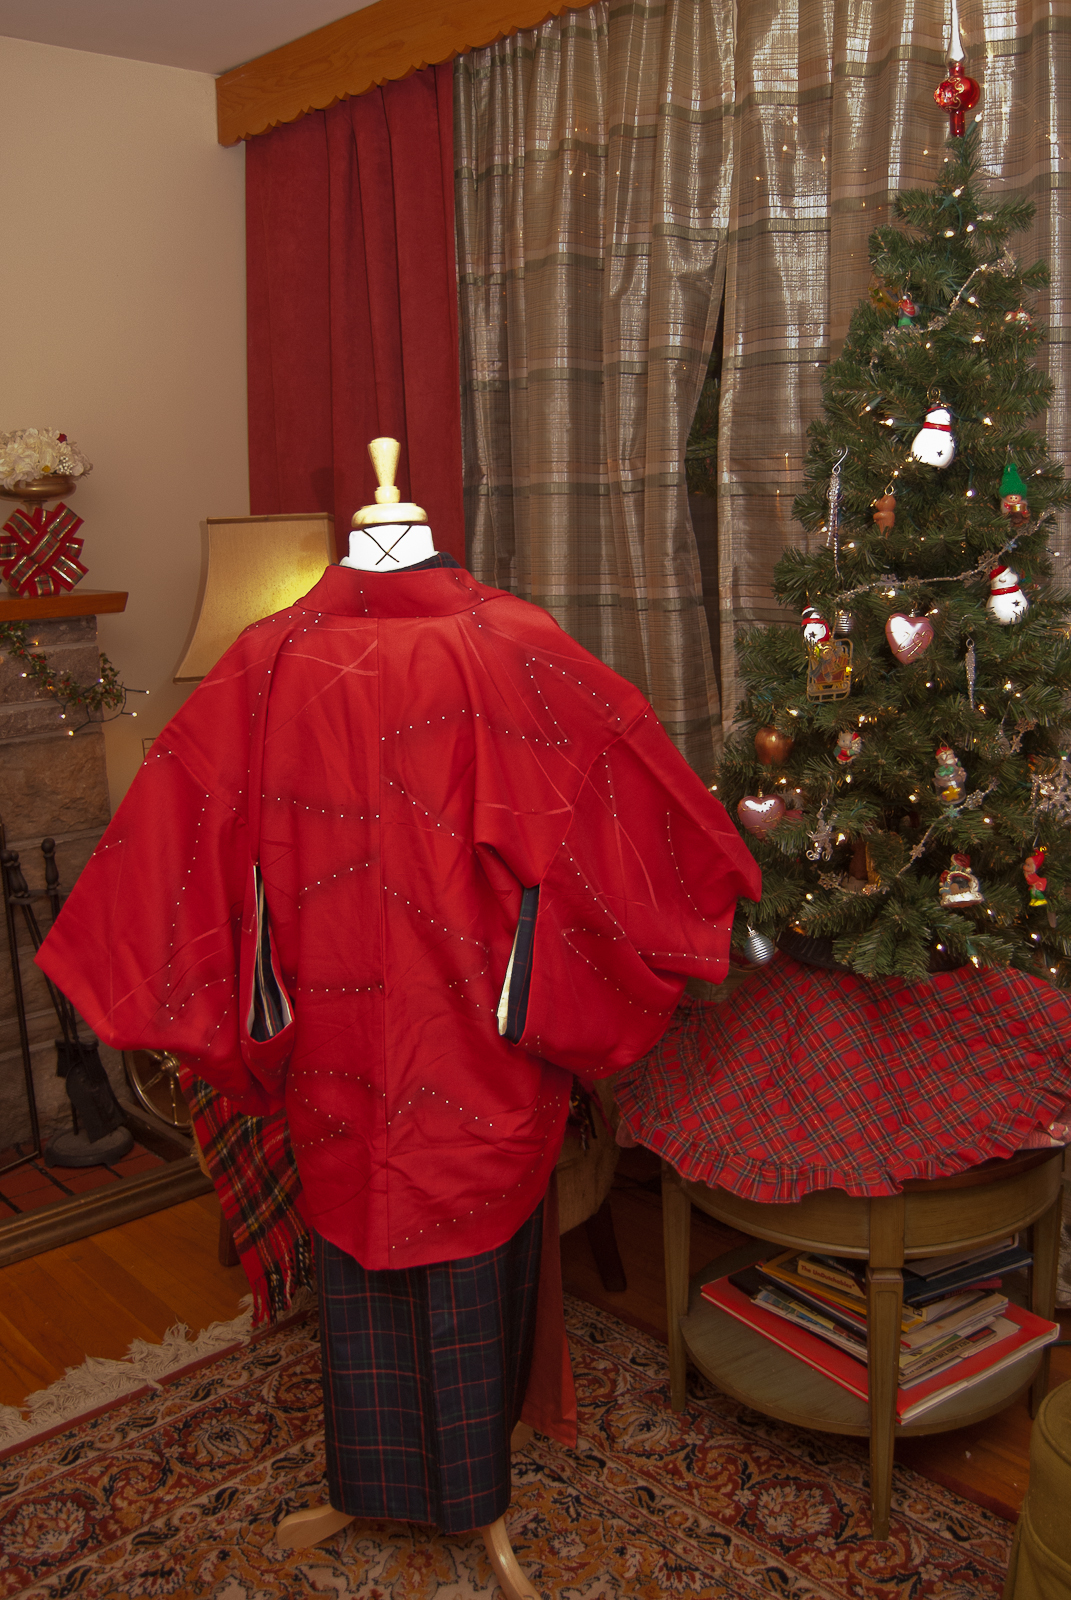
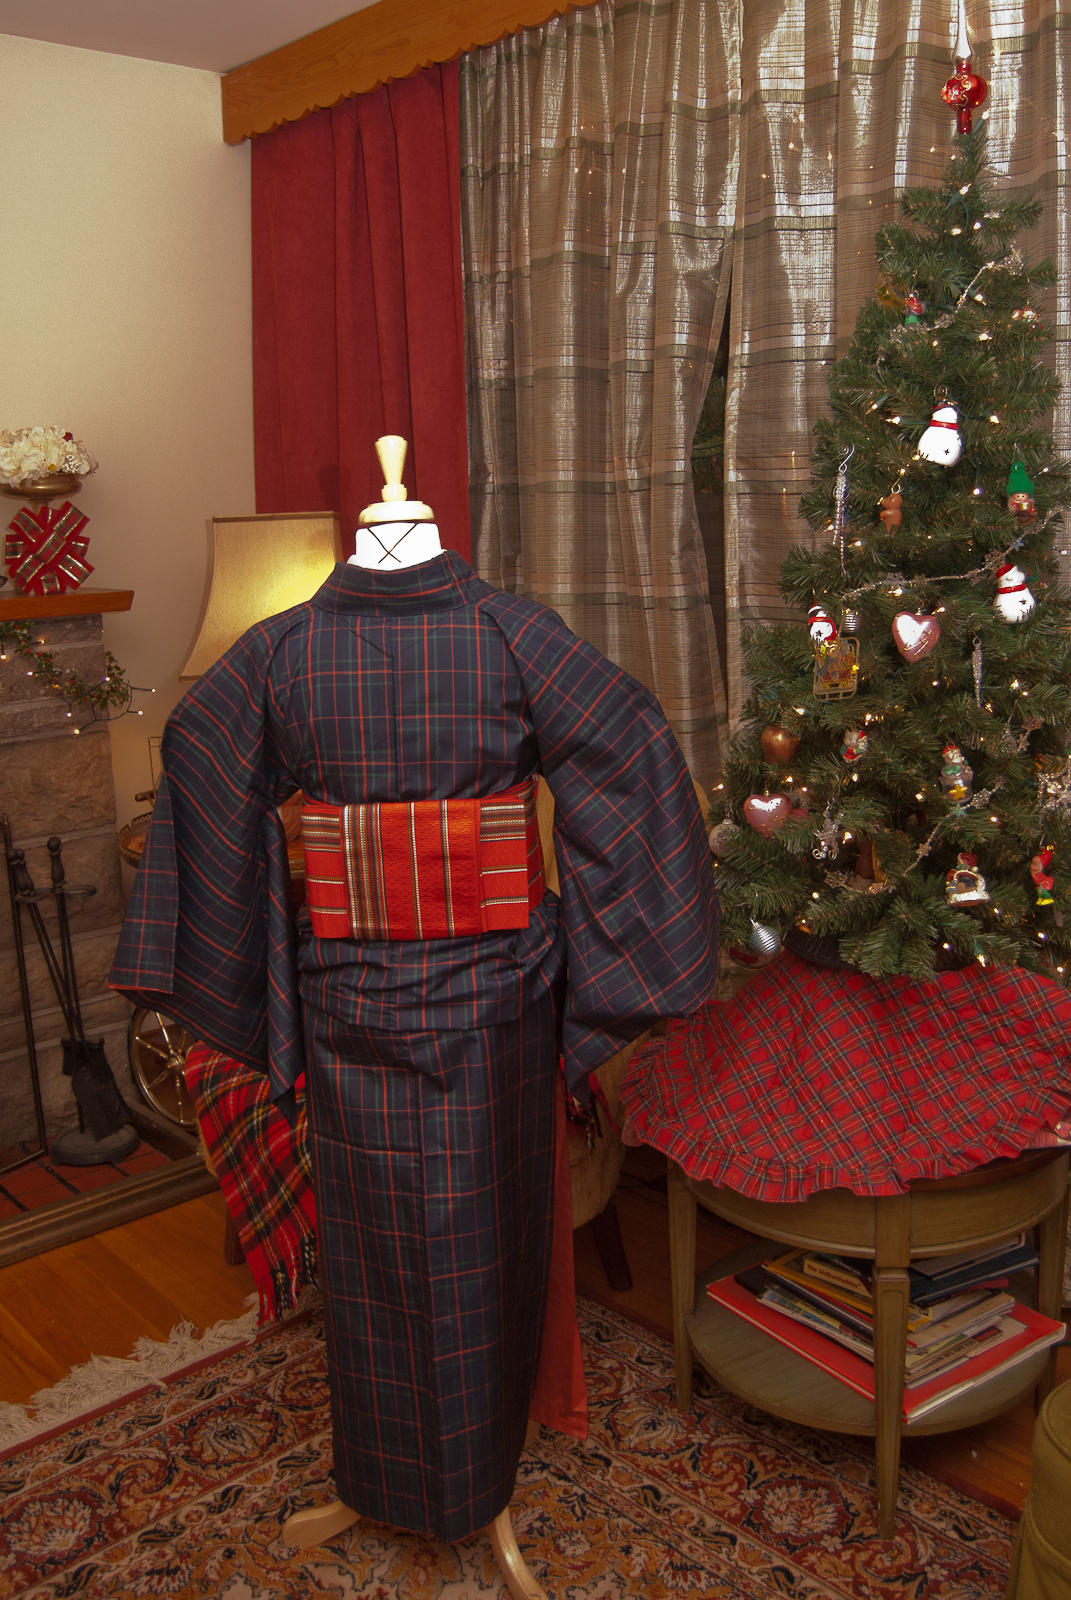
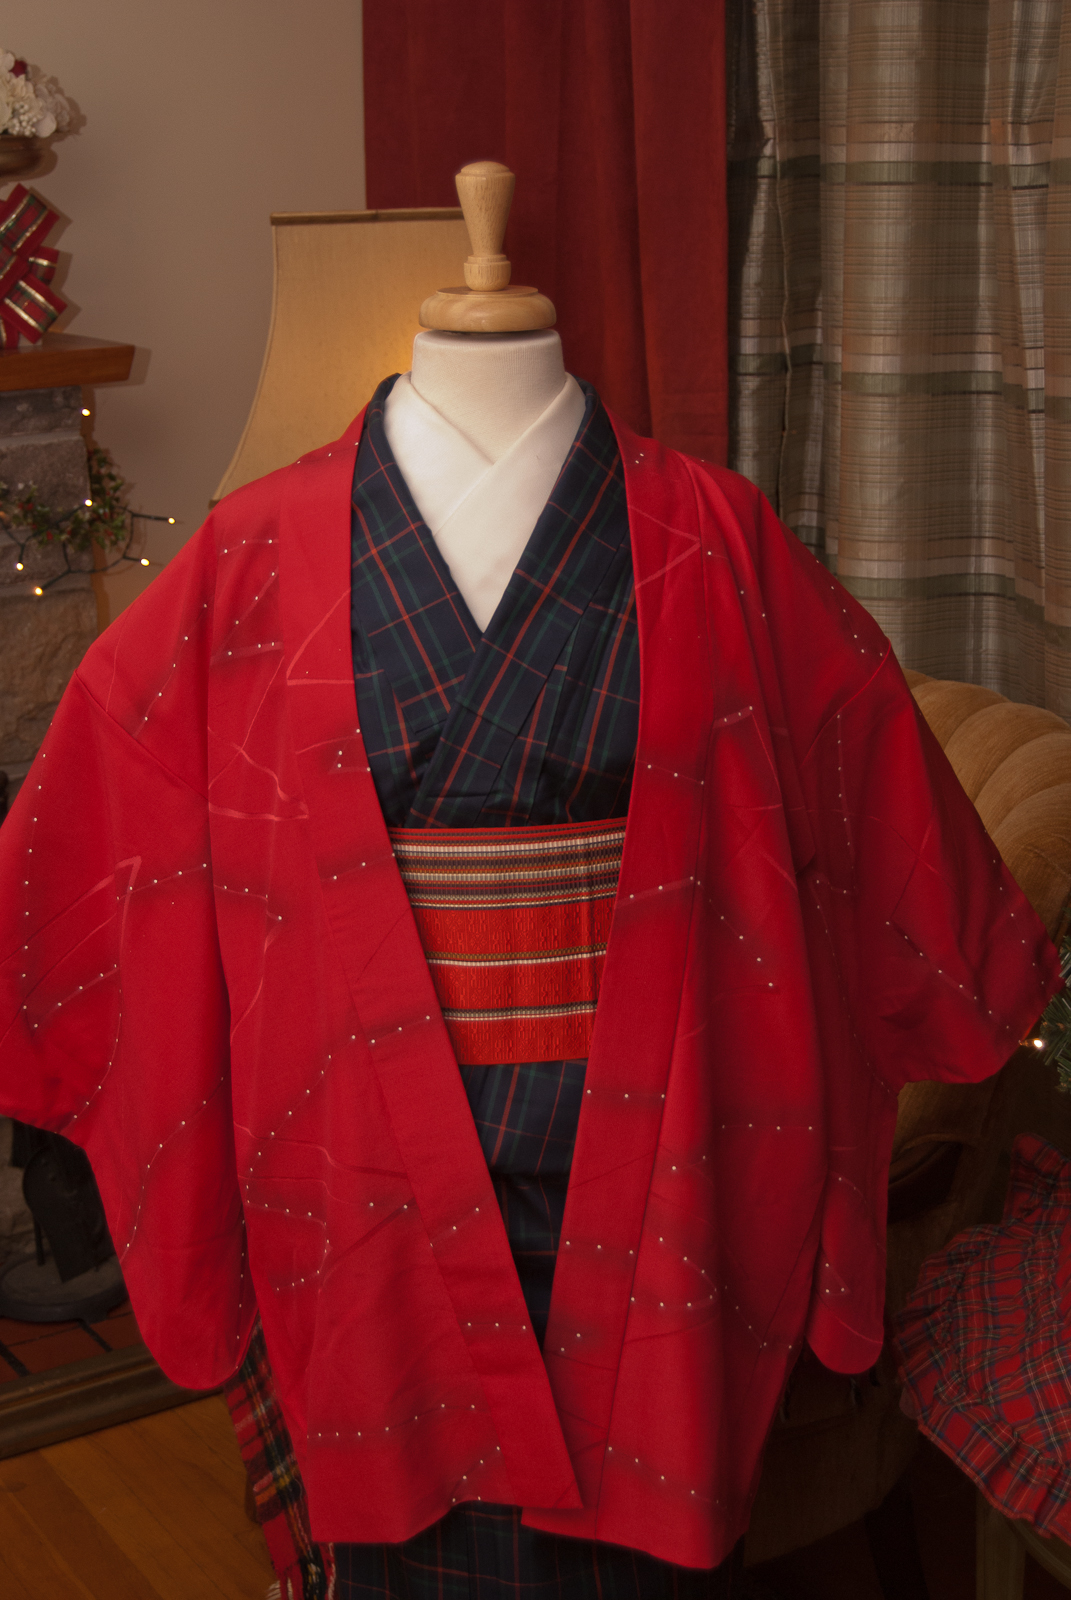
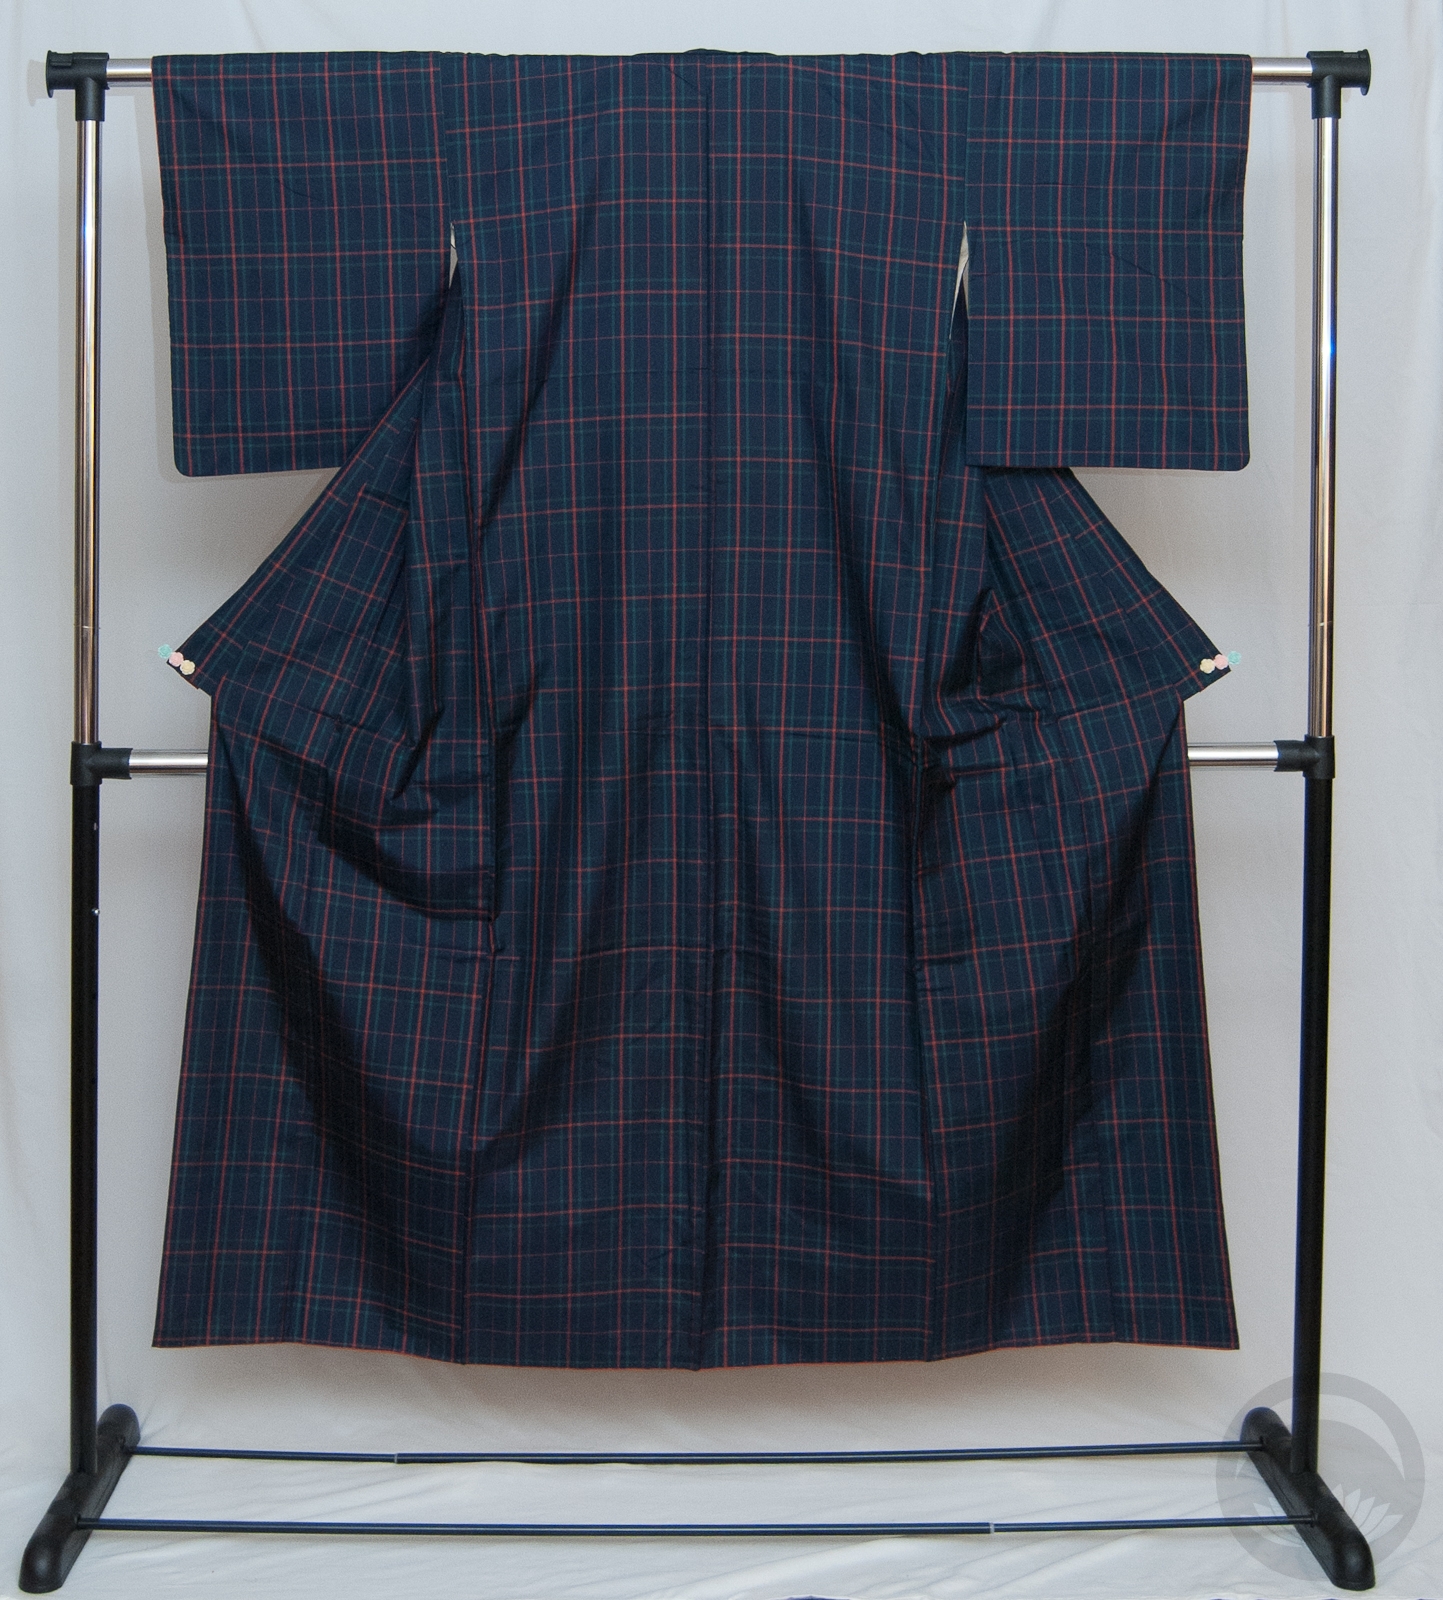


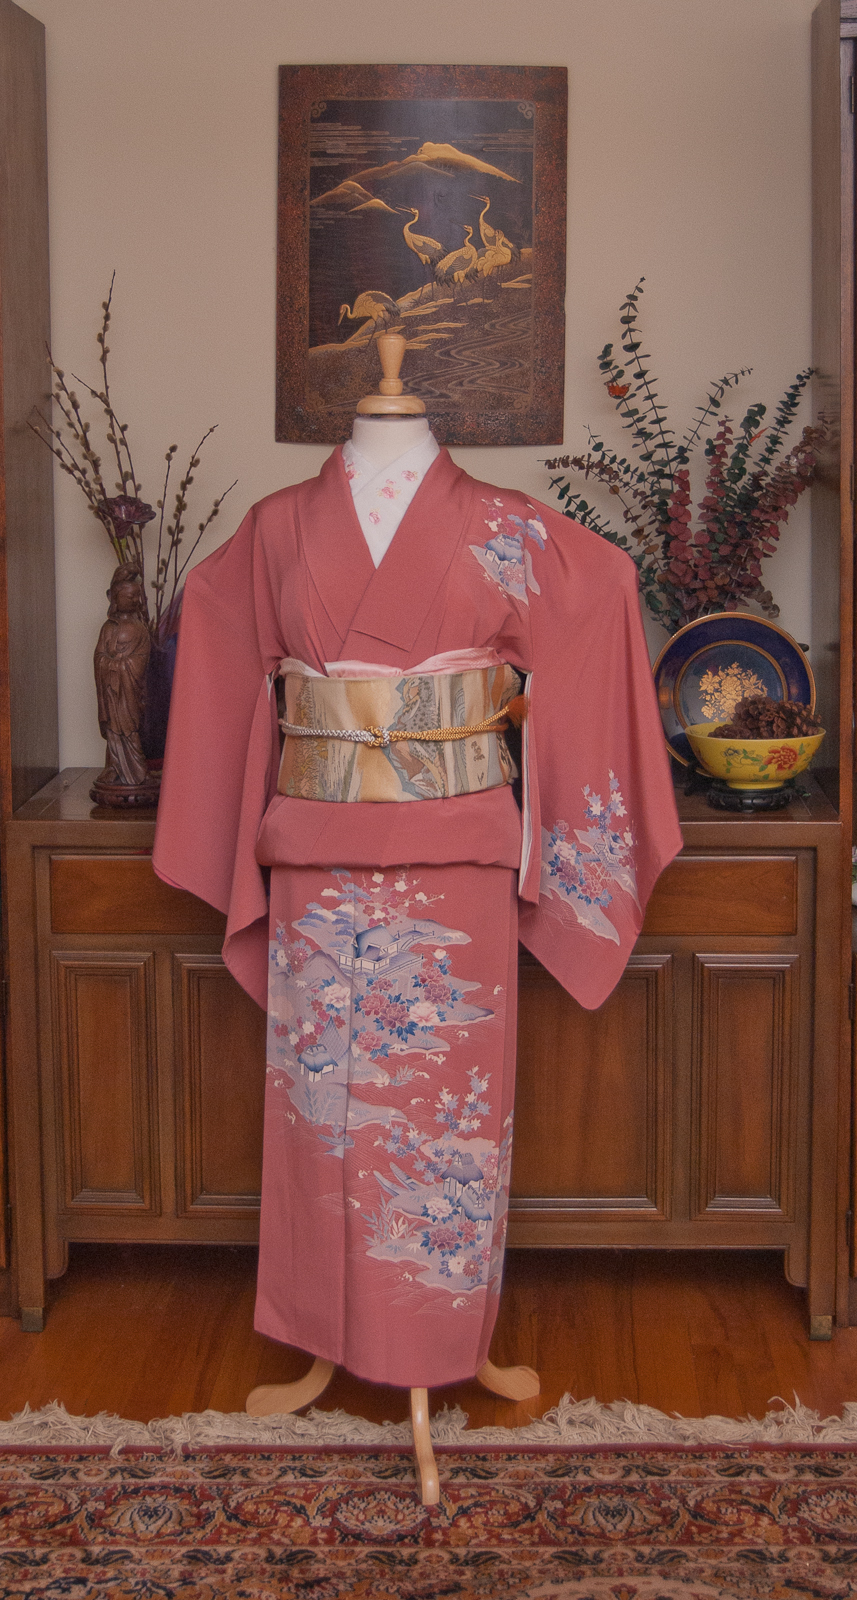
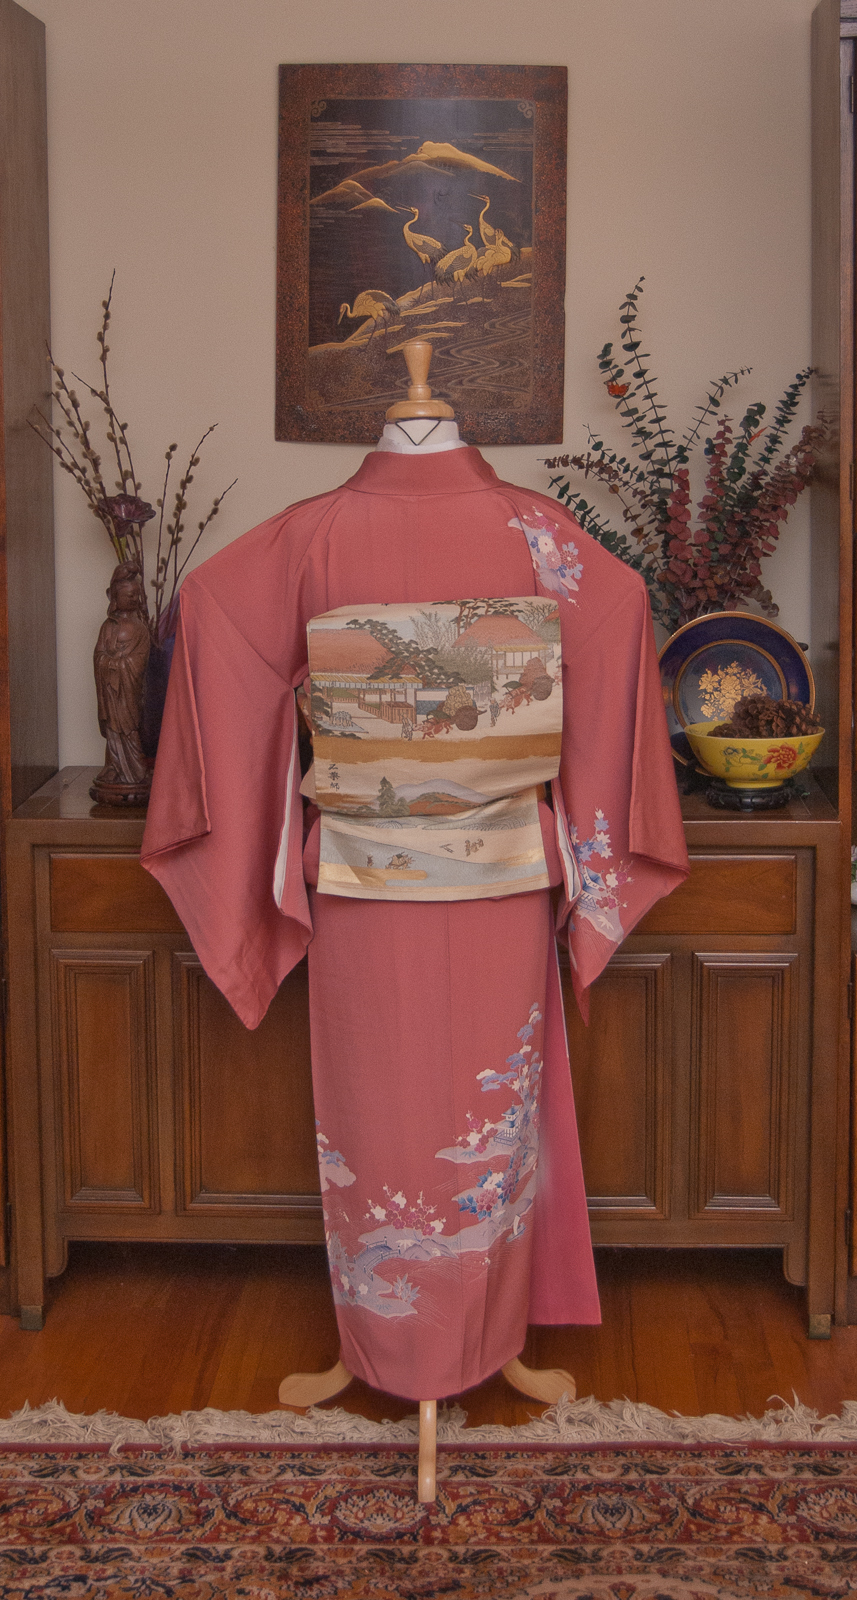
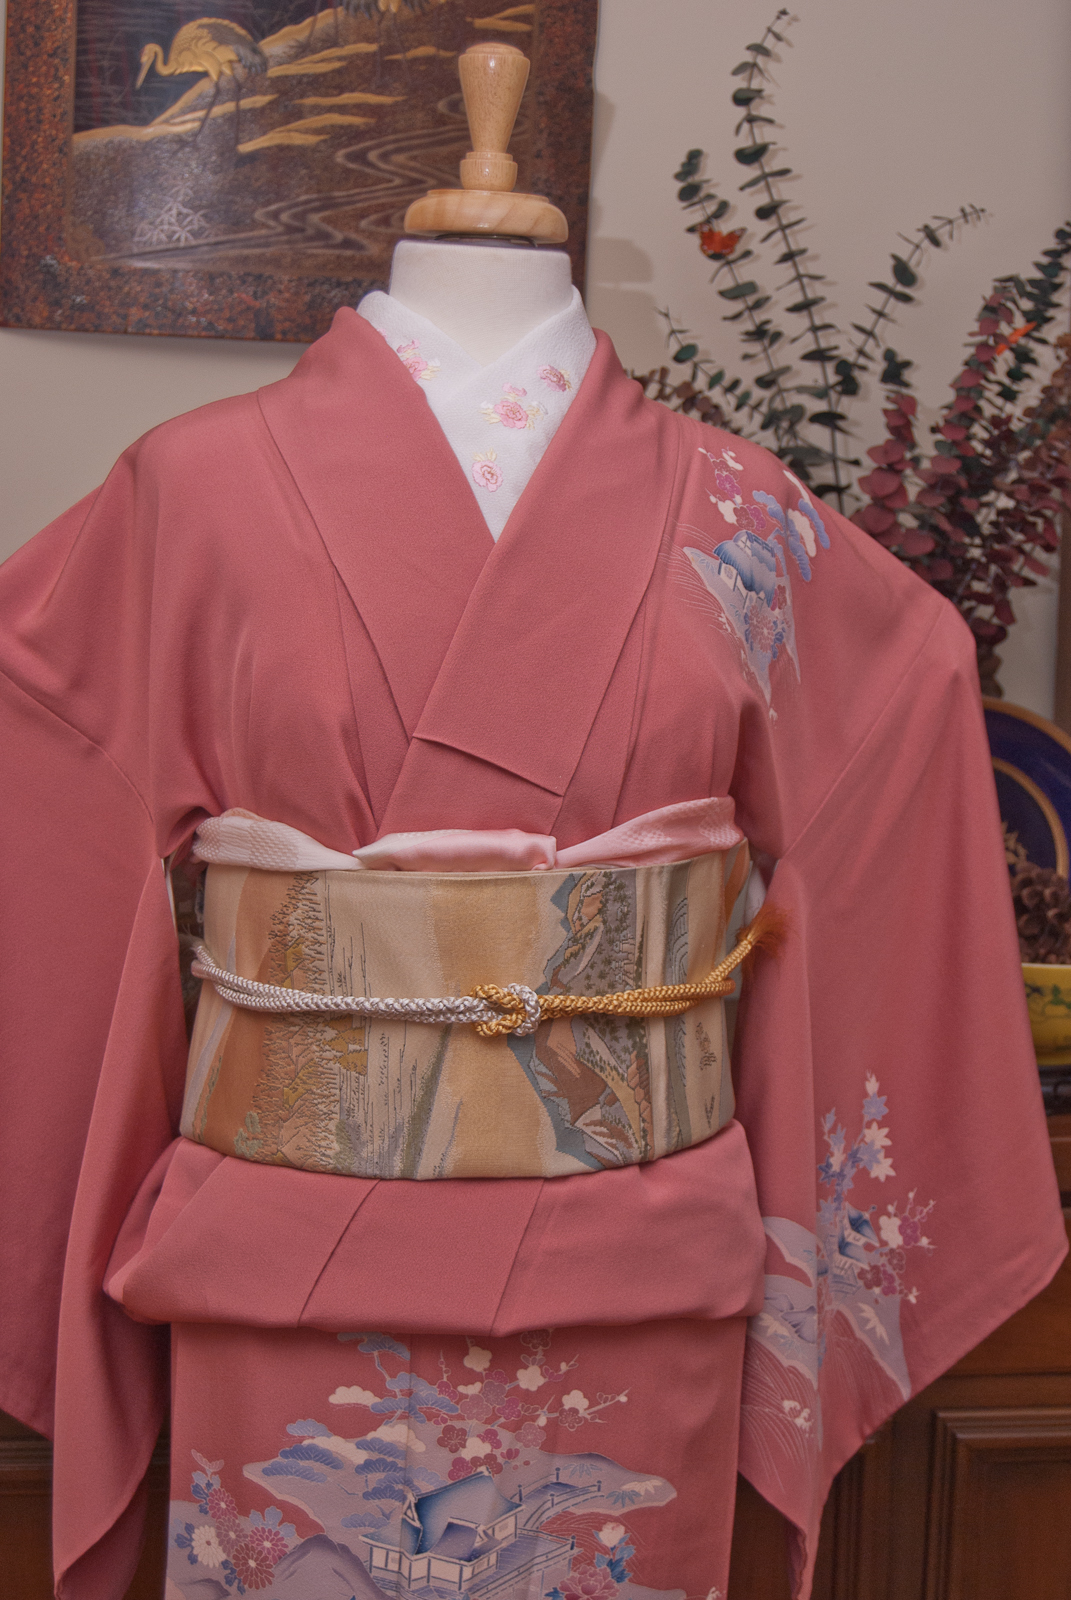
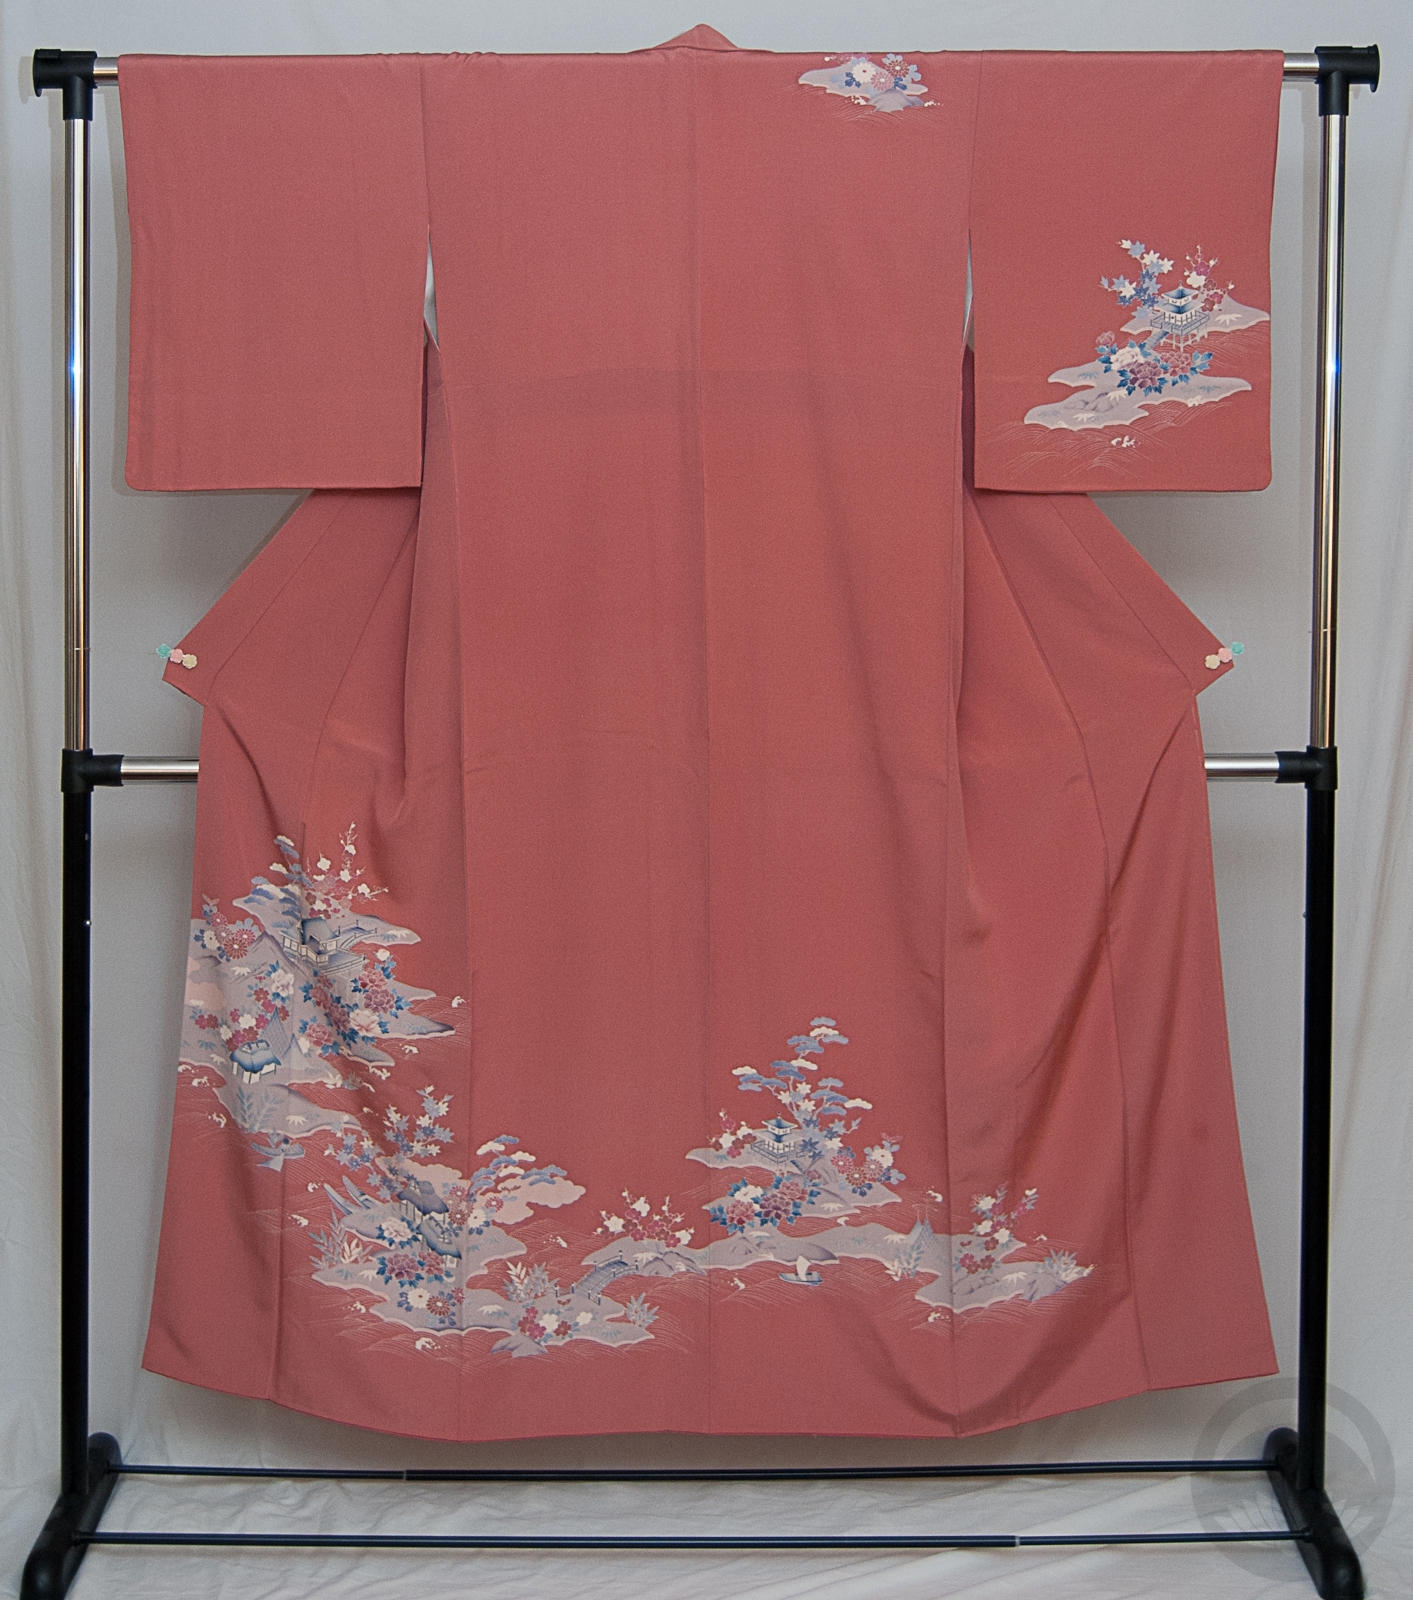


 Bebe Taian
 CHOKO Blog
 Gion Kobu