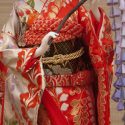
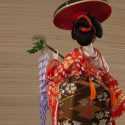
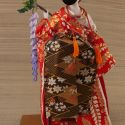
Tiny Doll, Tiny Makeover

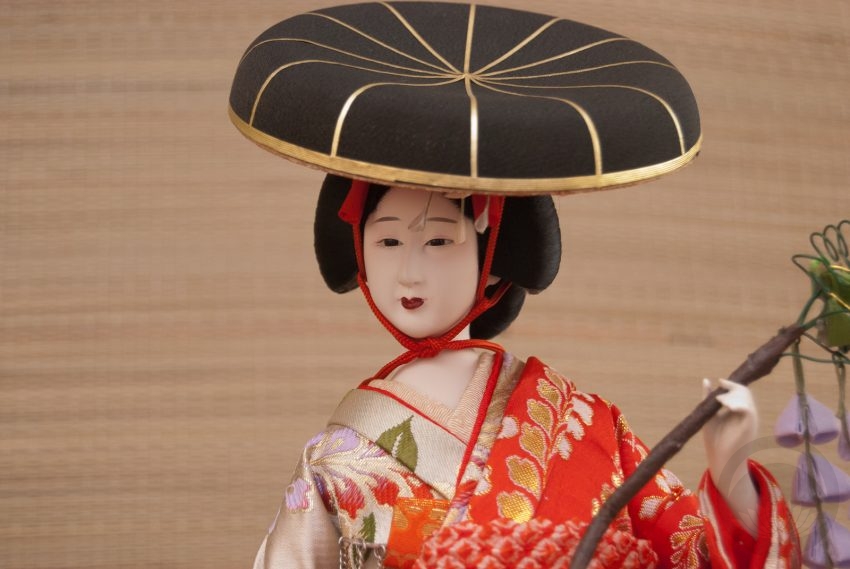
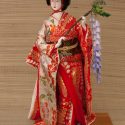
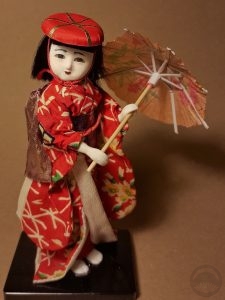
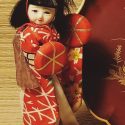
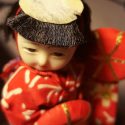
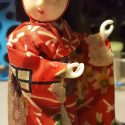
Hello! Just a quick post today. A few weeks ago, I found this charming little doll at one of the thrift stores near me. I posted a photo of her (along with the rest of my haul) on my Instagram but now that she’s had a bit of a face-lift I felt like she needed her own post.
She’s nothing fancy – maybe 4″ tall and made primarily of plastic. I assume she was a cheap souvenir or something. But I was really charmed by her, and wanted to give her a new lease of life. I was inspired by my friend Naomi, who has been rescuing dolls from thrift stores for ages now, and my friend Vi who runs The Heirloom Smith, a small custom design and restoration business.

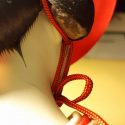
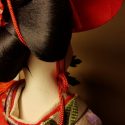
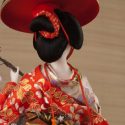
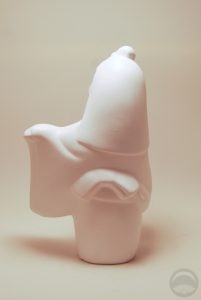
The biggest and most obvious problem was her head; her hair was a wreck and there was a flat circle of paper glued to the crown of her head, where a hat had likely fallen off. Thankfully, she had two other hats – one in each hand! I carefully pried the hats off and put them aside, and moistened her hair so I could brush it and try to tame it down somewhat. I then soaked her hands carefully in warm water to dissolve the leftover glue and paper. However, without her hats her pose definitely looked a bit funny, and the fact that her hands, feet, and face were made of cheap yellowed plastic was very apparent. I re-posed her slightly (thankfully, her body is a wire frame so she’s relatively flexible), covered over her yellowed bits with white chalk paint, gave her a cute little umbrella to dance with, and glued one of the salvaged hats onto her head. The last step was to give her slightly more subdued facial features with watercolours over the newly-painted surface of her face. She looks very at home in the cabinet with the ceramic doll I repainted a while back. I’m so happy Ito have given both these girls a new home. Their big sister is also in the works, I hope to be posting about her sometime soon.

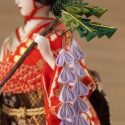
I didn’t take too many photos during the process, and the ones I did take were done at my desk with my phone so they’re not fantastic, but it’s still nice to see how she progressed to the final result up at the top of the page.

Happy Hinamatsuri!

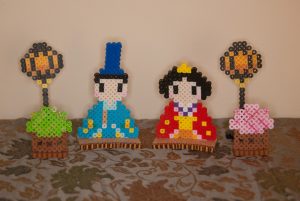
Just a quick post today, to wish you all a happy Hinamatsuri! One day I hope to own a full, proper set of hina dolls but until I have the space and the budget for it, I’ve started a little bit of a personal tradition. Last year I made an origami set and while I still love them I wanted to do something a little more complex for this year. When my friend Amanda posted her Perler bead hina doll set on Facebook, I knew I’d found my project. They were very fun and relaxing to make. I’d forgotten how fun Perler bead crafts are, and I’m happy to have been reminded. I can’t wait to make more stuff 🙂

If you’d like to try making a set of your own, here is the pattern for the Obina (男雛, Emperor) and here is the Mebina (女雛, Empress). I didn’t have the exact colours needed so I took a bit of creative liberty but I think they look absolutely adorable!

Baby’s First Sashiko

Growing up, all the women in my family did (and still do) some sort of textile-based crafting. Needlepoint, embroidery, knitting, crochet; you name it, my mother, aunt, cousins, grandmothers, etc, were probably skilled in it. I’ve done some needlepoint in my life, but generally I’ve never had the knack for this sort of thing… until now!

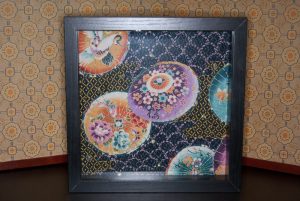
My friend Carol (of KimonoMomo on Etsy and the Ardent Thread blog) recently set up a crowdfunding project to help fund a trip to Japan to meet with textile artisans and as a thank-you for contributing, she sent me this nifty sashiko kit. Included was a large piece of rough indigo, two pieces of beautiful quilting cotton with parasols, and three skeins of coordinating thread. What I loved about this project was that theres’s no “right” or “wrong” way to do it. It inspires a great deal of creativity and freedom, which is what I think was missing from my previous attempts at any sort of needlepoint craft.

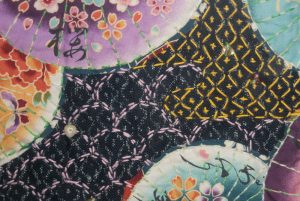
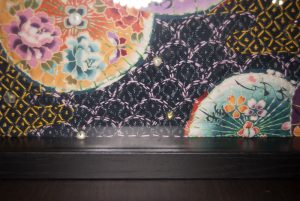
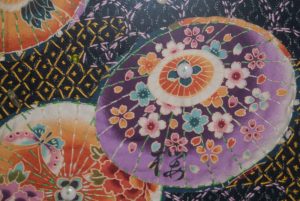
When I opened the package, I knew I wanted to feature the parasols centrally, so I cut a few of them out of the fabric and appliquéd them onto the indigo fabric. I spent some time looking up different styles of sashiko stitching and then decided that I would fill the background with “clouds” of differing stitches and colours. Initially I was going to do each segment in a different pattern but I worried it might look too busy and stuck to two – one following the print on the base fabric, and one of seigaiha (waves). I loved how organically the whole thing came together, and whenever something didn’t quite work out I could simply undo it and try something else. I also chose to accent the ferrule of each parasol with a little pink quartz, and threw a few other random beads into the background to add a little texture and interest.


Overall, I am utterly thrilled with how my first sashiko project came together. It was very relaxing, challenging enough to keep my interest without being frustrating, and the end results are totally unique. I think they’ll make beautiful gifts full of love and meaning, and they’re very soothing to do. I’m certain this won’t be my last one! If you’re looking to get into sashiko yourself, Carol’s Etsy shop has a fantastic selection of needles, threads and fabrics, as well as a wealth of knowledge to share.

I received this item as a backer perk for a project or product that was crowd-funded (Kickstarter, IndieGoGo, etc)

DIY Doll Makeover

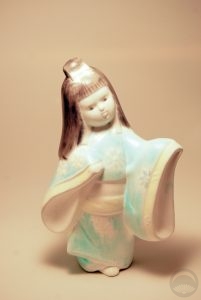
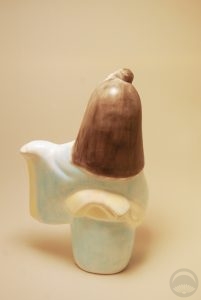
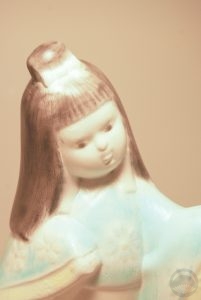
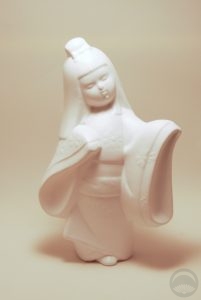
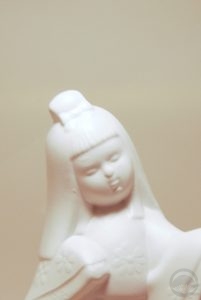
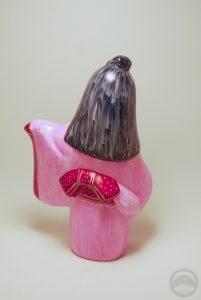
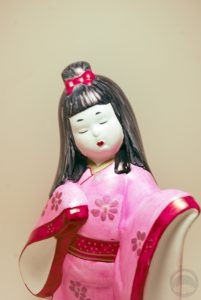
I found this precious little gal at the thrift store a few weeks ago. She’s not particularly old or valuable, but something about her spoke to me. Her previous owners had slathered her in acrylic craft paint, and it was doing her no justice. I knew I wanted to make her look a bit like a Hakata doll, I just wasn’t sure how I’d go about that. It took a bit of experimentation, but I’m really happy with the end result.

Here she is exactly as I brought her home. Thick, streaky acrylic craft paint hid most of the details of her sweet little face, and the colours on her just weren’t to my taste.

So I stripped her down to bare porcelain with some 100% acetone, and gave her two very thin coats of matte white primer. She could have looked absolutely gorgeous all in white, but parts of her were in rough shape, no matter how much sanding and spraying I did, so I went ahead with my initial plan of colouring her. I tried several different types of paint (fine acrylics, watercolours, etc) but nothing was setting properly. Then I gave my alcohol-based markers a shot, and knew I’d found my solution.


The markers did a lovely job of covering her without making her feel heavy. The black marker I used on her hair has a brush tip, and I love the texture it gave her. I also used metallic paint pens to add a bit of depth and texture to her obi and the little flowers that were sculpted in relief on the kimono. I left her eyes closed, I think it gives her a pensive, focused expression. A young lady caught up in her dance.

She may not be perfect, but she’s entirely mine and I’m completely in love with her!

Giving an old obi new life

When I first started this blog, I posted about my amazing crow obi, and mentioned that the silk backing had rotted out due to age, and I had plans to replace it.

Fast forward um, a year and a bit, and my procrastinating self has finally accomplished something! The obi fabric and original lining had been sitting folded in a bag for quite a while and I decided it was high time to finally give it the respect it deserves. If you’ve ever been curious about the construction of an obi, or have an obi yourself that needs to be redone, please read on!

The first step was to separate the obi silk from the obi-shin (stiffening core). They were not sewn together, but have been stuck to each other for what may be nearly a century at this point, so this involved a bit of careful peeling apart.

Isn’t my kitty ironing board cute? You’ll be seeing an awful lot of it in this entry XD

Once the two pieces were separated, I carefully ironed the seam allowance of the obi silk open. I ironed it enough to make the piece lie flat, but left the original fold line visible so I would have a straight line to sew along later without having to mark up the fabric.

Here is the whole piece with the seam allowance ironed flat. You can see how much the colour has faded over the years, but since the allowance will be hidden this isn’t really a problem. I just thought it was interesting and worth sharing.

The next step was to pin the wrong sides together of the obi silk and the black satin I was using for a backing piece. This was exceptionally tedious and I pricked my fingers several times!

Here’s the entire thing pinned together and taking up too much space on my floor. Yes, there is a disgusting area rug on top of disgusting wall-to-wall carpet on my basement. The floor gets cold so I’d rather icky and comfortable over stylish but clammy!

Once everything was pinned together, the next logical step was sewing. Lots and lots and lots of sewing. Due to the fragile nature of the silk and the fact that the obi gets tugged and pulled a lot, this all had to be done by hand, in a closely-spaced but loose slip stitch. I saved a huge amount of time by doing Japanese-style hand-stitching. This is hard to explain, but it basically involves holding the needle still and rocking the thread back and forth until a handful of stitches are lined up on the needle, and then pulling it through. This video gives an amazing visual demonstration with no explanation needed. Once you get the hang of sewing like this, it is an enormous time-saver.

Once both long sides are completely sewn, I ironed the seam allowances down again so it would lie flat. I found it easiest to do one fabric and then the other, rather than trying to press both sides at the same time.

Once the outer parts of the obi were sewn together, I folded them carefully, put them aside, and got to work on the shin (core). An obi is constructed somewhat like a sandwich, with the two visible pieces of silk on the outside, like the “bread”, and the shin in the centre, like a filling. The shin is usually a piece of heavy cloth, sometimes flannel, sometimes duck-cloth, and it serves to give body and stiffness to the obi. Without the shin, the obi would not lie flat and smooth when wrapped and tied around the body. If you’ve ever seen a cosplayer with a really crumpled, lumpy obi that has sort of collapsed on itself over the course of the day, odds are they made themselves an obi without using any sort of a shin or core.

The obi had a shin inside of it, a sort of brushed flannel-y material, but it had gotten incredibly soft over the years, so I decided to reinforce it. I found a roll of obi-shin fabric on eBay, but if you can’t find one specifically, any thicker fabric with a bit of body will work. Because the fabric of the obi itself is so thin, I figured a bit of extra stiffness would be good and used both the old shin and the new one together.

I used the old shin to determine the size of the new one. After I’d folded it to match the size of the old piece, I pinned it down and ironed it flat so it would stay in shape.

I pinned both shin together temporarily, just to make them easier to deal with and prevent things from shifting around while I worked.

With the two pieces pinned together, it was much easier to lay them out and tuck them into the folded seam allowances of the obi lining. Thankfully, I had assistance in the form of a Tribble. And yes, that is her tongue sticking out in the large version. For a mutt-cat, she is incredibly brachycephalic and tends to leave her tongue hanging out a bit because it doesn’t fit in her mouth properly. Poor boo.

Once all the pieces were sandwiched together inside-out, the next step was to turn the whole thing right-side-out. First step was to remove all the pins to make sure none got trapped inside when I was done. Unfortunately I do not have any photos of this phase, because both my arms were very busy and my father was helping me. I will do my best to explain how we did it. I held the end open while he reached inside and carefully pinched all four layers and pulled them outwards through the other end. If you’ve ever cased a sausage, it was a similar procedure. After it was properly turned, I used some delicate fabrics hemming tape to shut the ends. I could have sewn it, but I’ve used the hemming tape before and was pleased with how gentle and permanent the results were so I figured I’d save a little time.

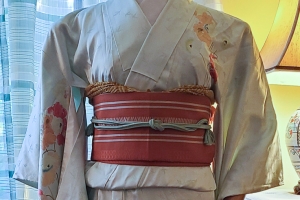
And here she is, finally finished! I’m very proud that I actually finished this, and am very pleased with the results.