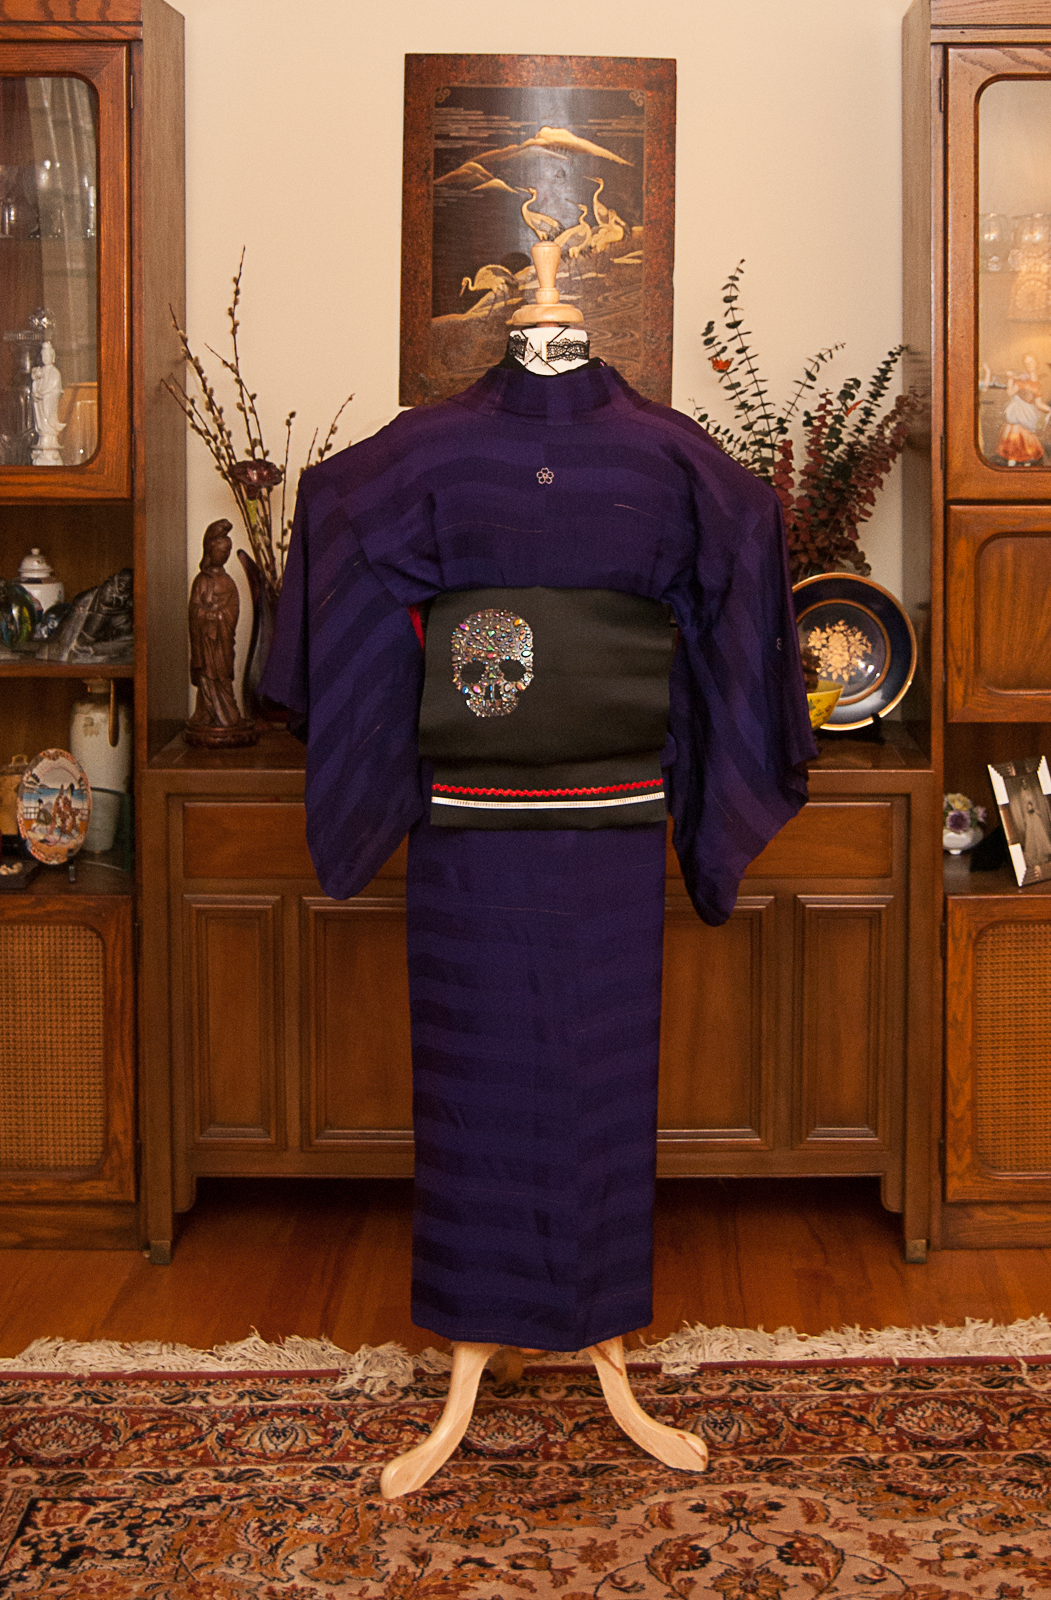
Several months ago, some photos started making the rounds of an awesome way to temporarily modify a kimono to wear over a Western-style dress, as a sort of reversible fusion of traditional and modern. I was determined to figure out how to do it, and I think I succeeded quite well back then. While commonly suggested for a wedding, these would also be a really special and unique outfit for a prom, ball, sweet sixteen, quinceañera, or any other event where a ballgown would be worn.
Since then, several people have asked me for a tutorial and I kept getting sidetracked by other projects and my own squirrel brain. The original photos, as well as new ones, are now making the rounds again so it felt like a good time to revisit it and do a proper step-by-step breakdown for you all.
This can be a bit tricky, so if you’re hoping to do it for an event I’d absolutely suggest practising a few times and having someone to help you out.

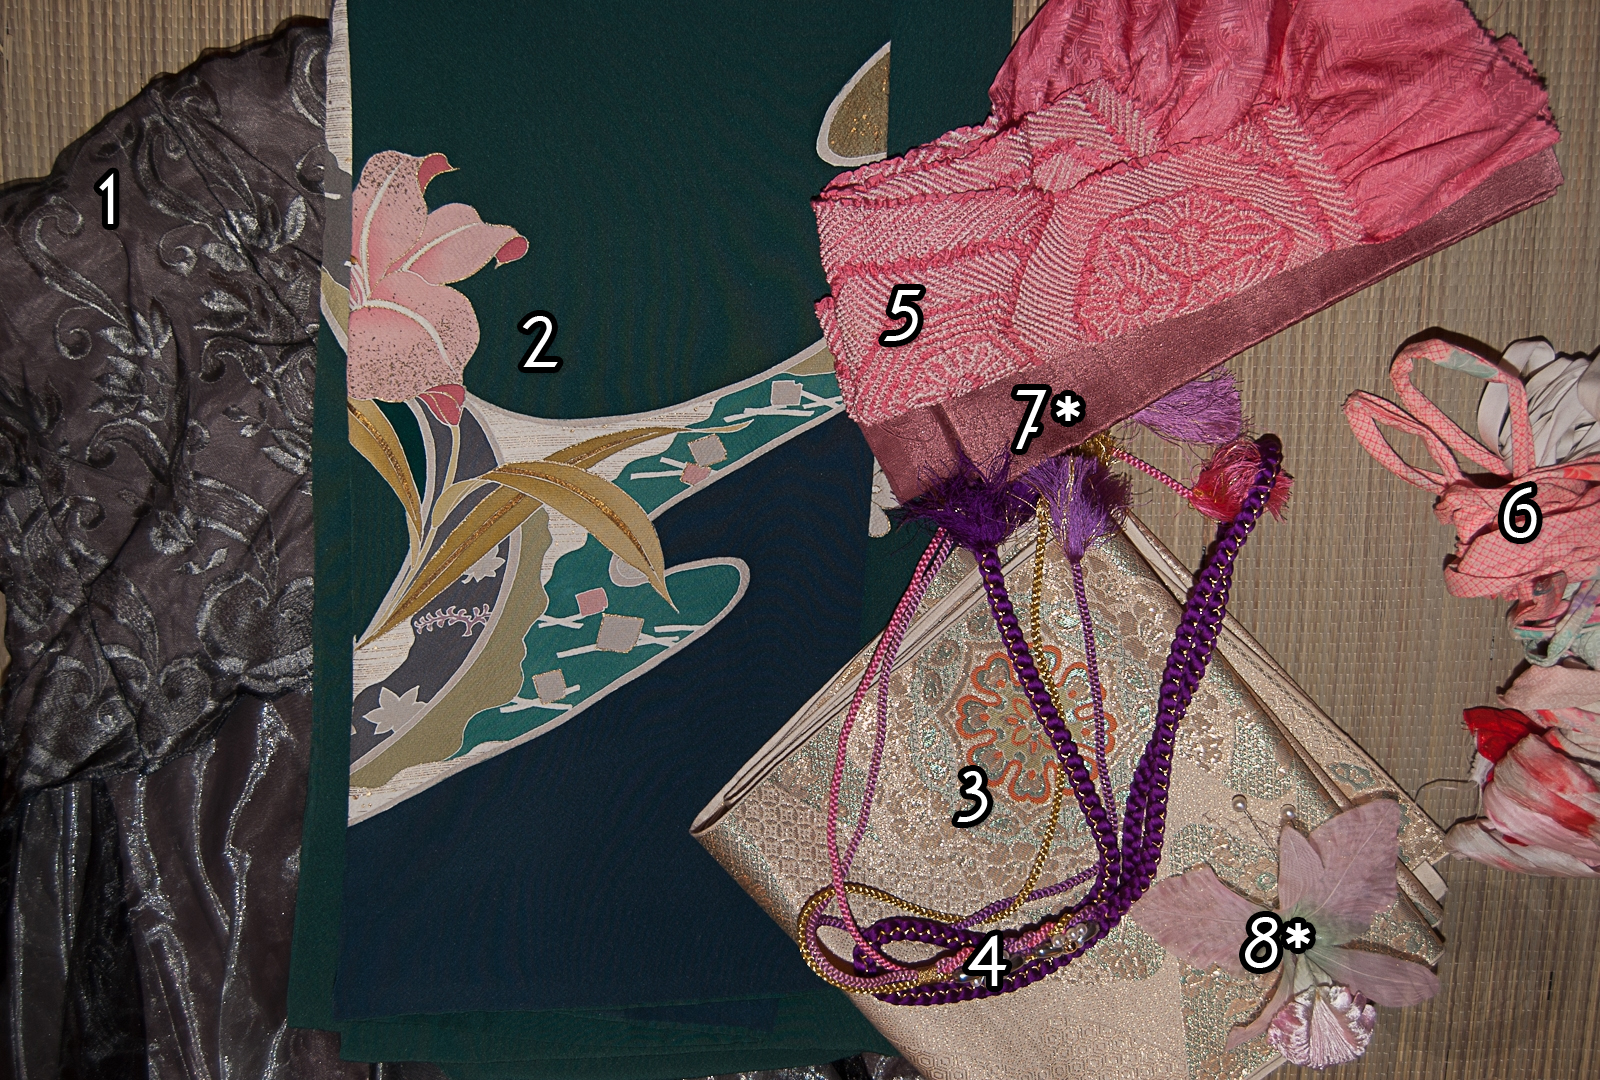
You will need:
- Dress with voluminous skirts
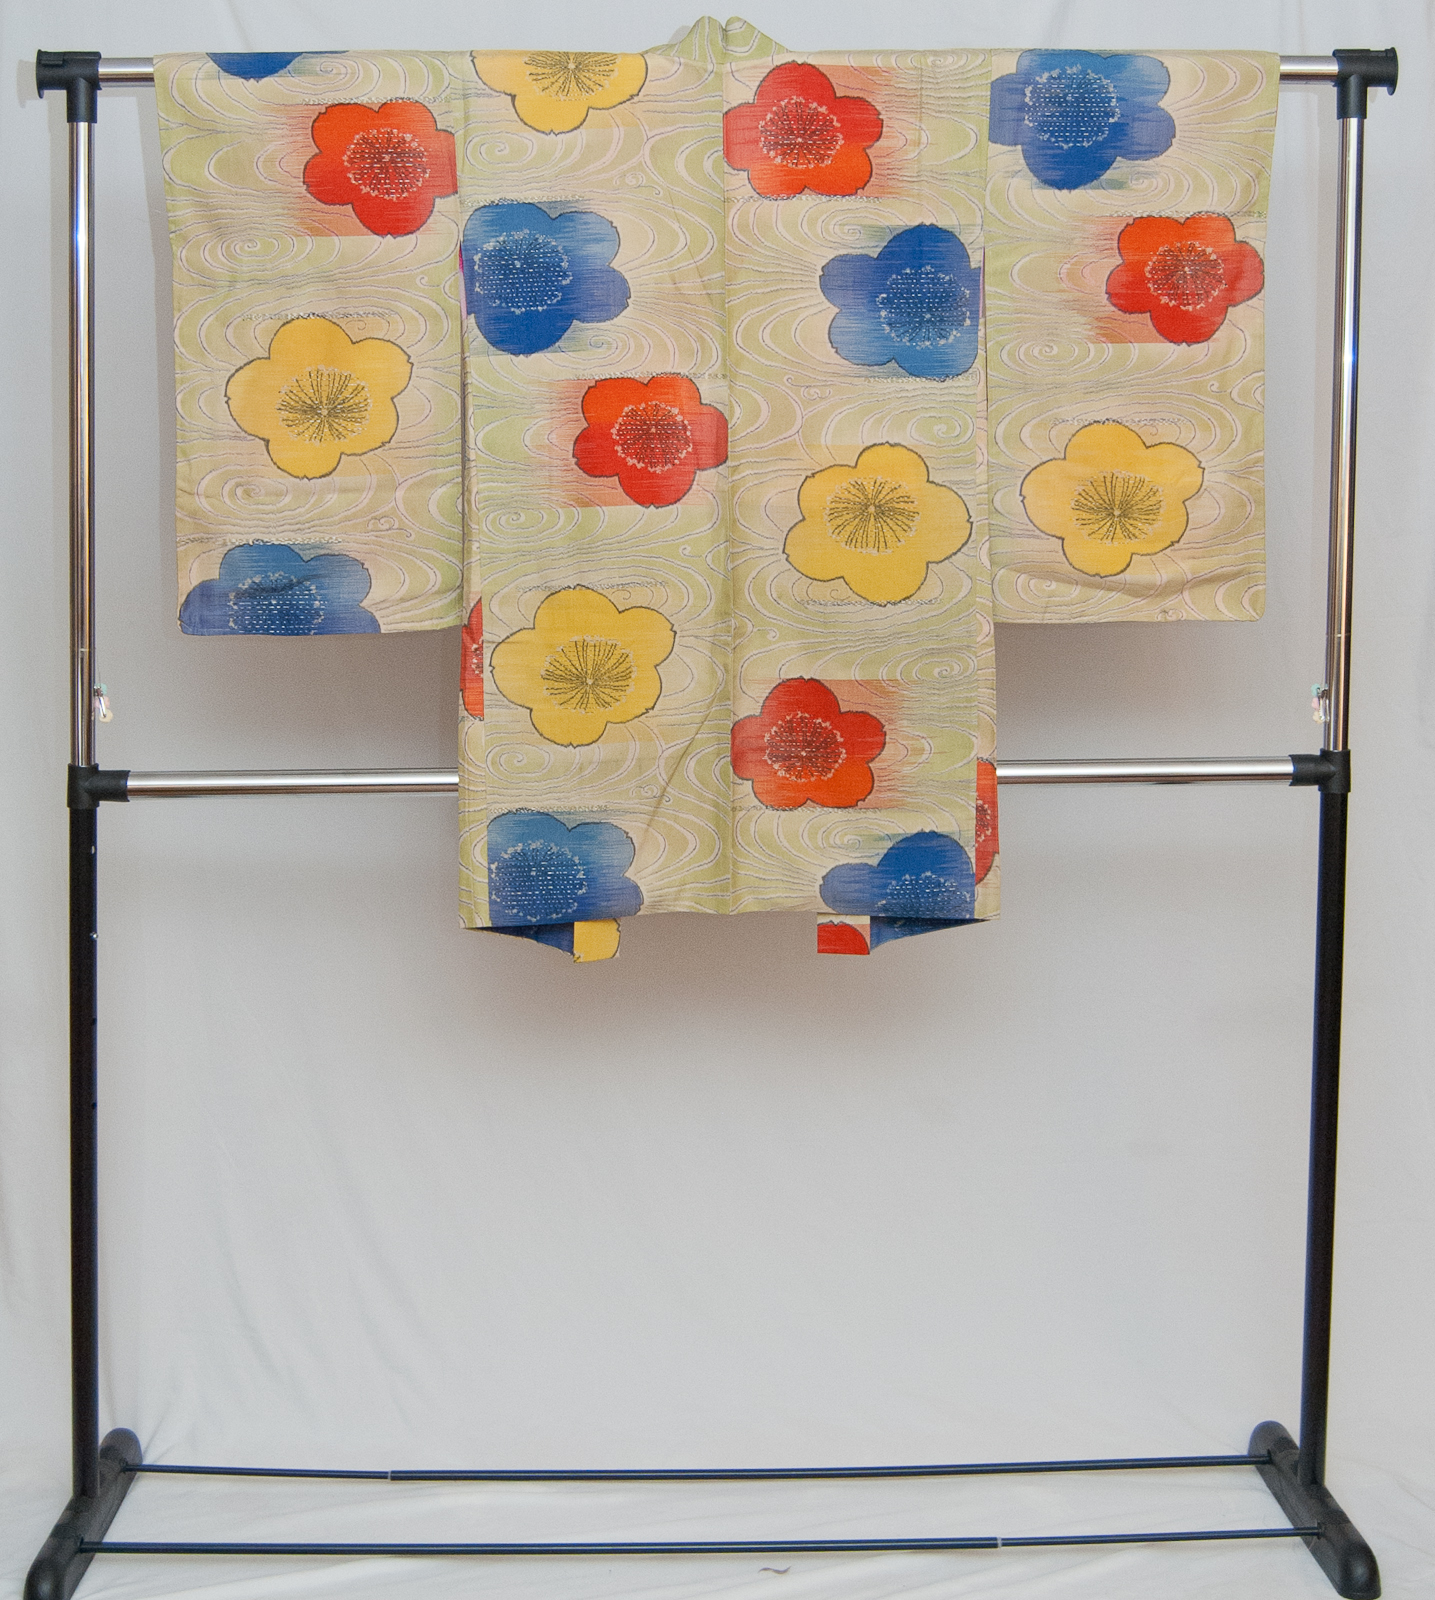
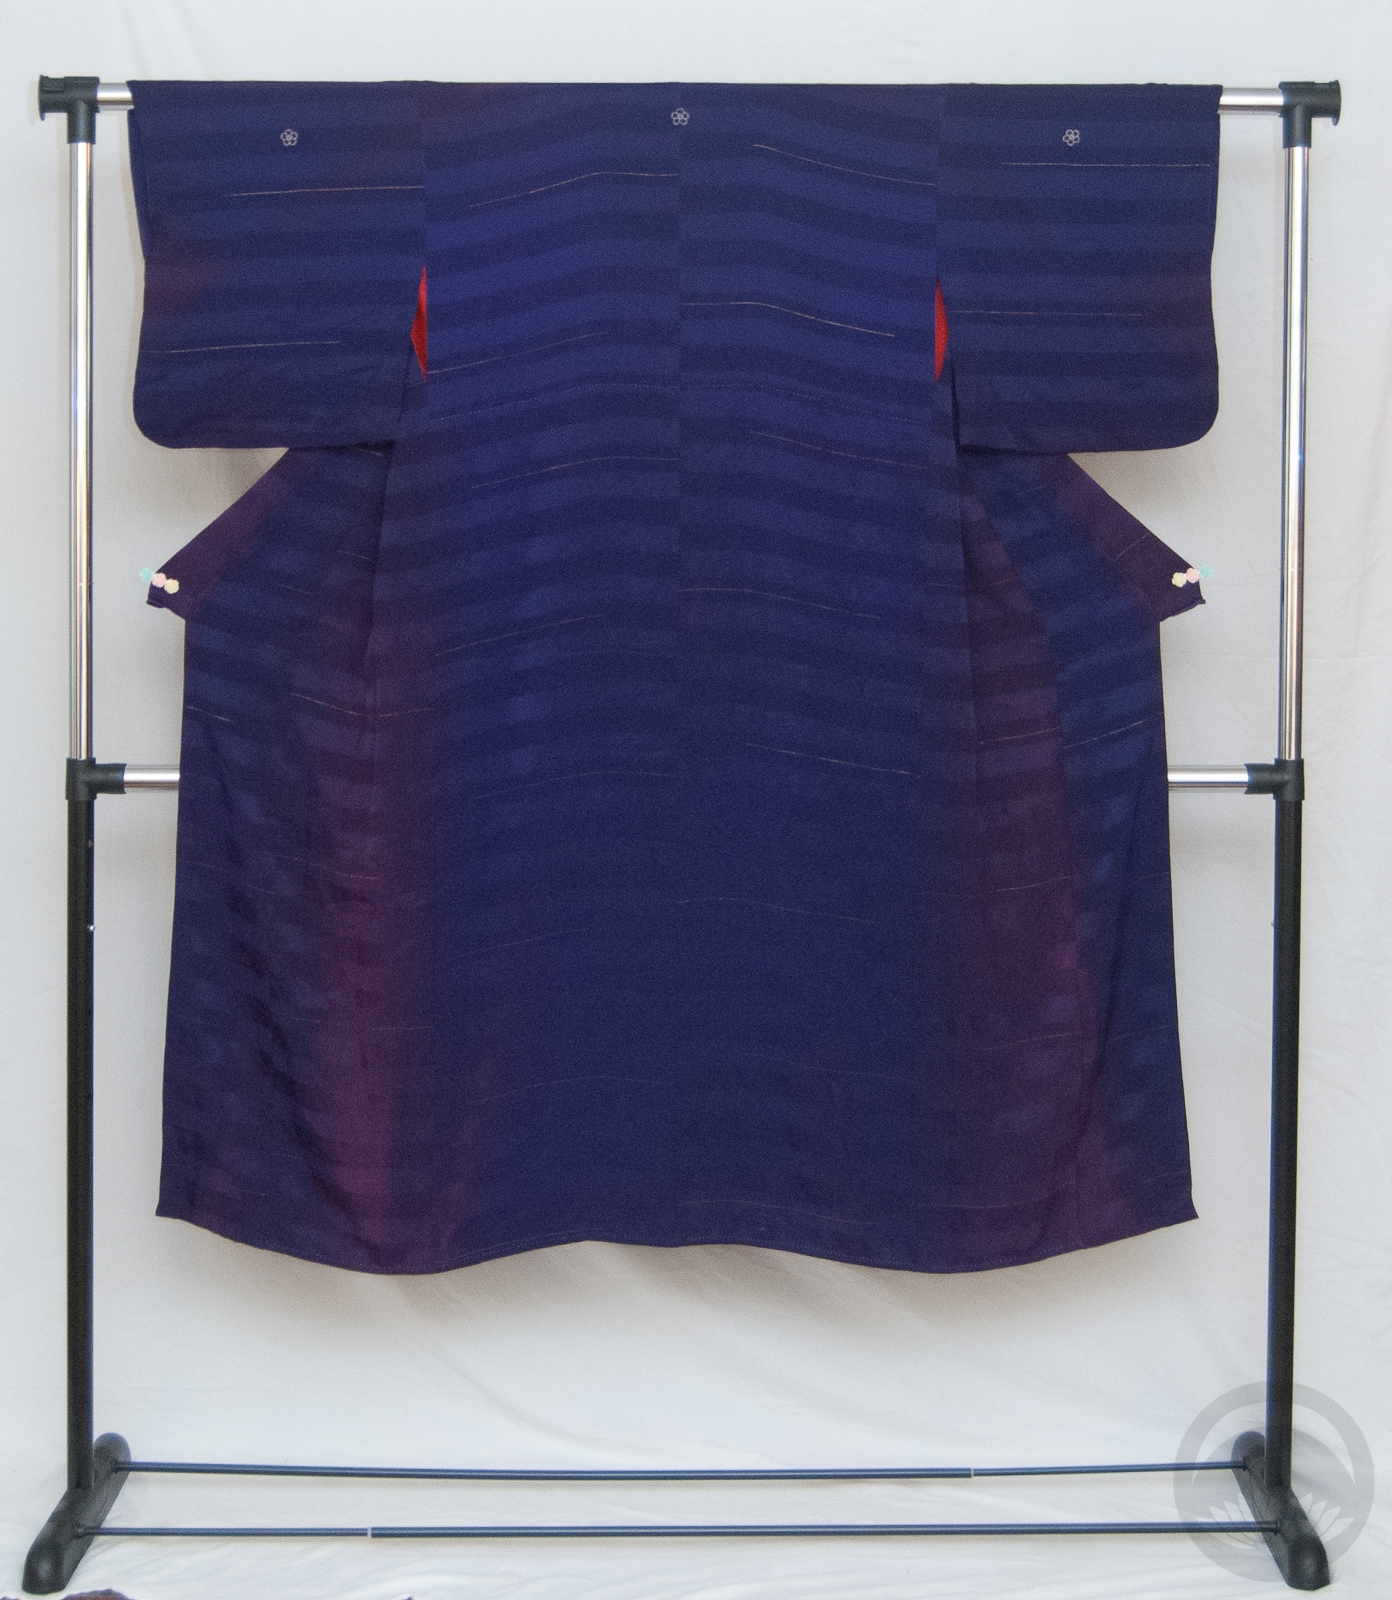
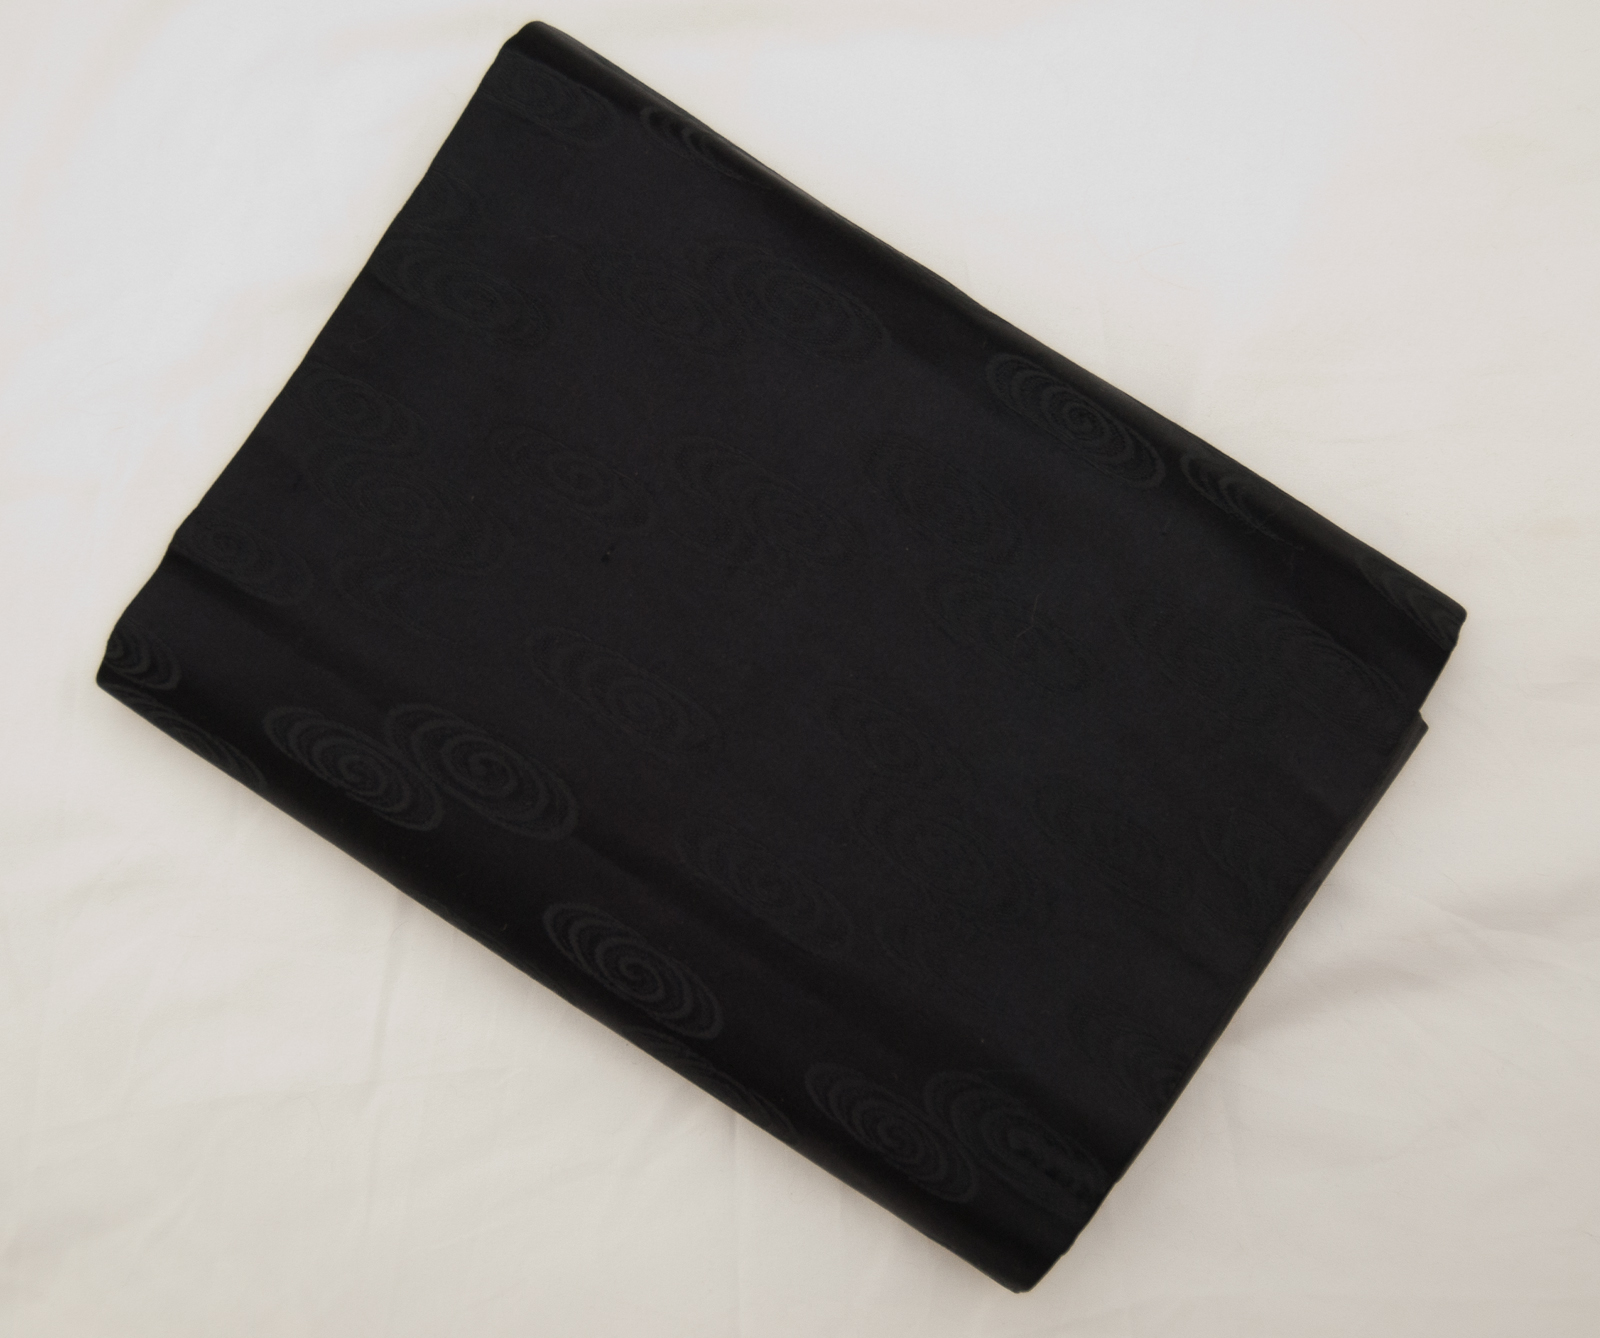
- Kimono (furisode work best)
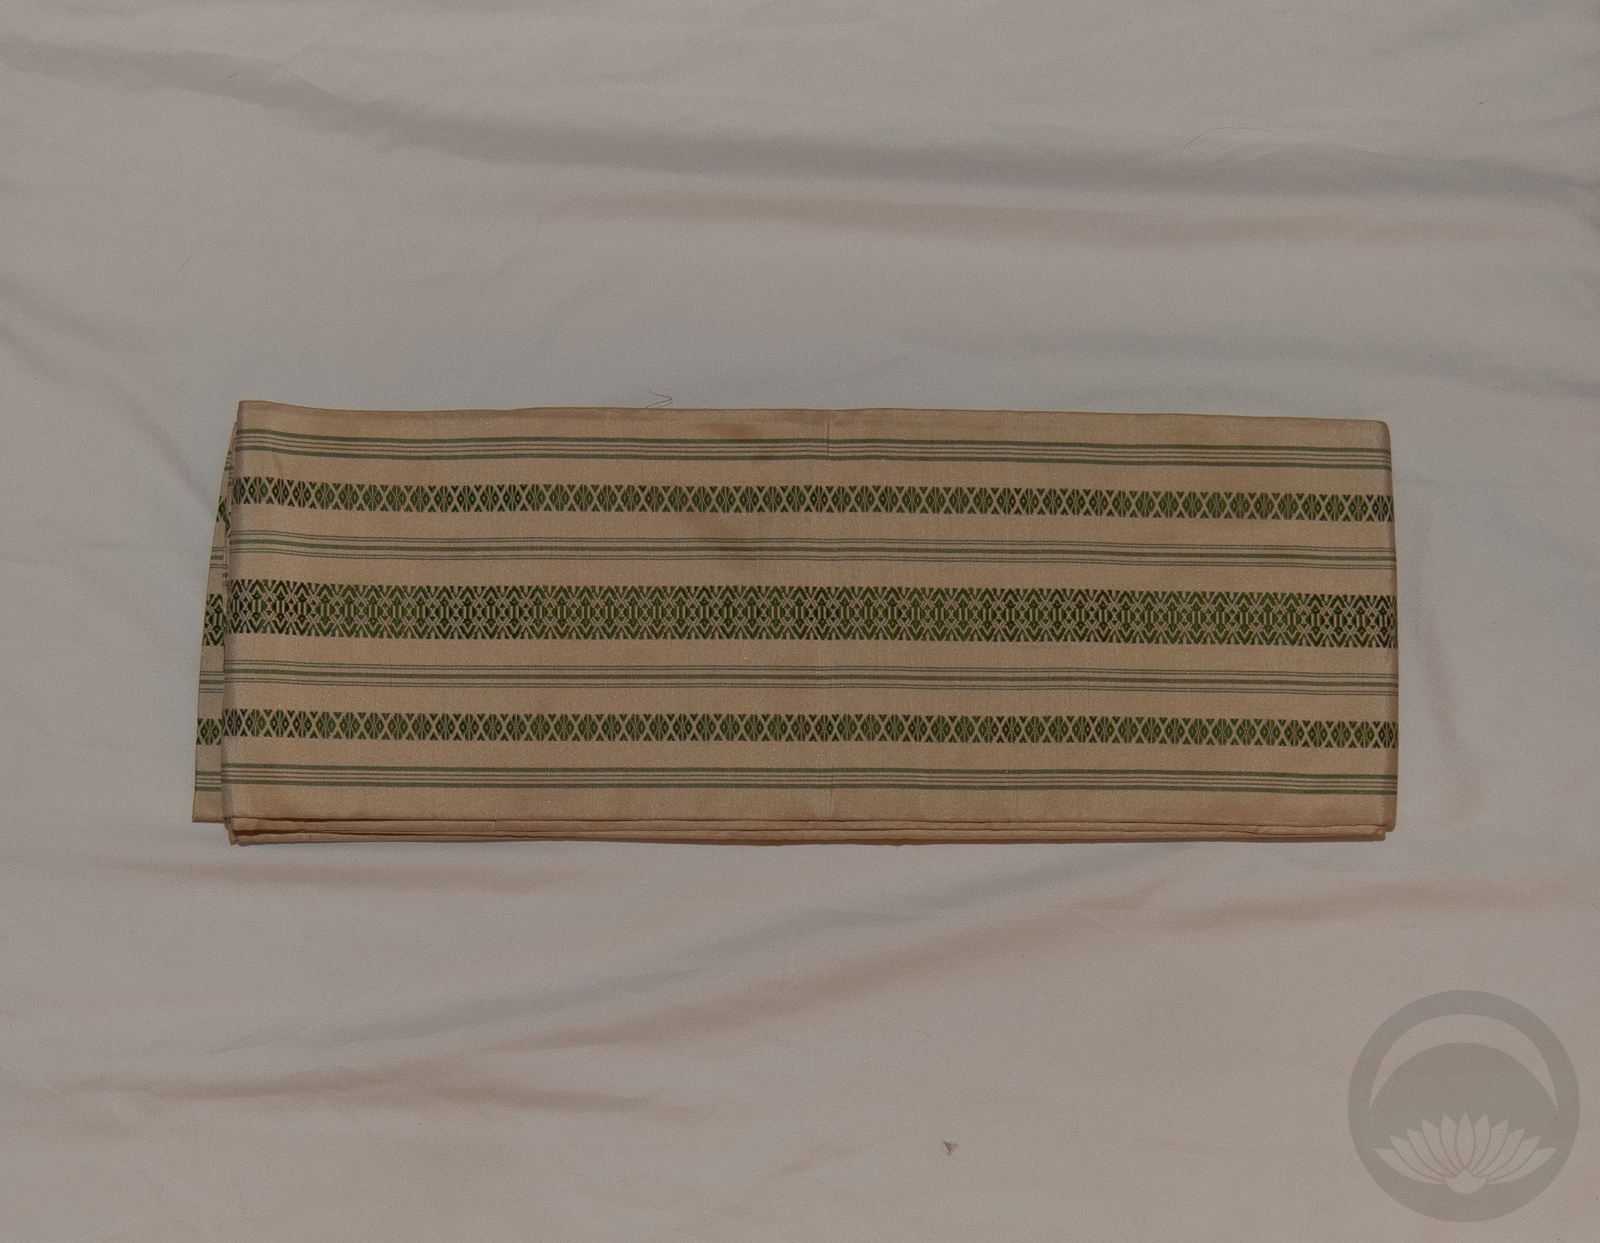
- Fukuro obi
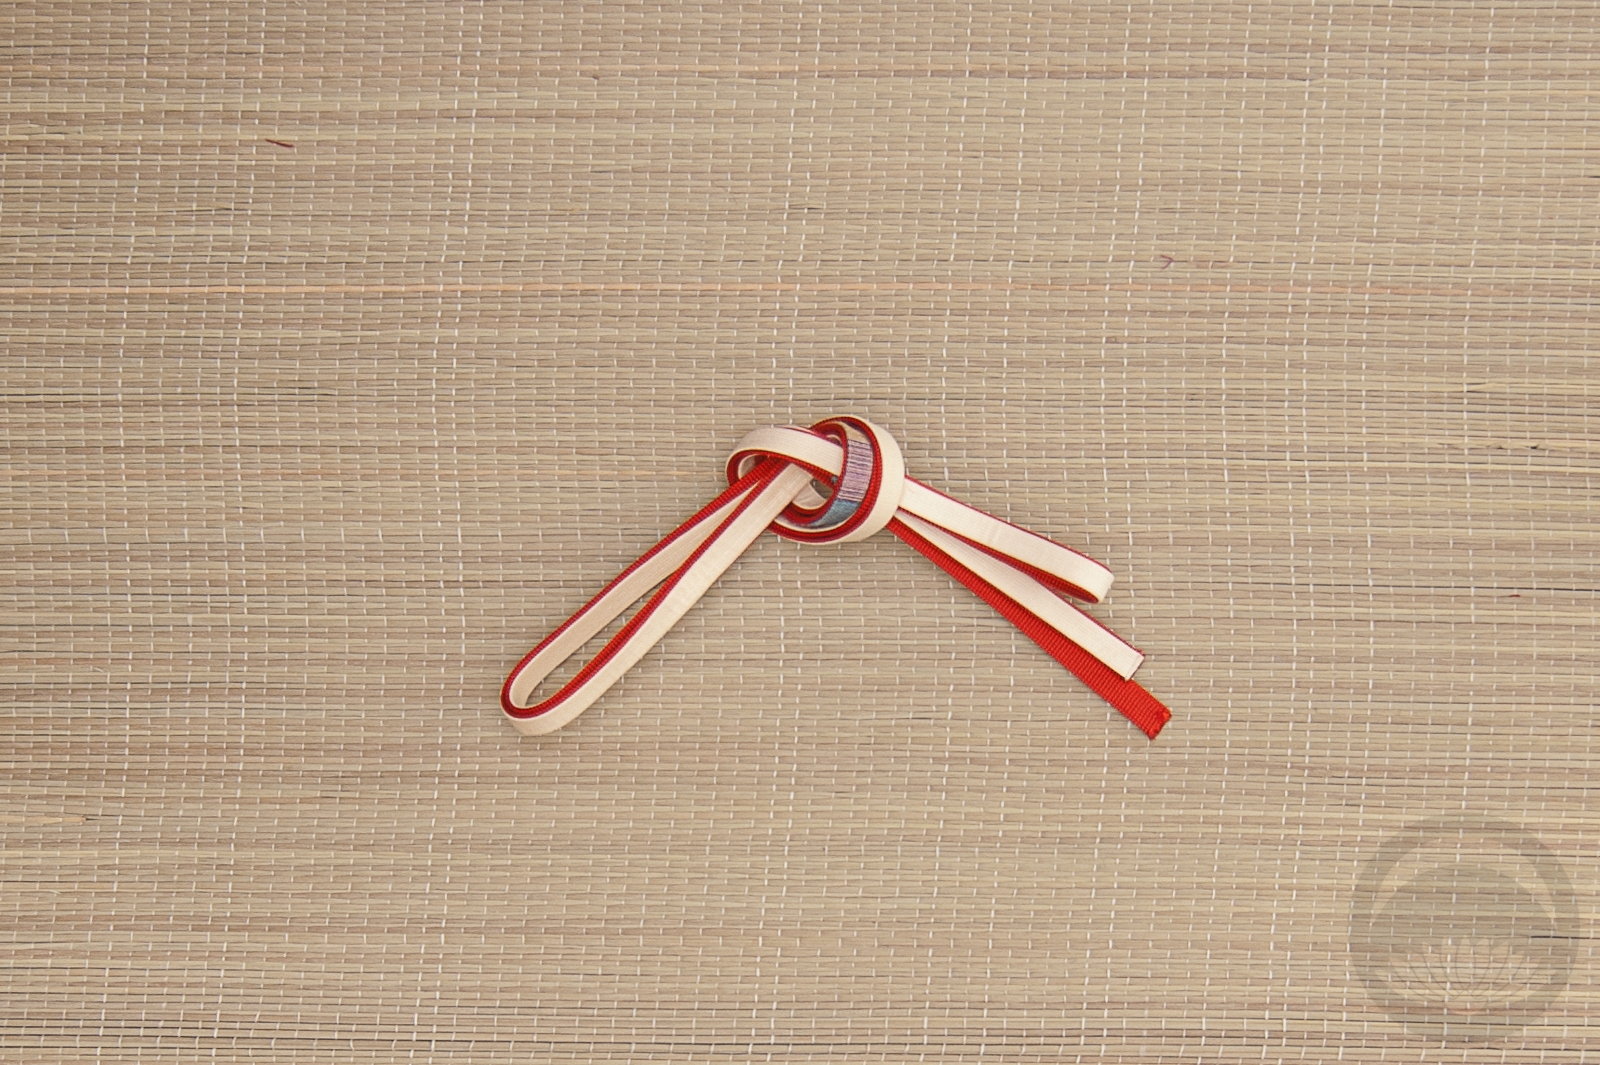
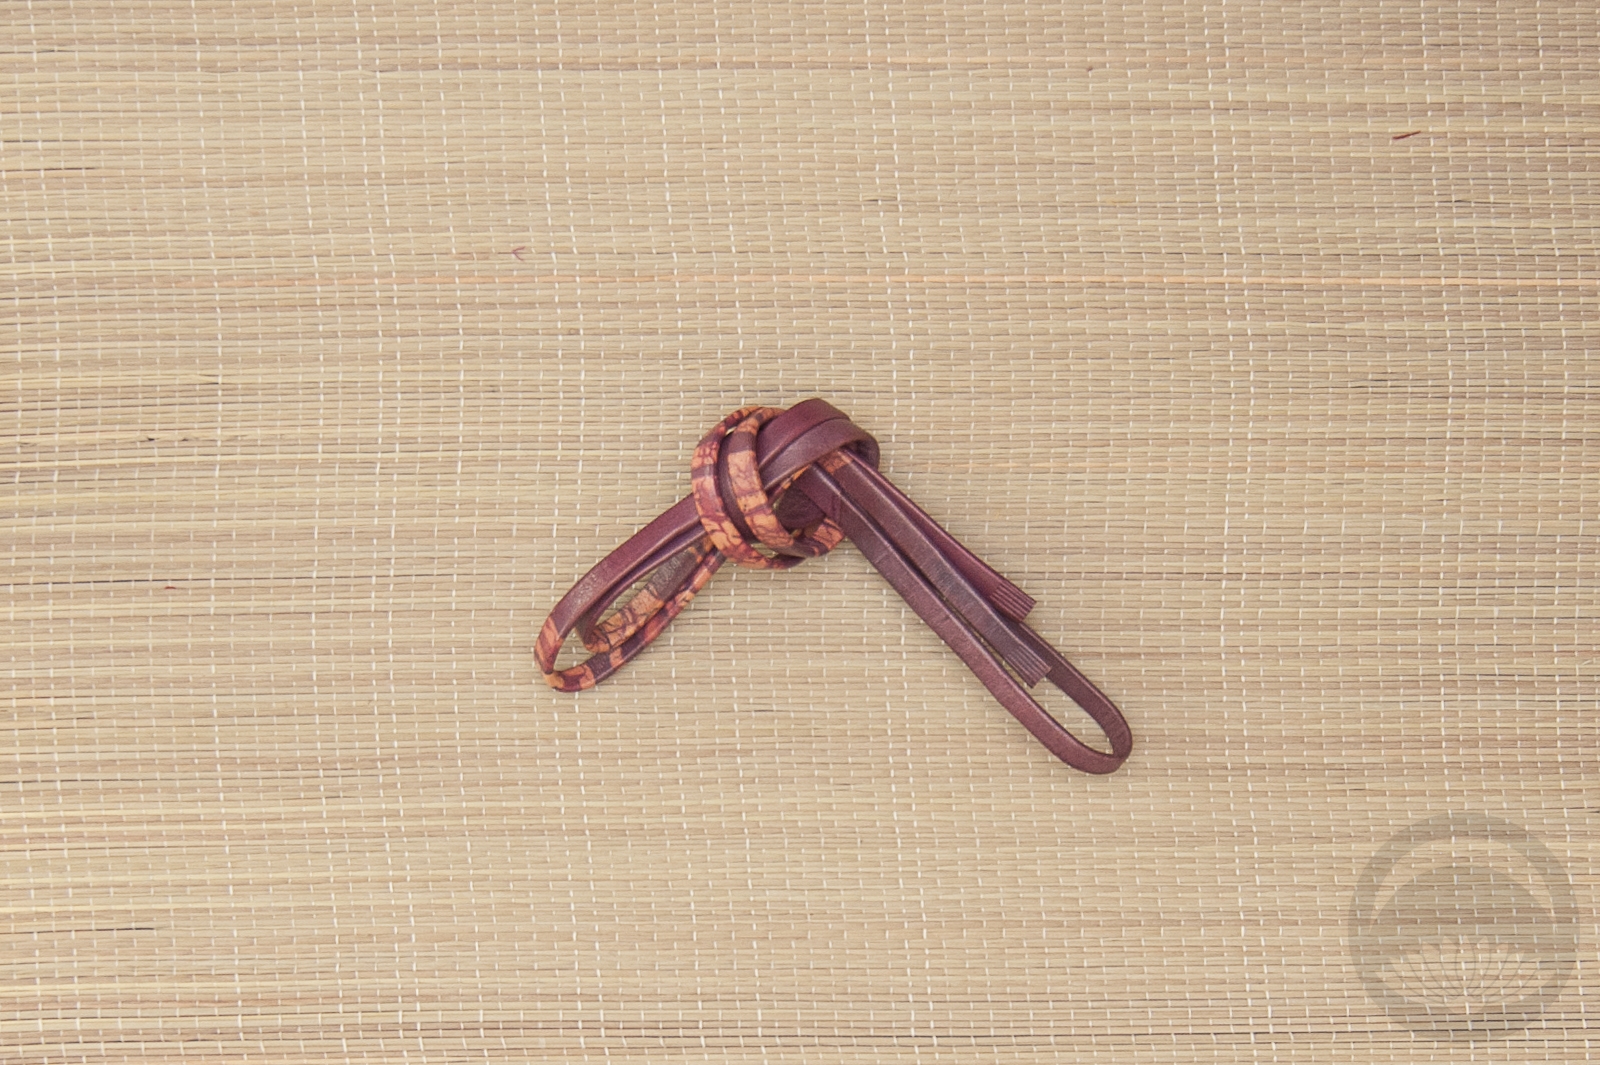
- Obijime
- Obiage
- Koshihimo (several)
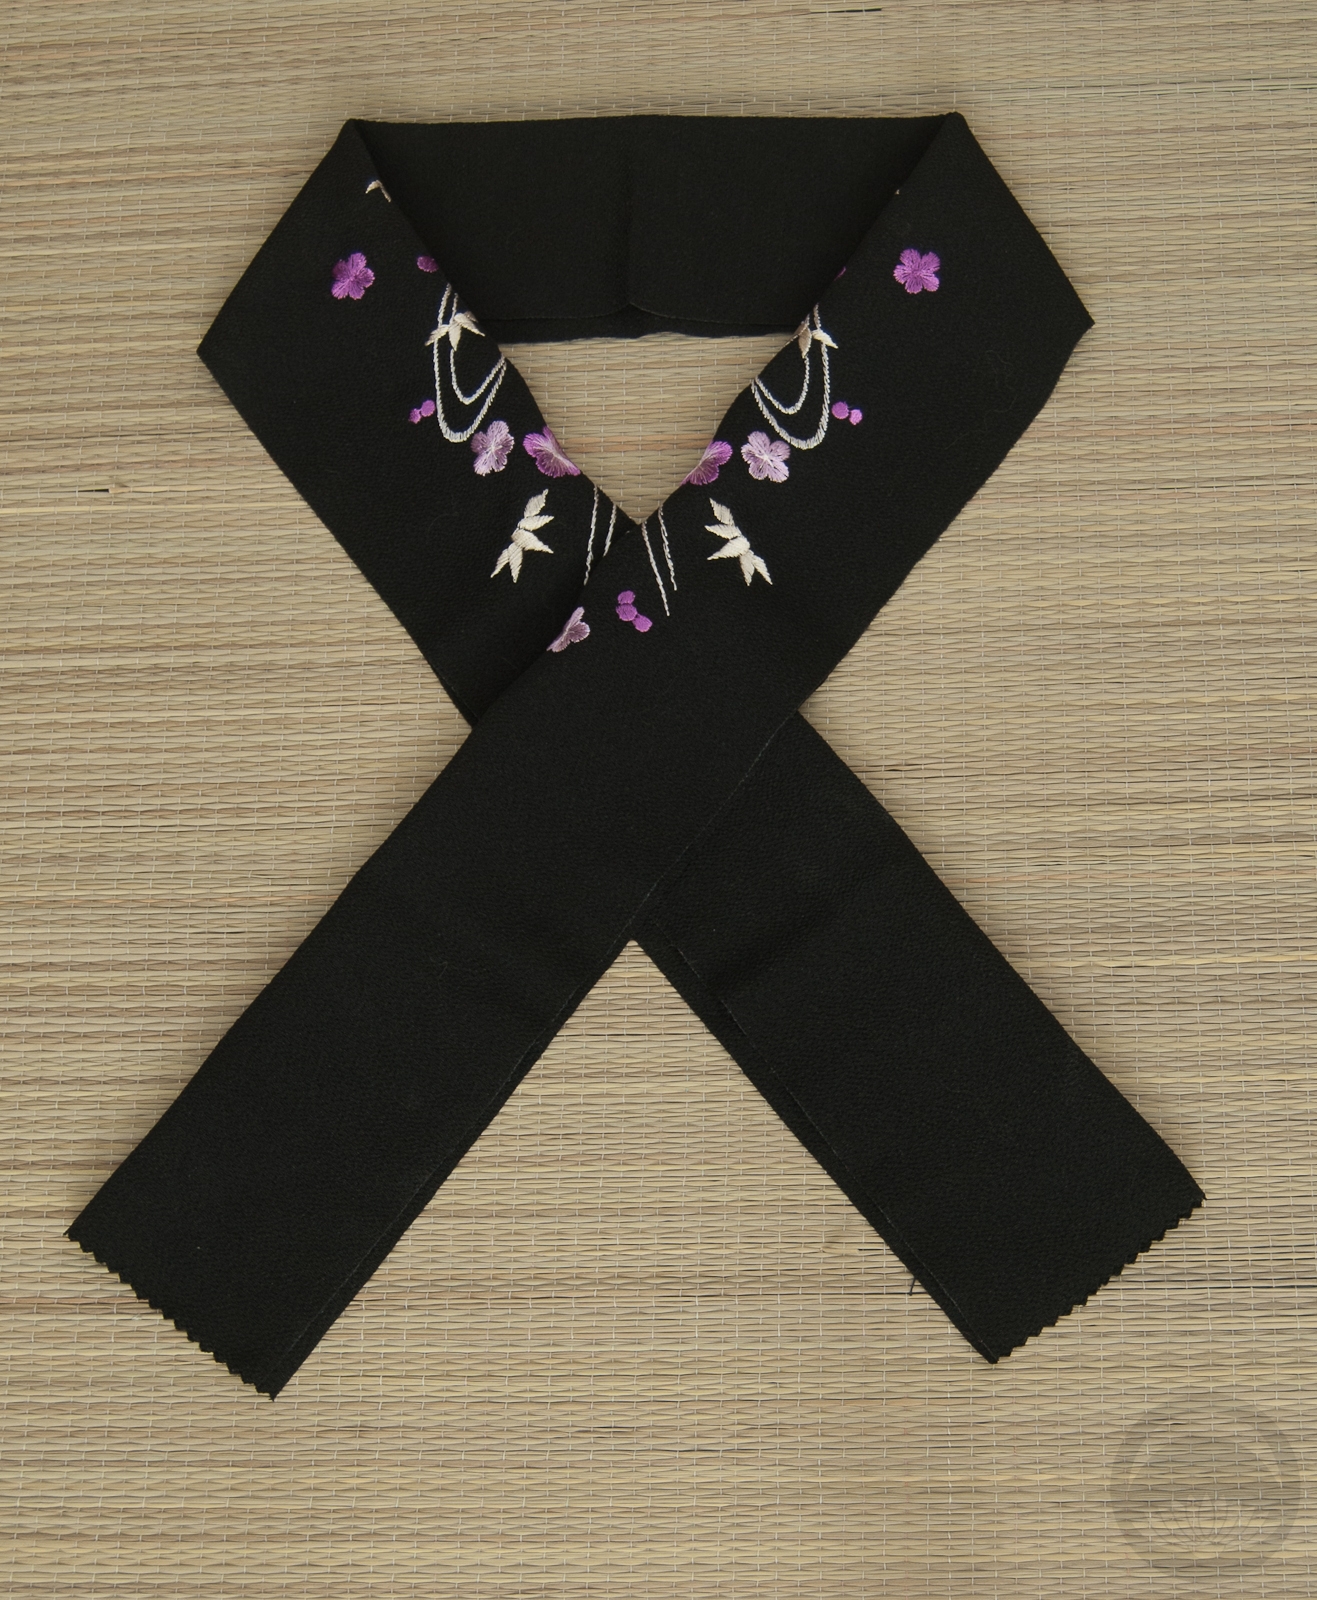
- Kasane-eri (optional)
- Accessories (optional)
Other dressing accessories such as an obi-ita, obi-makura, dressing clips, etc, are optional but helpful, depending on what kind of obi musubi you have in mind. Make sure you have everything near at hand, because once you start tying and bustling the kimono it’s not the sort of thing you can pause and walk away from.
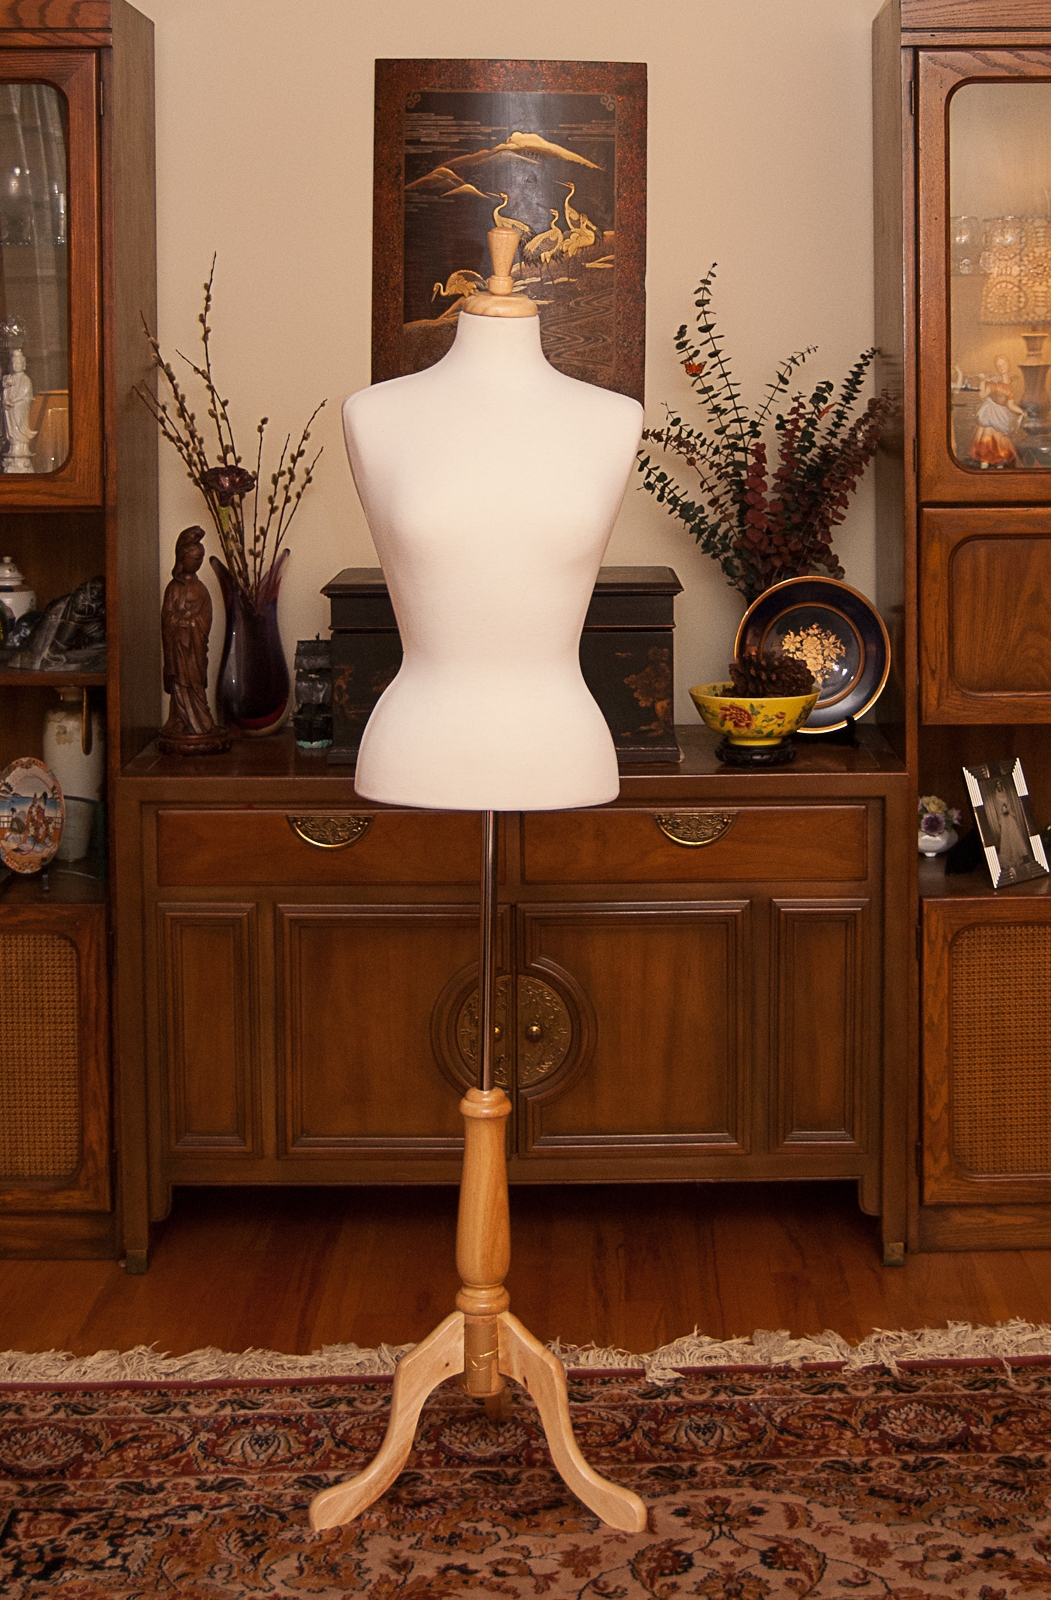
Step 1 – A naked mannequin! How scandalous! Seriously though – if you’re dressing a mannequin this is your starting point. If you’re dressing yourself, put on whatever traditional foundation garments you’d wear under your dress. Forget kimono underwear now, just wear something comfortable that won’t show under your gown (unless that’s what you’re going for, in which case, you do you. A harness bra would add a really fun gothic element with the right kimono)
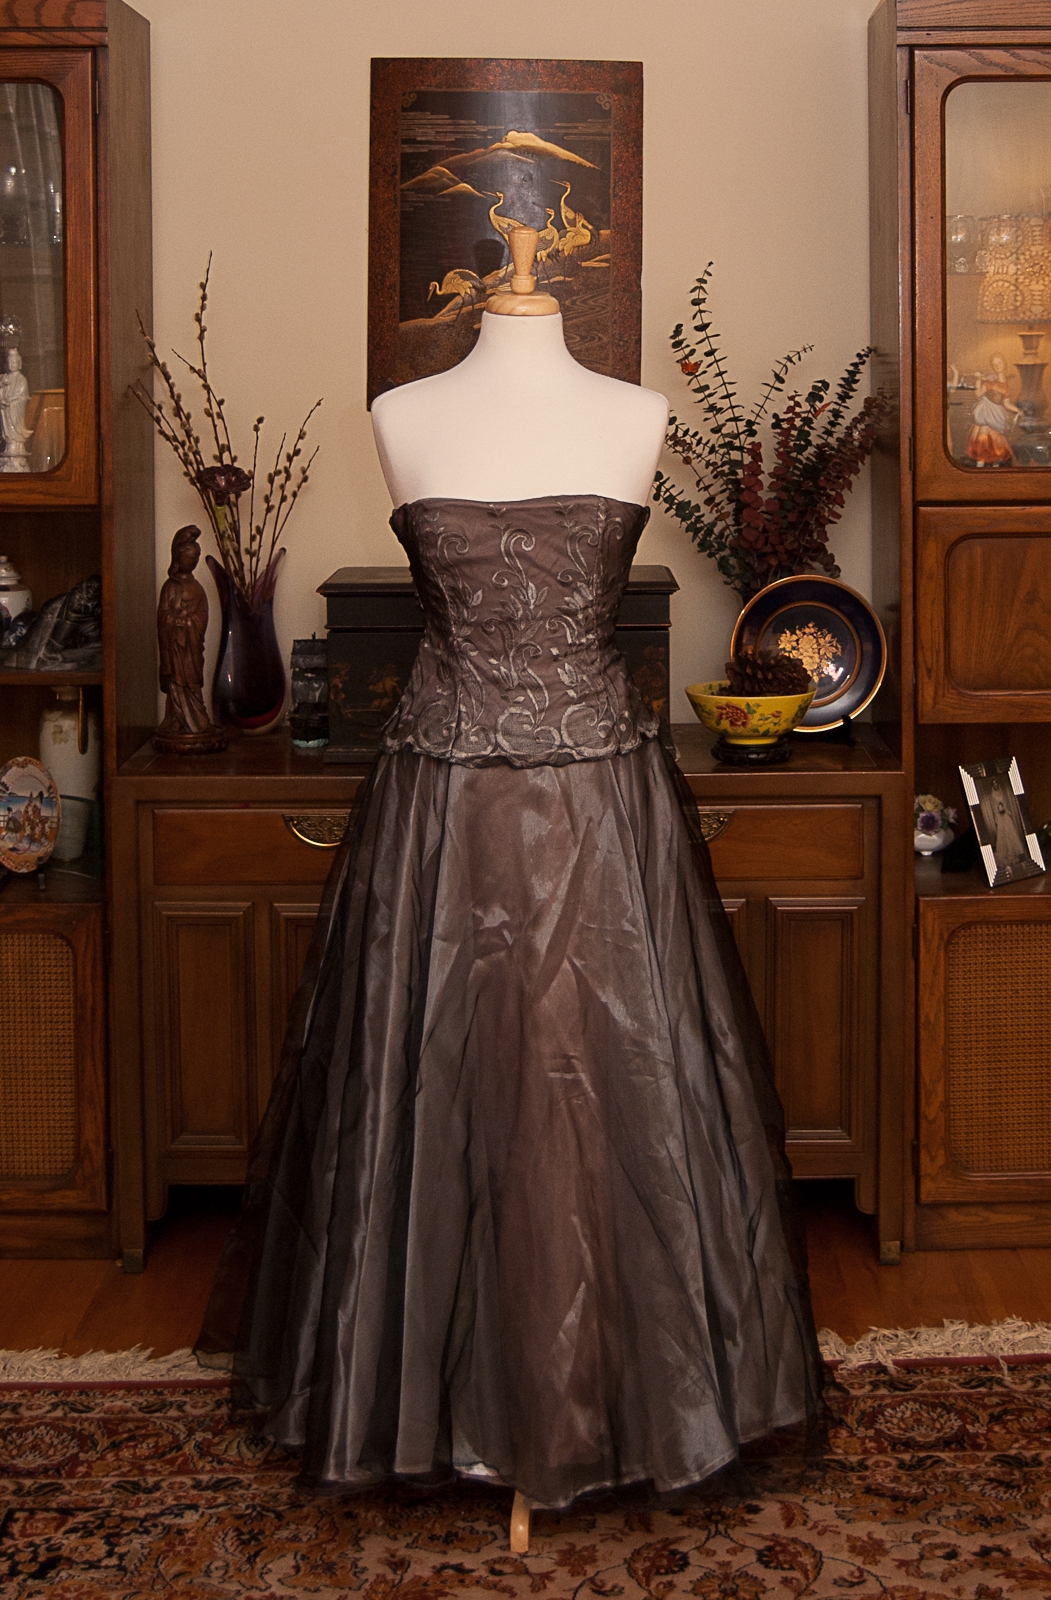
Step 2 – Put your dress on, make sure it’s fully secured and done up. It will be carrying some extra strain, so you want to make sure it fits you properly and won’t go sliding around when you adjust the kimono over top.
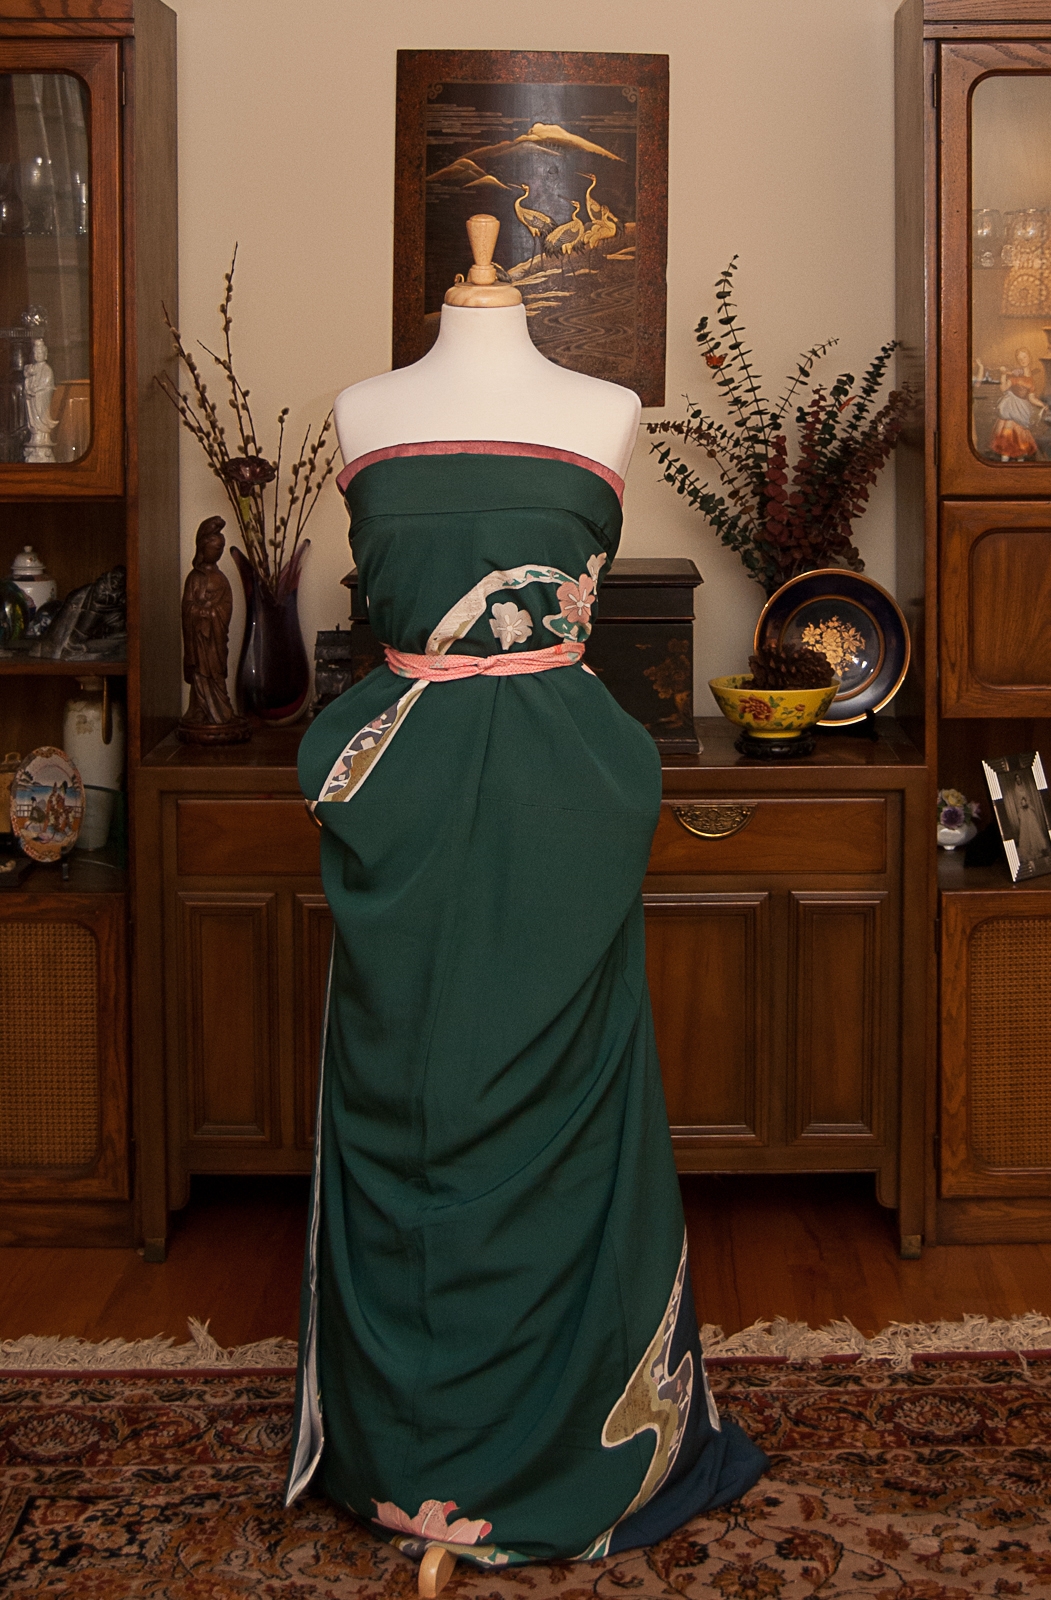
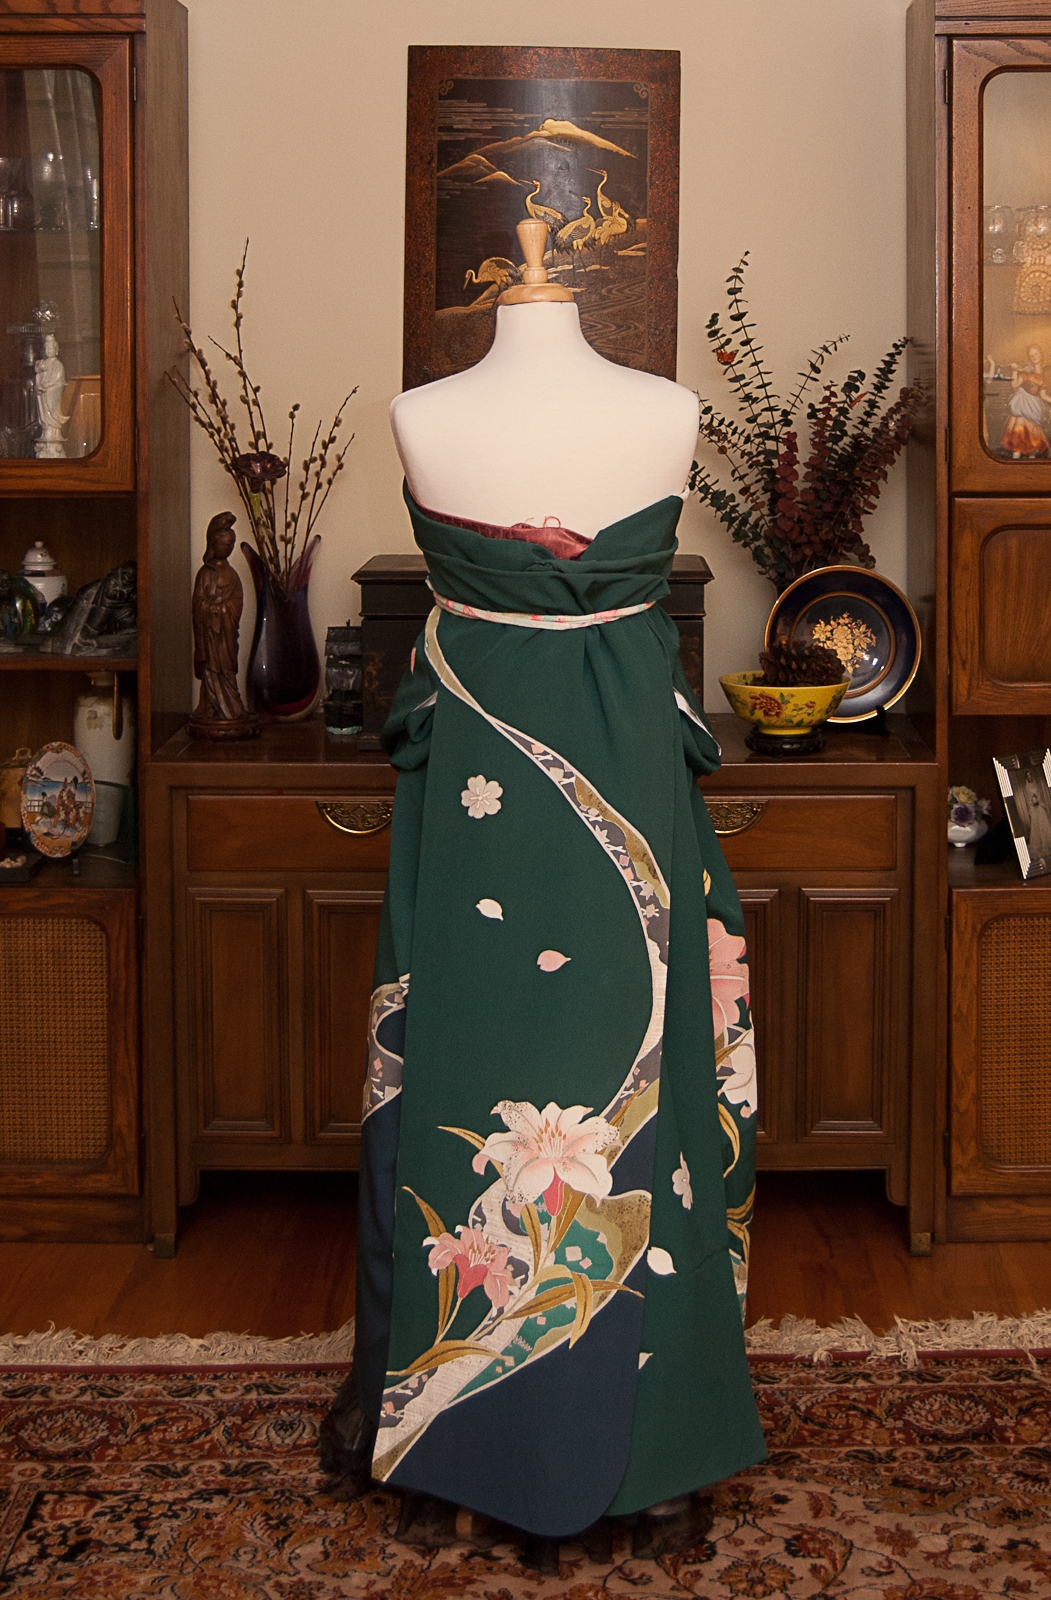
Step 3 – This is where things get fun. Pick up your furisode and hold it up in front of you, with the back facing outwards. You’ll be putting it on backwards. Find the centre point of the collar, align it at your sternum. If you want to add a kasane-eri for a bit of colour and contrast, now’s the time. Once you’ve got your kimono arranged across your bust, wrap it around your torso and hold it snug while you tie everything in place with a koshi-himo. Make sure to leave the sleeves free, you will be adjusting them later. This is where a second set of hands definitely helps. If you have someone to hold everything in place for you while you tie the kimono in place, it will be much easier.
Step 4 – Once you have the kimono tied snugly in place, you can start pulling up the excess and folding it over the himo tied at your waist. If you’ve worn kimono traditionally, this part is very similar to adjusting your ohashori. You can have some fun here; there’s no specific length that the kimono has to reach. You can hike the kimono up far enough to show the hem of your dress, or you can have it almost dusting the ground.
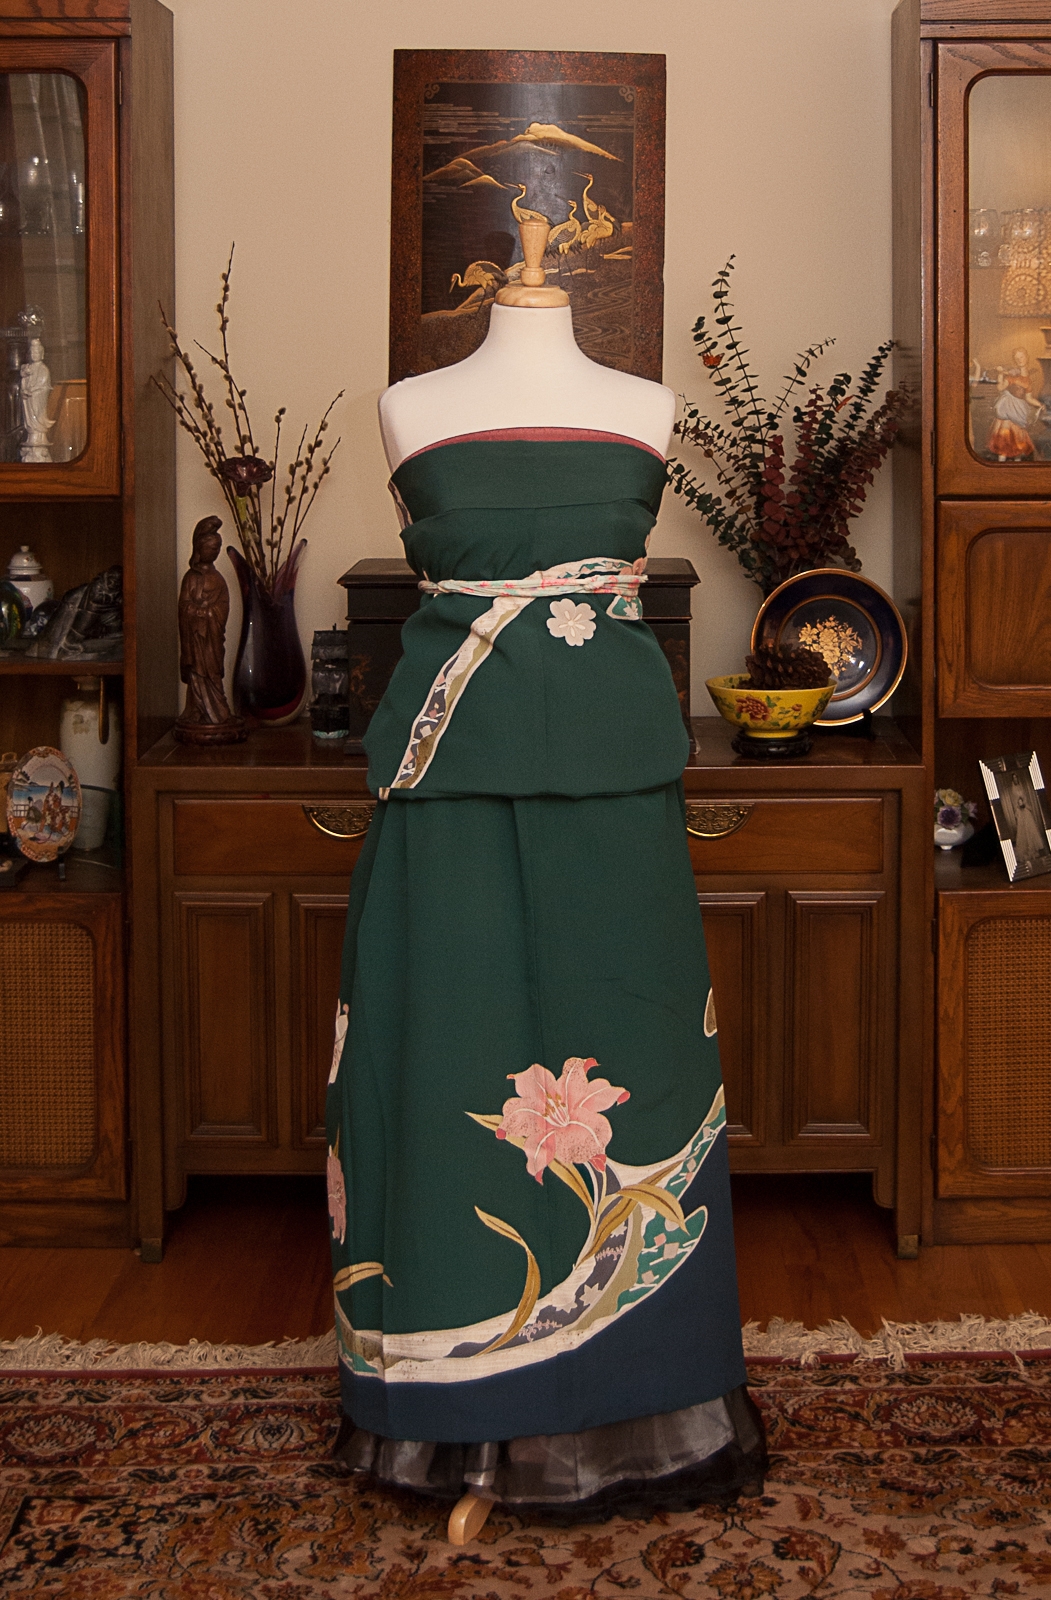
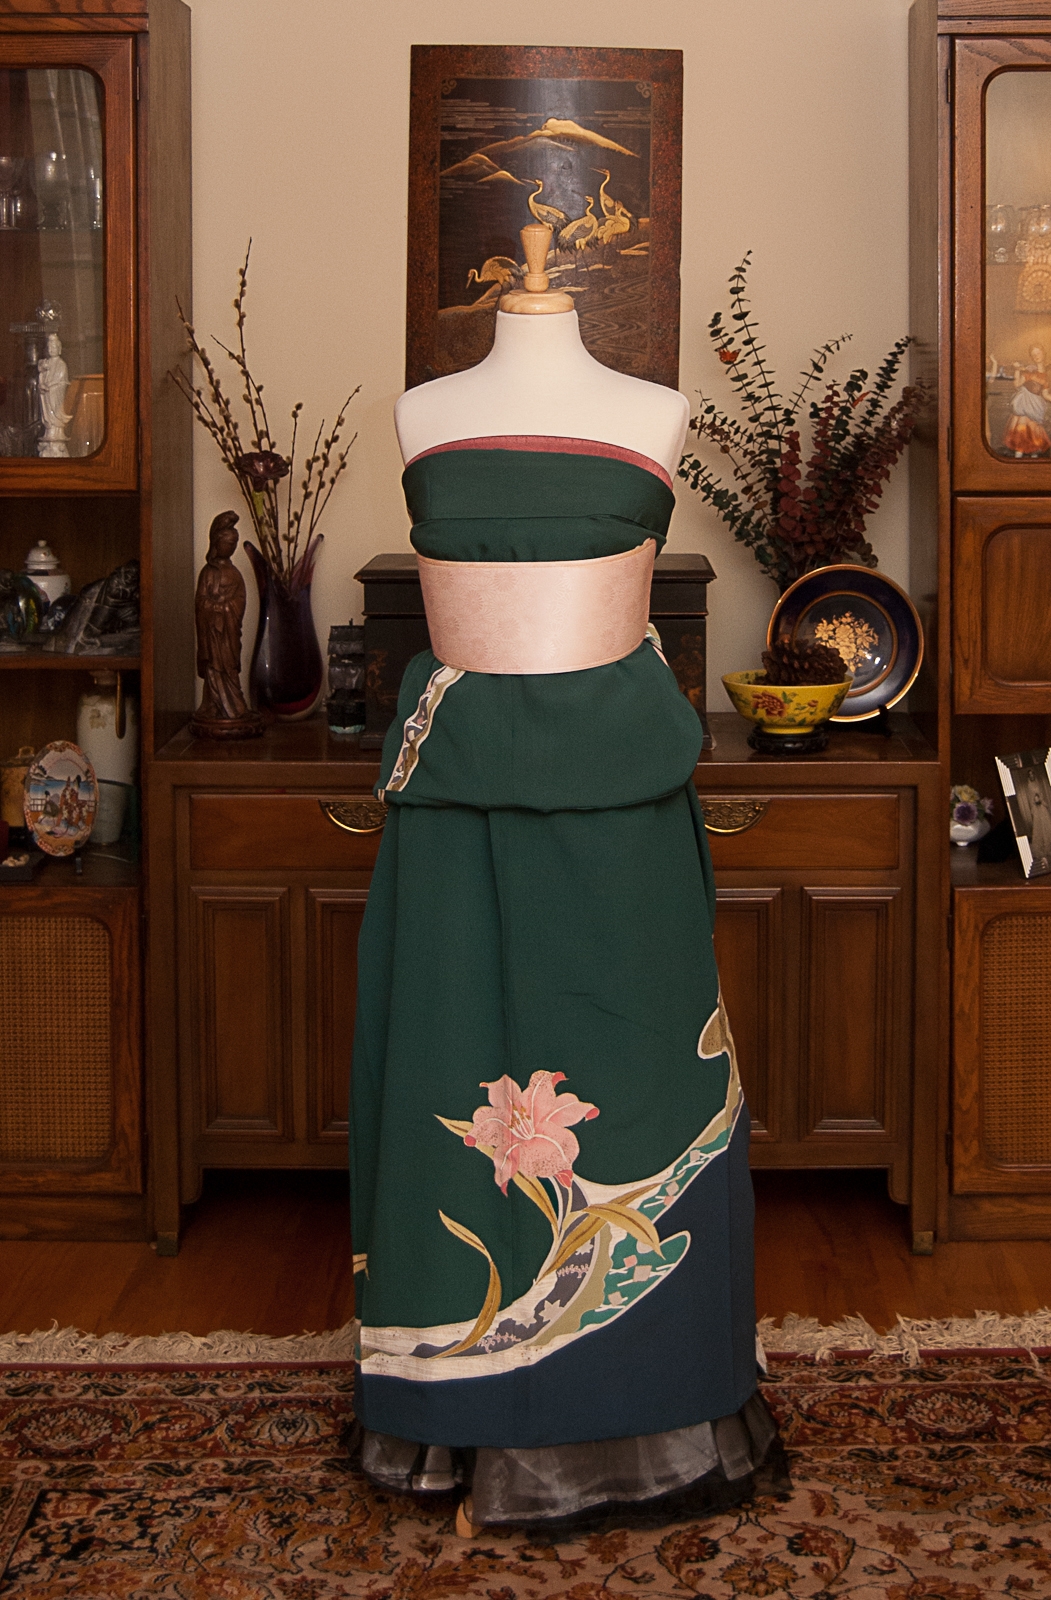
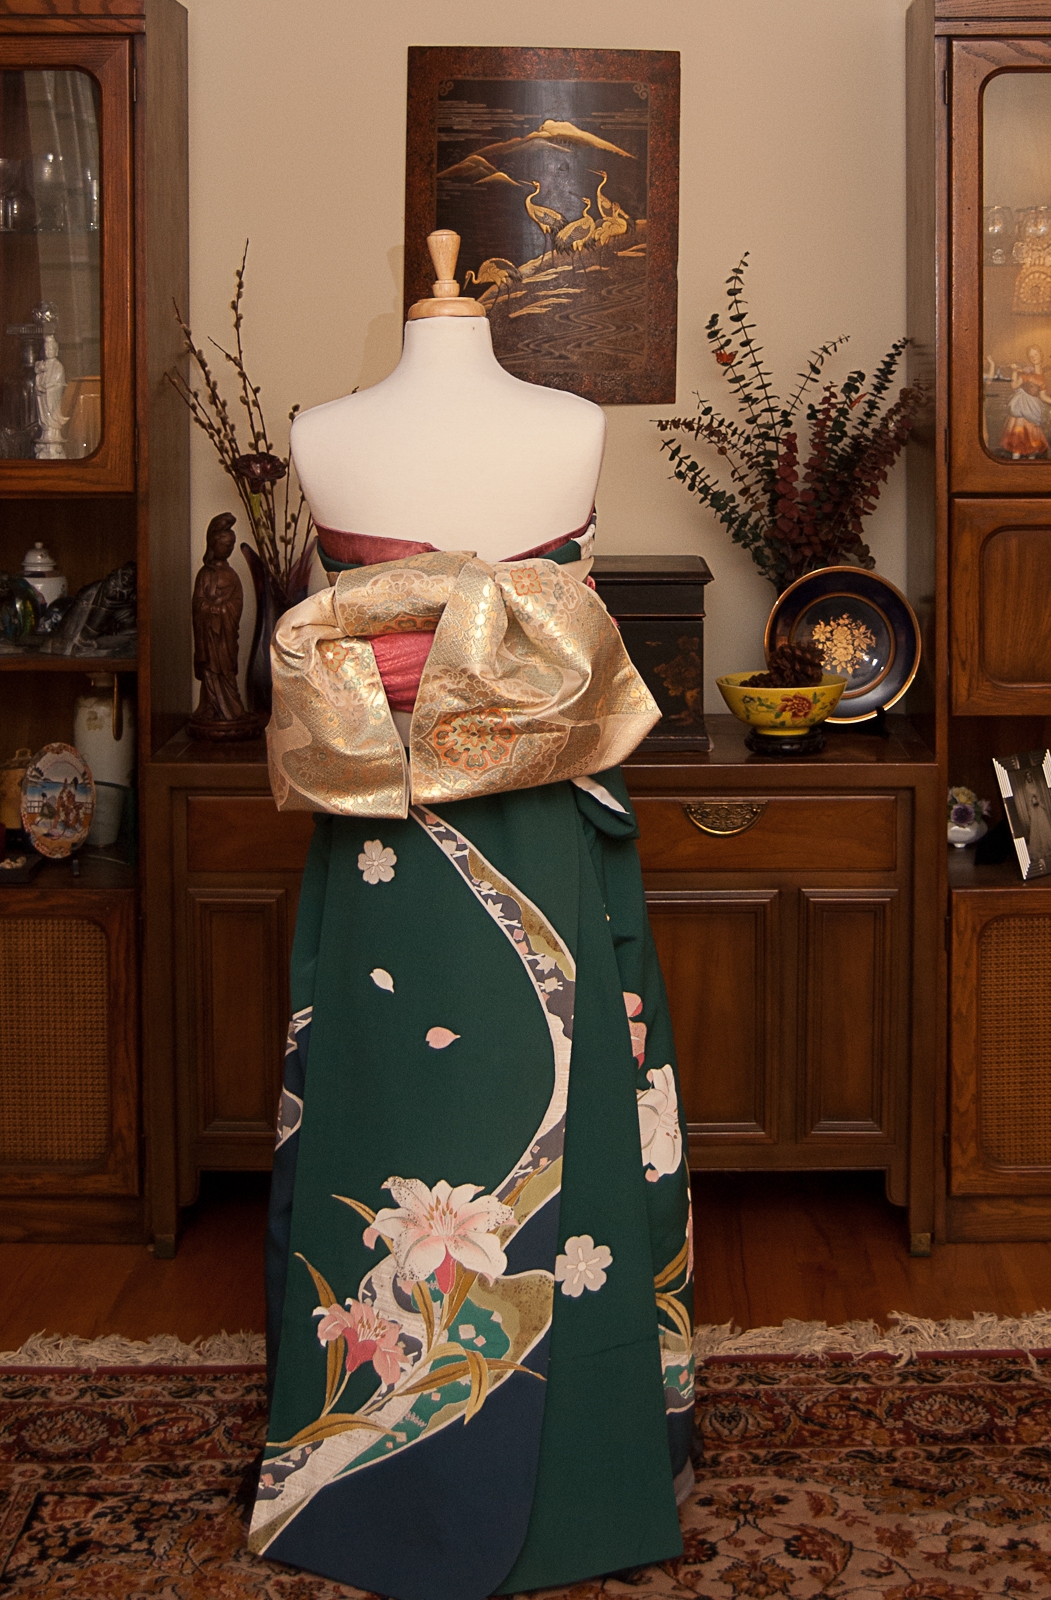
Step 5 – Once you have the length determined, arrange the sleeves behind the dress and snugly tie everything in place with another himo. You can arrange the sleeves in the back like this, and it almost forms a train. You can also have them draped around the front like I did with the previous furisode dress, which gives a more youthful vibe, almost reminiscent of an apron or jumper. Have fun and experiment.
Step 6 – Smooth everything out with an obi-ita, and take the time to smooth everything out. If you need an extra koshi-himo or two don’t hesitate to use them. Make sure everything is snug and secure, especially if you’re dressing yourself (or another person) and not a mannequin.
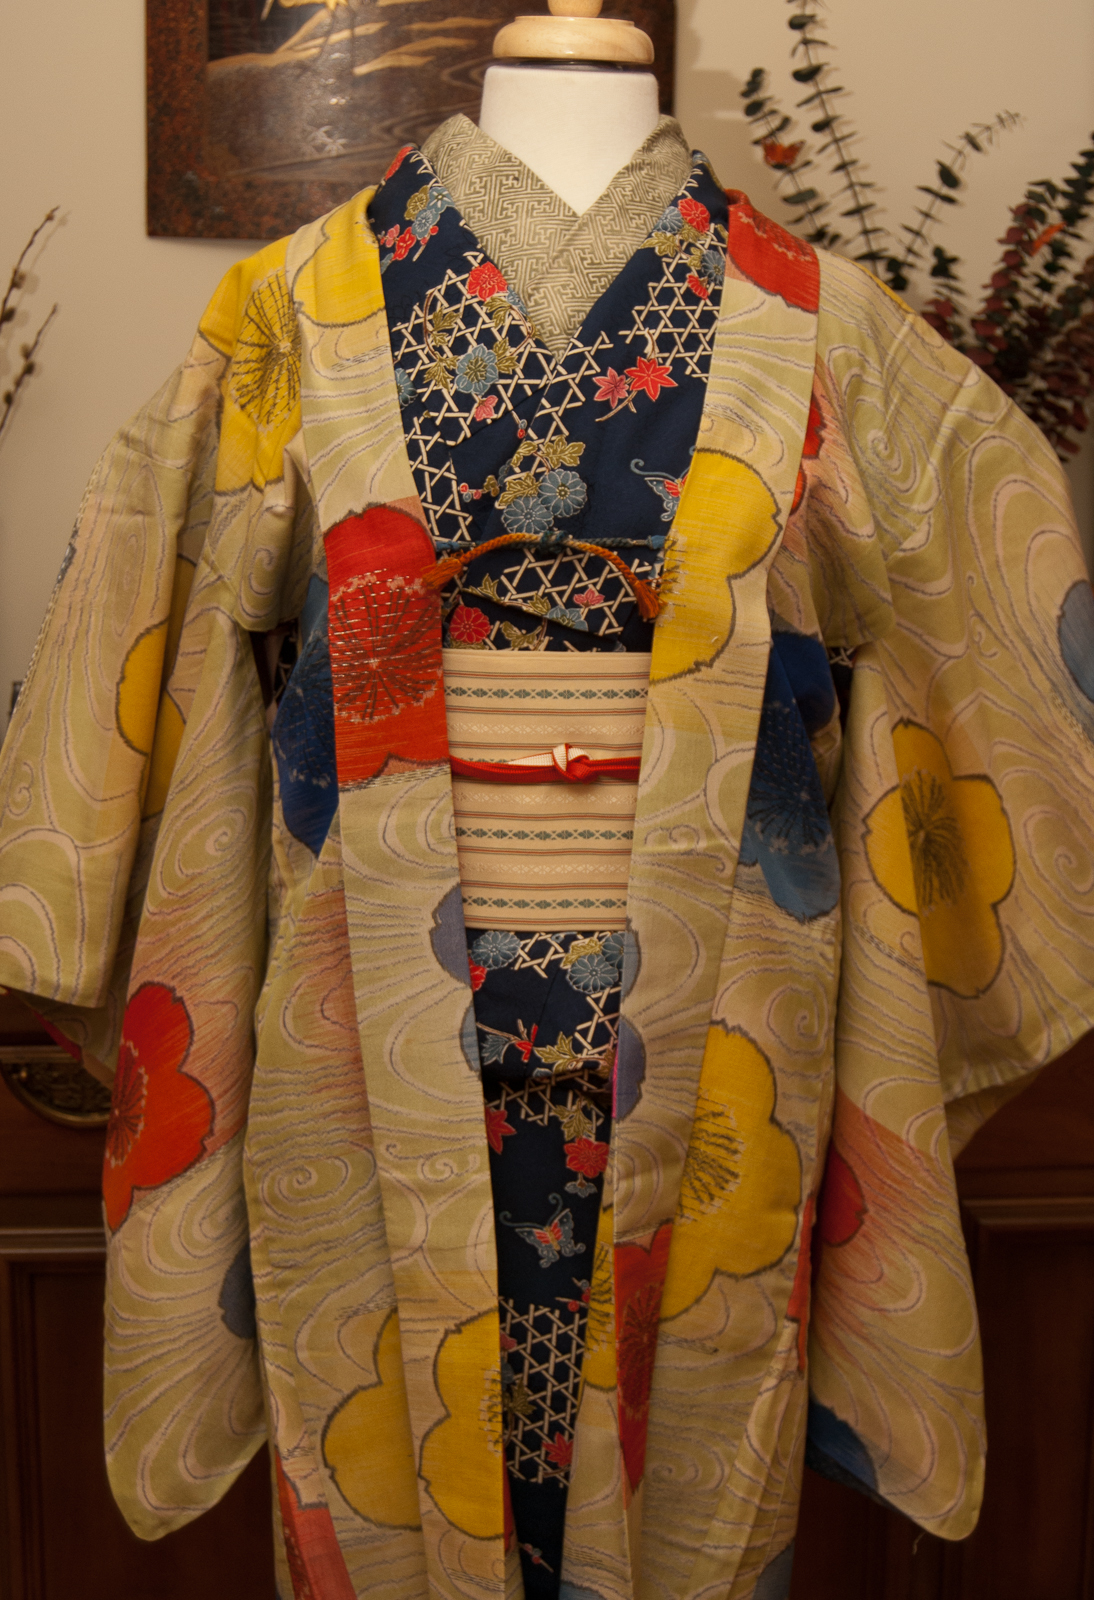
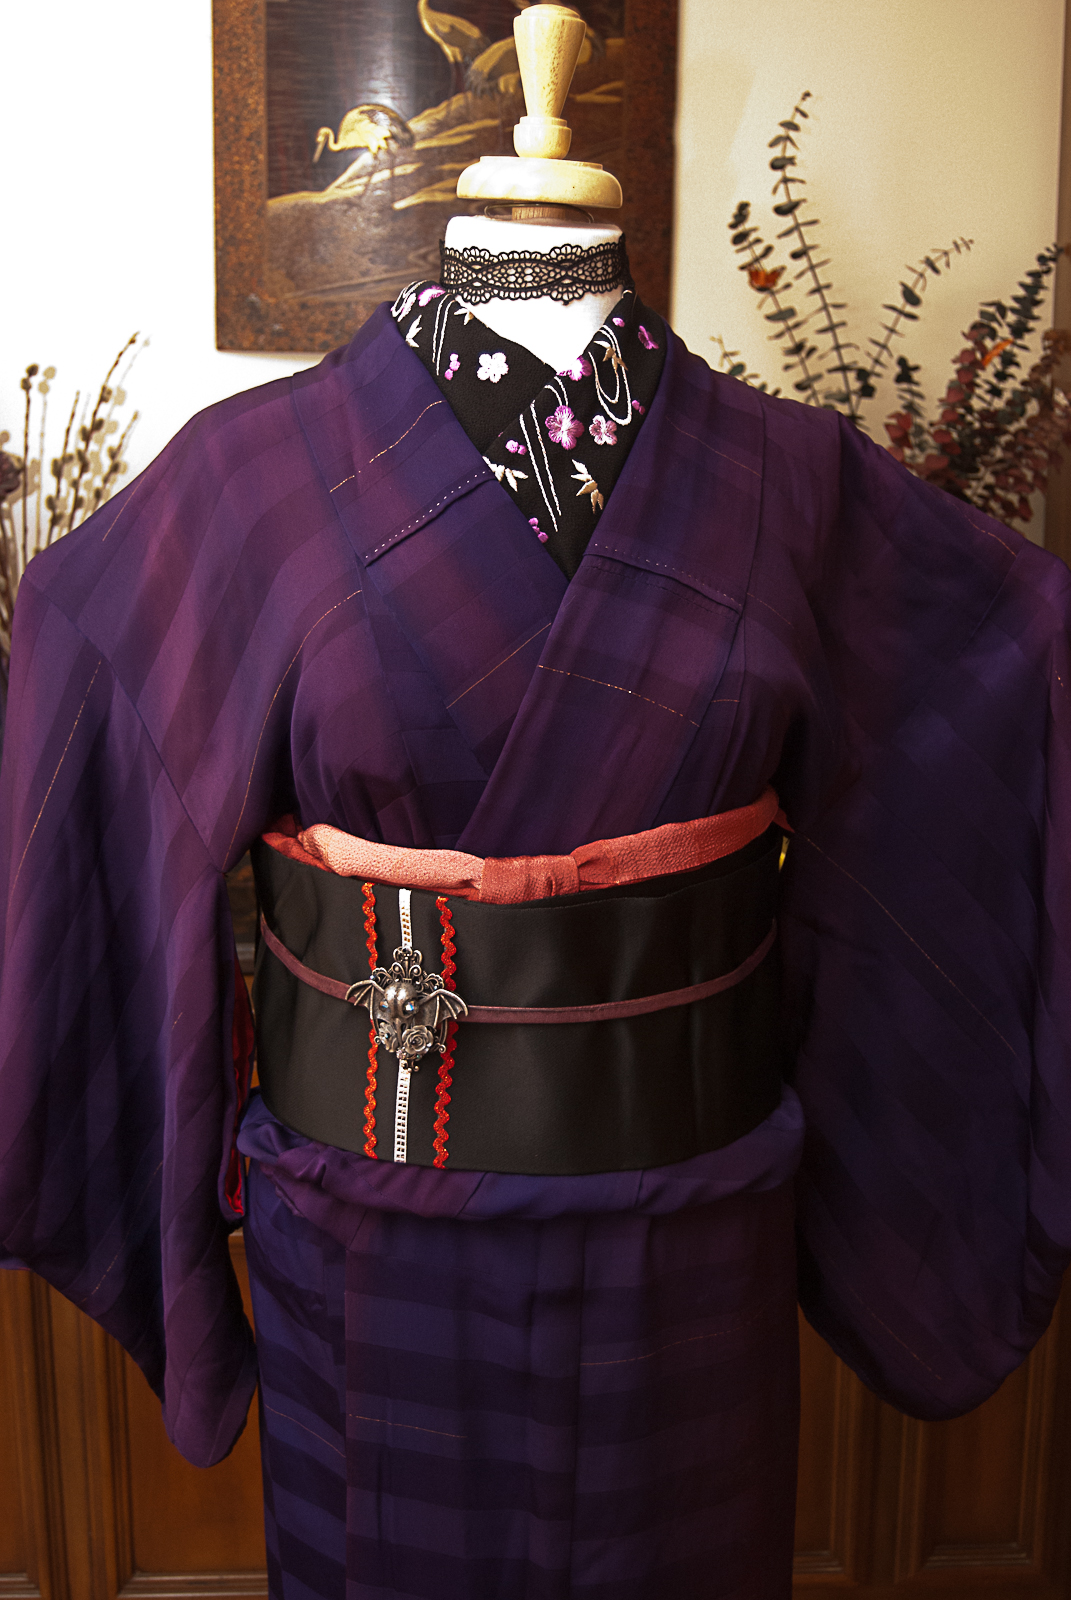
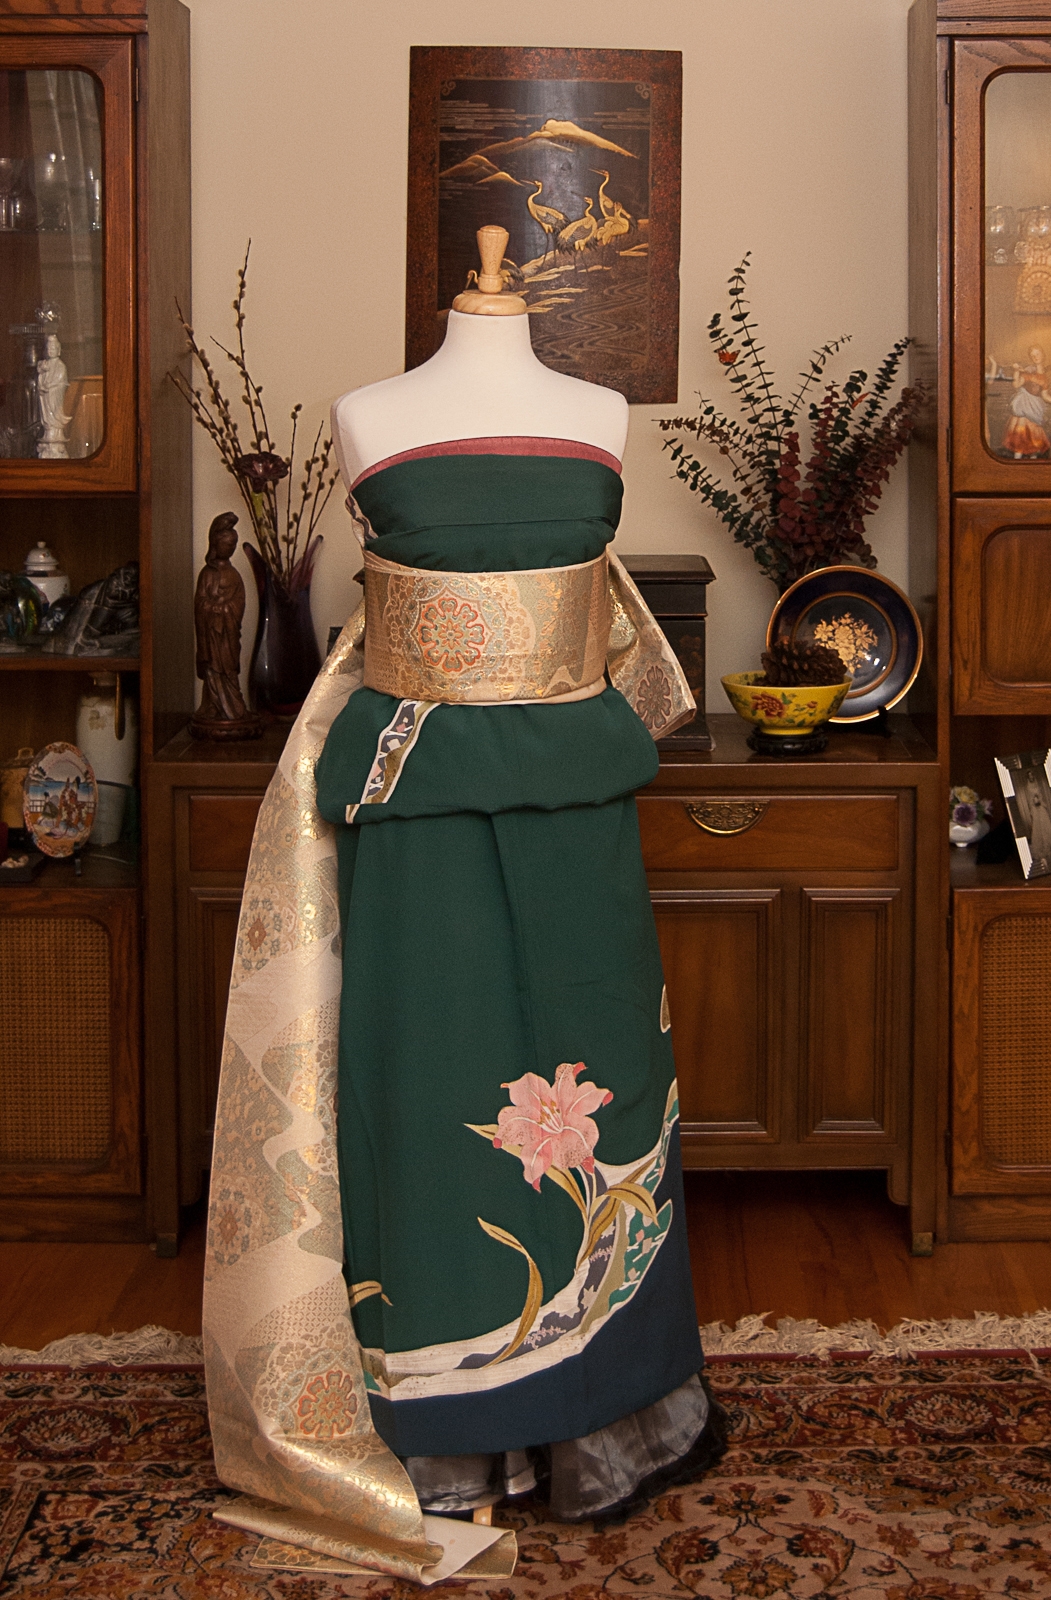
Step 7 – Once everything is good and tight, you can begin wrapping your obi. This part is going to be essentially the exact same as when wearing kimono. Wrap twice around the torso and use the rest to tie your musubi. You can have fun here too; this outfit is so non-traditional you can really go wild with how you tie the obi. For simplicity’s sake I did a sort of bunko variant but there are really no rules here.
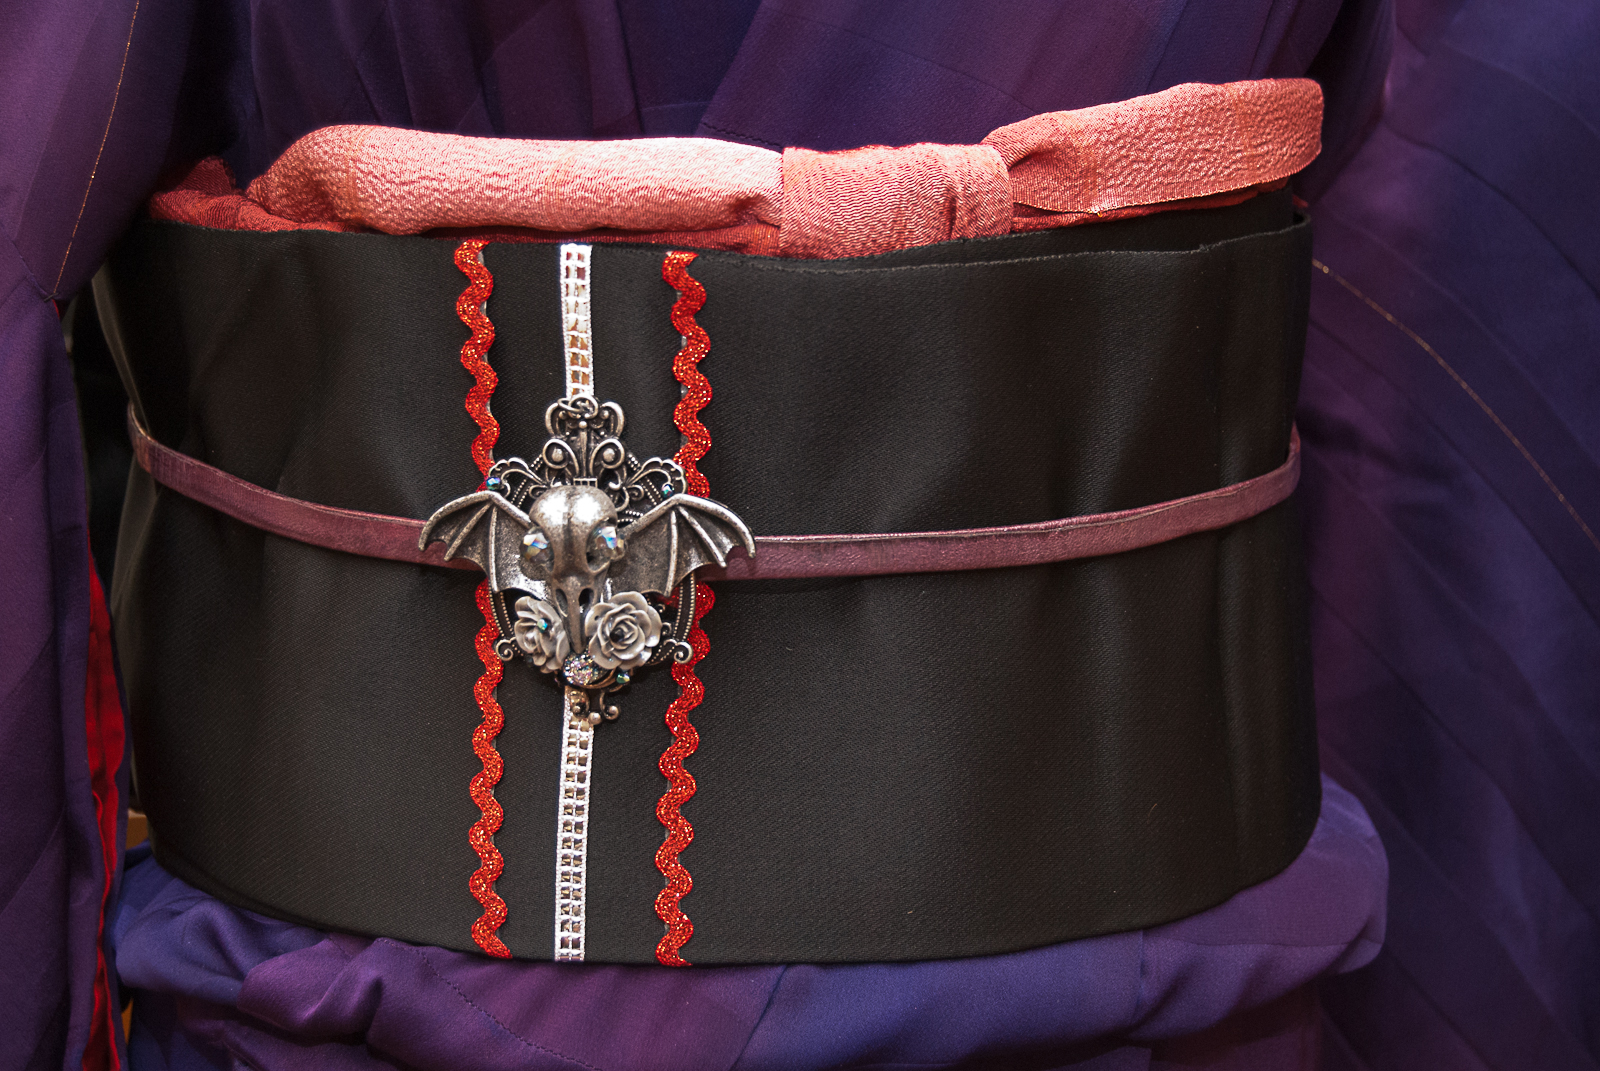
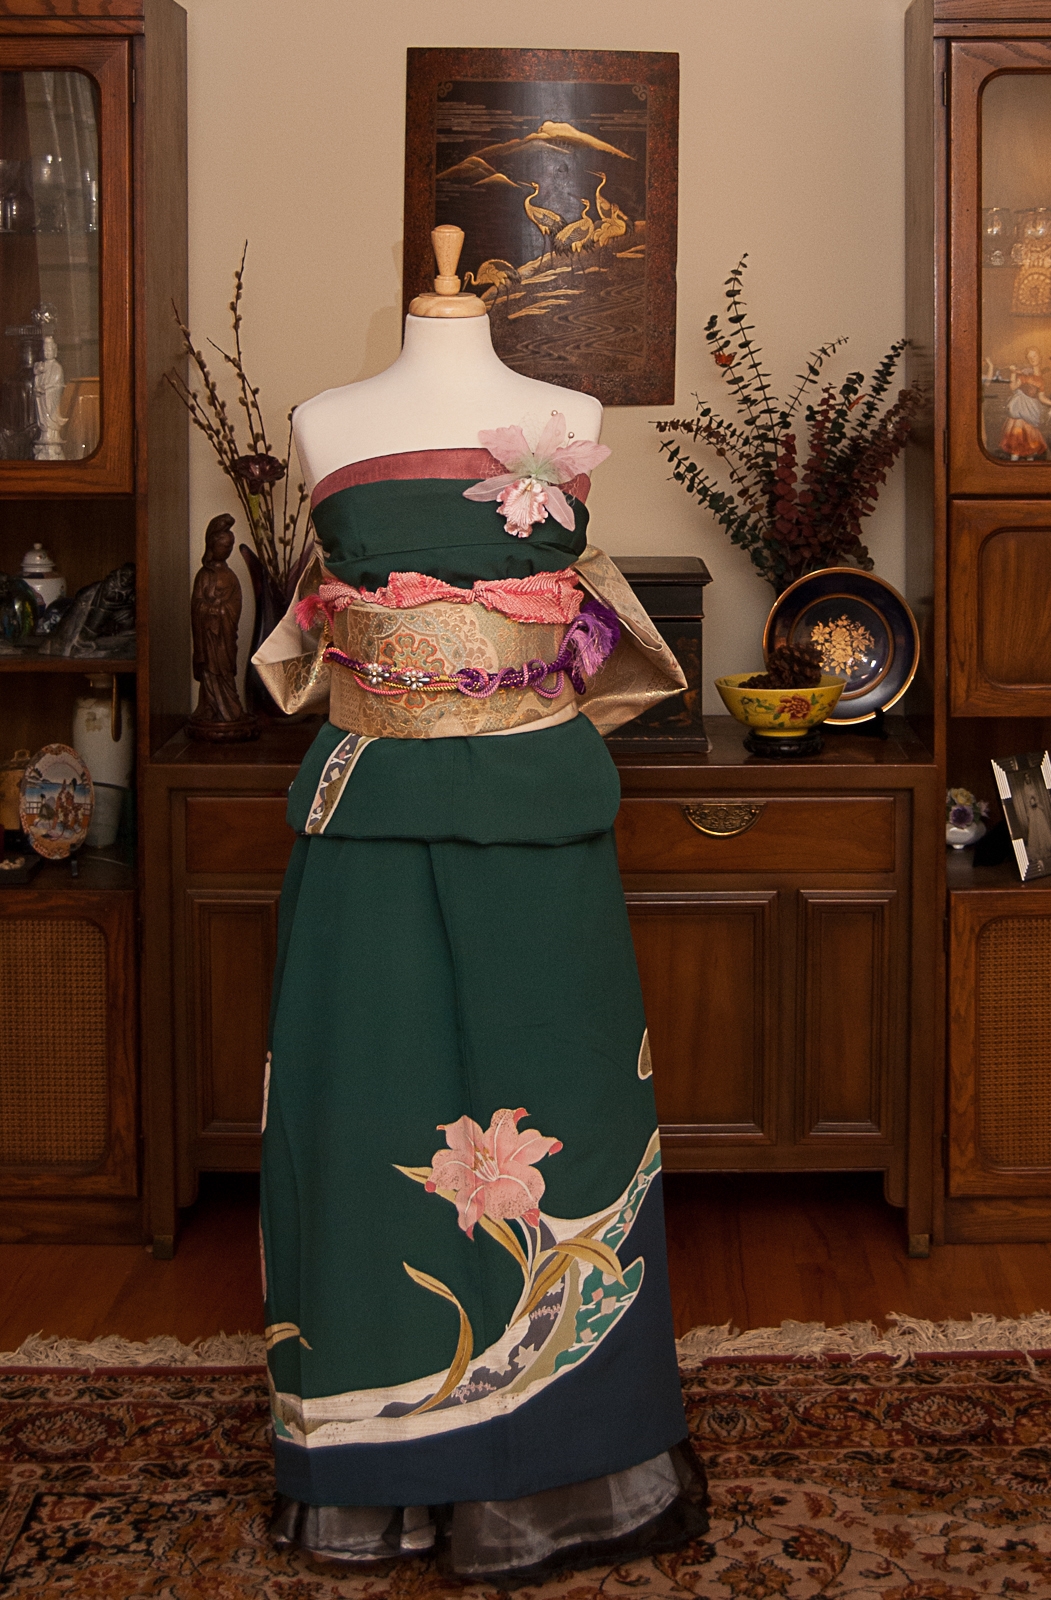
Step 8 – Secure the obi with an obijime, make sure it’s good and snug. If you used an obi-makura, hide it with an obiage. Even if you don’t need the obiage, it’s a nice way to add a little more colour and texture to your “dress”. Again, have fun! We’ve broken so many rules by this point there’s no real reason to worry about the others.
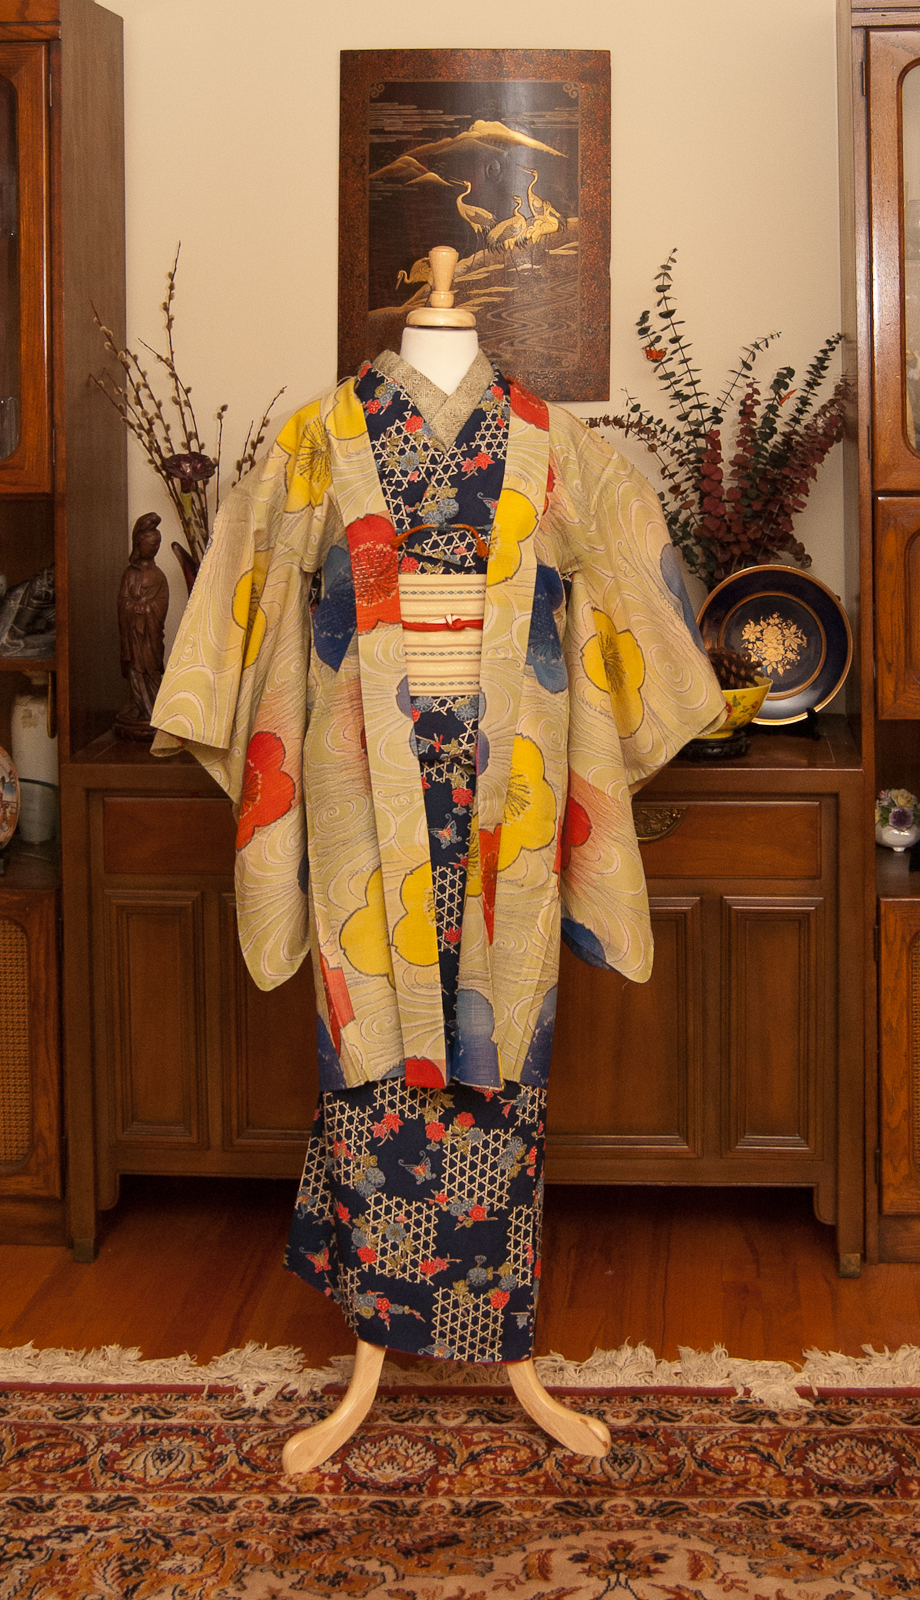
Step 9 – Voila! Your new ballgown is ready for the runway, with no modification or damage to the kimono.
I hope this is easy enough to follow along. Feel free to ask for clarification if you need help, and if you attempt this I would love to see photos!


 Bebe Taian
 CHOKO Blog
 Silk & Bones
 Gion Kobu