
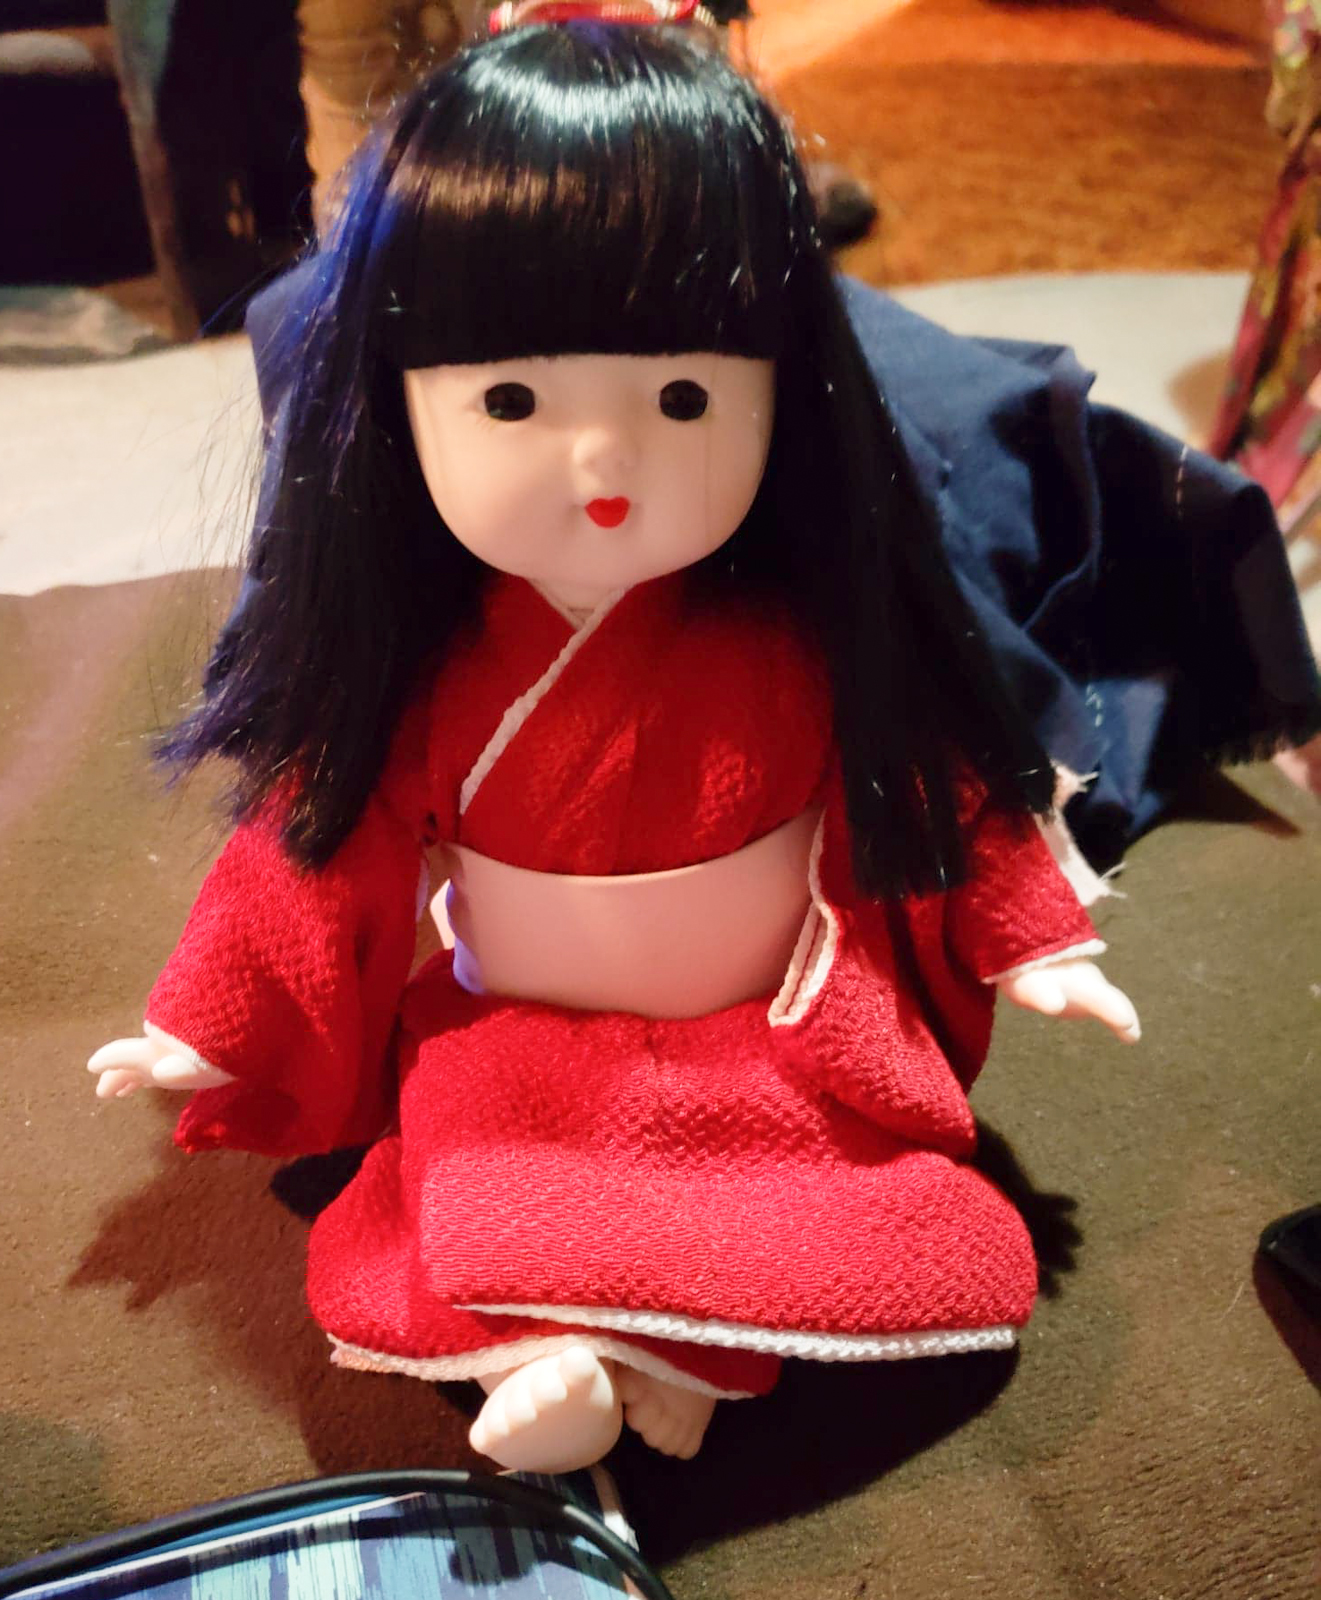
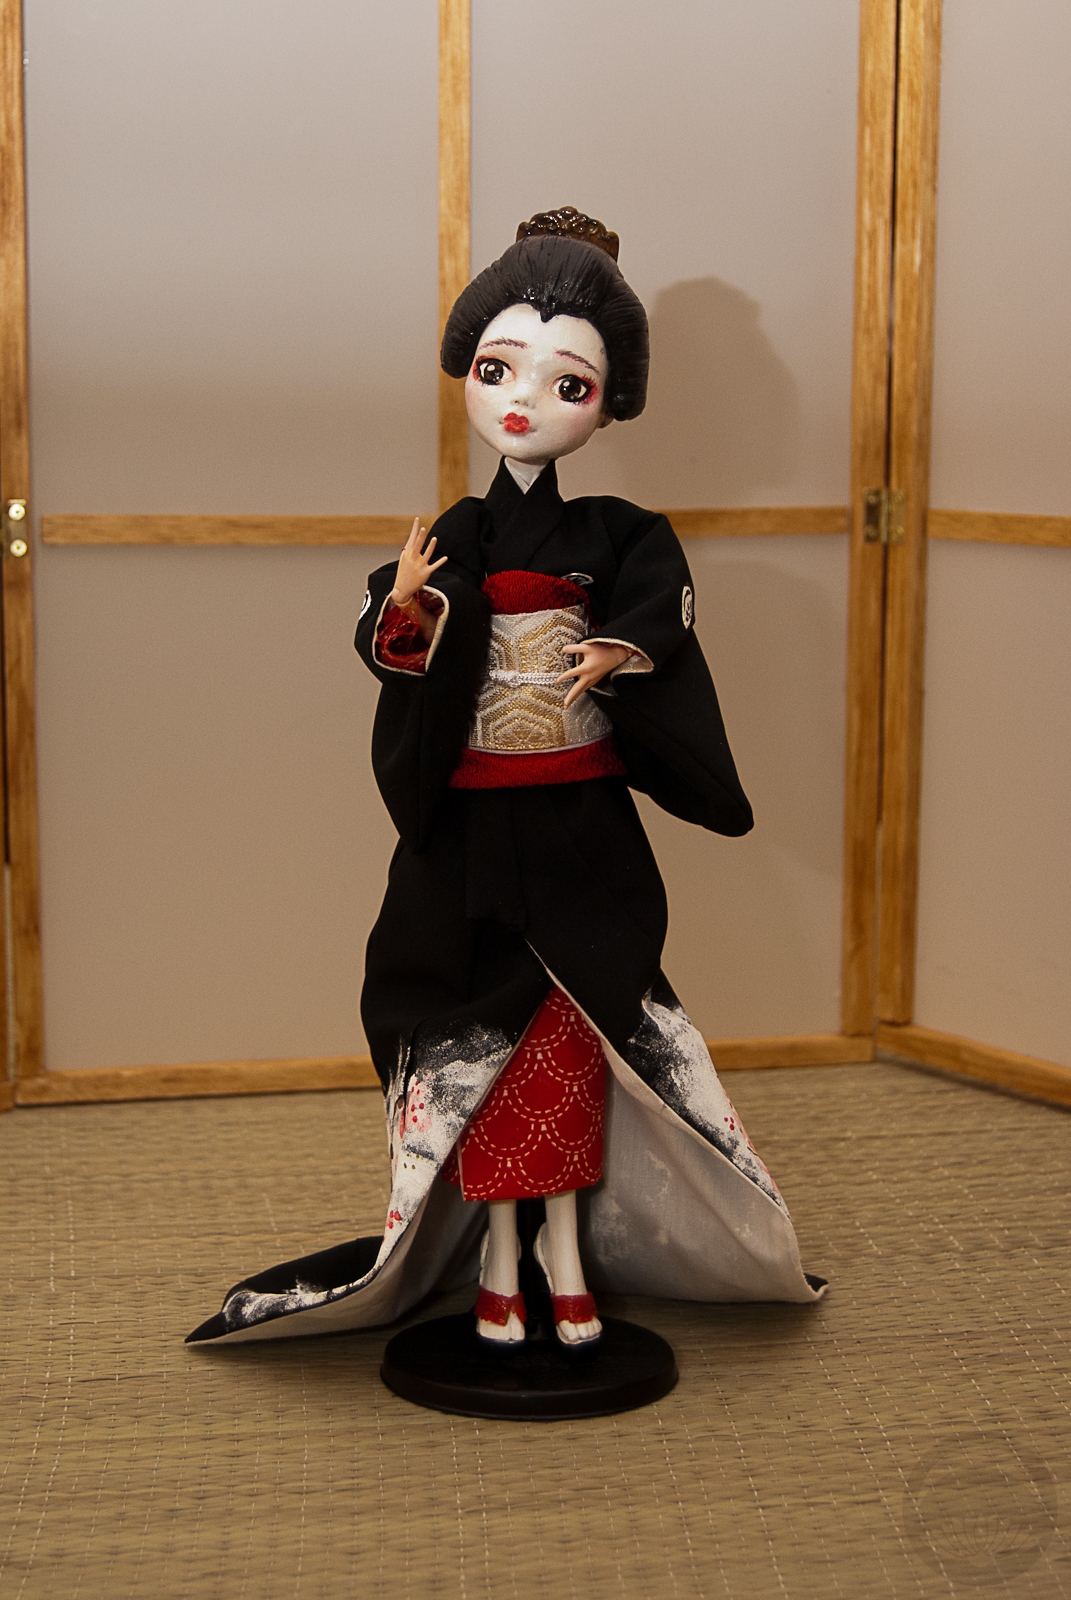
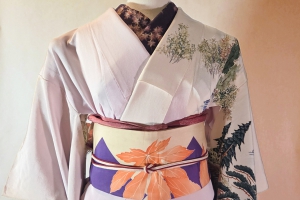
Everyone, please say hello to Akane!
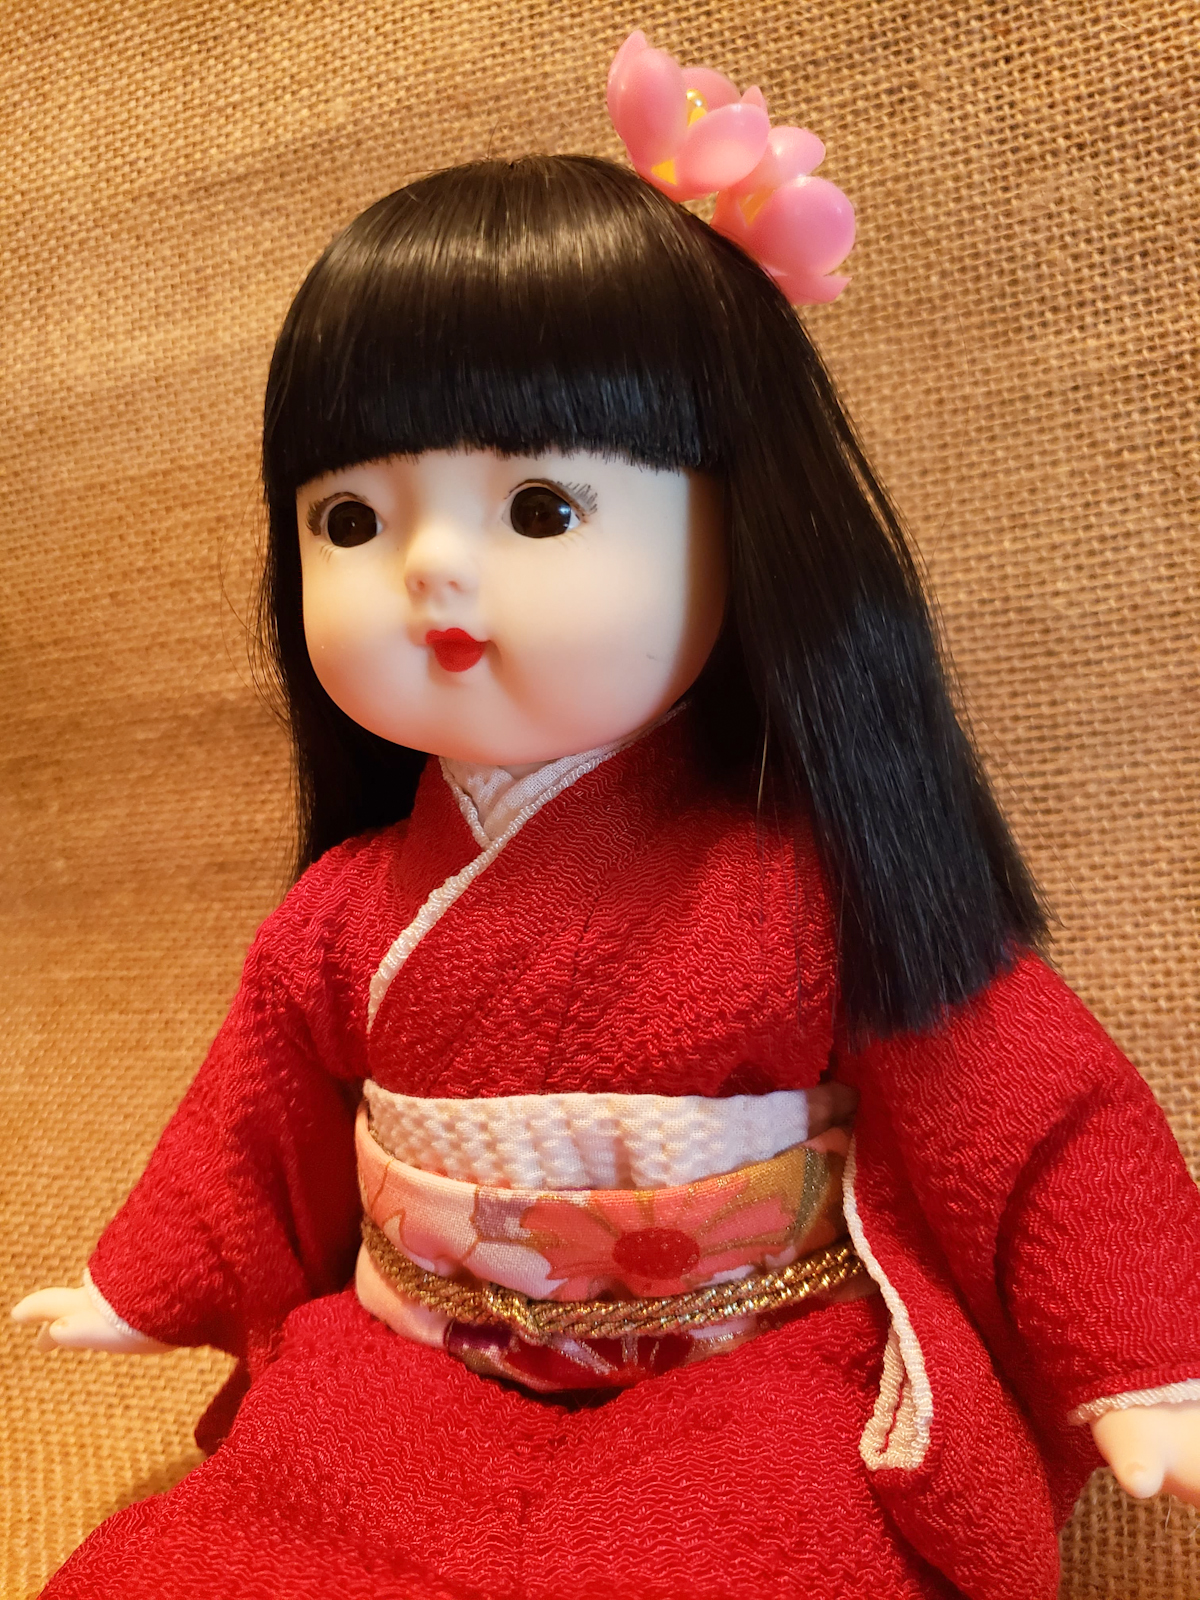
 I found this little lady on a shelf at my favourite vintage shop. She’s not particularly old; she’s made of a sort of soft vinyl instead of ceramic and gofun, and seems relatively mass-produced. Nonetheless I was utterly charmed by her and knew I had to bring her home. I was drawn immediately by her bright red kimono, which inspired me to name her Akane (茜), which means deep red and is a traditional girls’ name.
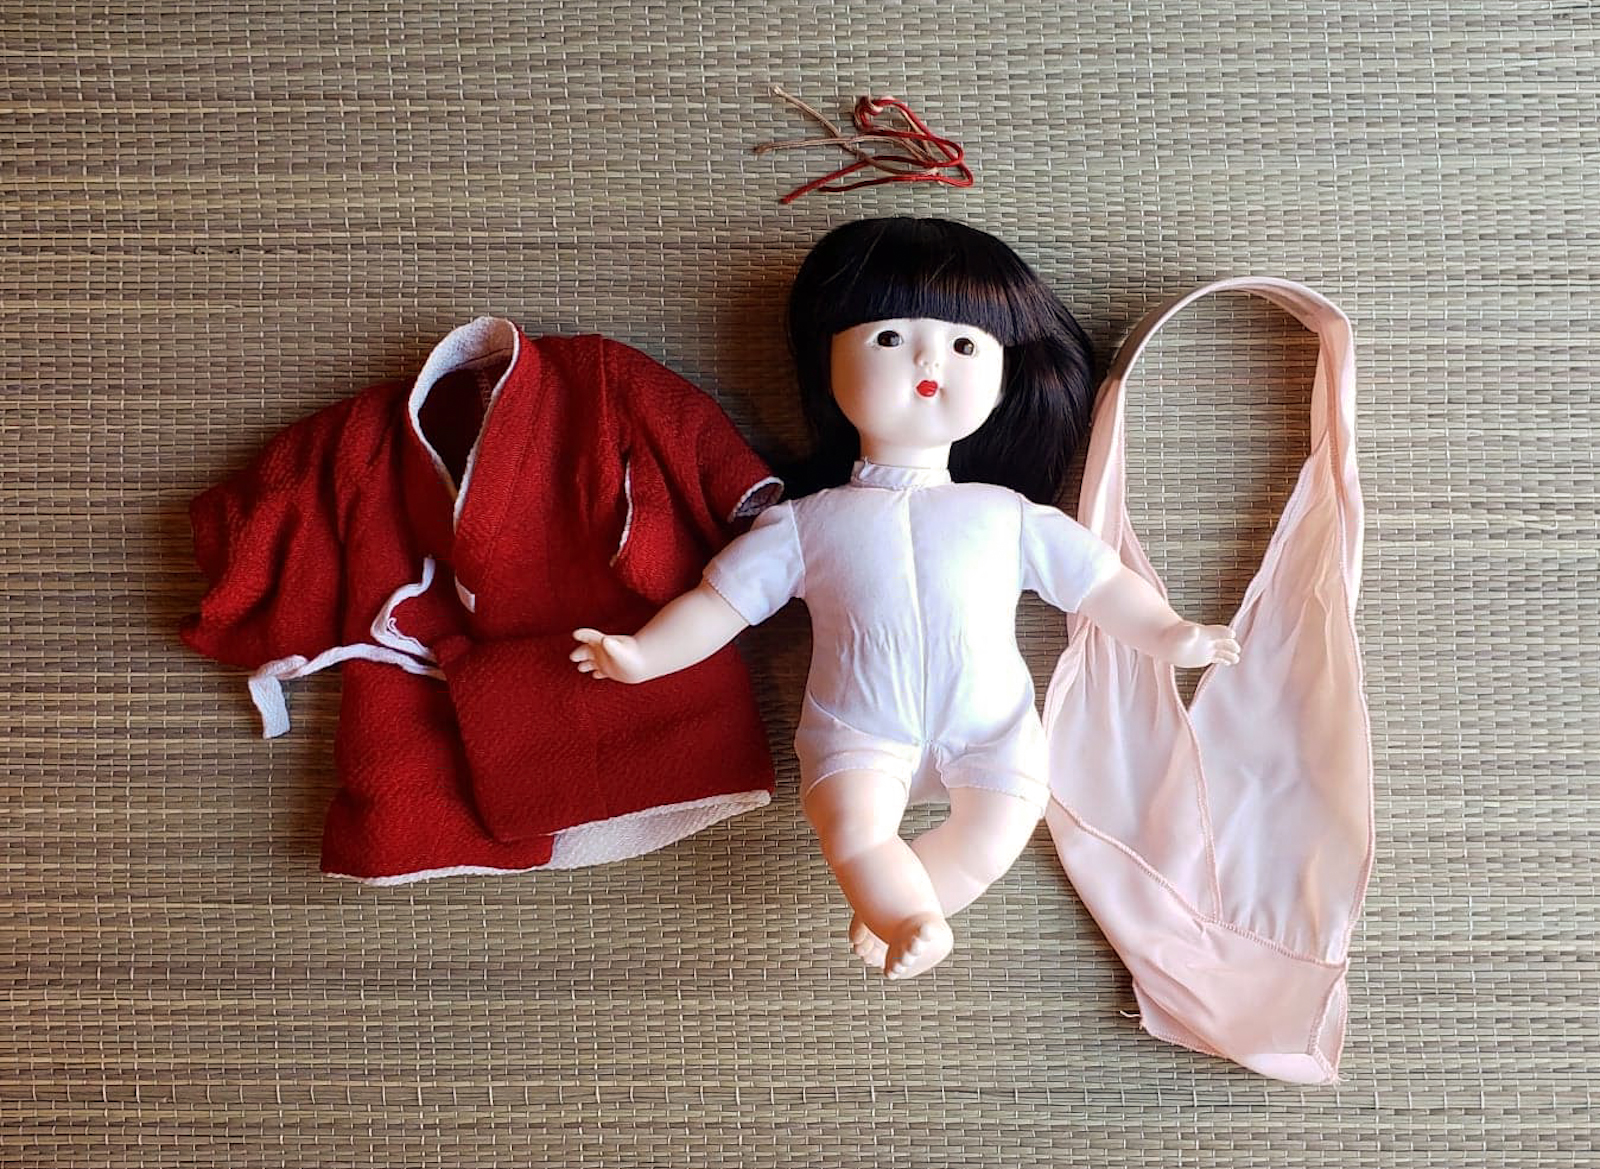
Unfortunately that kimono was pretty much all she had! There was a piece of cardboard wrapped in pink satin tied around her waist like a sort of obi, and a scraggly little piece of twine in her hair, but she had no real accessories or anything, so I decided to make her some custom pieces as well as give her a bit of a glow-up. I did take photos of the whole process, but since it was done more to relax and unwind I took the photos on my phone, wherever I happened to be working so I apologise for the quality and messy background of some of these.
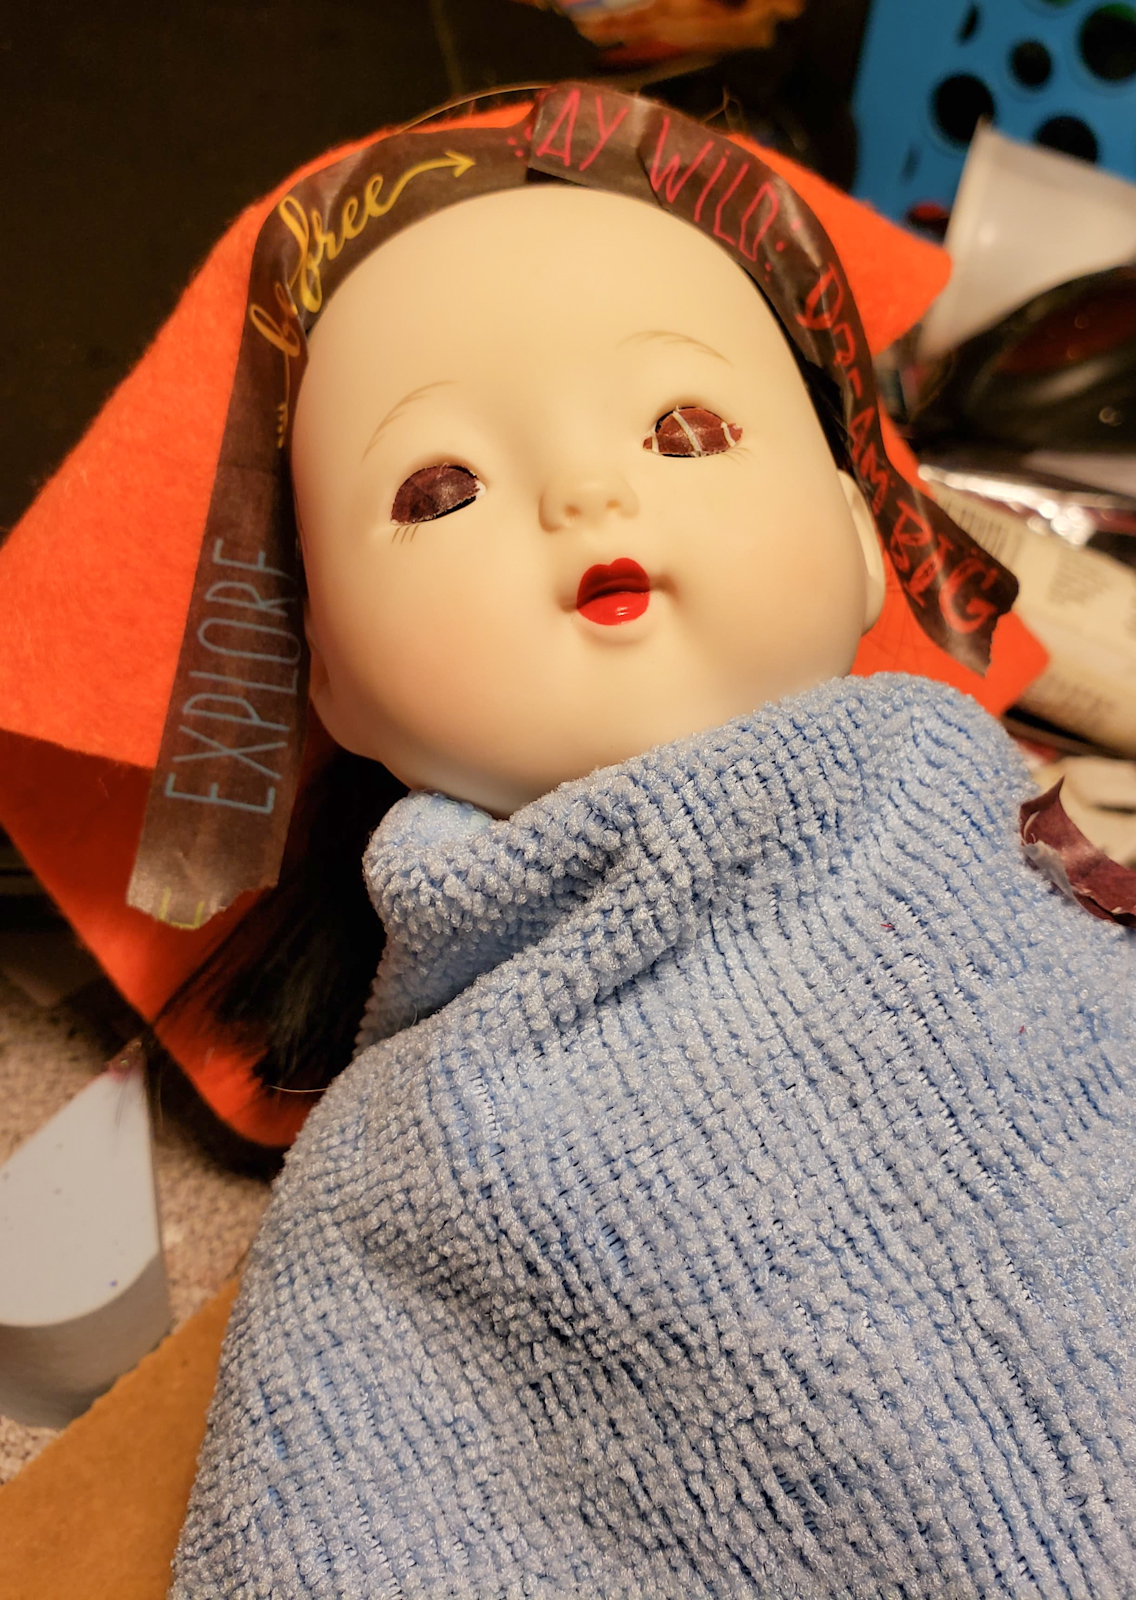
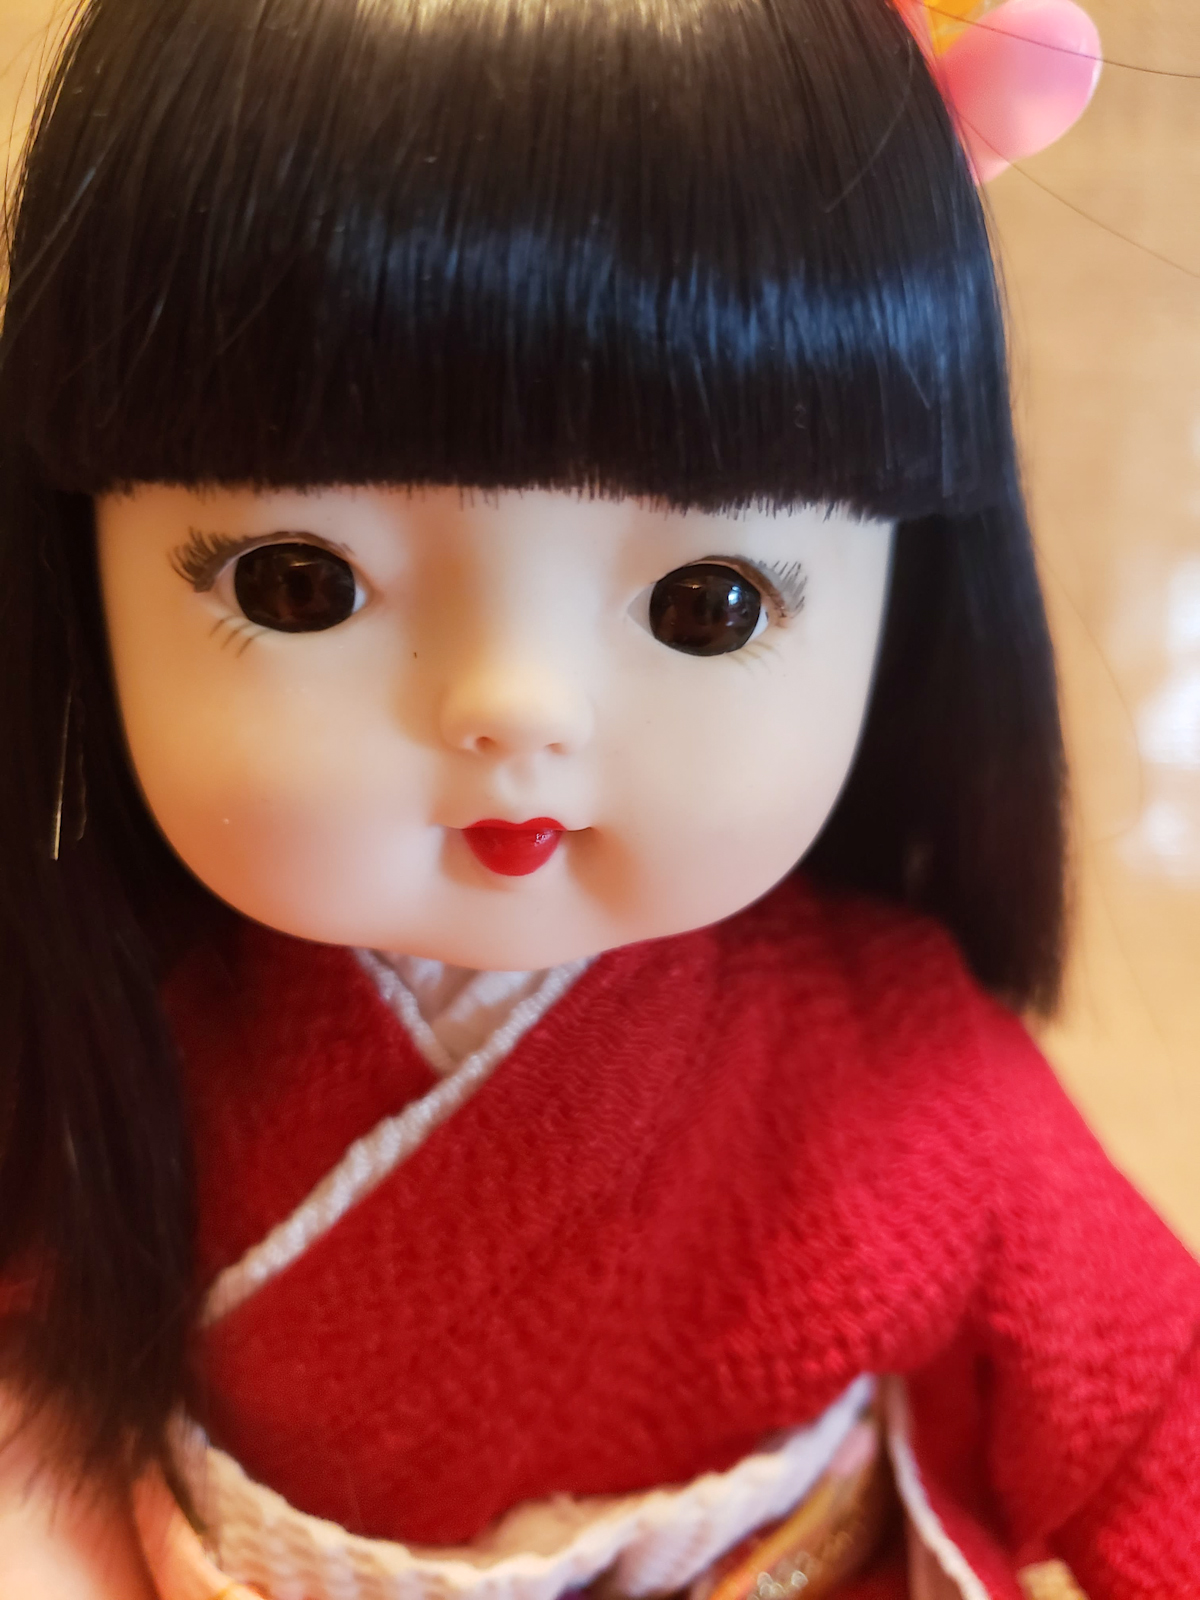
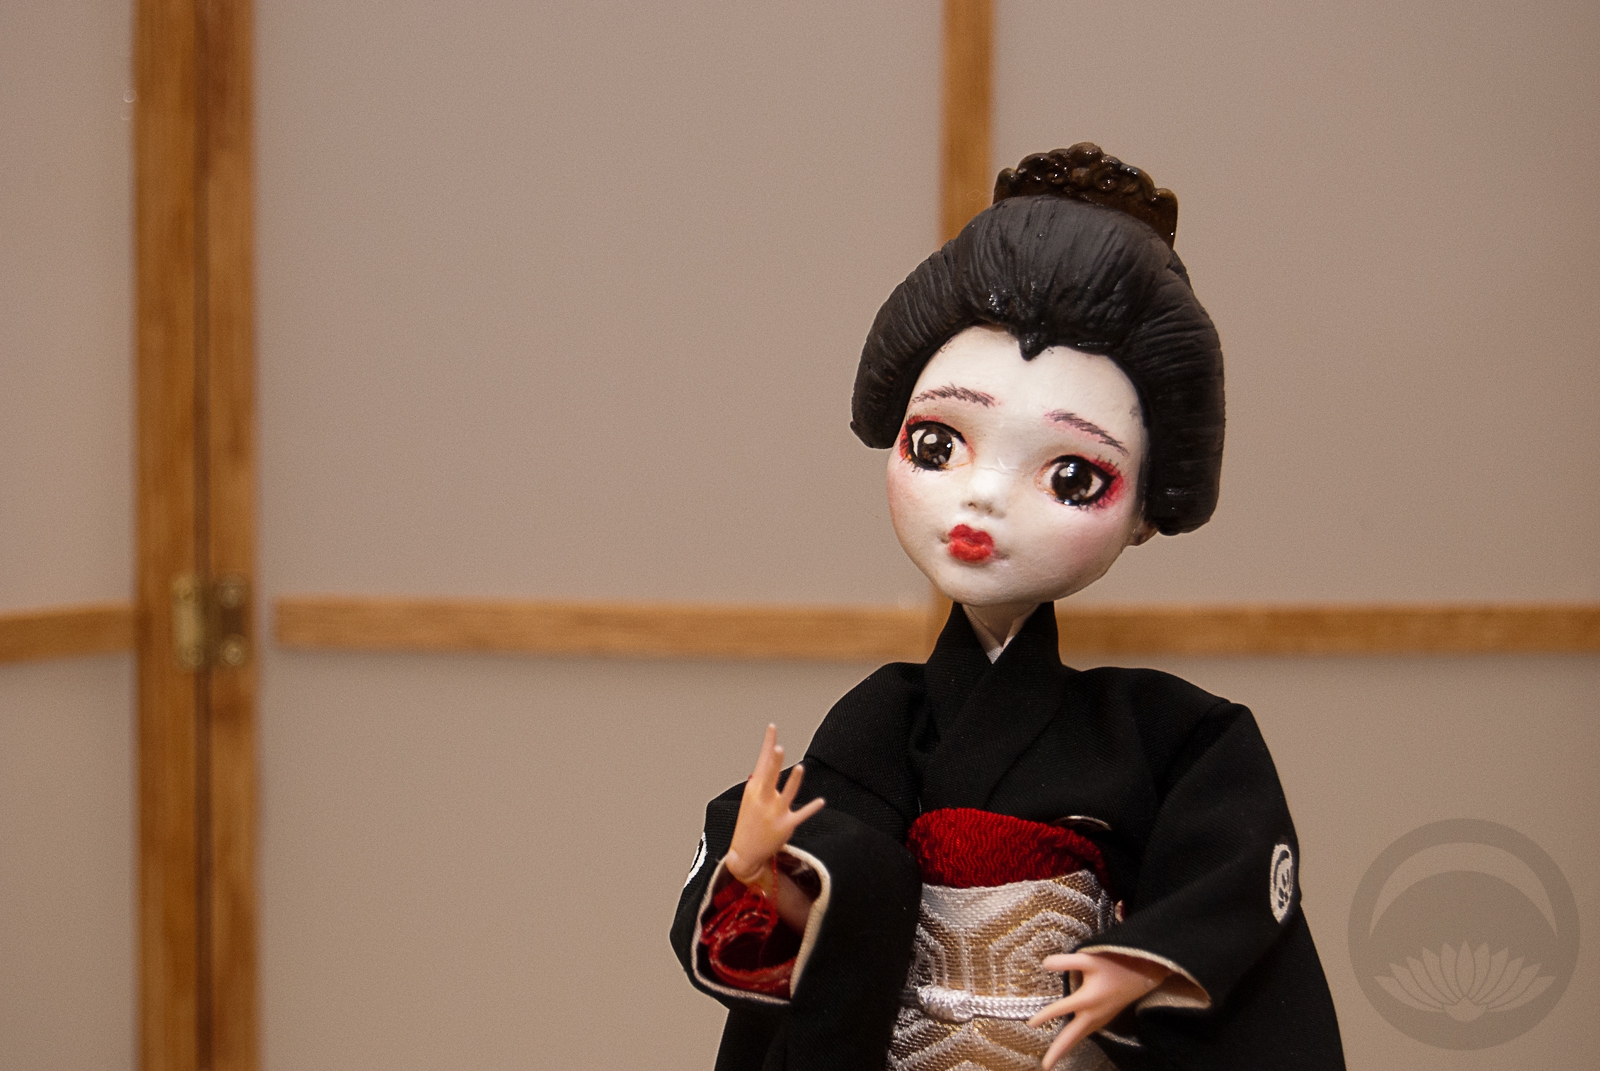
Her face shape is adorable, but it felt very flat due to a lack of shading. She did have some pink blush on her cheeks but aside from that, she honestly looked like a cute potato. She also had lower eyelashes but no upper ones, and nearly invisible eyebrows. Using a combination of actual cosmetics and chalk pastels I gave her some shadows and contouring, deepened the flush on her cheeks, and gave her eyelashes and more defined eyebrows. It’s a subtle change, but she’s gone from a potato to a peach. You can also see the false eri I sewed for her to give the impression of a proper under-layer.
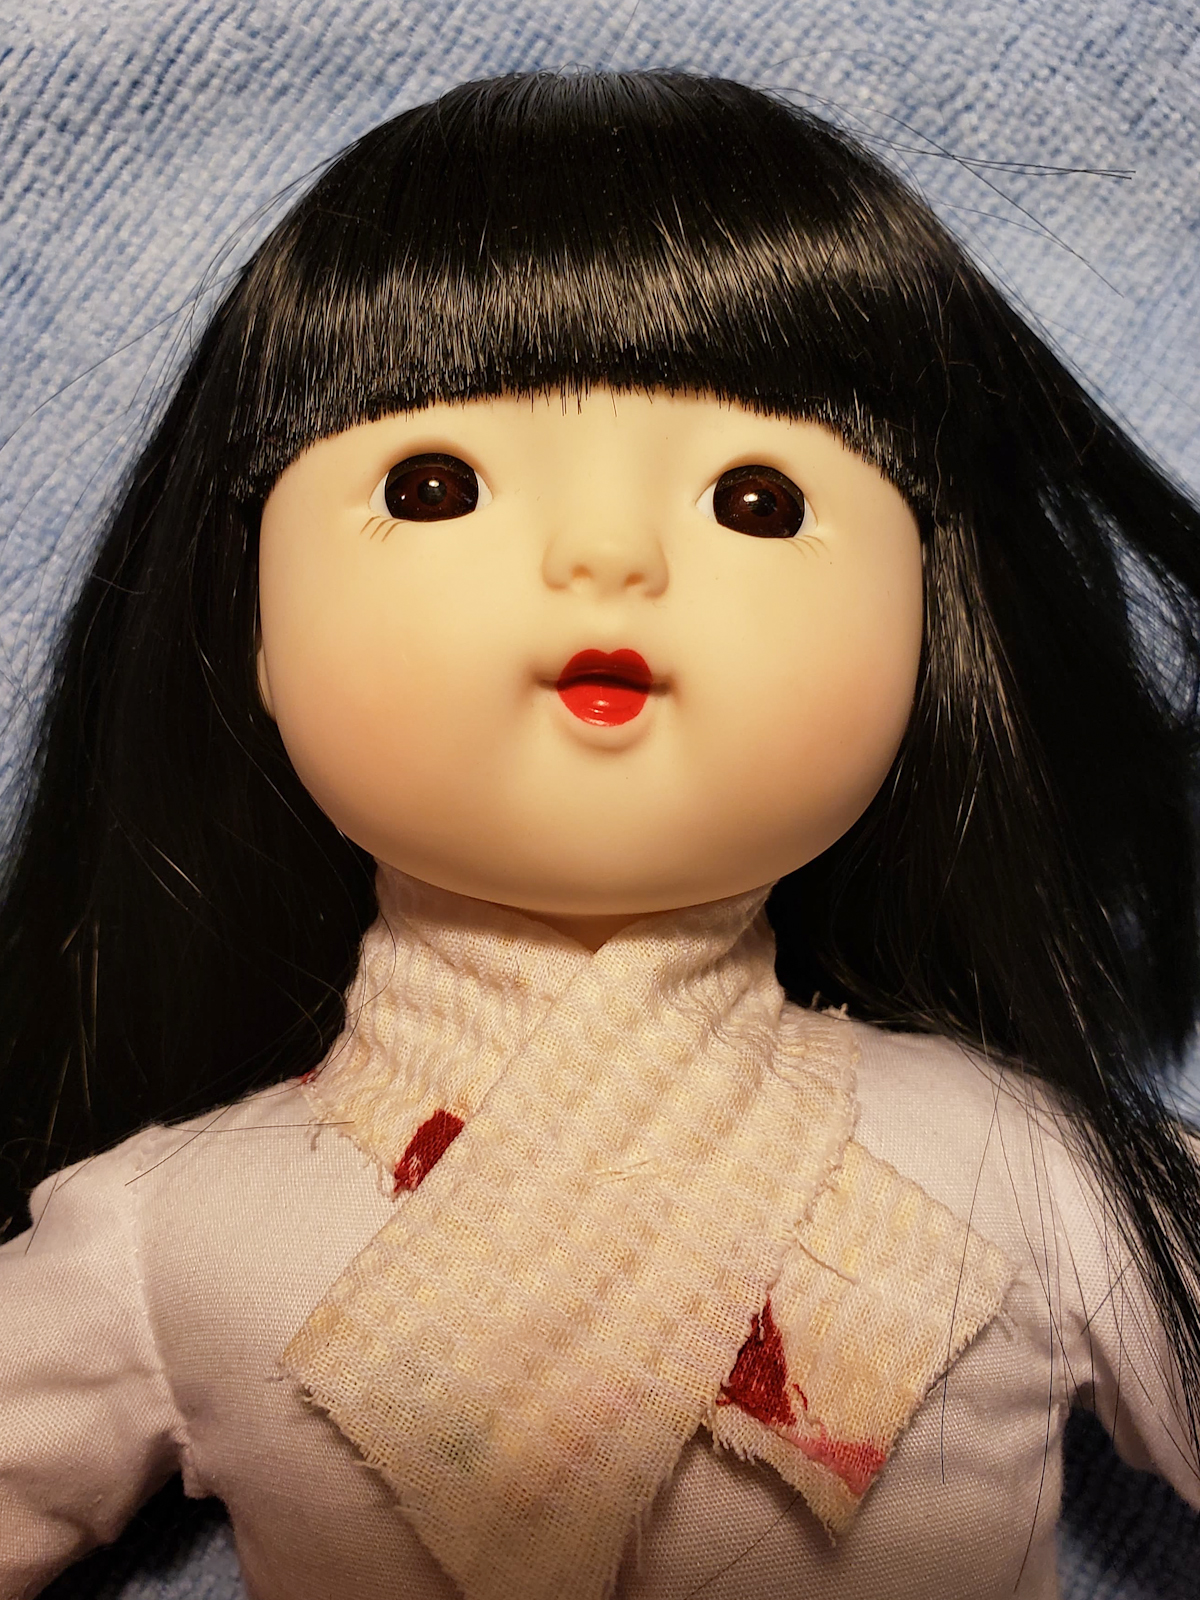

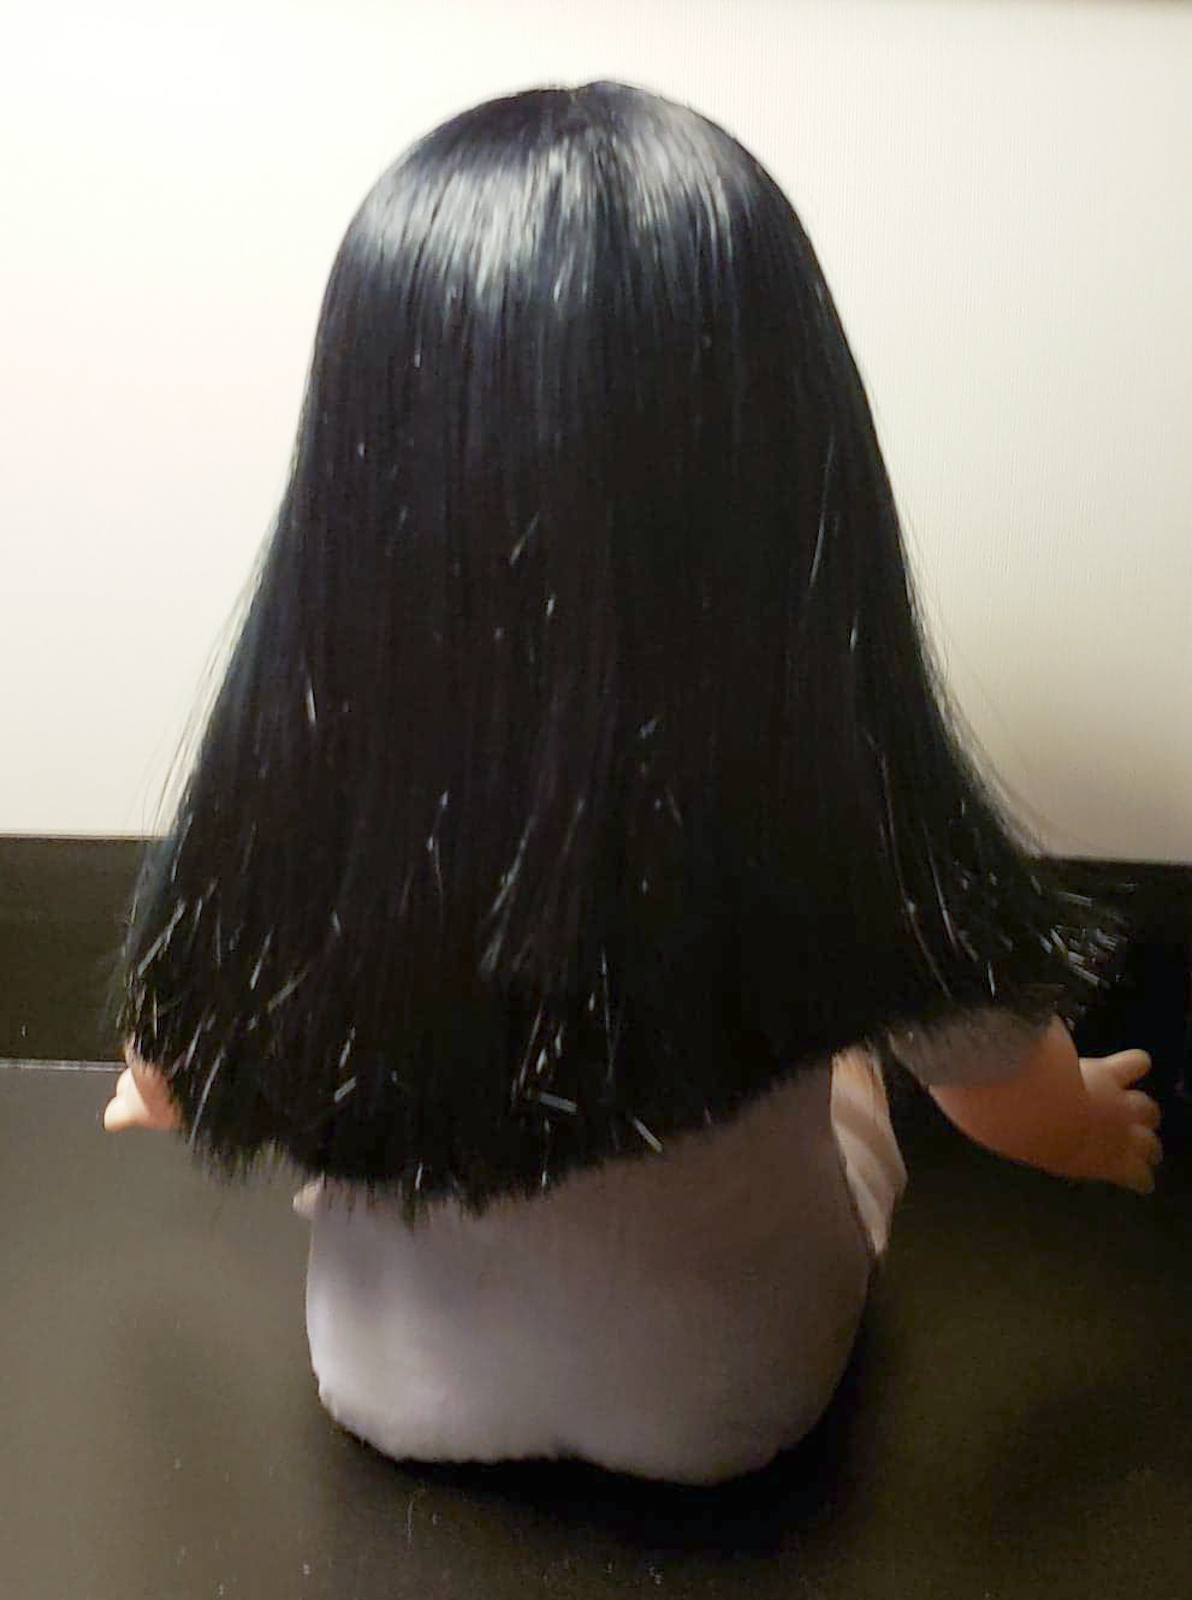
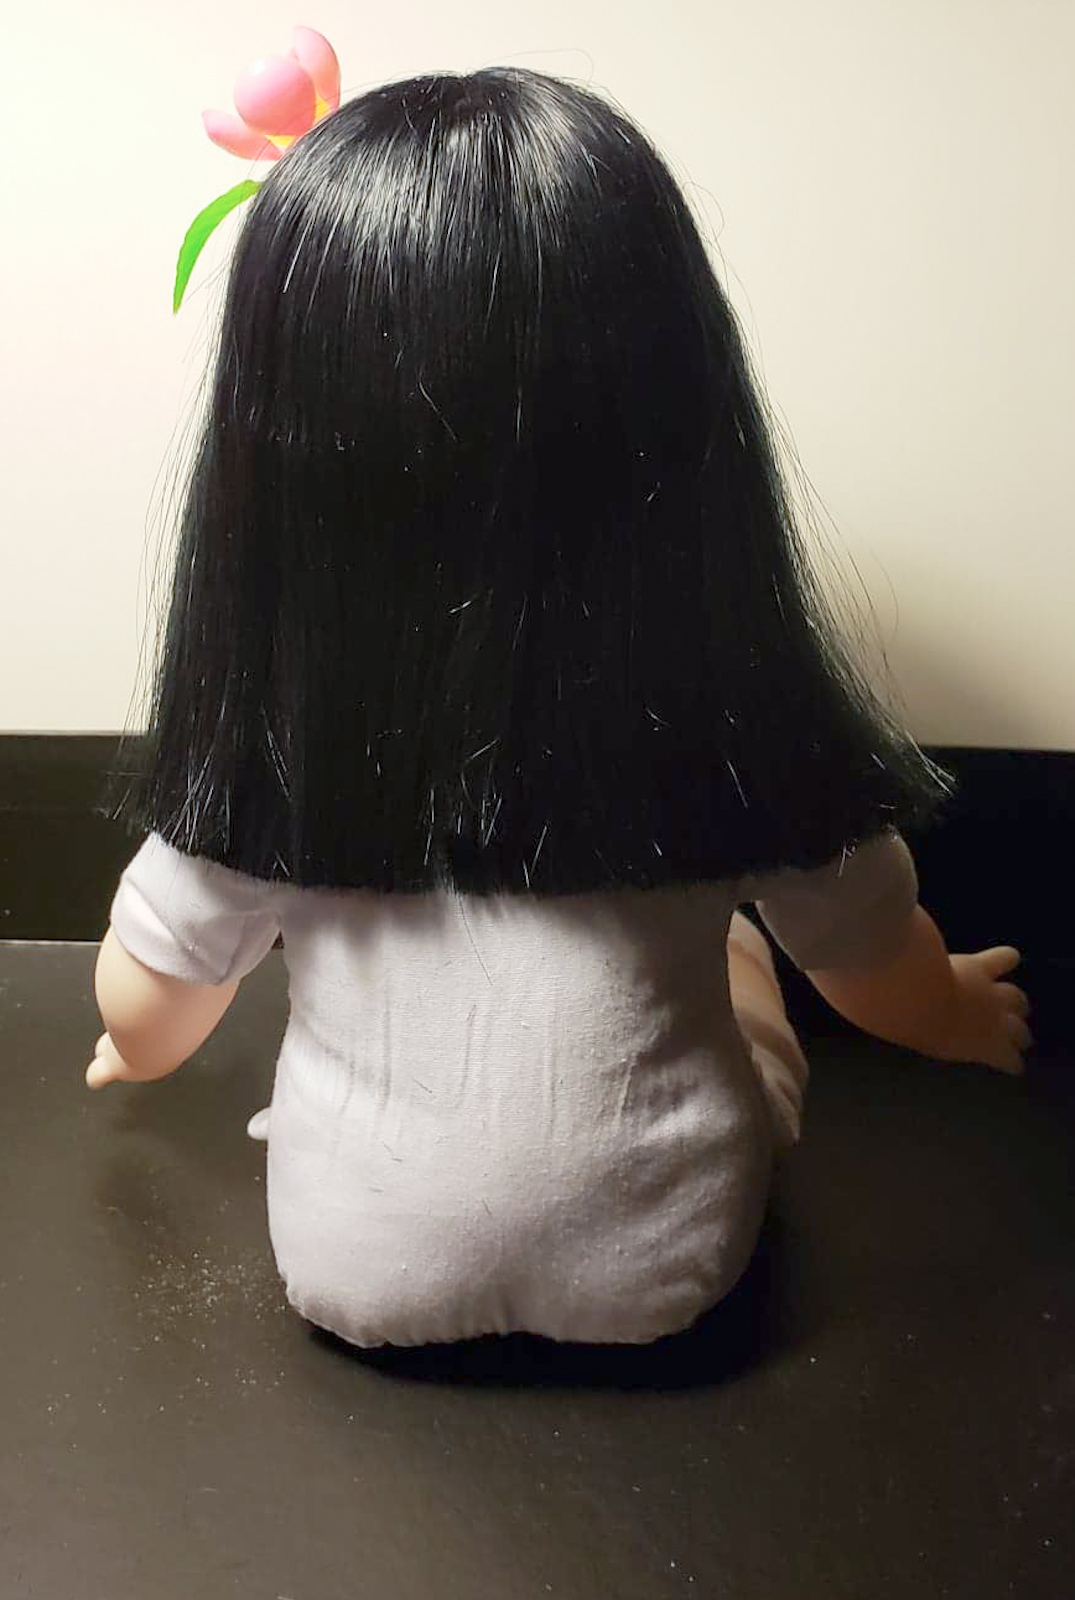
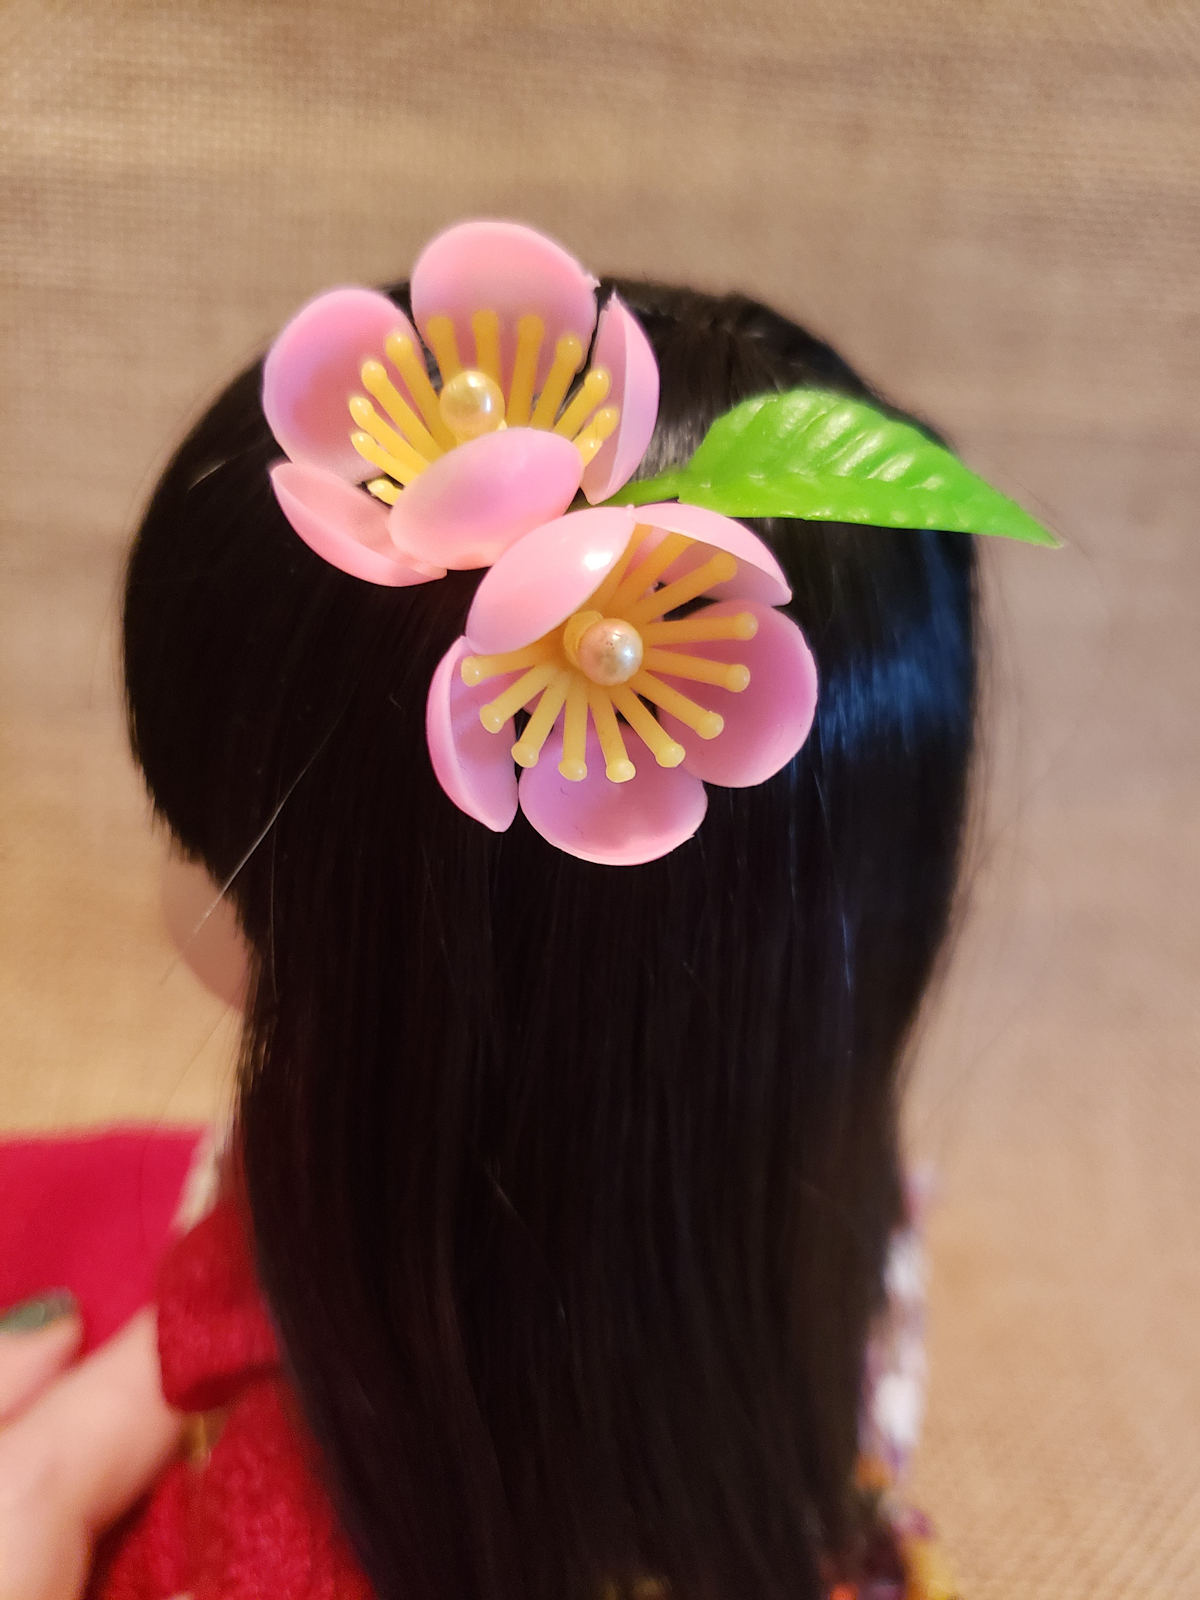
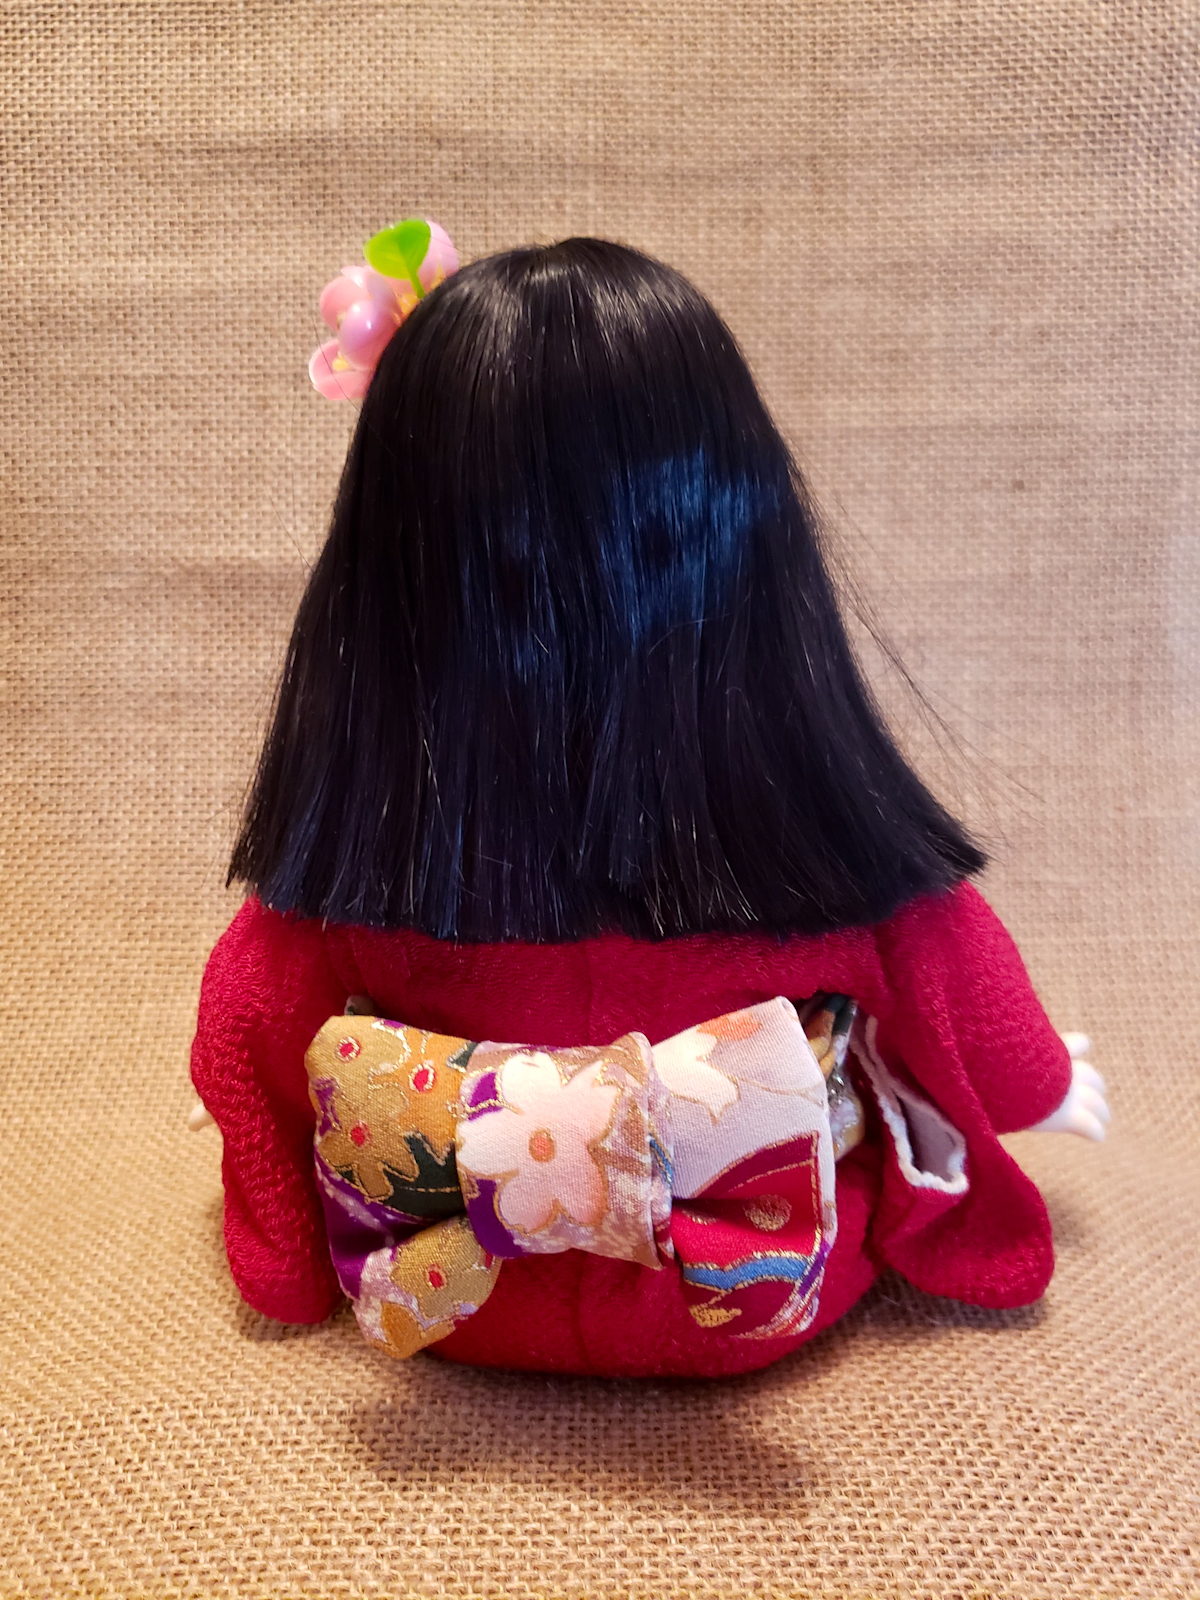
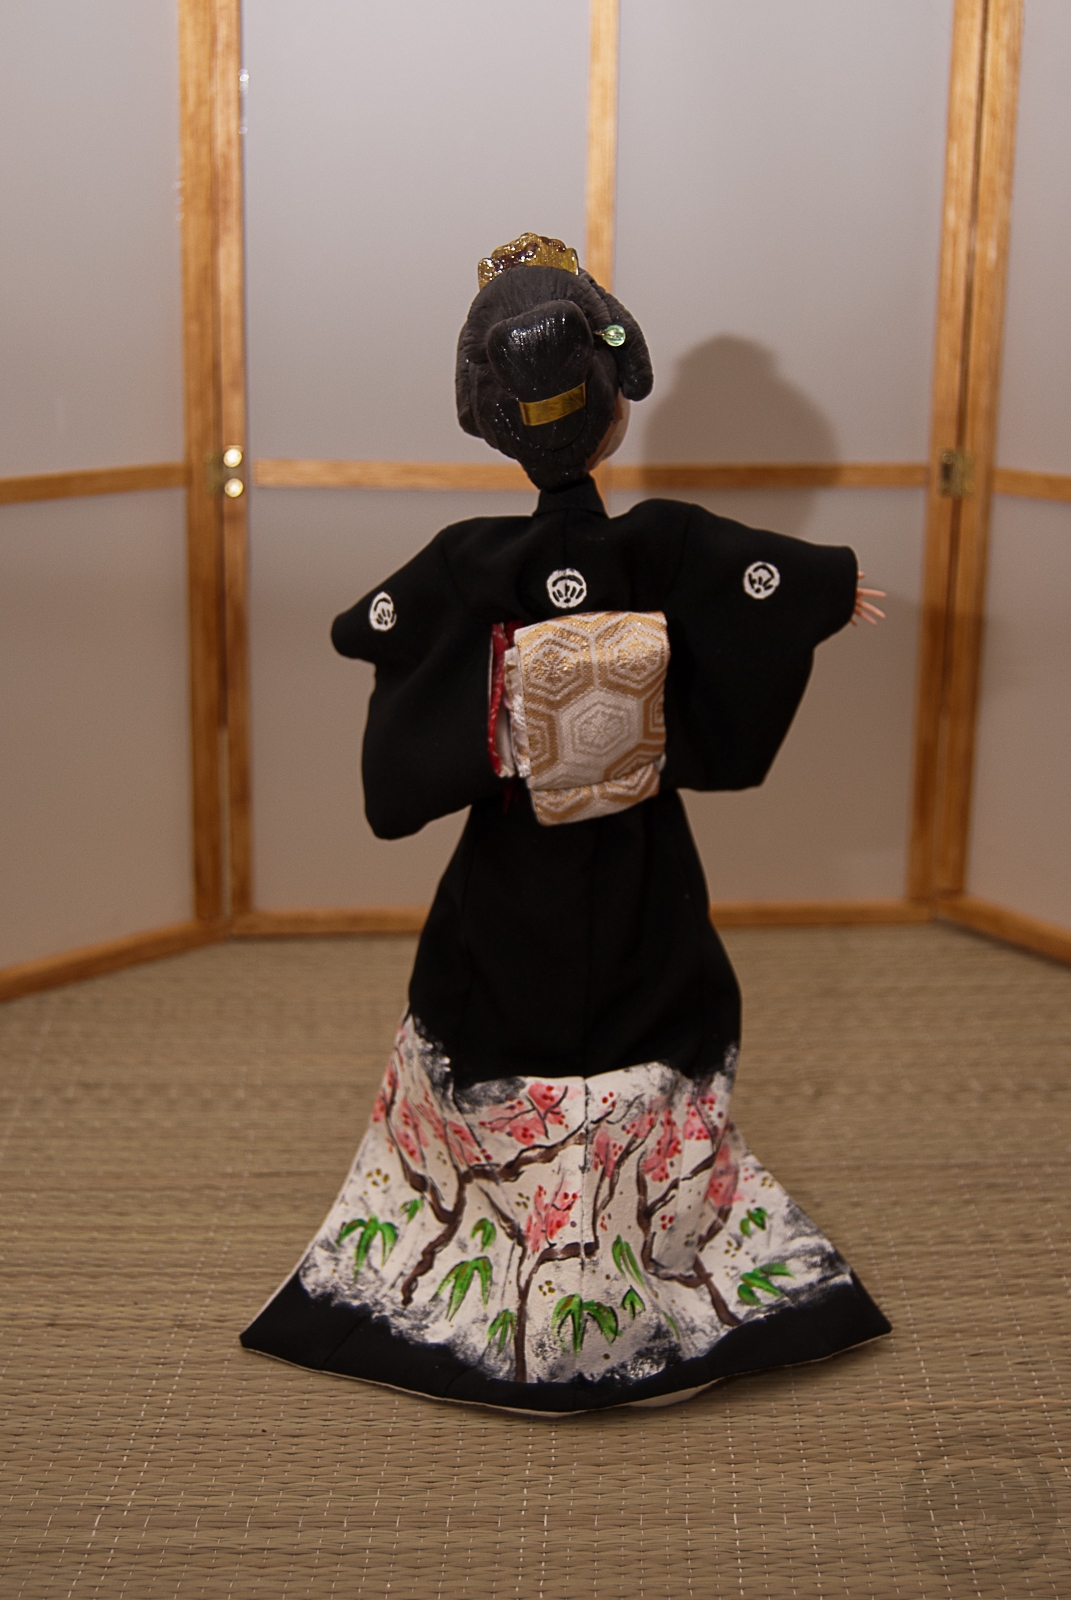
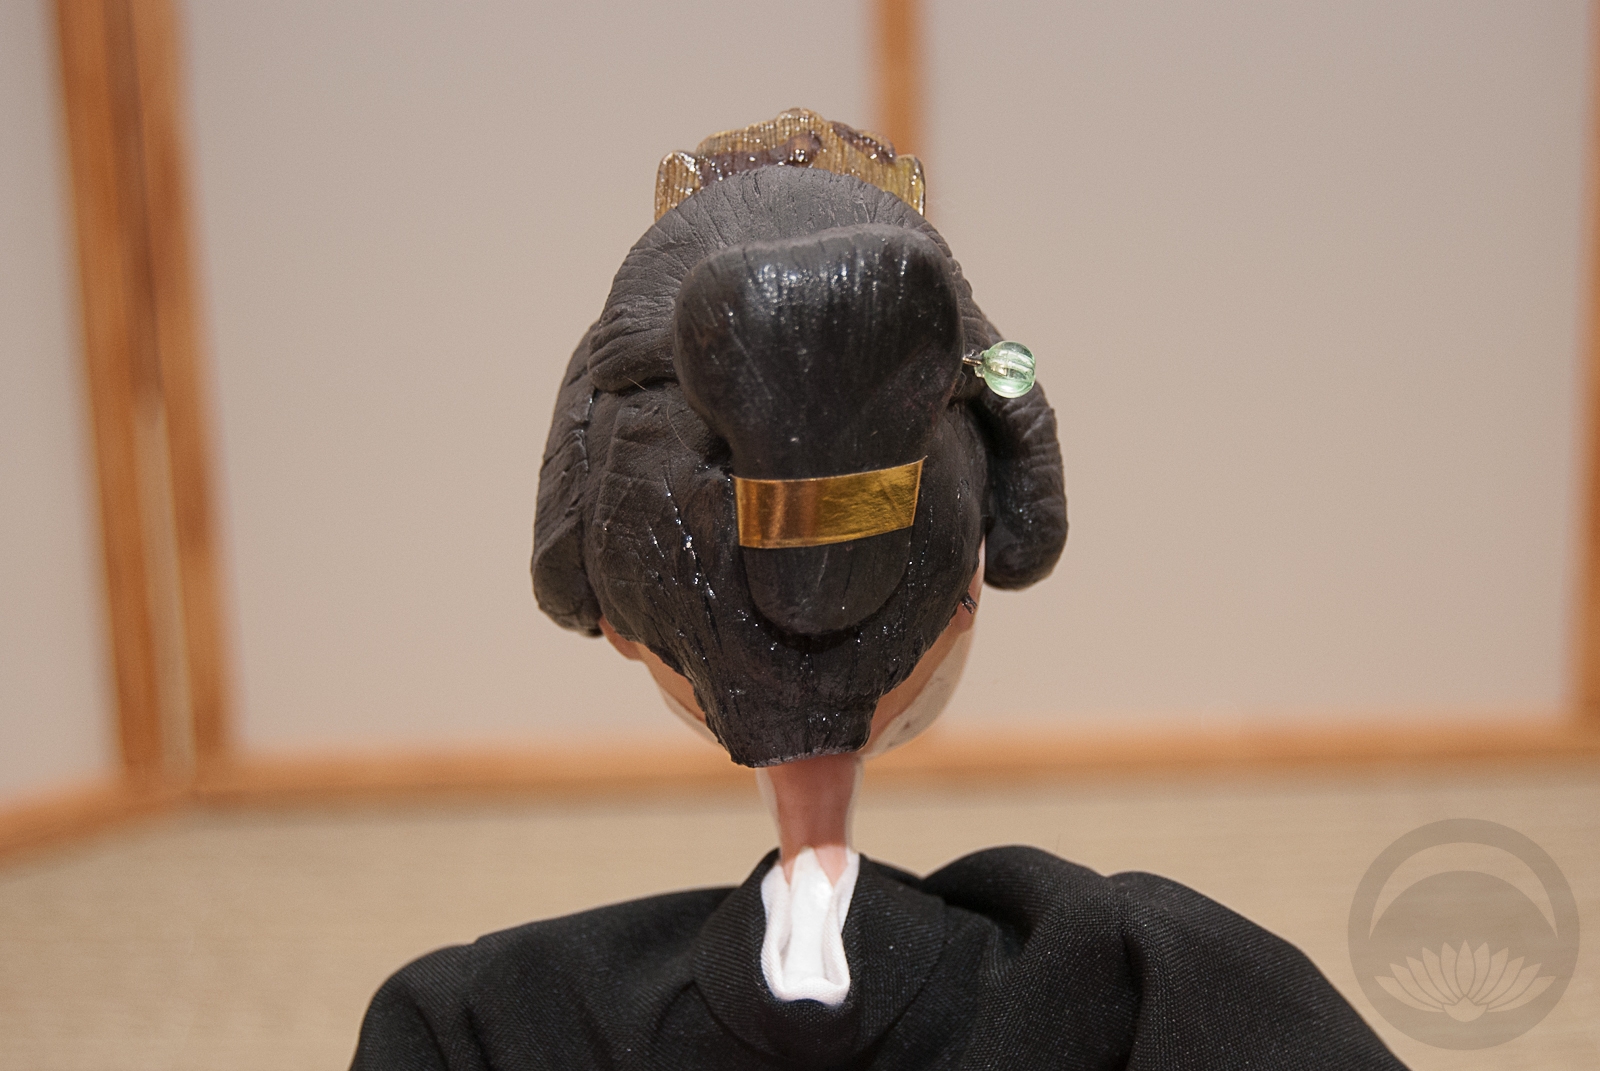
Next up was fixing her hair. Her bangs were quite uneven, but much worse was her hair in the back. I’m not sure if someone tried to trim her hair at some point or if she was made this way, but her hair was very lopsided in the back! I straightened it out and snipped away any broken or kinked hairs I could find. Then I tucked these cute little plum blossoms Kansai_gal sent me. They’re actually from packaging or something but I like that I’ve given them a second life. Since her head is vinyl I was able to just push a straight pin through them and they’re very solidly anchored in there.
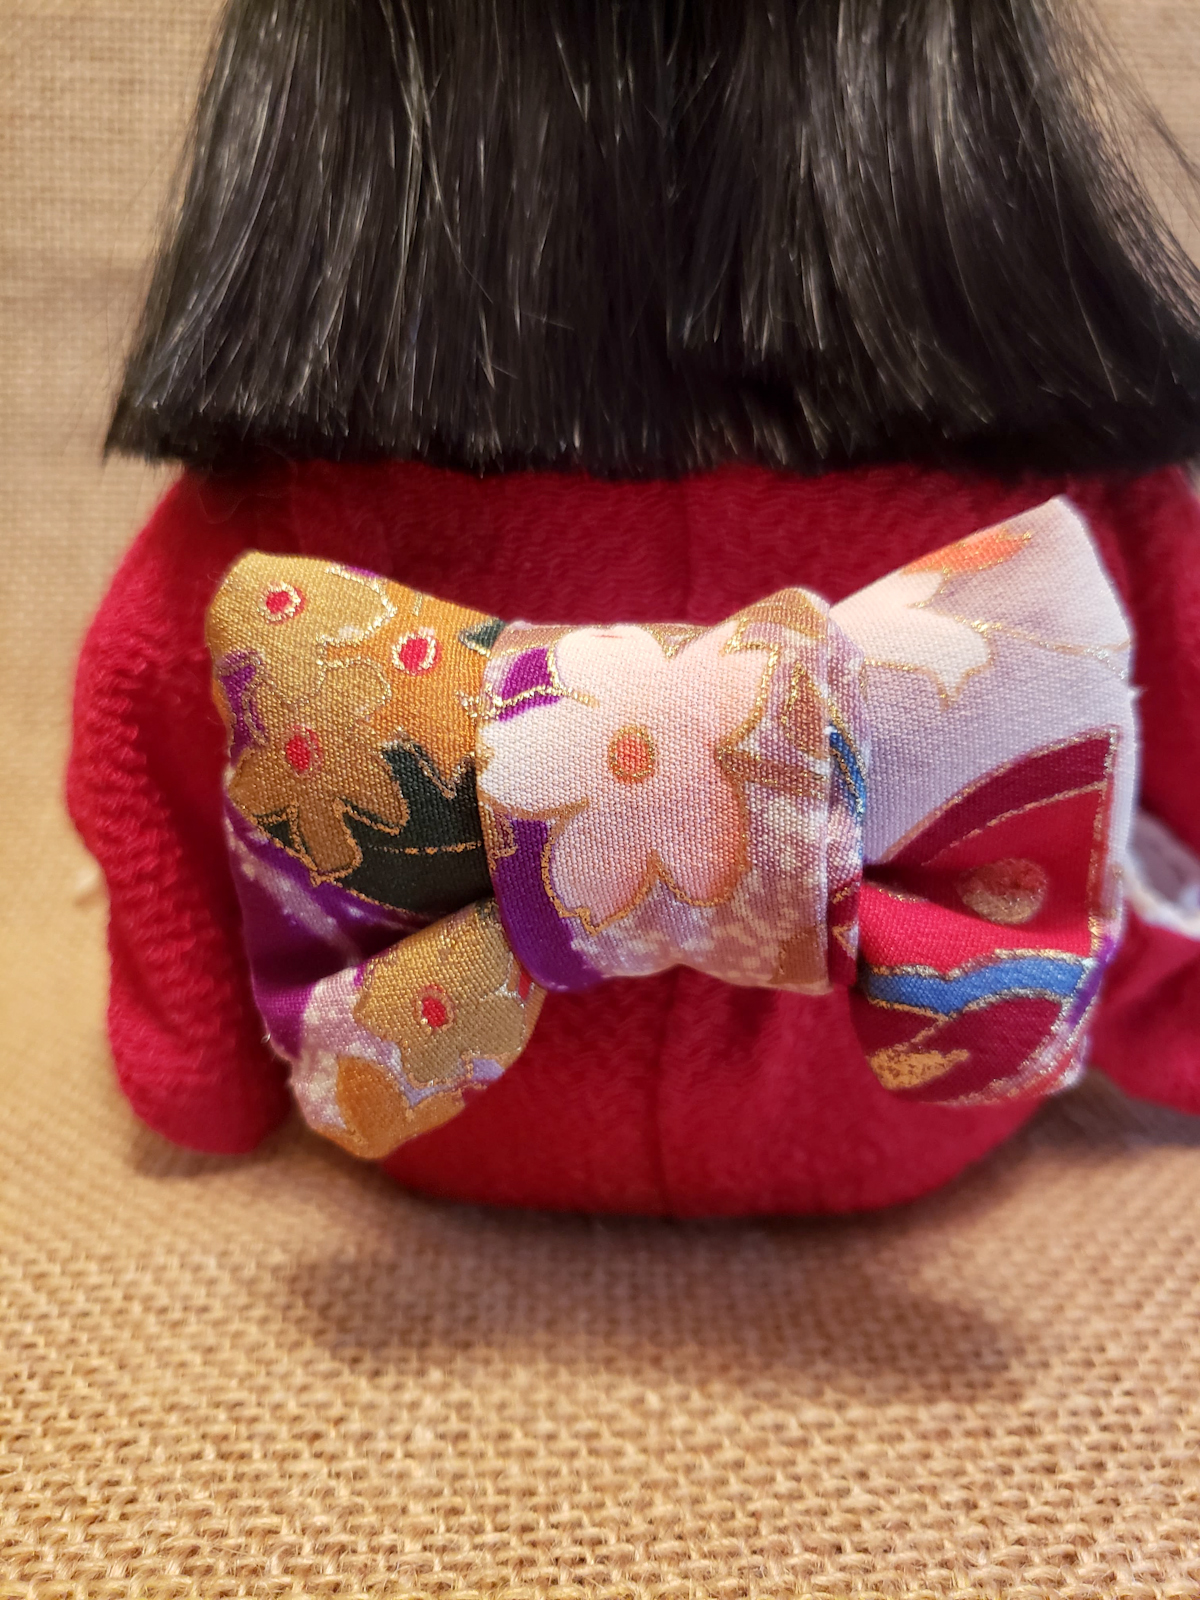
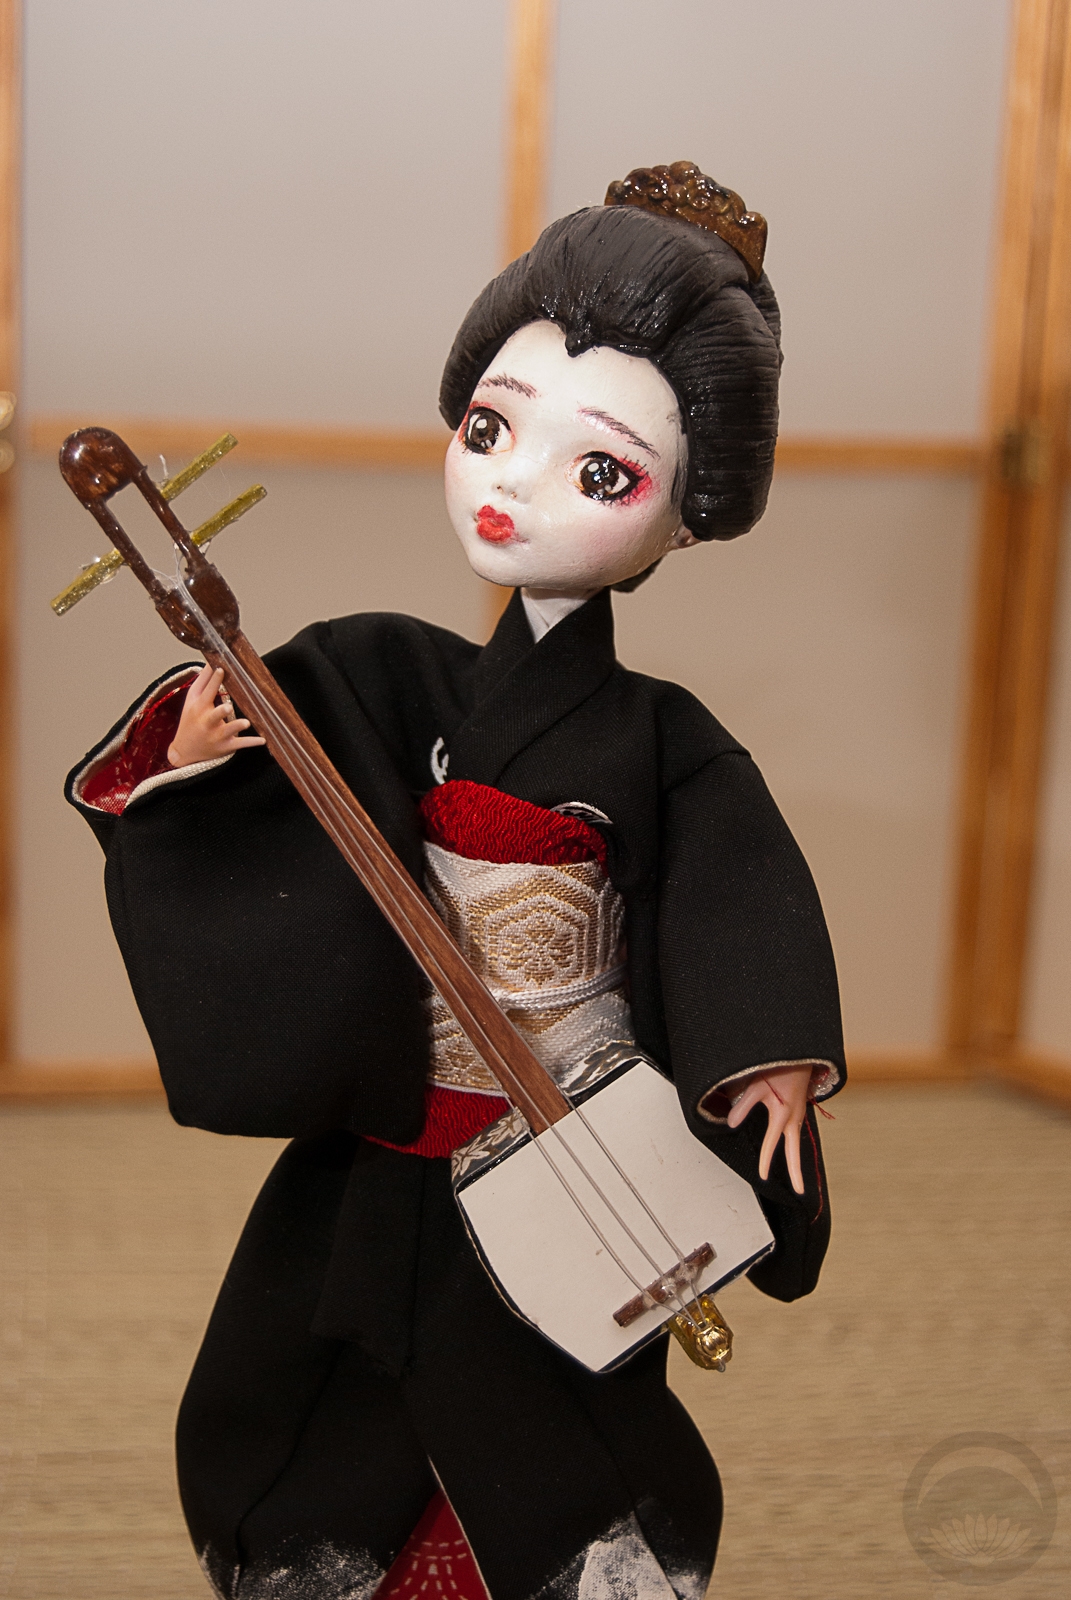
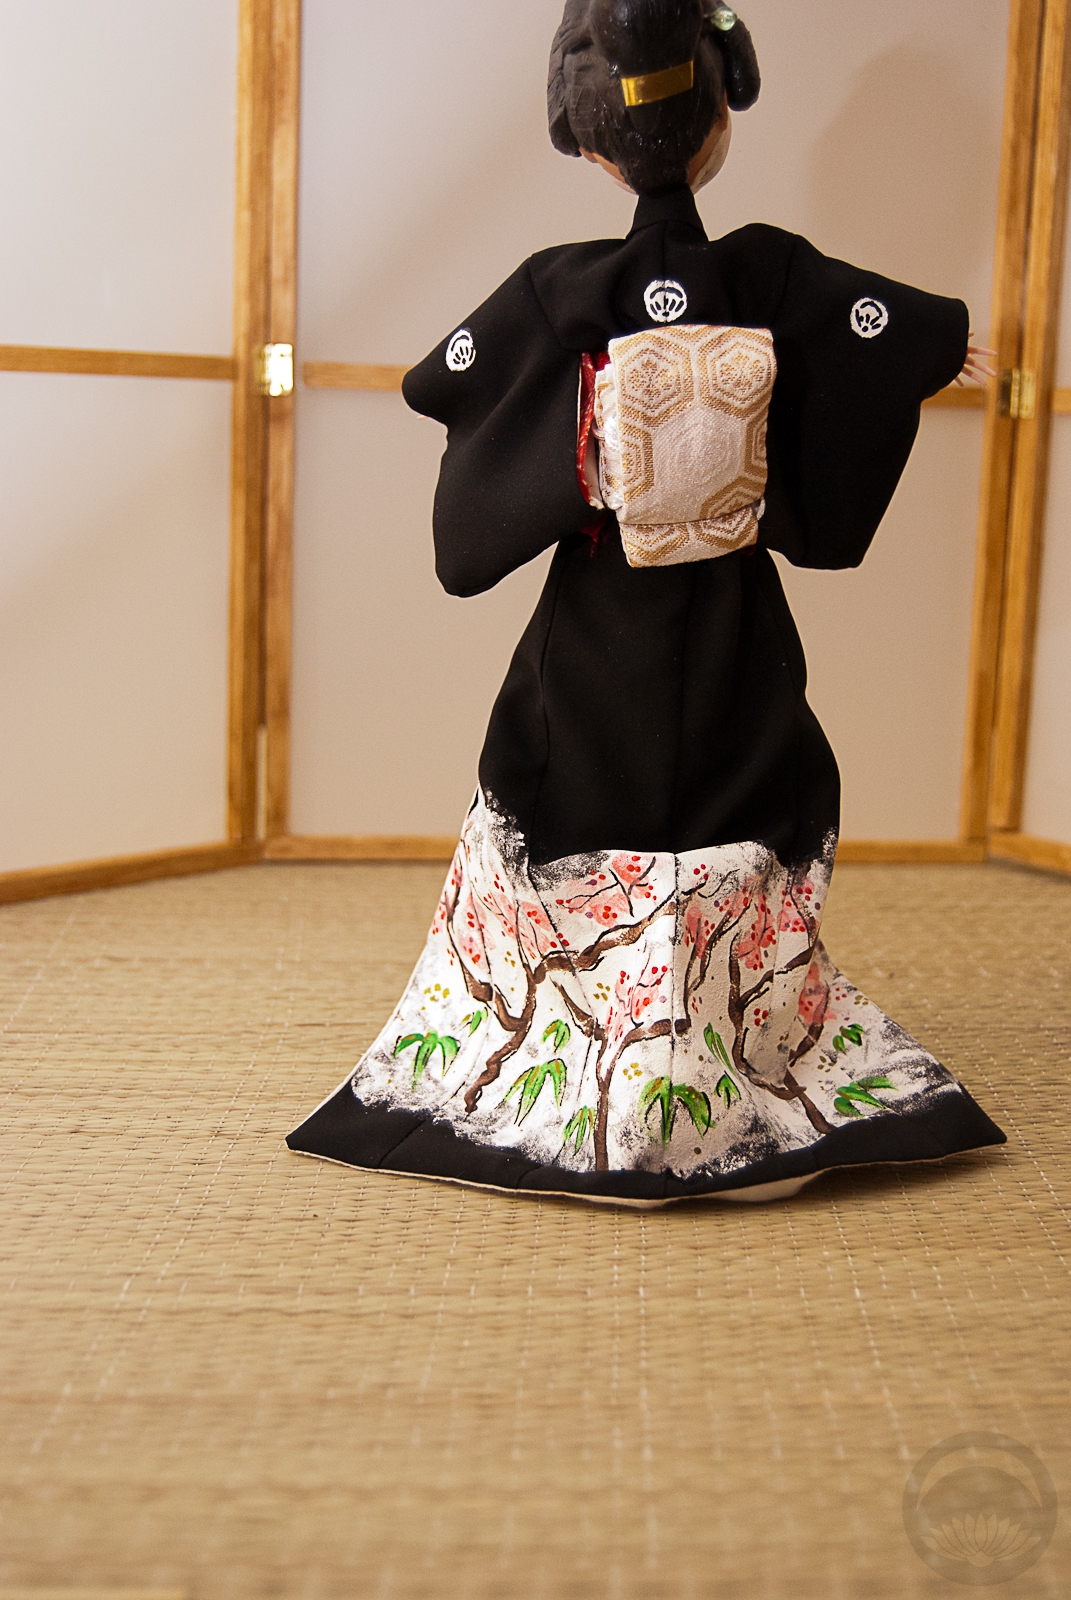
With the cosmetic aspects taken care of, I got to work giving her a proper obi. I used some scrap kimono fabric and sewed a cute little tsuke-obi, and used some of the same textured white fabric from the eri to make an obiage. The whole thing attaches with a magnet and then a length of gold cord works as an obijime. Her socks are a bit of a cheat – they’re simply two fingers off a pair of white cotton polishing gloves! They fit her more perfectly than anything I could have sewn.
I’ve never named a doll I’ve fixed up before, but none of them have captivated me nearly as much as this little girl has. All the others reside in a display cabinet but she lives on my bedside table. Maybe I should sew a little zabuton for her to sit on. XD


 Bebe Taian
 CHOKO Blog
 Gion Kobu