
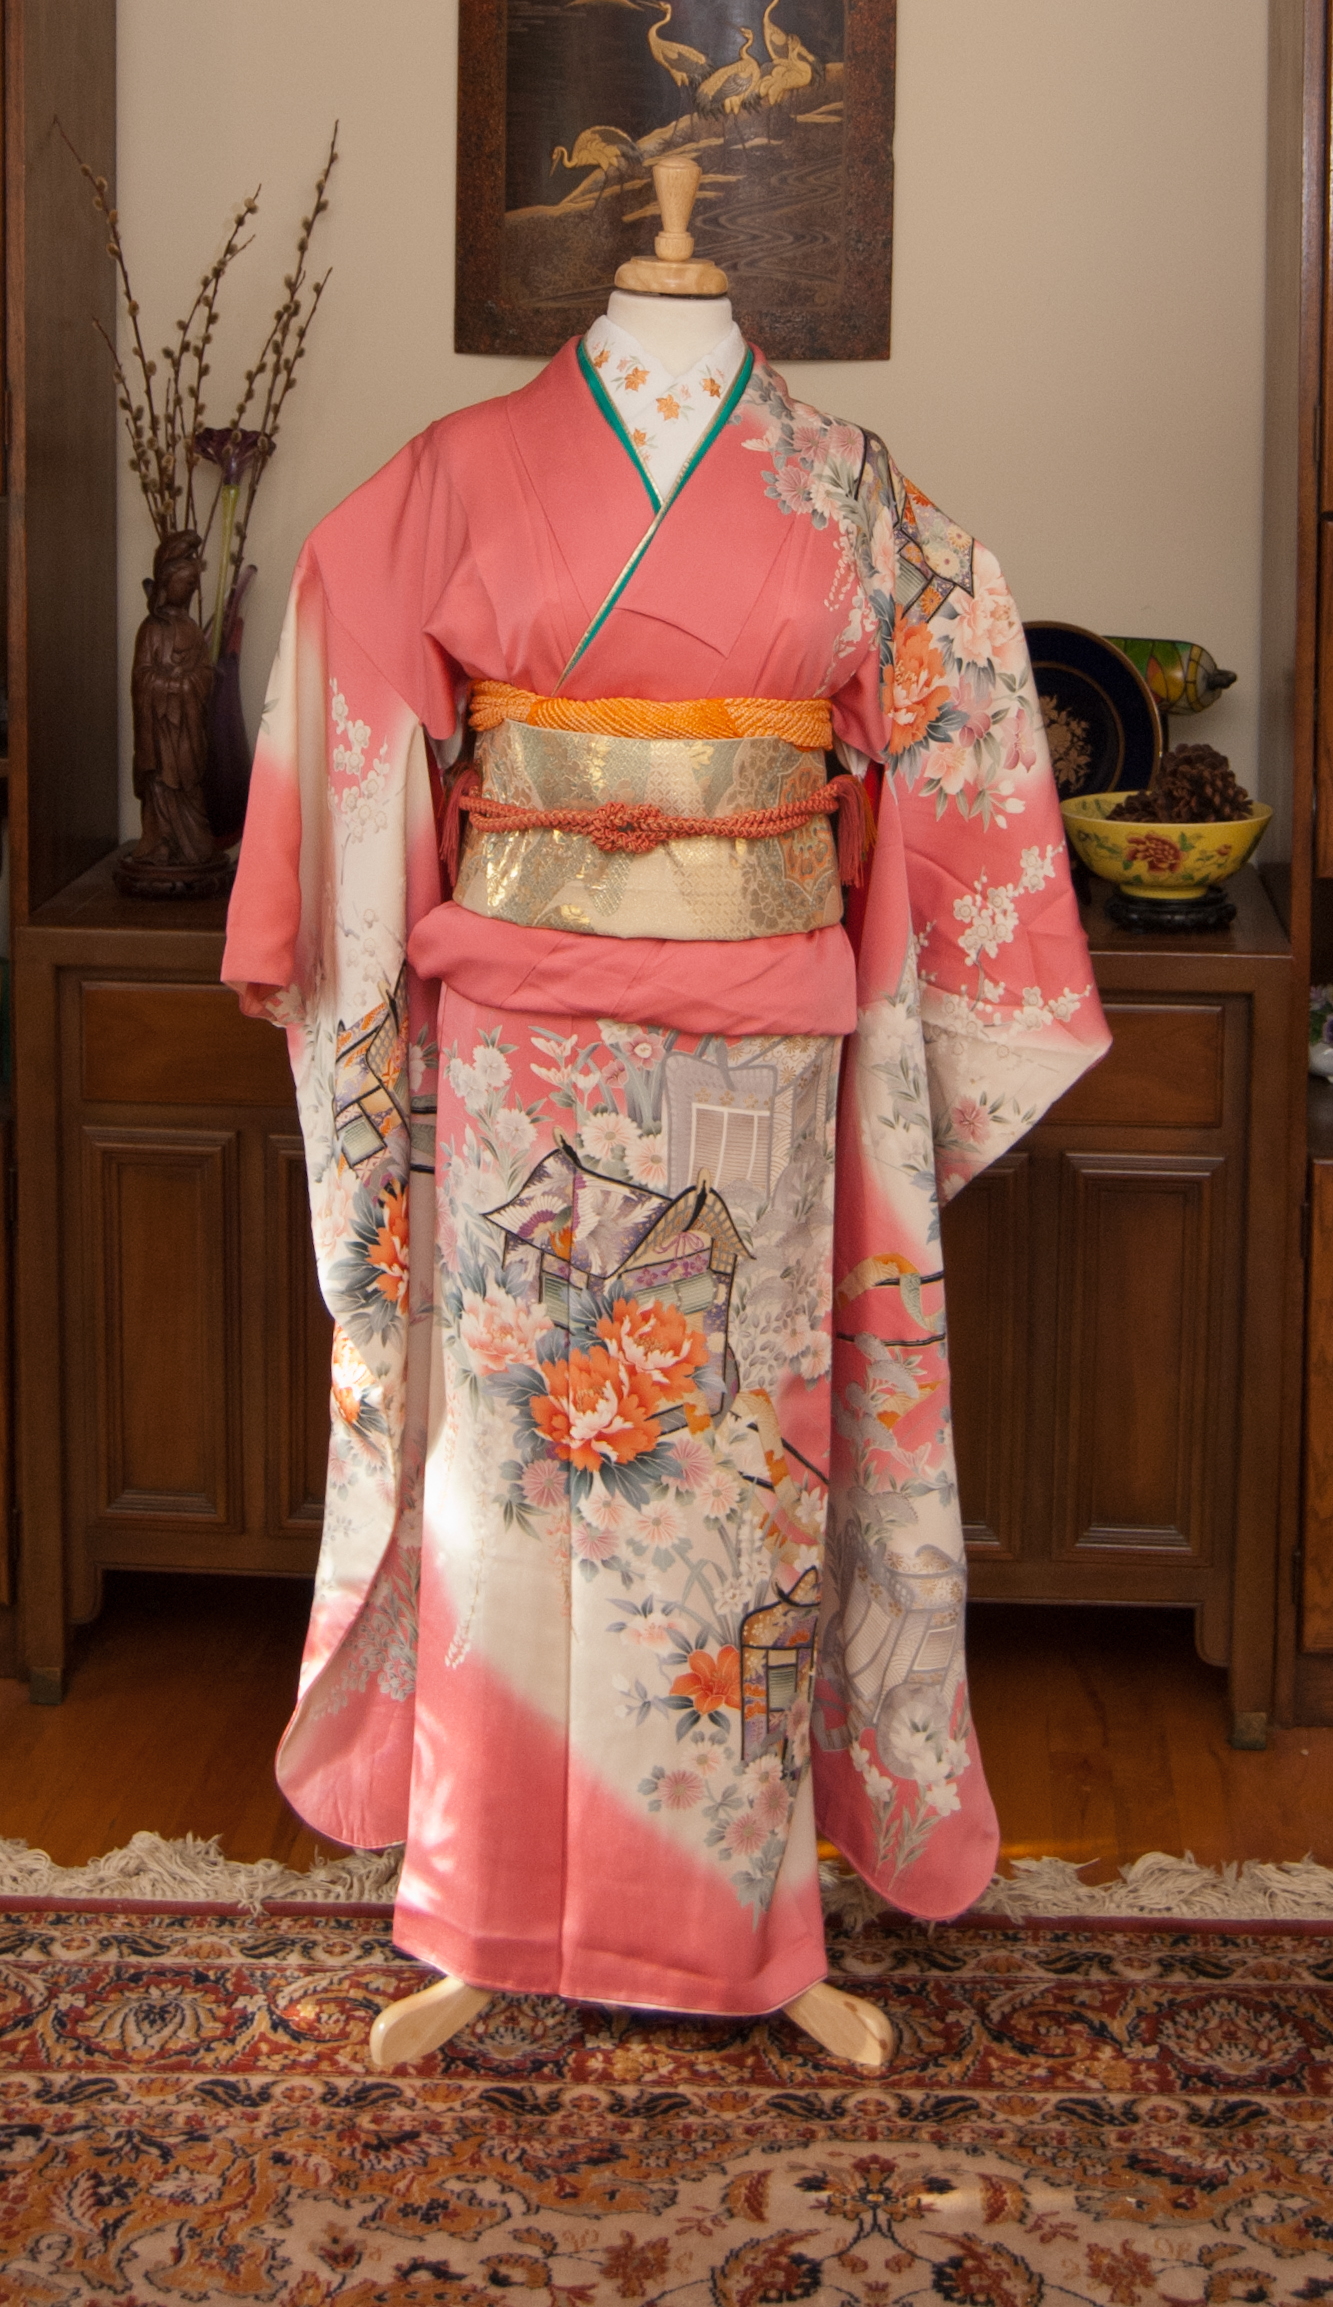
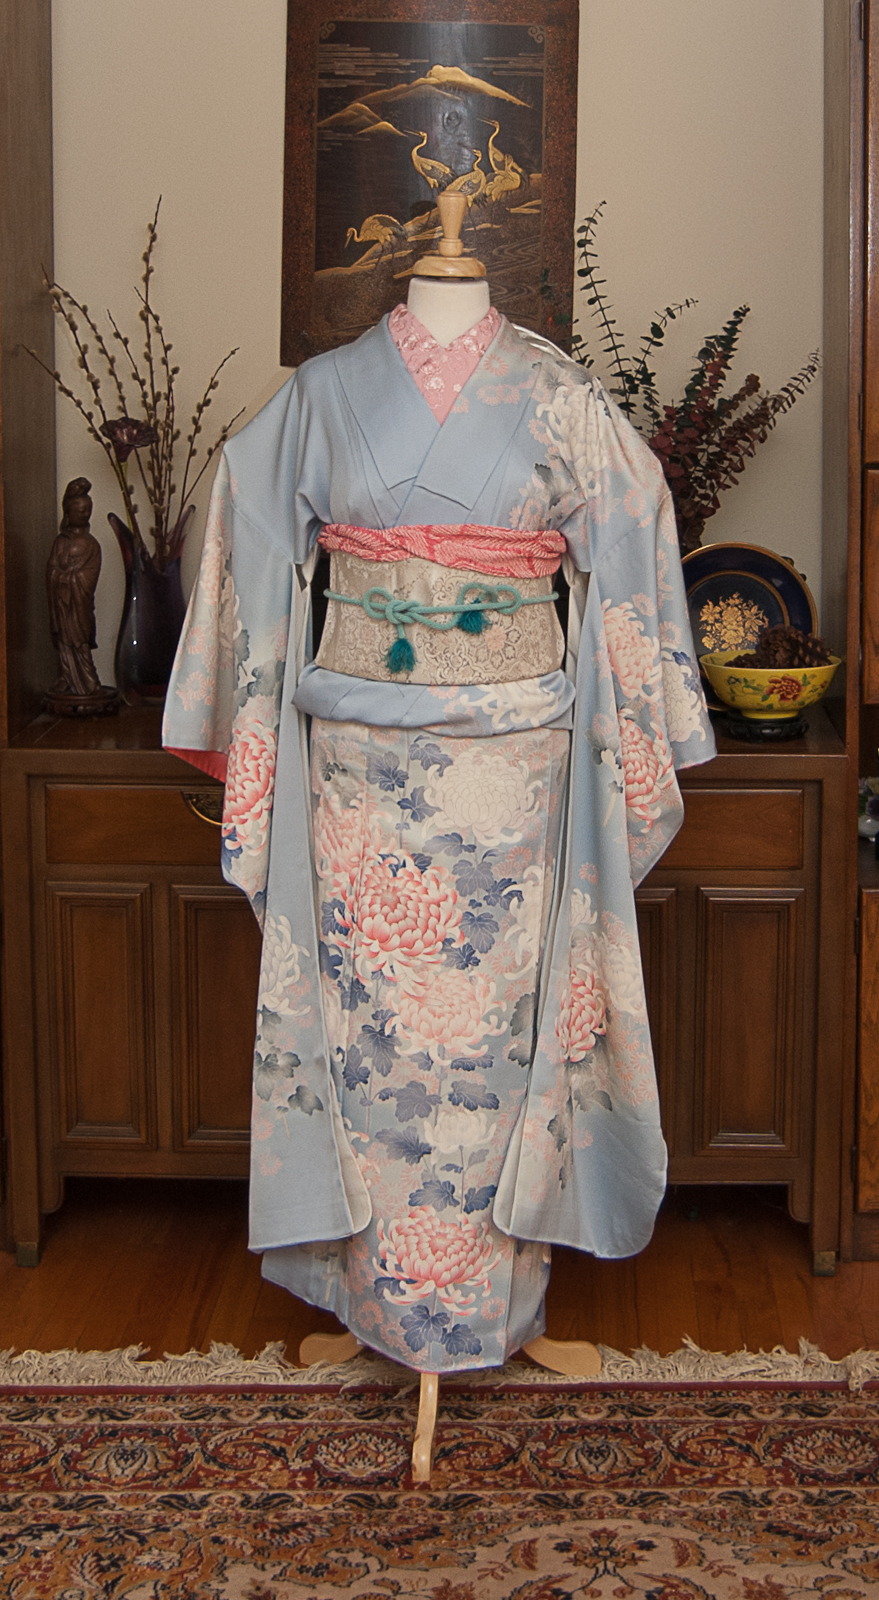
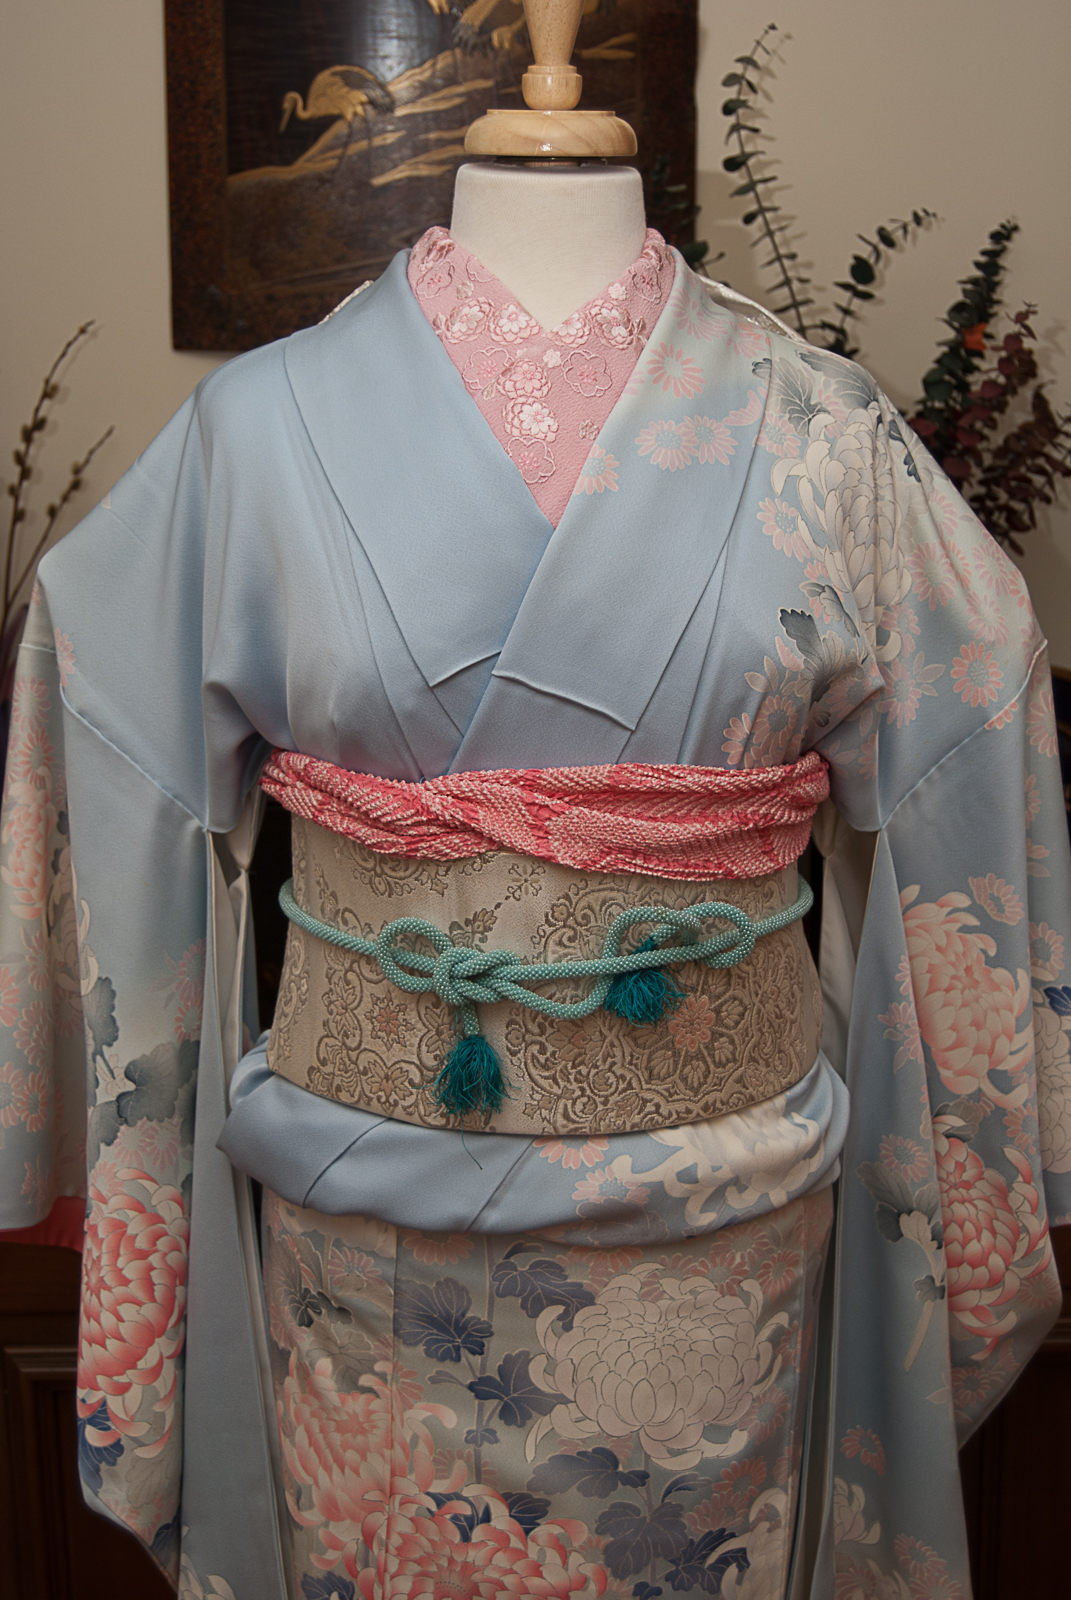
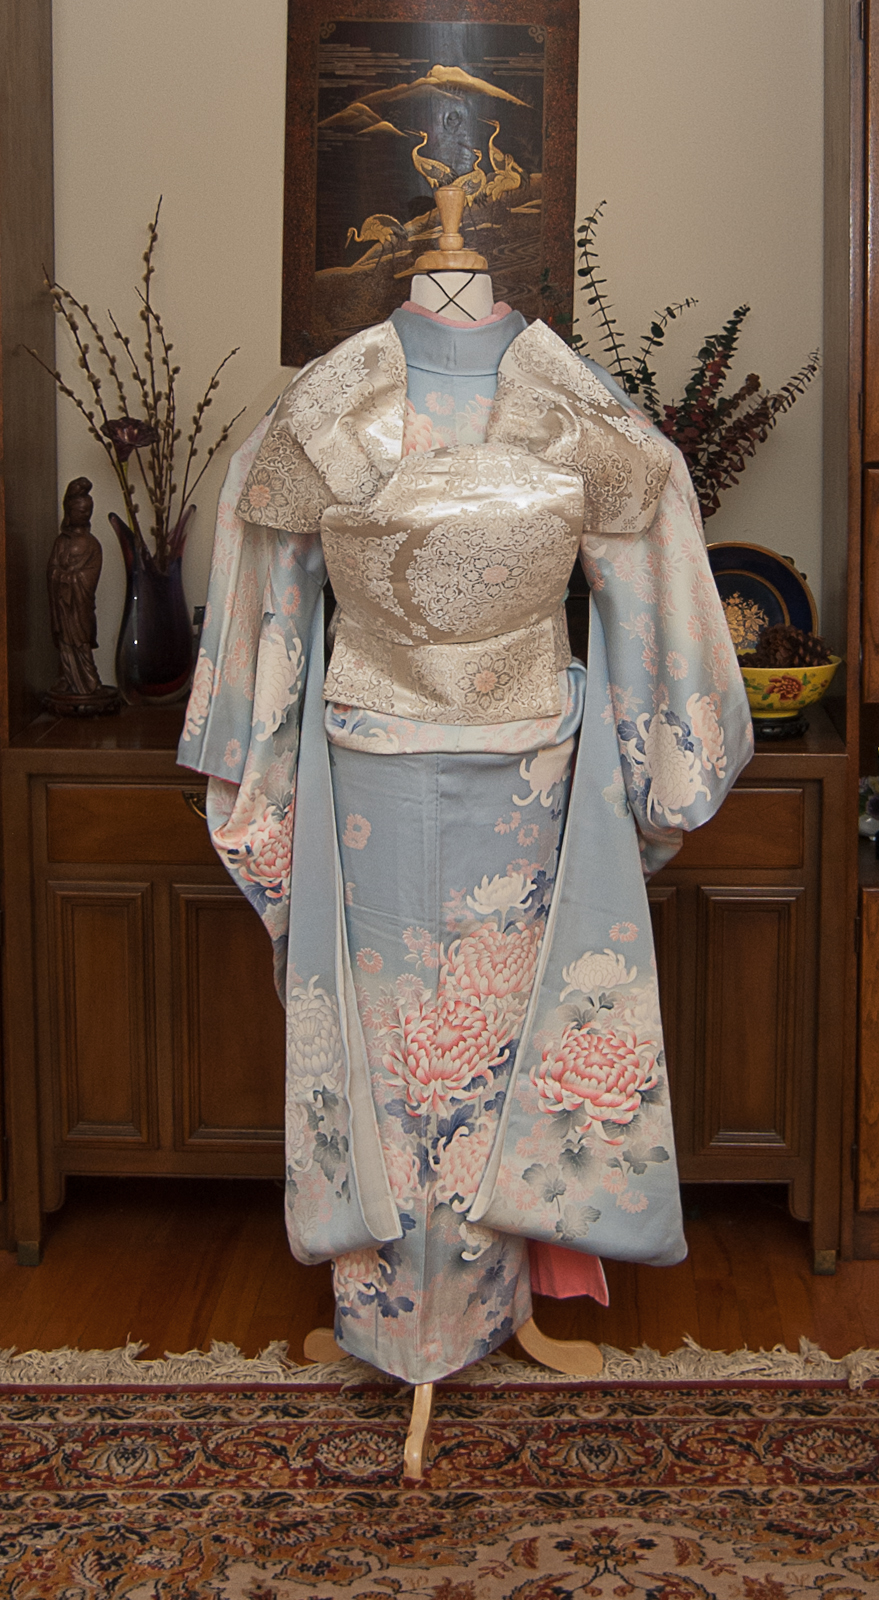
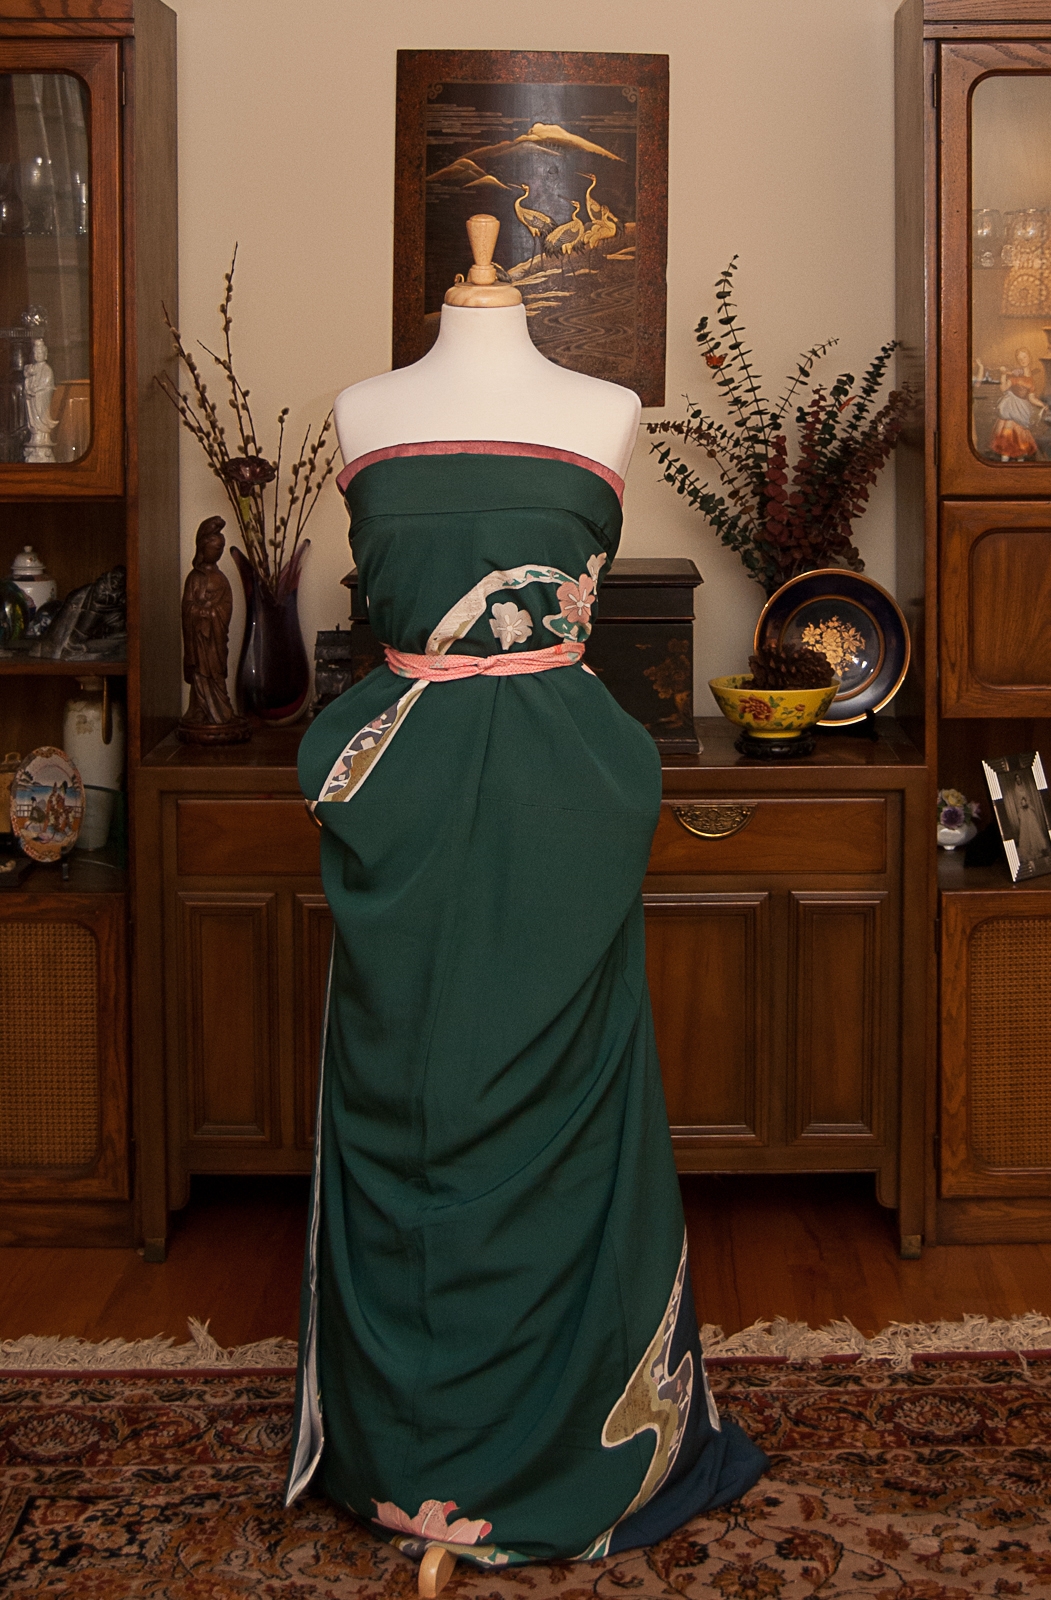
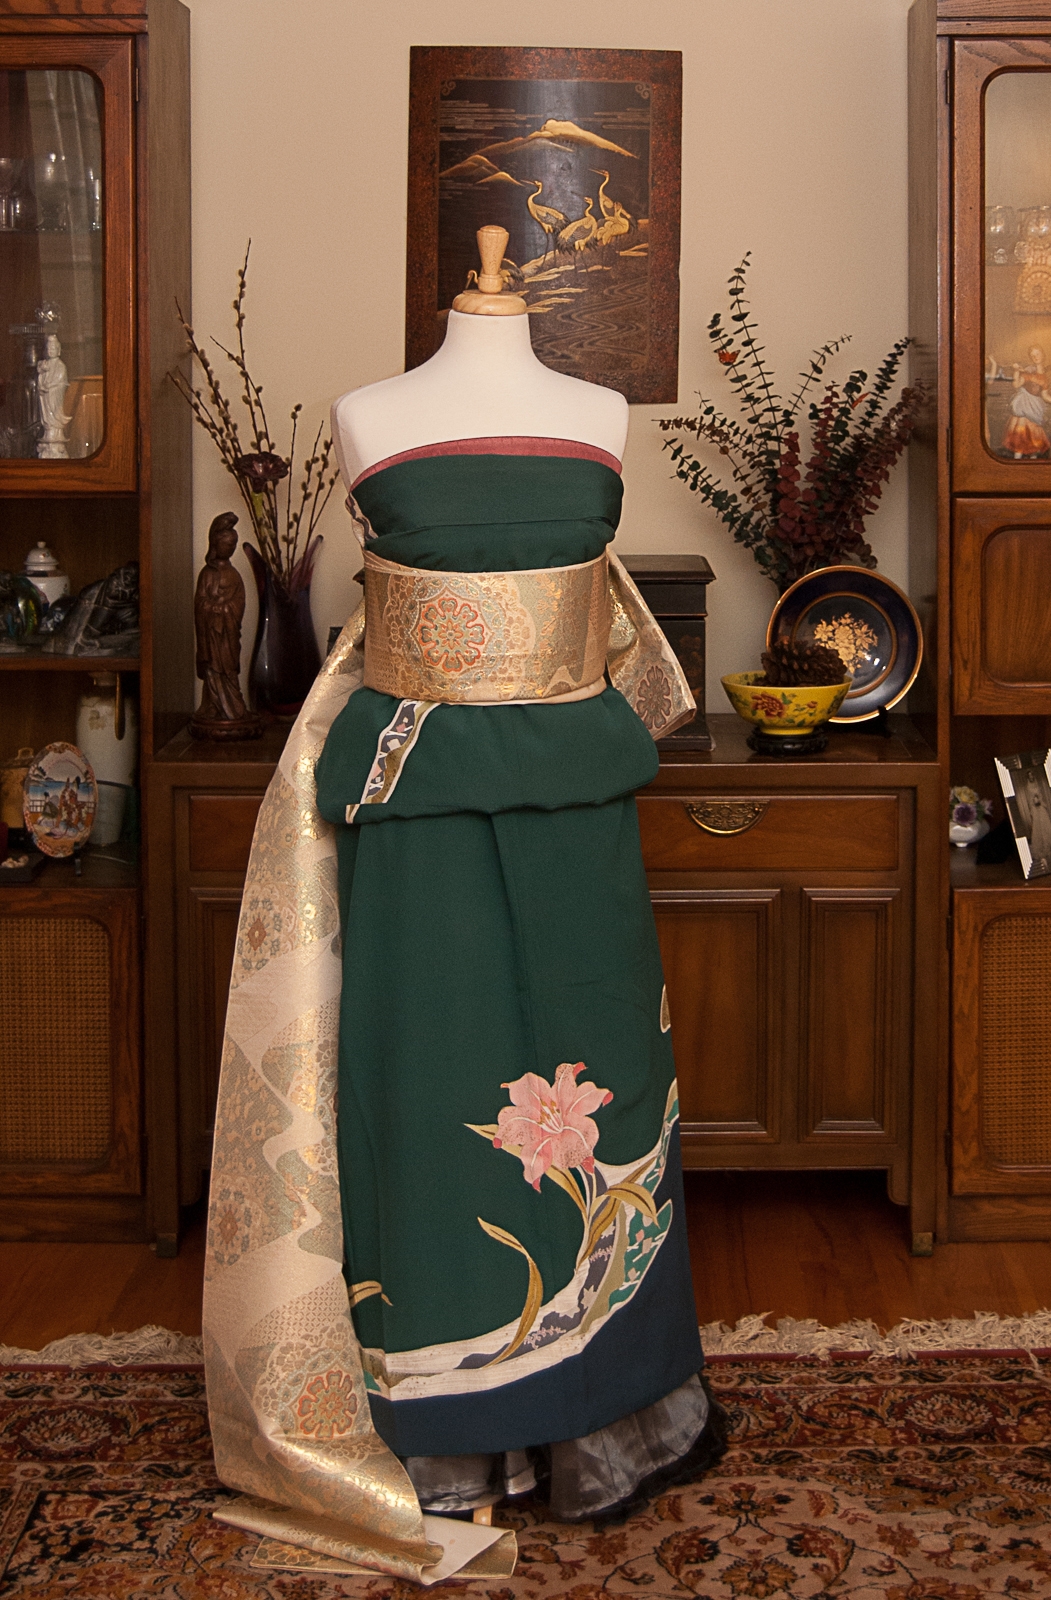
Today is 成人の日 (Seijin no Hi, coming of age day), so of course it’s time for a 成人式 (Seijin Shiki, coming of age ceremony) outfit! It seems like the further away I get from my 20th birthday the more fun I have with these. Go figure!
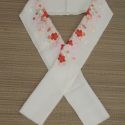
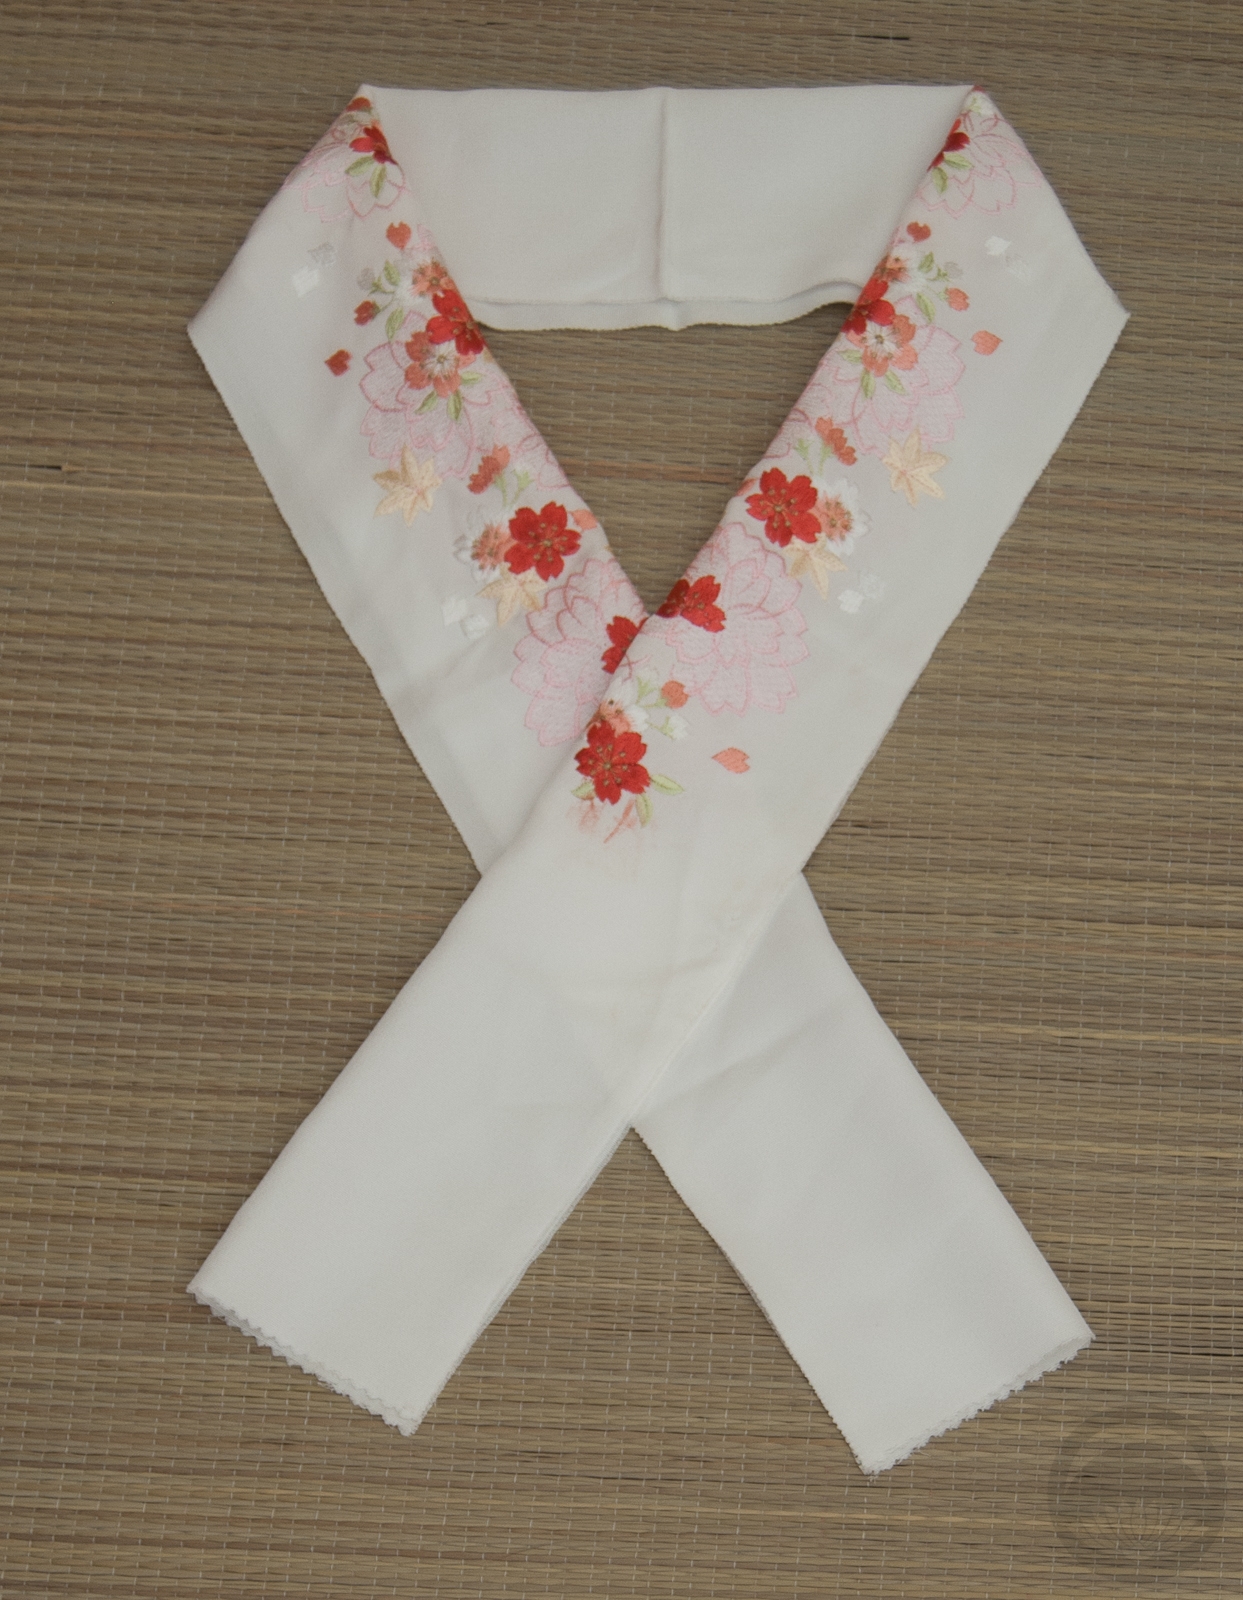
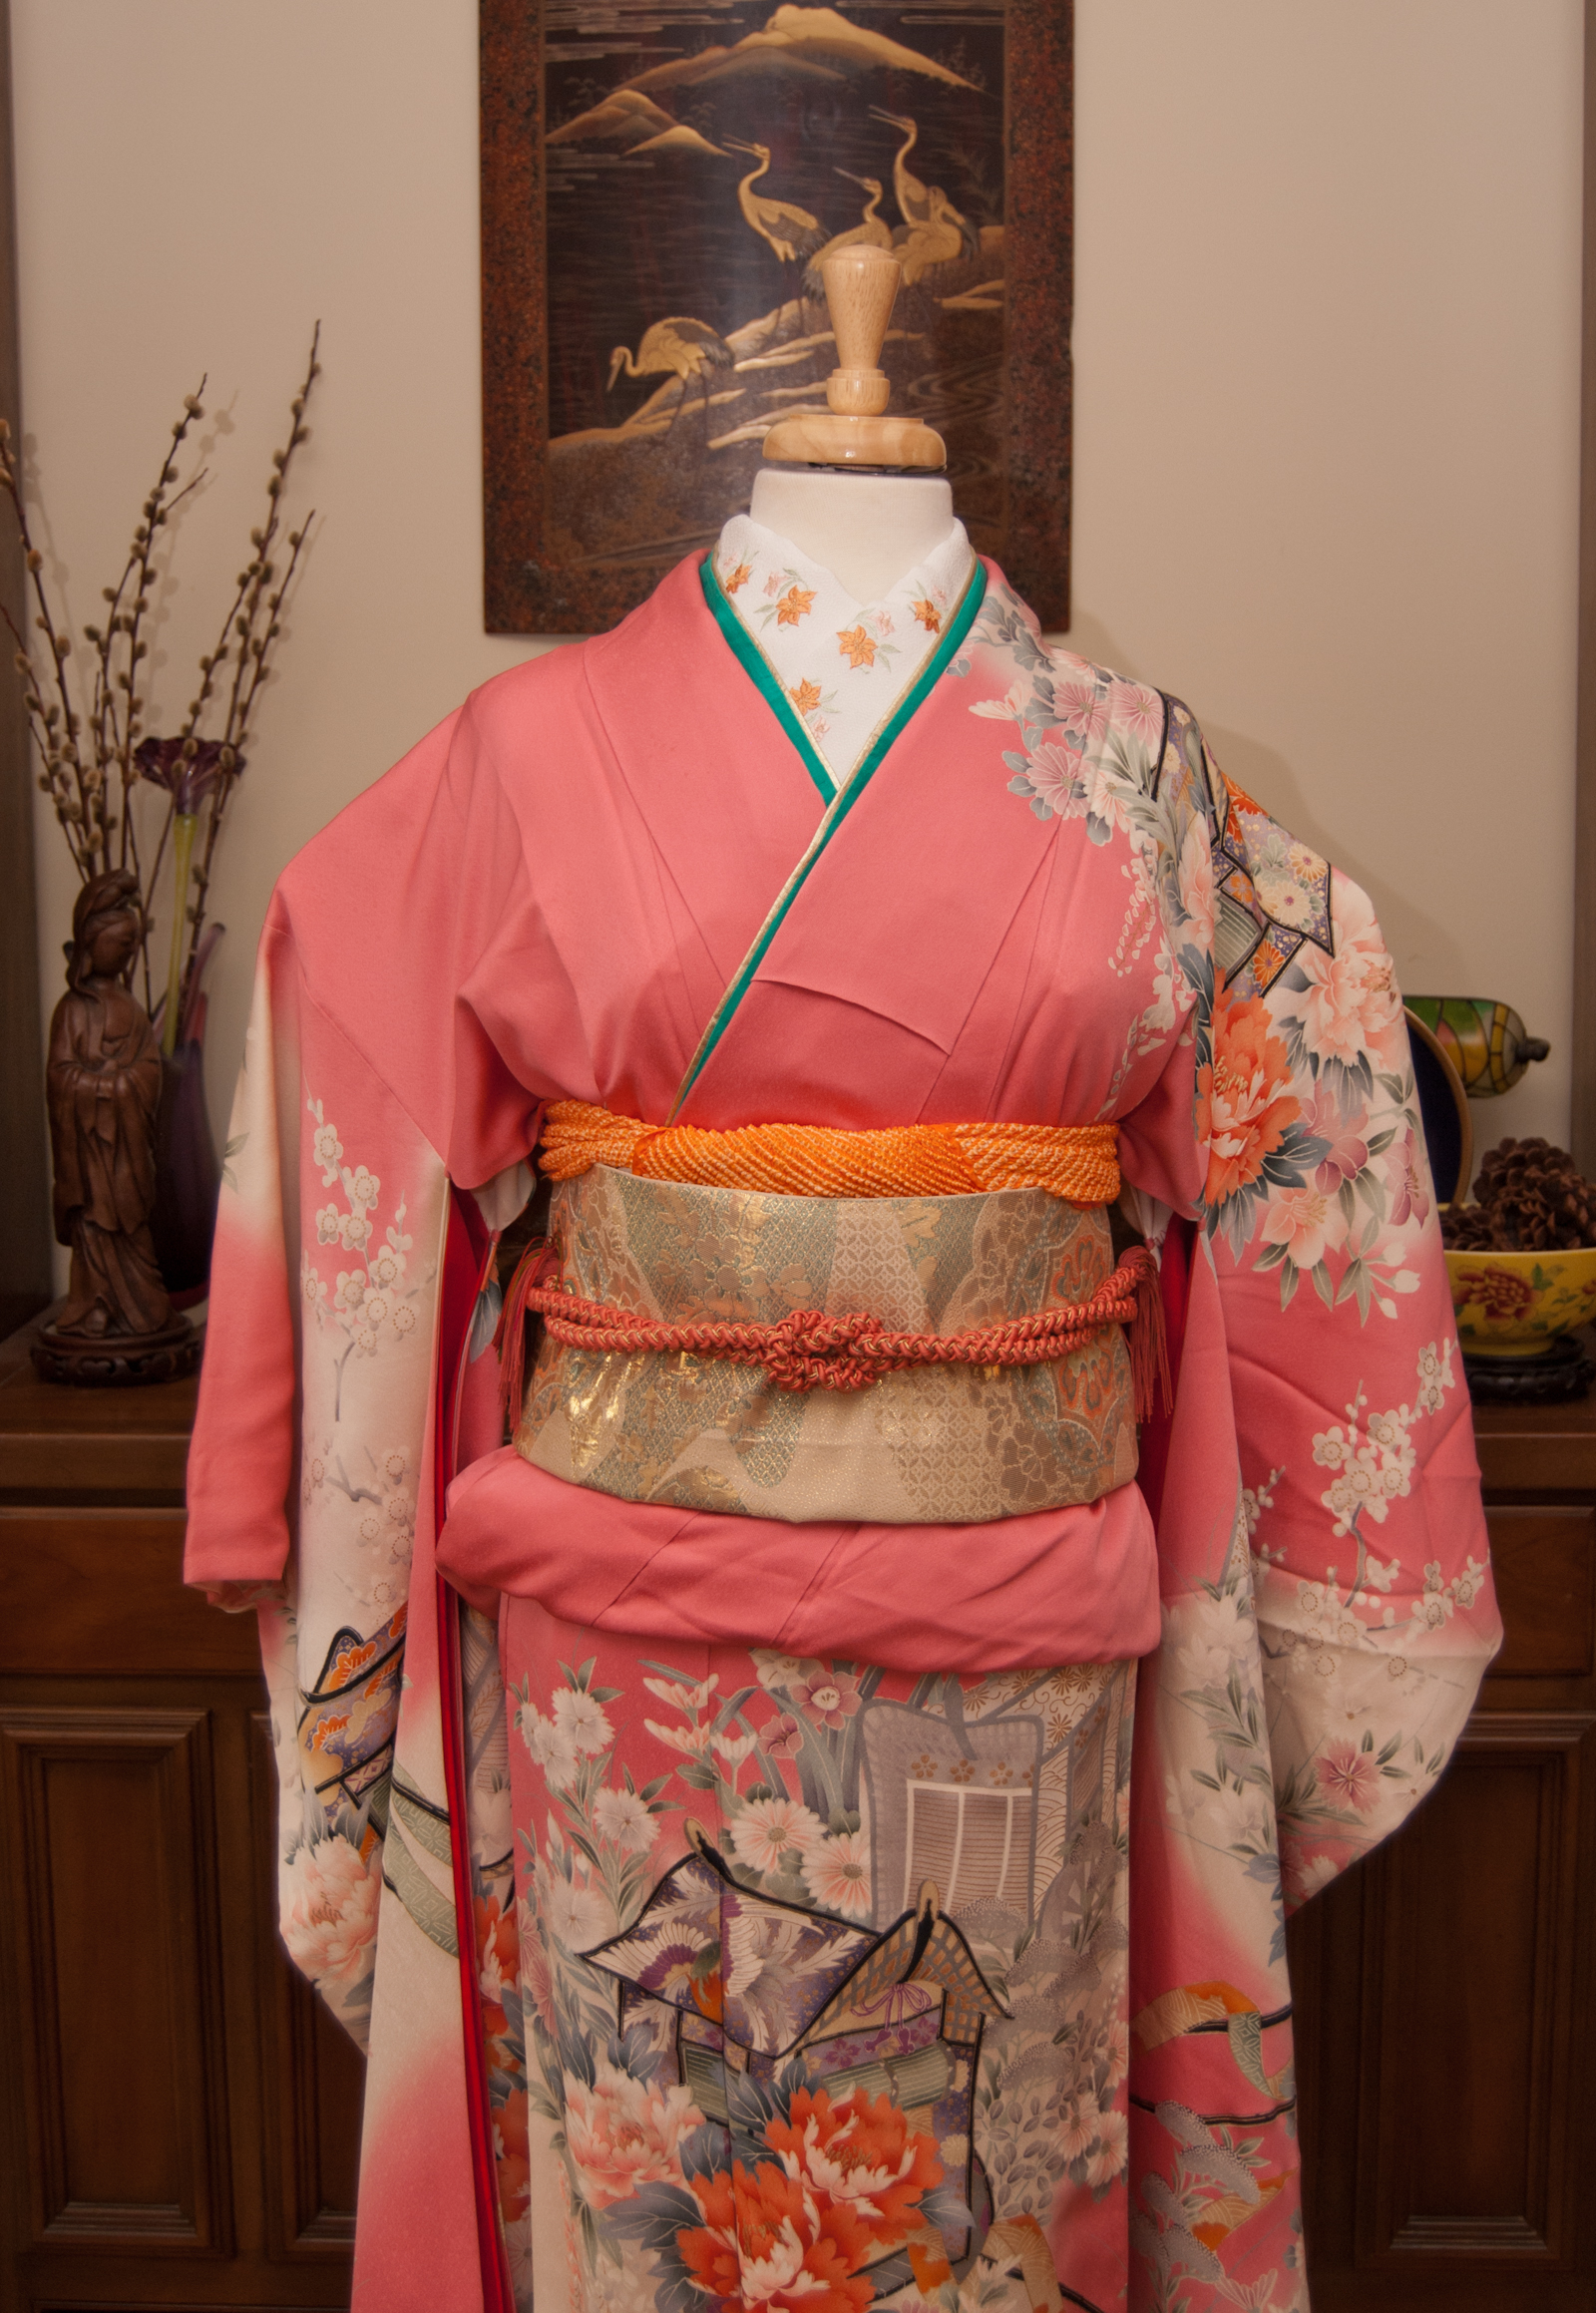
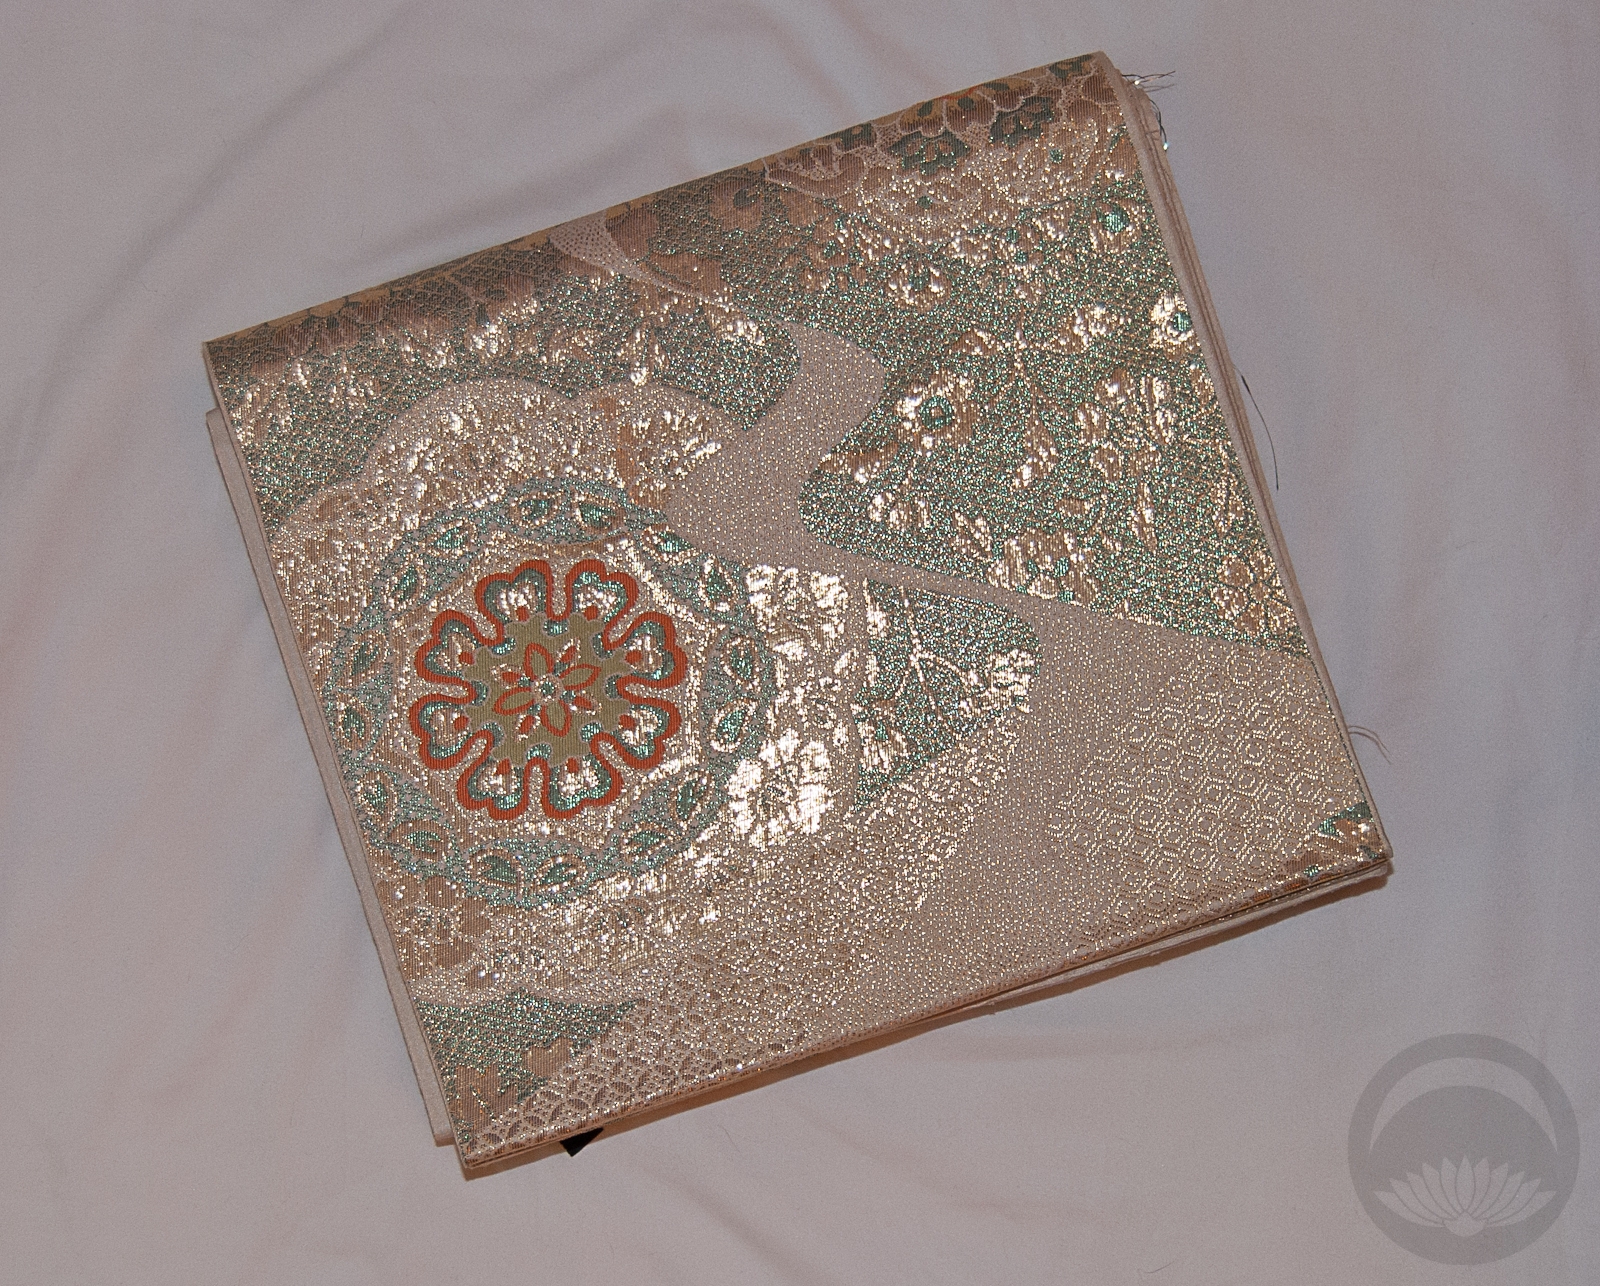
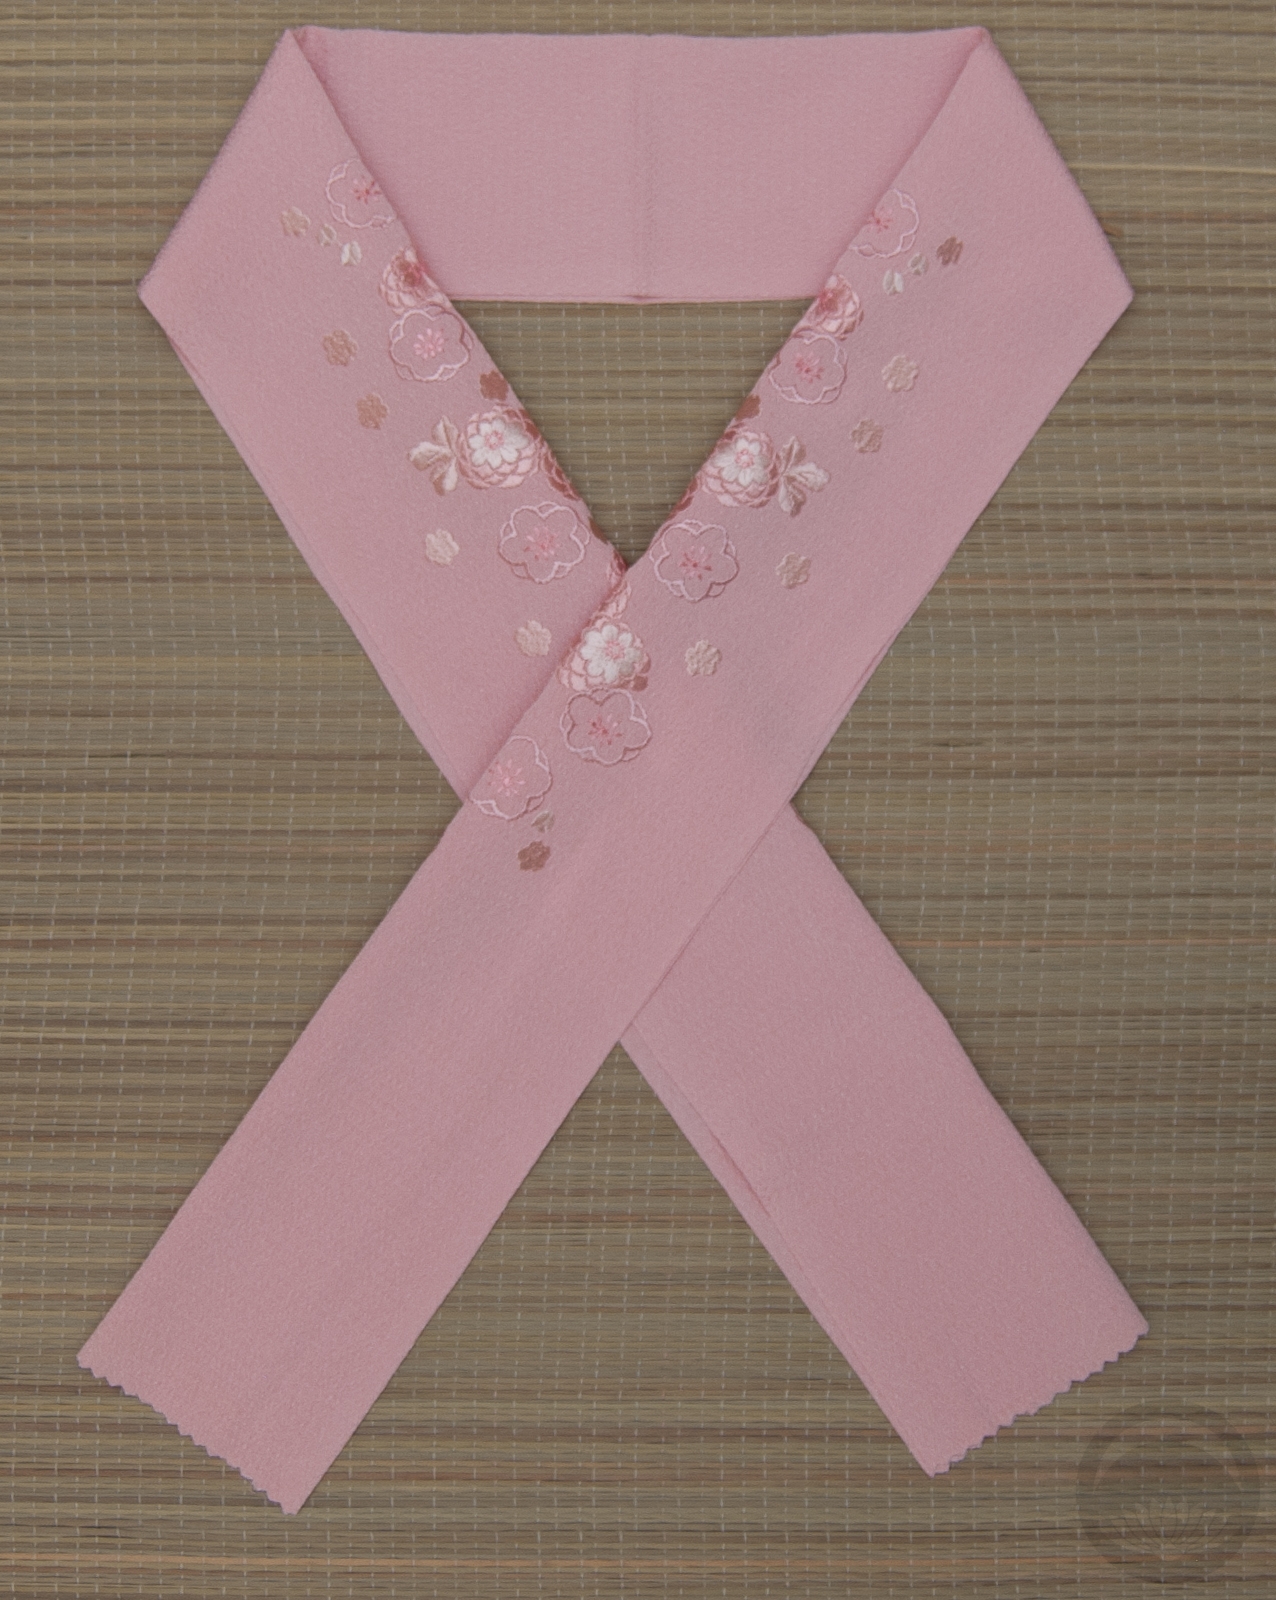
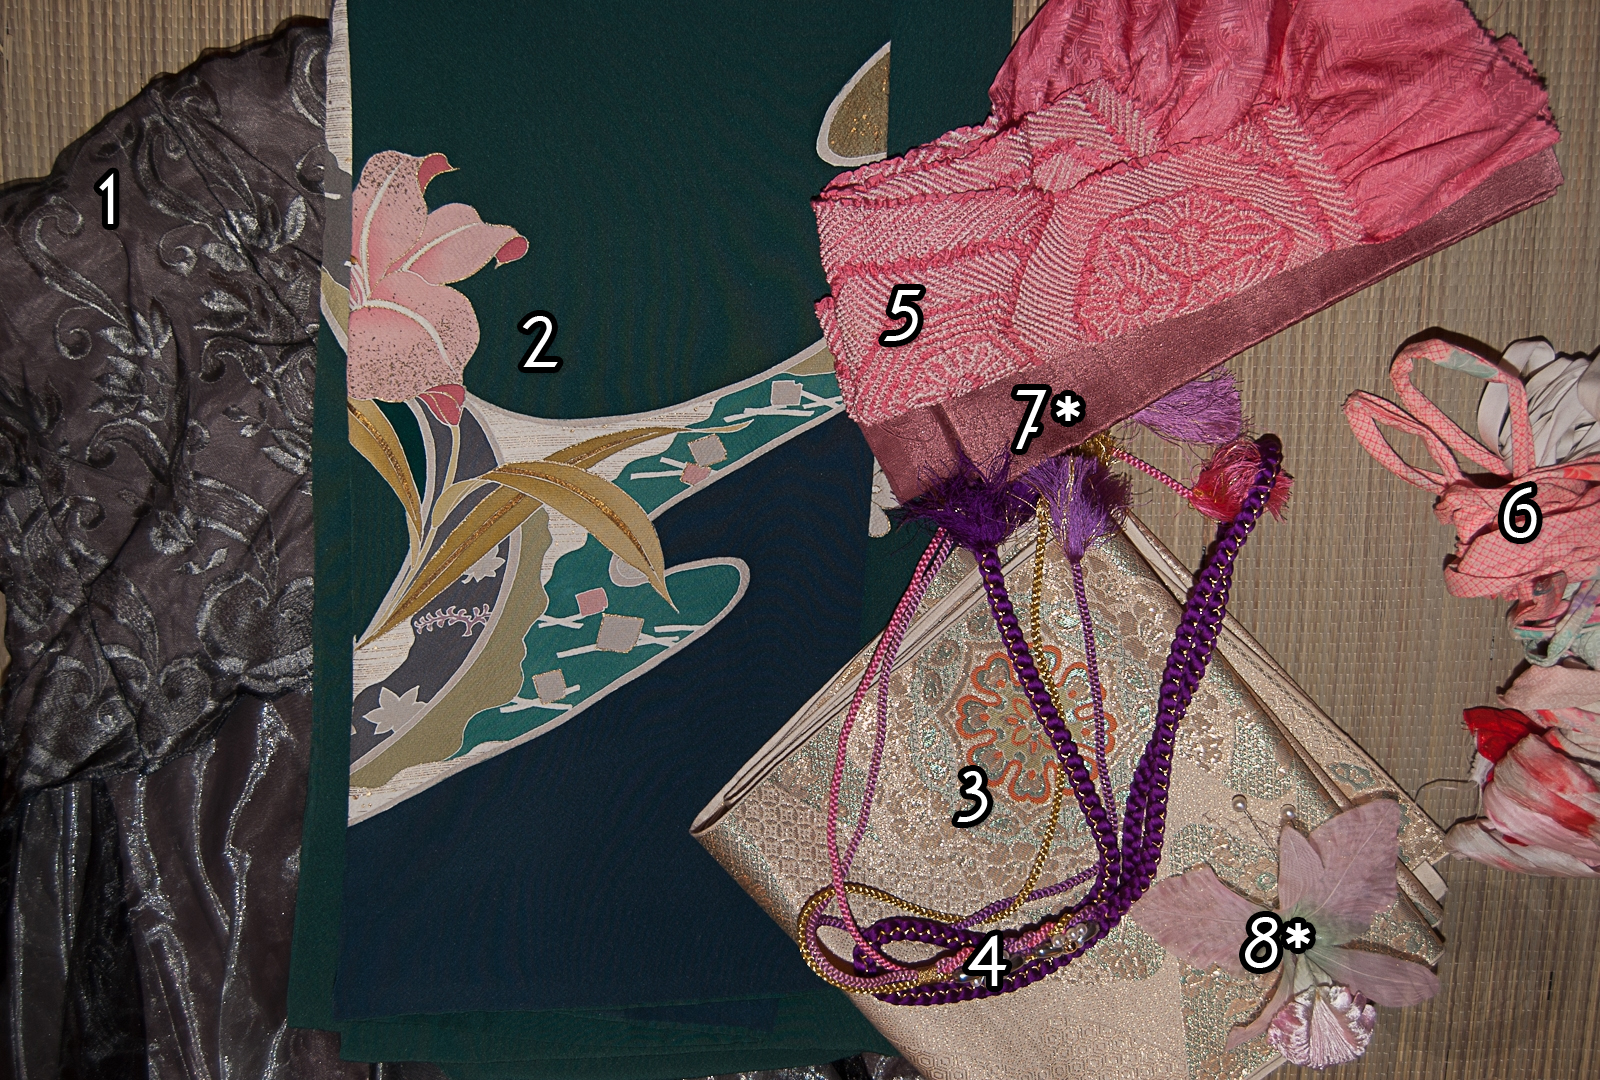
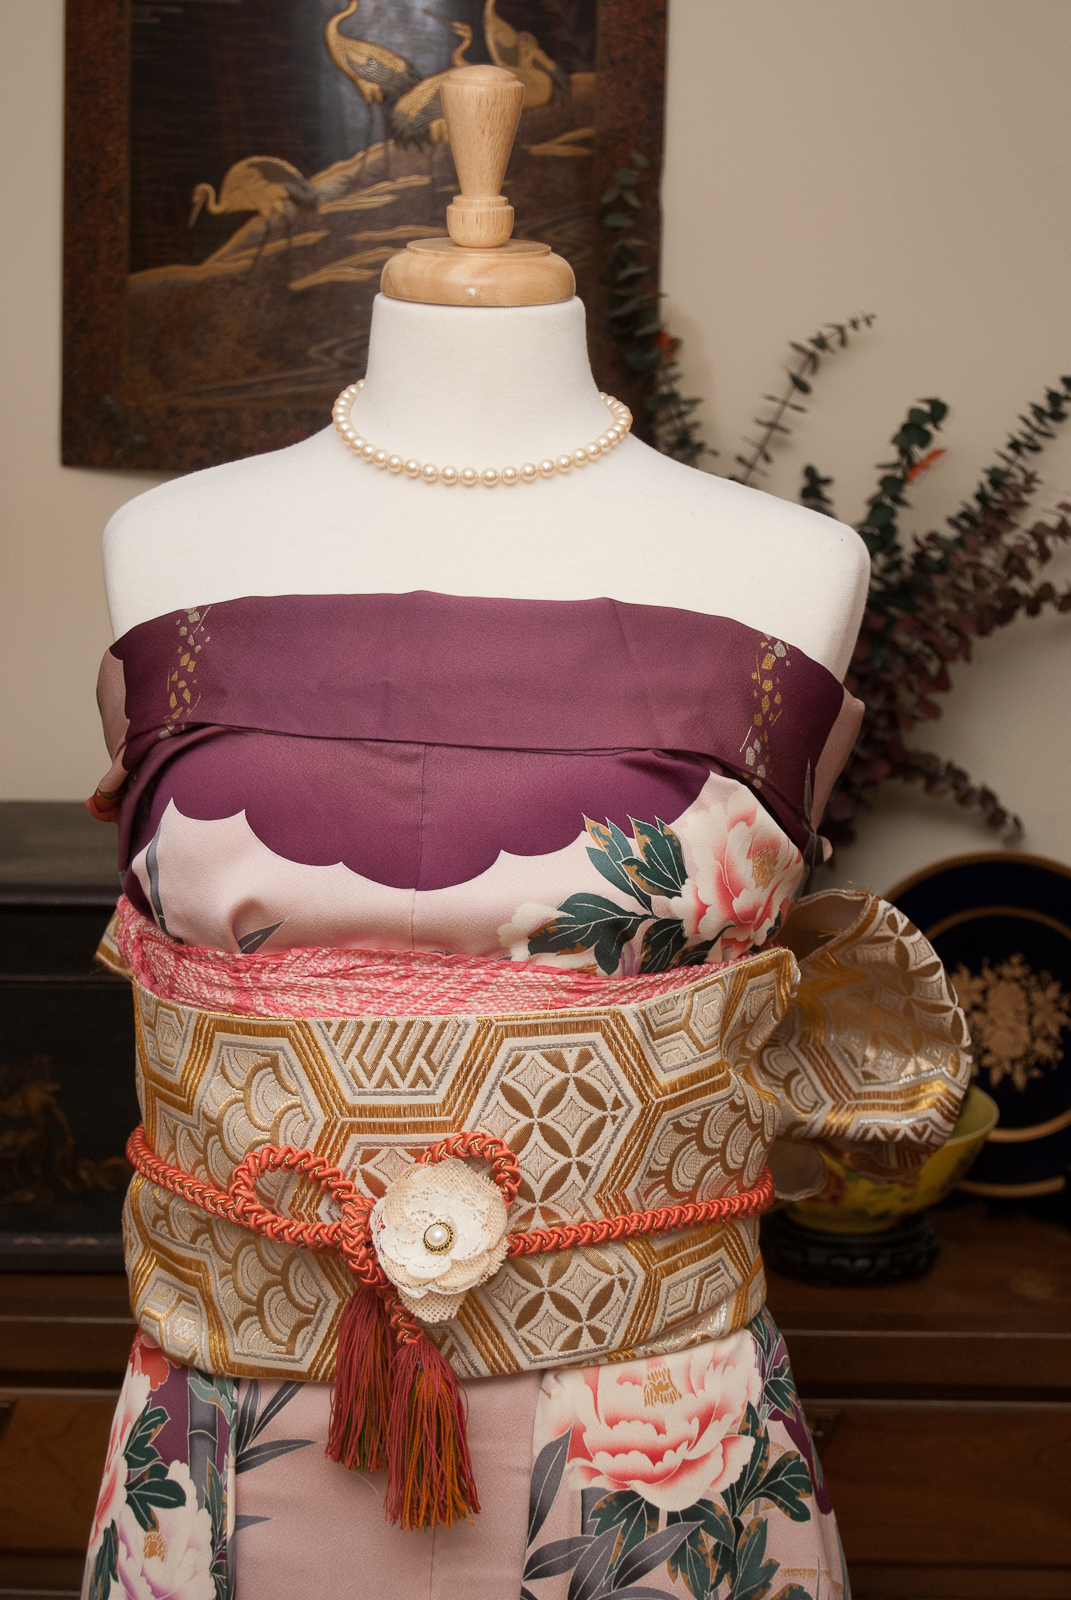
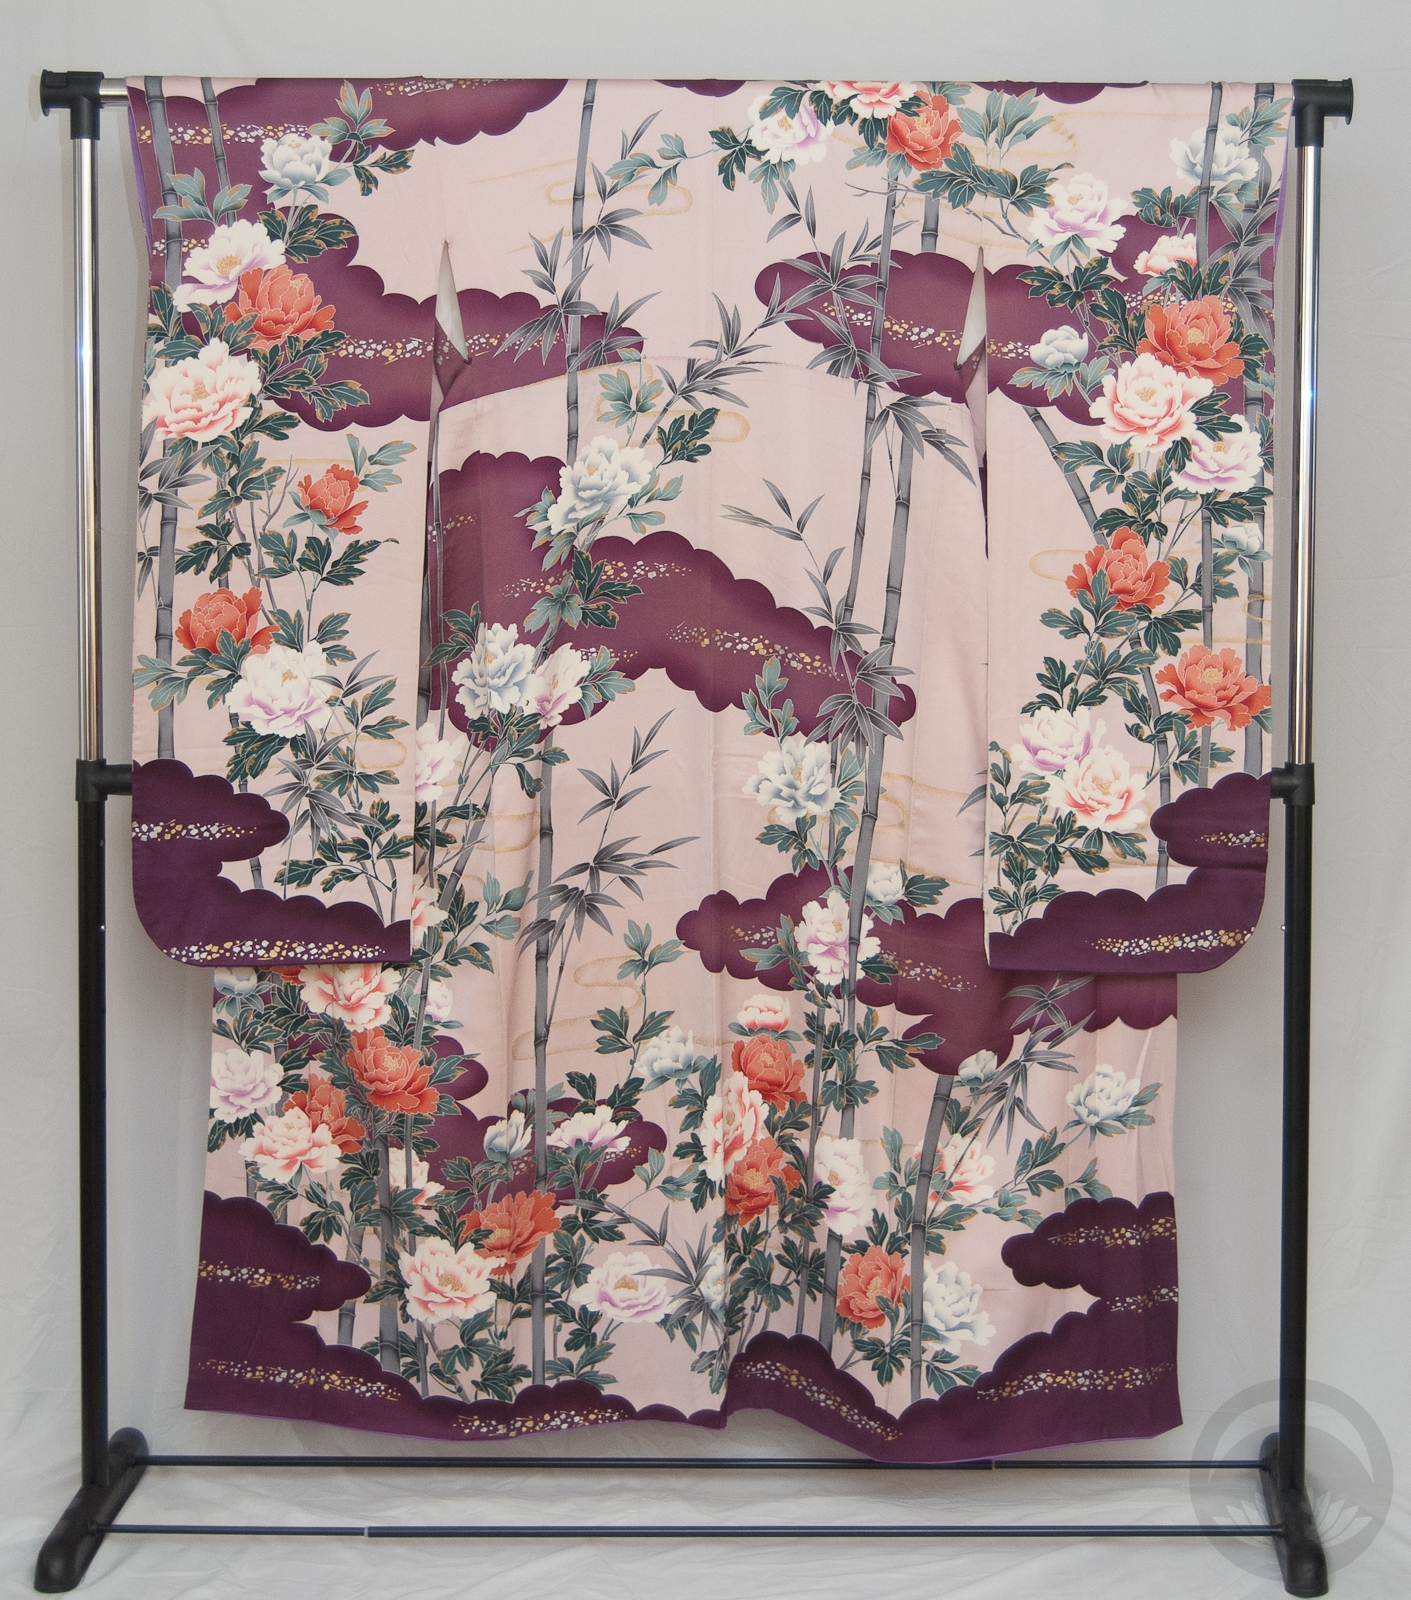
I’ve been meaning to pair my newest furisode with this black-based obi to make the hanaguruma stand out more, and this seemed like the best time to do it. Since there’s already a lot going on with the kimono and obi, I went with a relatively neutral haneri that’s still bright and bold enough to feel youthful.

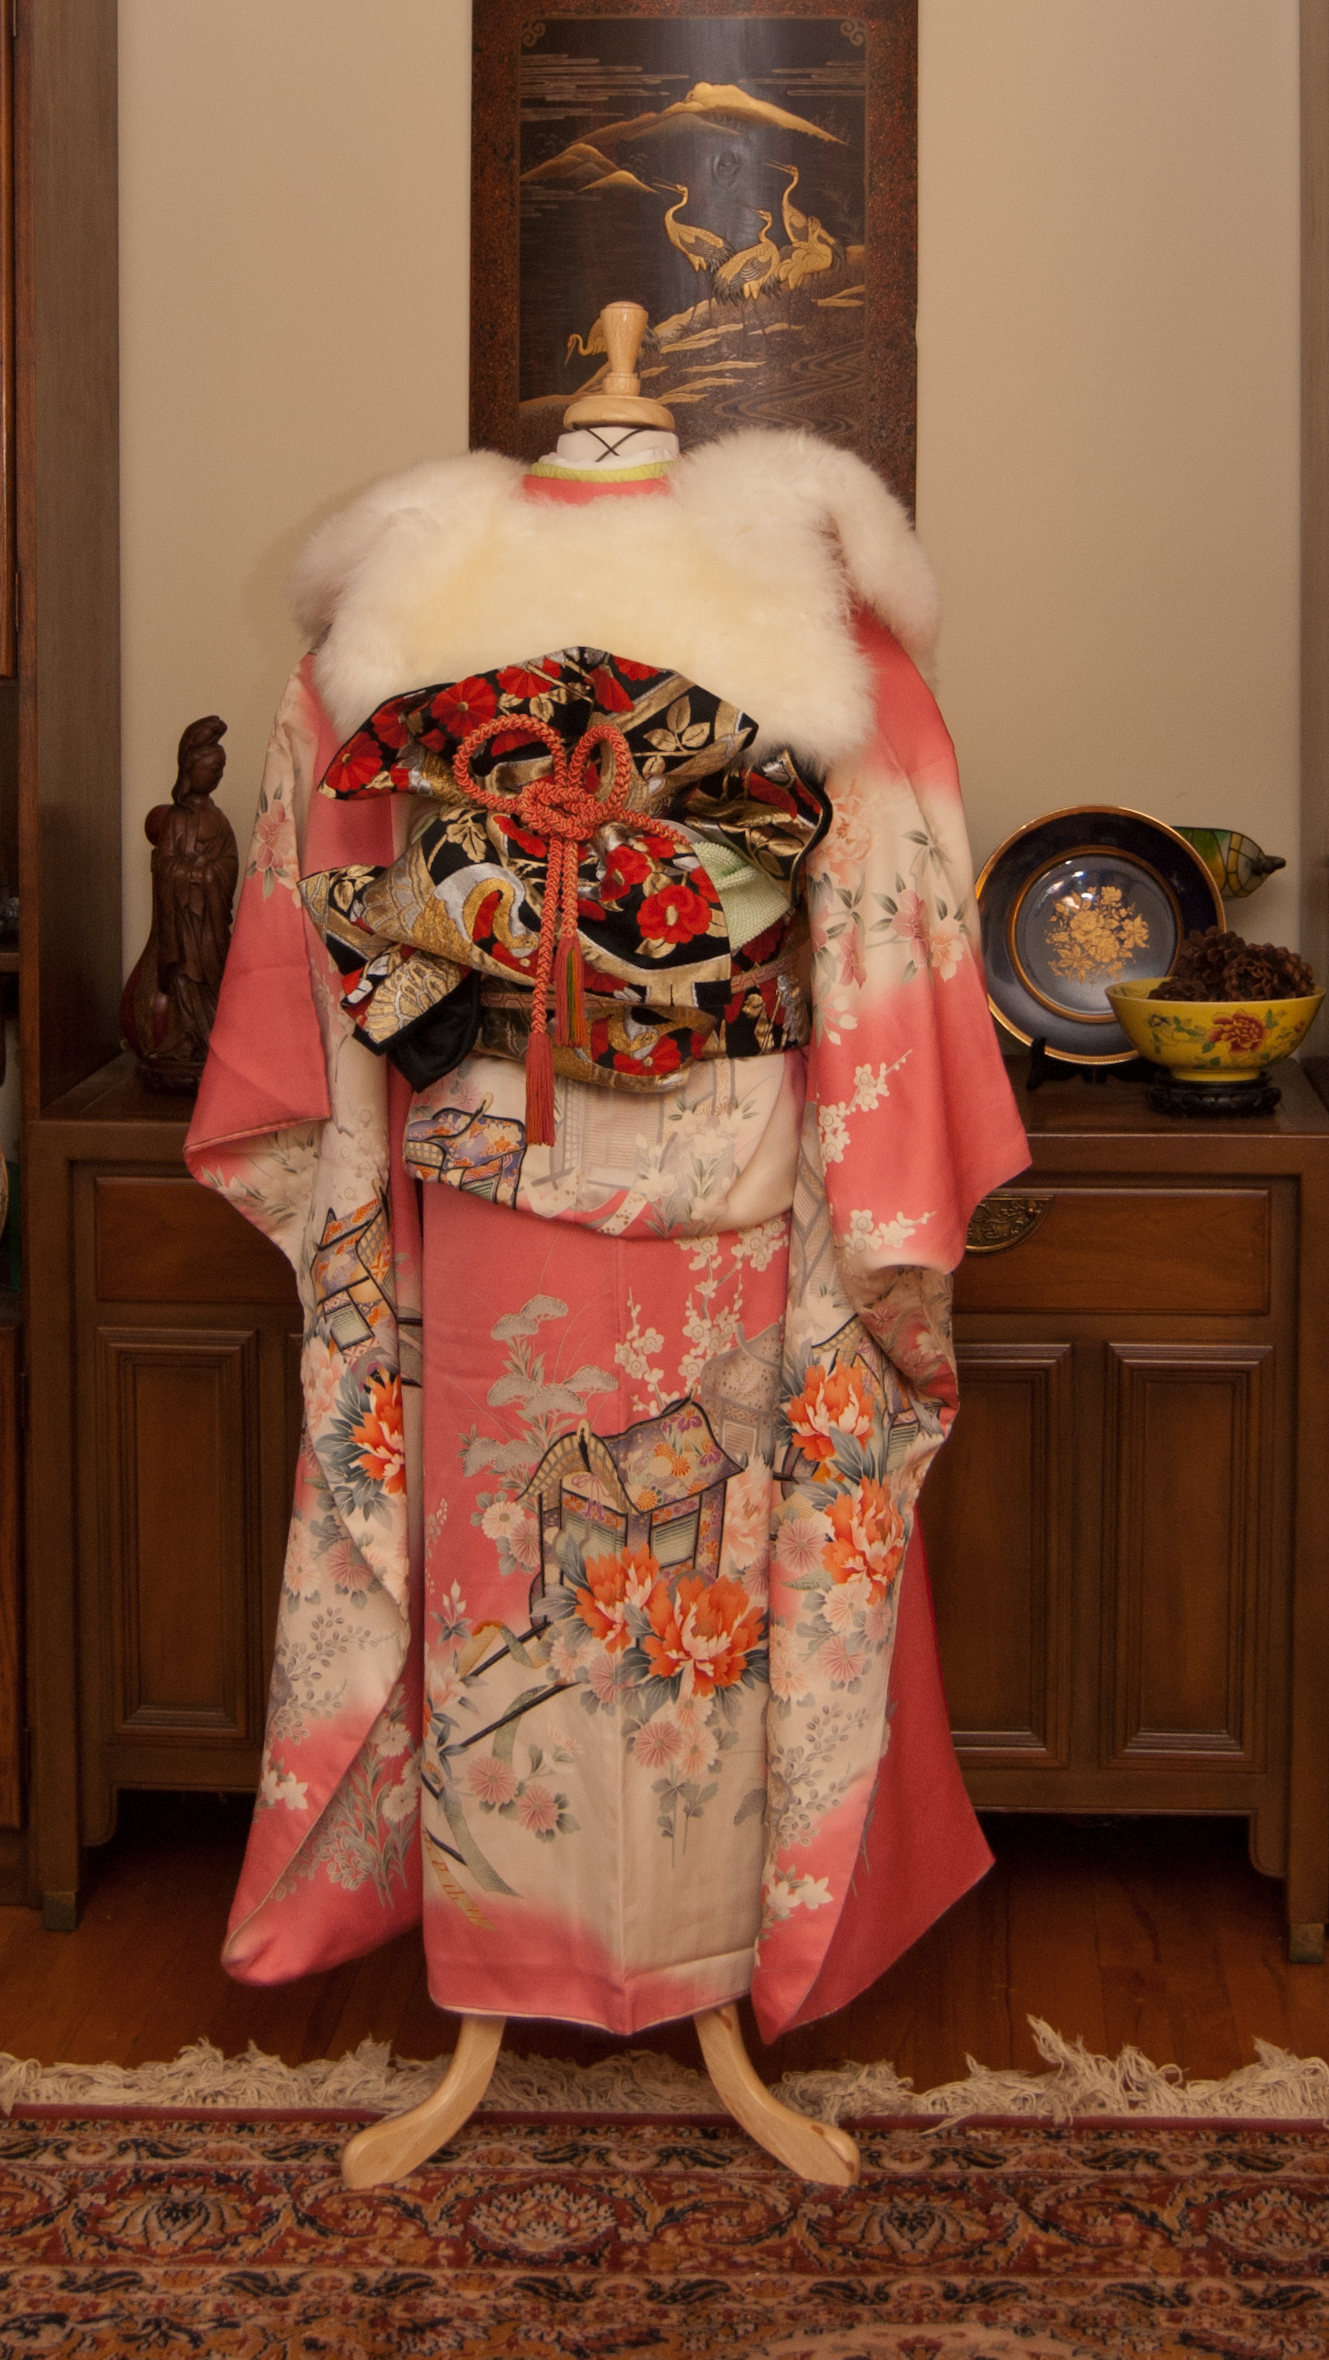


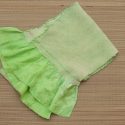
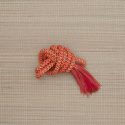
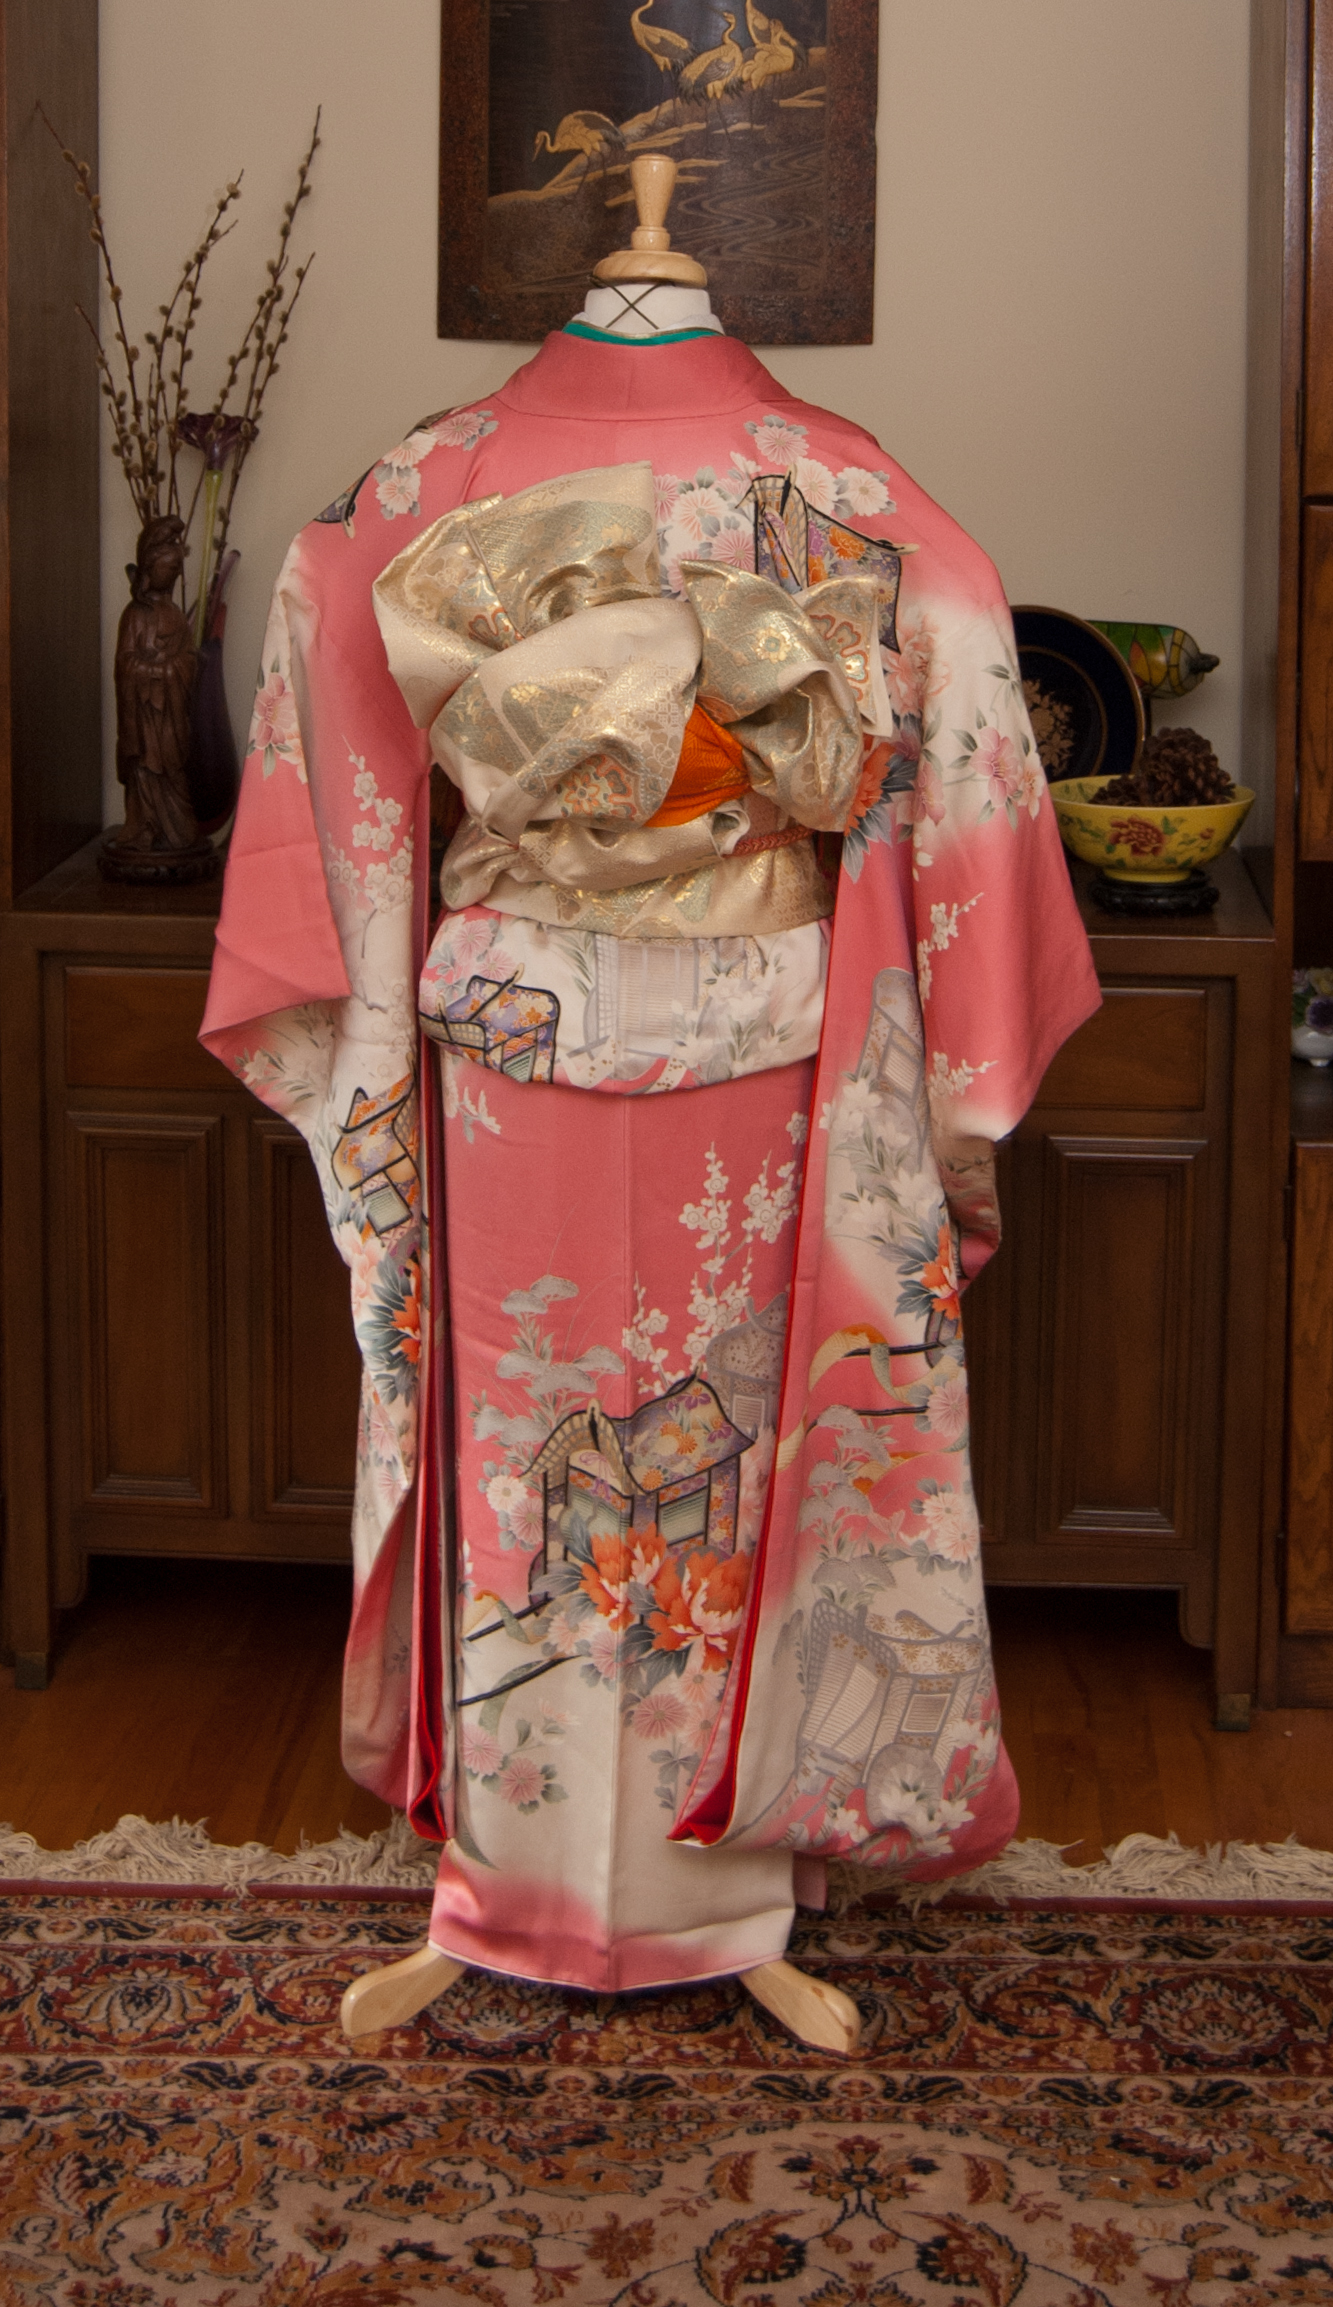
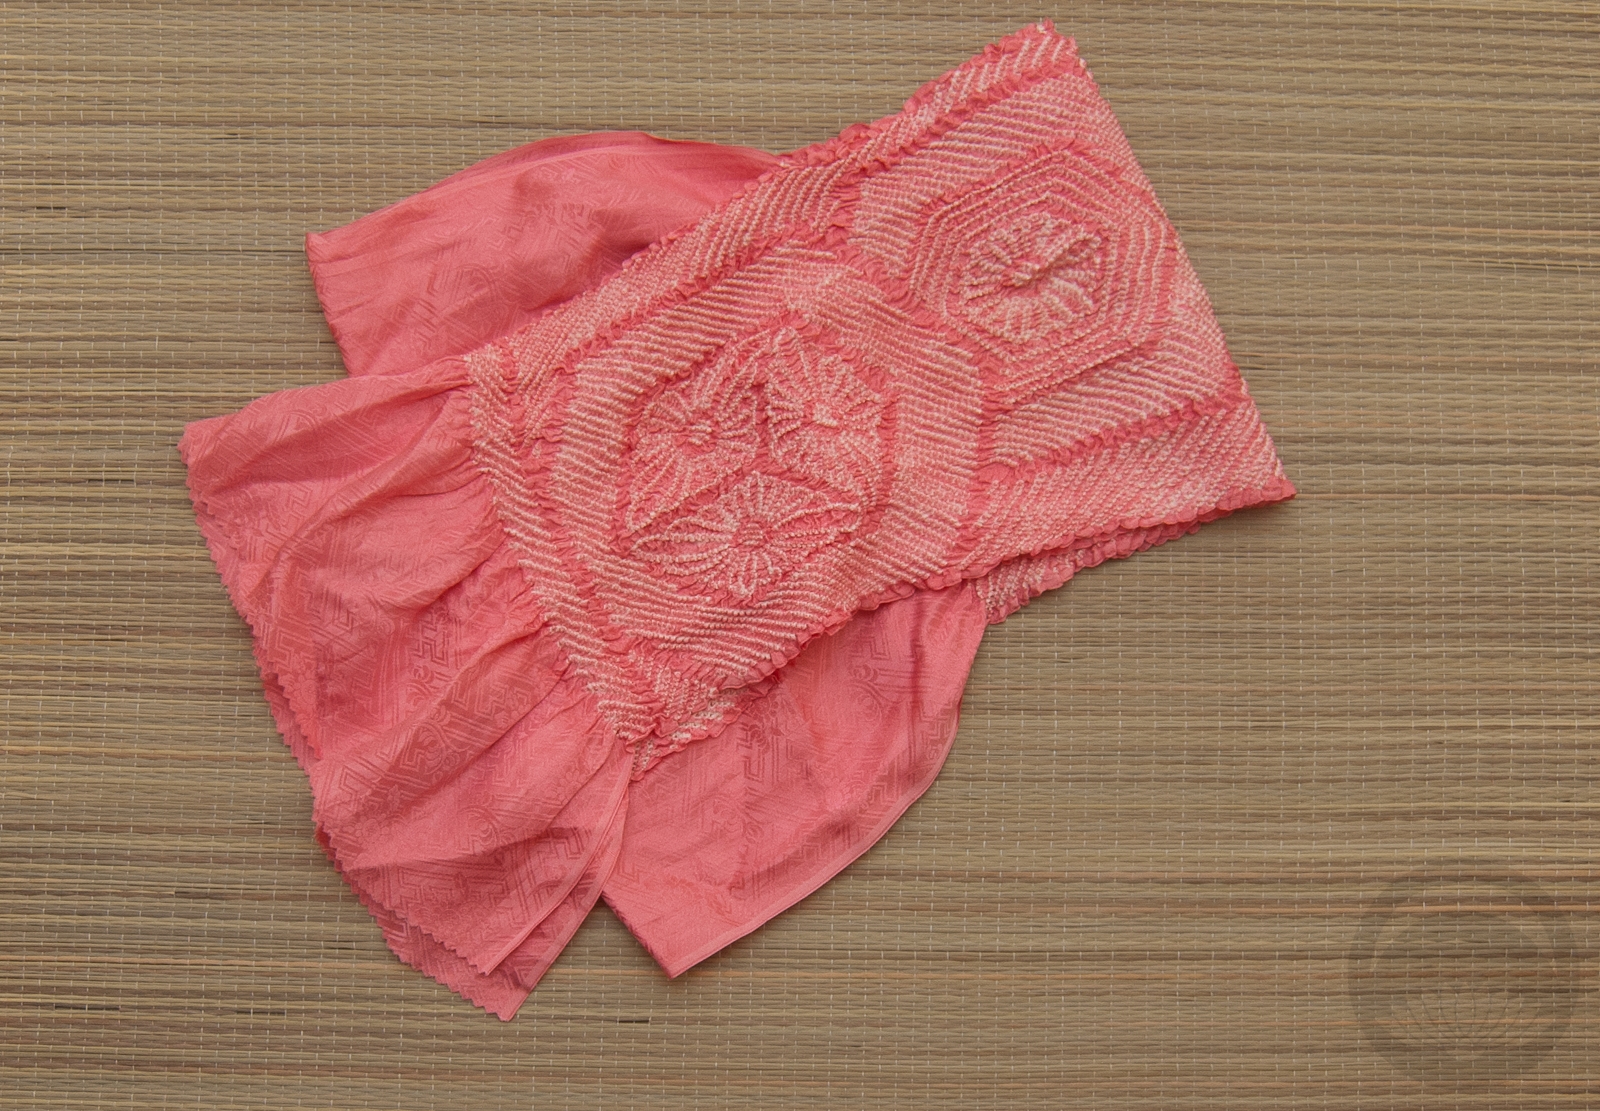
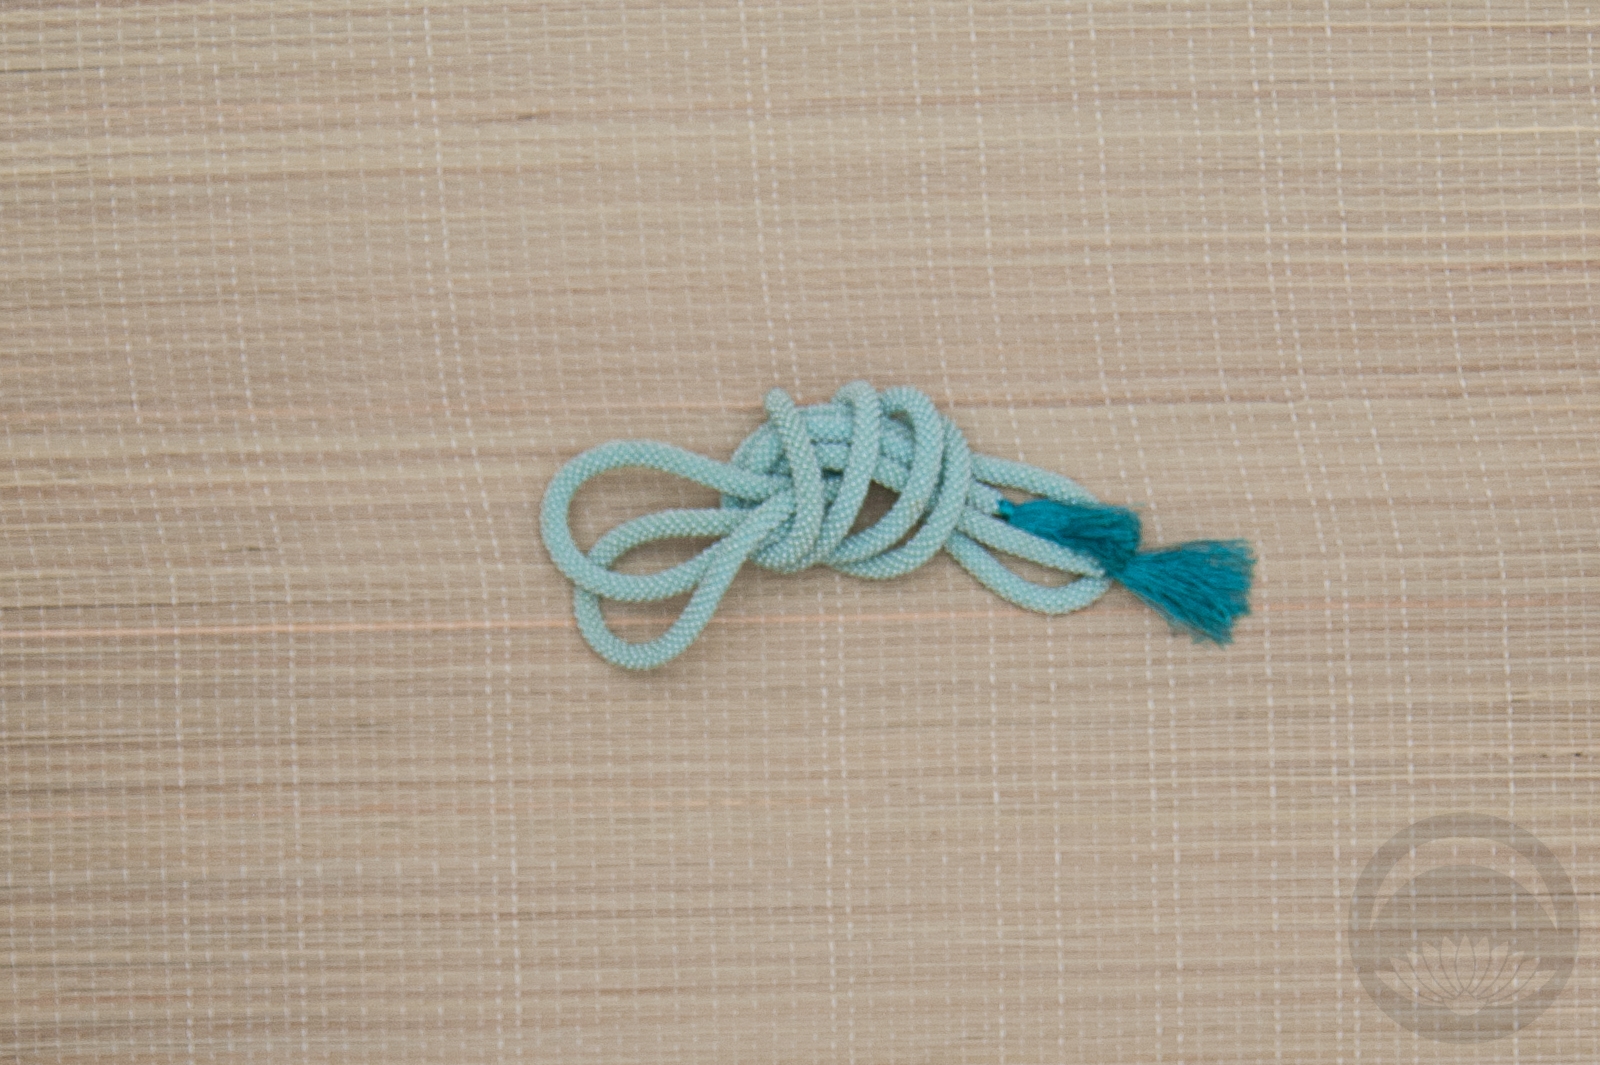
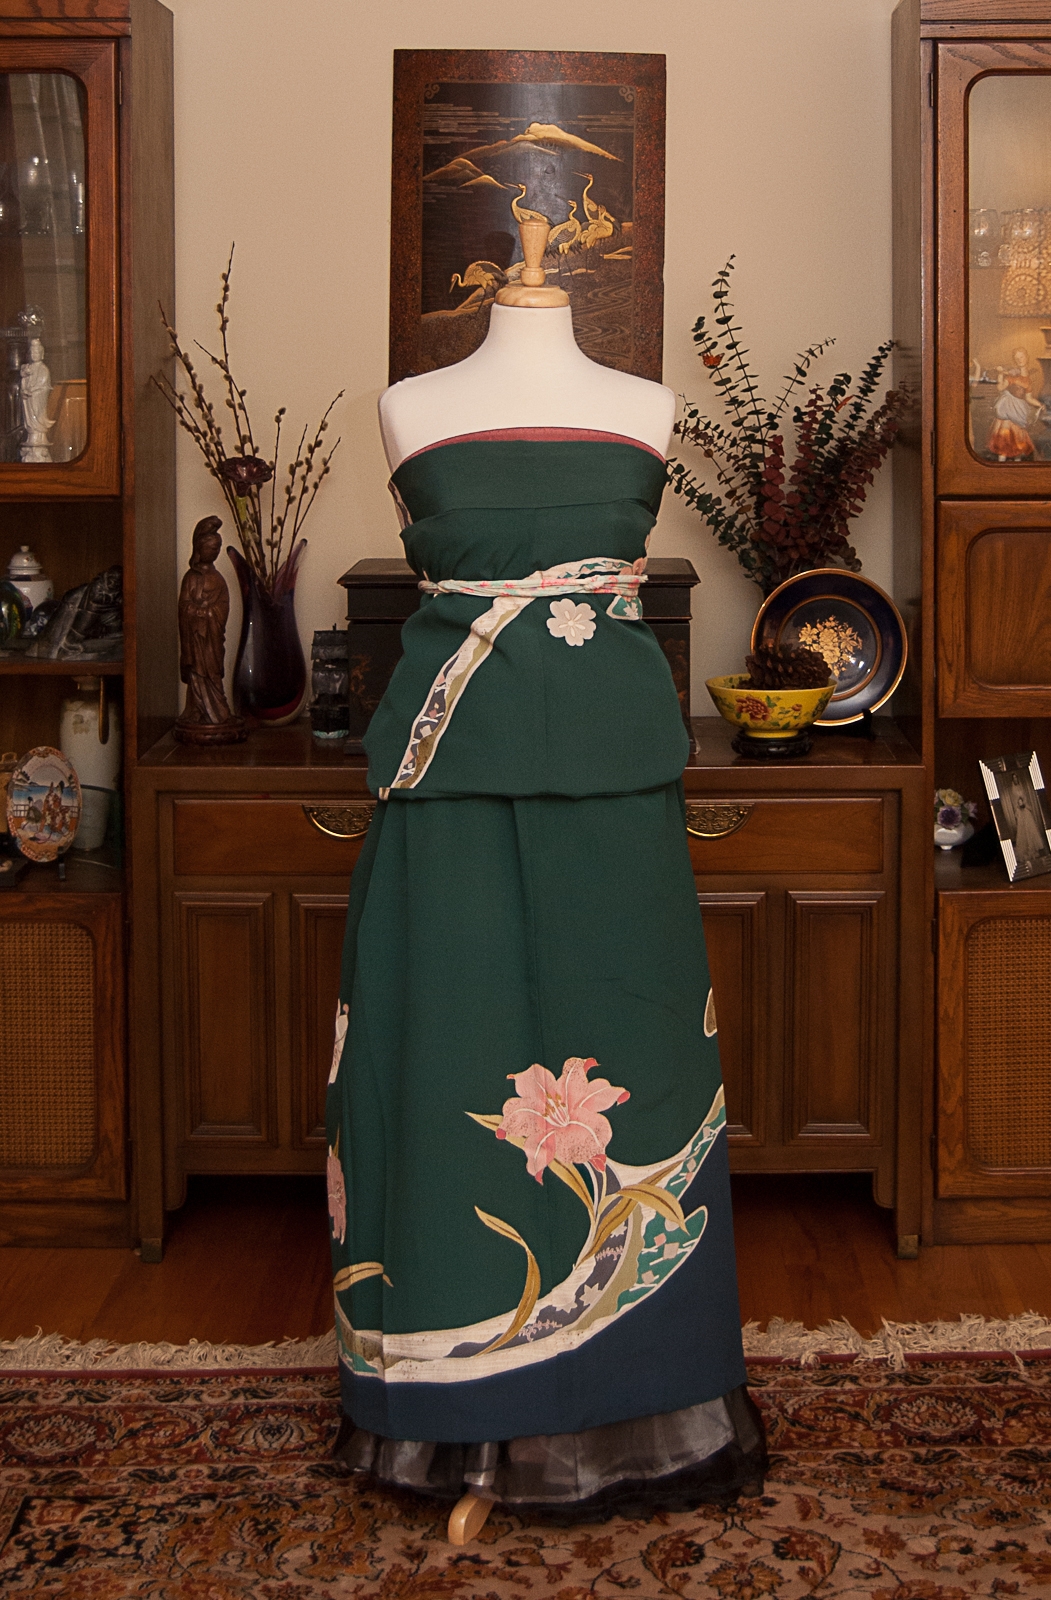
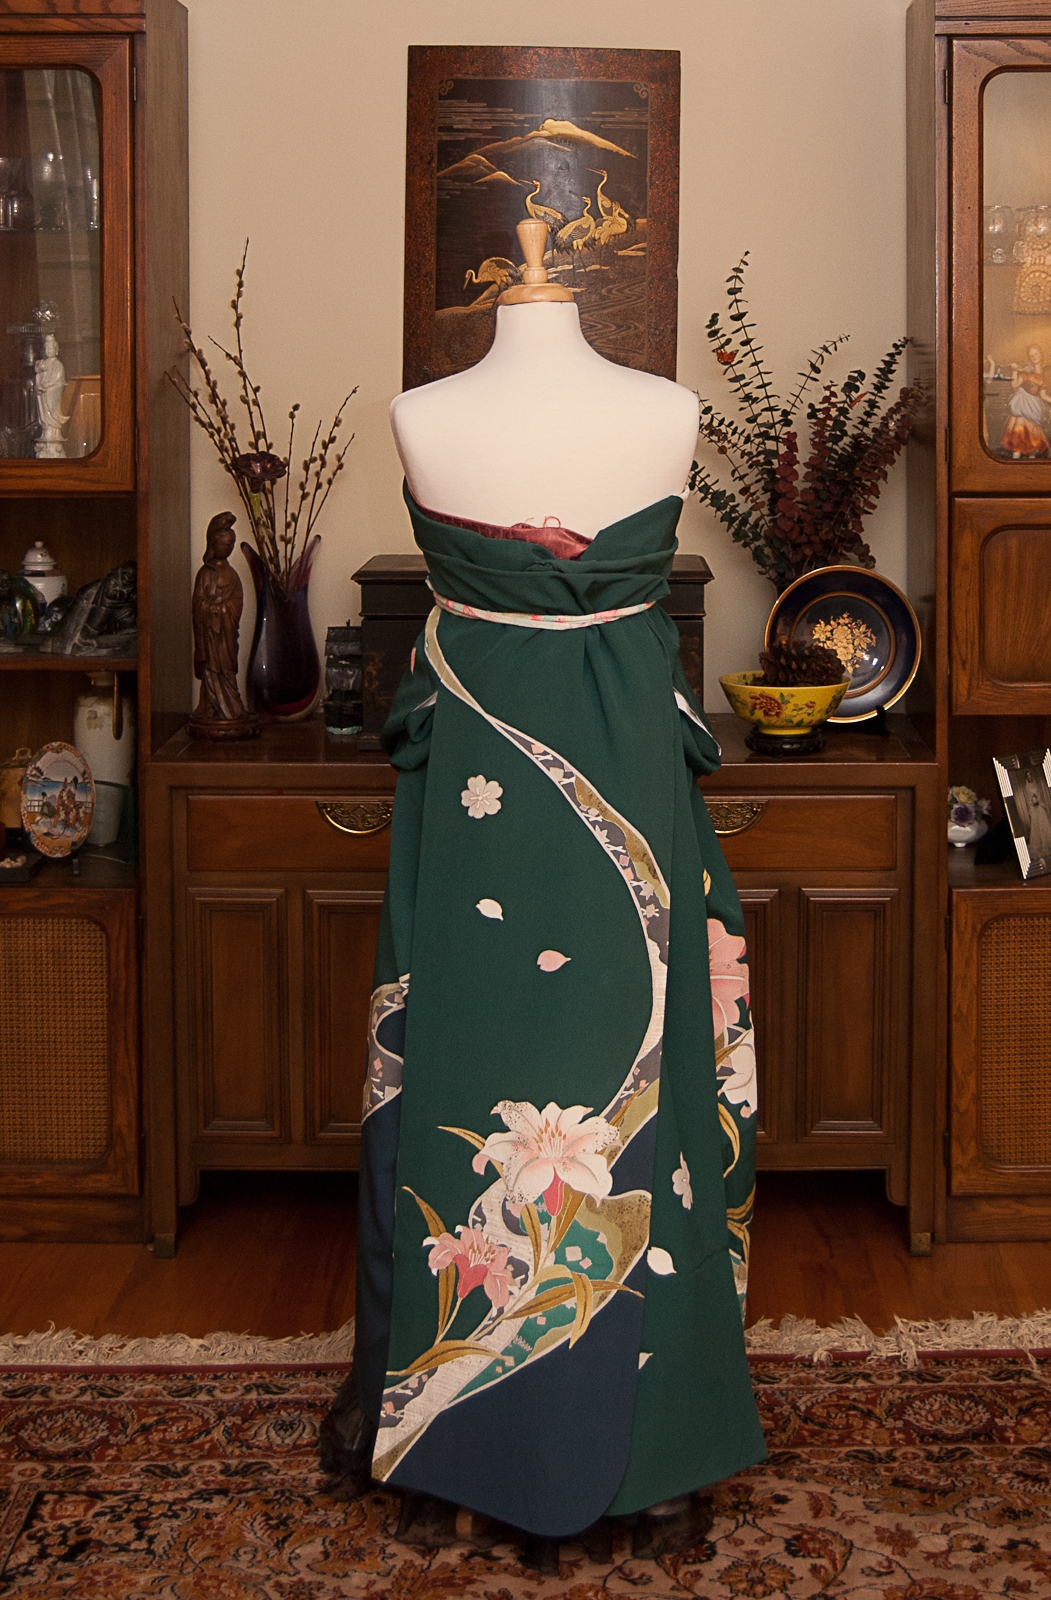
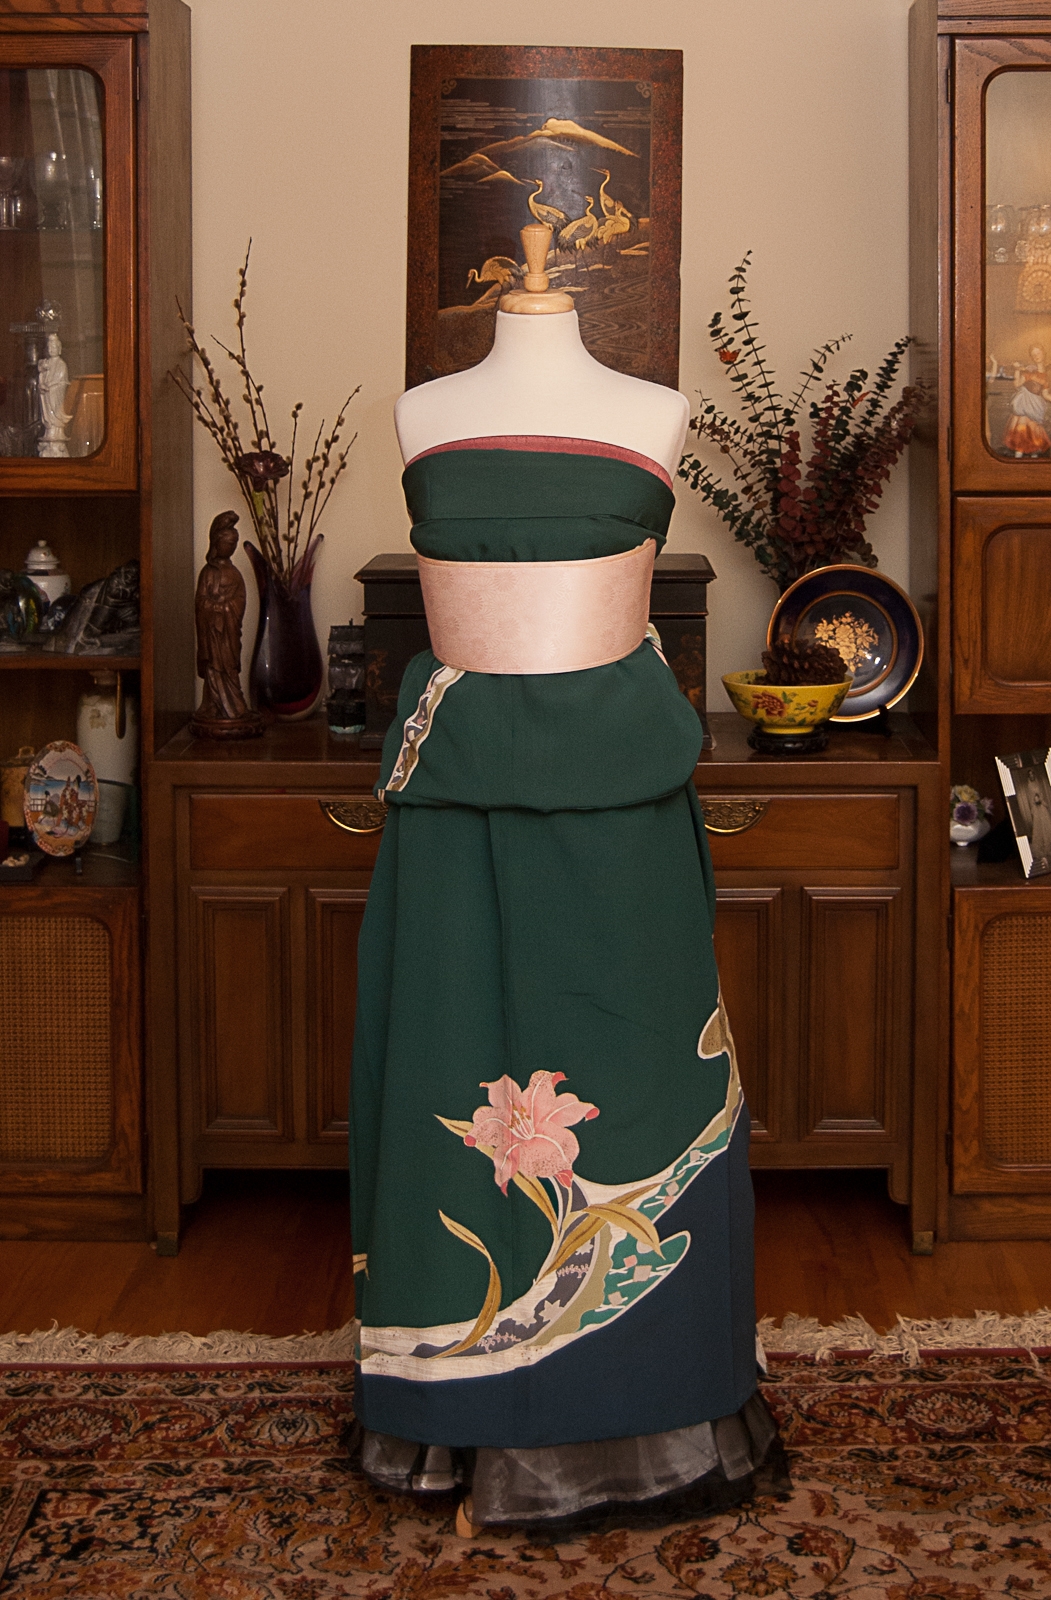
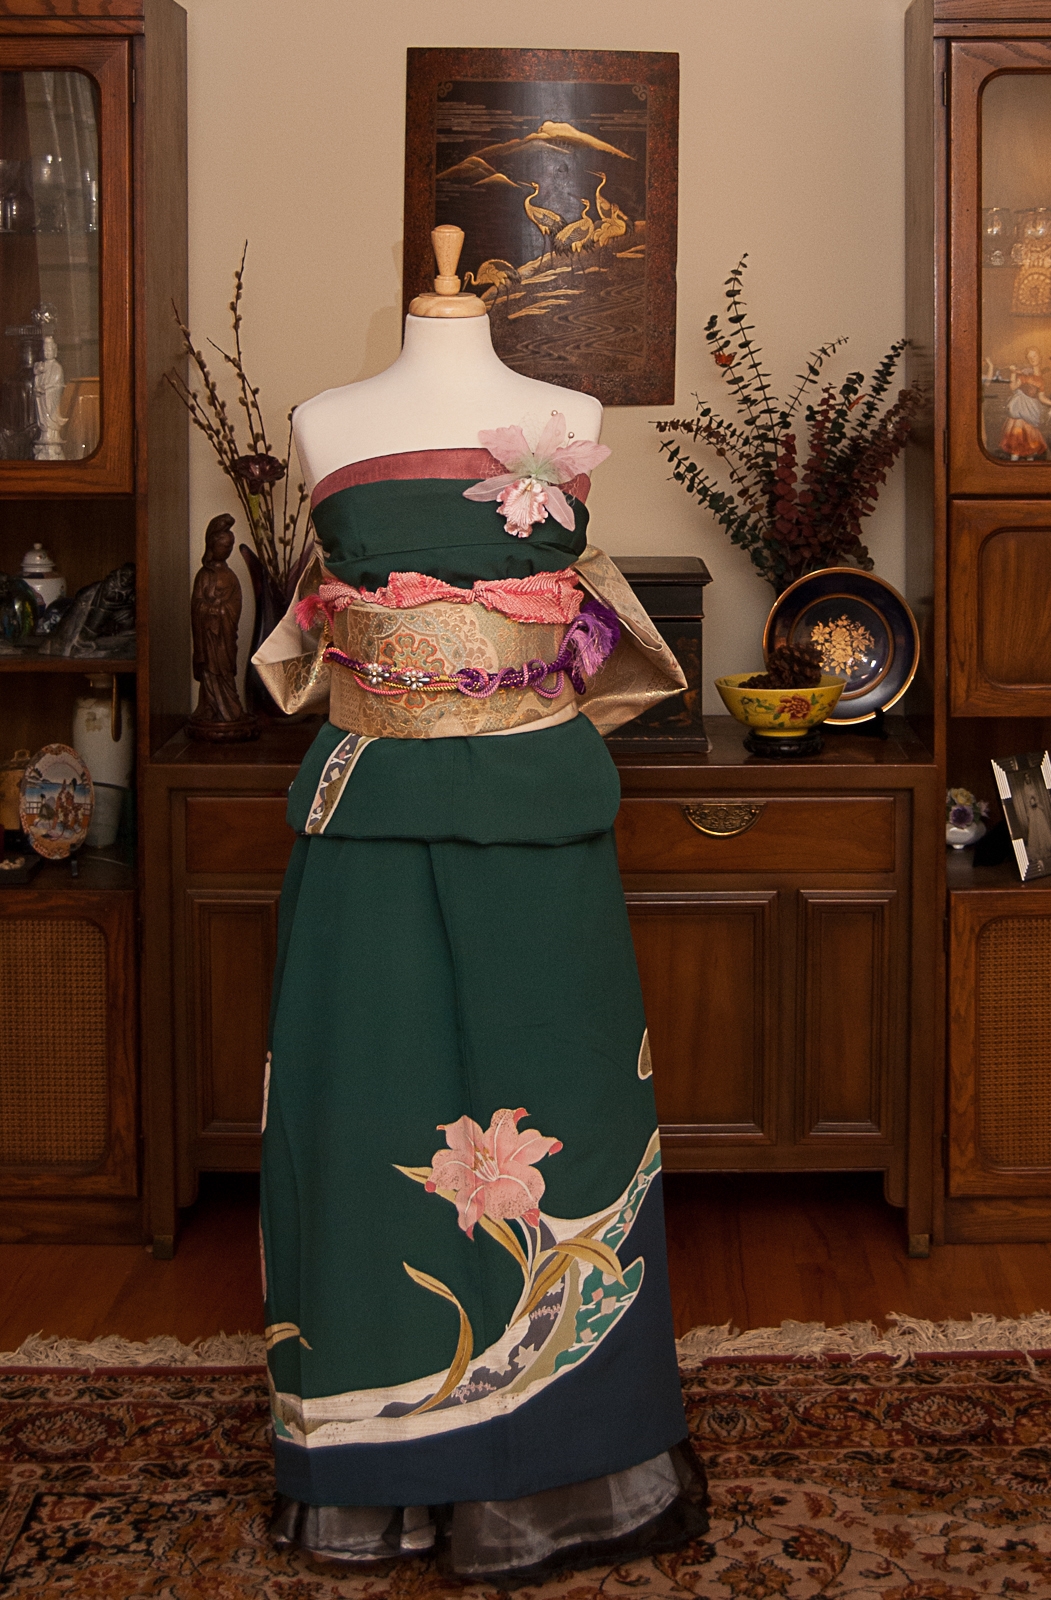
I used my handmade sanjuhimo and had fun improvising a big, bold obi musubi. My original plan was to use this round salmon-coloured obijime to hold everything in place, but it got a bit lost against the obi. Then I realised I could use it as a decorative accent in the obi musubi, and I love how it looks! I used a punchier lime-green and metallic obijime instead, and balanced that colour out in the obiage and kasane-eri.
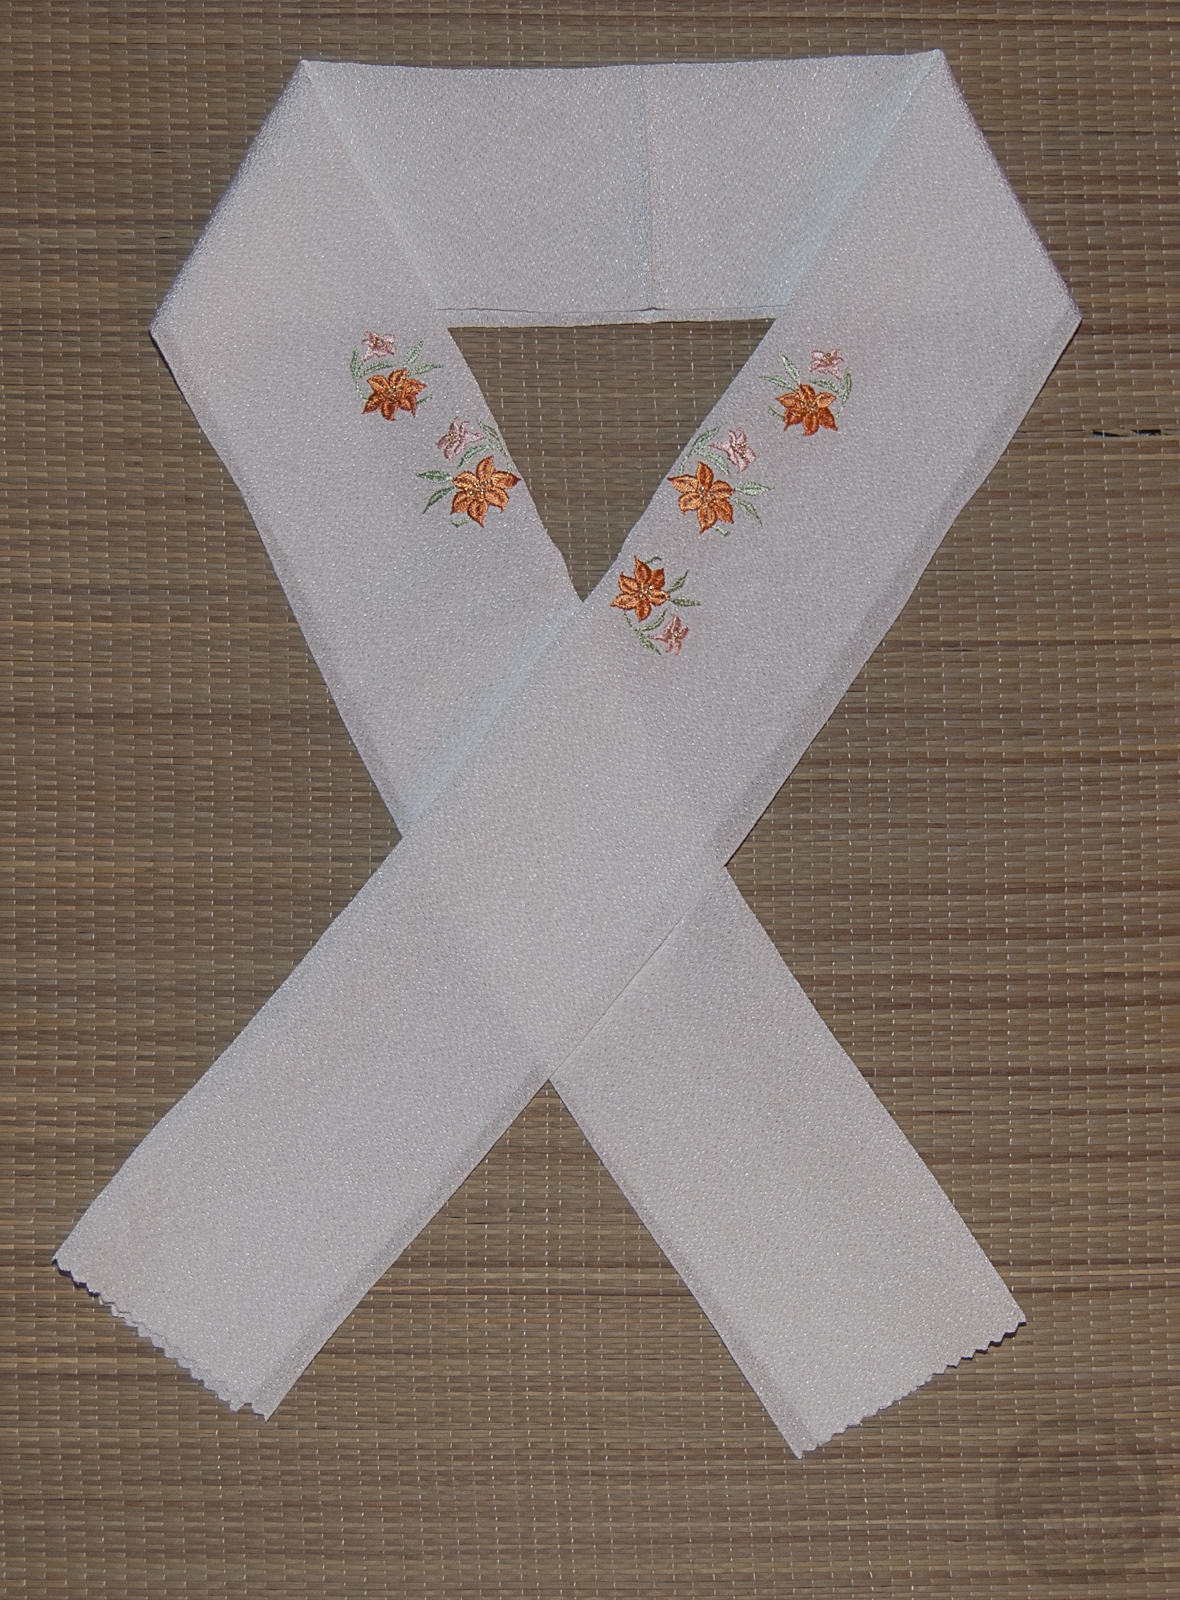
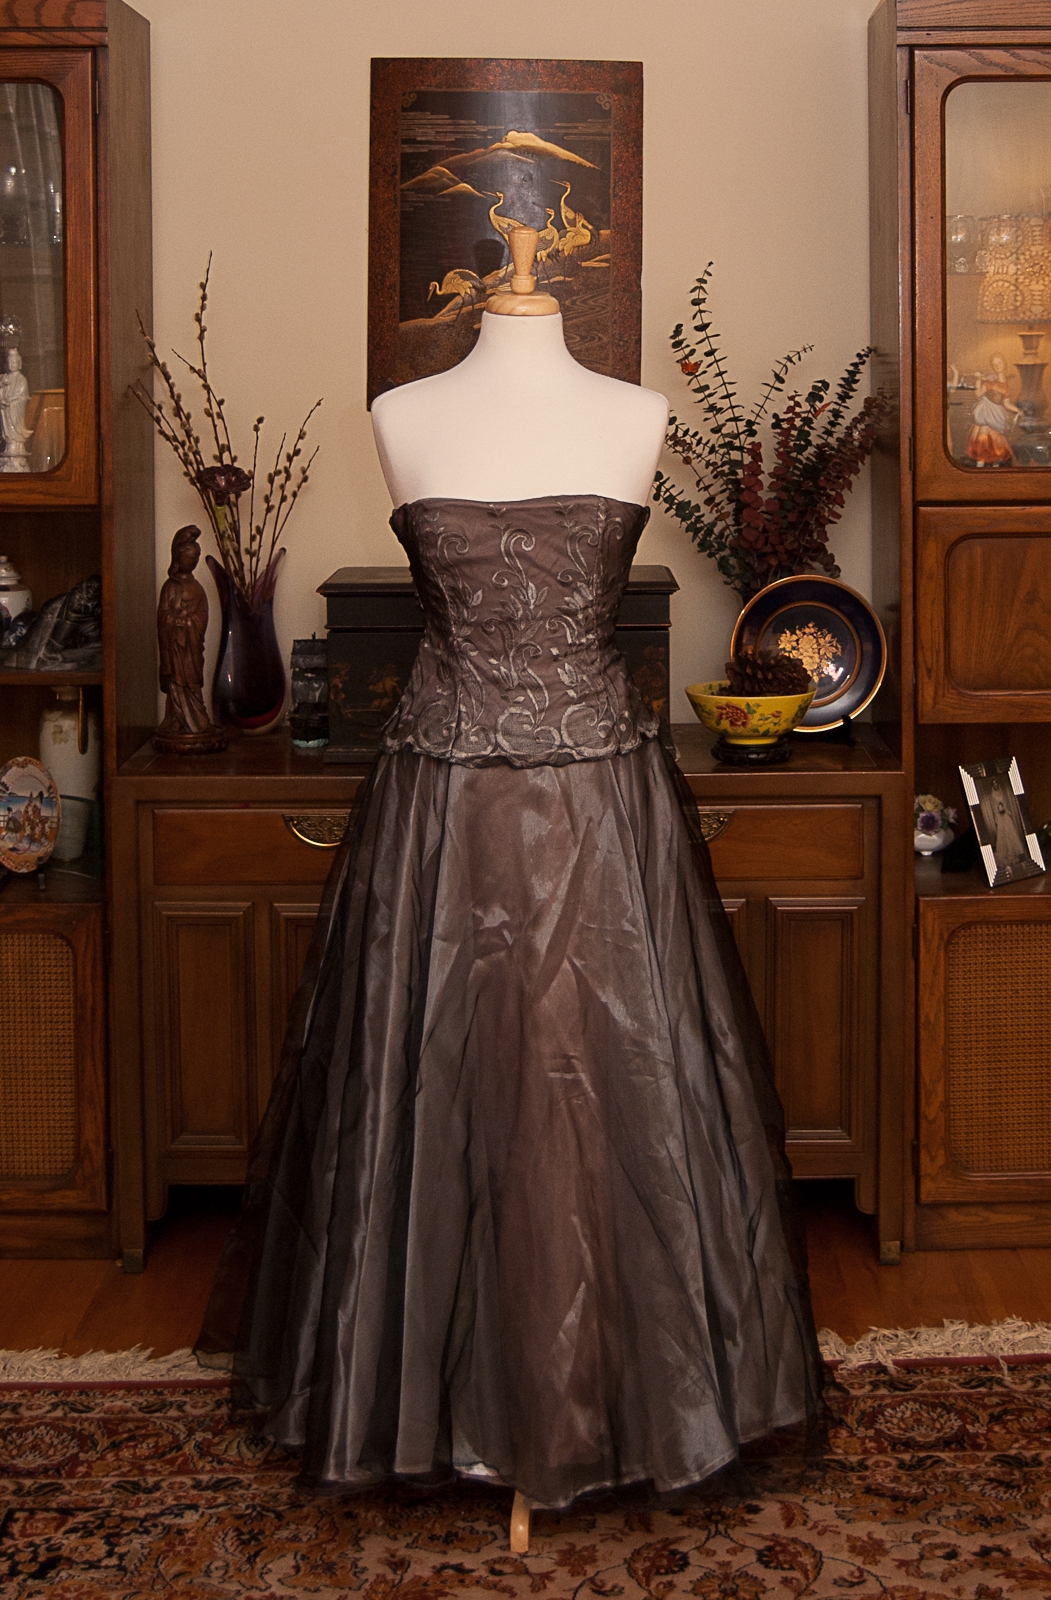
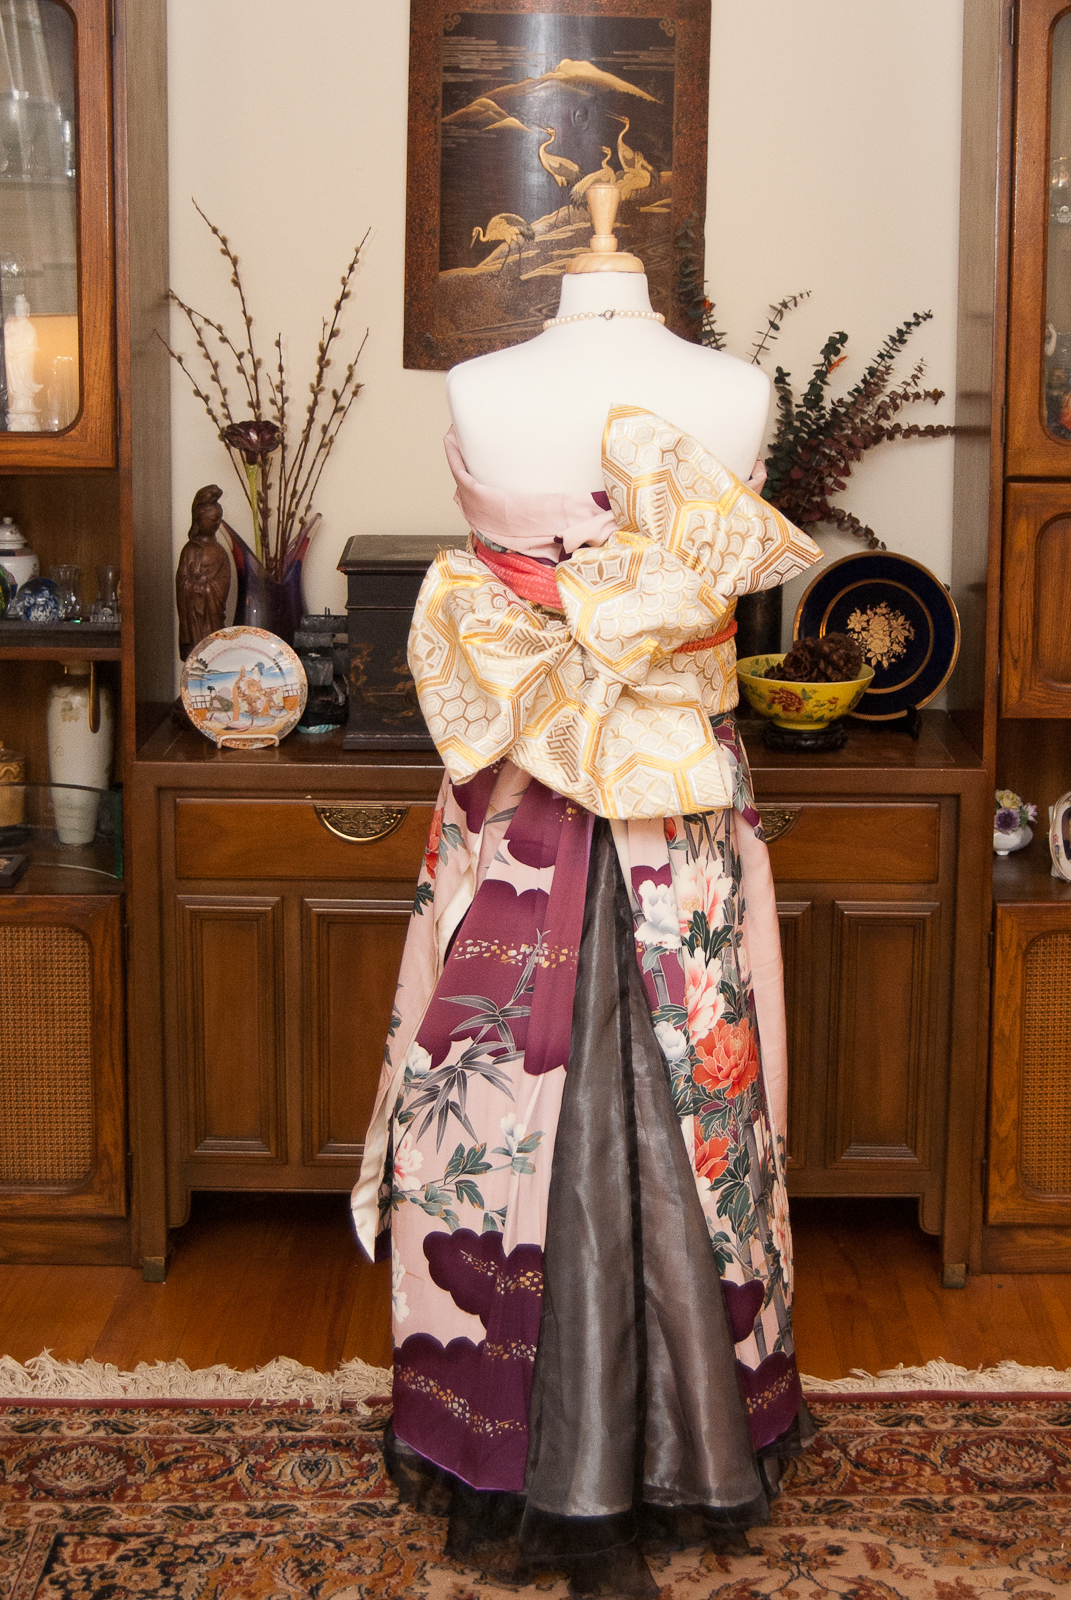
The white fur collar is a very common addition to seijin shiki ensembles; since they take place in early January it’s a great way to add both warmth and elegance to the furisode. In previous years, I’ve used a brown and grey fur stole, but this year I really wanted to go with the more traditional bright white. You’ve got no idea how hard it is to find one though. I hit up a bunch of boutiques and thrift stores and even went looking in fabric and craft stores, and had no luck at all. I was about to give up when I remembered I had this sheepskin from Ikea, of all things! A few straight cuts with a very sharp blade and voila, a beautiful, fluffy white stole.
I think this is probably the most successful seijin no hi outfit I’ve put together so far.
Items used in this coordination
-
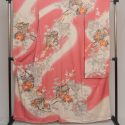
- Pink Gosho Guruma Furisode

-
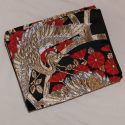
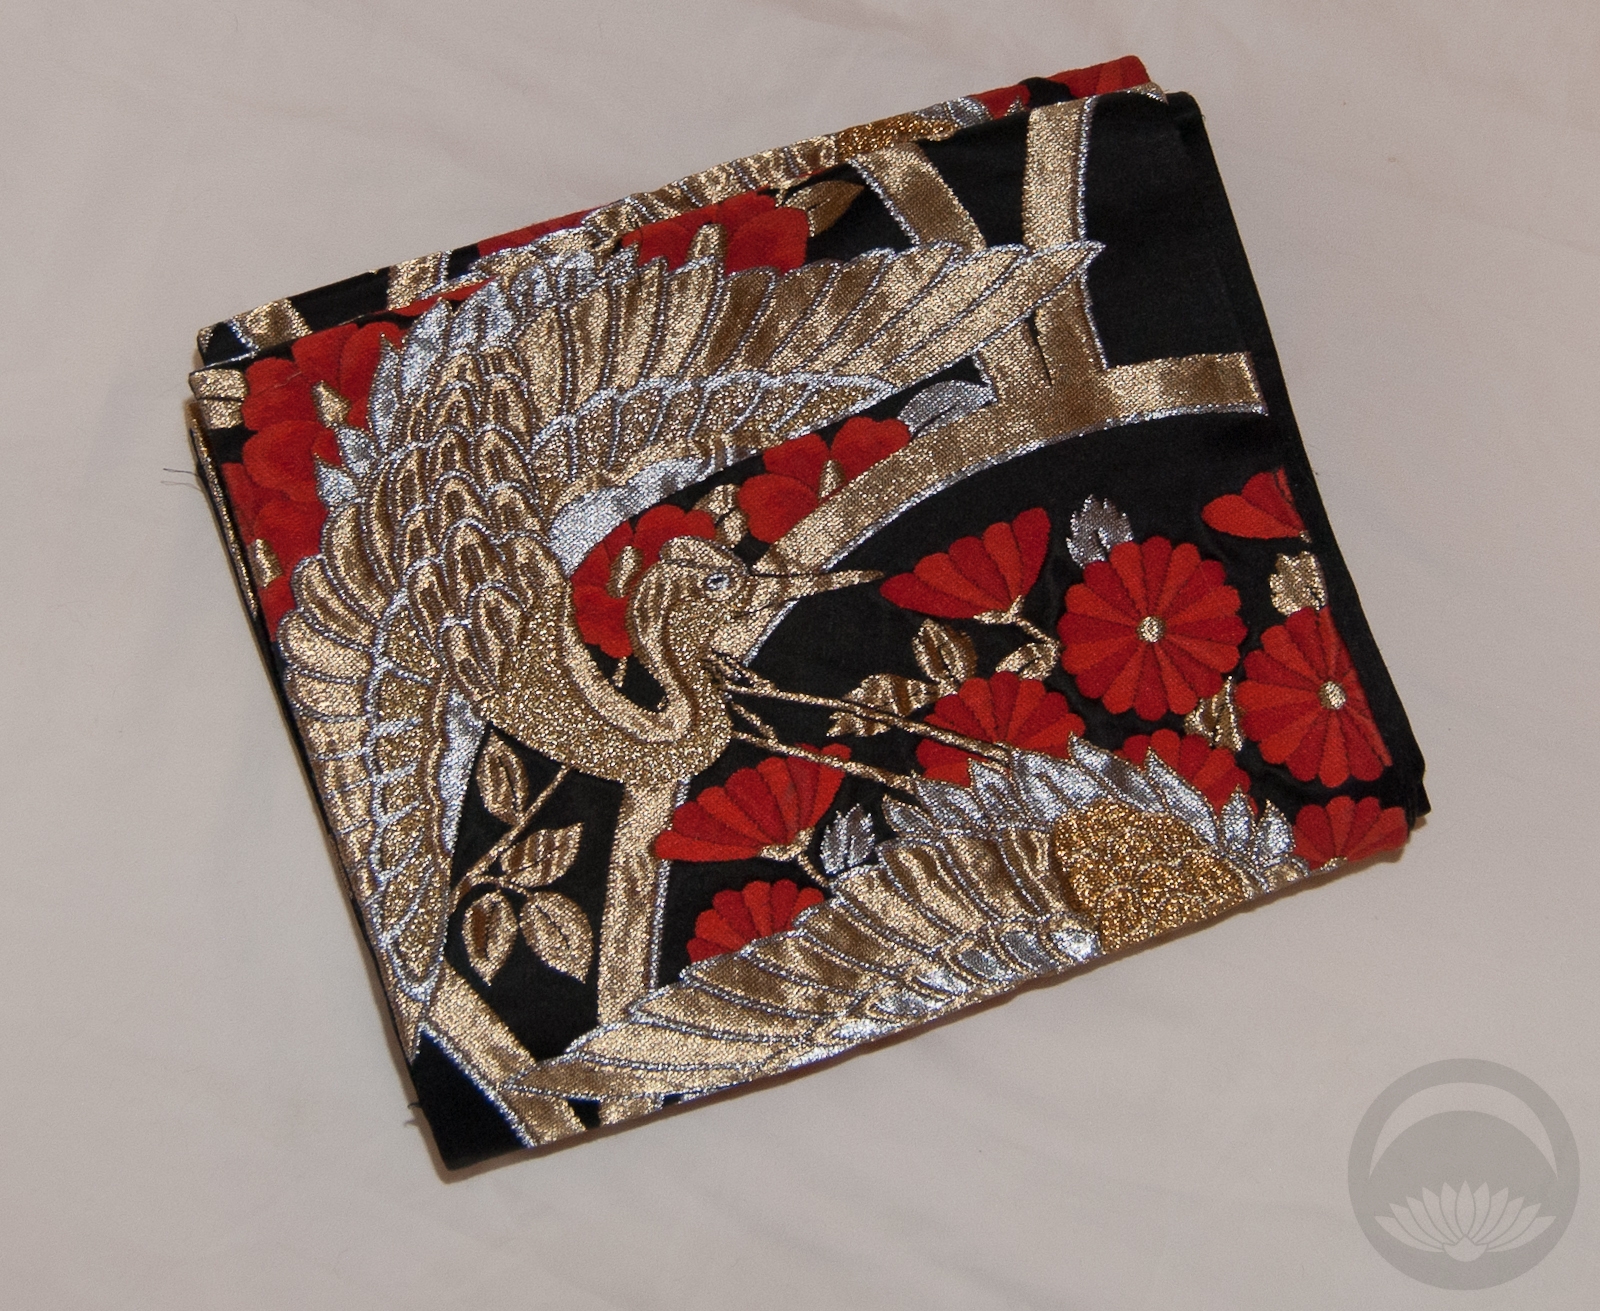
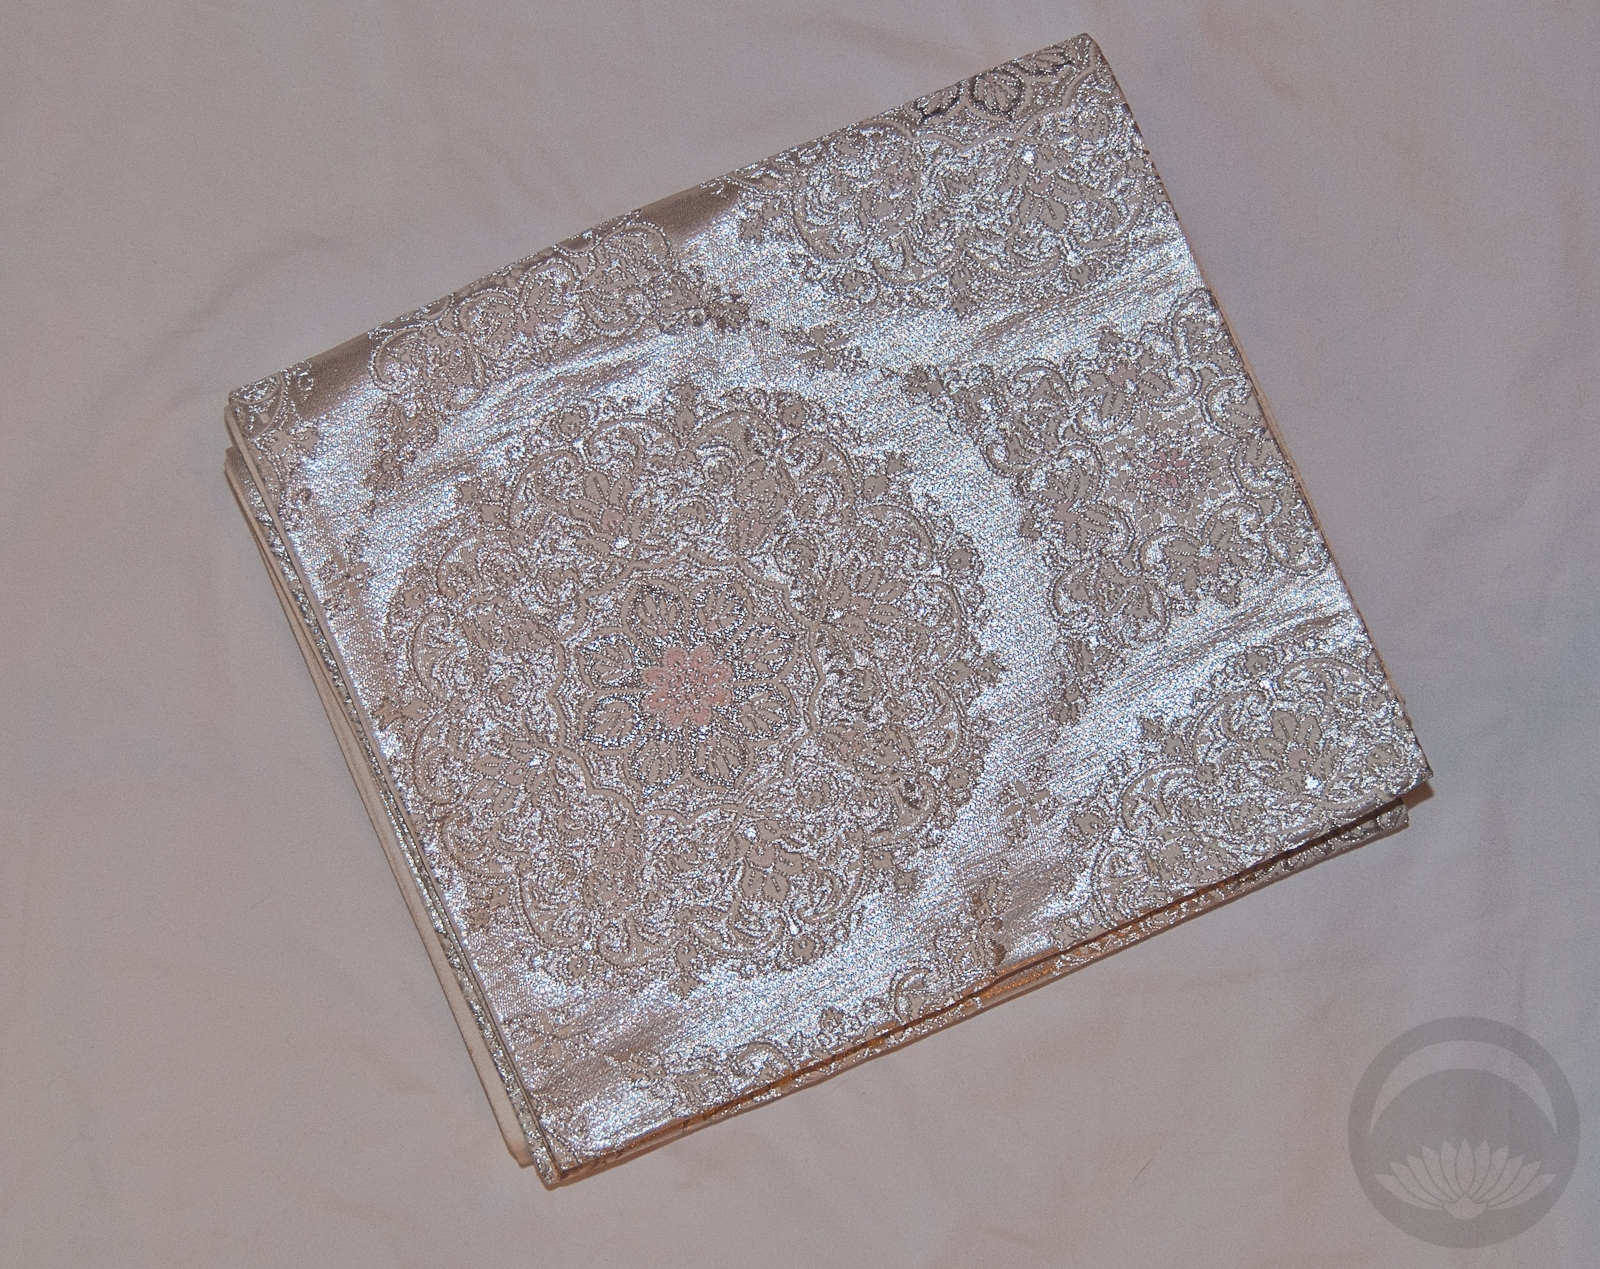
- Black with Metallic Cranes
-
- Sakura
-
- Leaf Green Shibori


-
- Salmon Furisode


 Bebe Taian
 CHOKO Blog
 Gion Kobu