
Chidori, 千鳥, plover
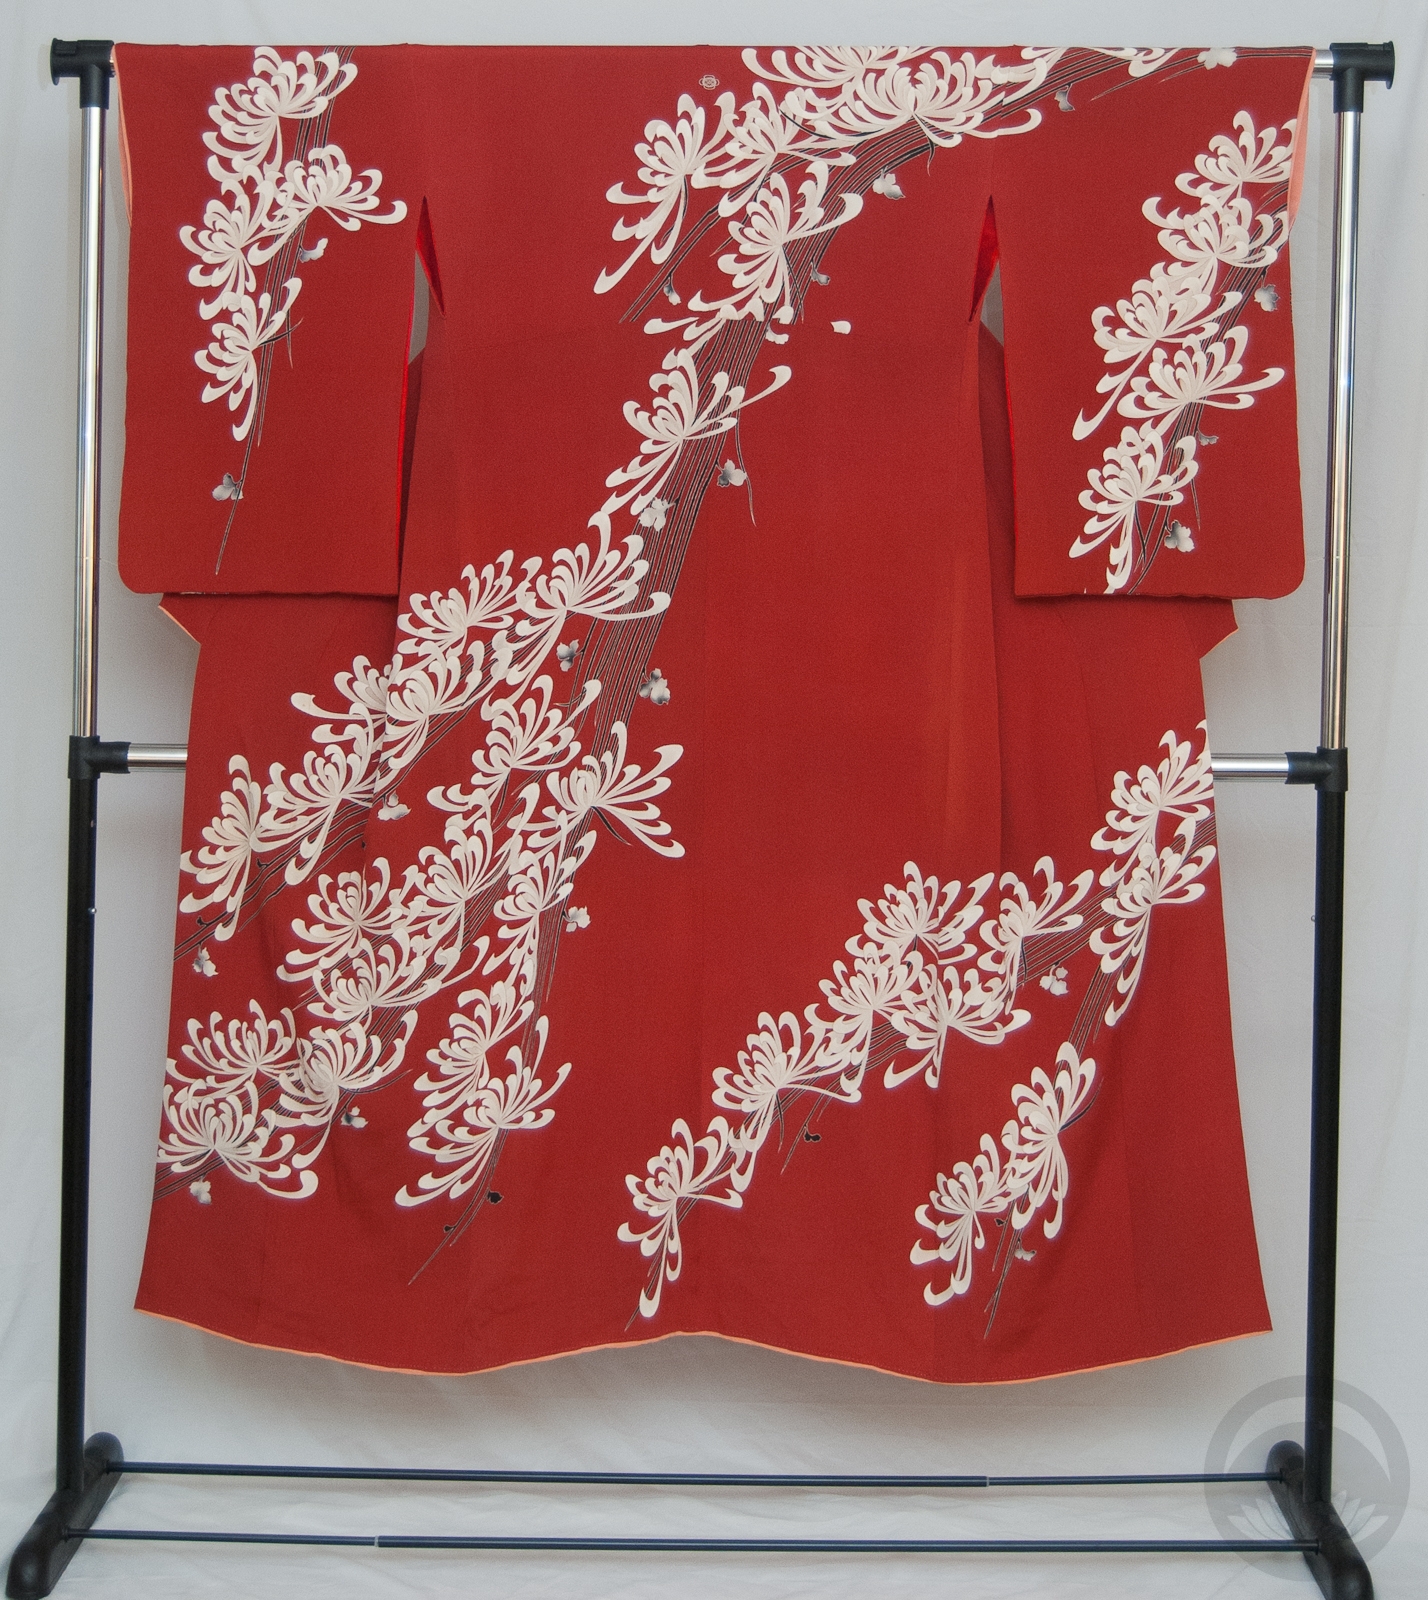
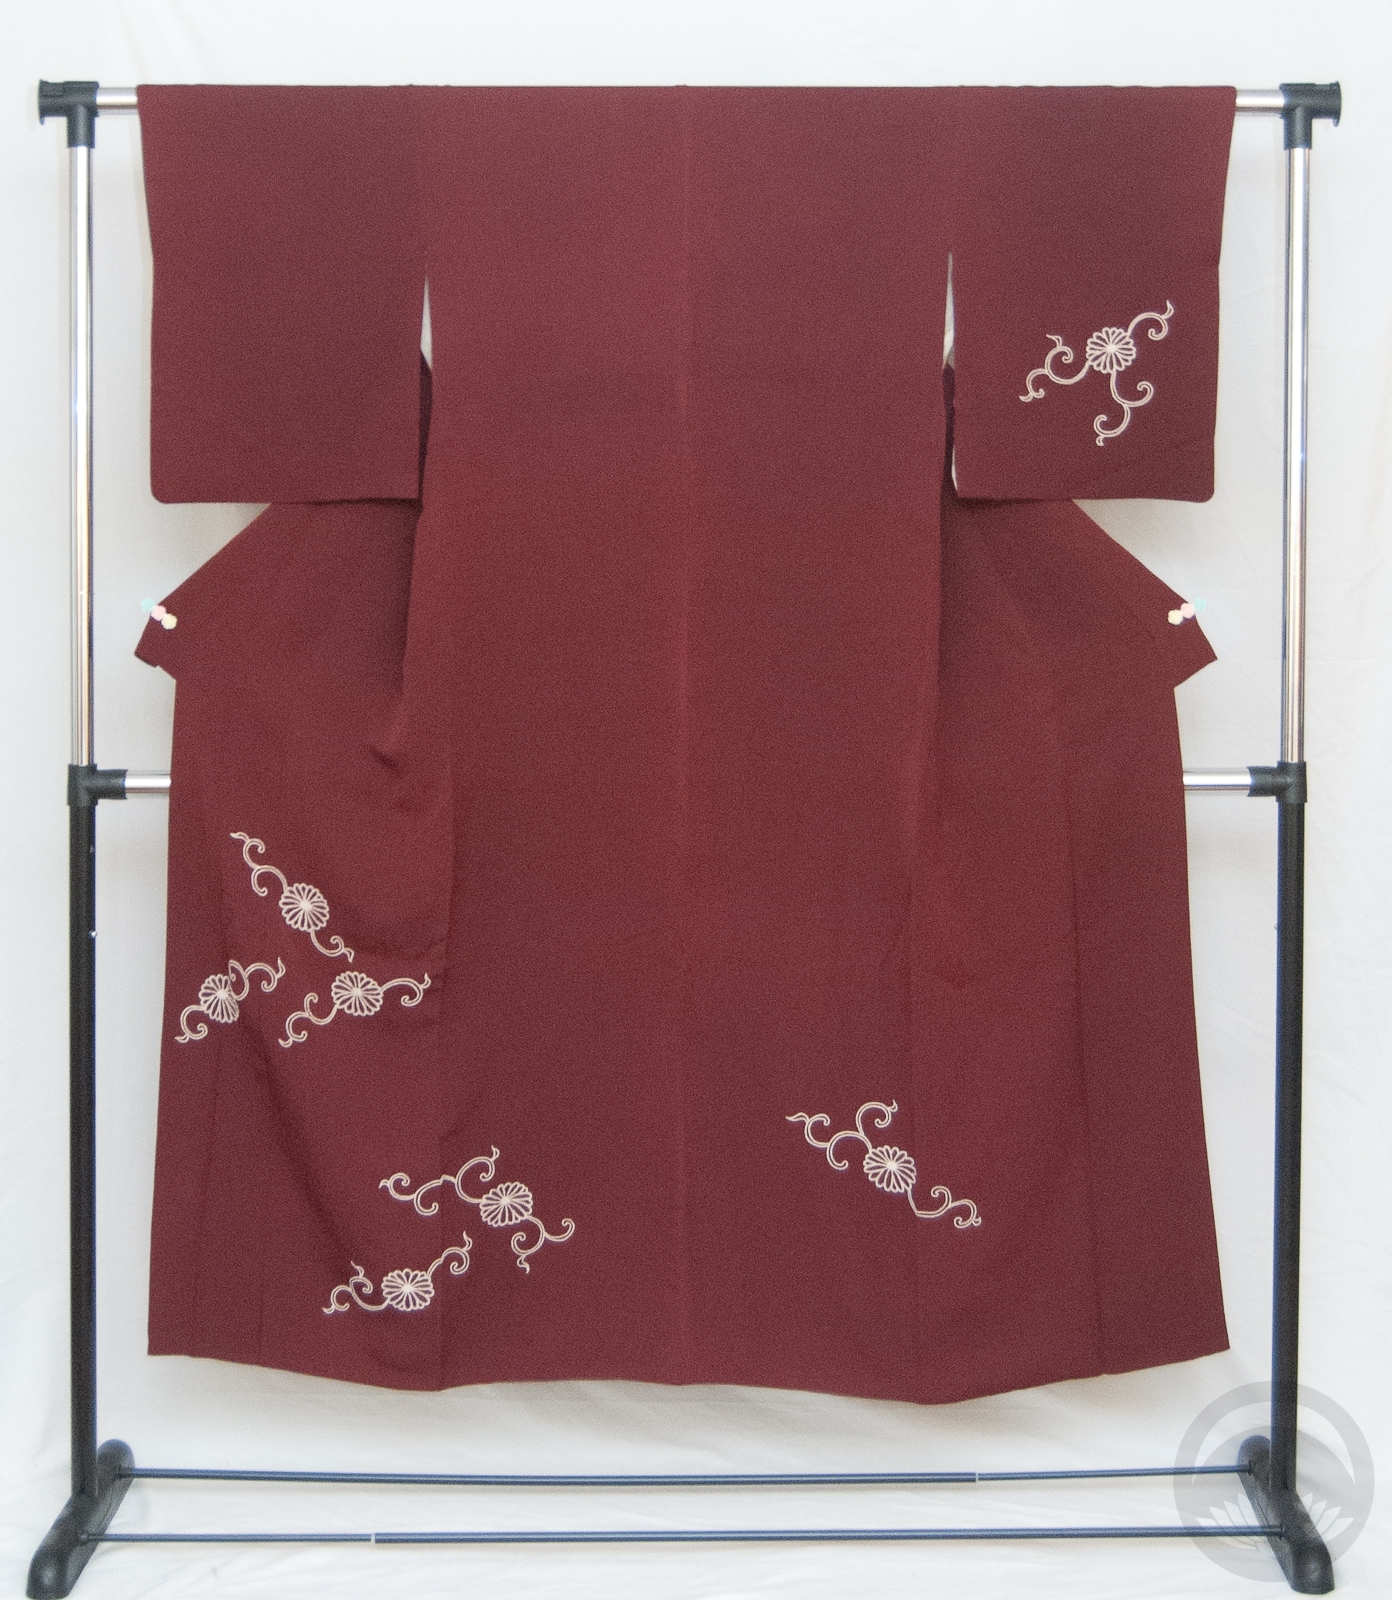
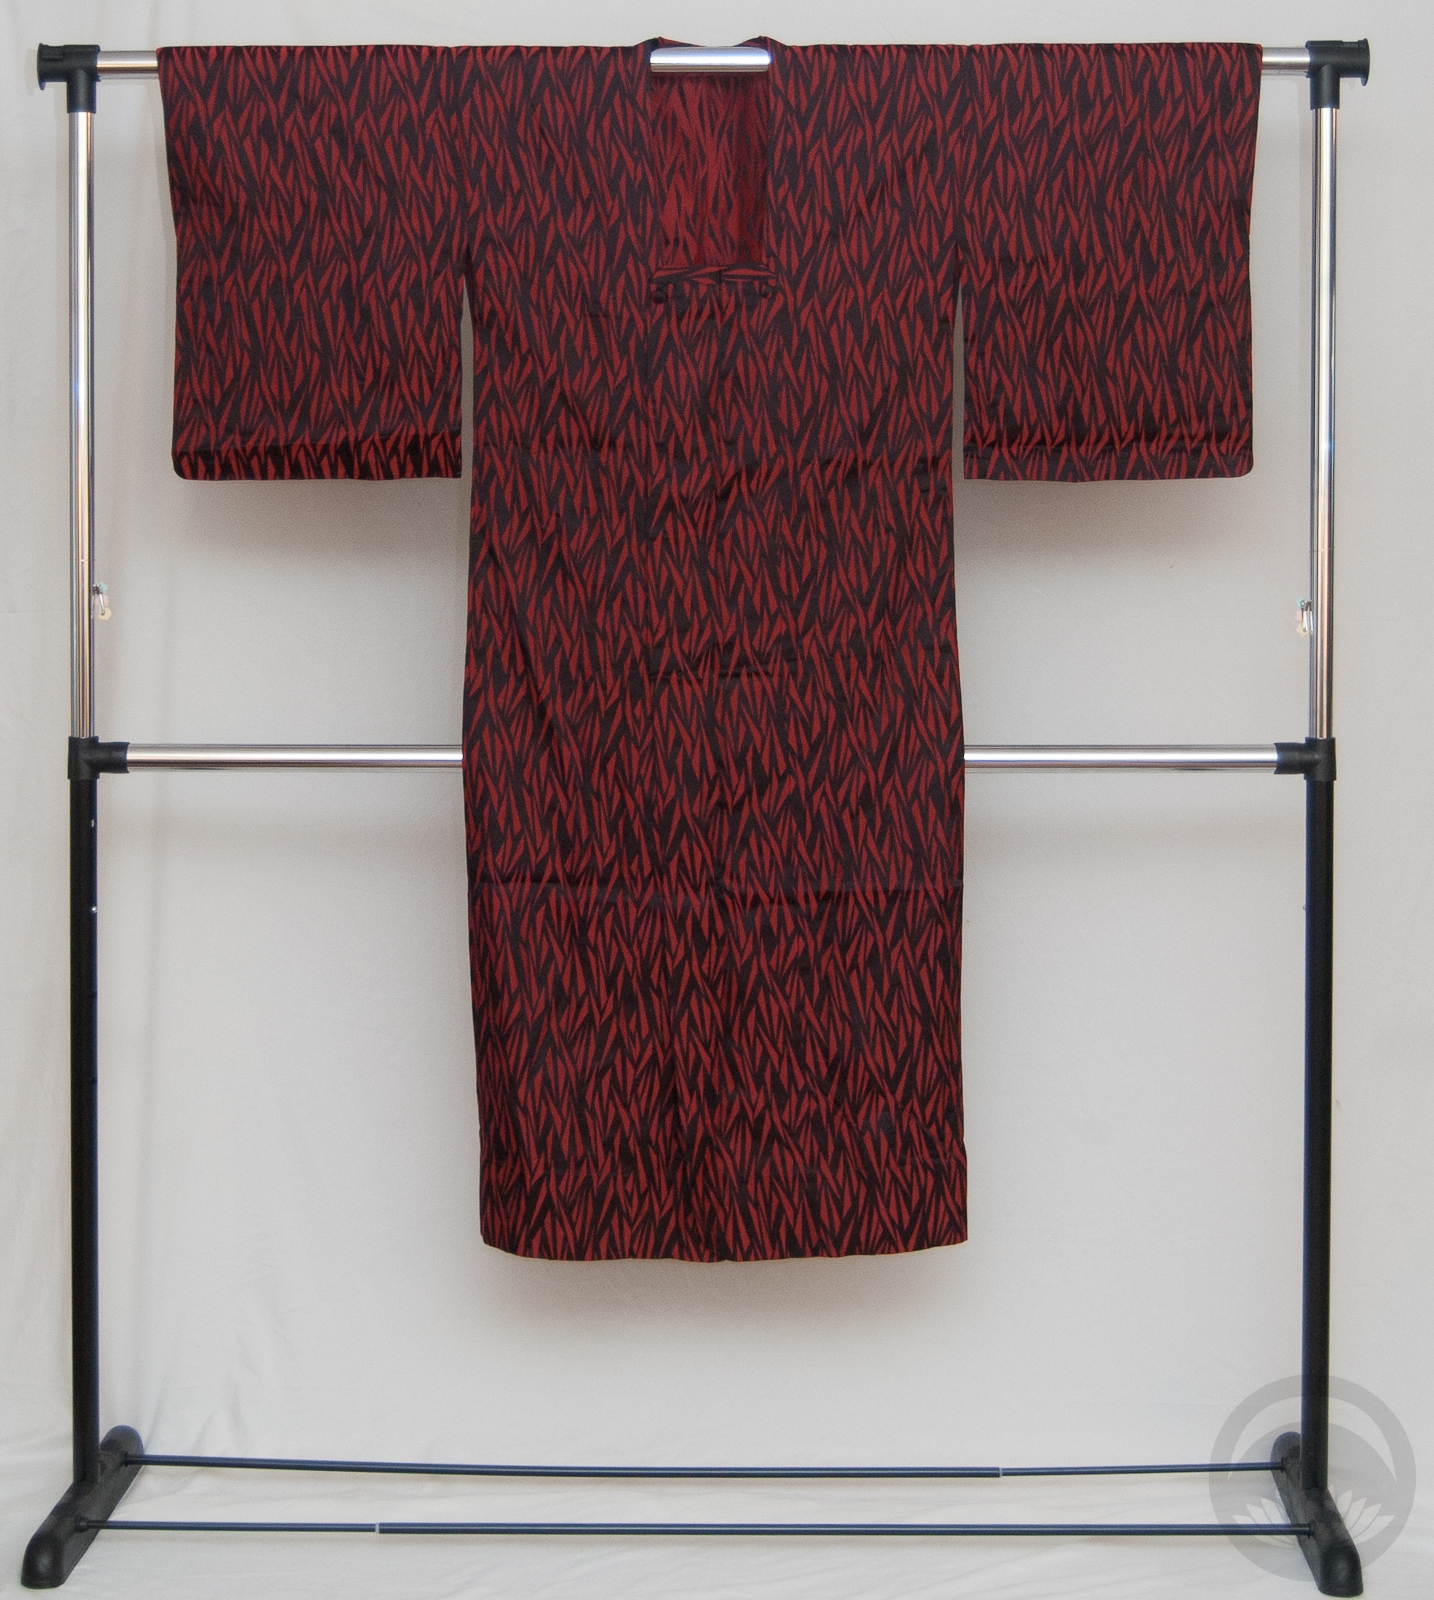
Since today’s feature is about everyone’s favourite goofy little bird motif, chidori, I had two obvious choices for this entry. My bold, high-contrast irotomesode with nami-chidori (plovers on waves) around the hem, or the quieter but more unusual kurotomesode with tiny chidori over stylised matsu (pines).
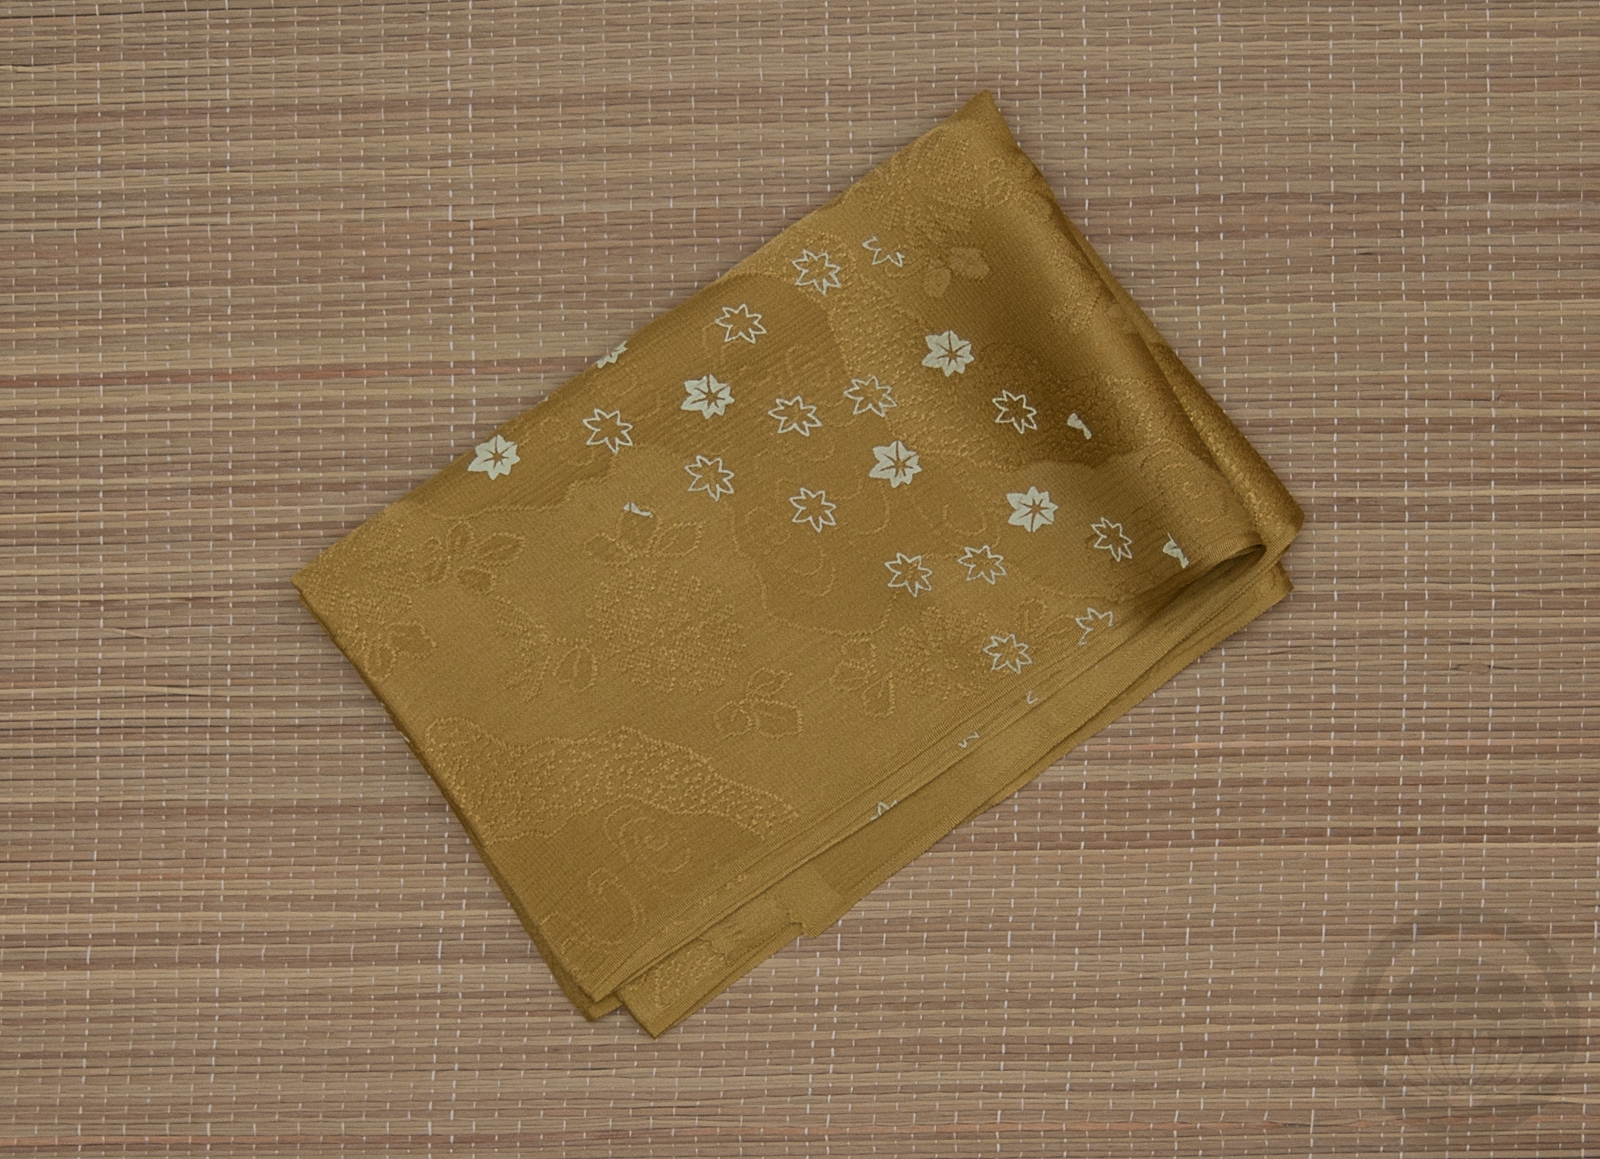
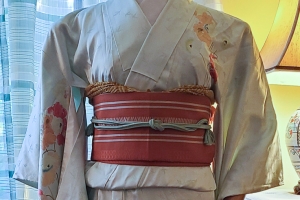
The subtle, small chidori won out in the end though. I really love this kimono so much, for several reasons. It was purchased in Boulder, Colorado, which is a place that means a lot to me, and it’s also a rarity since there was only a brief period where it was acceptable and stylish for kurotomesode to have a small amount of motif on the back of one sleeve. As much as I love the showier irotomesode, this piece below will always have my heart.
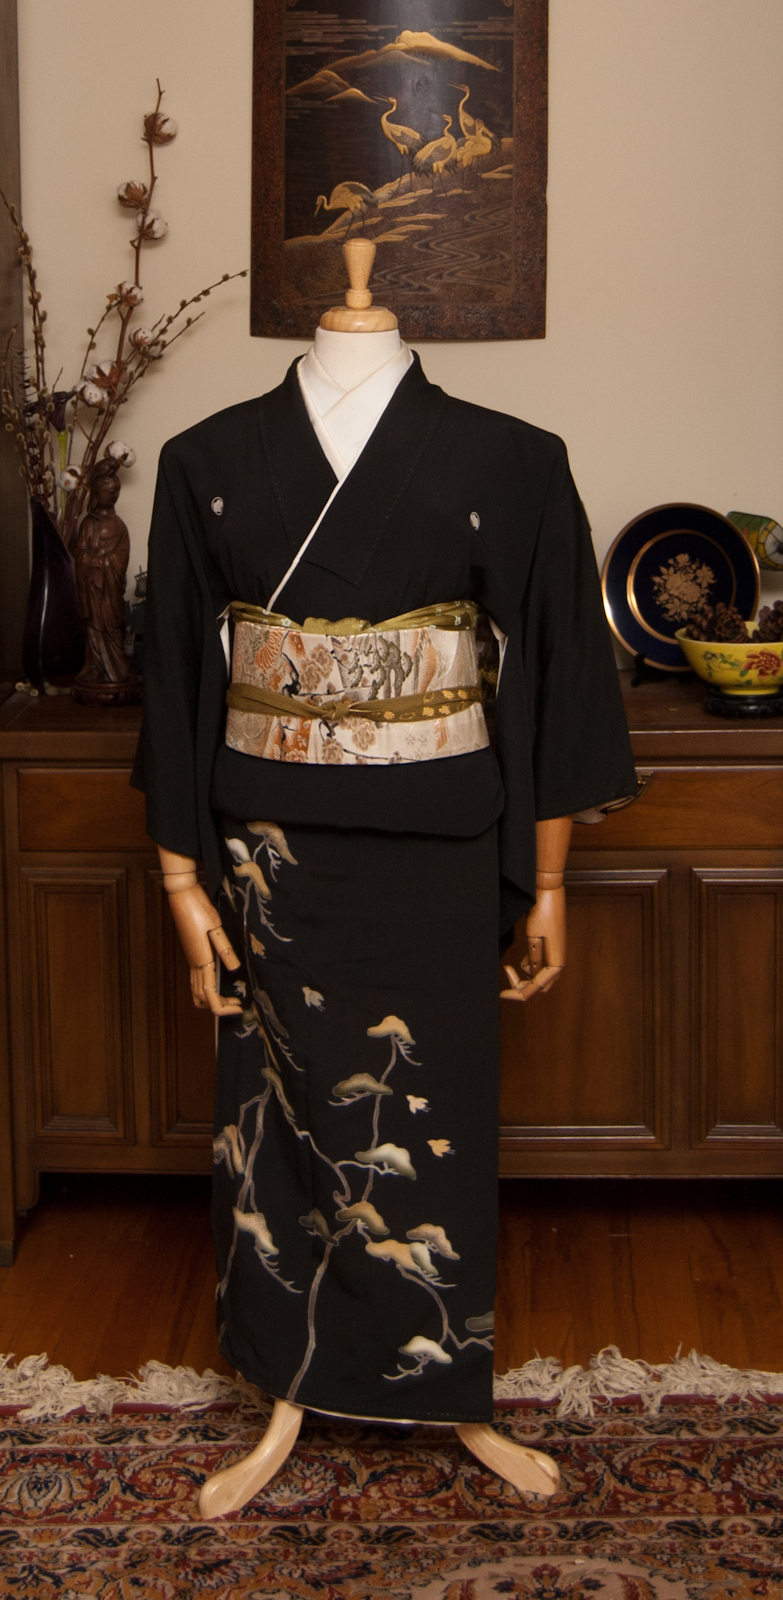
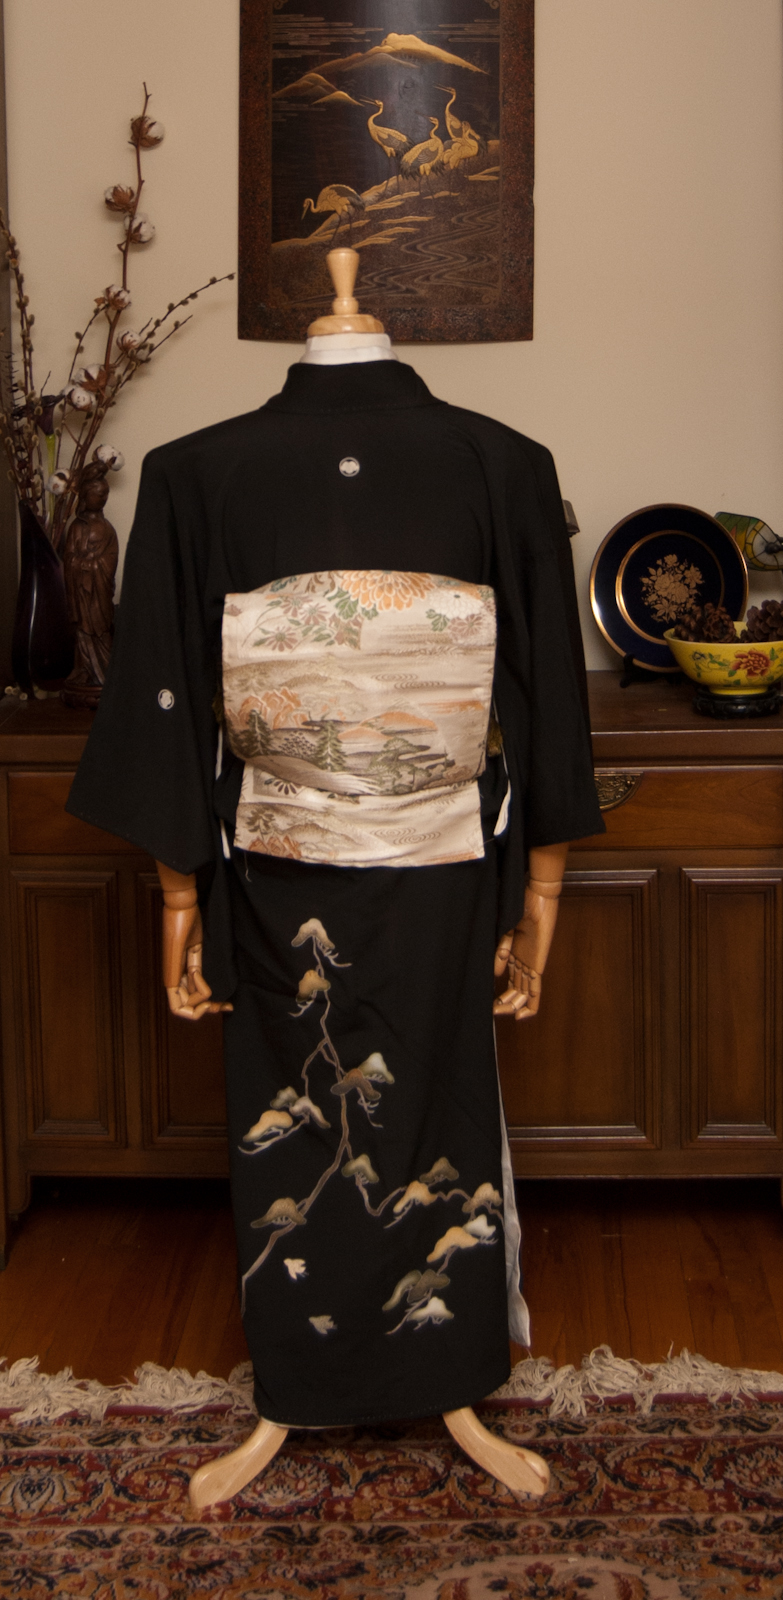
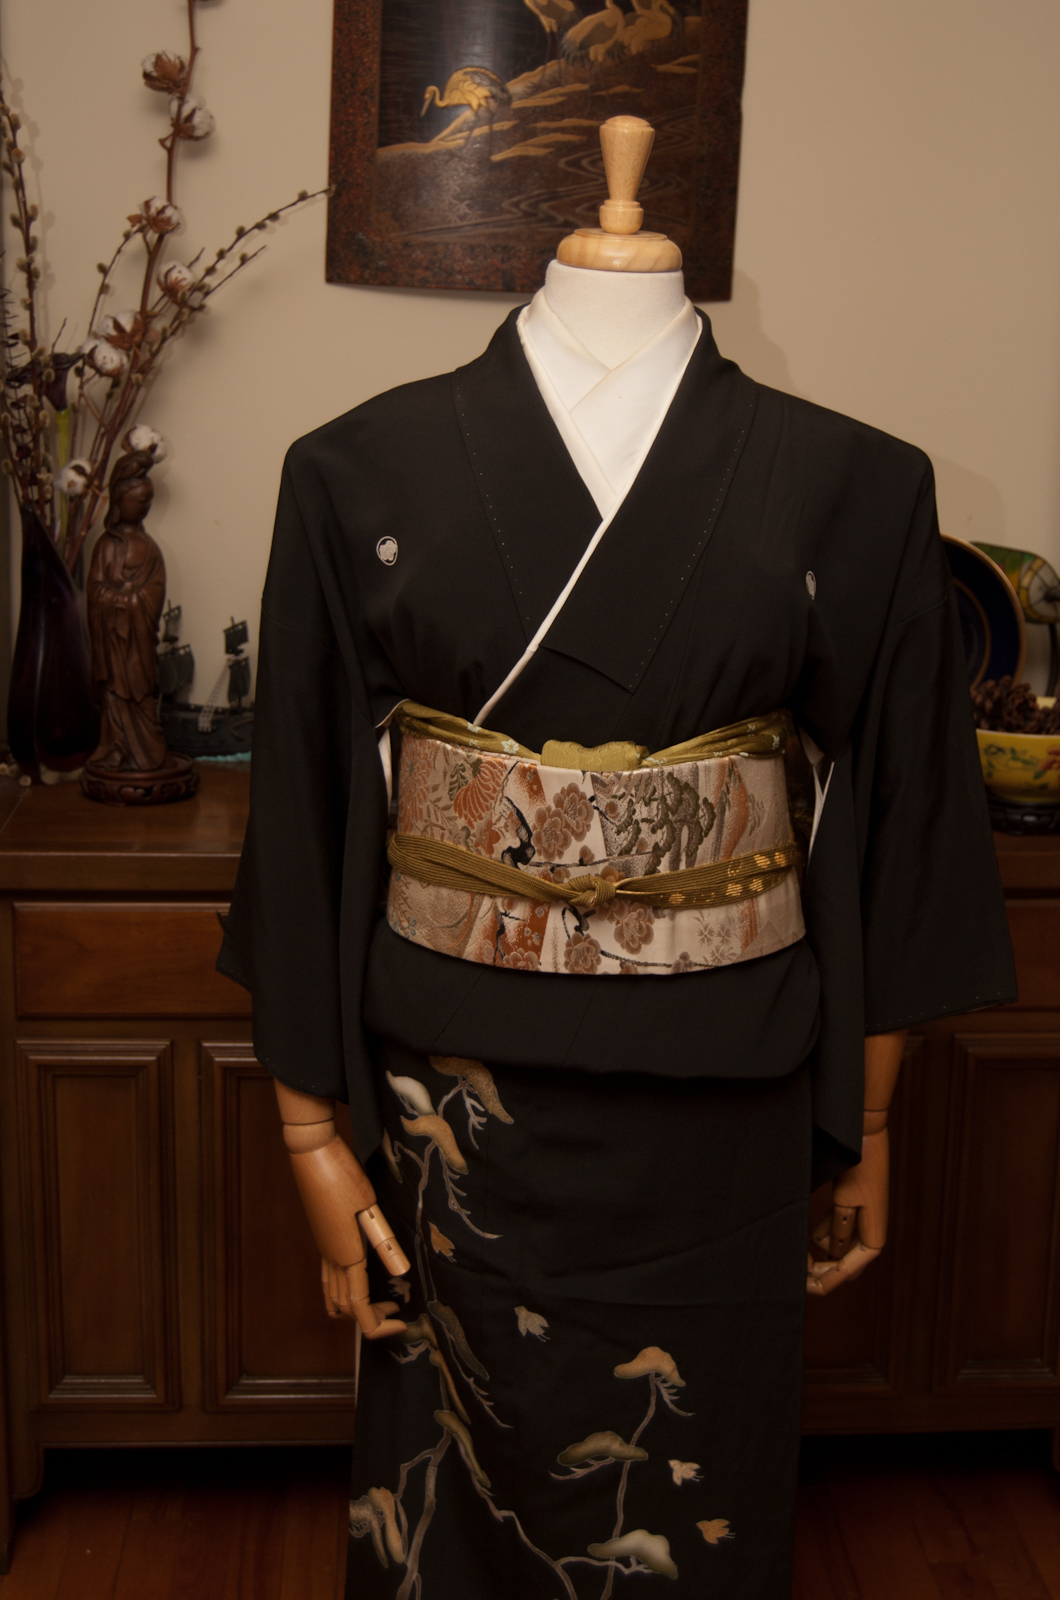
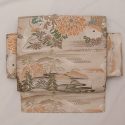
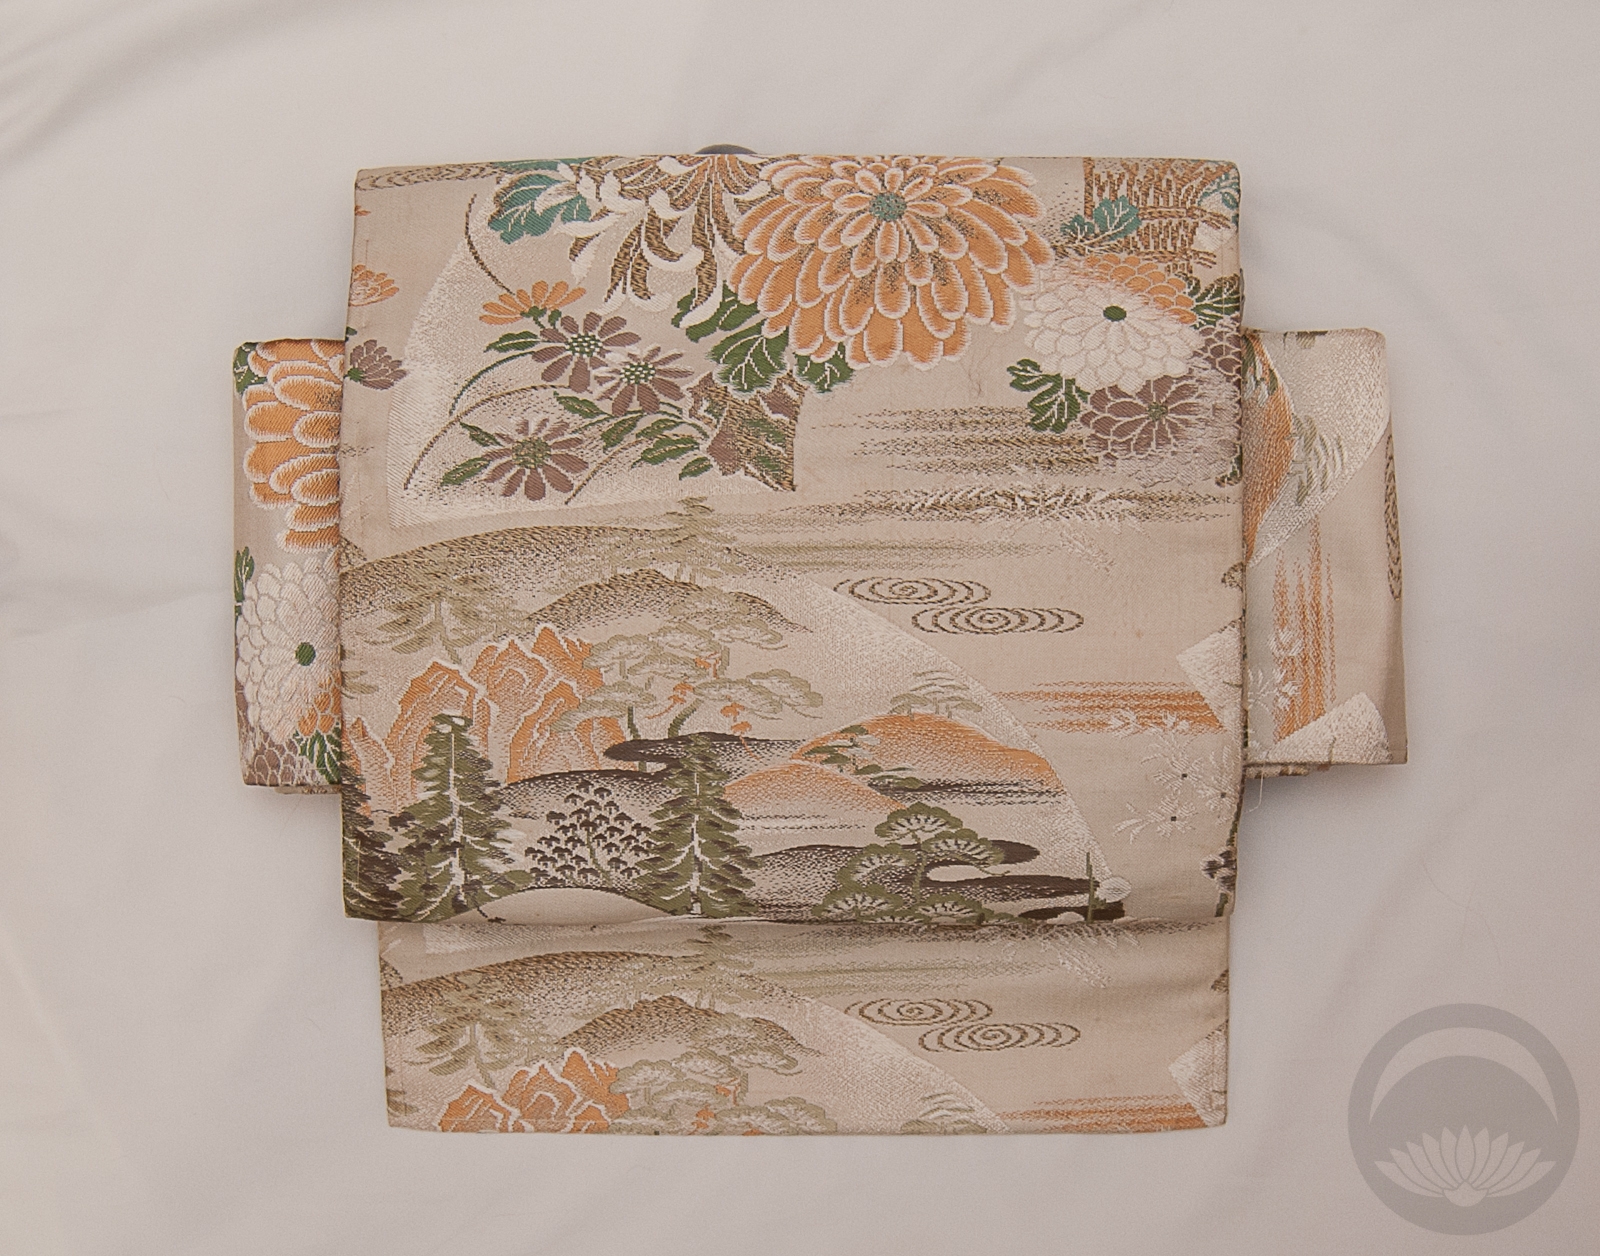
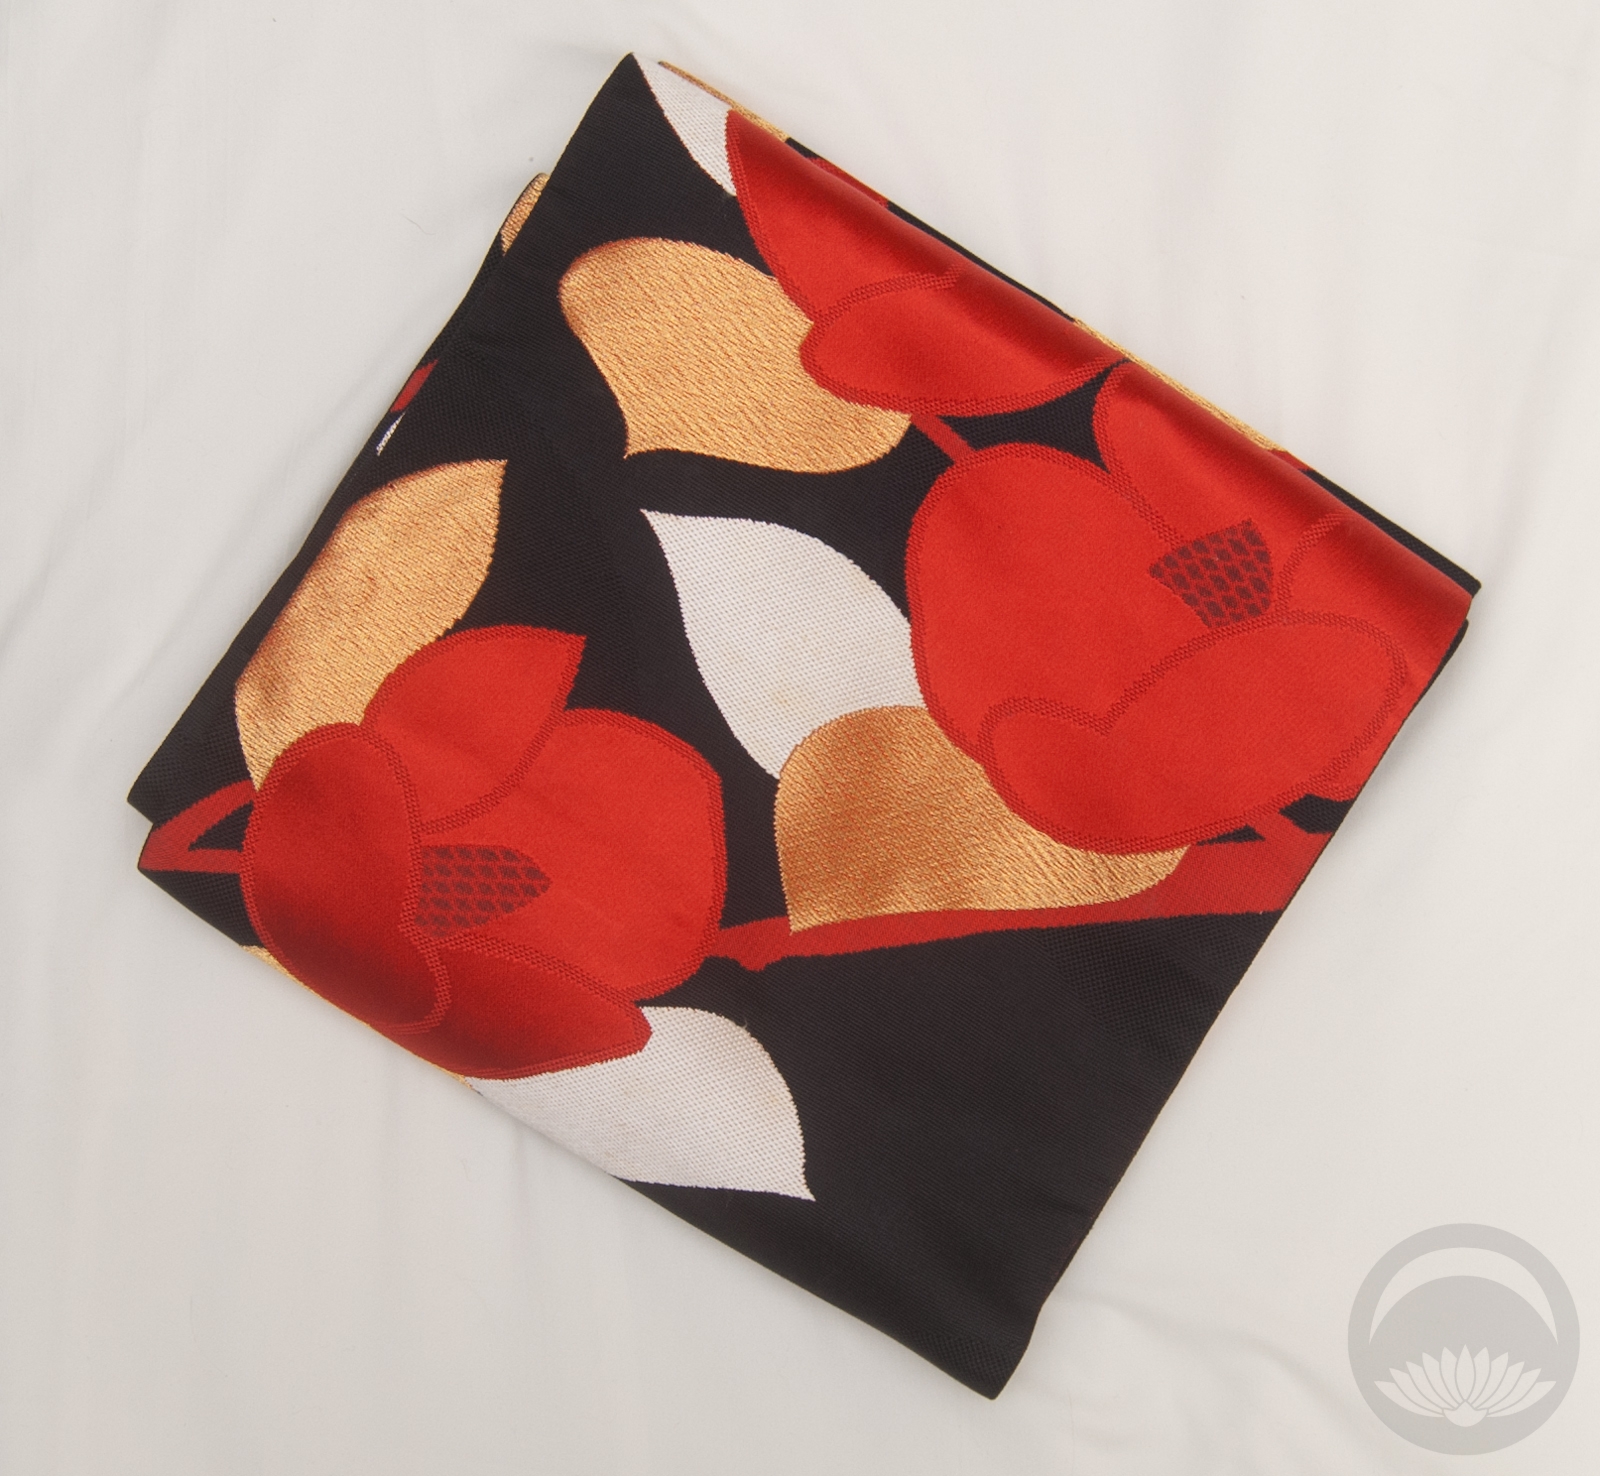
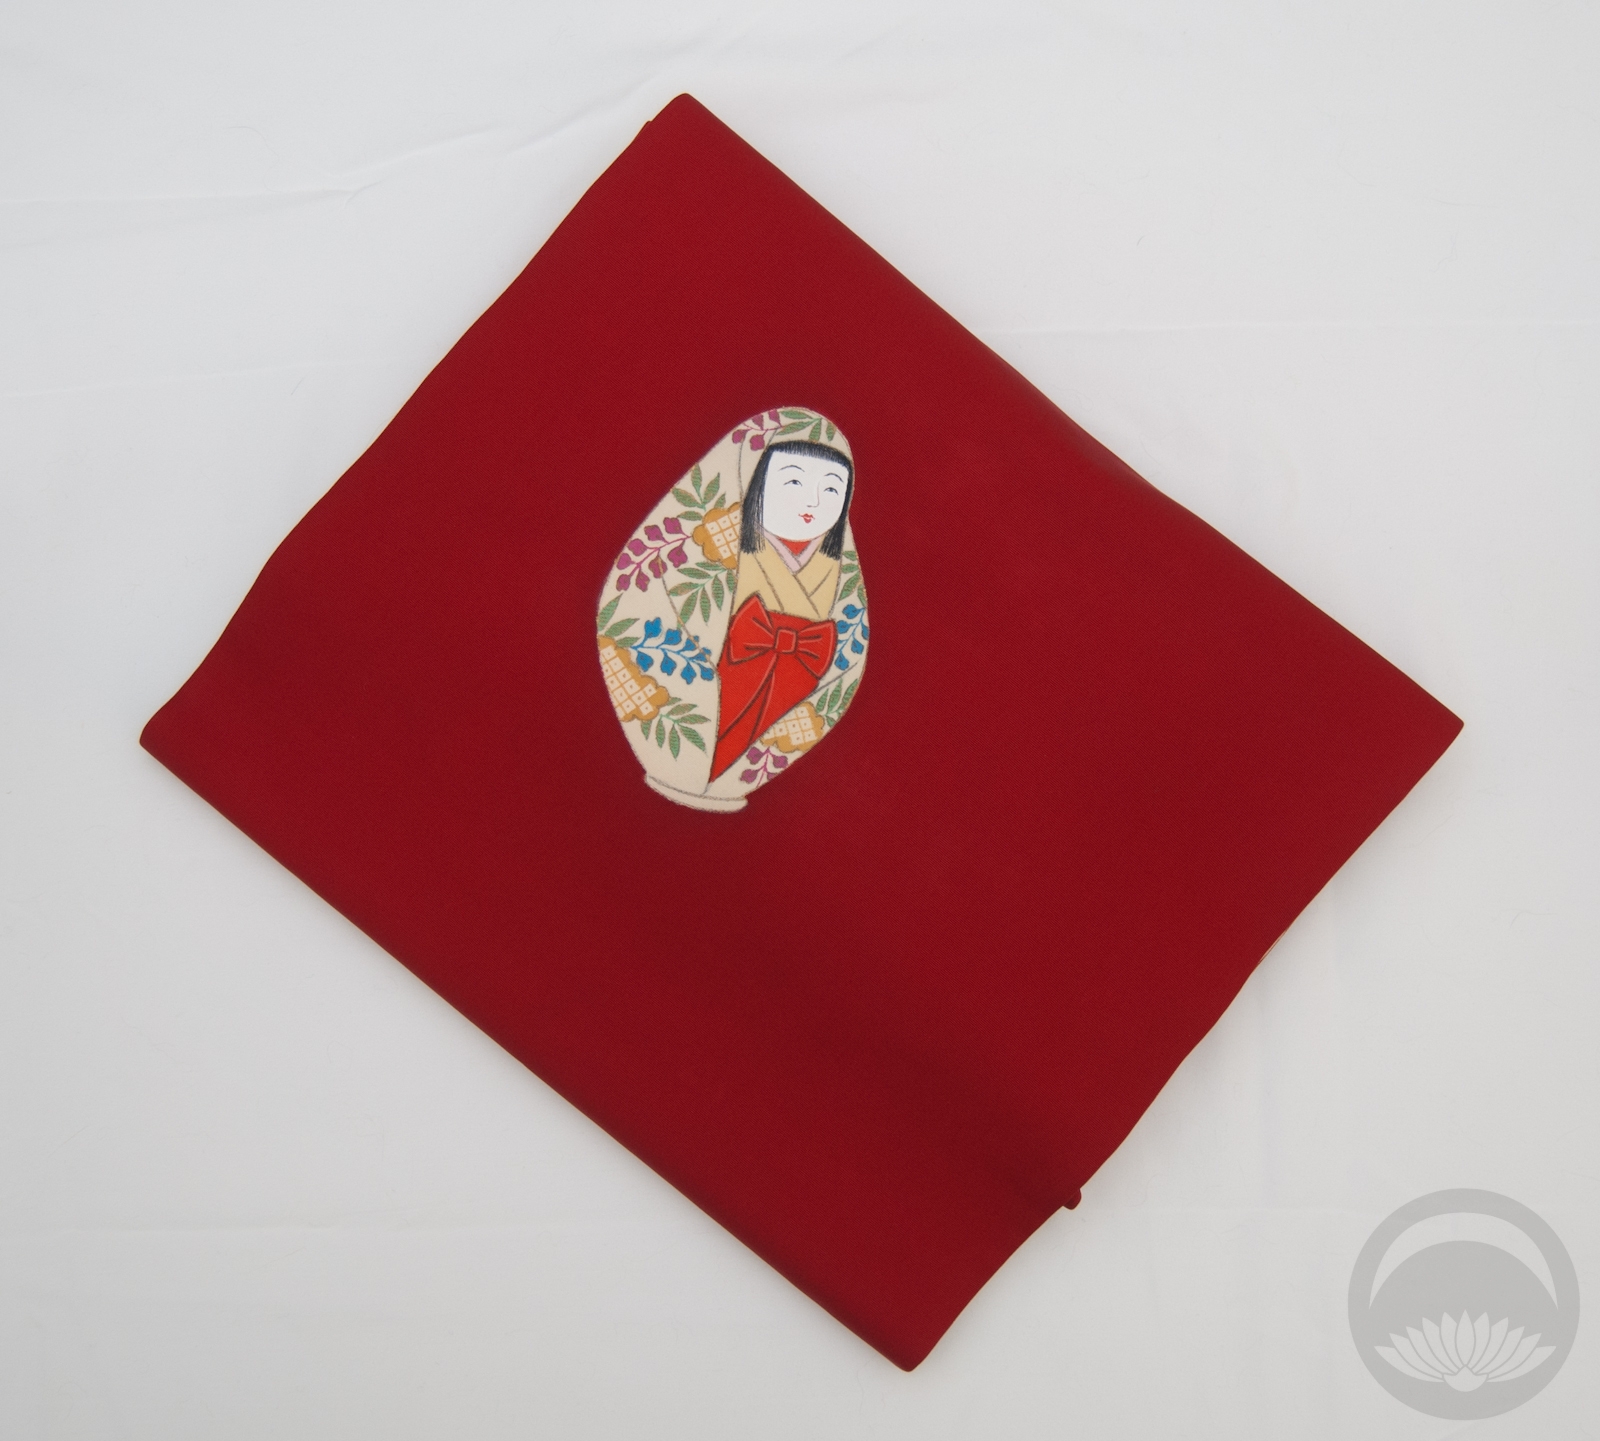
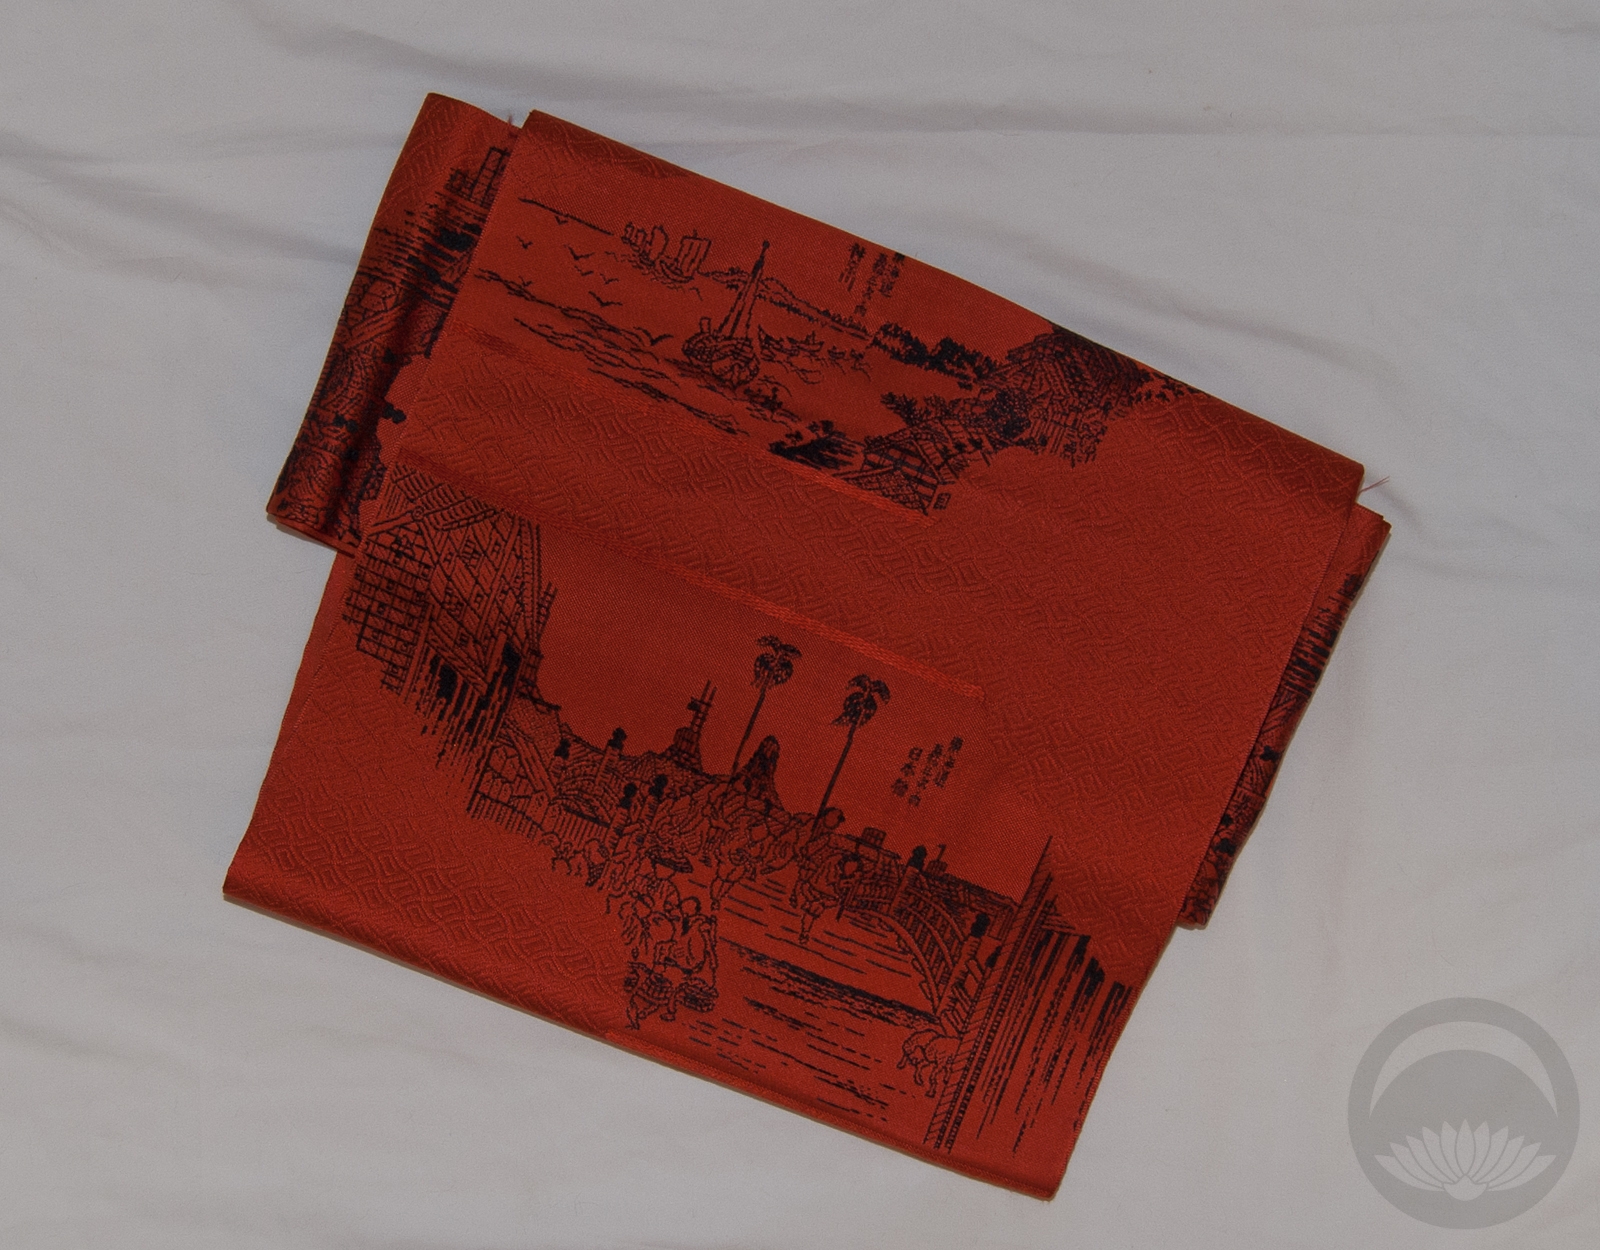
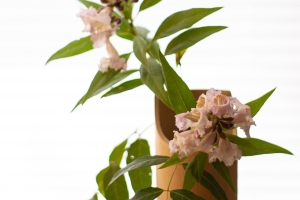
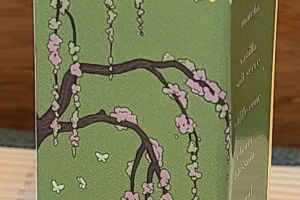
I paired it with a tsuke-obi that also has pine motifs and went for accessories all in the same sort of warm green/brown colour scheme. It’s a very subdued and harmonious outfit, which appeals to me more and more as I get older.
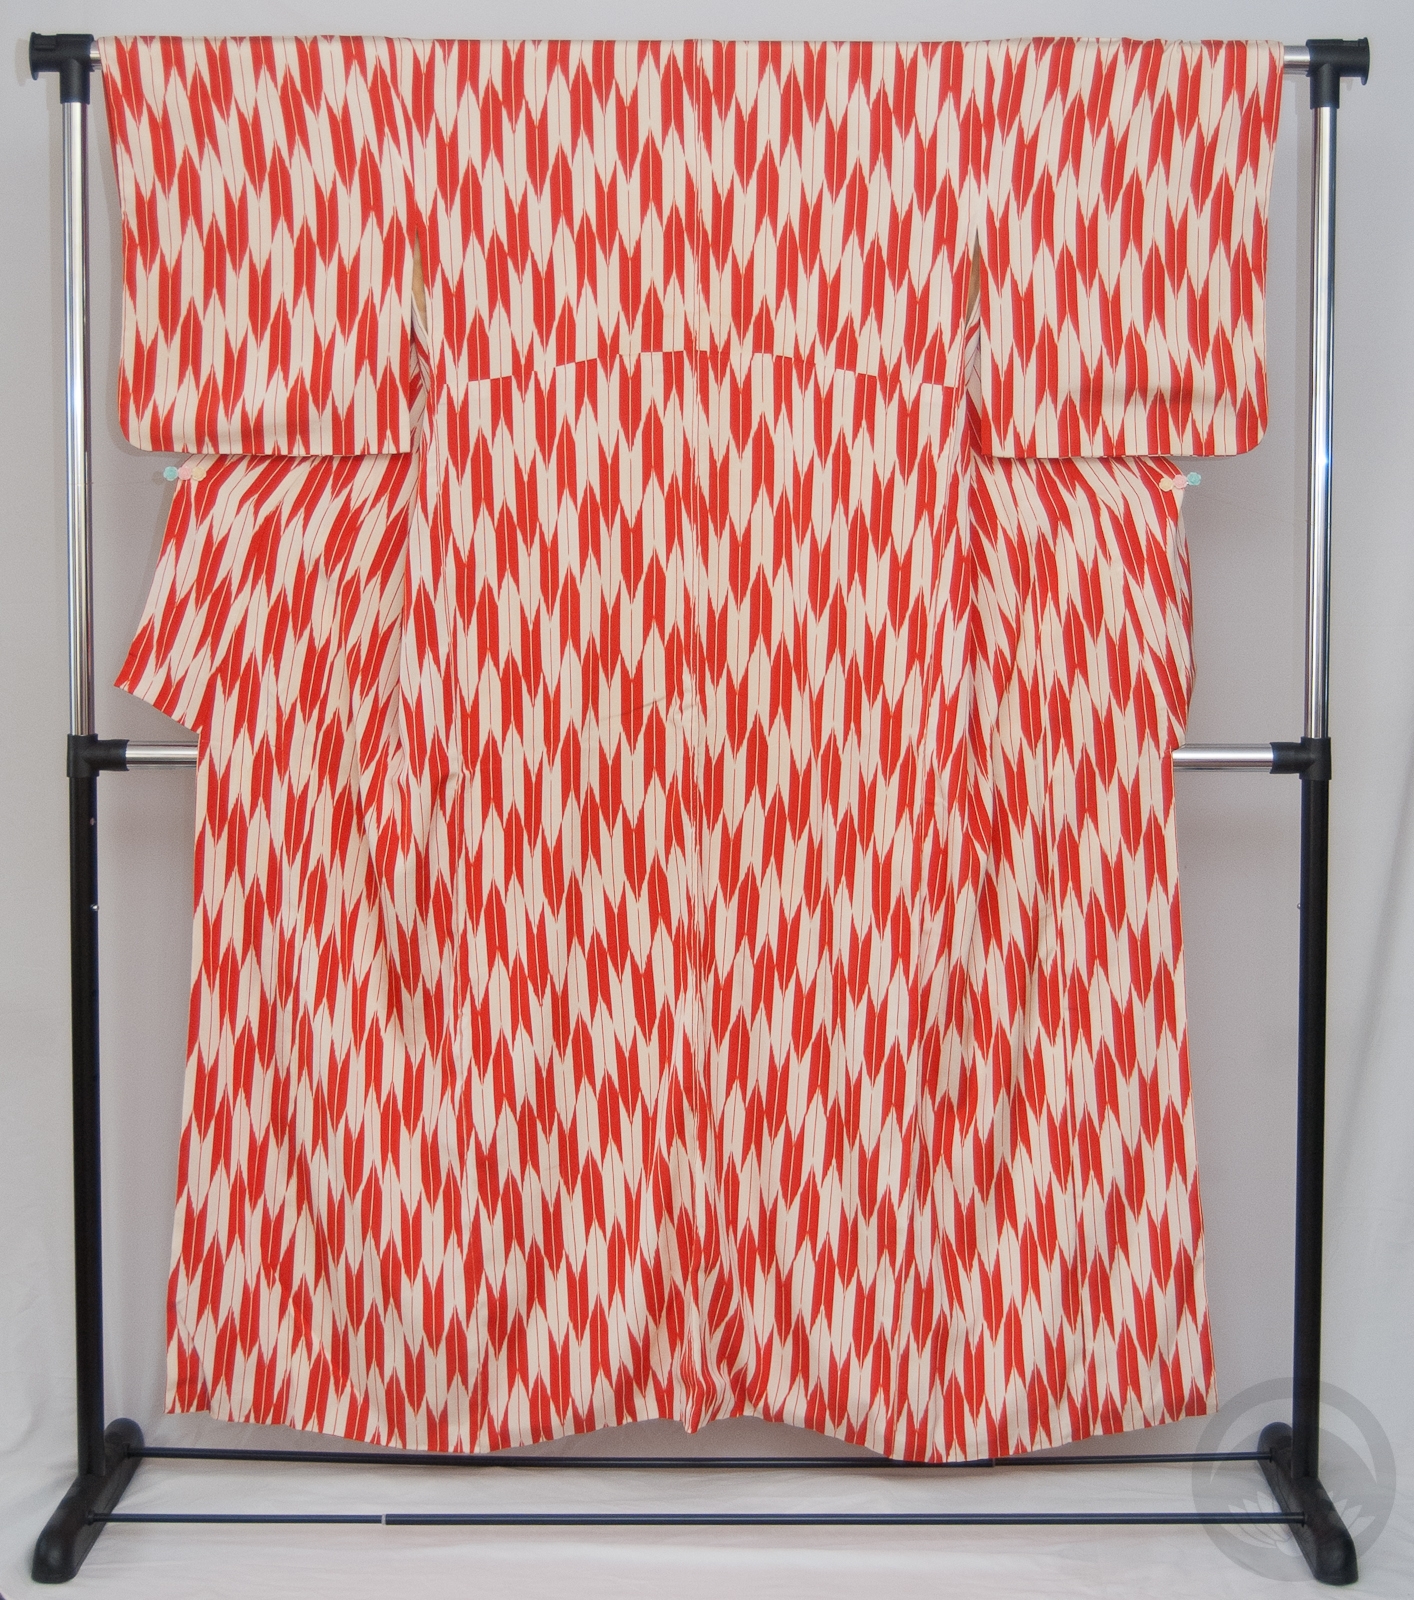
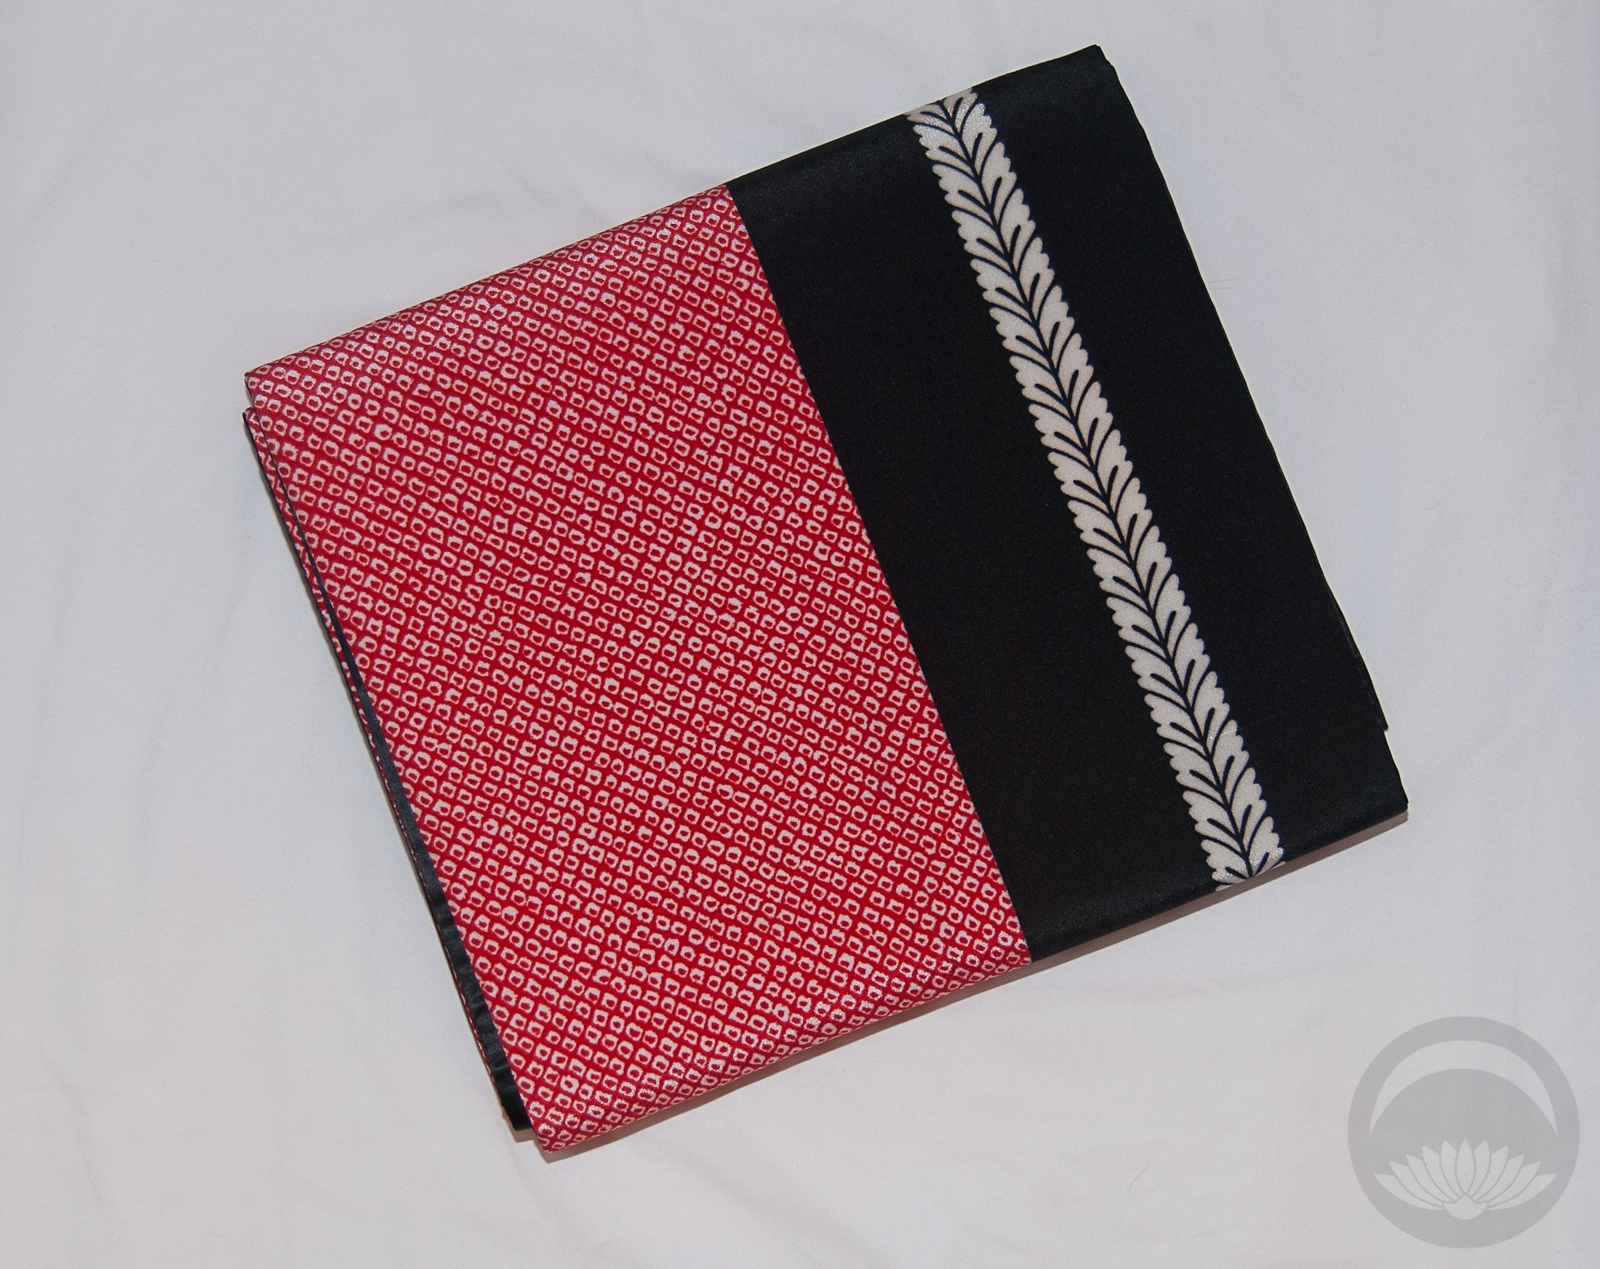
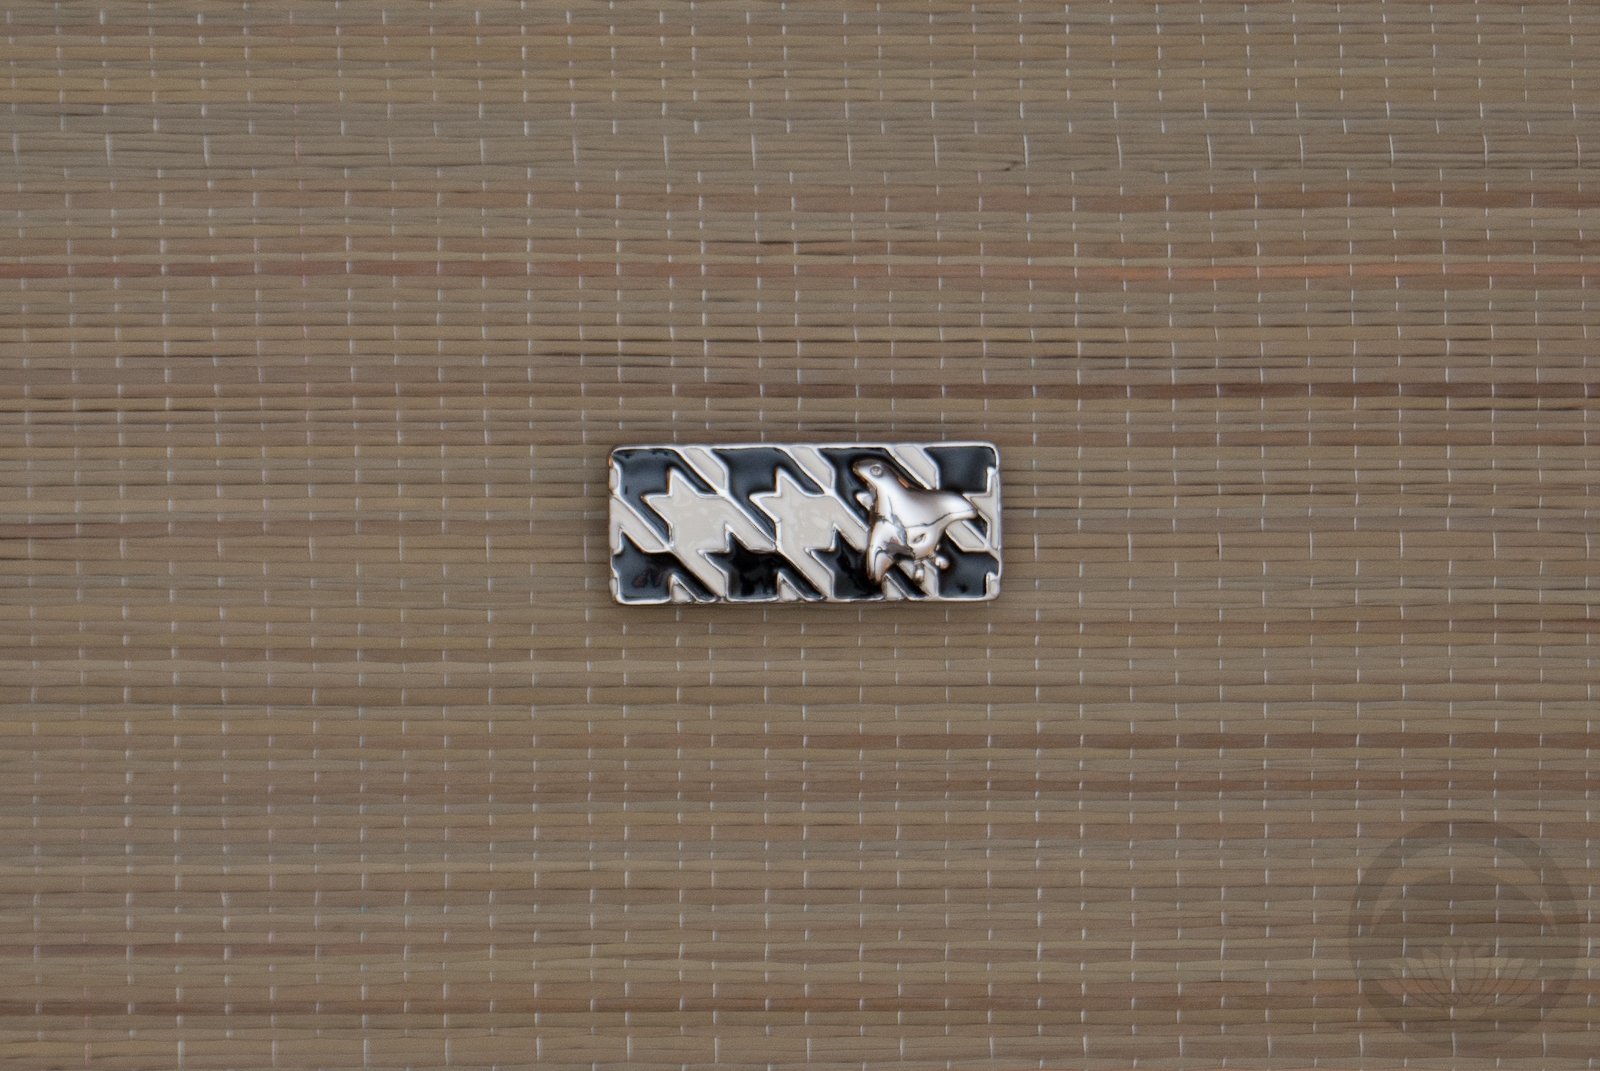
Since “chidori” is also the term used for herringbone patterns, I debated using this obidome as well. You can see where the name came from, the little interlocking shapes do indeed look like the stylised shape used to represent the birds. But it felt too modern and casual for the rest of the outfit, and didn’t fit over the obijime I’d chosen, so I’ll save it for another time 🙂
Items used in this coordination
-
- Chidori and Pine Kurotomesode

-
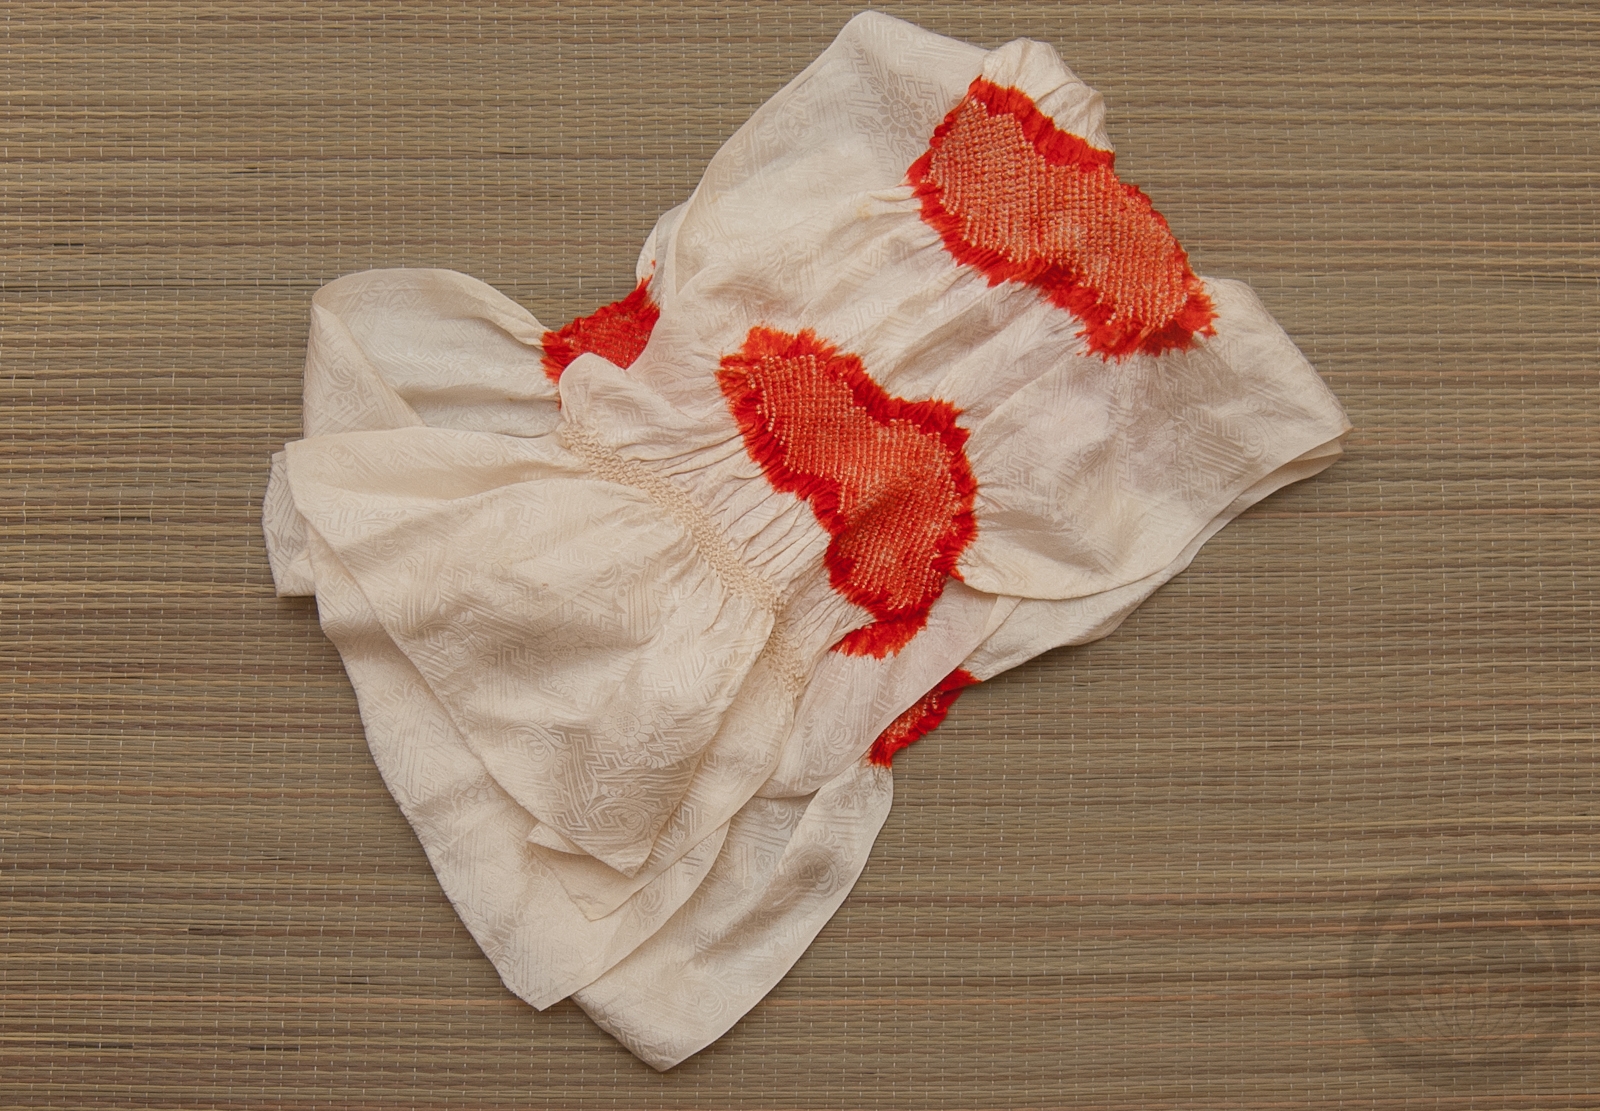
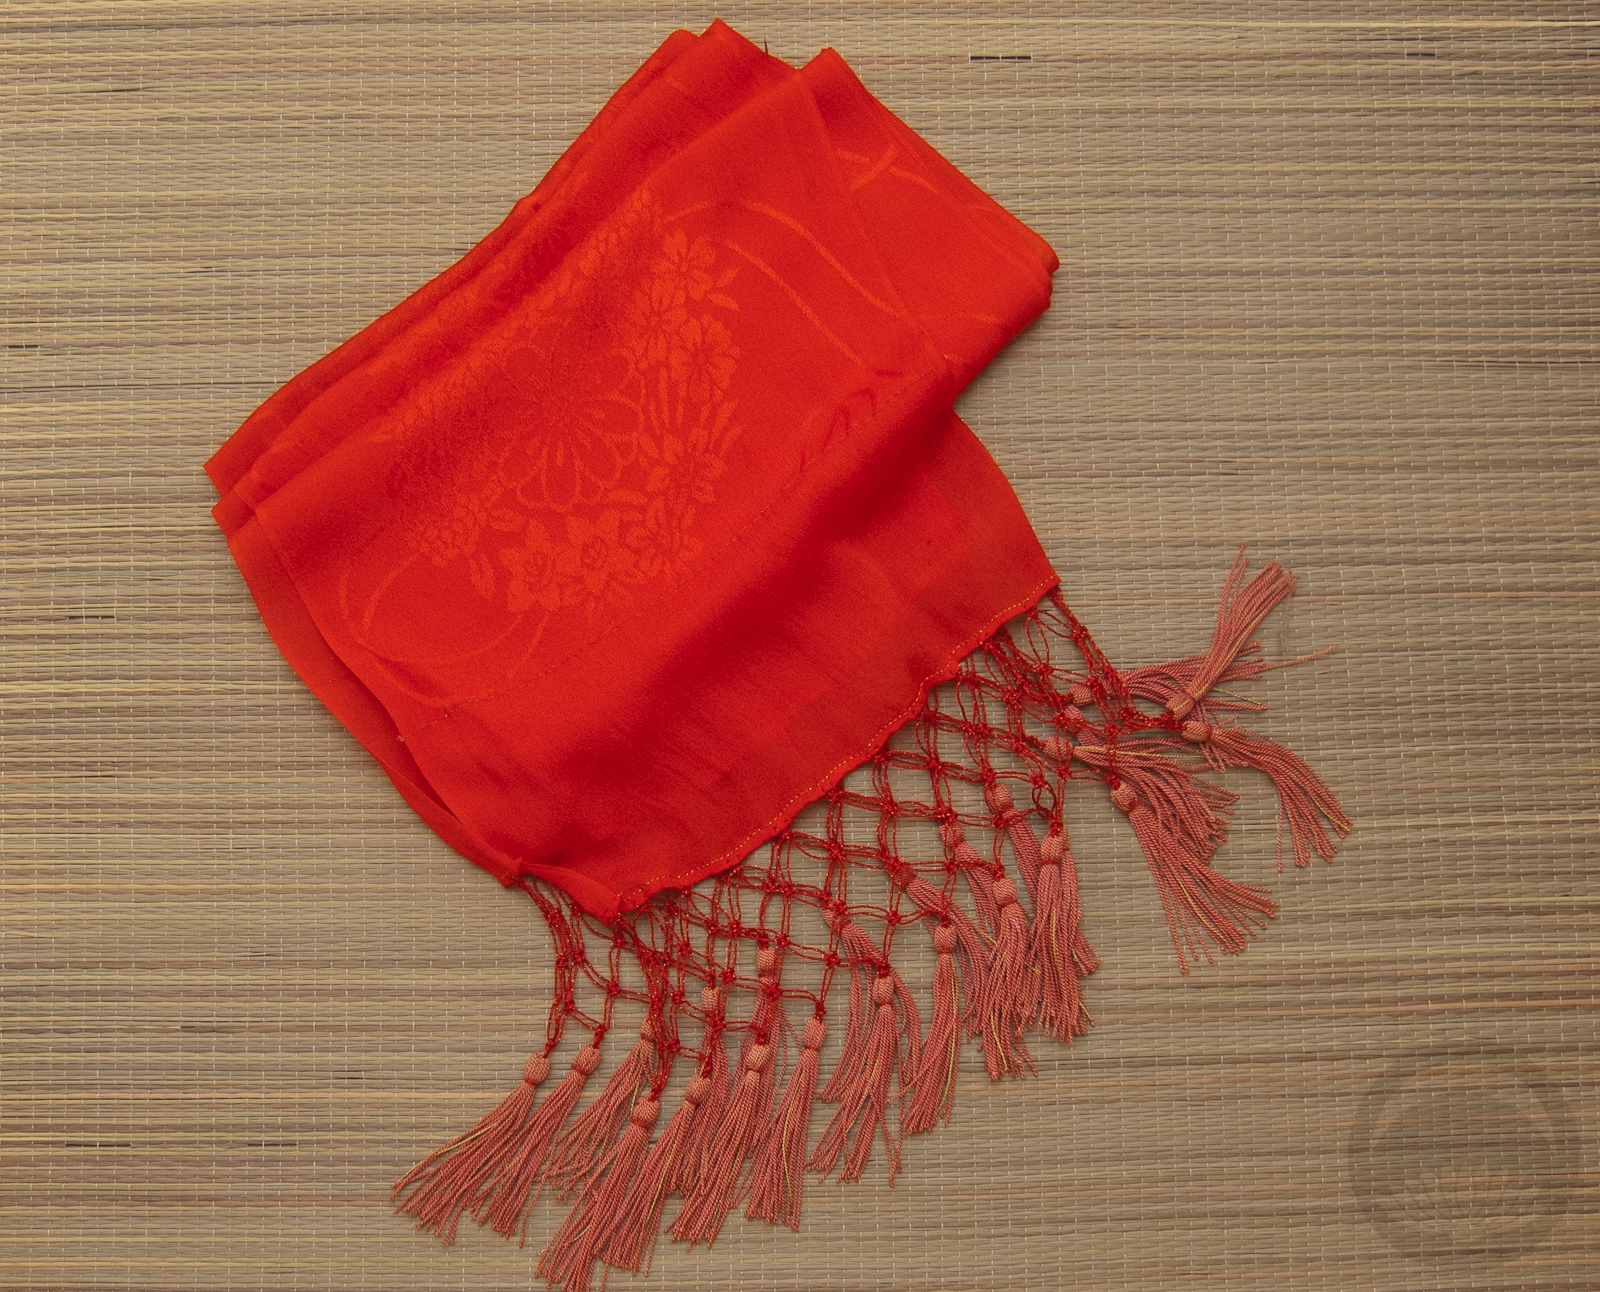
- Vintage Cream
-
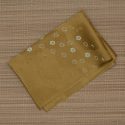
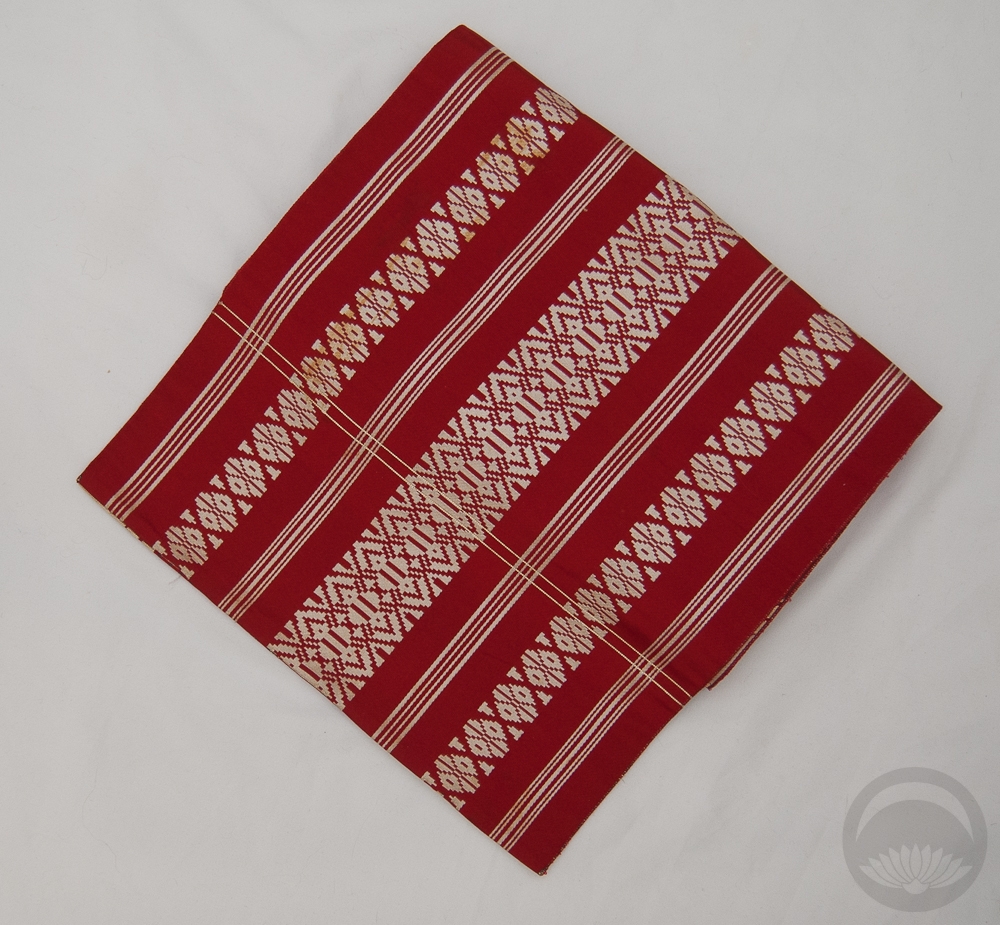
- Olive Rinzu
-
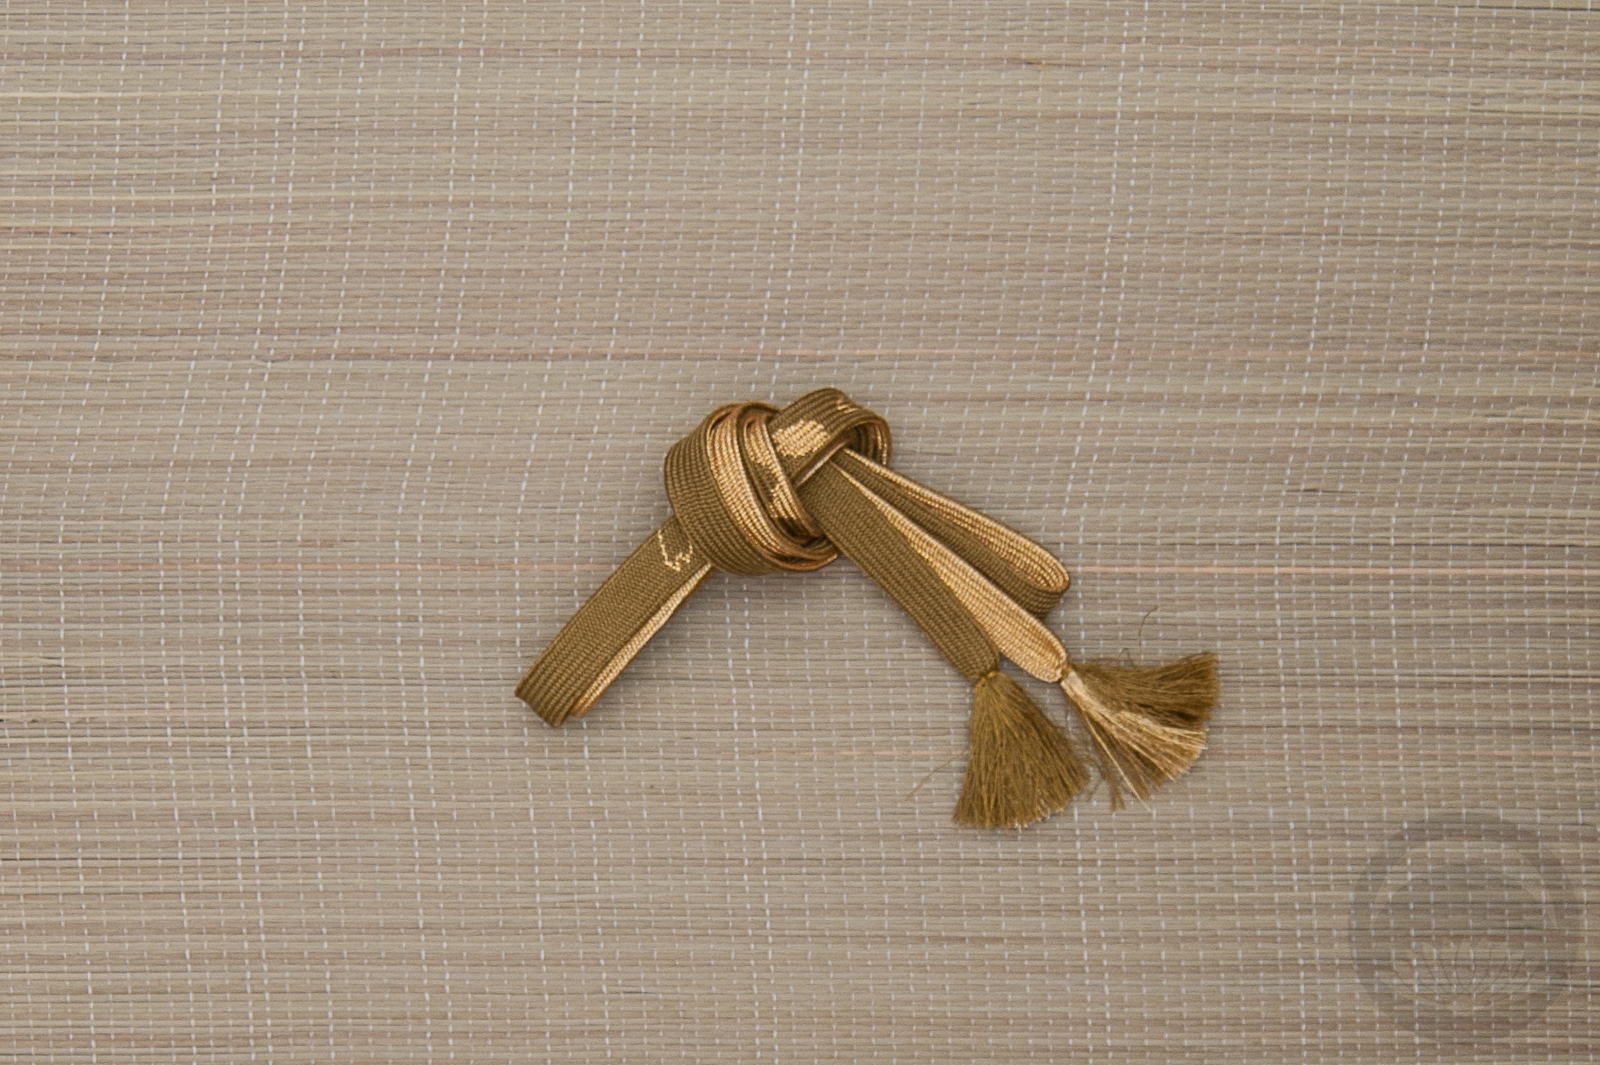
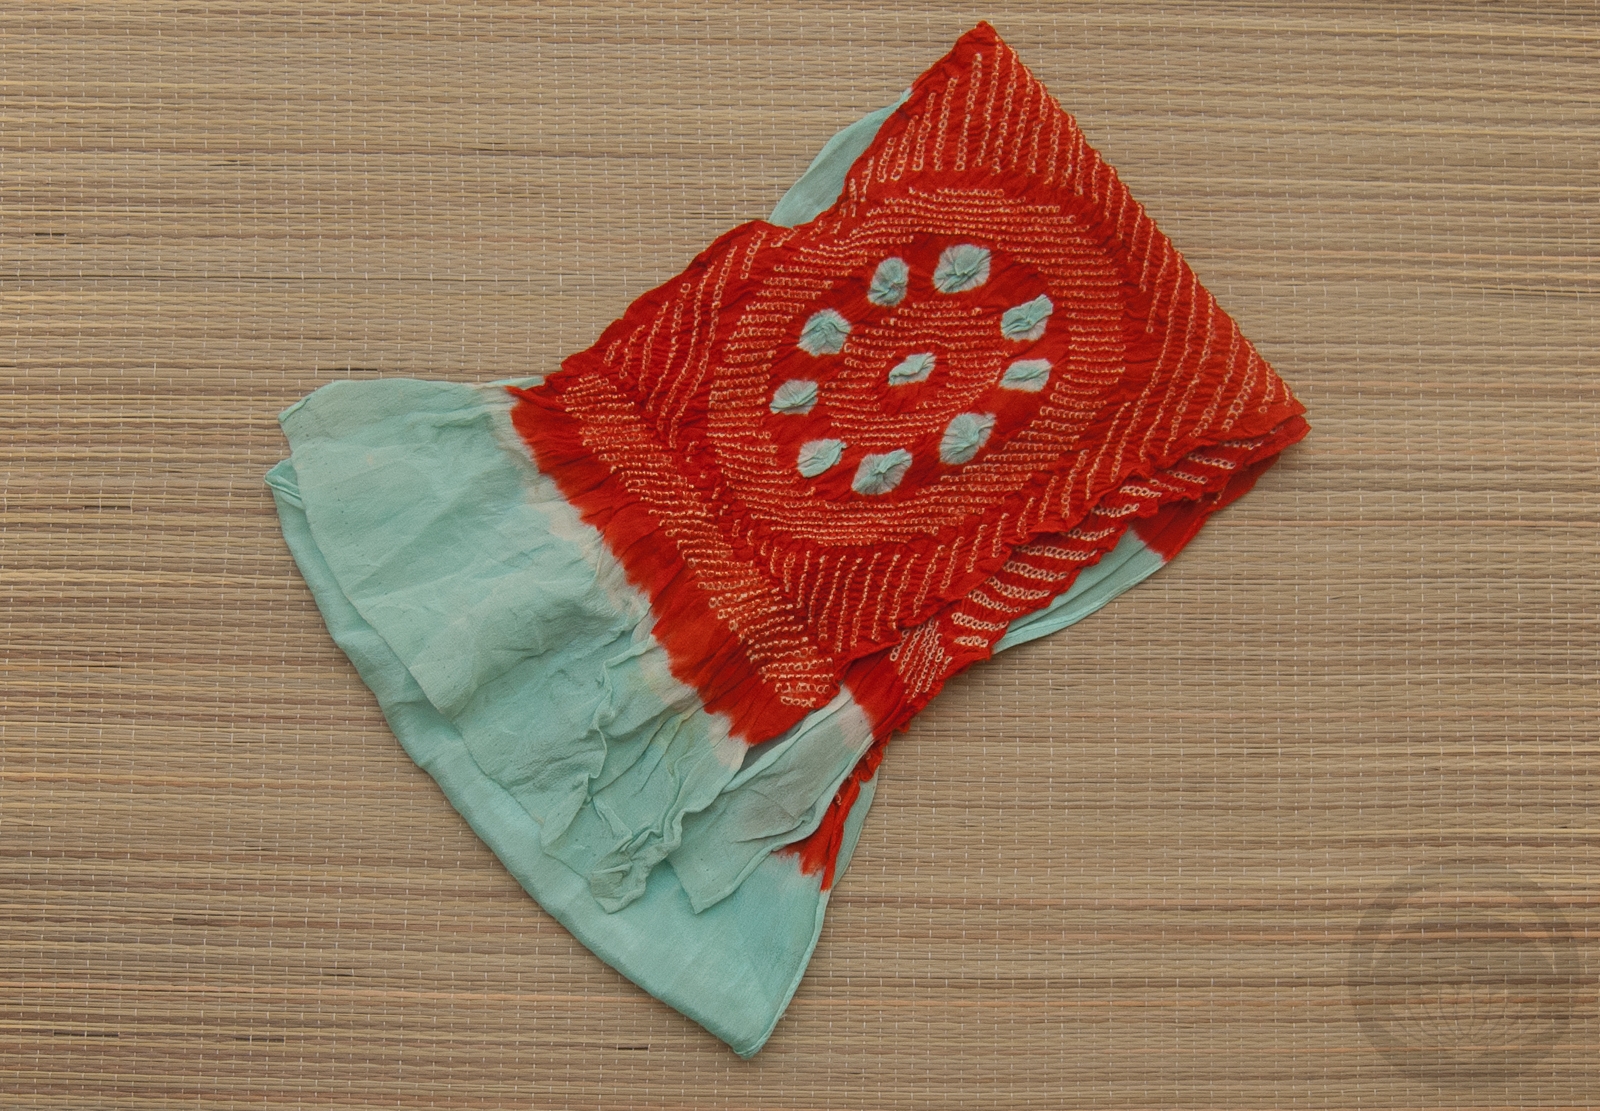
- Gold & Olive


 Bebe Taian
 CHOKO Blog
 Gion Kobu
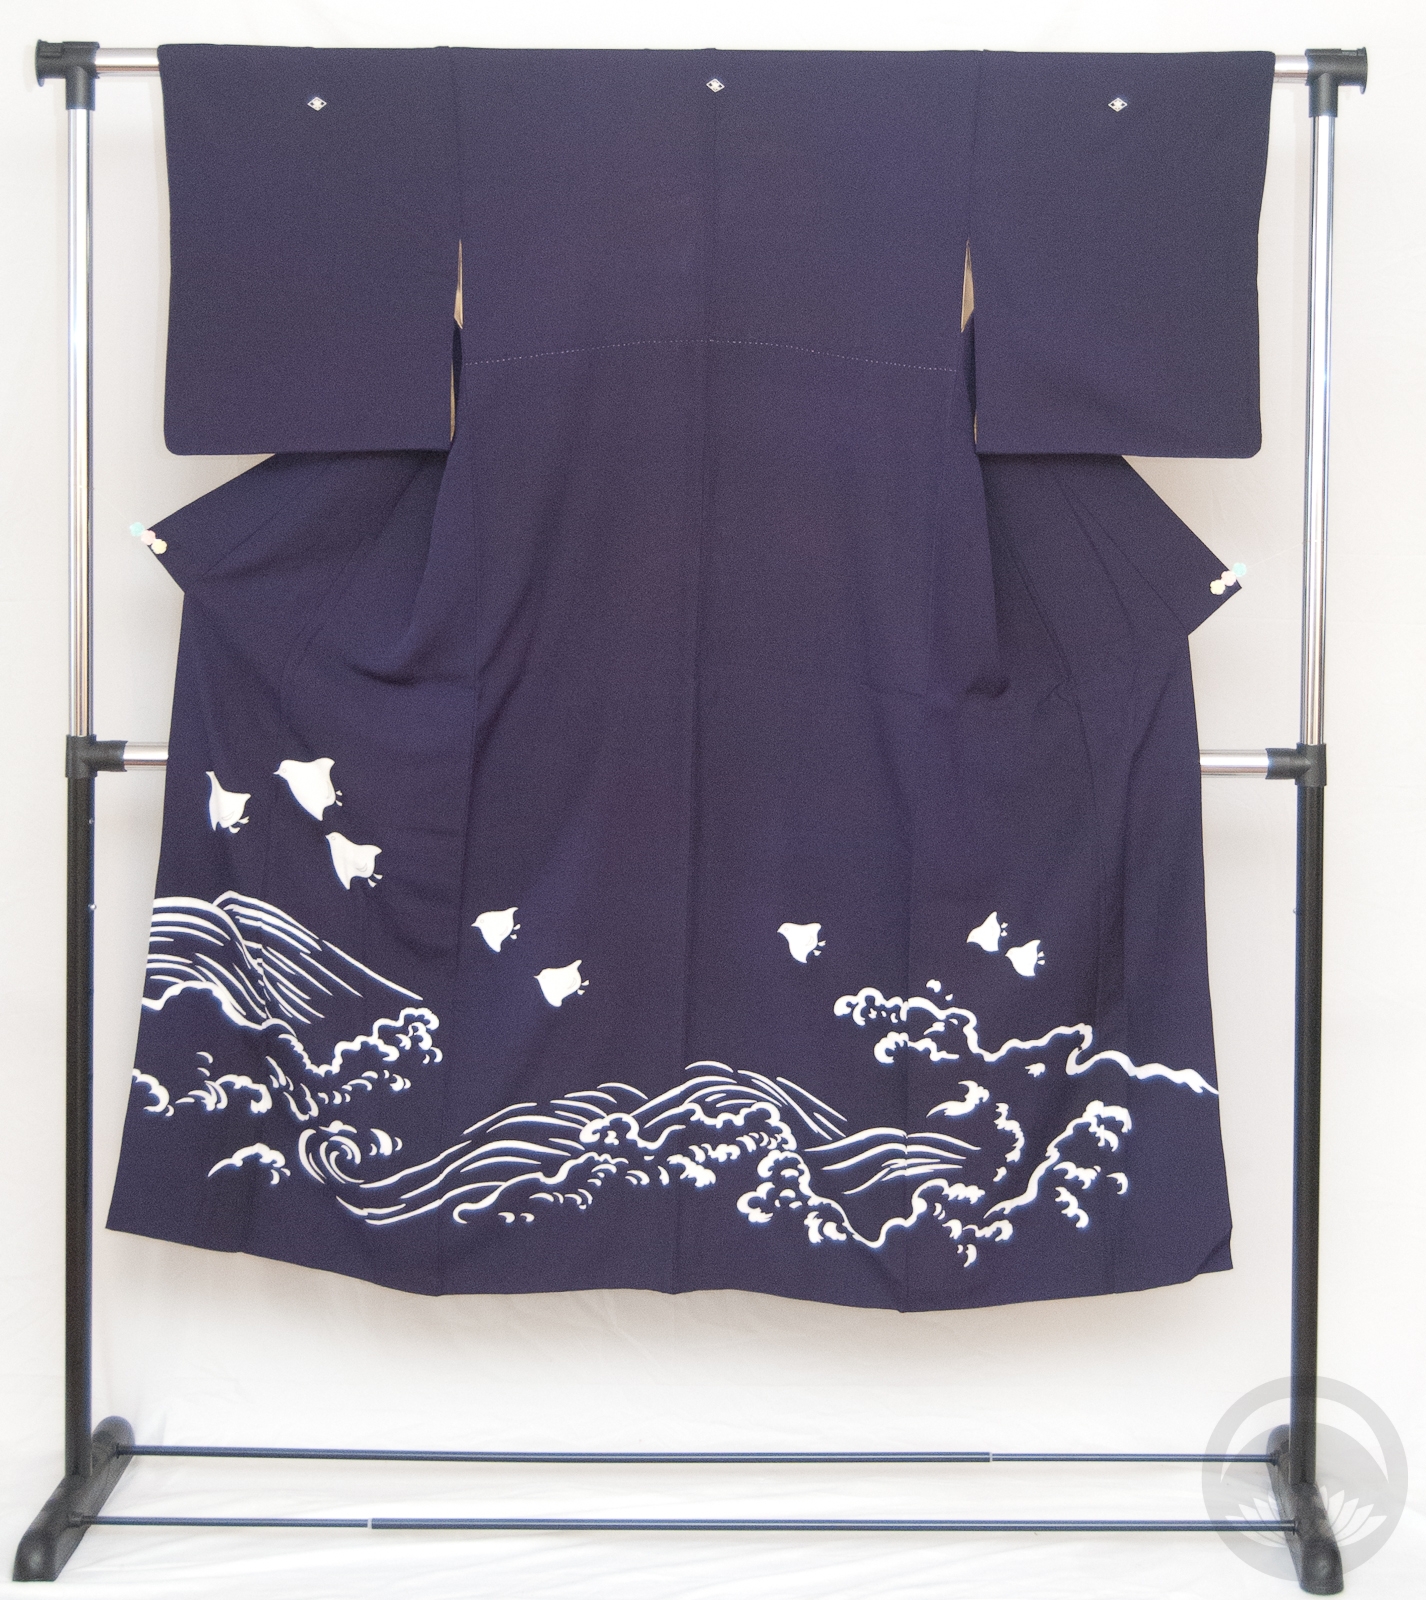