
Kintsugi, 金継ぎ, golden joinery
If you’ve ever seen a beautiful piece of Japanese pottery or ceramic shot through with a line of warm gold filling a crack, you’ve seen kintsugi. It’s the art of using lacquer and gold dust to repair an item, giving it a new life and a new purpose. Kintsugi exemplifies the Japanese qualities of mottainai (regret over waste) and wabi-sabi (the acceptance of impermanence and imperfection). Rather than throw out and waste a broken item, it is a way to give it new life, and create something unique.
You can buy kits to do your own real kintsugi repair, but they are expensive and hard to find. If you’d like to do an inspired DIY version using things you may already have at home or that can easily be bought online from places like Amazon, keep reading! You can follow this tutorial to repair an already-broken item or use it to create a new, unique item like a coaster or trivet. Instructions for both are below.

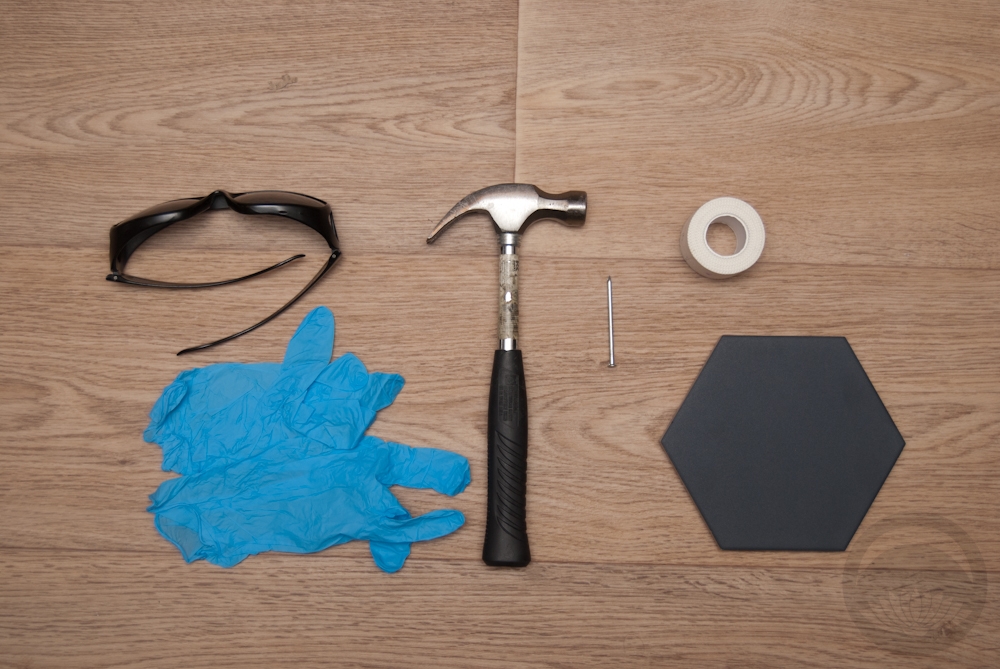
To repair a broken item, you will need the following:
- 2-part epoxy adhesive
- Gold resin-safe pigment (I used Pebeo Vitrail)
- Gold loose eyeshadow (I used Yves Rocher but this Wet n’ Wild is comparable)
- Toothpicks for mixing
- Disposable plastic cup for mixing.
- Rubber Gloves
- (Not pictured: Rubbing alcohol, acetone, and cotton swabs for cleaning up)
To create a new item from scratch you will also need the following:
- Safety goggles
- A Hammer
- The item you intend to “shatter” (I used a tile from Tiles Inspired, they offer 99c samples)
- Something to prop up your item (not necessary, but helps with a clean break)
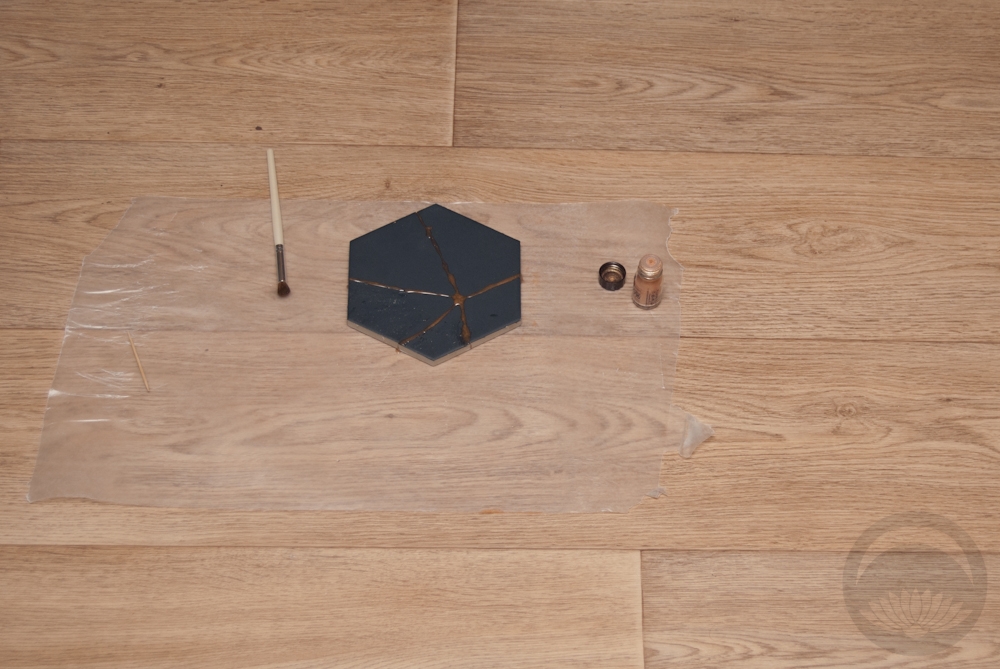
Your first step should be to set up in a clean, flat area. Several steps in this project are very time-sensitive, so you want to be sure you have everything you need nearby. Spread some waxed paper down on your work surface for easy cleanup and removal when you’re finished.
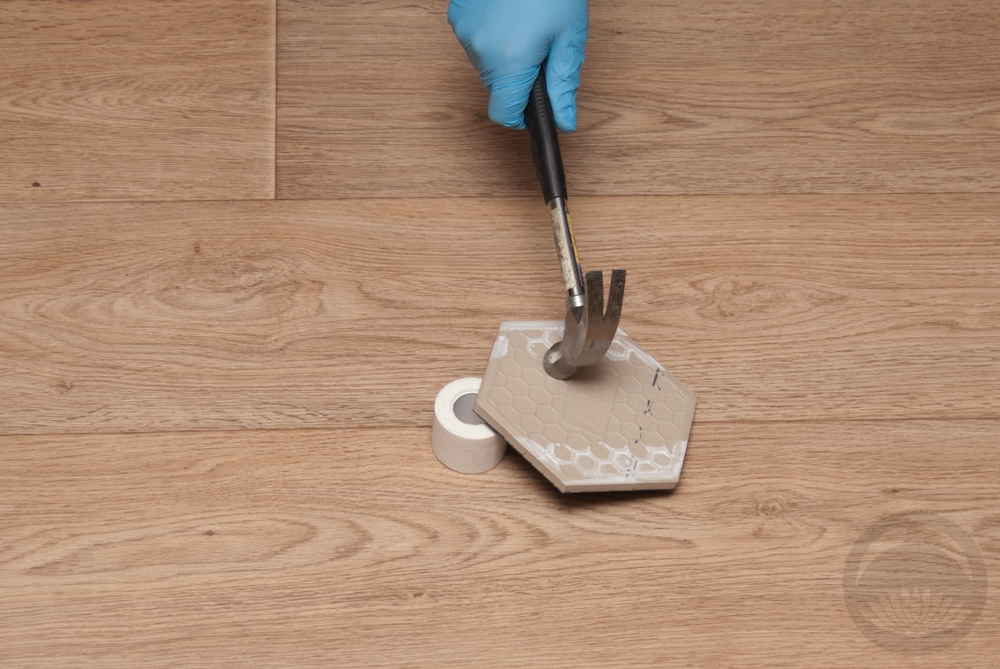
To break your item, first put on your gloves and protective eye-wear. Prop your item face-down on an angle and tap it with your hammer. Initially, I tried using a nail to focus the break but these tiles are so strong and durable that it actually flattened the tip of the nail! Instead I just angled it like this and one solid but gentle hammer blow gave me this perfect starbust pattern. Obviously, if you’re repairing an already-broken item, just skip this step.
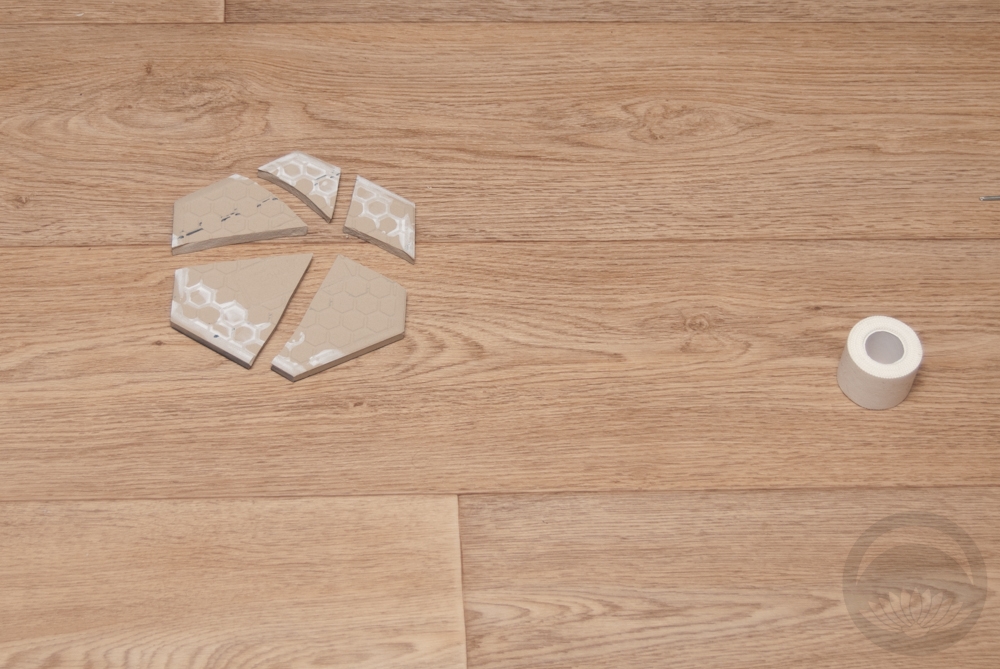
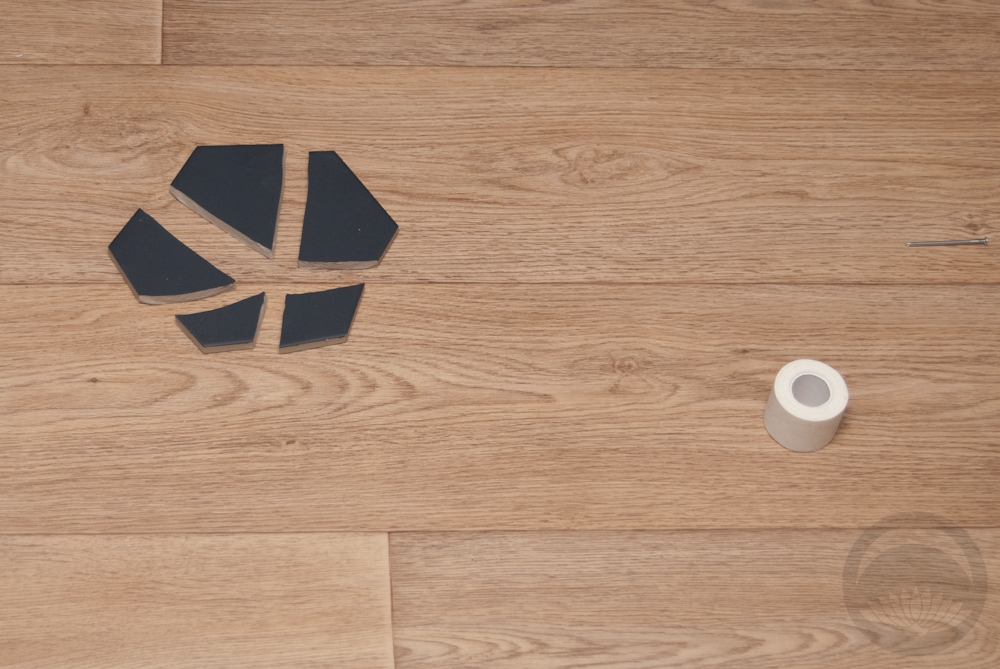
Next lay your pieces face-up in the correct positions. Having everything properly placed before you begin is a huge help, this way there’s no fussing and fidgeting later, while working with the time-sensitive epoxy.
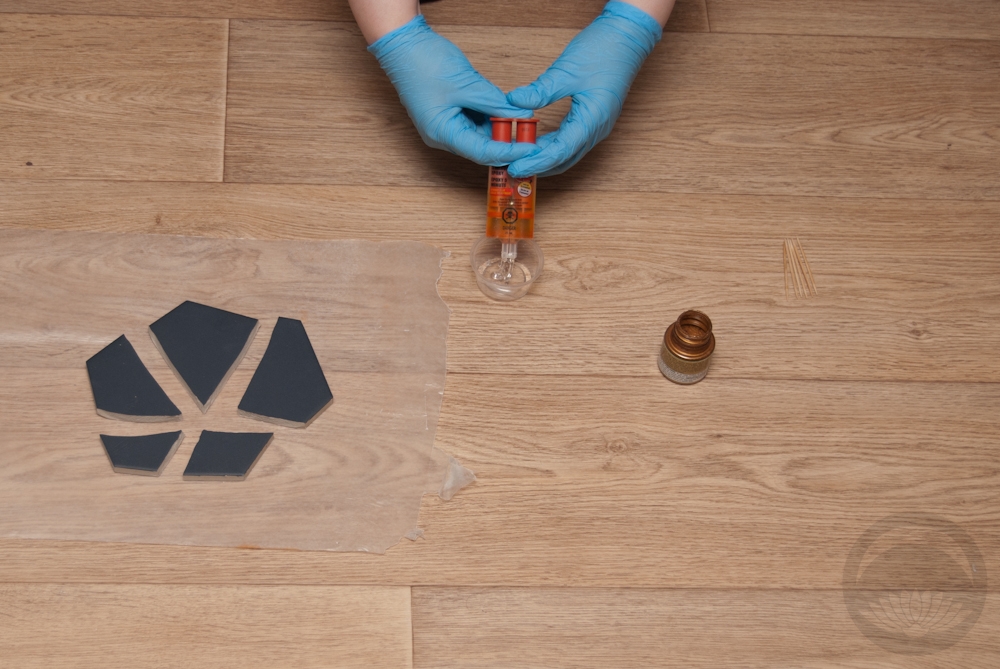
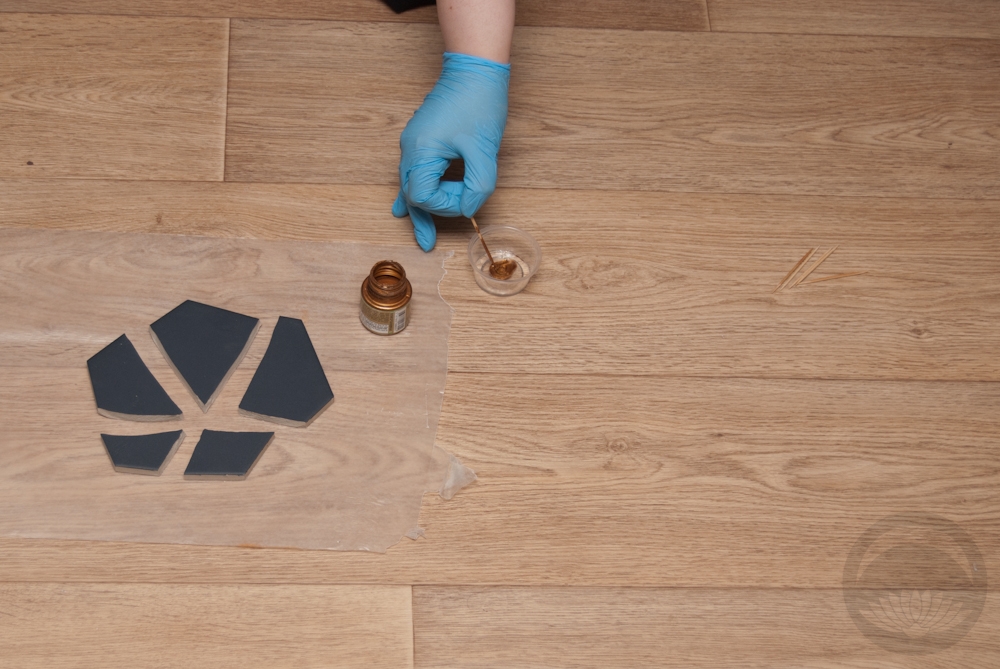
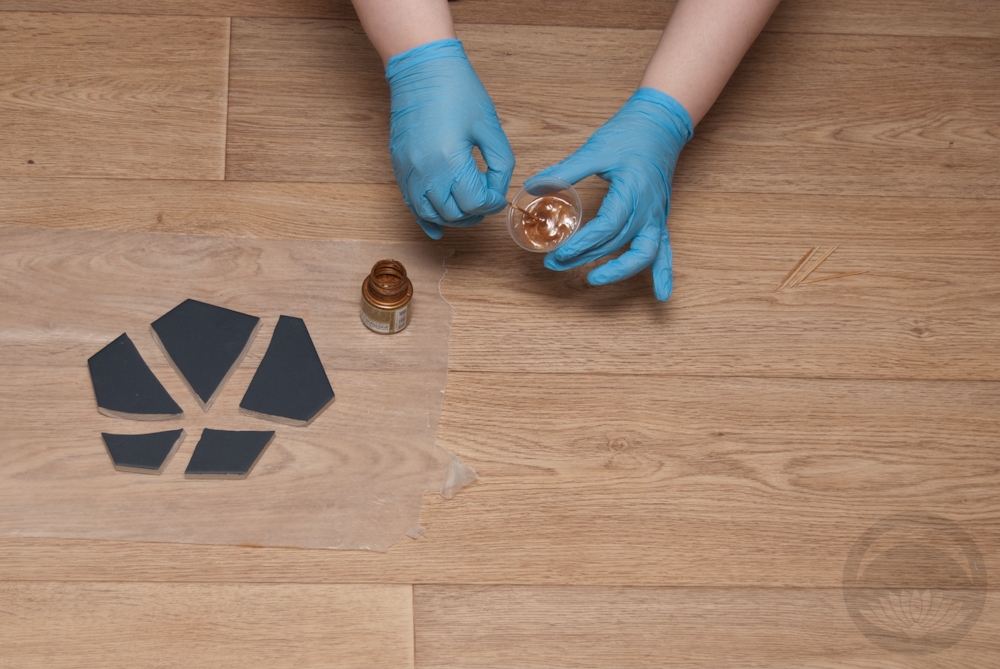


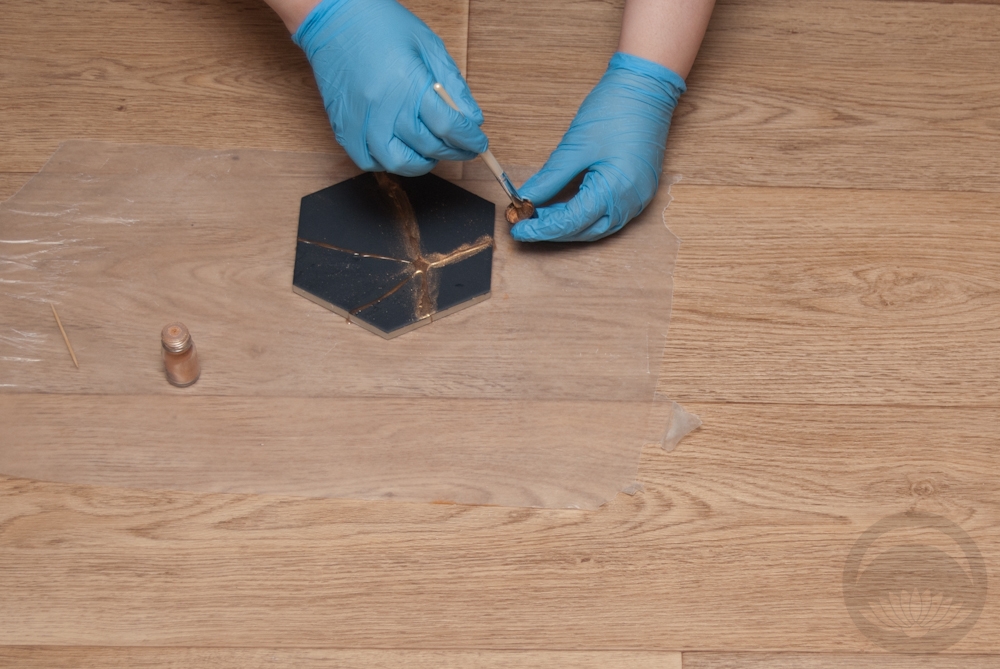
Once your pieces are laid out on the waxed paper, in their proper positions, you can begin mixing the epoxy. Simply press both sides of the plunger evenly to make sure you get the proper proportions. Mix in the gold pigment using a toothpick. If you feel you need more pigment, use a clean toothpick. Stir thoroughly to combine the two parts of the epoxy and the pigment. The mixture will thicken up a bit at this point.
Using the toothpicks, carefully coat one broken edge and press it against the piece next to it. You want the mixture to seep out slightly, this is what gives you the kintsugi appearance. Place them down on the waxed paper and move to the next piece. Try to finish with the smallest piece, it will be the easiest to coat both edges and tuck it in.
Once all the pieces are securely glued together, use a cotton swab or tissue dipped in acetone to wipe off any smears or smudges. Let the piece dry for approximately 15 minutes.

Give the epoxy fifteen minutes or so to cure up. You want it to be solid but still tacky. If you poke it with a toothpick and the toothpick just barely dents the epoxy, that’s perfect.
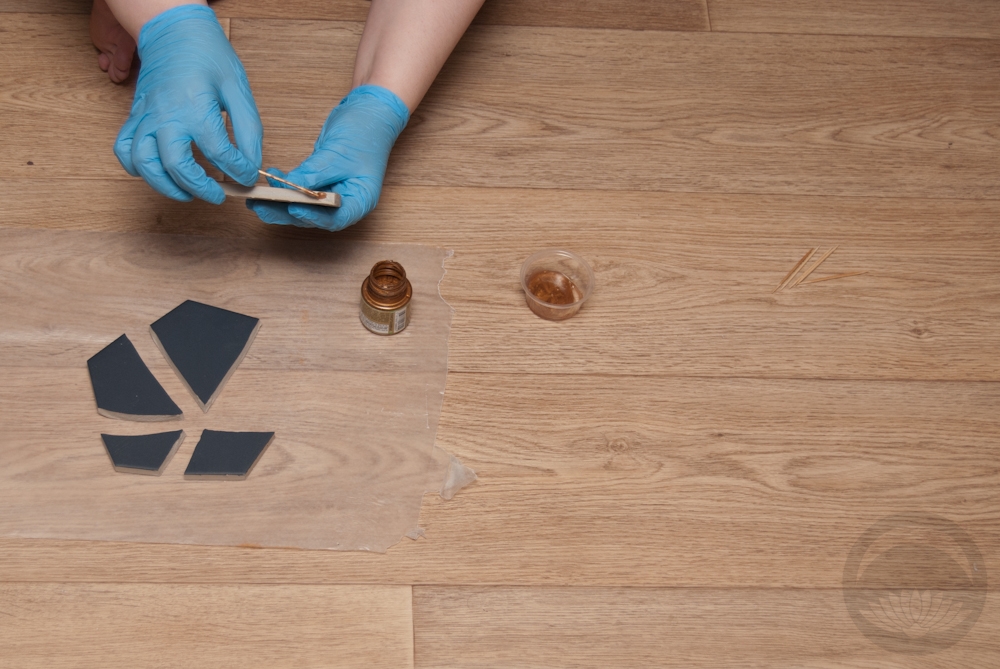
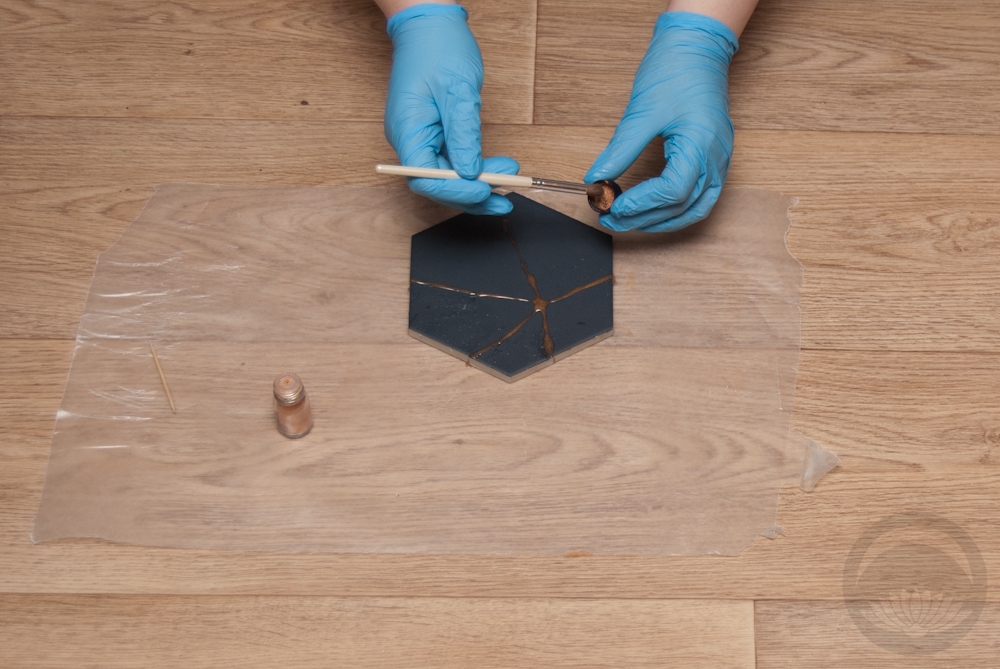
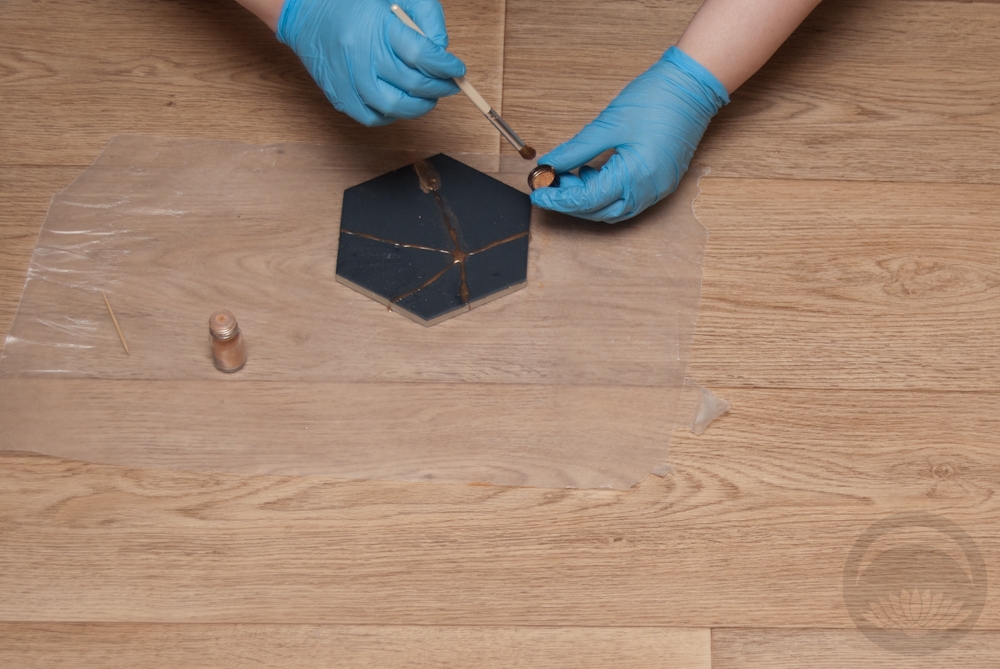
This step isn’t completely necessary, but it definitely gives the gold a depth and warmth that helps it look more “real”. Taking a very soft brush (an old eyeshadow brush is perfect – just please don’t use it on your eyes again afterwards!), buff a small amount of pigment onto the seams using a circular motion. If your tile or ceramic is matte or textured the powder will get everywhere, but don’t worry, we’ll fix that later. If the item is glazed, the dust will just fluff right off.
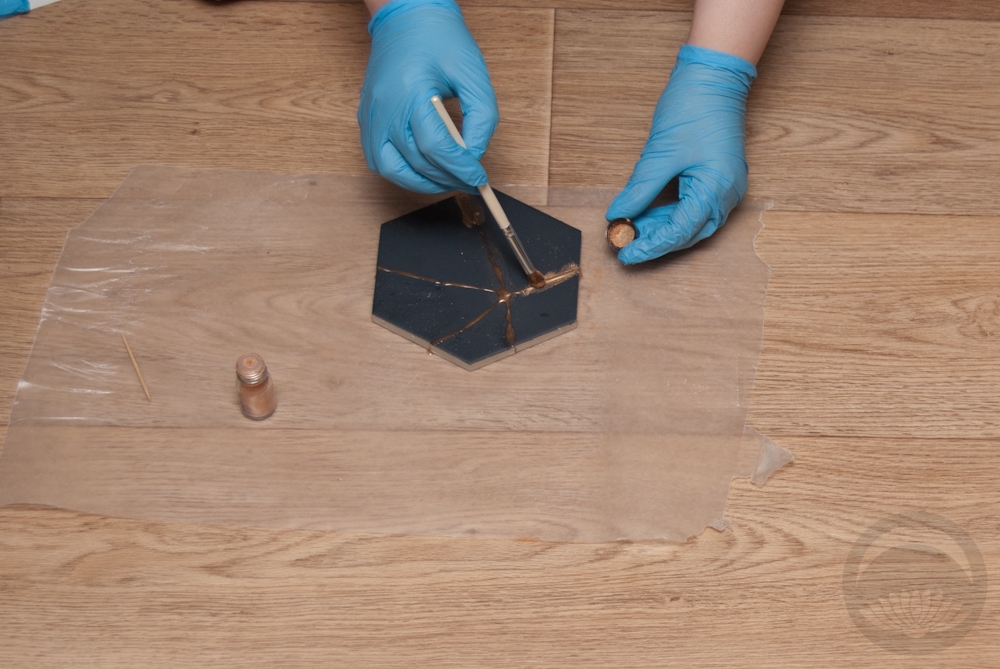
Thoroughly cover every seam, including along the sides.
Leave the item to cure overnight. Even though the epoxy may seem solid now, it’s best to give it a full 24 hours.

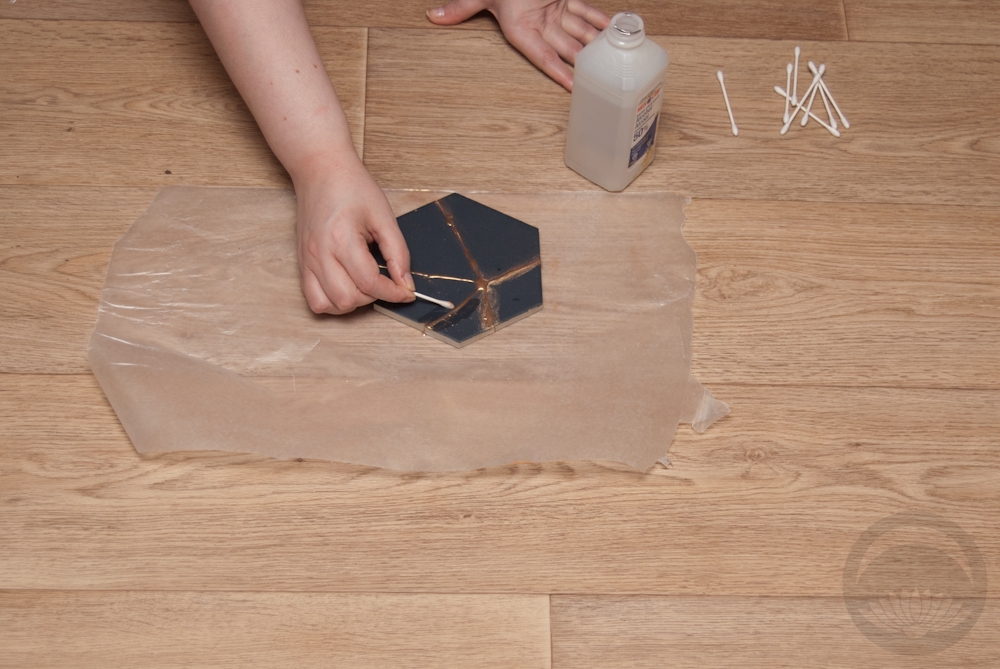

Once the epoxy has fully cured and dried, you can take a cotton swab dipped in alcohol to wipe off any remaining gold powder. It can be a little tedious, but it’s worth the time and effort.
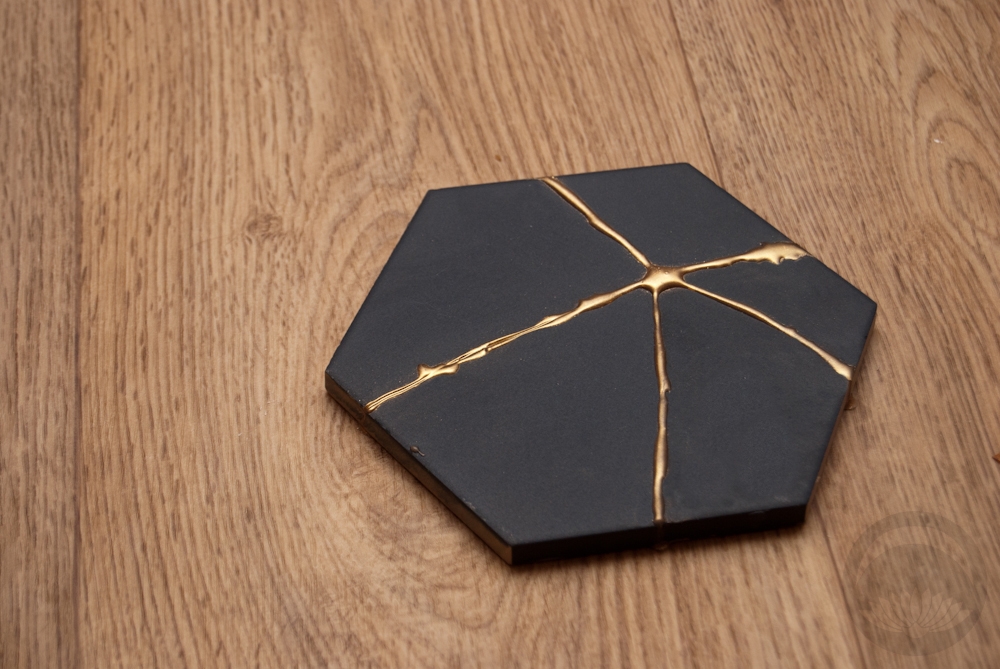

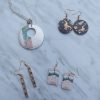
Here is the finished project, along with a bowl I repaired a few weeks ago. I love how they look together.
Voila! You now have a beautiful new, unique item with the look and feel of an age-old technique. Just keep in mind it is no longer food-safe. Your bowl, plate, cup, etc, is now strictly decorative. This would be a great way to keep yourself occupied during social distancing!
This post contains affiliate link(s). If you choose to purchase, I receive a small rebate or commission which goes to the continued maintenance of this site.
Related Posts


 Bebe Taian
 CHOKO Blog
 Gion Kobu