Adjusting obi width to your proportions

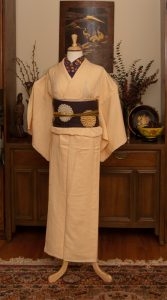
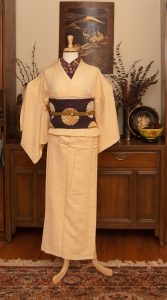
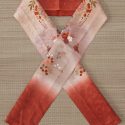
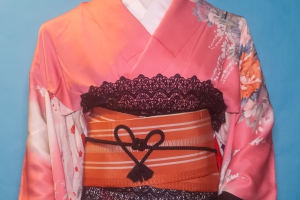
Recently, a discussion on the Immortal Geisha facebook page got me thinking about folded obi width and size. Typically, a fukuro obi is folded in half before wrapping it around your torso, and for the average Japanese frame this looks balanced and proportional. However. many of us are not lucky enough to have a typically petite, slight build, and sometimes a narrower obi can make us look oddly cut-off or silly.

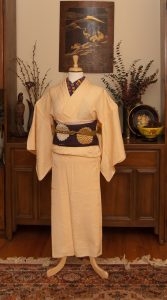
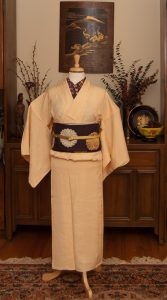
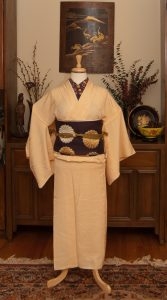
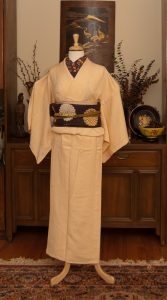
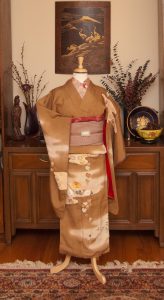
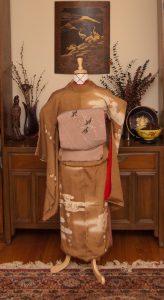
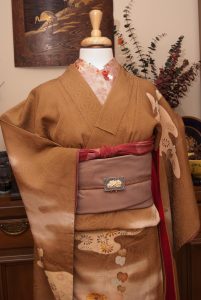
So what I thought I would do was take multiple pictures of the mannequin at differing heights, in the same outfit but with the obi tied at different widths. Obviously, this can only be done most easily with a full-width or unsewn obi, but the principle can be applied to tying a hanhaba or nagoya obi as well; just overlap the wraps to give the impression of a wider or narrower band.

The following two sets of photos have the mannequin set at approximately 167 cm (5’6″) and 180 cm (6′). The first obi on each is folded to roughly 12 cm (5″), the second is folded in half at roughly 16 cm (6″), and the third is folded to 20 cm (8″). As you can see, the obi width changes the overall balance of the outfit without being obviously “incorrect”. It’s a subtle difference, but if you’re very tall like I am, or very short, adjusting your obi can make a significant difference.

Love your height, be it “too tall” or “too short”! We’ve all got our challenges, and there are always tricks to making things work. 🙂

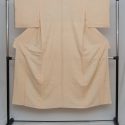
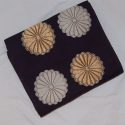
Items used in this coordination

DIY Obi Remnant Purse

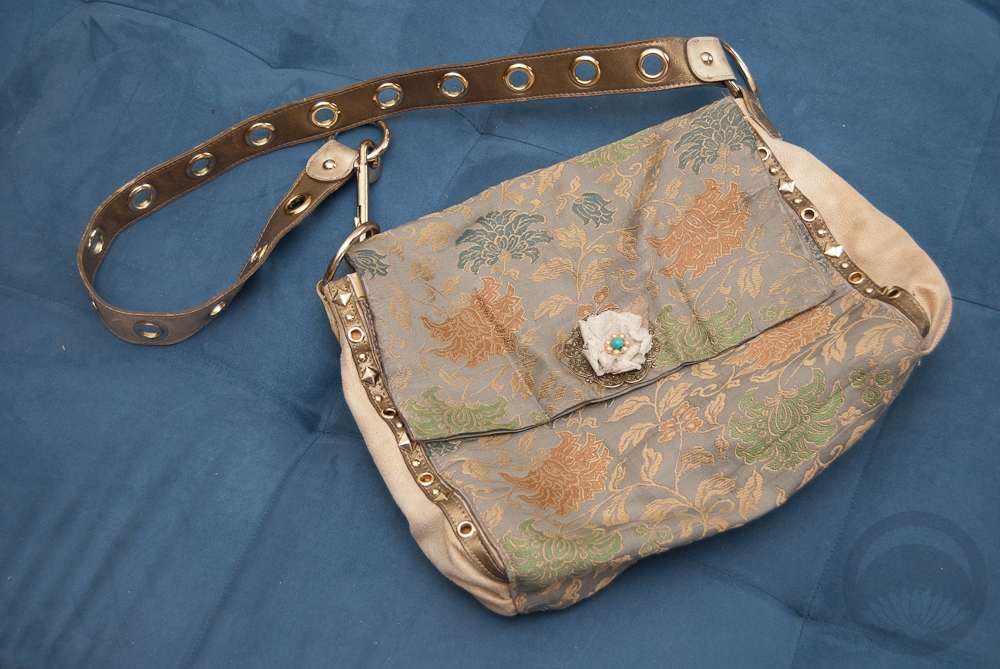
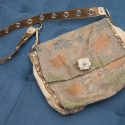
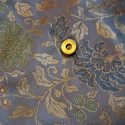
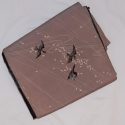
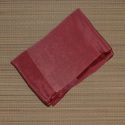
Eons ago, back when dinosaurs roamed the earth, a bunch of my friends and I went in on a huge obi bundle and separated it amongst ourselves. Mixed in with all the obi was this piece of lovely karabana fabric. It had a few small pleats in one end, and I suspect someone had grand plans to turn it into a pre-tied obi. However. there was just barely enough to make the otaiko and nothing that would have worked for the waist part. So for the longest time, it just sat in my to-do pile, while I pondered and waffled and tried to figure out what I could do with it.

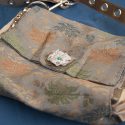
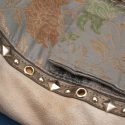
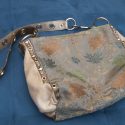
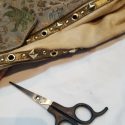
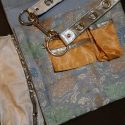
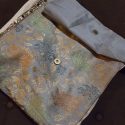
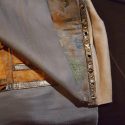
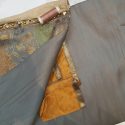
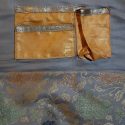
As you can clearly see, I finally found the time and inclination to turn it into a very unique purse. The obi remnant was just about the perfect size to make a roomy satchel with a flap closure. My initial plan was to simply sew the back to the front and make a sort of a thin clutch-style bag. I searched for hardware at a few places here in town but wasn’t finding anything I liked. My next plan was to order parts online, but I figured before I did that I would hit up my favourite local thrift store and see if there were any bags I could cannibalise for parts. I found this absolutely perfect beige suede bag with soft gold trim and hardware that just happened to be an exact match to the soft gold in the obi fabric. The bag was under five dollars, which wouldn’t even have been enough to cover the shipping for buying parts online. It was meant to be!

Instead of just sewing the sides shut, I inserted panels from the exterior of the purse. This not only makes my bag look much more finished, it also makes it nice and roomy inside. There was also a rusty orange lining that matched the orange flowers on the obi fabric, so I carefully picked the inside apart and used the inside pockets to give myself a little extra storage and organisation. I also pulled the snap closure off the thrifted purse and inserted it into the fabric, adding a small filigree metal piece and a fabric flower to reinforce the snap closure a bit. The last touch was gluing on some ribbon trim along the top edge of the purse interior, because the fabric is quite old and I was worried about it fraying from the strain.

I couldn’t be happier with how this purse turned out. It’s a great size, my Surface even fits snugly into it for travel. My only concern is that since the obi fabric is quite old, I’m worried about snagging or staining it. If it weren’t for that, I’d be using this bag every day, I think.

Art Gallery – Sakura Valentine

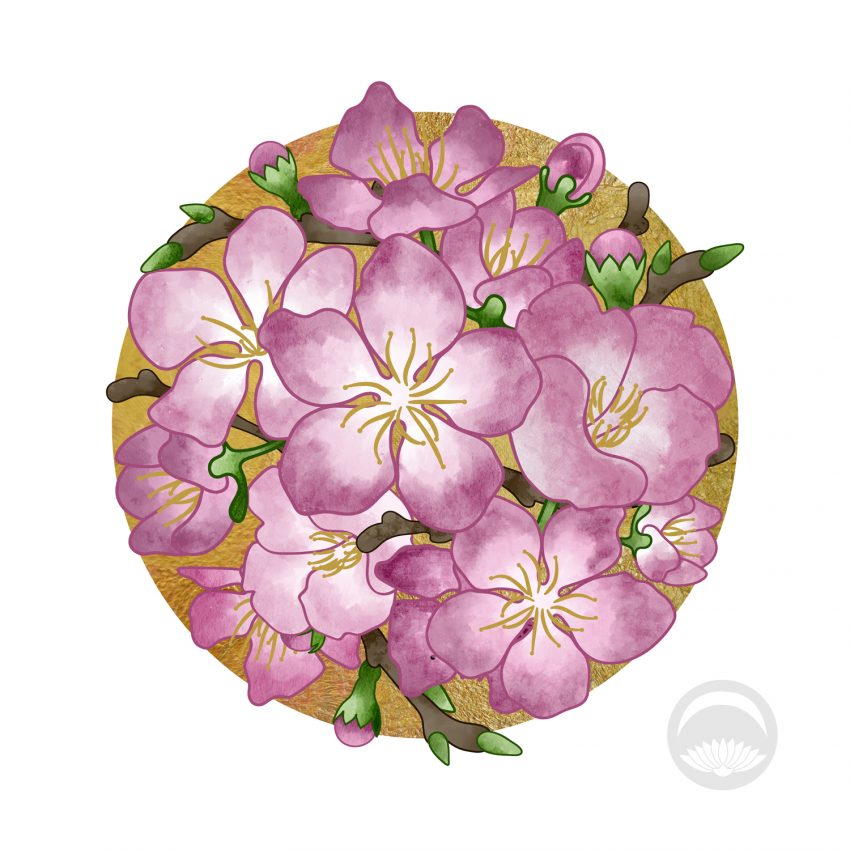
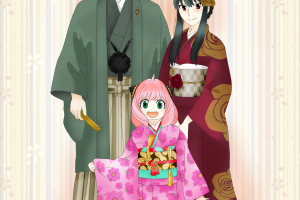
Sakura Valentine

Happy Valentine’s Day! I had grand plans to do a really sweet, romantic coordination on the mannequin but that went awry as plans are wont to do. I still wanted to share something though, since I love you all so much for continuing to support me. I’ve been working on this illustration for a while now. Initially I was going to share it during cherry blossom season, but the pink floral theme seemed perfect for a Valentine. It’s not much, but it sure is pretty, and I hope you like it!

I’ve also set up a shop on Society6 with some prints of the occasional artwork I do and share here, including this one. I get a few dollars from each one sold, all of which will go back into the fund to help support the blog.

Gentle Vintage Mood

I received this absolutely gorgeous piece yesterday, from a friend who was clearing out some of her collection. I am slowly turning into the kimono equivalent of a crazy cat lady, but I’m fine with that. I love how soft and subdued this piece is, and I wanted to emphasise a very gentle vintage mood with the coordination.

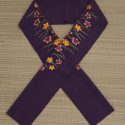
It started with this breathtaking haneri I posted on Instagram recently. I won it back in late October or possibly early November, and I had entirely given it up as lost. I got it at quite a bargain so I didn’t even bother pursuing the issue, since I suspected it was Canada Post’s problem. not the sellers. So imagine how thrilled I was when it showed up unexpectedly earlier this week! I thought the two pieces would complement each other very well, since the haneri has a bit of a vintage feel to it despite being a modern piece. I was really taken by how well the lilac tone matched the brown of the kimono and thought it would be a good opportunity to use my repaired lilac bird obi.

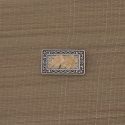
Some days, the actual physical act of dressing the mannequin goes very smoothly. Some days, every step is a struggle, almost as if the mannequin herself is fighting me. This particular outfit was somehow both! Putting on the collar and kimono went off without a hitch. Smooth lines, clean v-shape to the collars, flat and even ohashori. But then came the obi. This obi is gorgeous but my god it’s a nuisance. It’s floppy and slippery, the pattern is laid out very oddly, and it needs to be pressed again as it’s somehow turned almost puffy. No matter how many different ways I tried to tie it, I could not get birds to show up on the front and the back. Eventually I realised it would be an excellent opportunity to feature this stunning brooch I got from Pinto Pony Productions and use it as an obidome. Rather than fret about the lack of interest on the front of the obi, I worked with it to make it a canvas.

I know I say this a lot, but I love how this finally all pulled together. It’s such a soothing combination, and looking at it just makes me content.

Items used in this coordination

Think Pink Ikebana

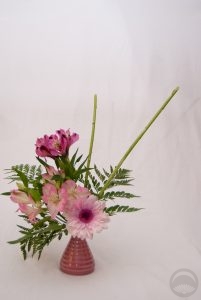
Very, very pink! I think I was inspired by the #monokimono challenge and ended up doing a #monoikebana without really intending to. I found the two different shades of alstroemeria and thought they’d make for some interesting texture and colour interplay, and then I stumbled across a gerbera daisy which just happened to match exactly. The pink vase seemed like the next logical step after that.

Typically when I buy flowers I choose my own greenery and avoid the fluff and frill of ferns (woo hello there alliteration!) but I was rushing to an appointment and there was a new girl behind the counter, so when I saw she’d taken the greens out I decided to just run with it. I do like that they add a good grounding base to the whole arrangement, and another layer of texture. However, the arrangement felt like it was missing height and balance, and I racked my brain to think of something I could add. The green bamboo-like bits are actually simply the stems of the alstroemeria flowers that I cut off. I love the idea of giving them a second life that also helps make the whole arrangement feel more harmonious. I might have to revisit this sometime, working with the entire stem, not just the bloom.