
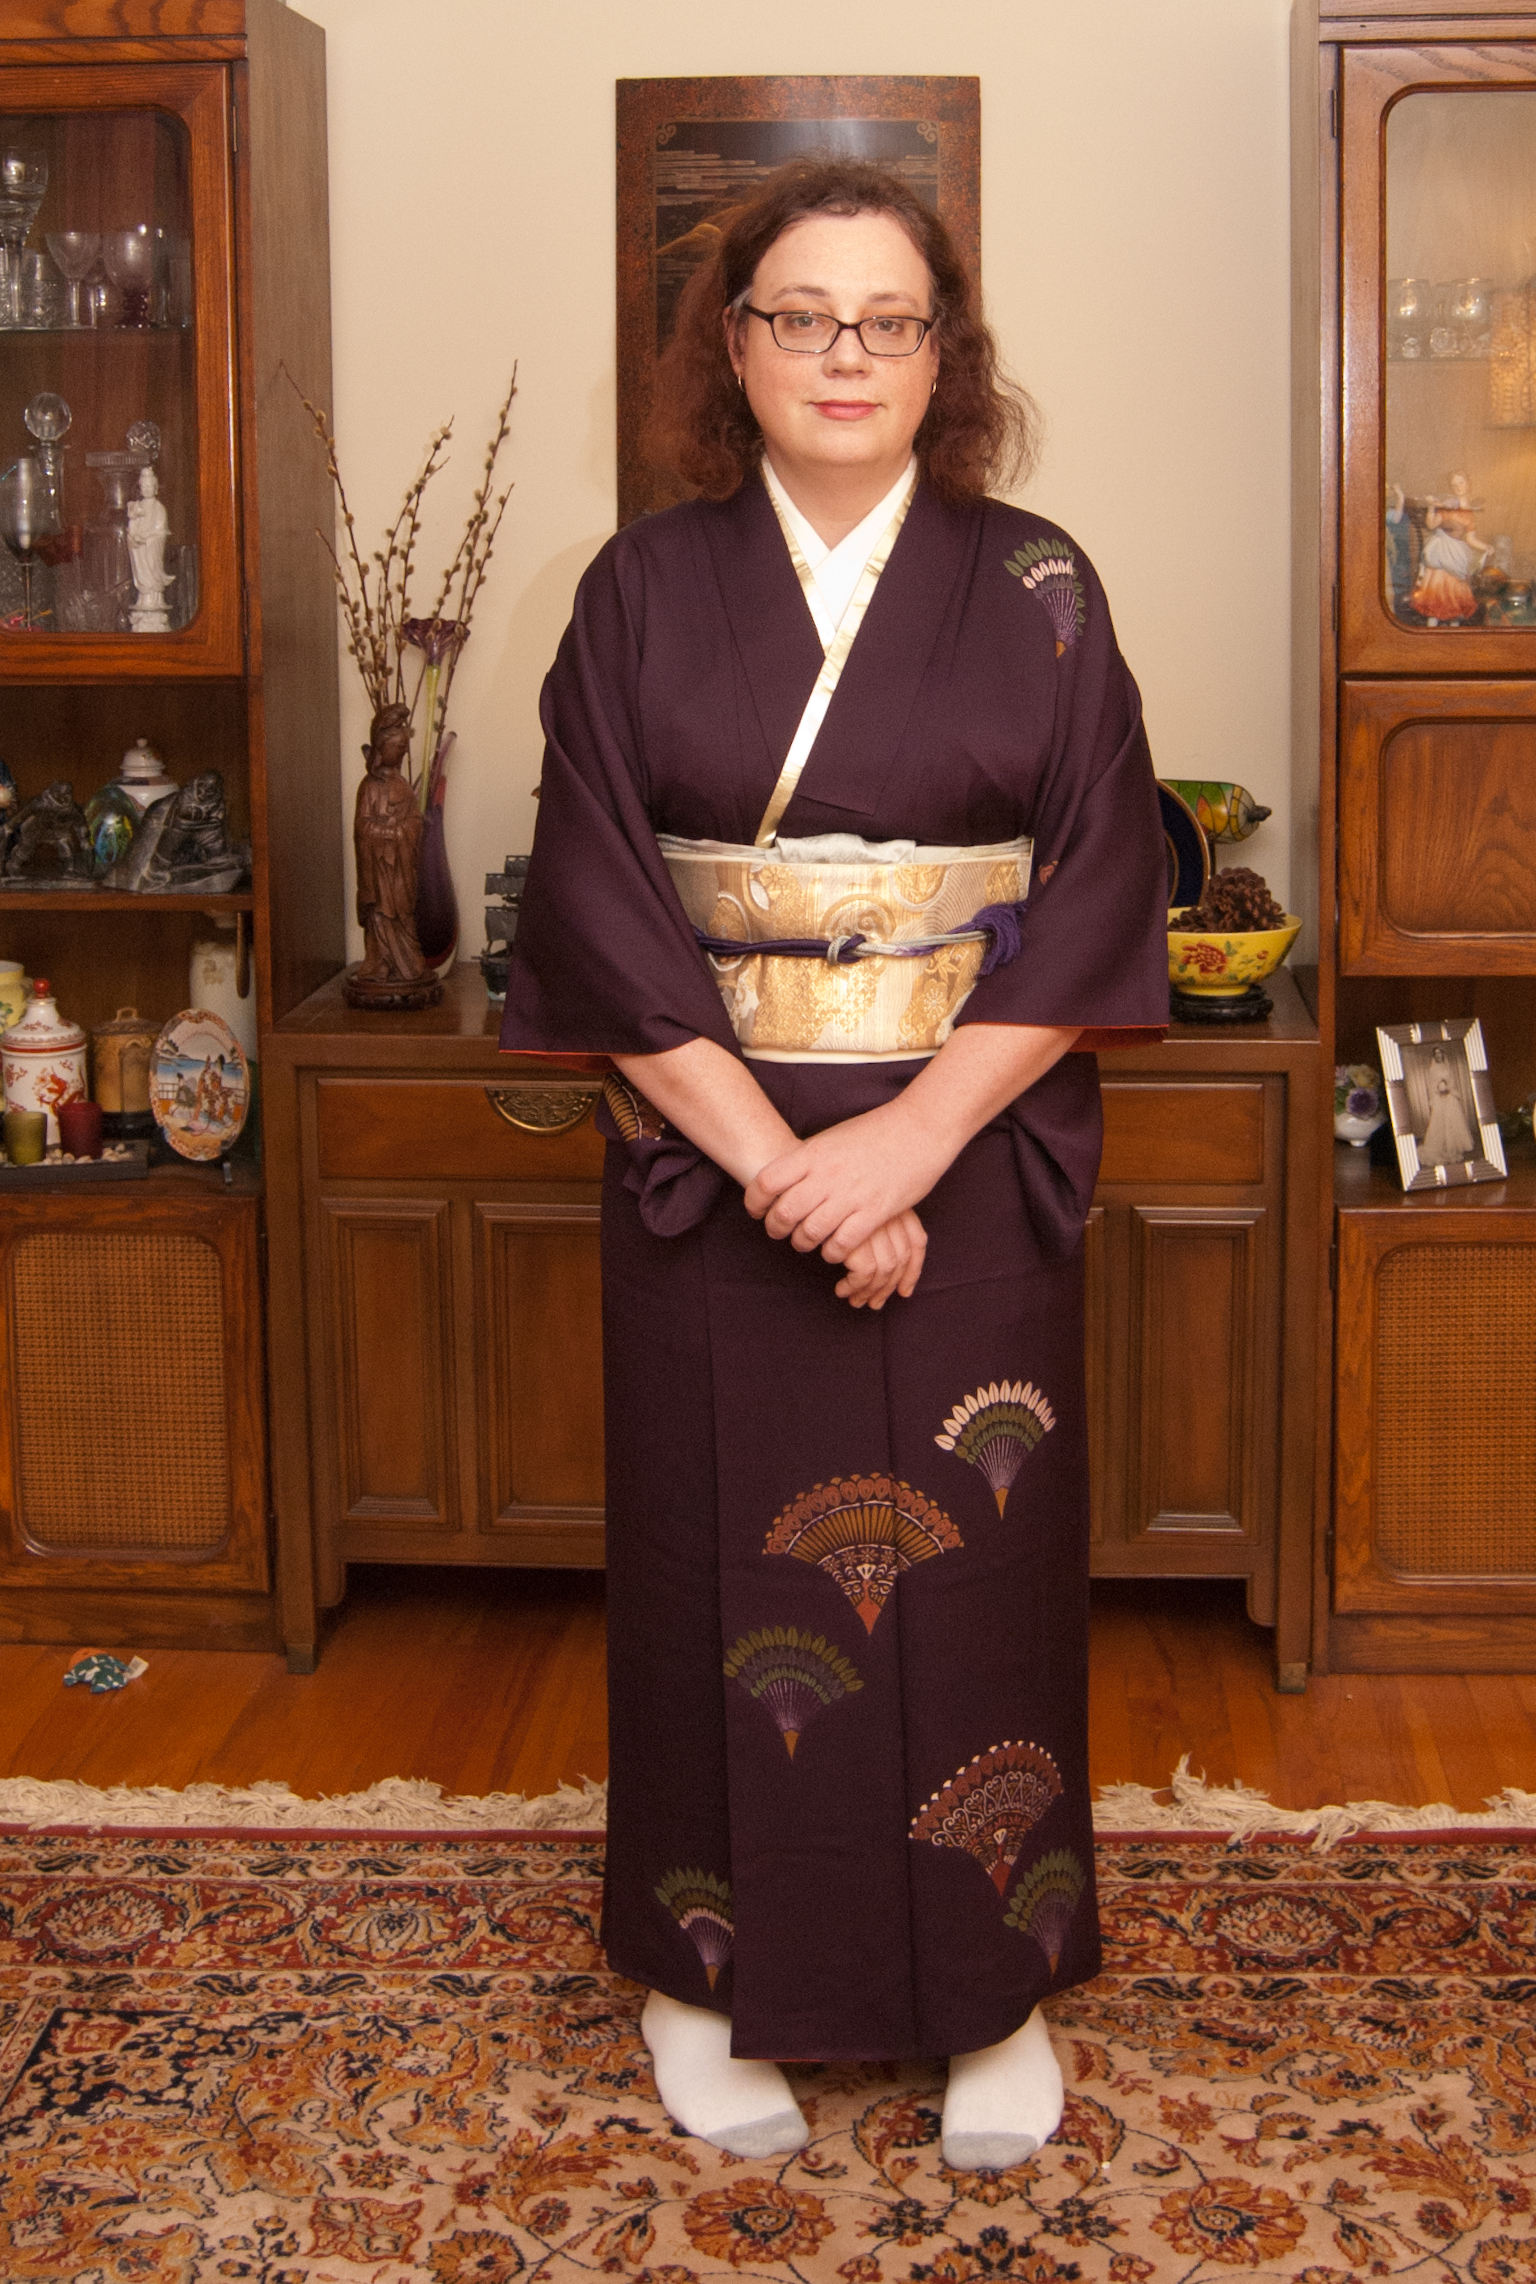
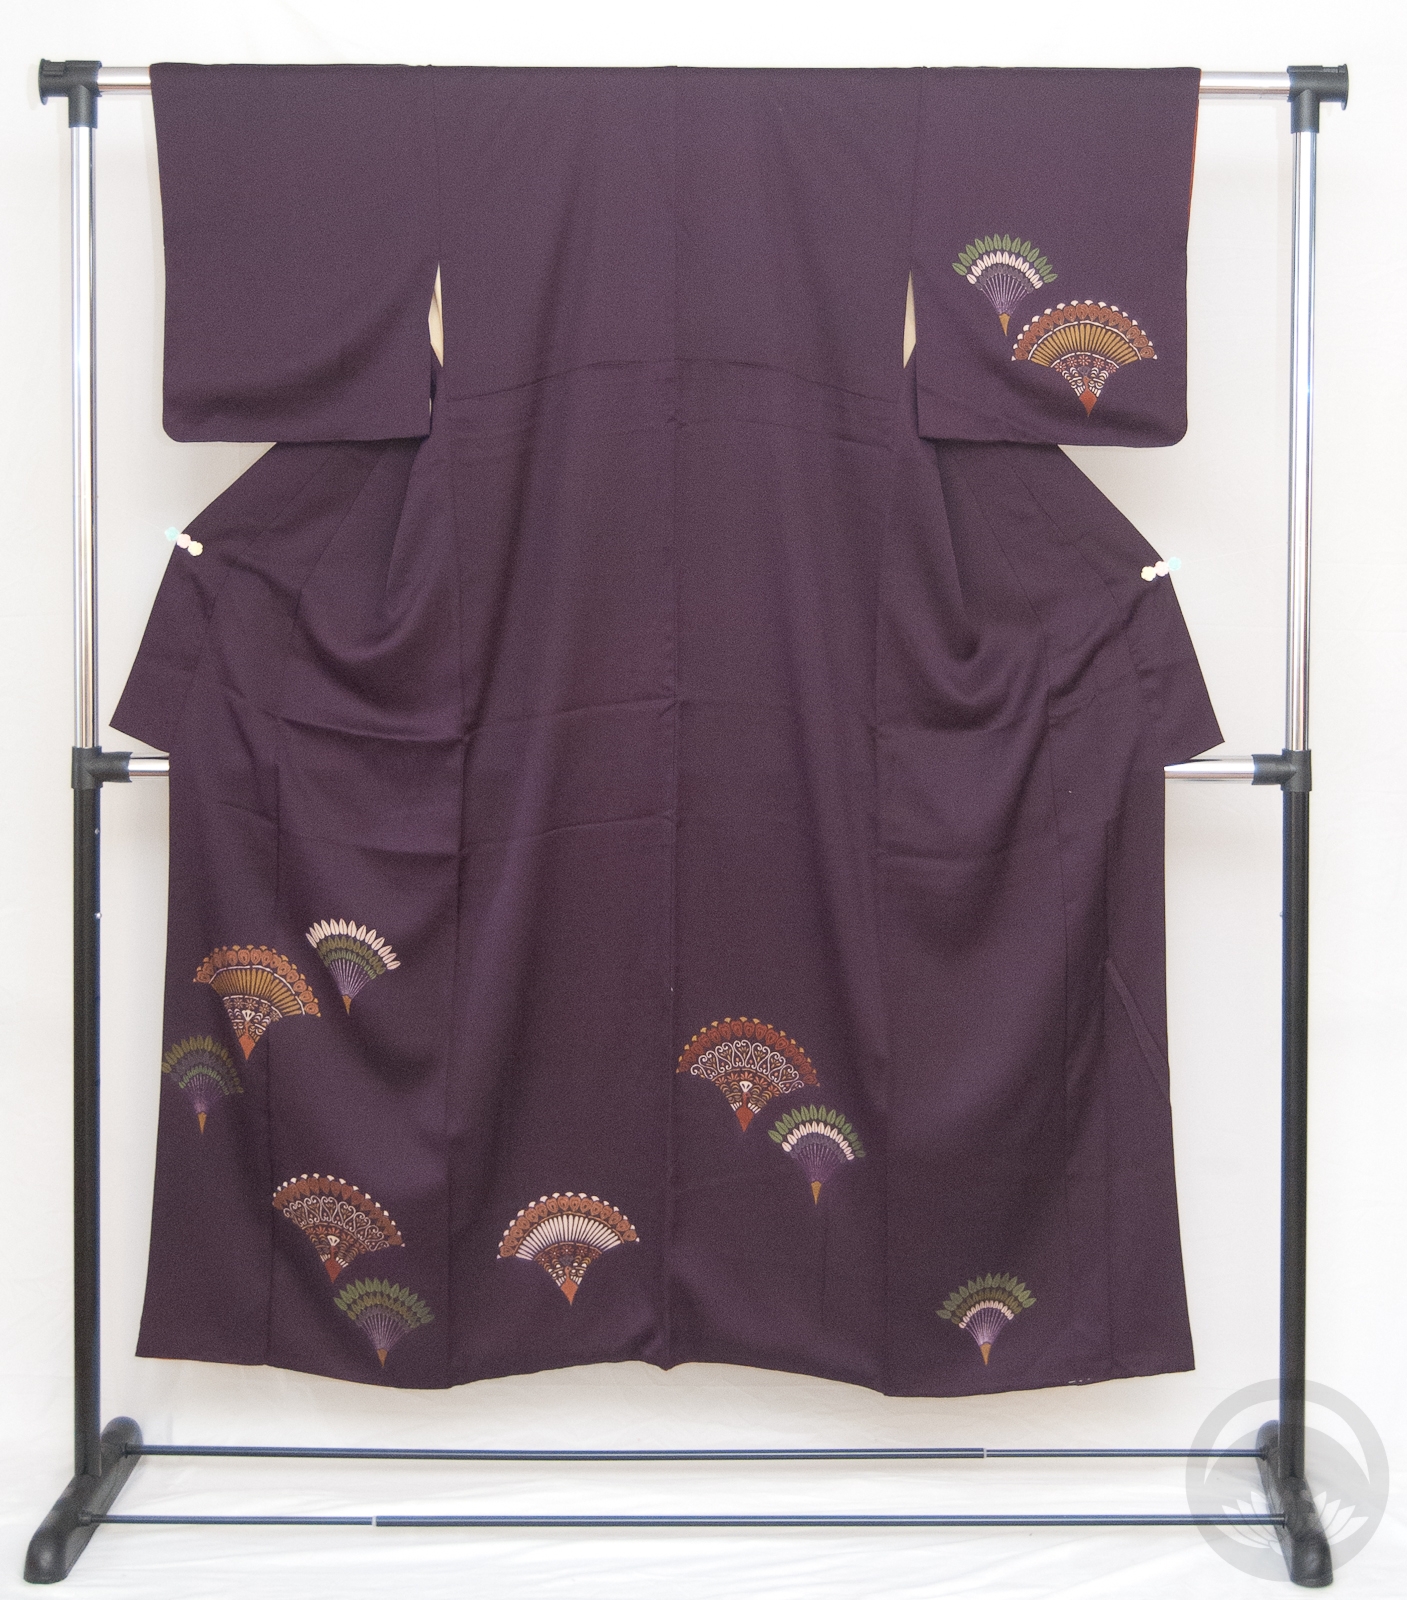
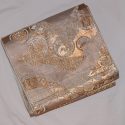
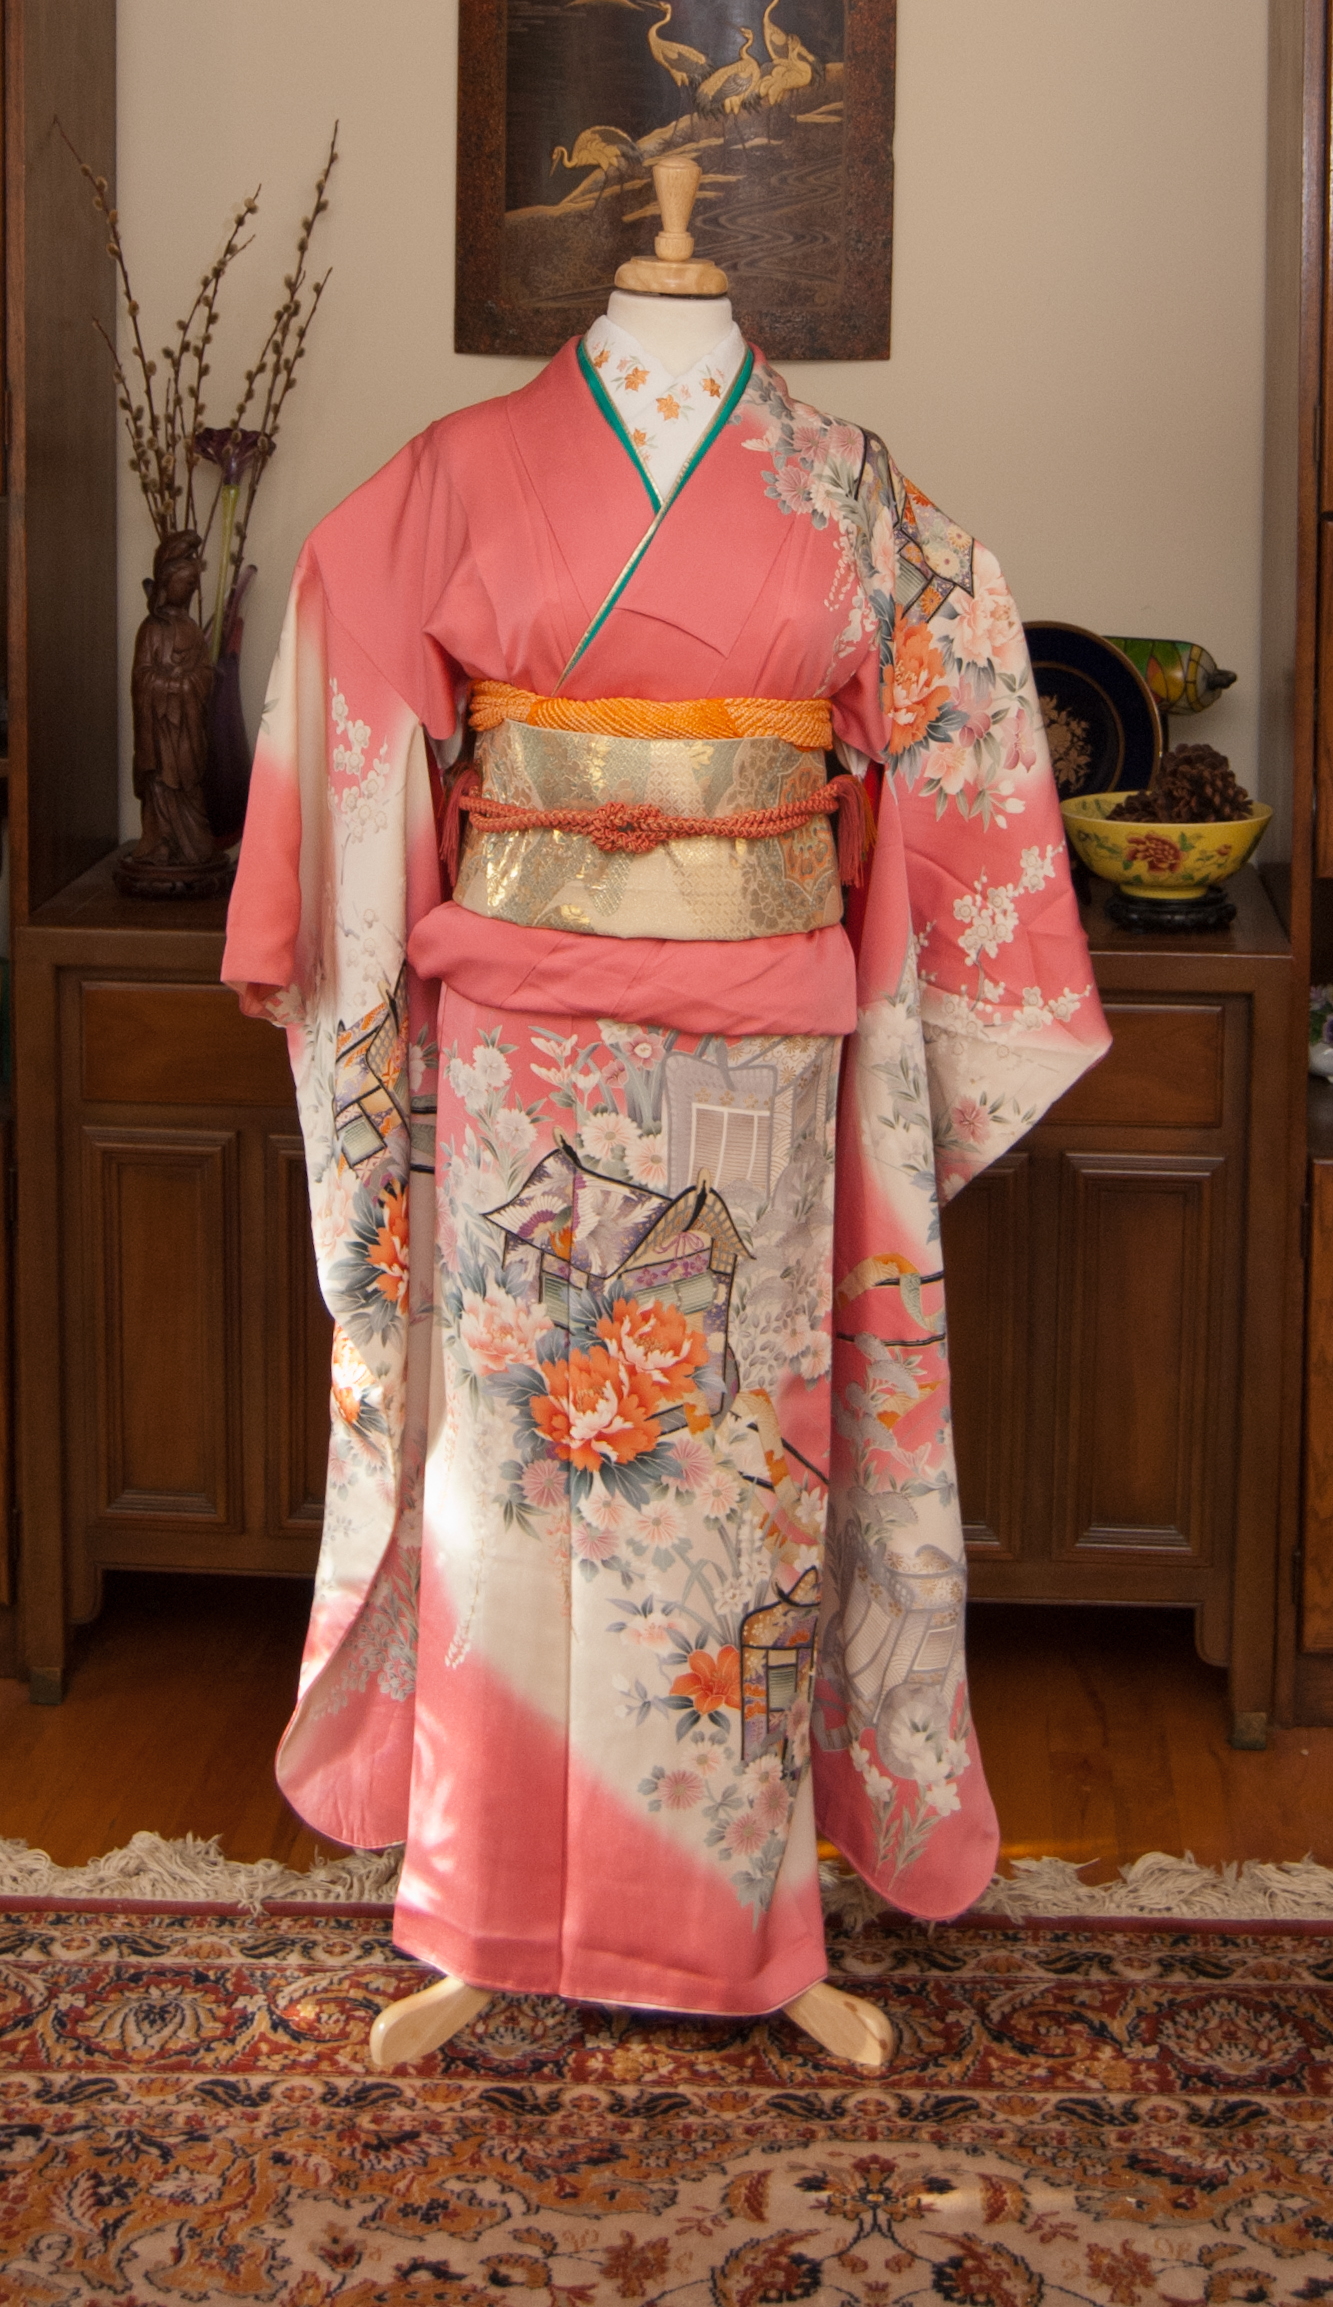
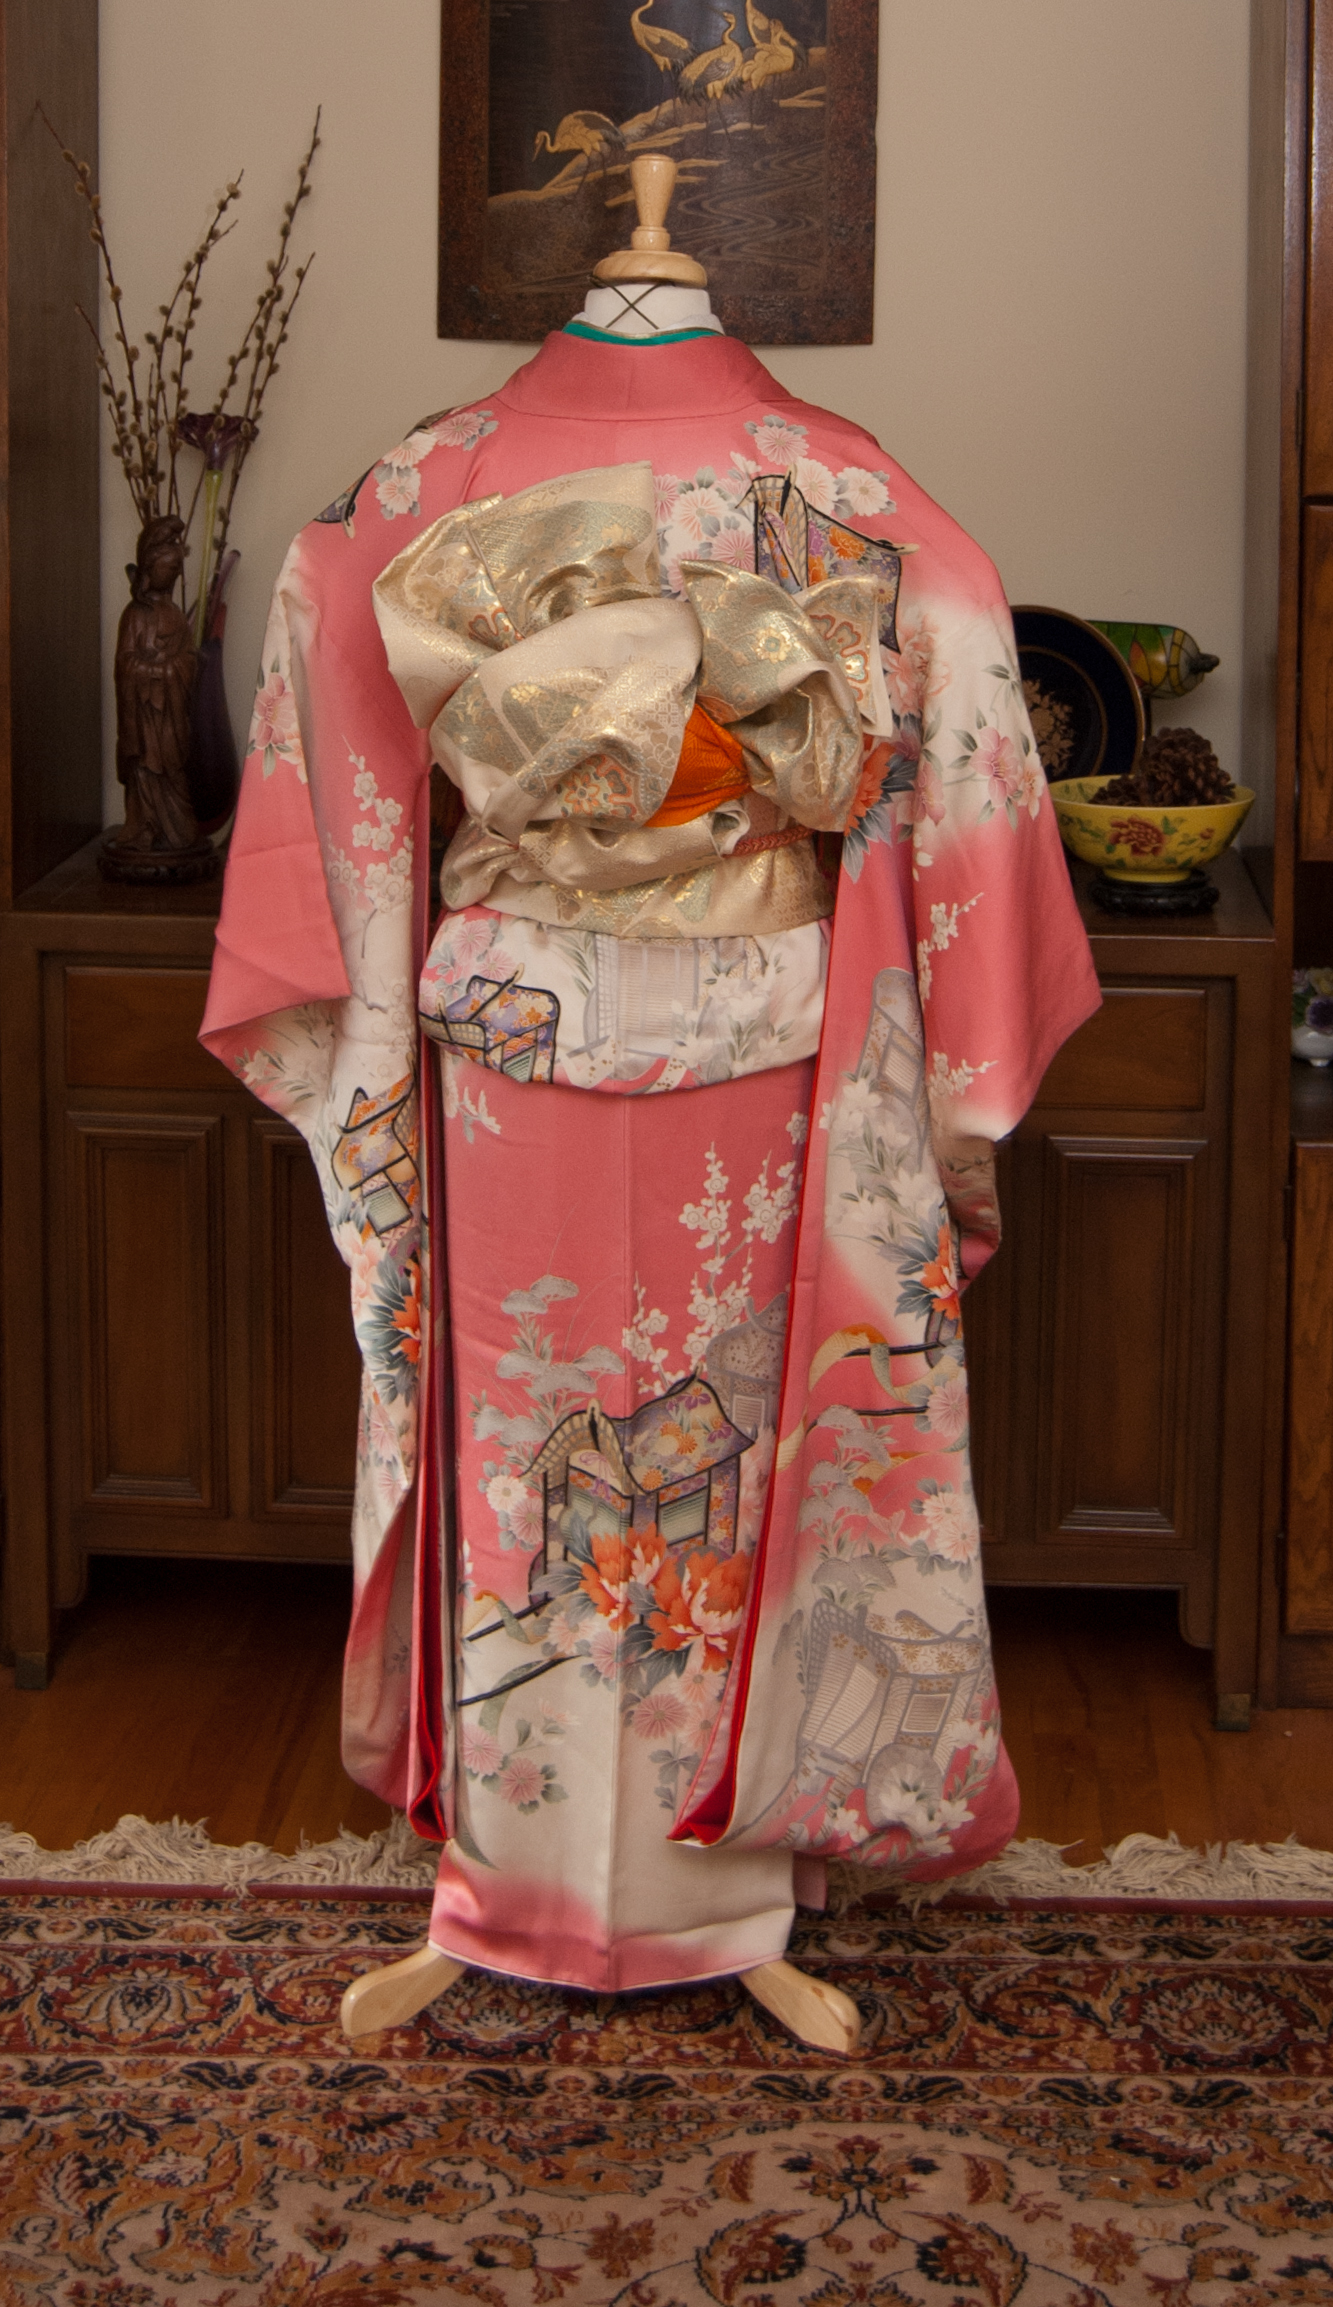
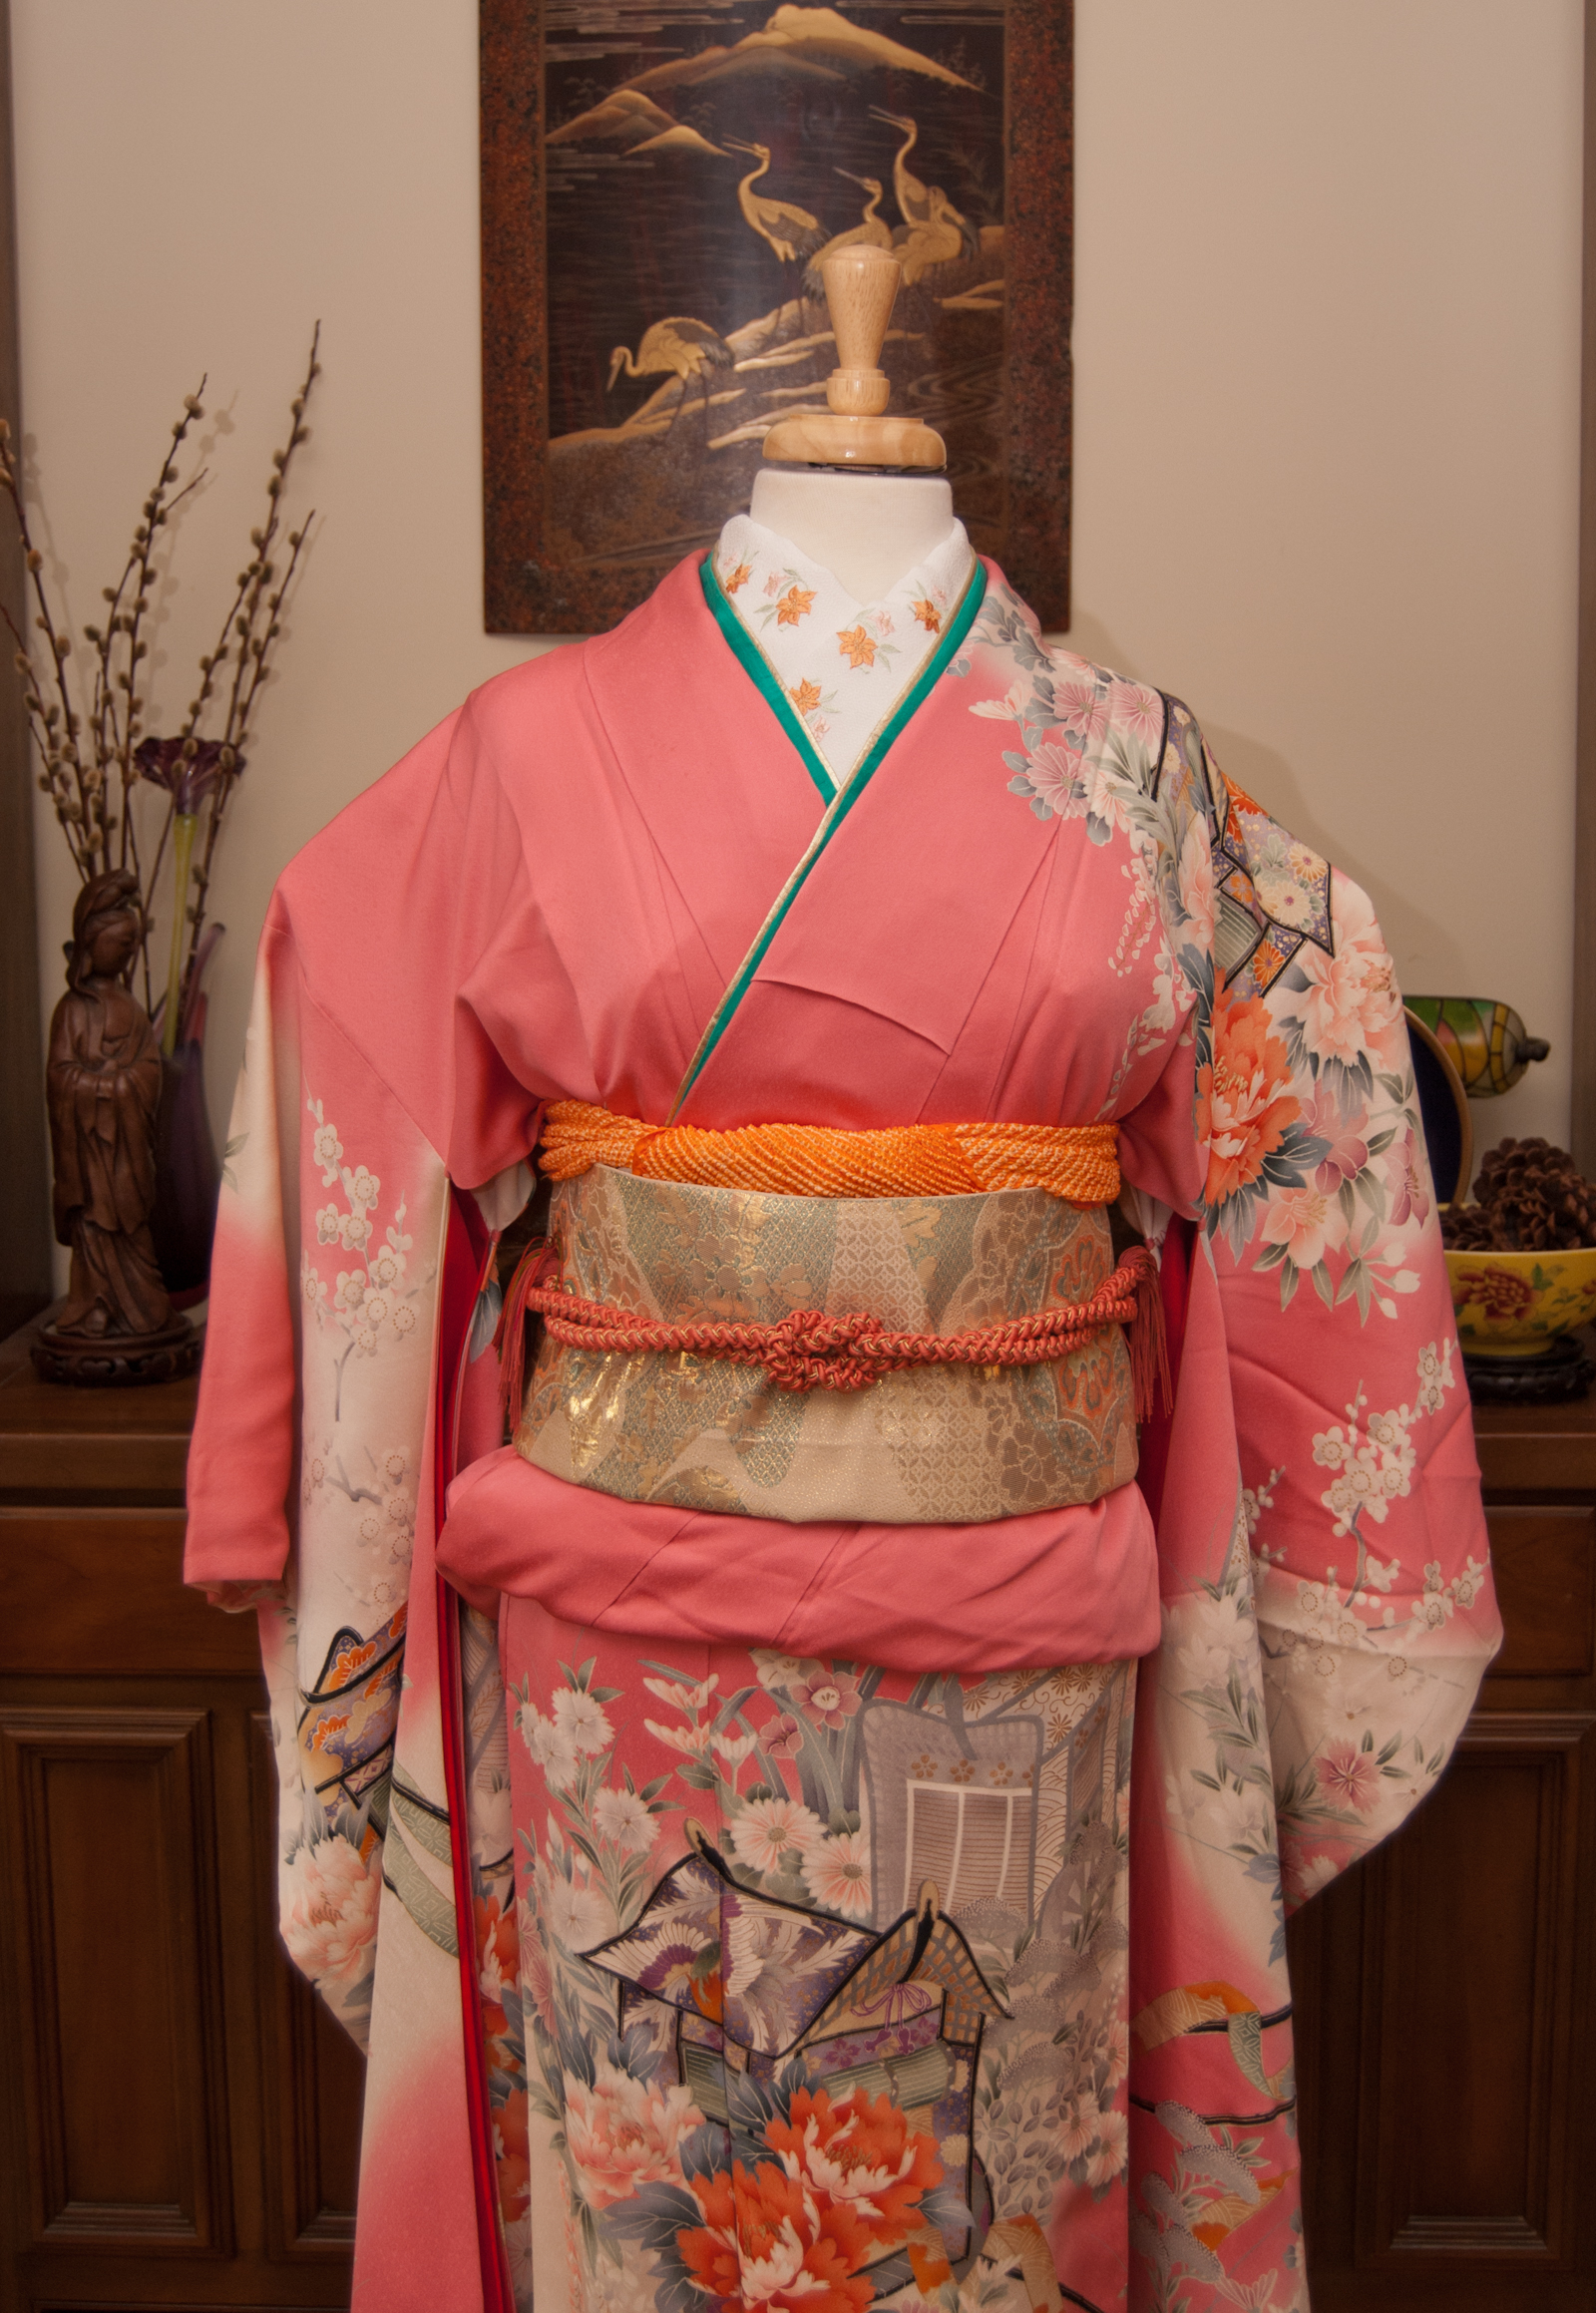
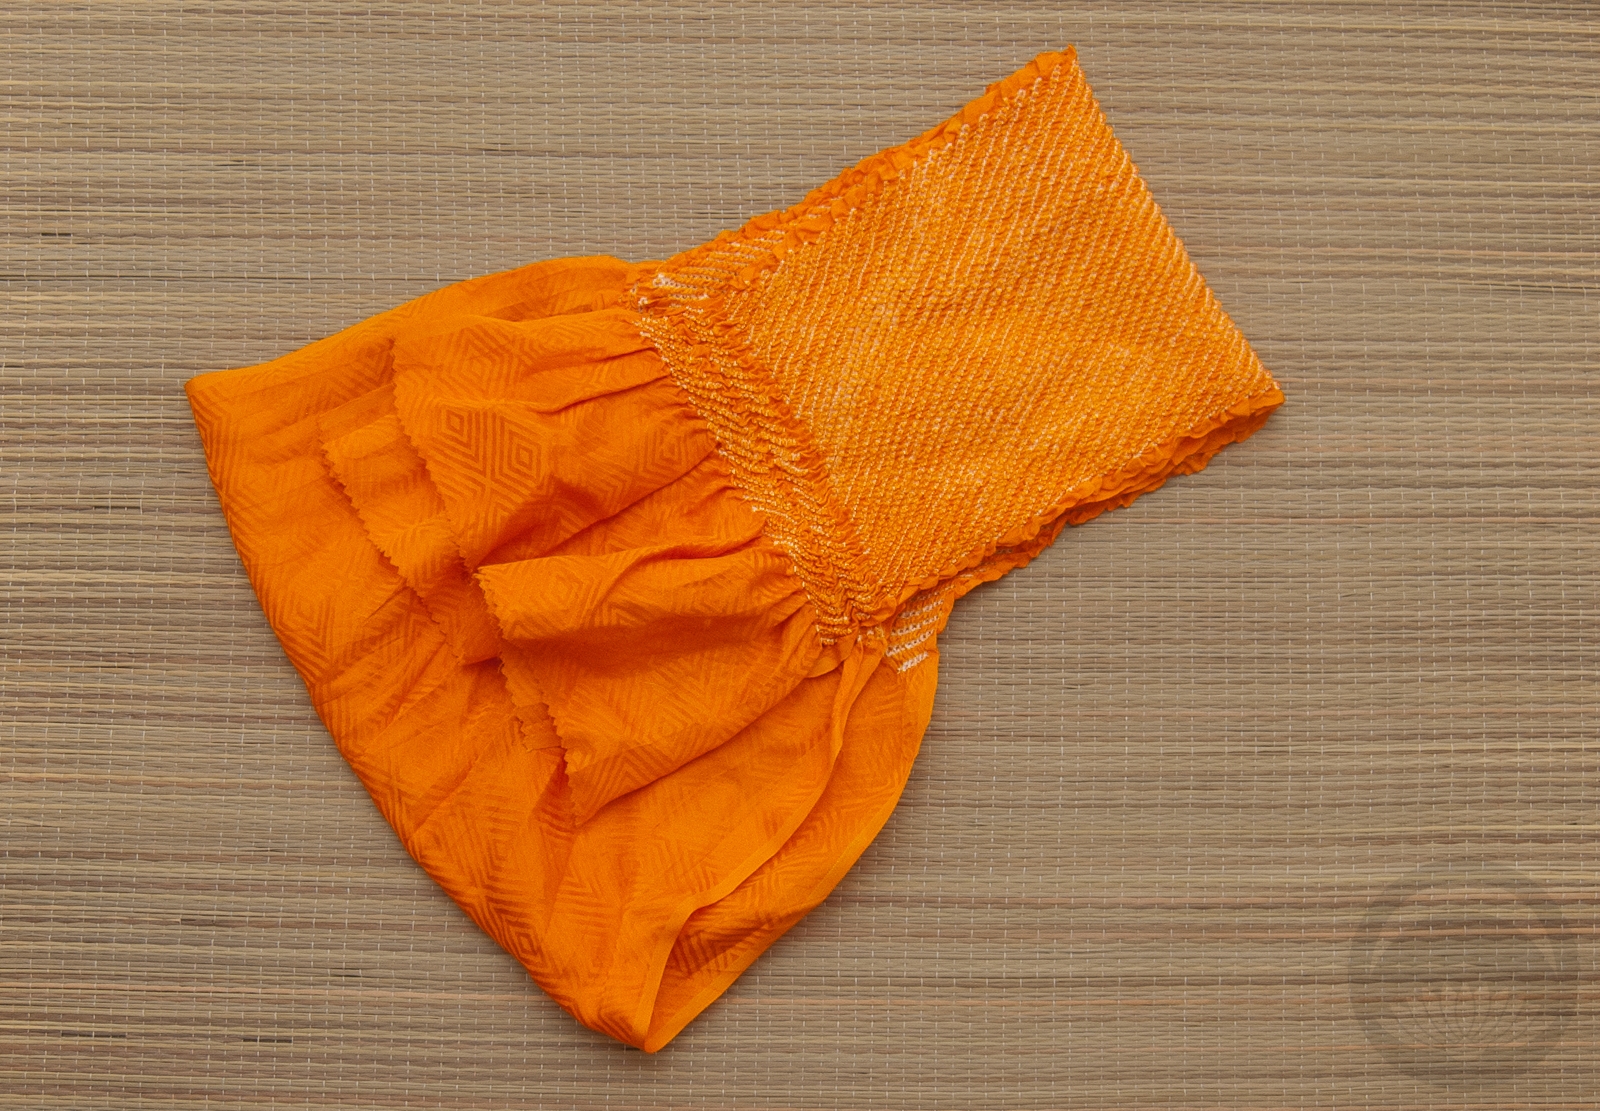
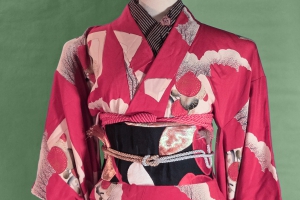
Yesterday, my dear friend Sophie came over and I had the pleasure of dressing her in kimono! She’s worn yukata before, when we went to the Yatai! street food fest, but never anything dressier. She chose this plum tsukesage with stylised peacocks because she loves purple, and we coordinated an outfit around it. I went for a big punch of contrast with the gold obi, then chose an obijime with the same plum tones and an obiage that pulls out the icy blue of the obijime for a good sense of cohesion.
I did dress her over western clothing and undergarments, so the collar isn’t as smooth as it could be, but for someone who’s never worn this many heavy layers before, she looks great! Some people are just kimono naturals.

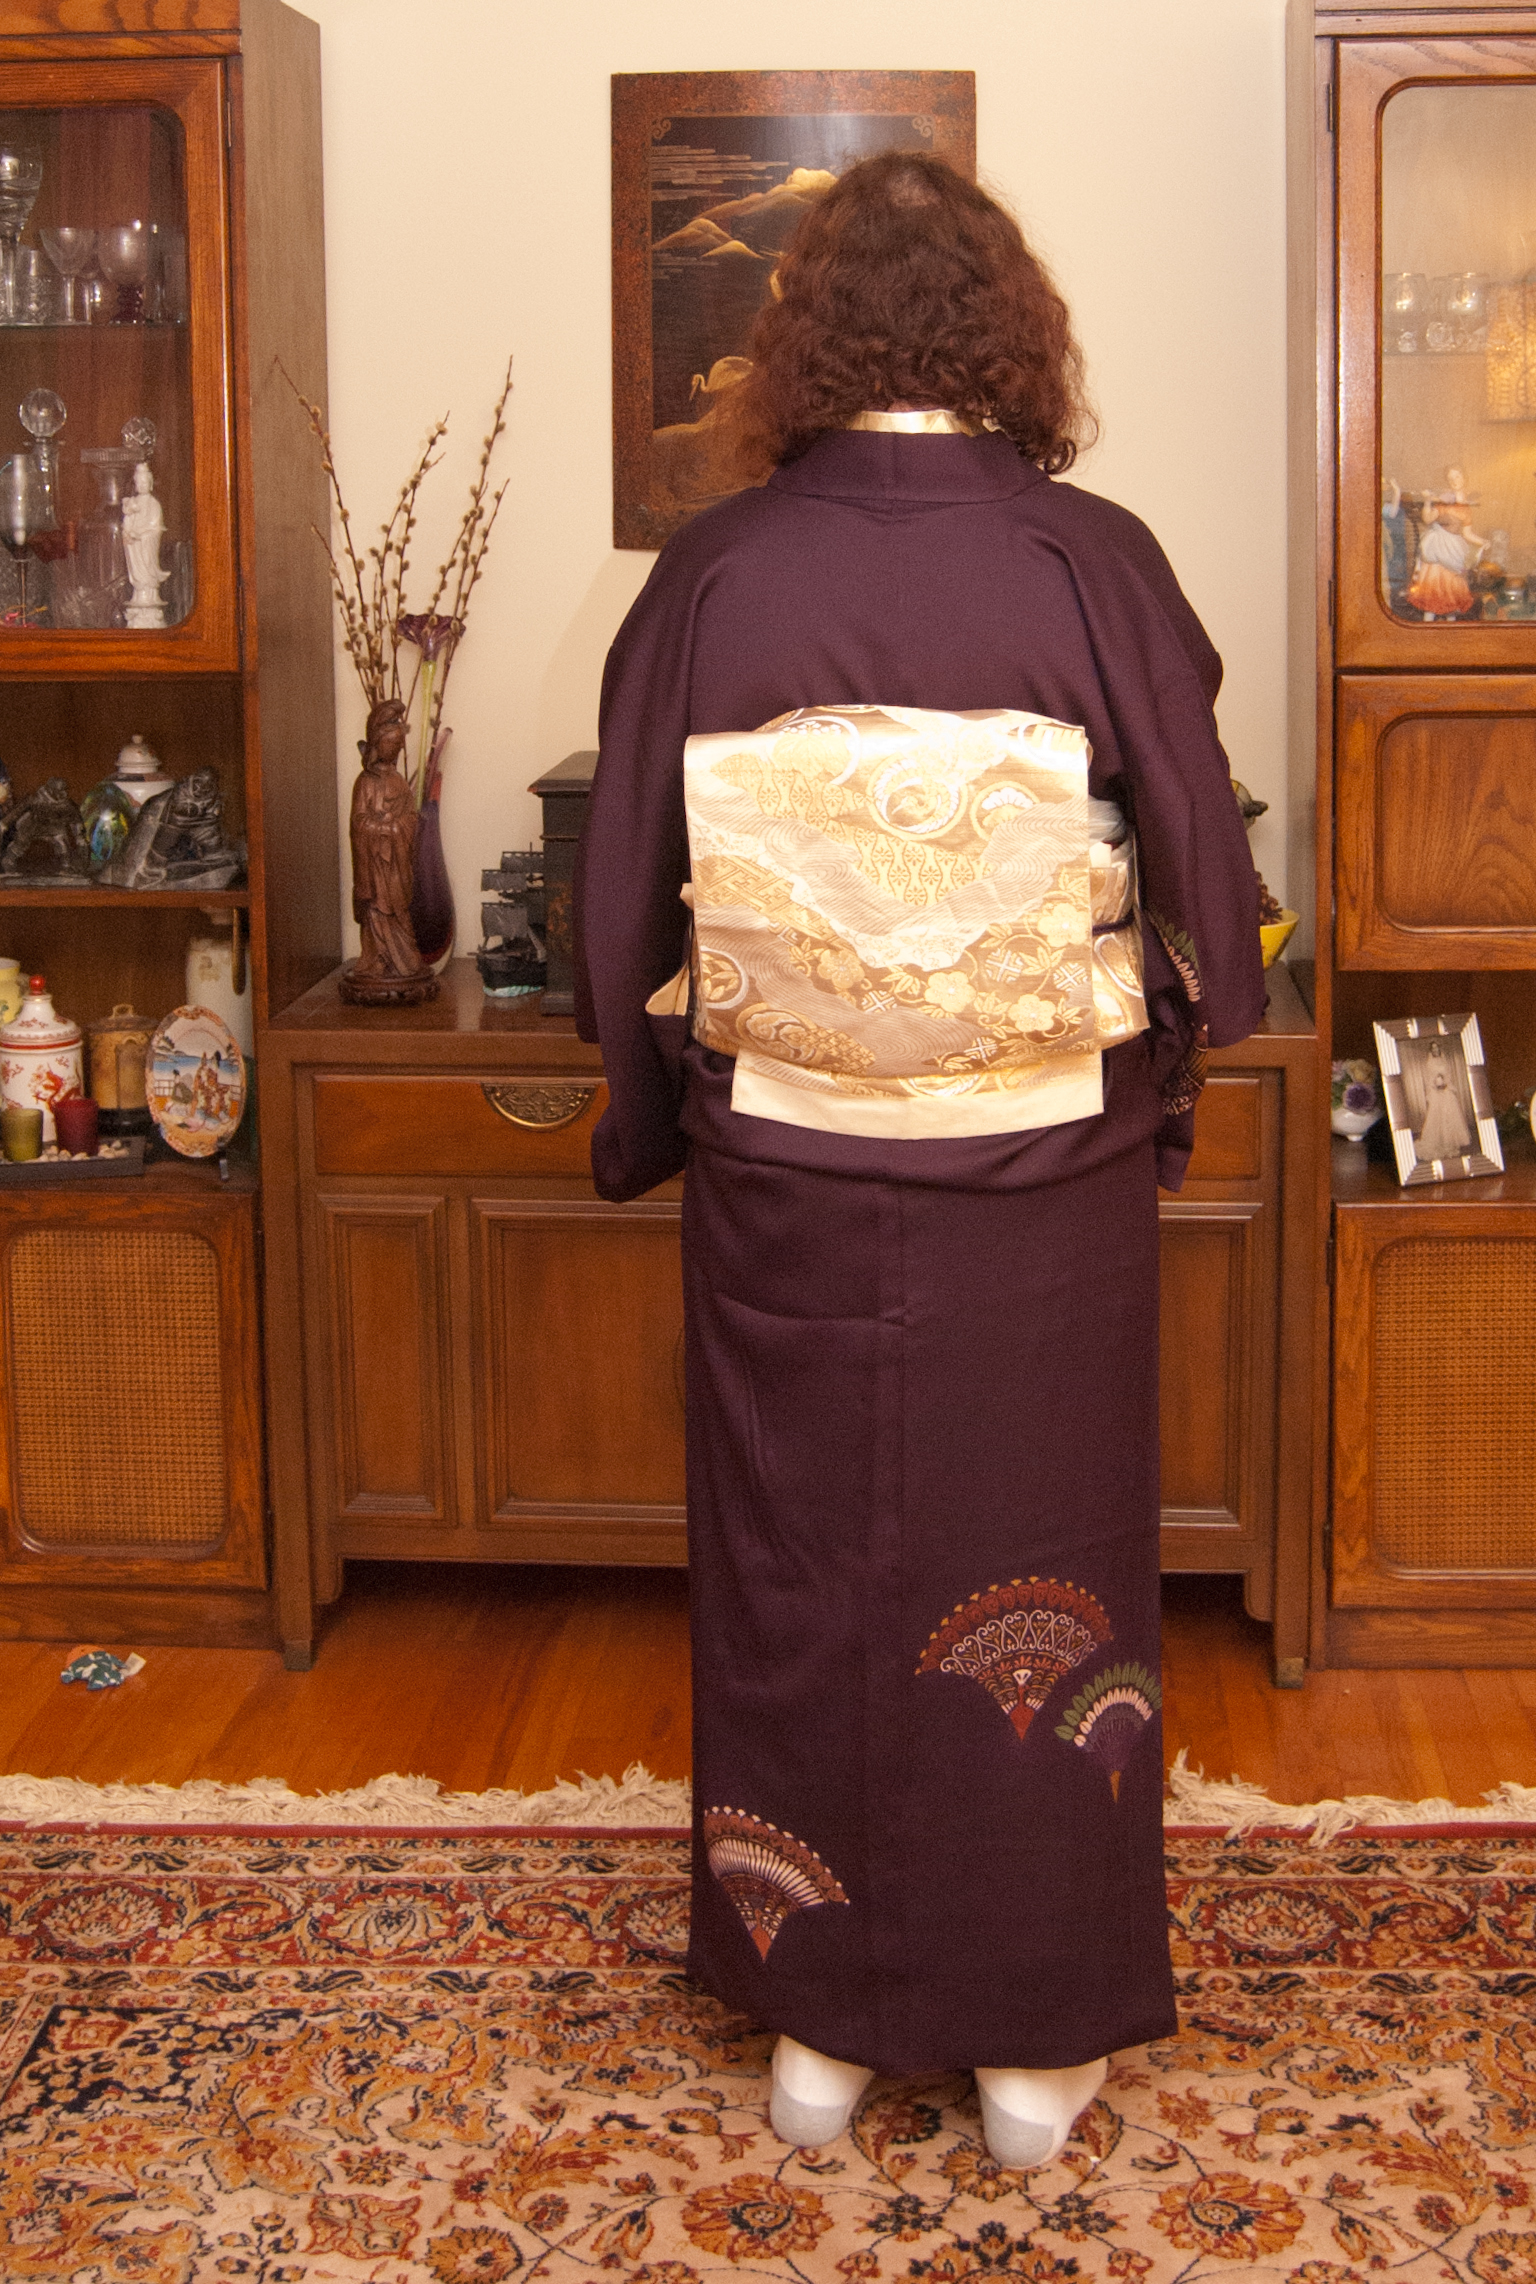


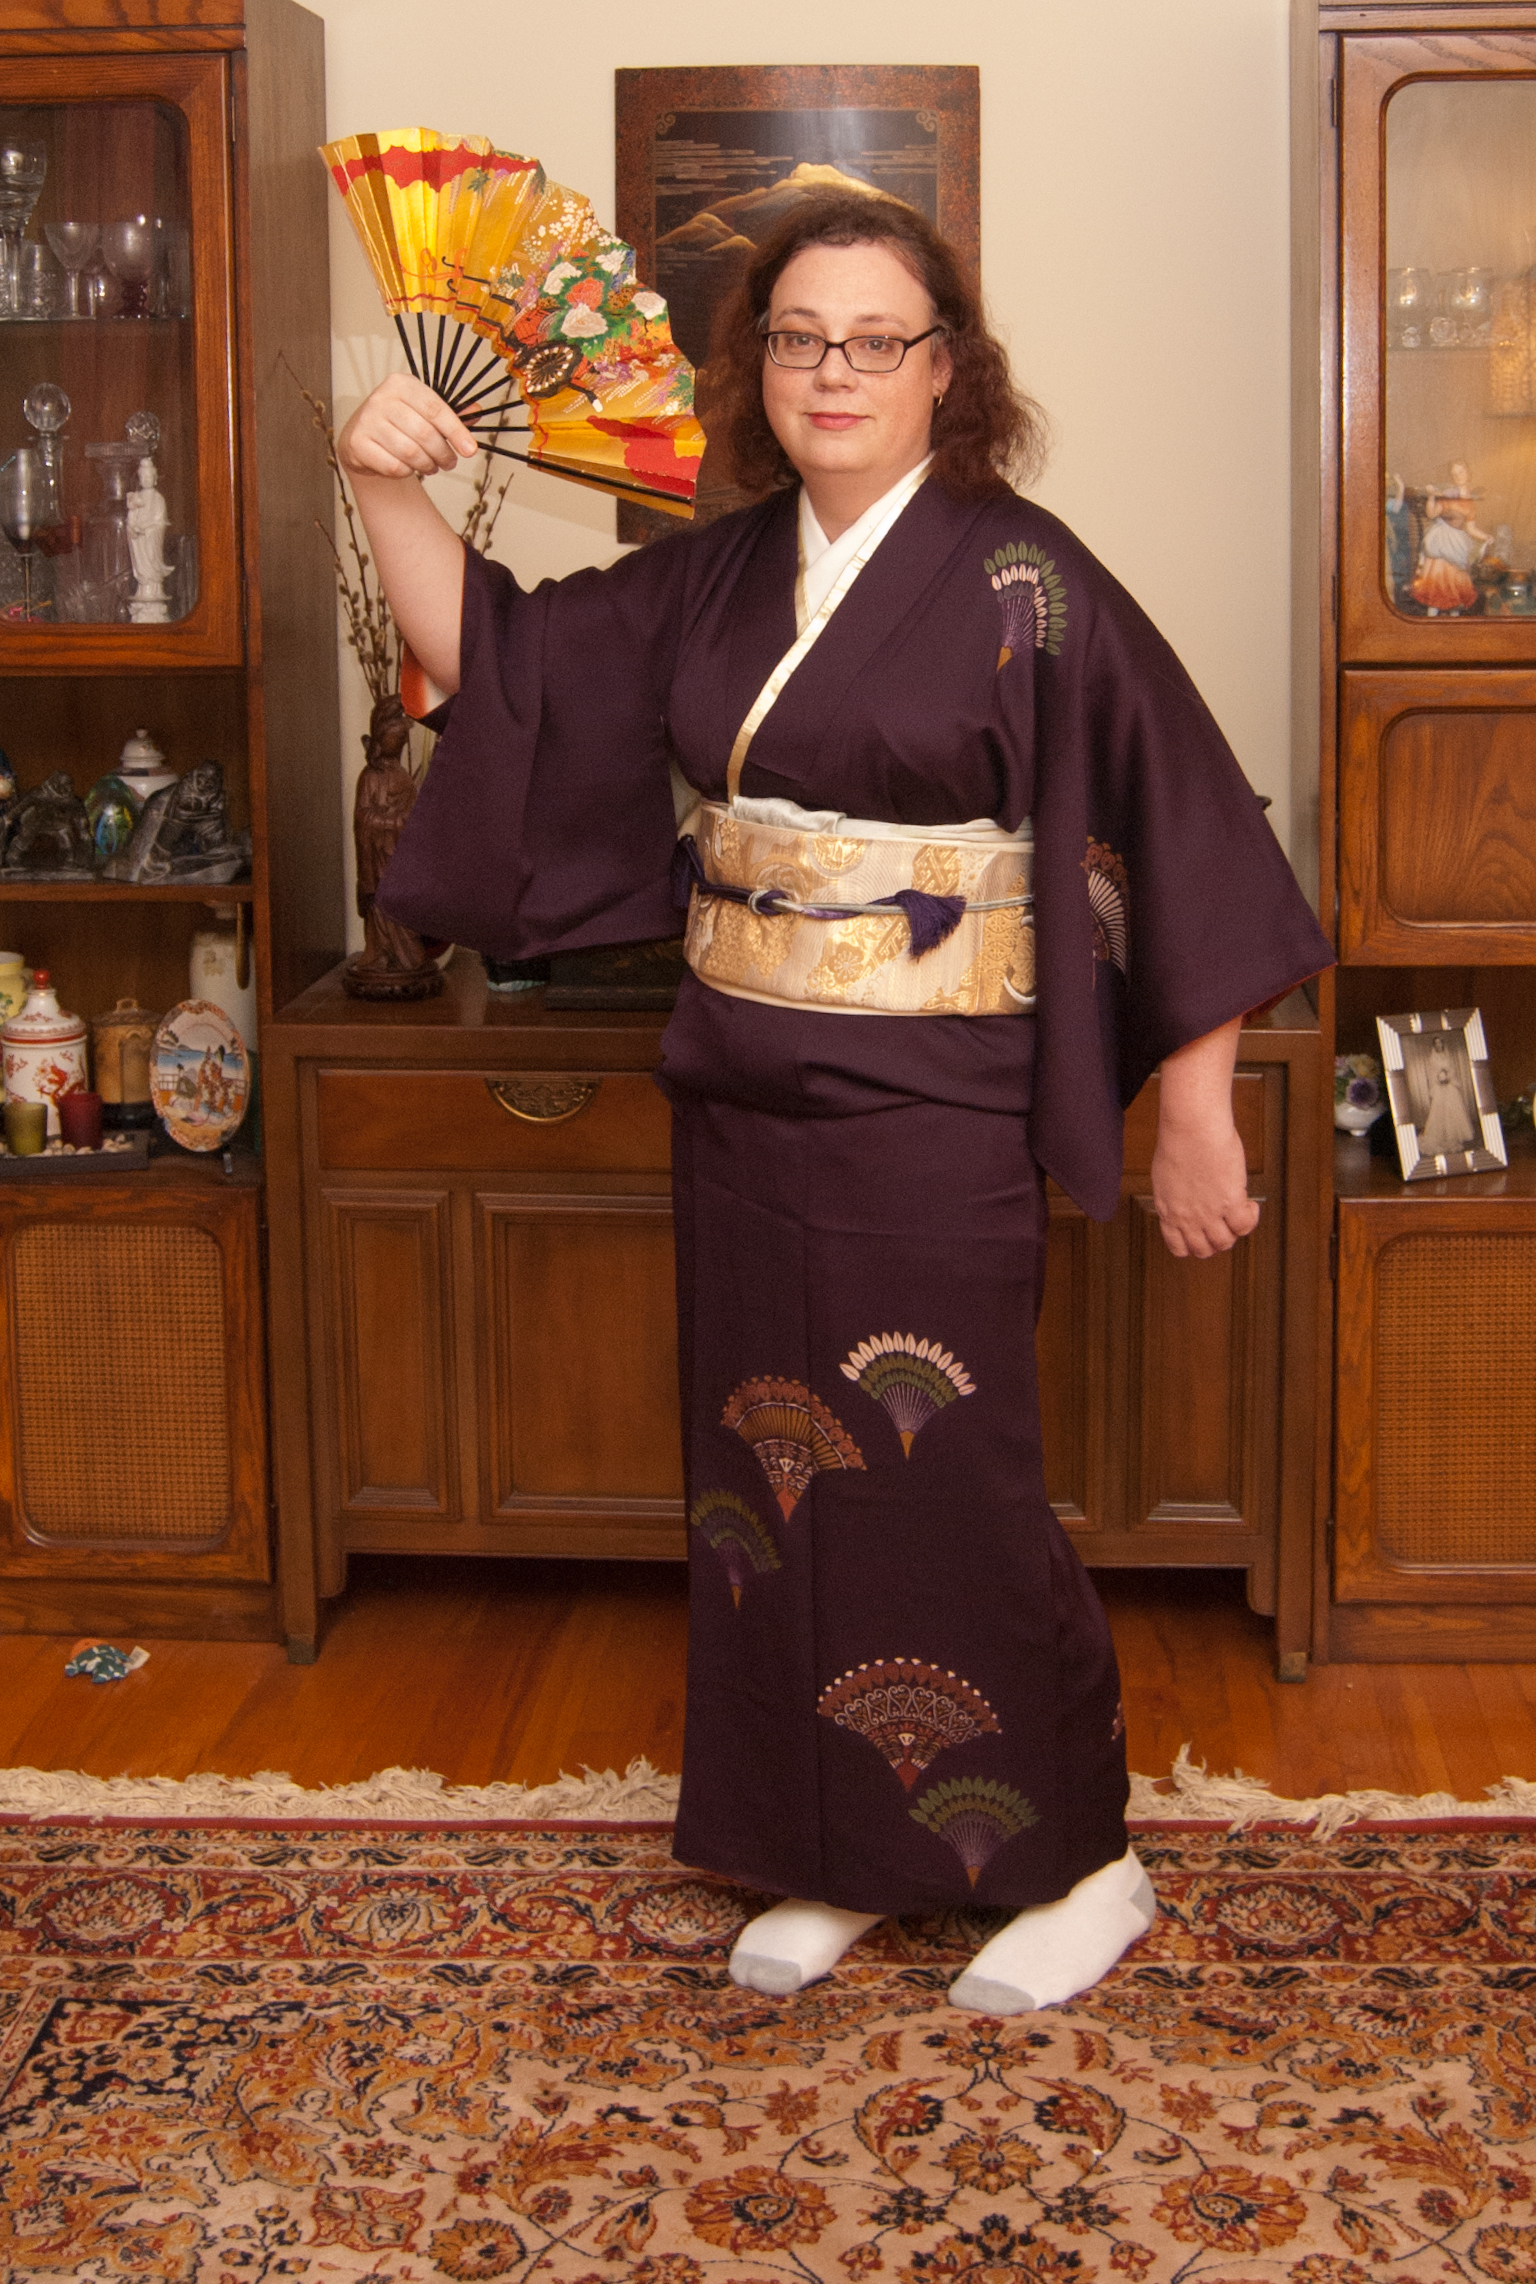
She was a little nervous posing at first, but once she got a little more relaxed everything just clicked. I think she looks absolutely lovey, and I do like how the gold obi and kasane-eri pop against the rich aubergine of the kimono. Sometime in the future, I’m very much looking forward to both of us dressing up and going out together.
This last photo is a bit of a conceit on my part. I really loved how thoughtful she looked, but unfortunately my flash didn’t fire and the photo ended up being incredibly noisy and under-exposed. I decided to make it look like a vintage daguerreotype, and I think it worked out quite well.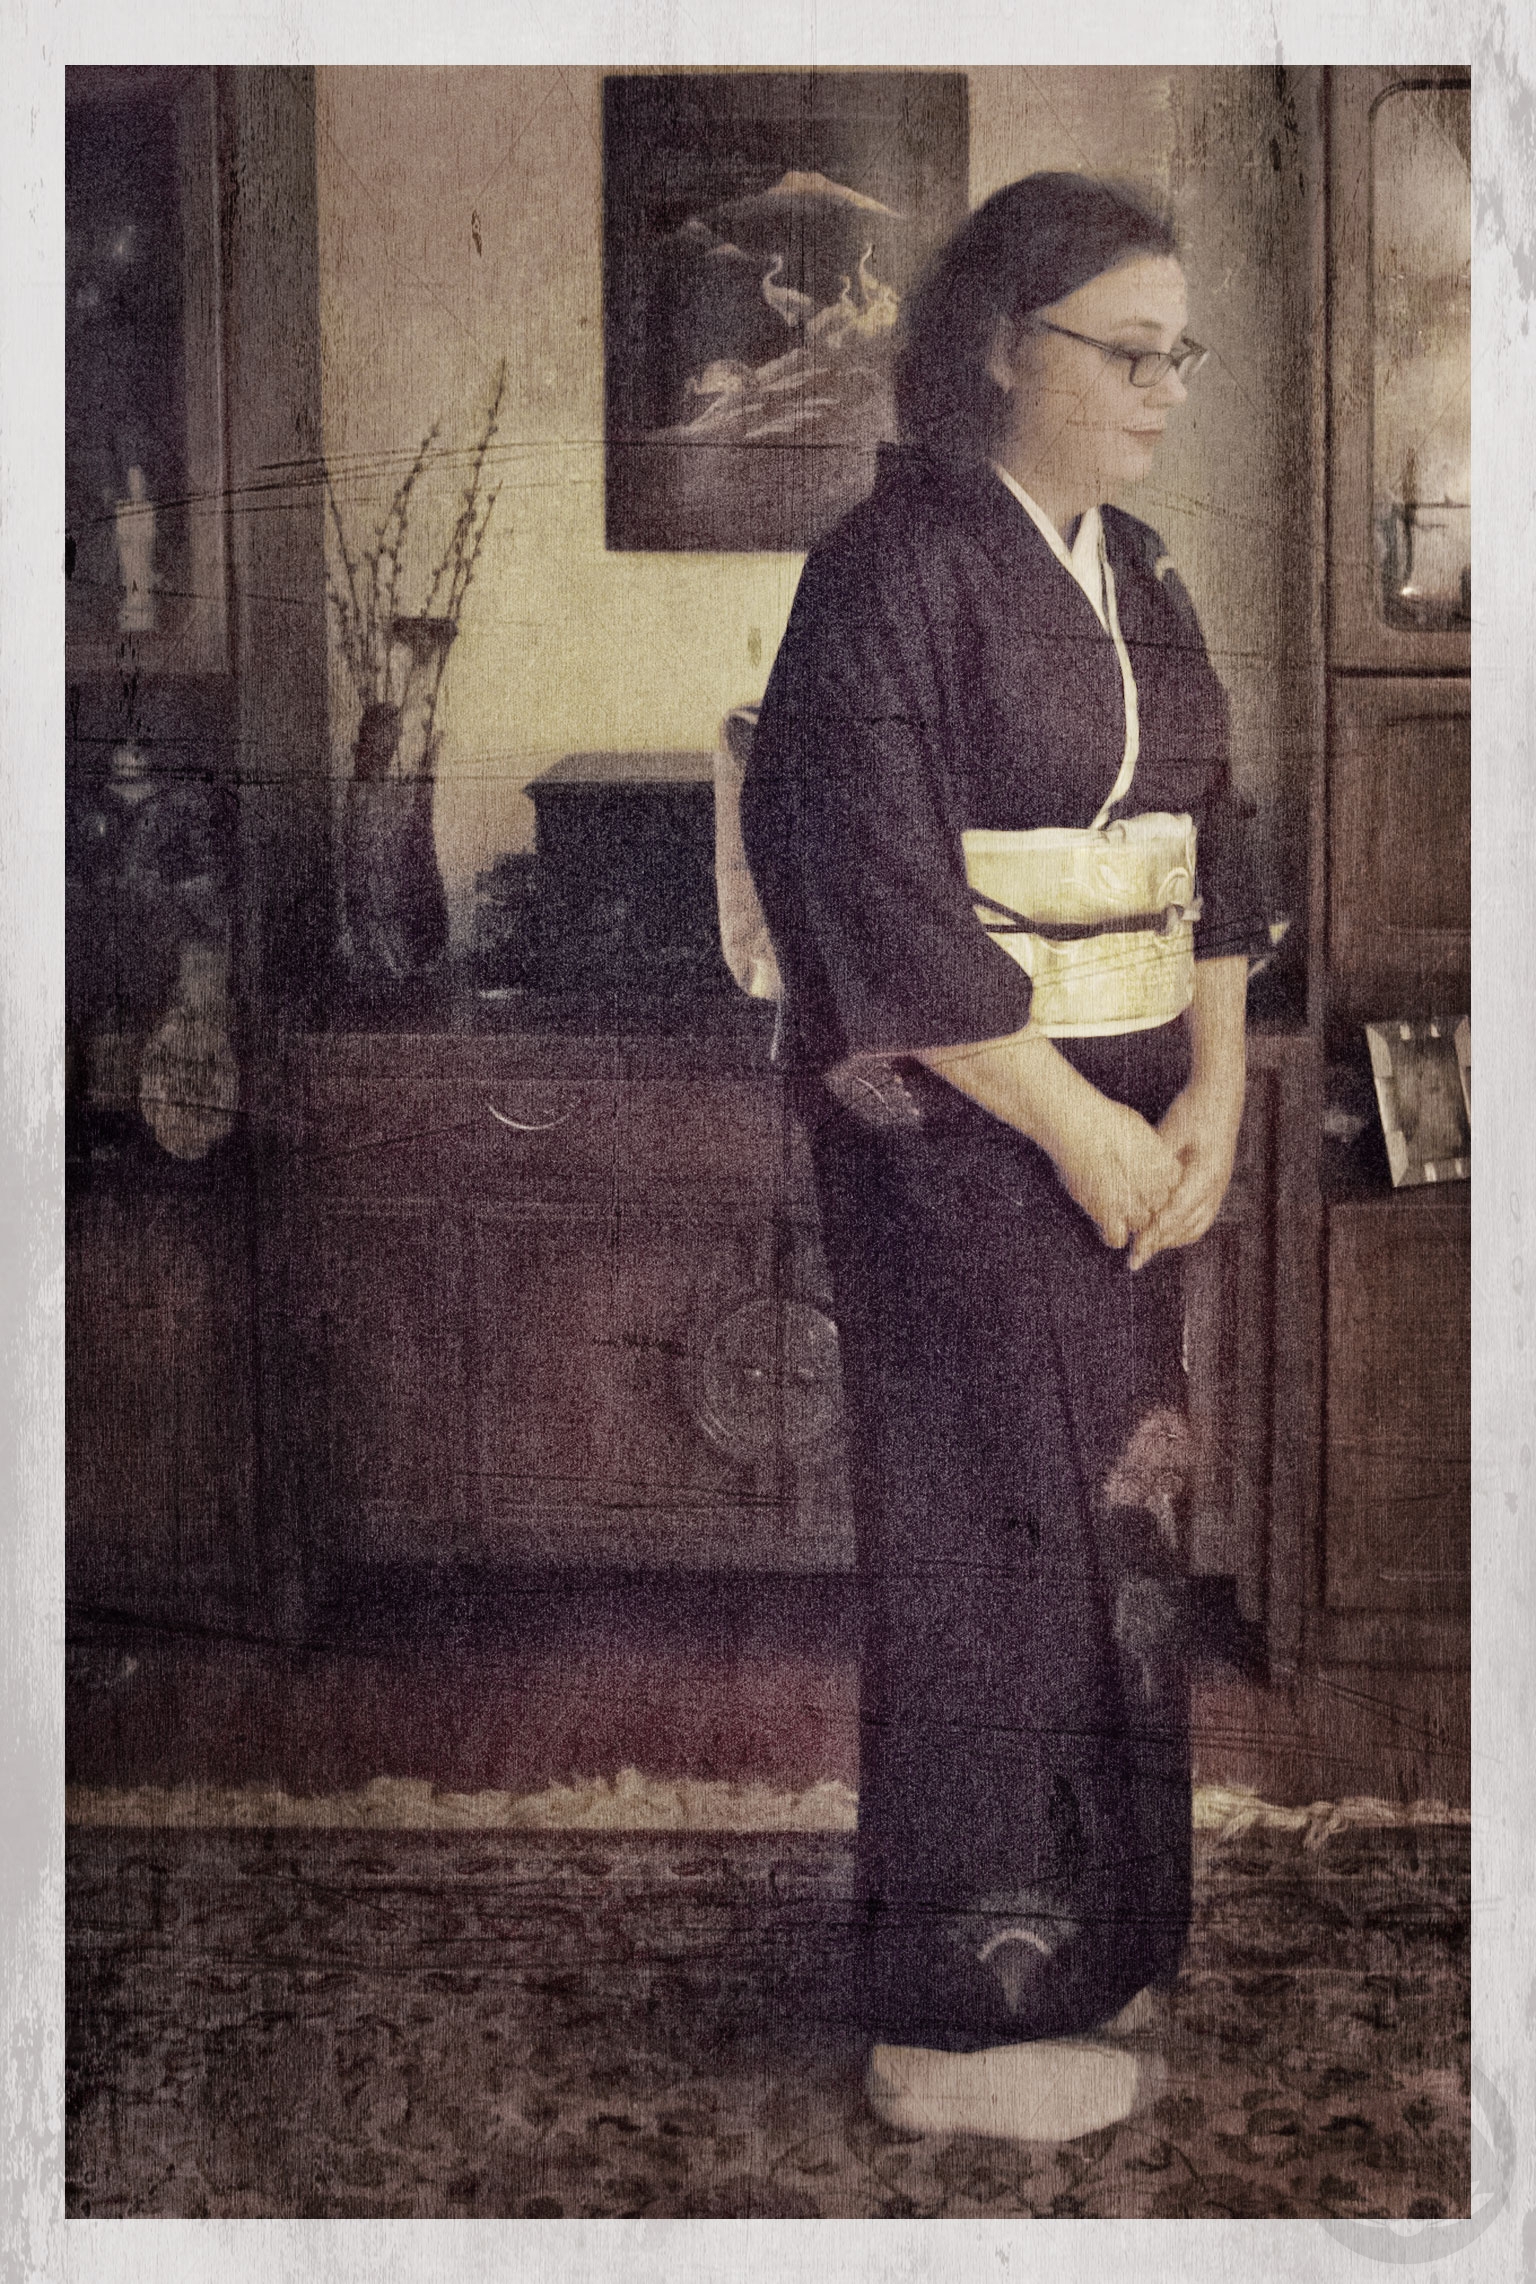
Items used in this coordination
-
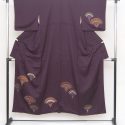
- Eggplant with Abstract Peacocks
-
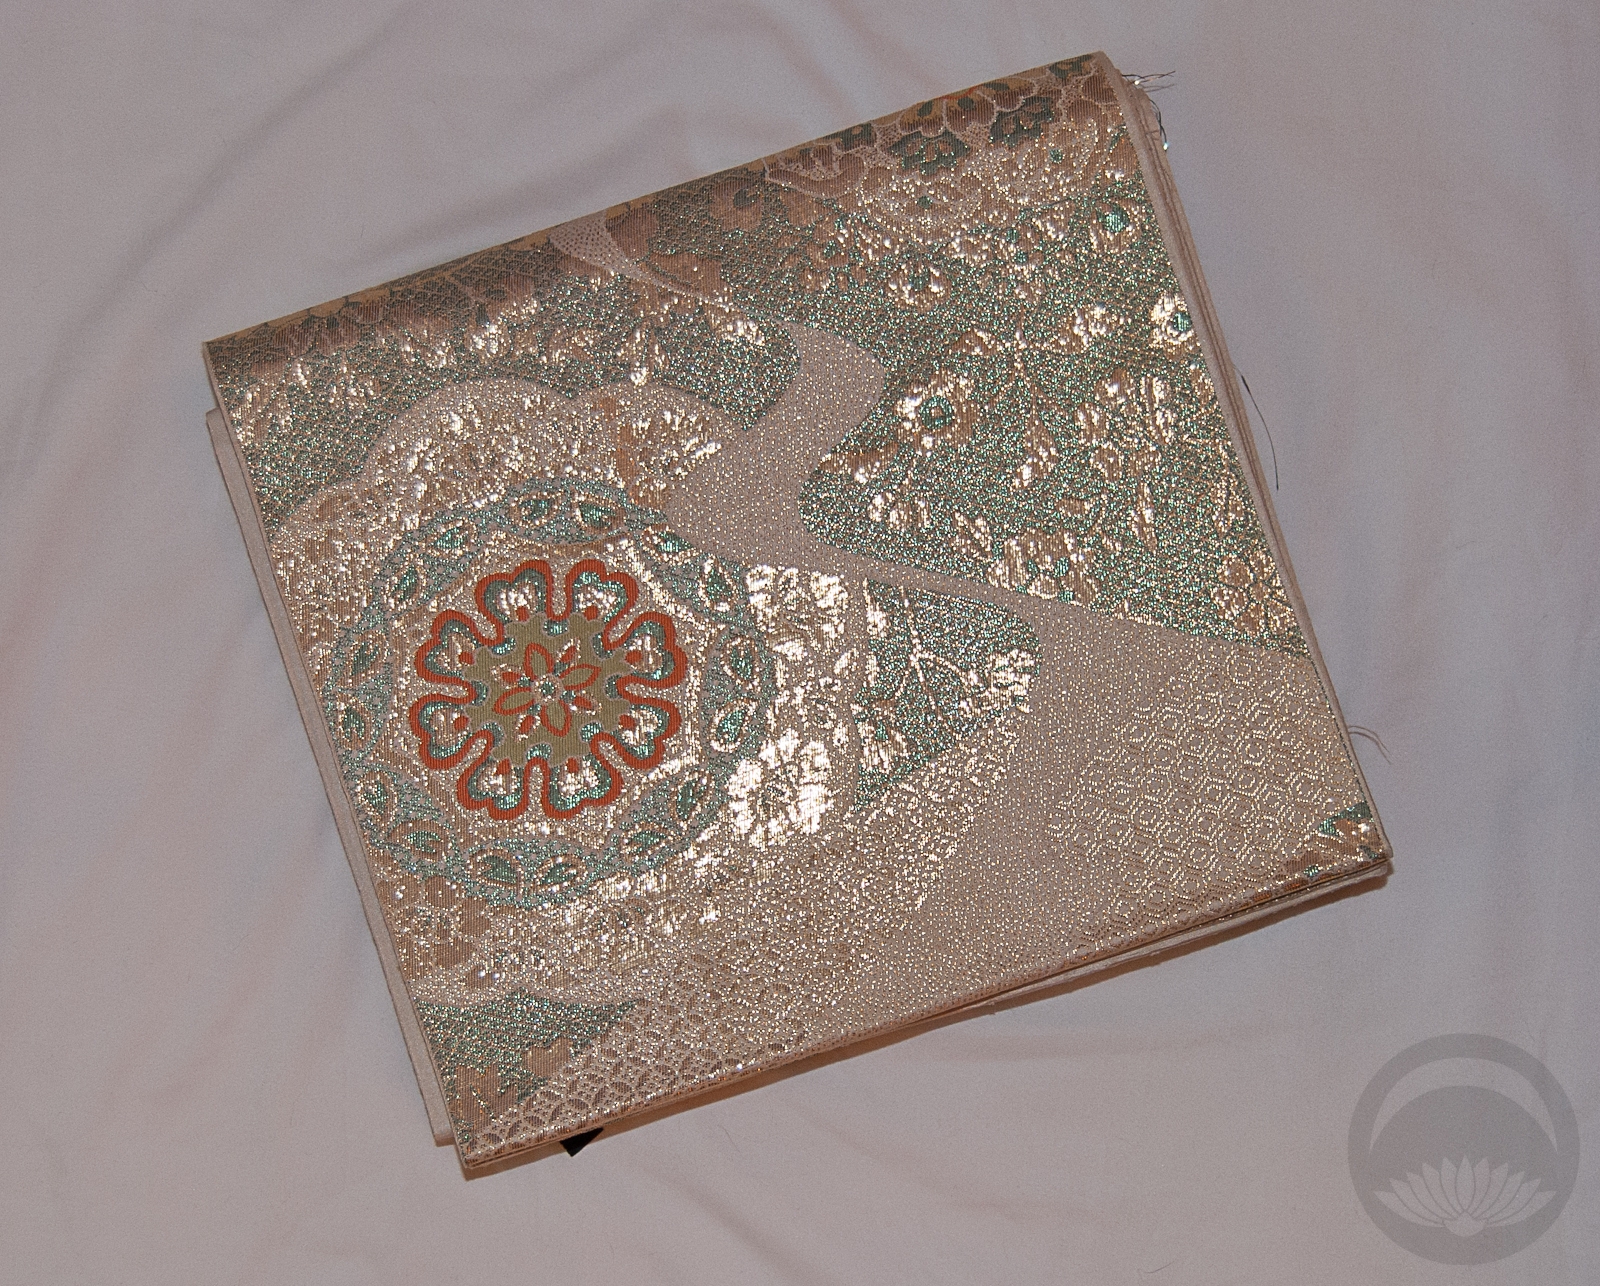
- Gold Mixed Motifs

-
- Shades of Indigo
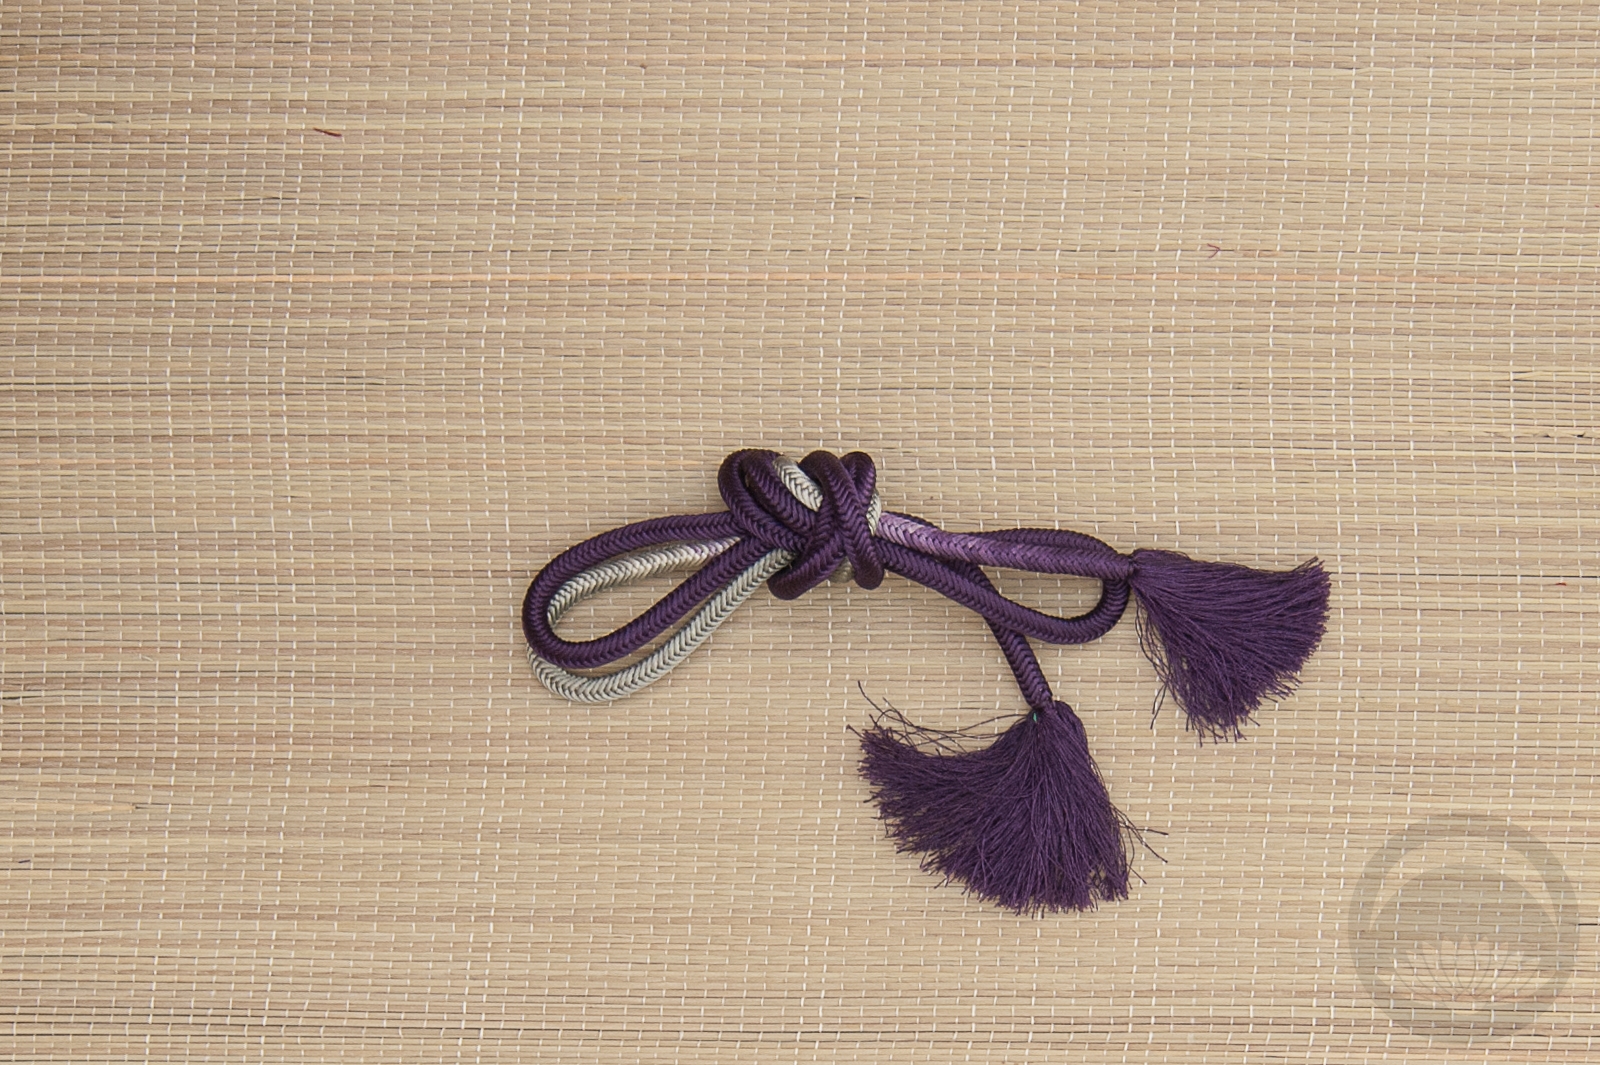
-

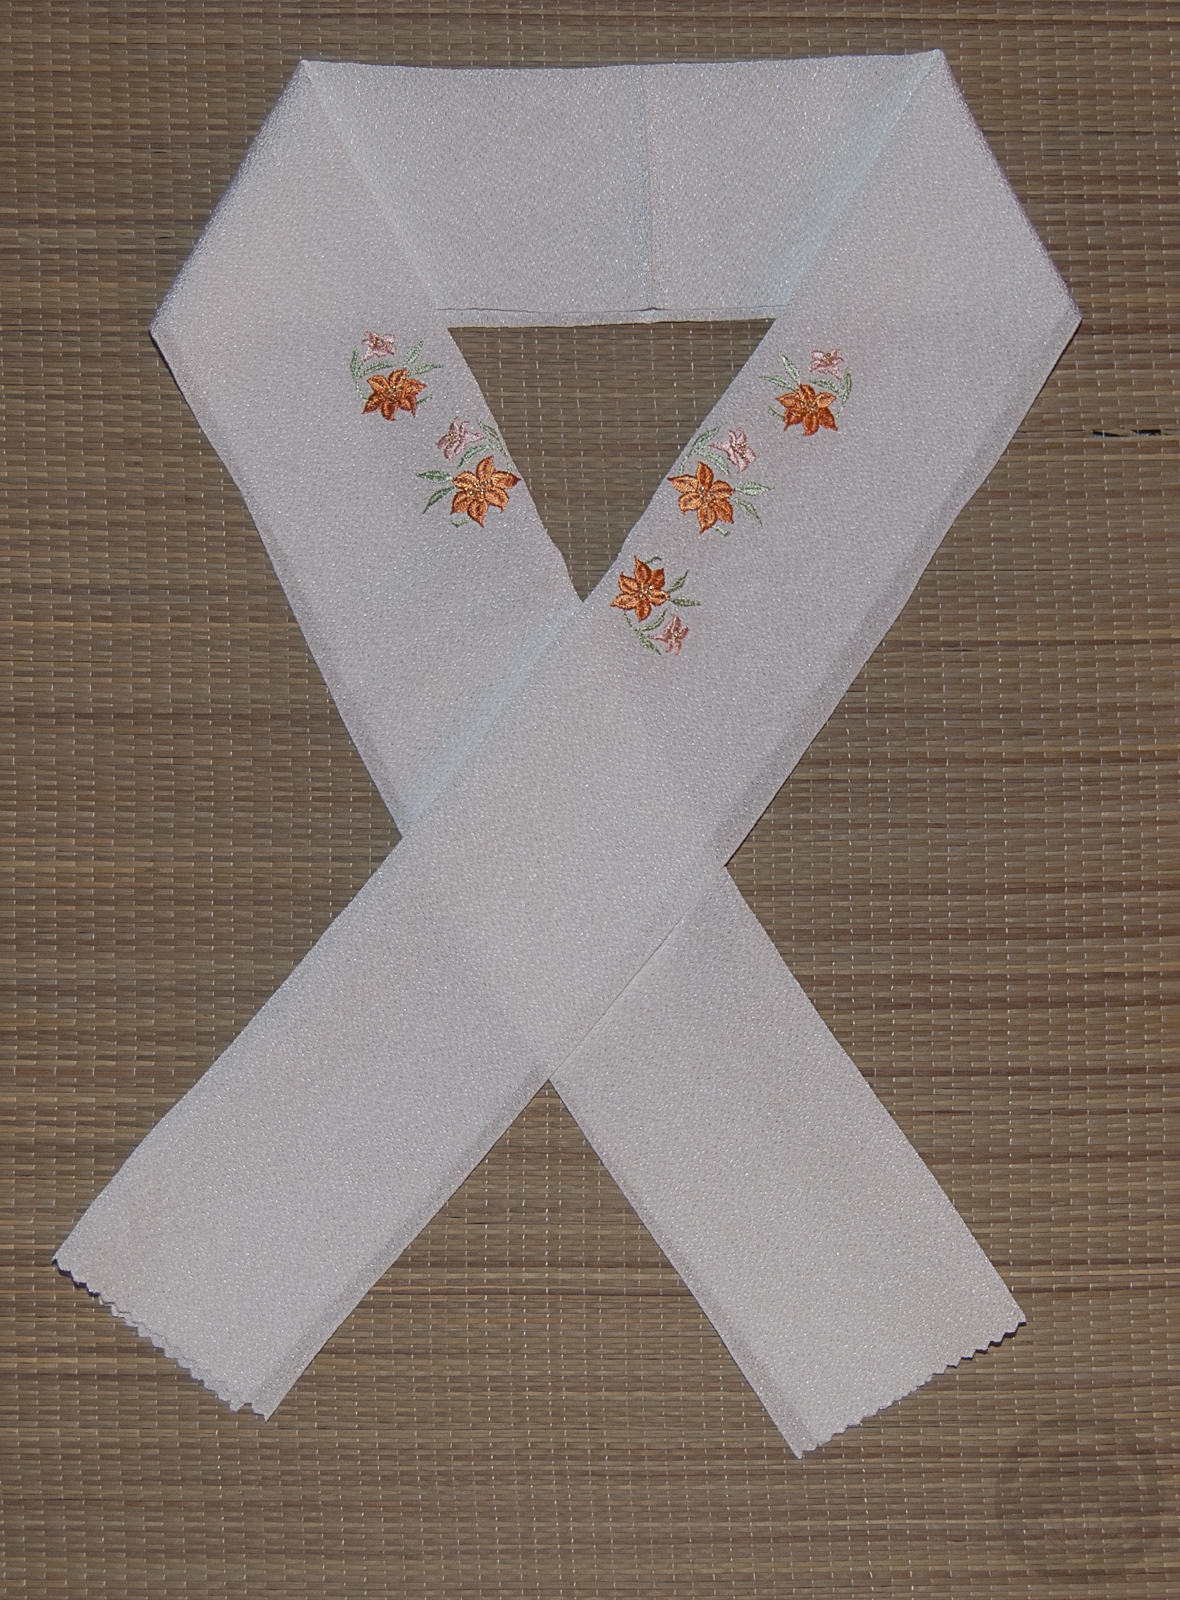
- Ice-blue Rinzu
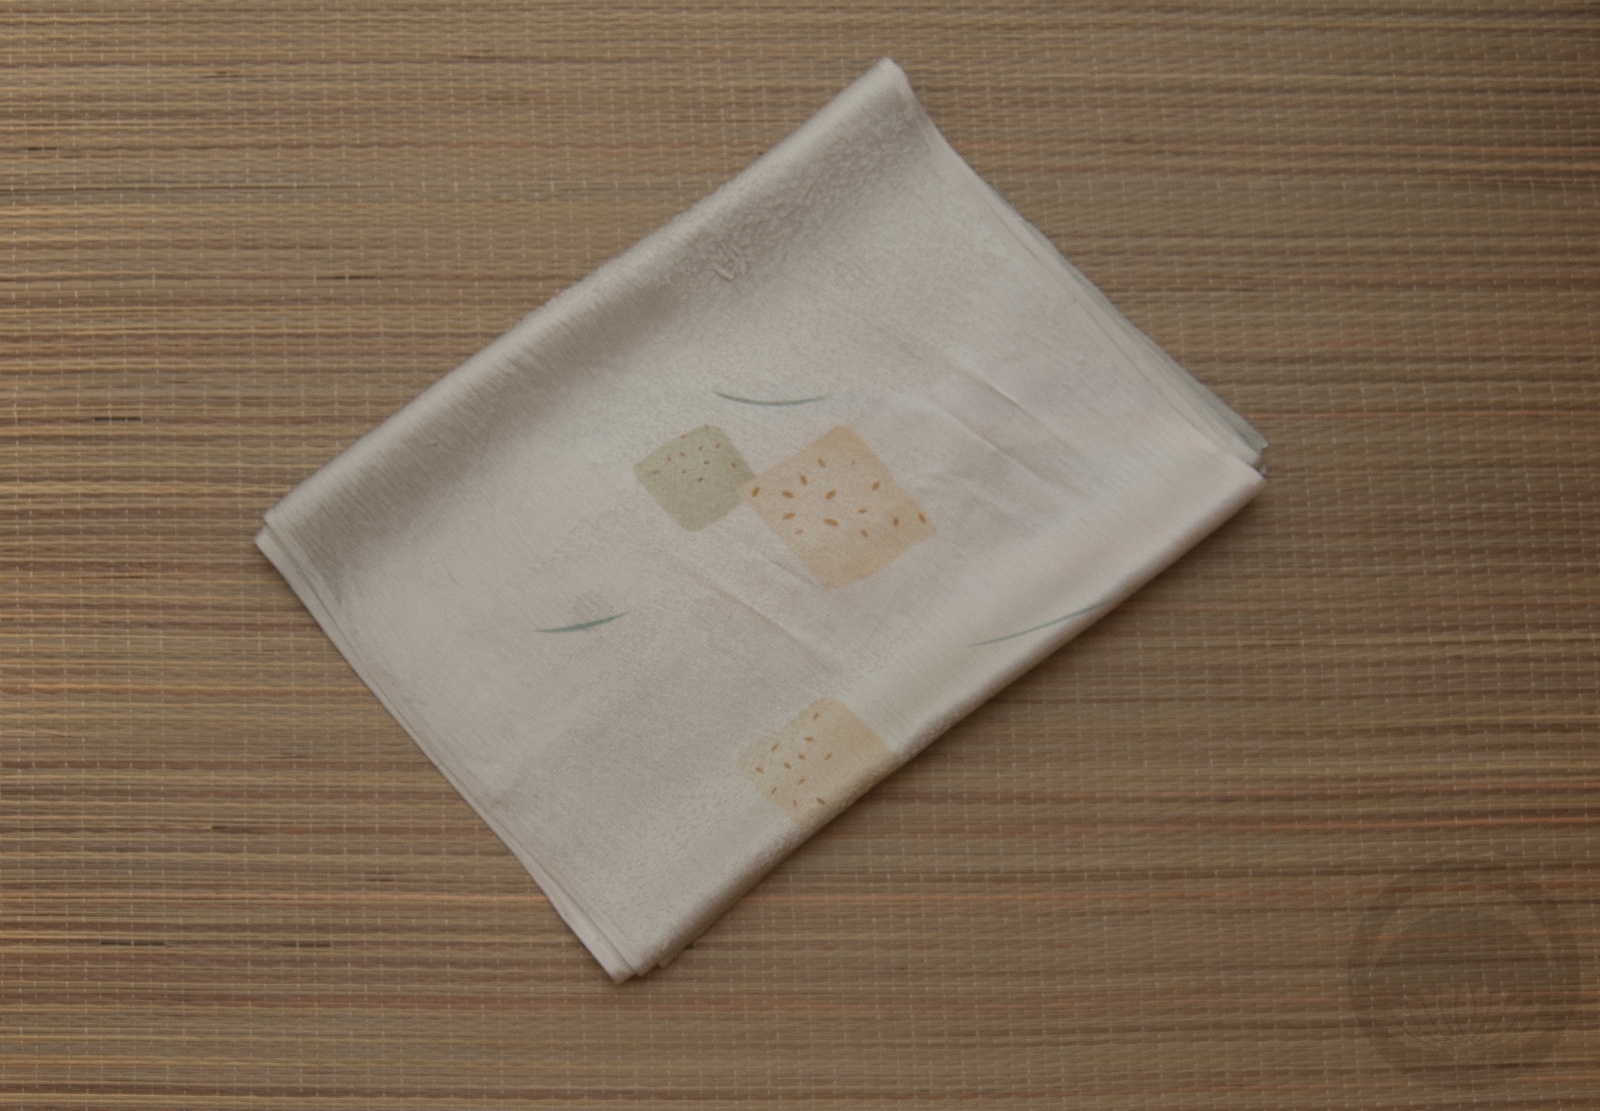


 Bebe Taian
 CHOKO Blog
 Gion Kobu