
Yesterday evening, yours truly managed to get her finger caught in the exterior door while it was closing. Thankfully nothing is broken, and it was my most useless finger (left hand, pinky) but it’s taped up and quite painful at the moment so unfortunately the Princess Project will be on a short hiatus until likely sometime next week. Thanks for understanding!
Since I can’t dress the mannequin, I figured it would be a good time to share something a little simpler, how I display and photograph my collection. Naomi recently asked me what the rig I used to display my kimono was, so here’s a simple breakdown of what all went into it for those of us who may not have the funds or access to a traditional ikou.
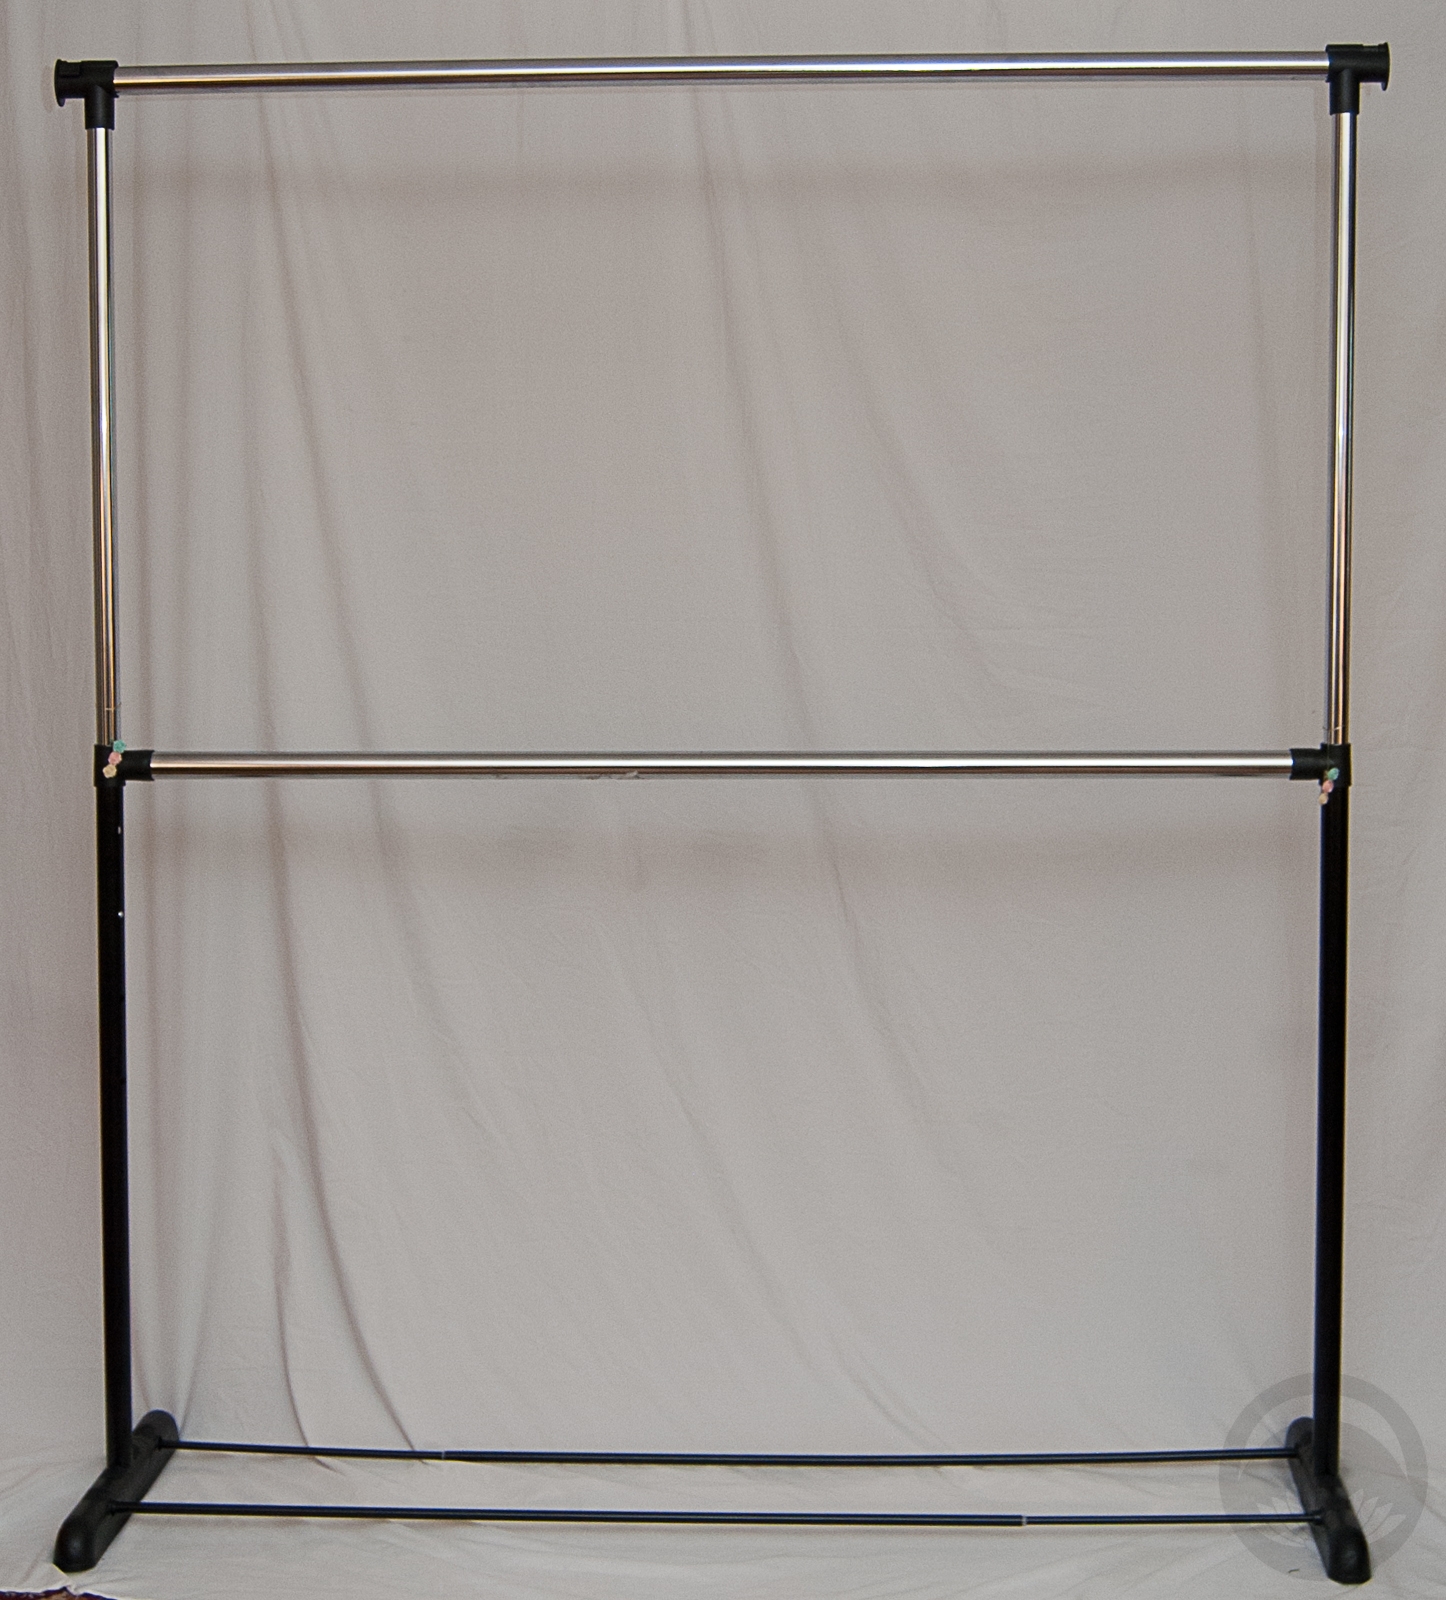
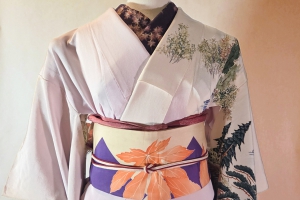
I started with the Honey Can Do expandable garment rack. It has a maximum adjustable width of 60″, and the interior measurement not including the extendable rods was nowhere near wide enough to put a kimono on, so rather than using the included cross-bars, I picked up some 1 1/4″ diameter solid (not extendable) closet rods and cut them to 60″ length. You can do this using a hacksaw but it will take hours, so I recommend a power tool. Ask someone for help if you need to, this isn’t the easiest thing in the world. I also picked up a couple of narrow black tension rods to stabilise the base. I can’t find similar ones online, and these aren’t entirely necessary, they just help the unit look a little more balanced and keep the feet from rotating.
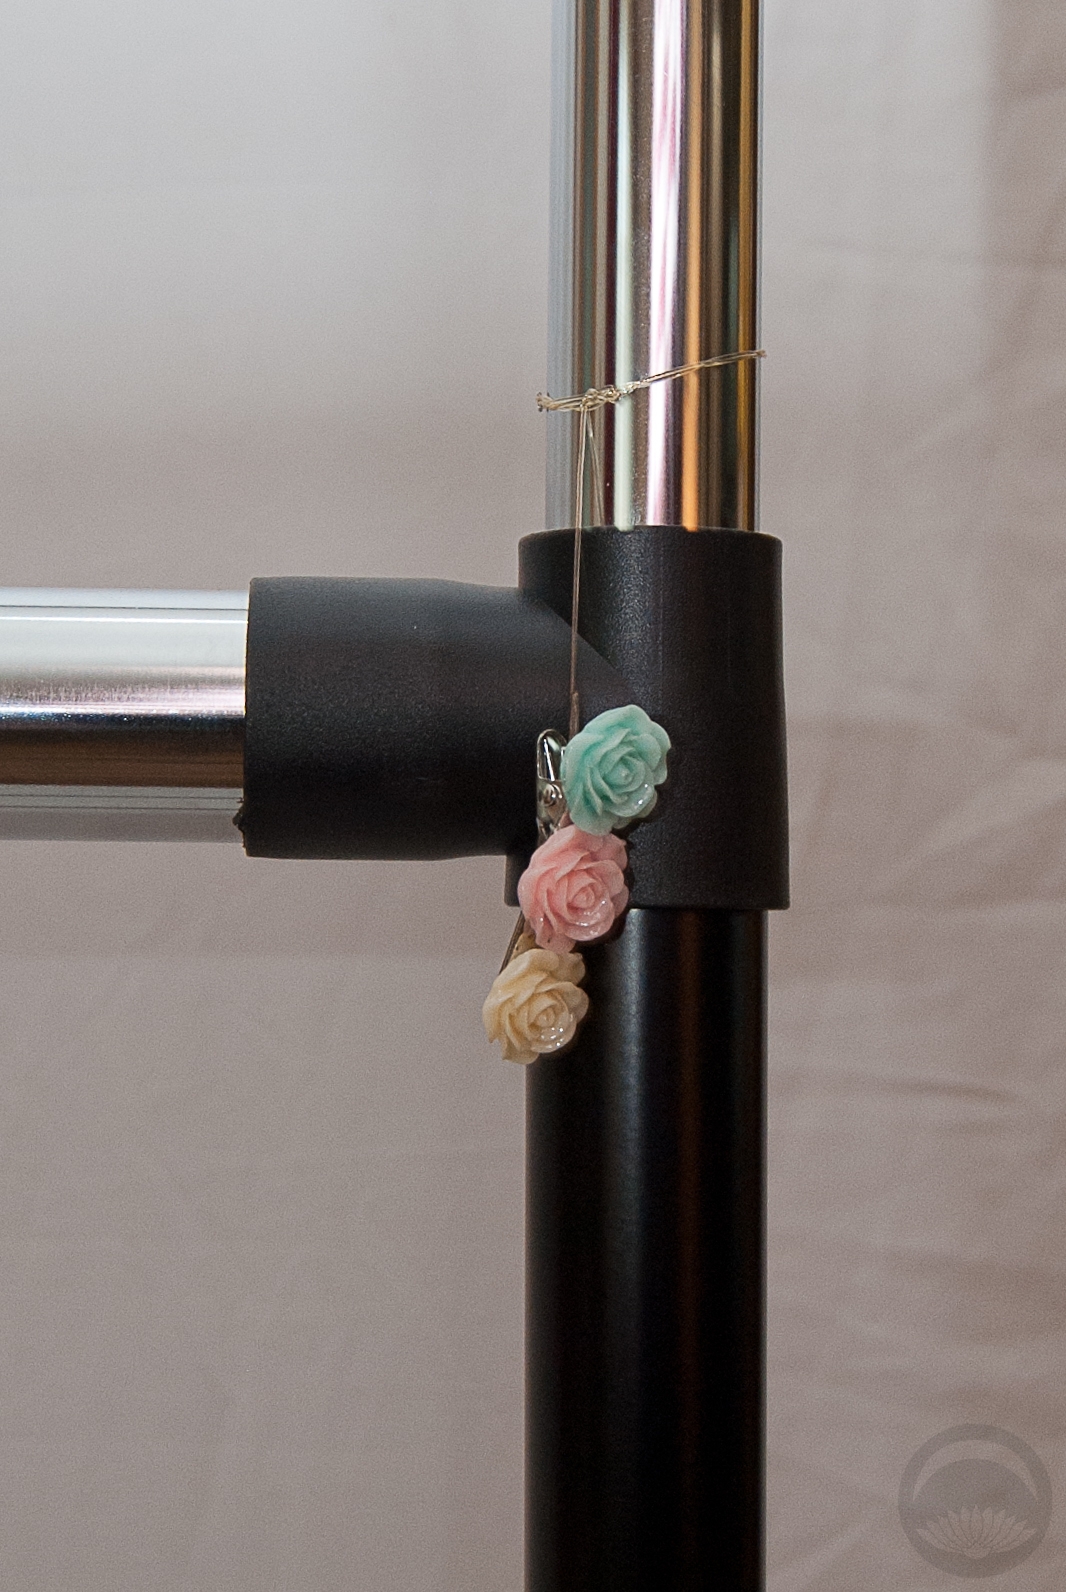
The last step was to make a pair of decorative clips to hold the kimono open during display/photography. I used a pair of inexpensive alligator clips and glued some cute rose cabochons to them to make them a little nicer to look at. You can really be creative here. Fans are a very traditional motif for these clips, but go wild and use anything you like! Once you’re happy with your clips, use some sturdy elastic or nylon thread to attach them to the uprights of the rack. Don’t tie them on too tightly so you can slide them up or down as needed. The top half of the rack can be slid down for storage, and if you make the clips too snug they can get in the way.
-

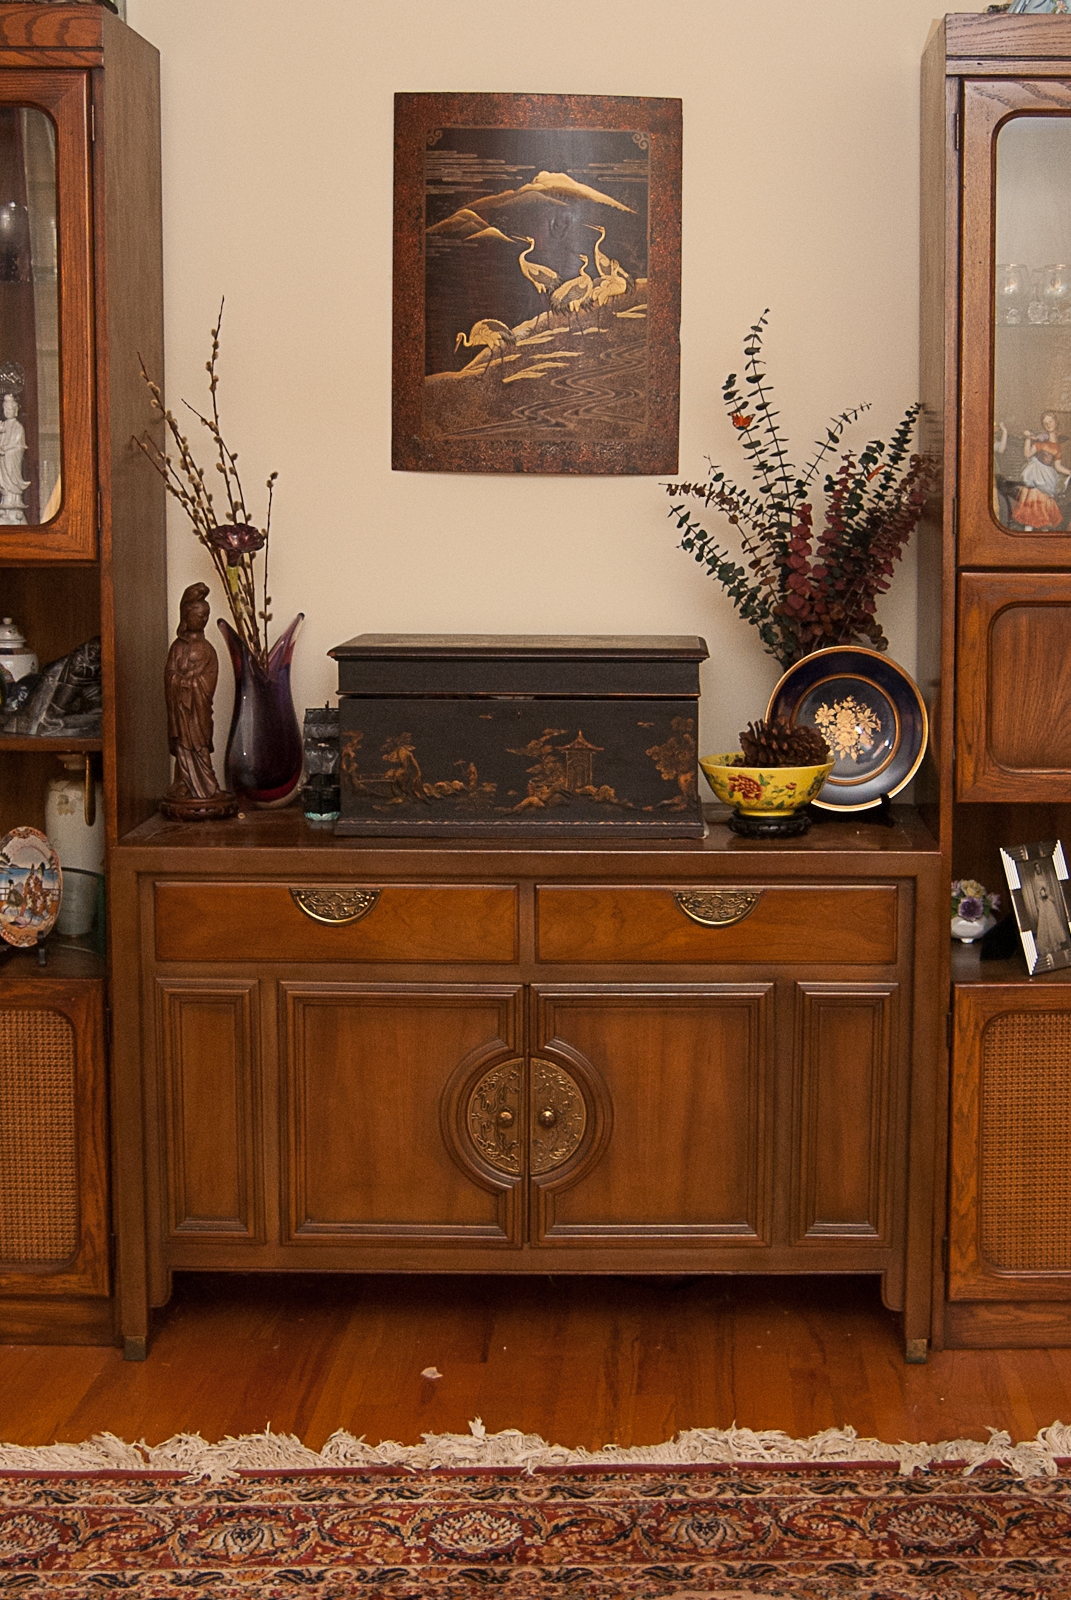
- My living room as it normally is
-
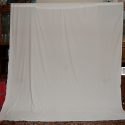
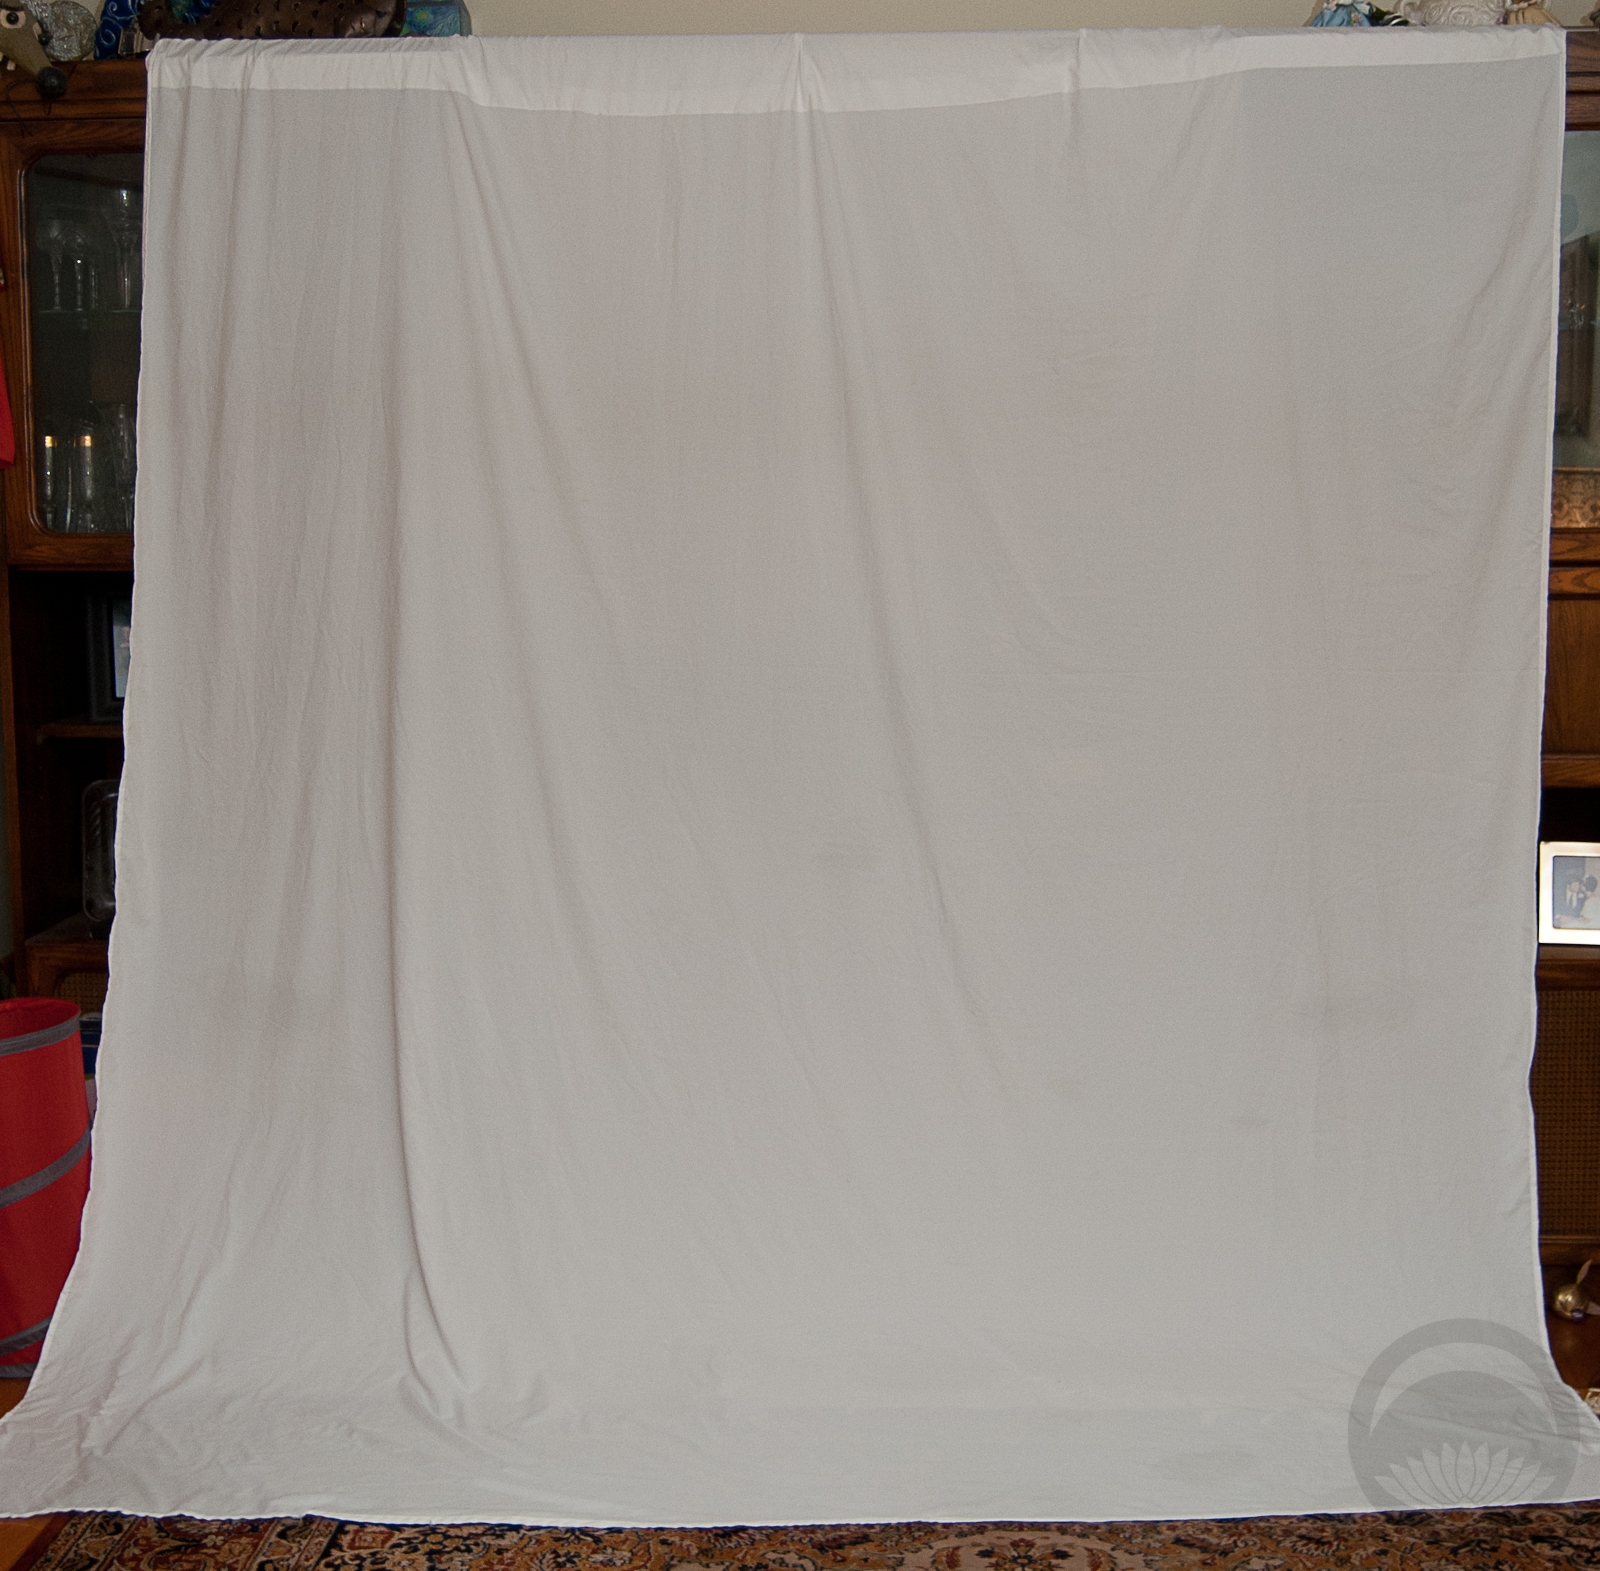
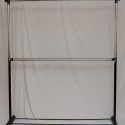
- With the white backdrop hooked over the furniture
-
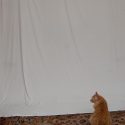
- Remove cat, repeat as necessary

-
- The rack, fully visible
-
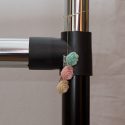
- Cute alligator clips
To take the photos I’m using in my new visual catalogue, I start by setting up my tripod. I actually use the exact same spot in the house as I use to take the mannequin photos. My backdrop is simply a plain white flat sheet with the top hem carefully sliced open at the ends so I can thread it onto the curtain rod. From there, I just put the rack in place, take my photos, and pack it all up until I need it again.
I hope you found this post helpful if you’re looking for an affordable and accessible solution for display or catalogue purposes! If you make a similar stand, I’d love to see it 🙂
This post contains affiliate link(s). If you choose to purchase, I receive a small rebate or commission which goes to the continued maintenance of this site.


 Bebe Taian
 CHOKO Blog
 Gion Kobu