Mini Washitsu 2026

I am no stranger to making Japanese-inspired dioramas (see here and here), but until this time they’ve not been particularly accurate. The first one was assembled from literal junk including a cardboard box, and the second was a kitbash into an “inspired” home. But I was itching to do something a bit more detailed, proportional, and accurate than my previous attempts, so I hauled some of my miniature supplies from Montreal to California and got to work.

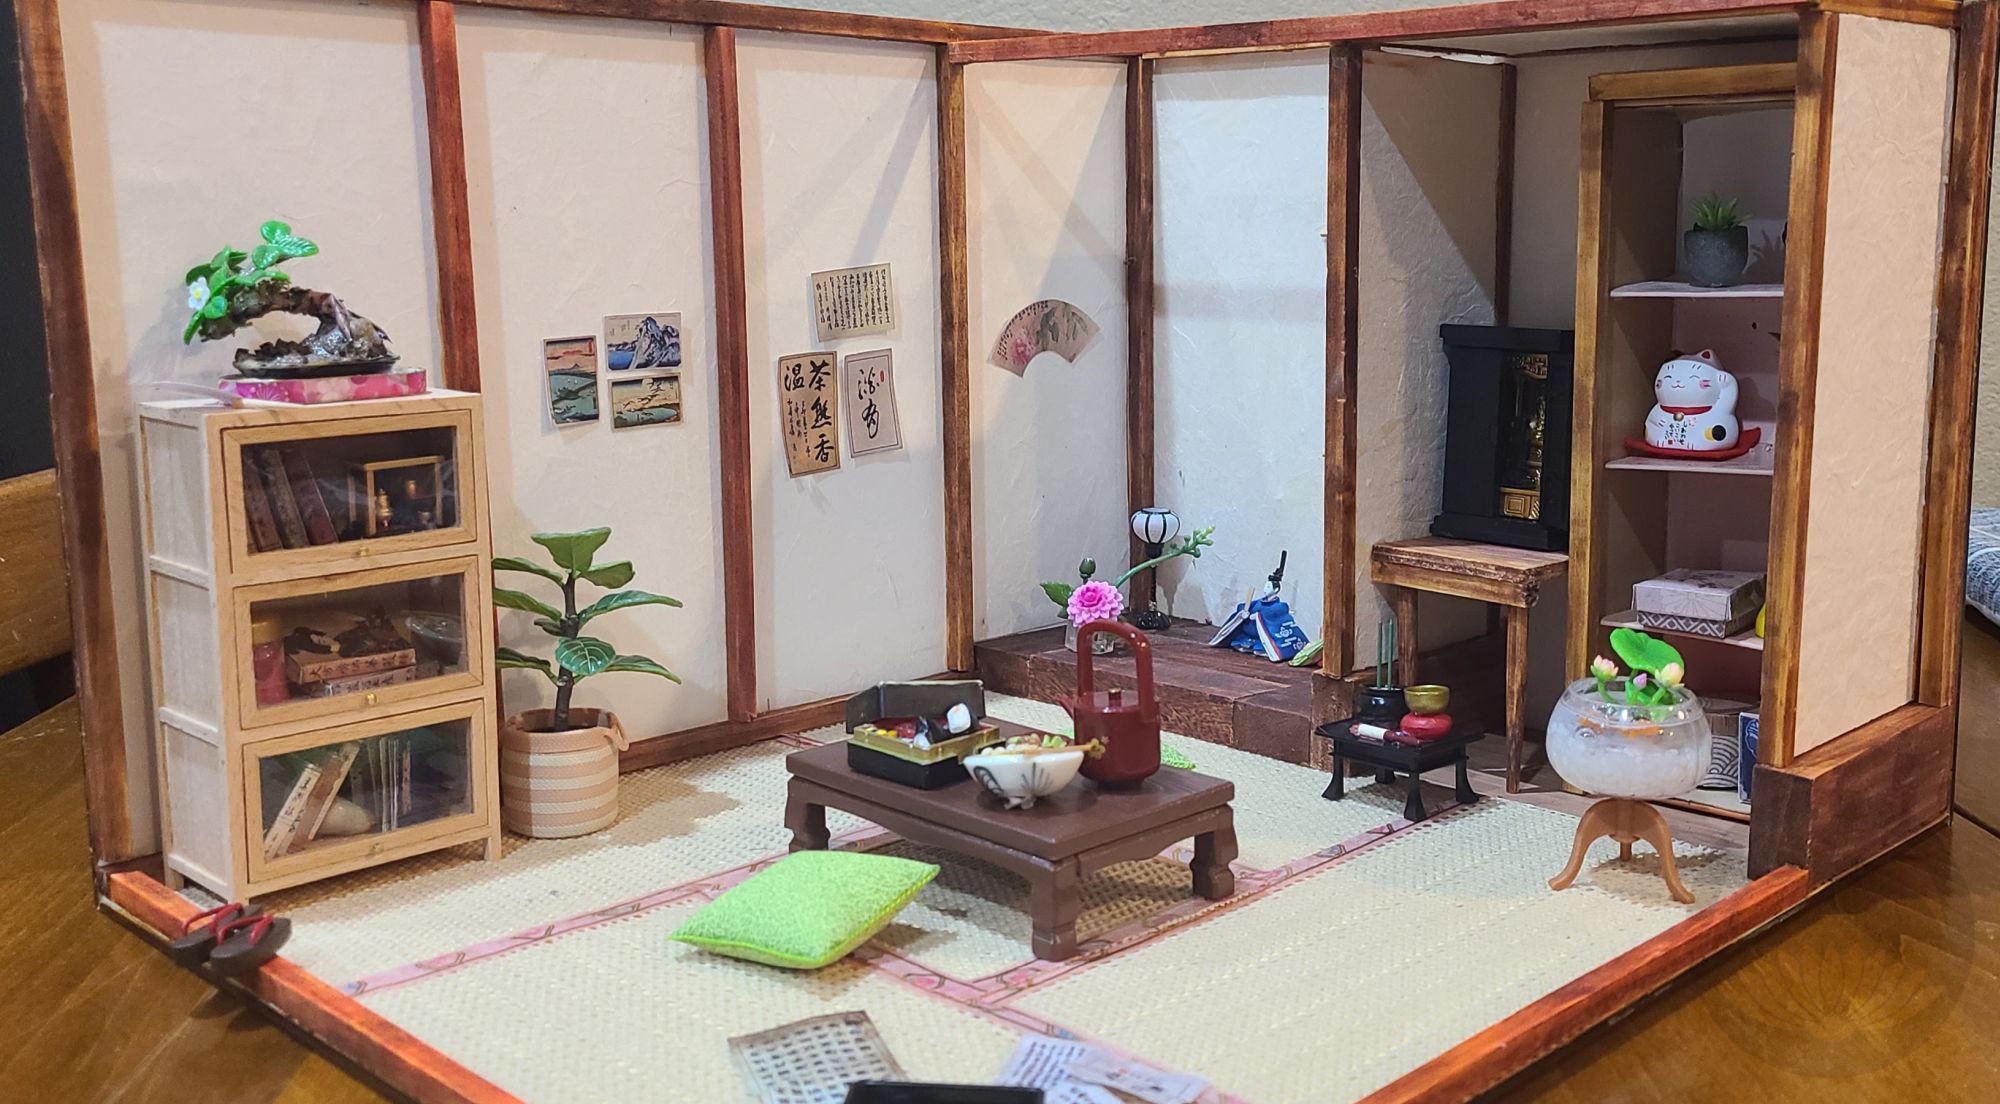
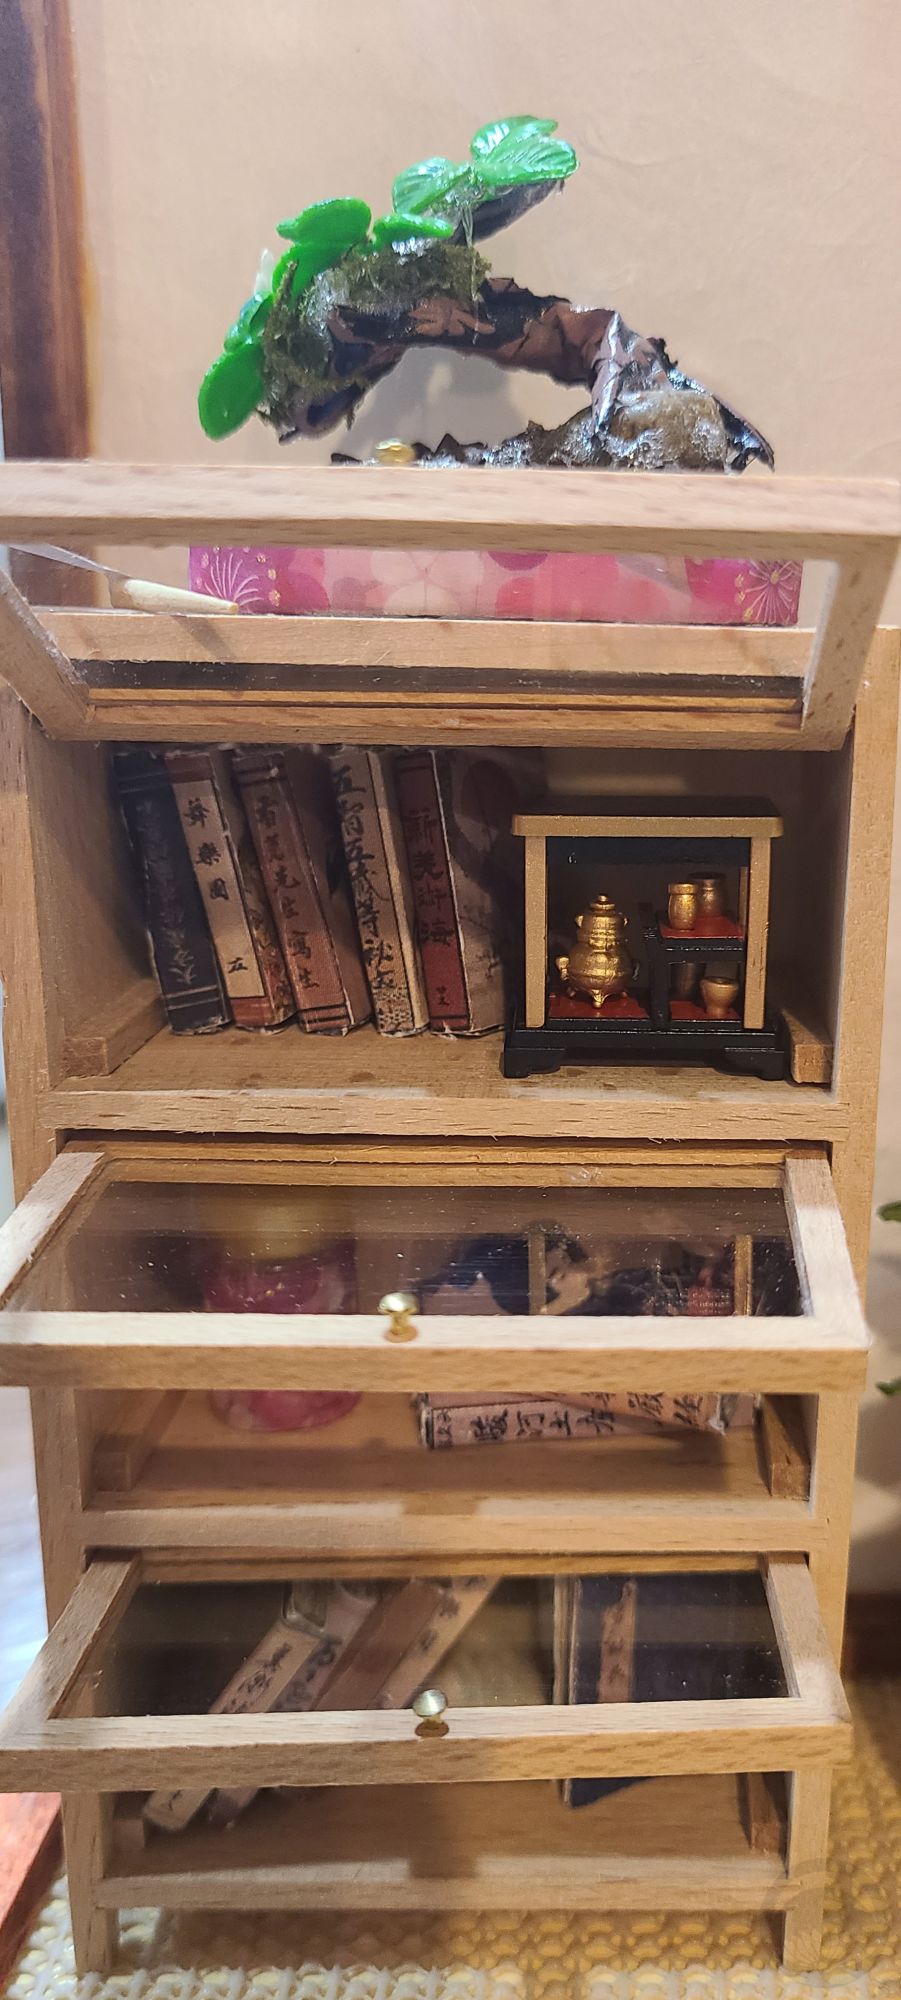
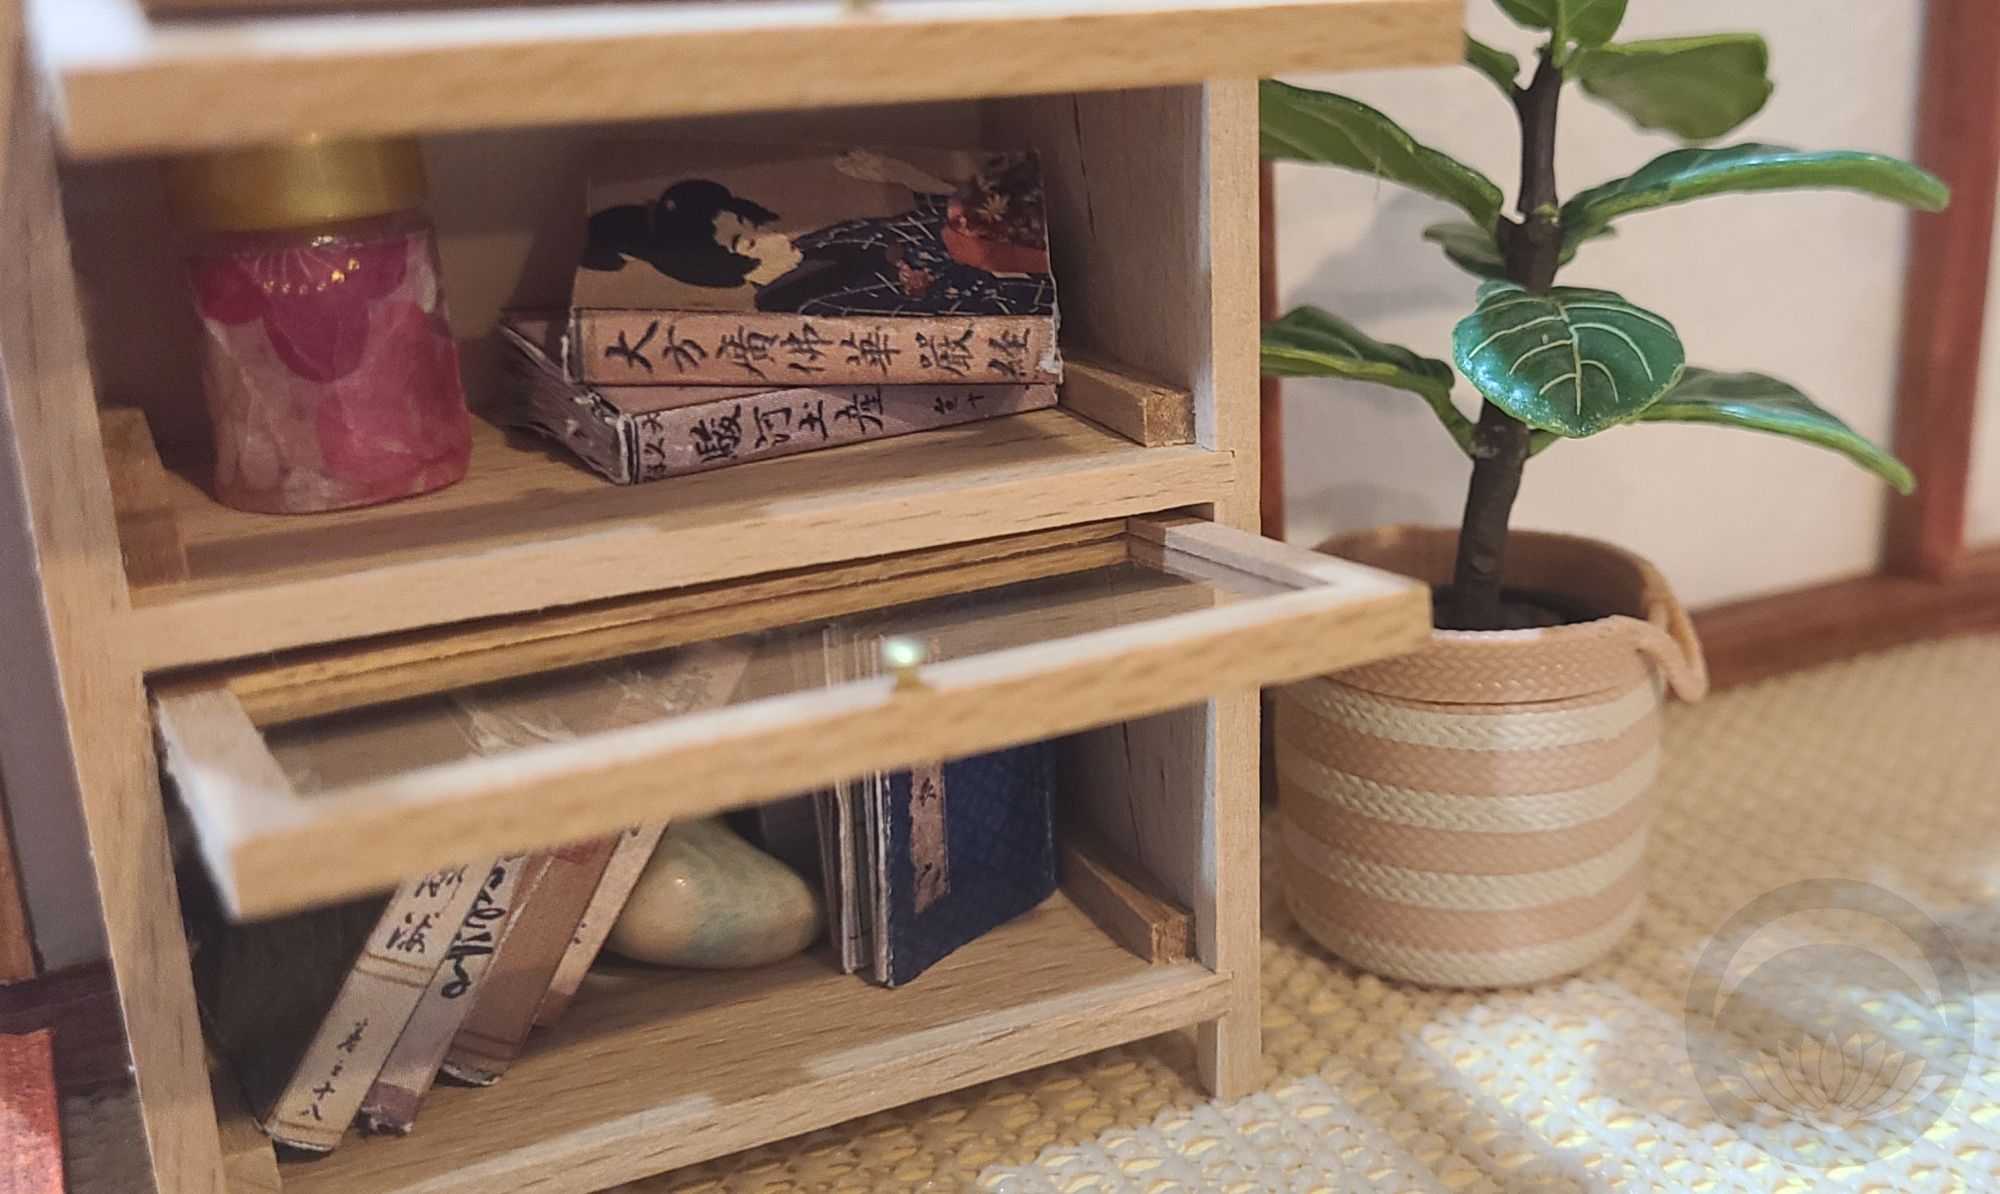
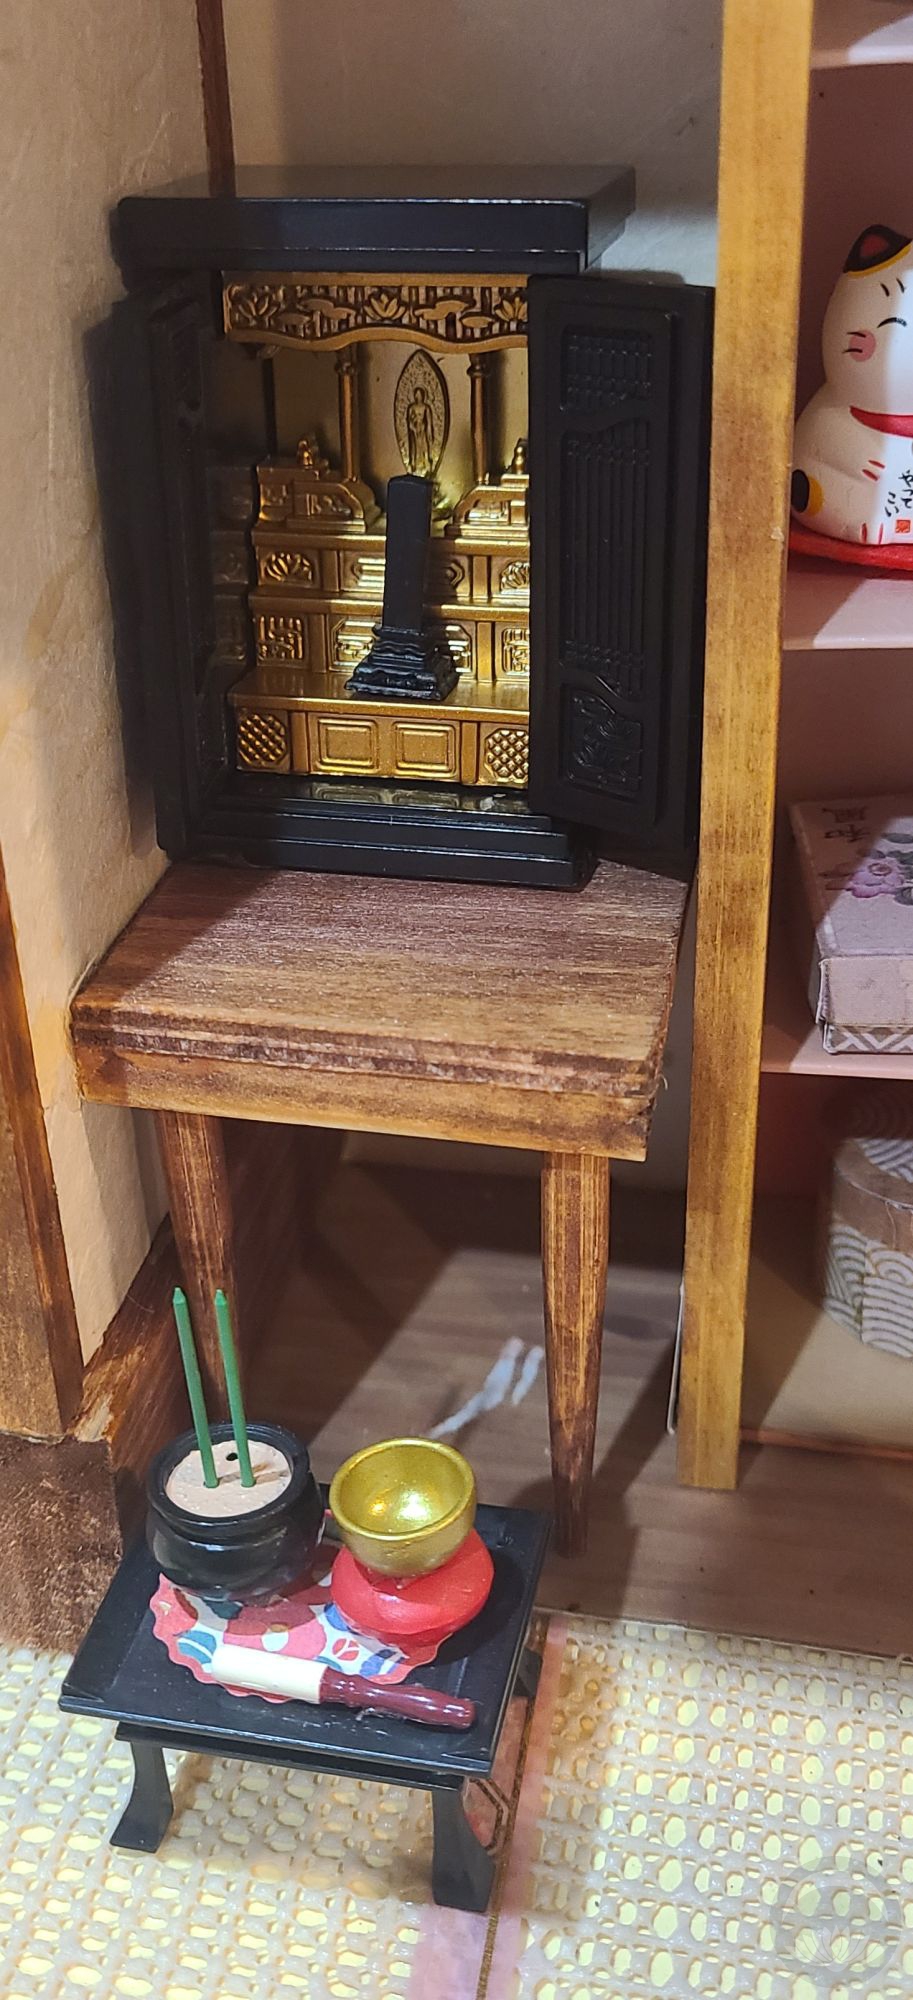
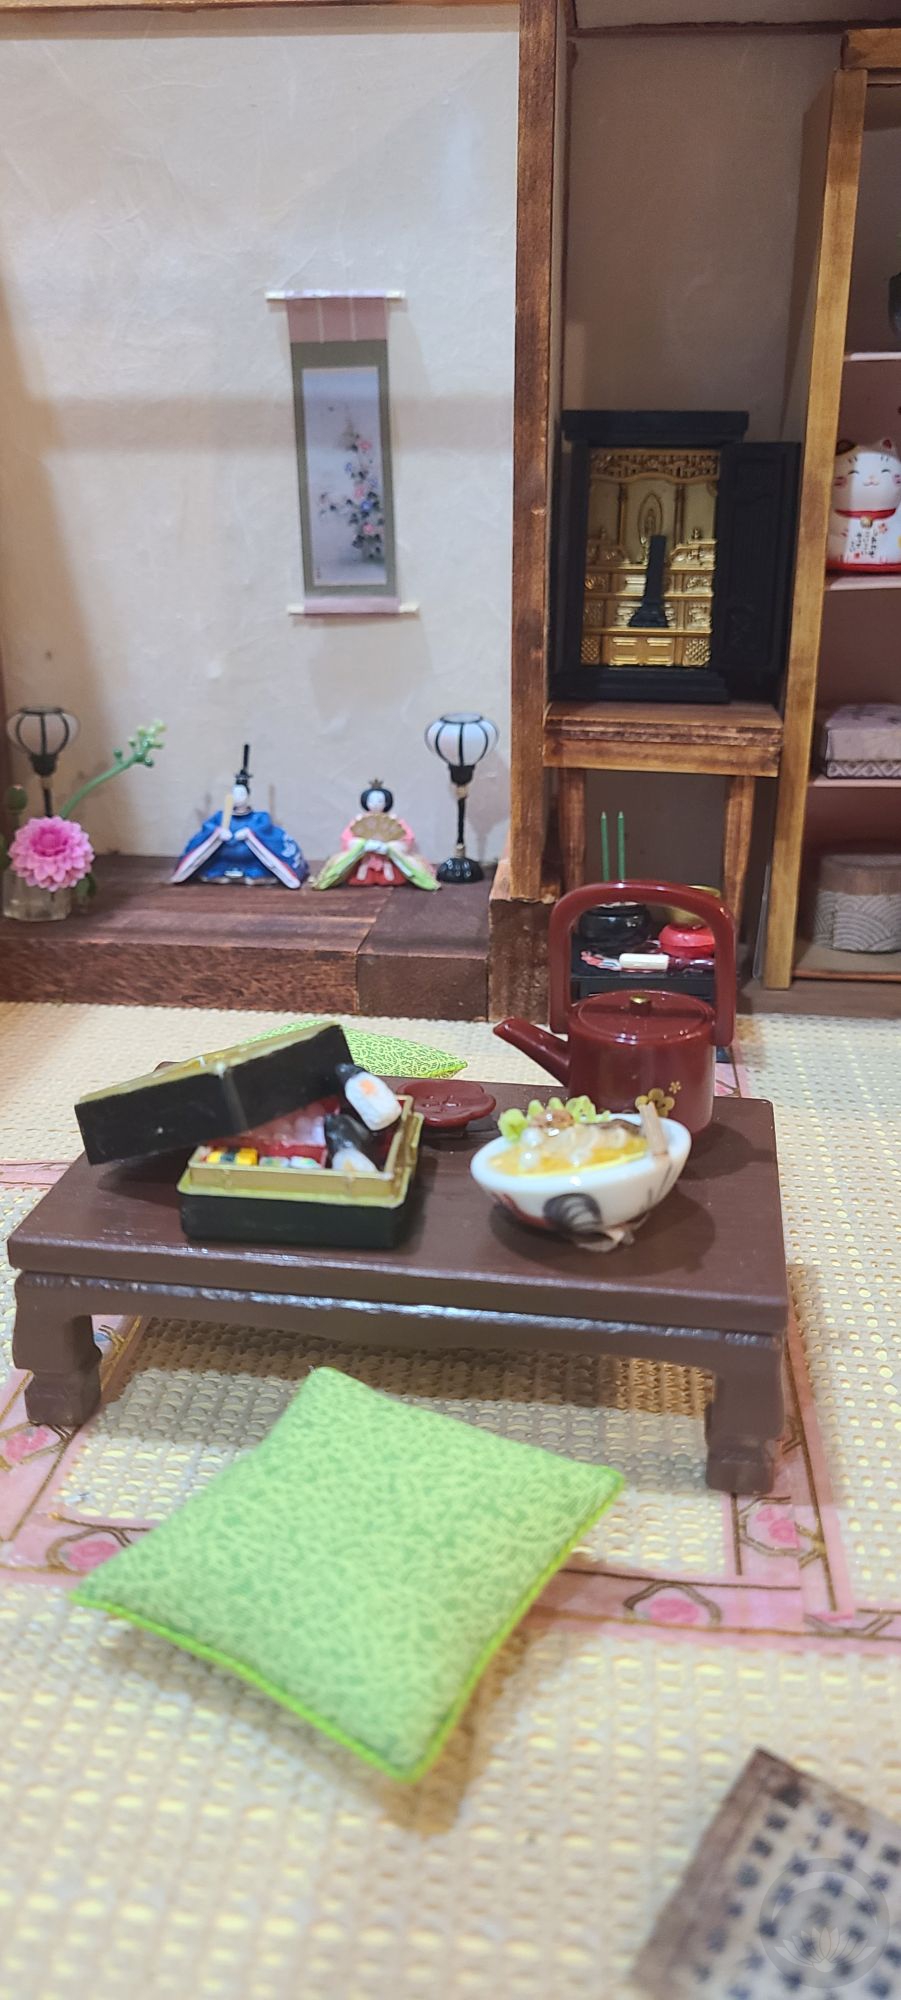
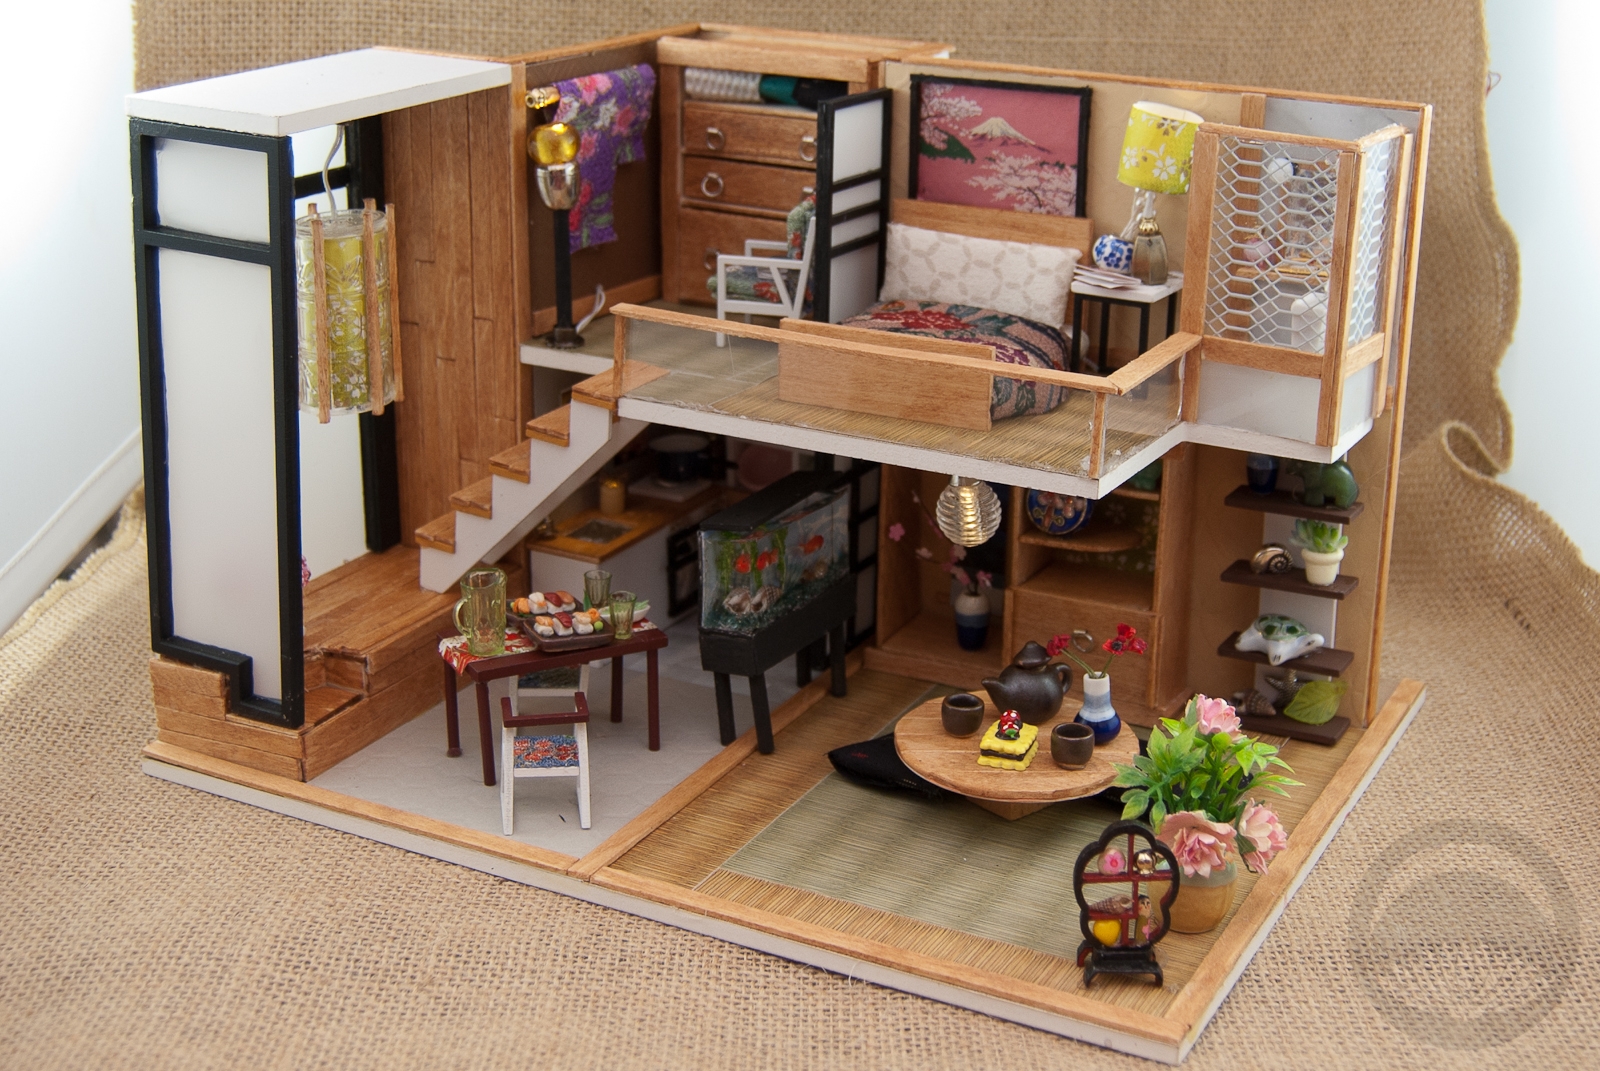
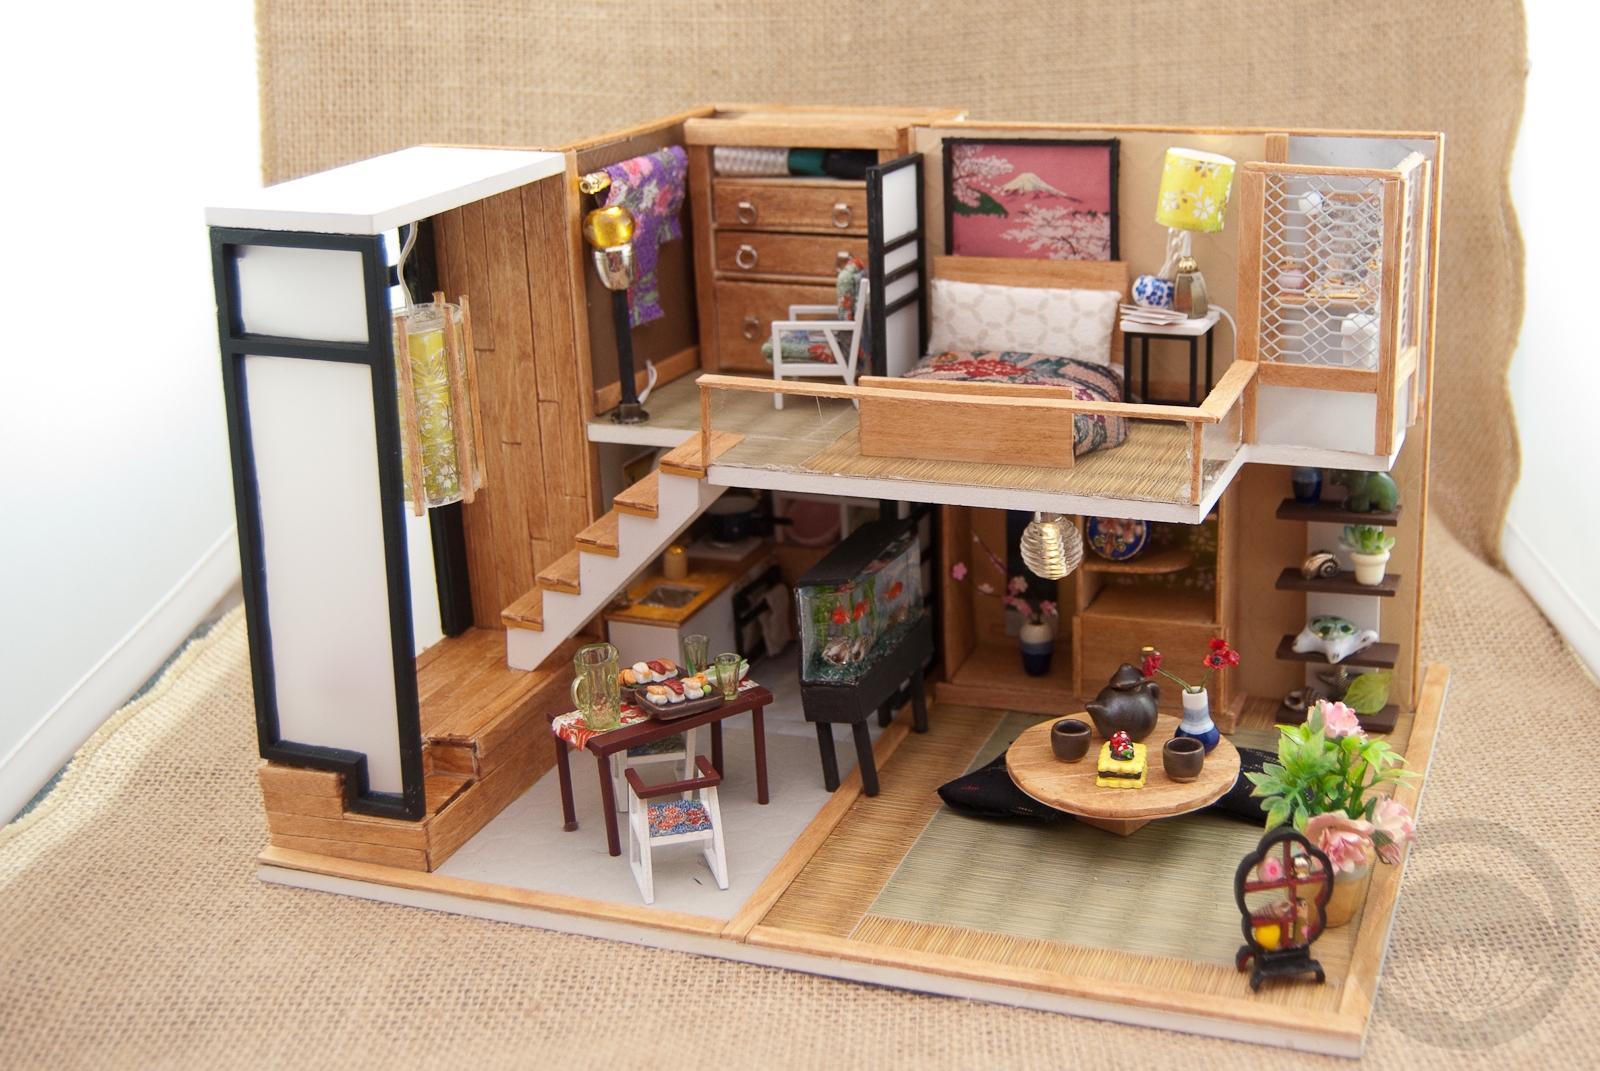
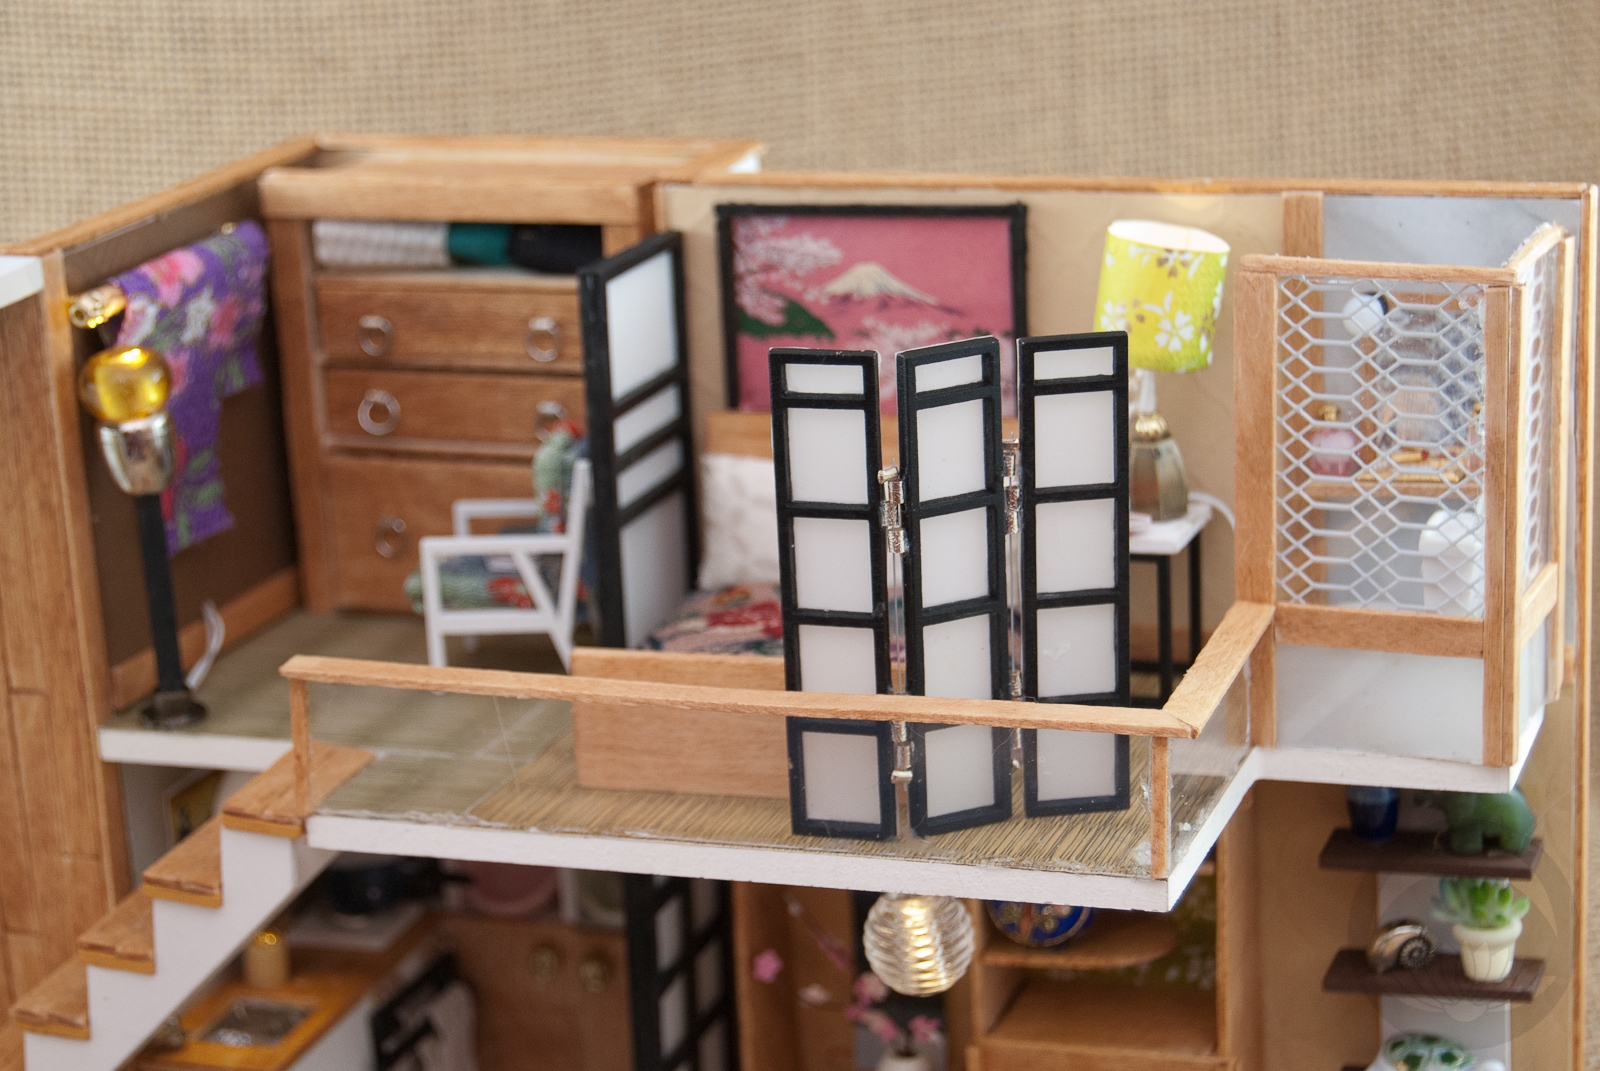
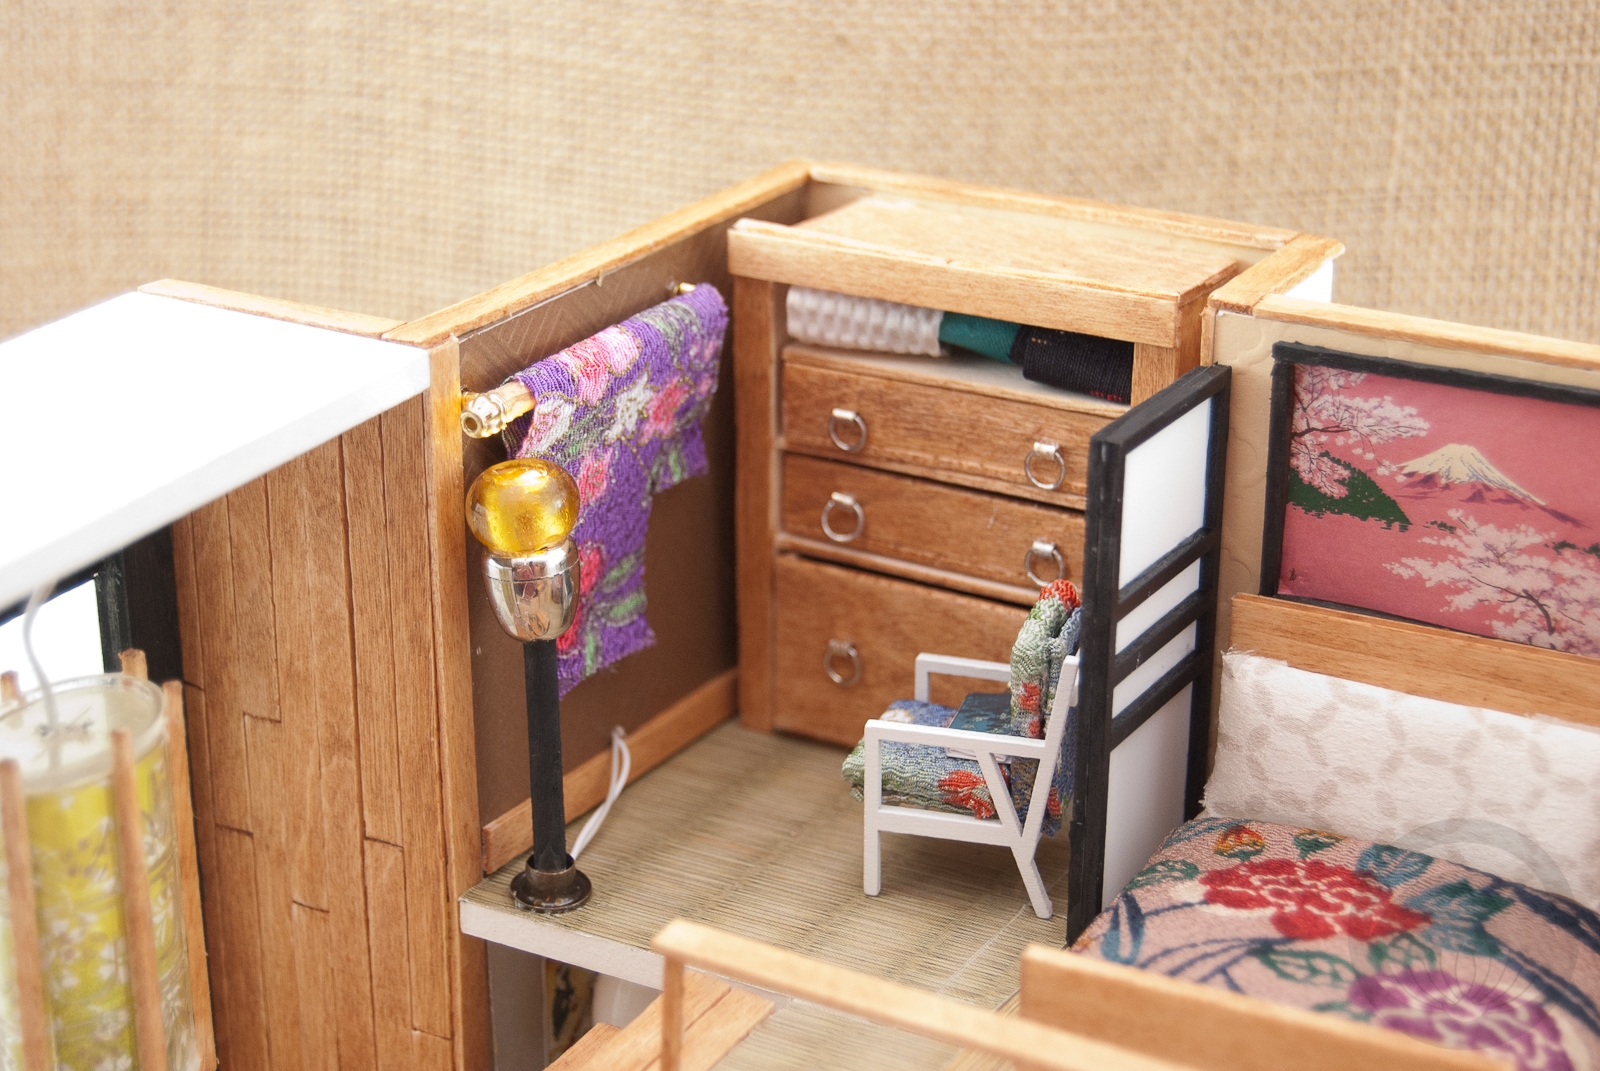
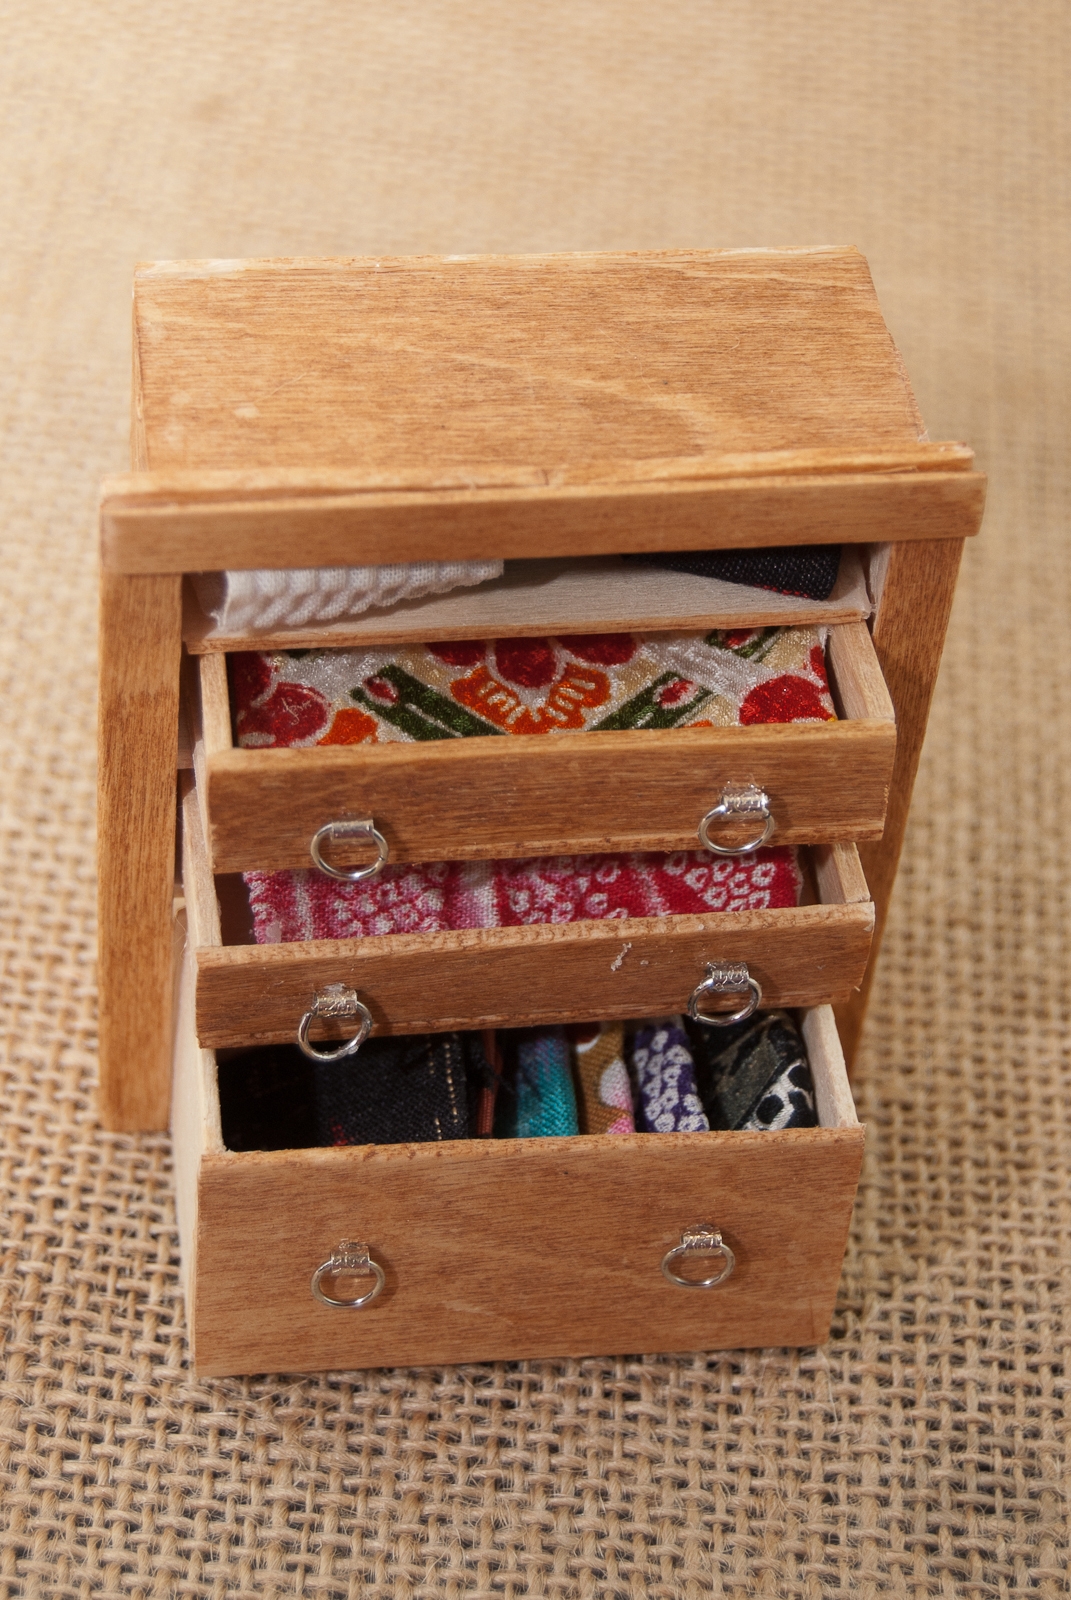
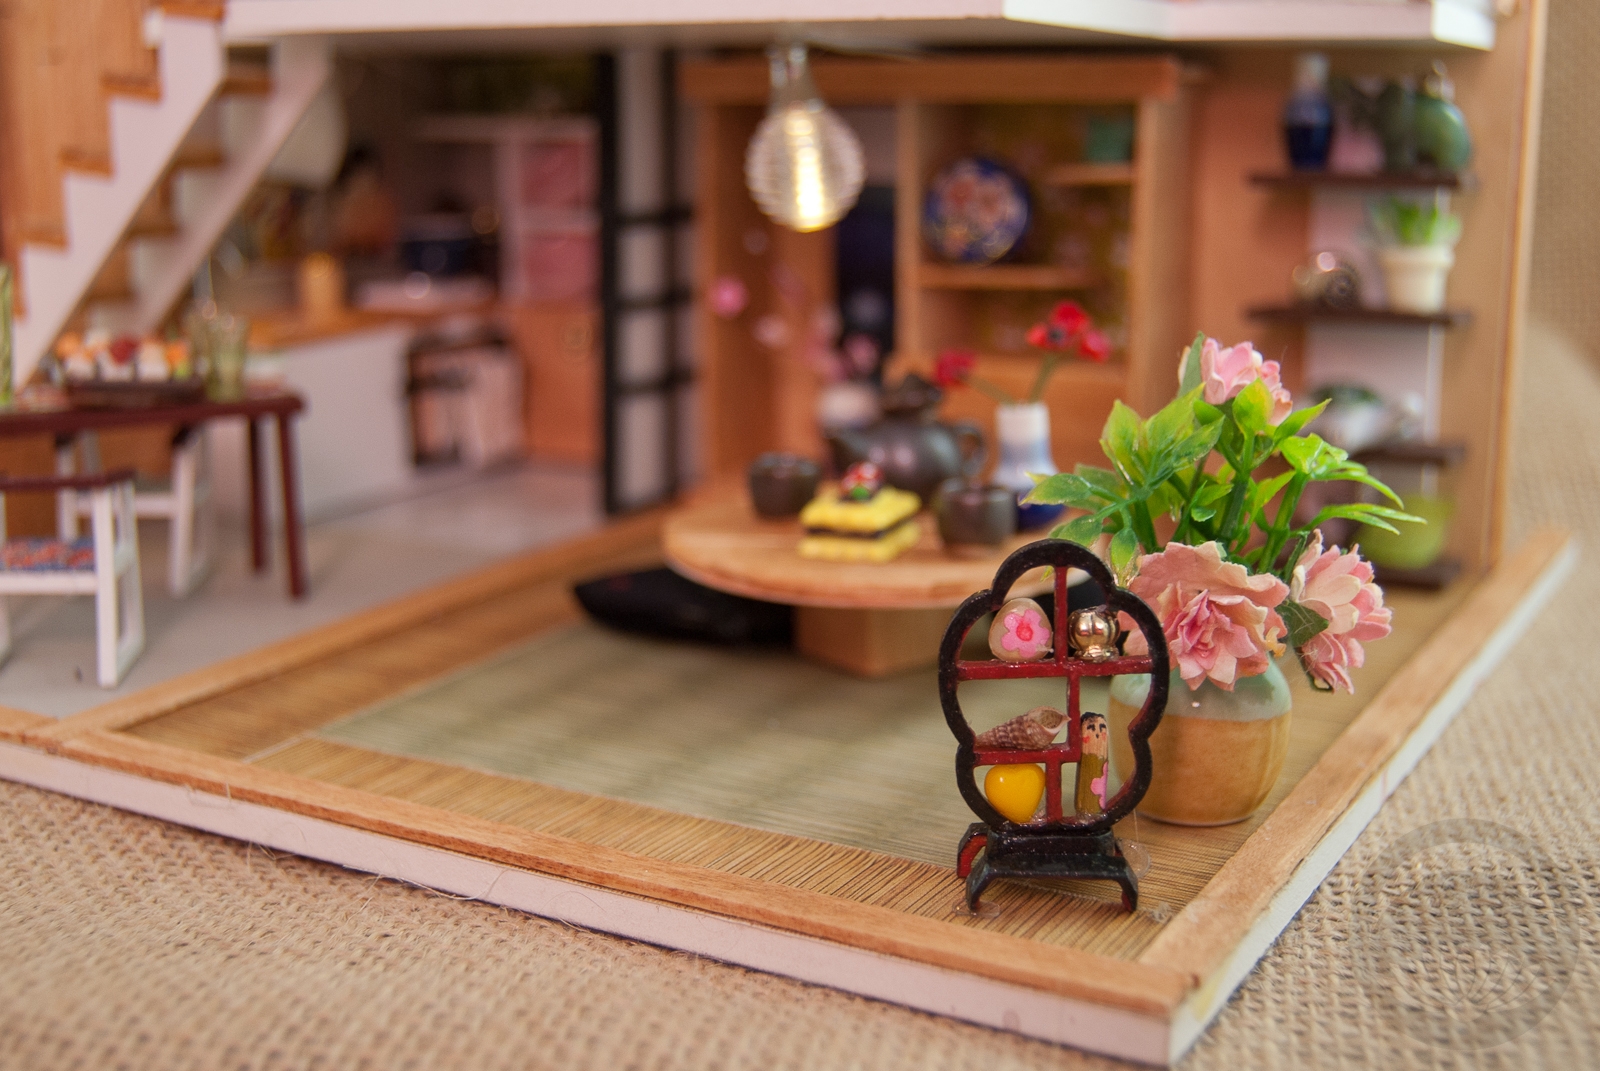
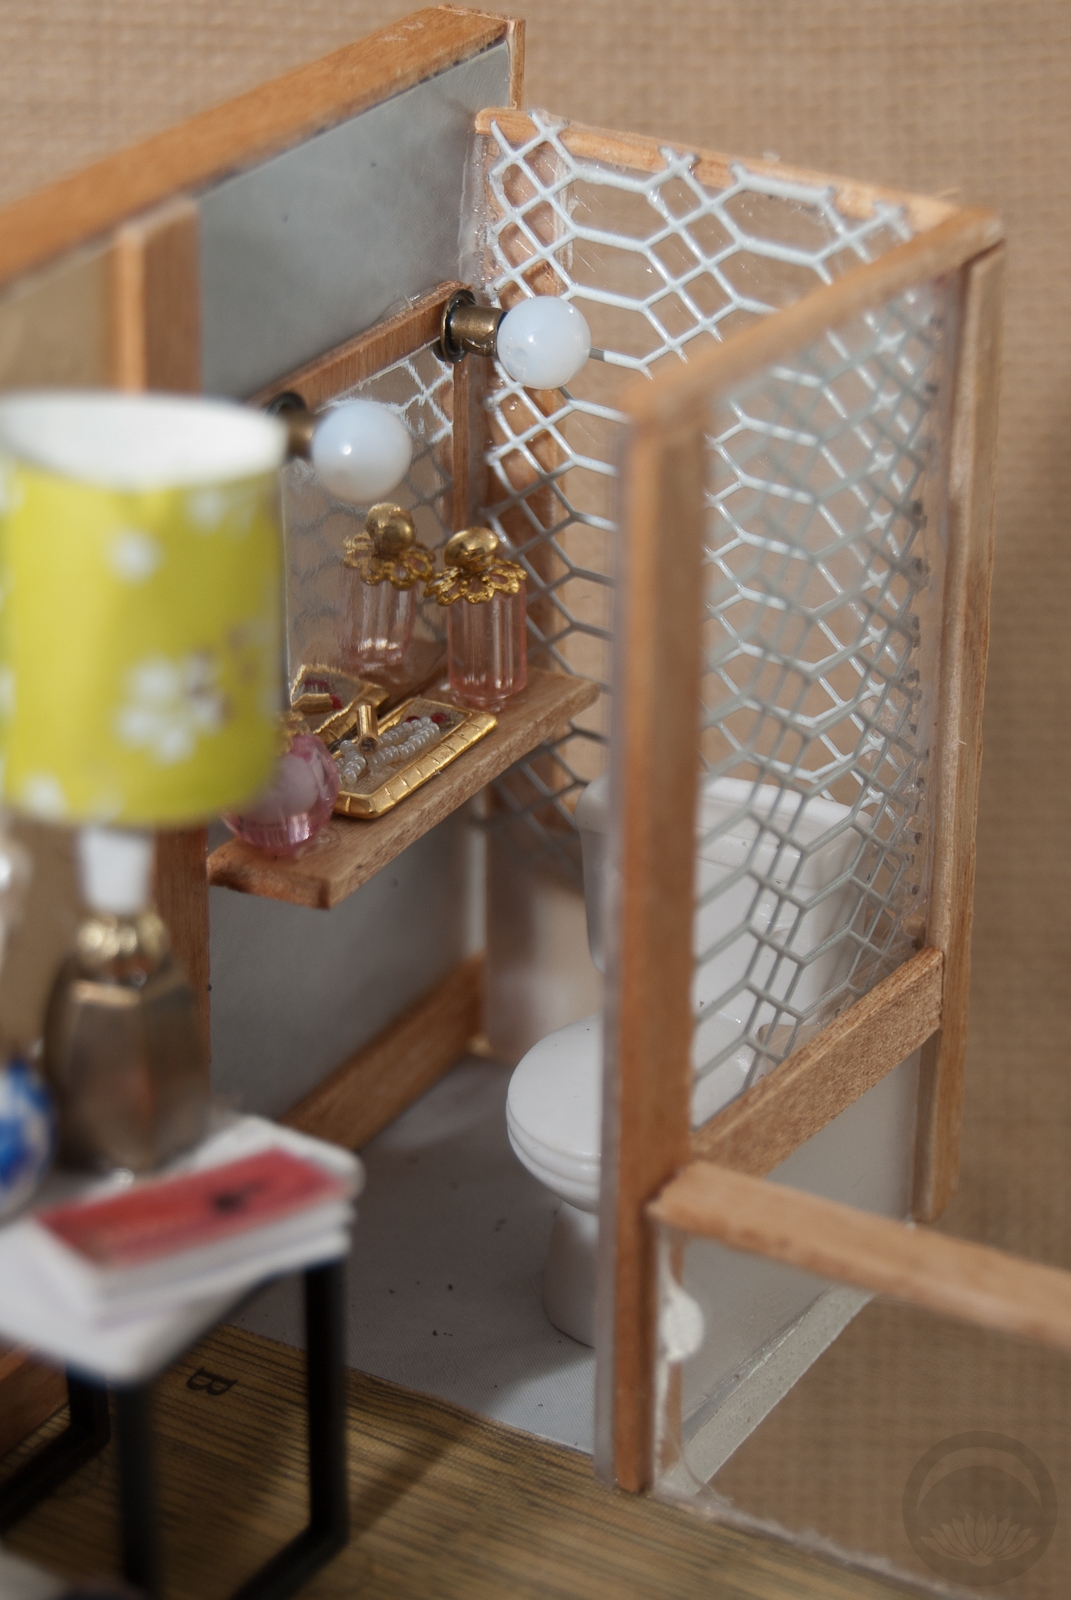
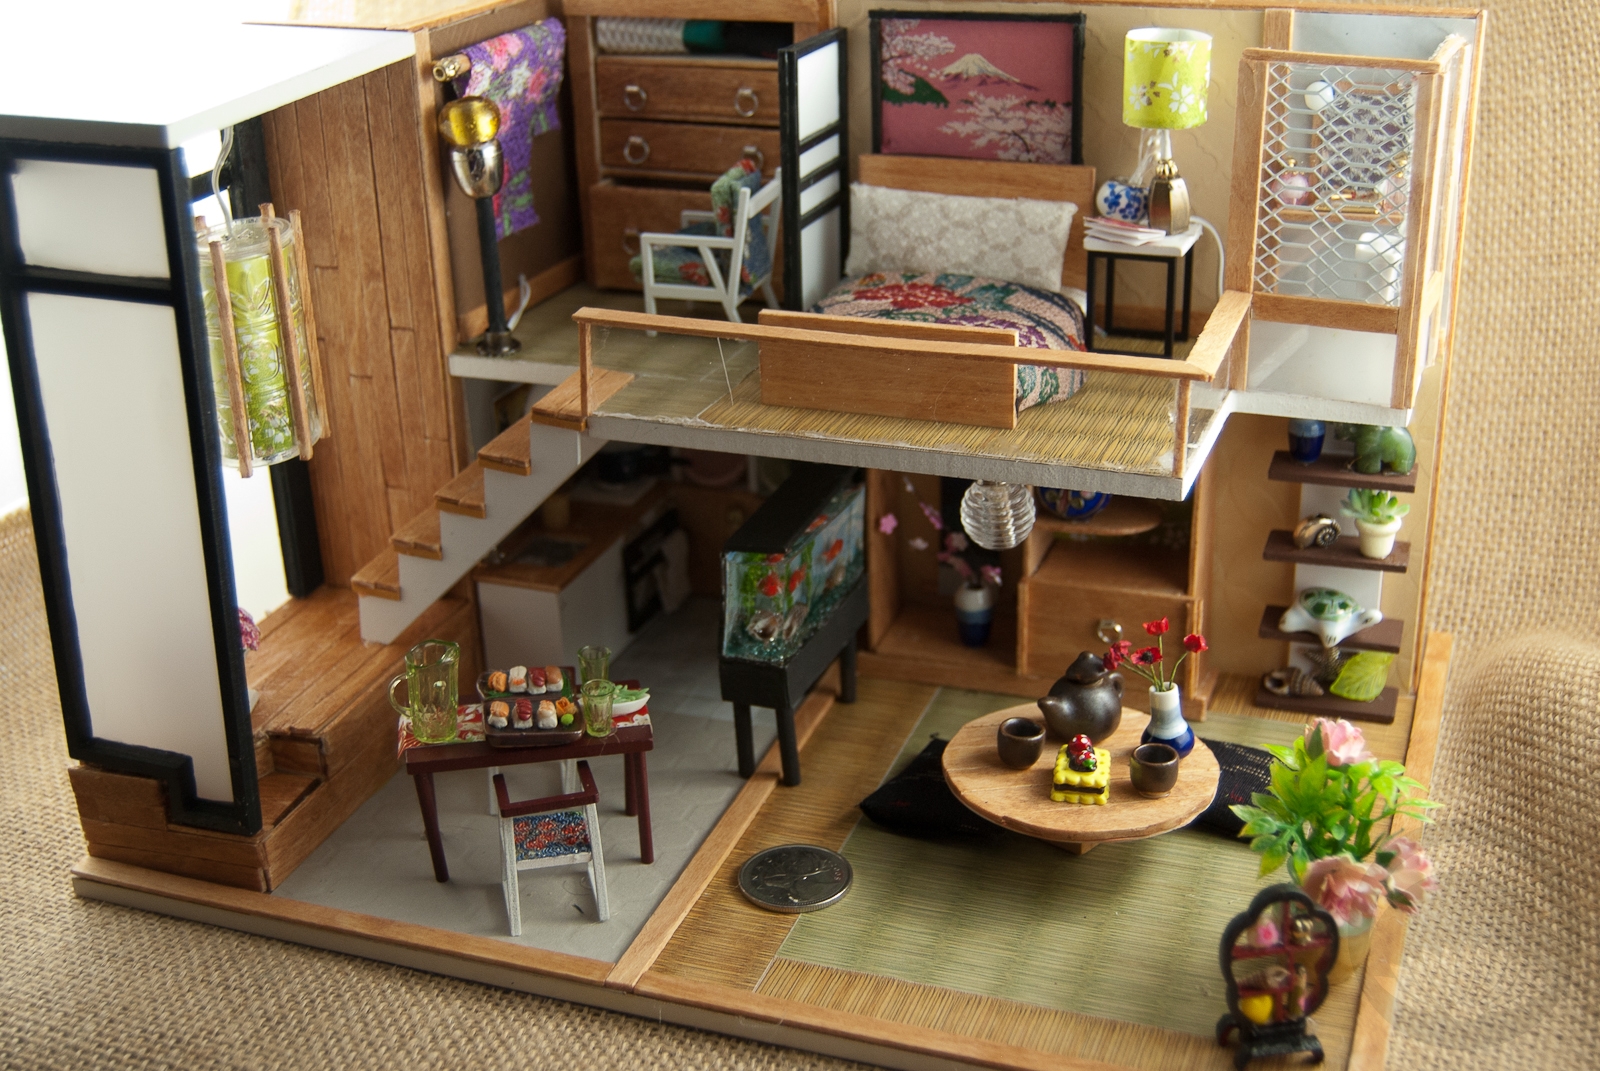
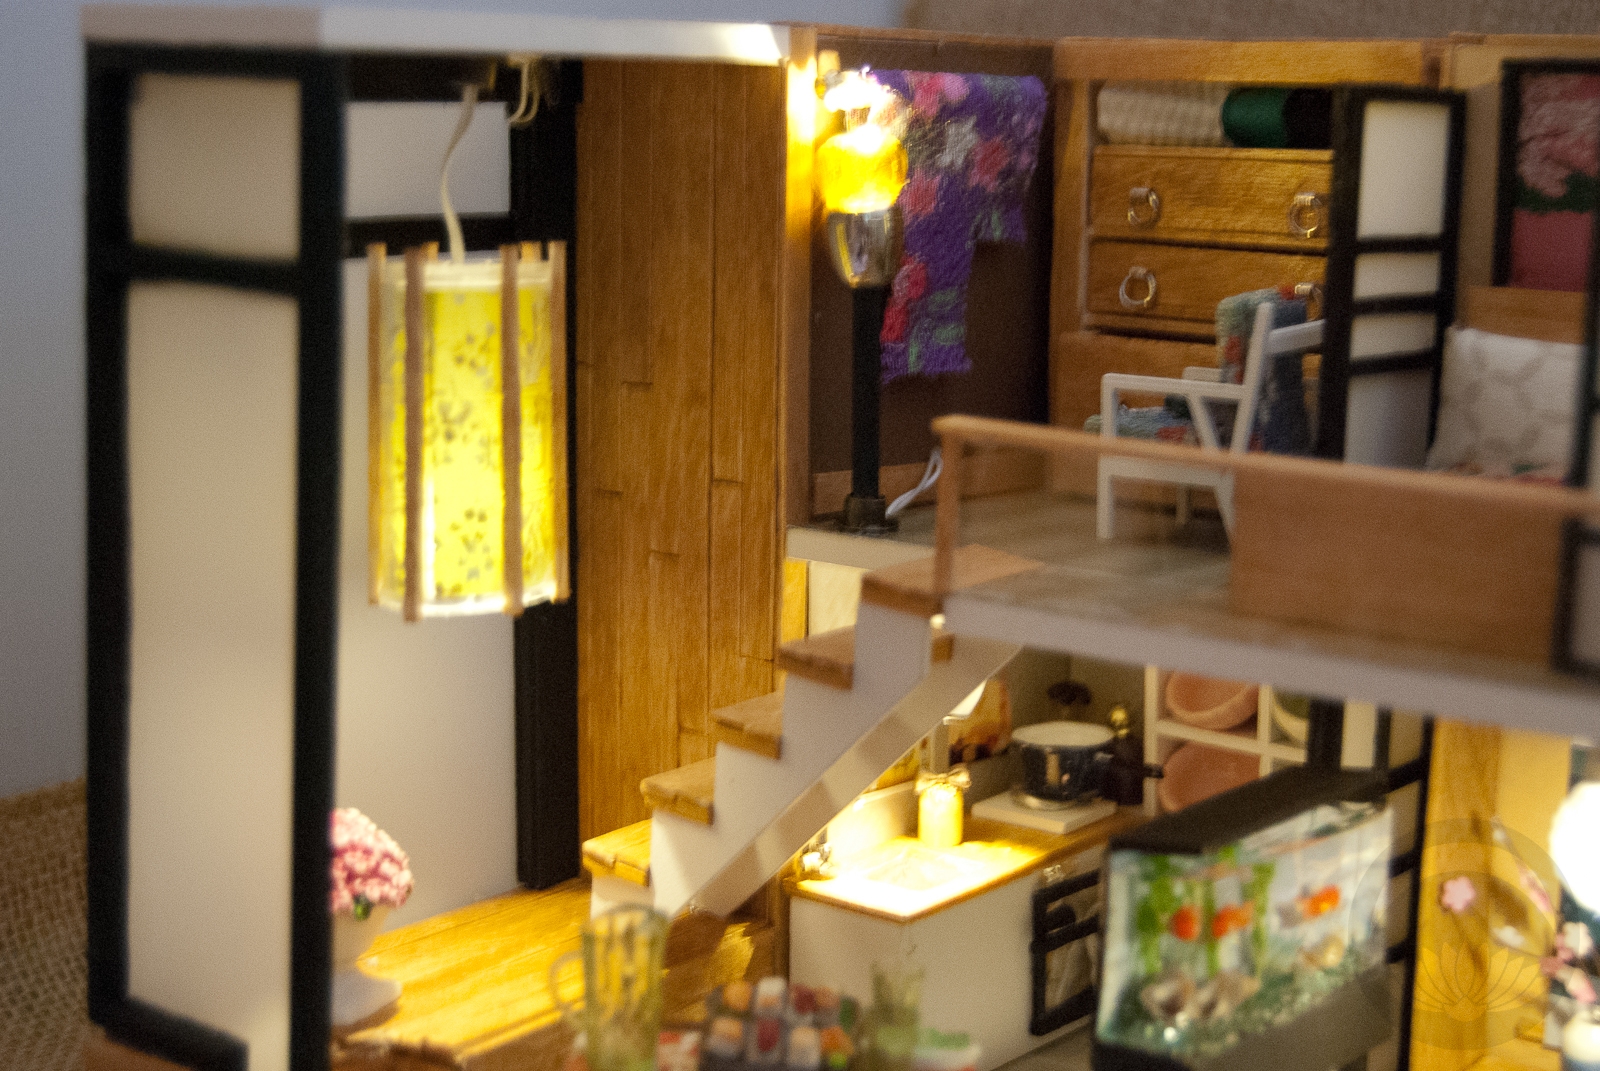
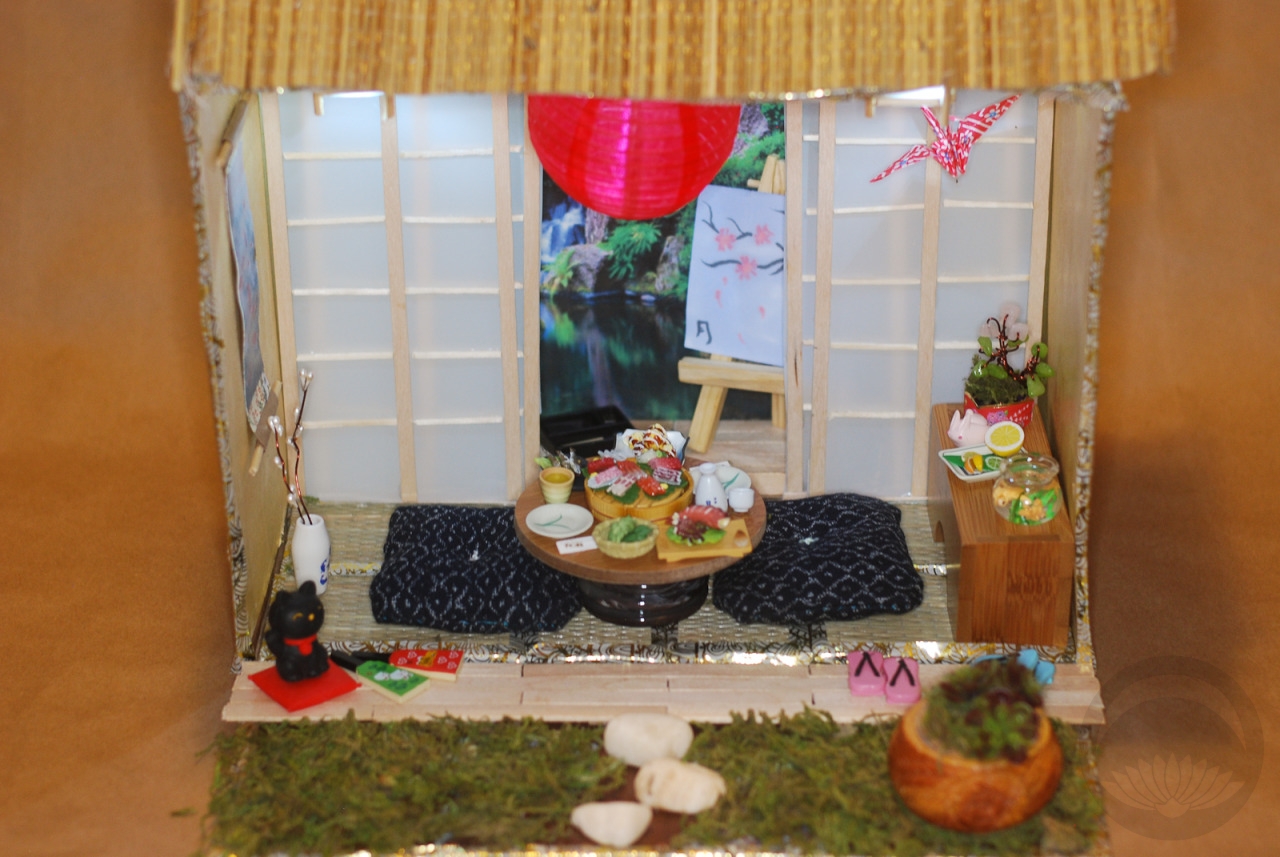
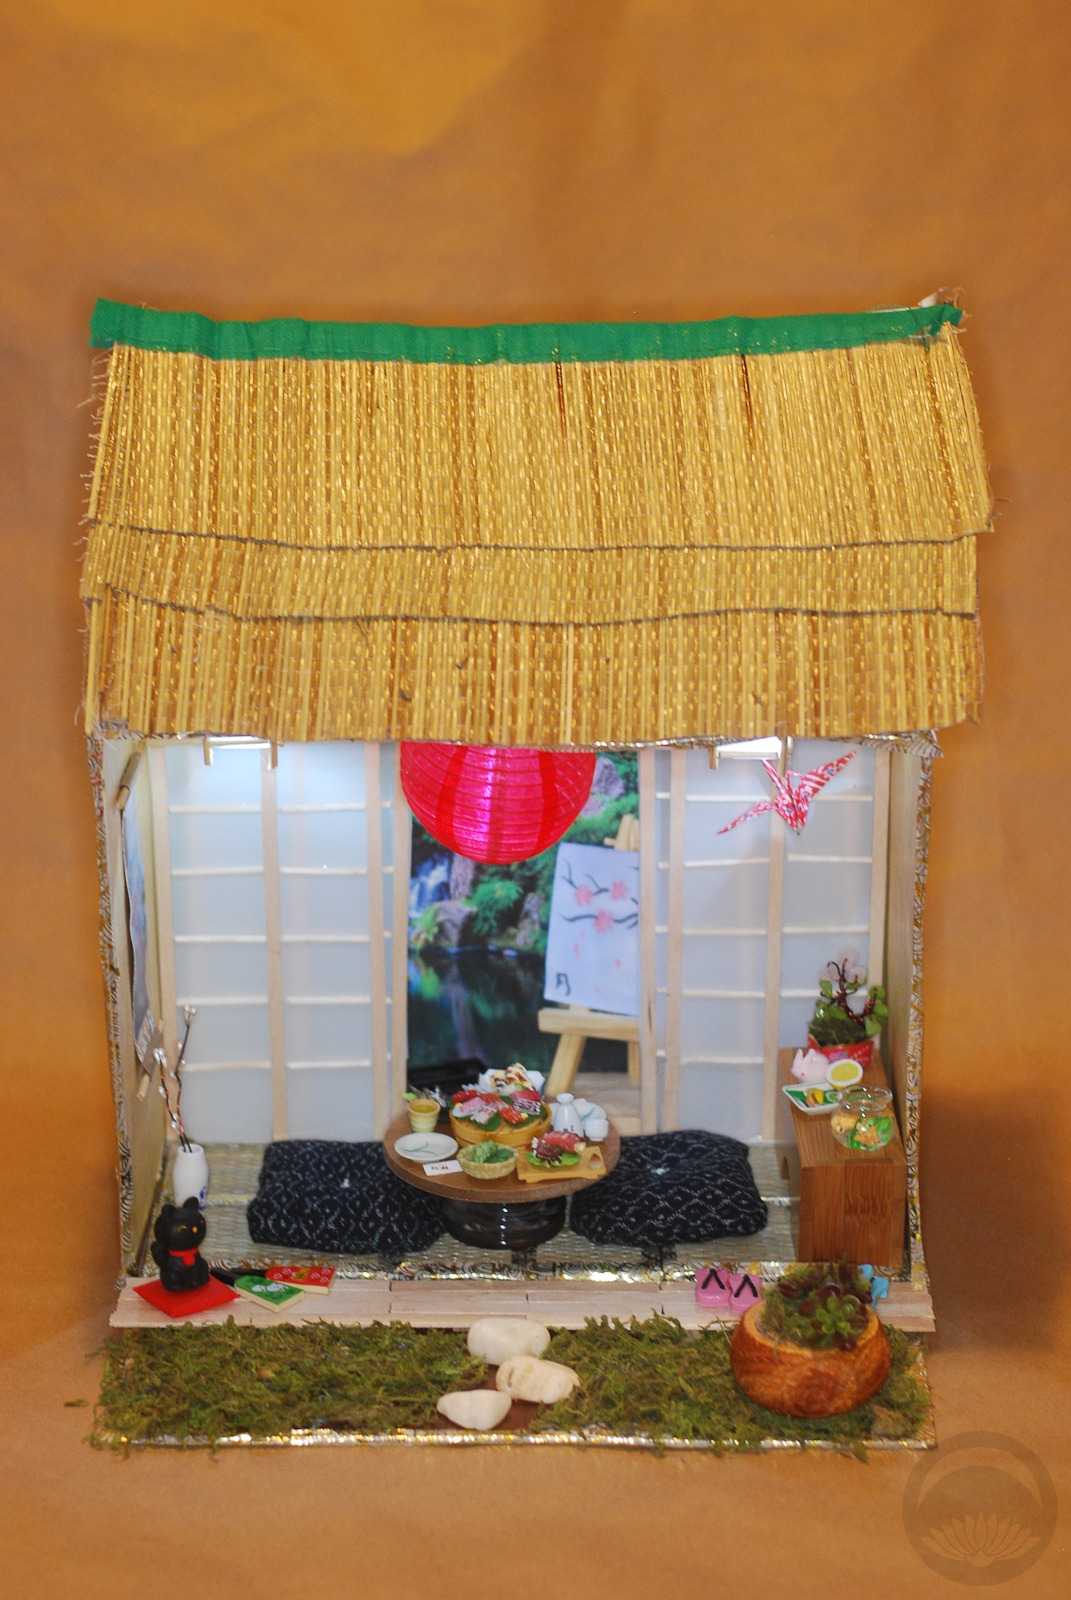
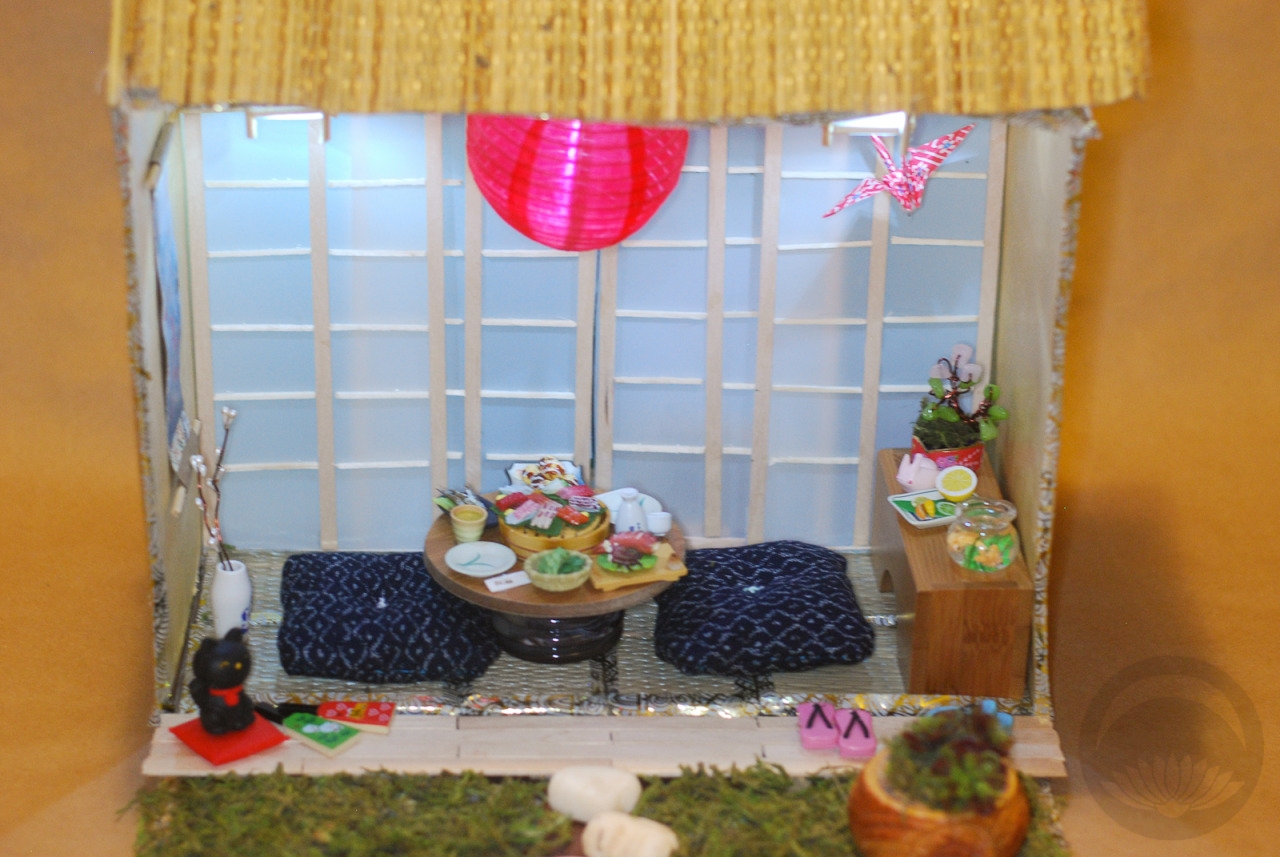
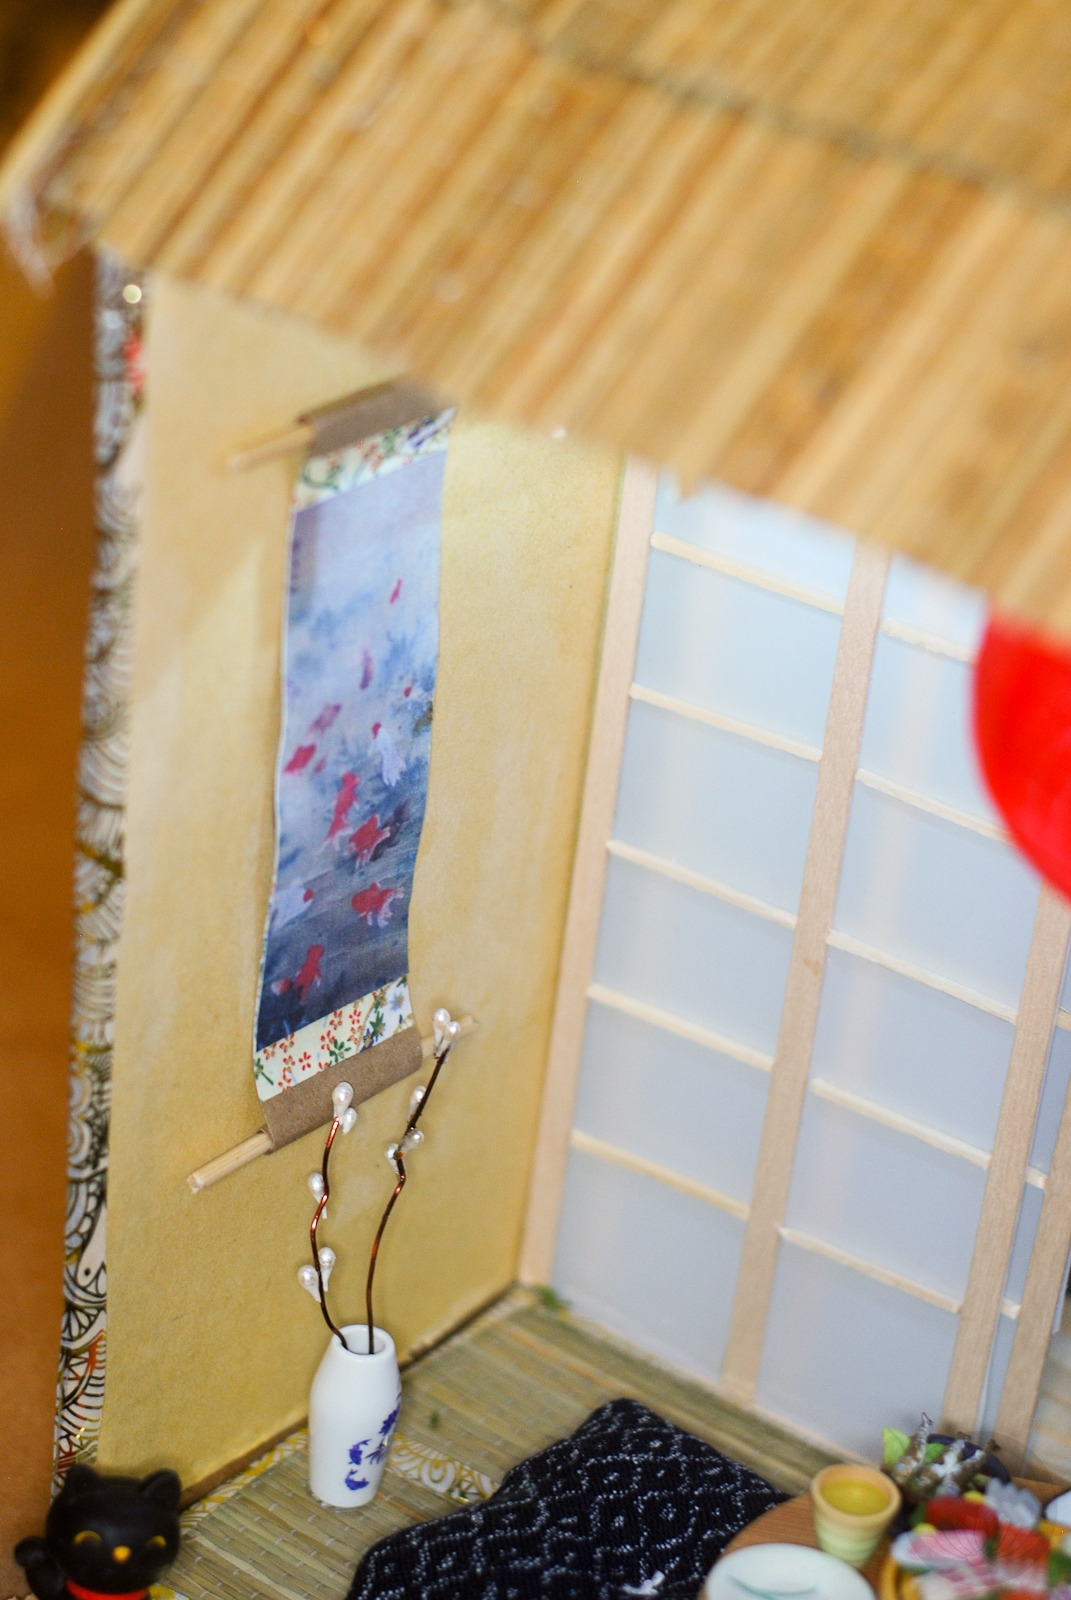
I started out with a basic MDF room-box kit with two walls and a floor. From there, I constructed the inner walls to create the tokonoma, butsudan alcove, and decorative shelving using square balsa dowels I hand-staned, and pine craft rectangles. I wallpapered the whole thing in decorative rice paper. The tatami ended up stumping me for a while, and then I remembered I had this beige textured shelf liner left over from organising the pantry. A bit of beige paper underneath it and some washi tape to form the borders, and voila. Itty bitty tatami committee! I divided it into typically balanced proportions, ending up with a room that’s four and a half tatami, plus the toko and shelving spaces.

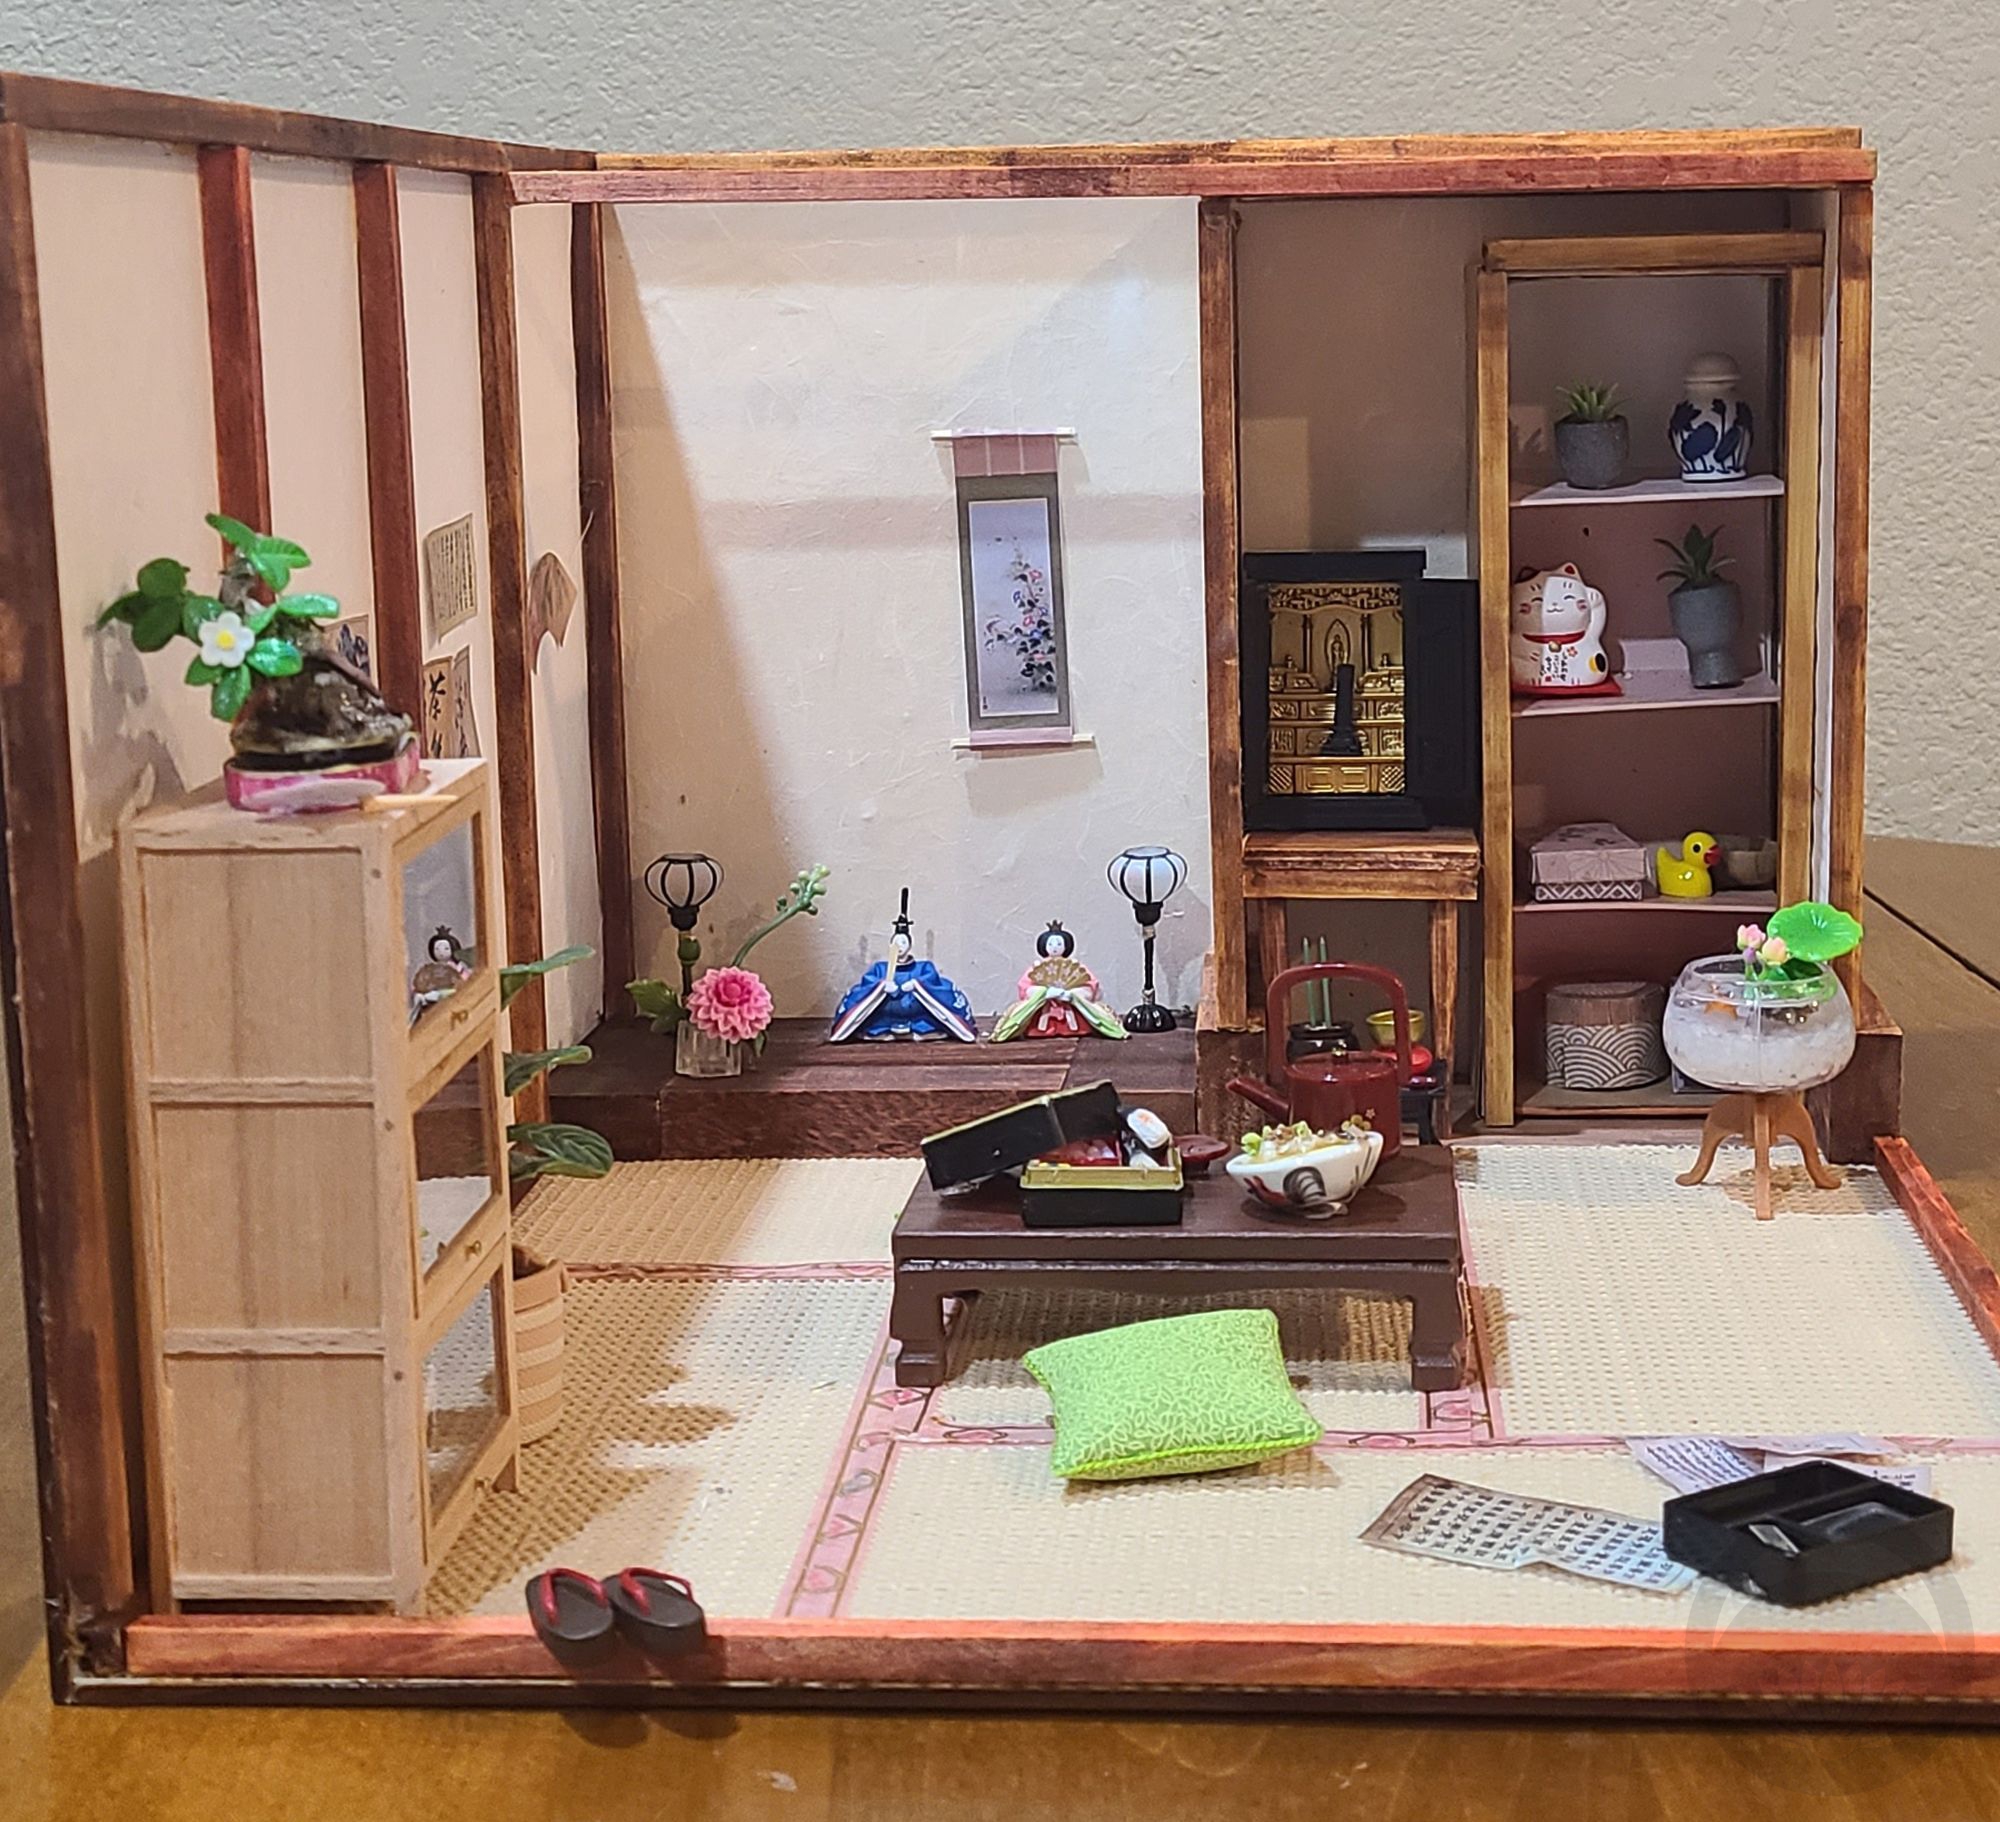
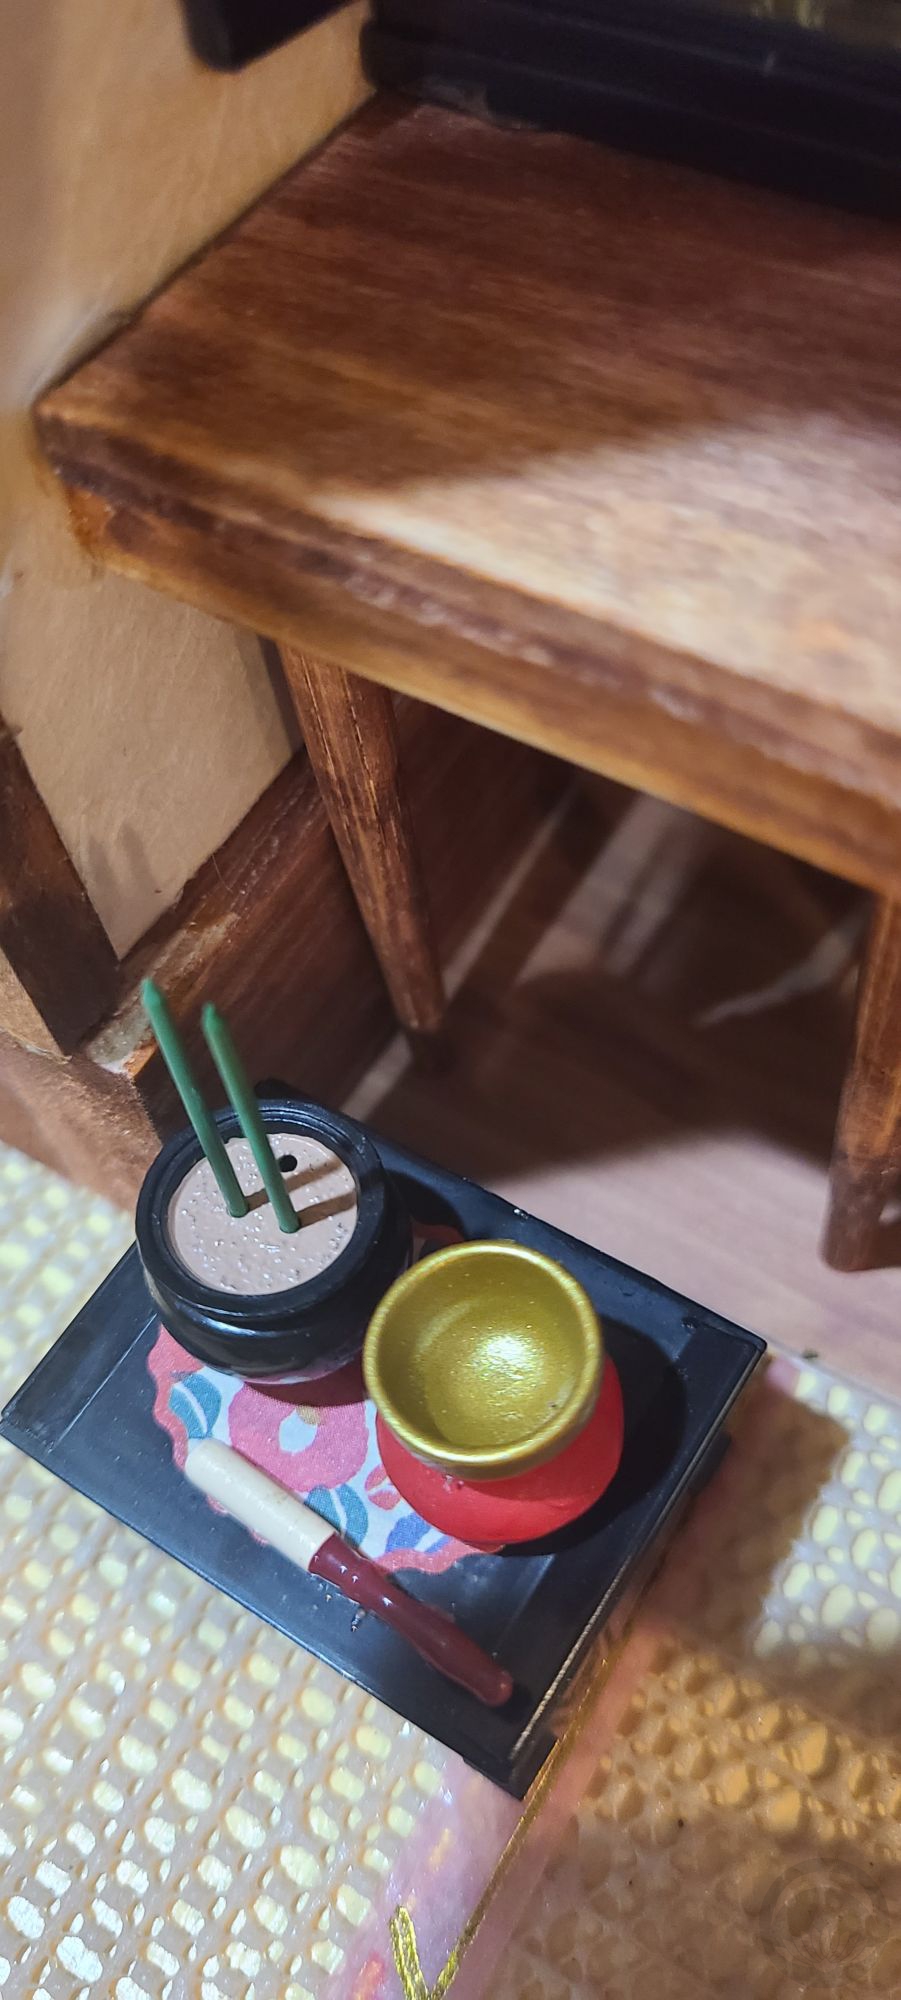
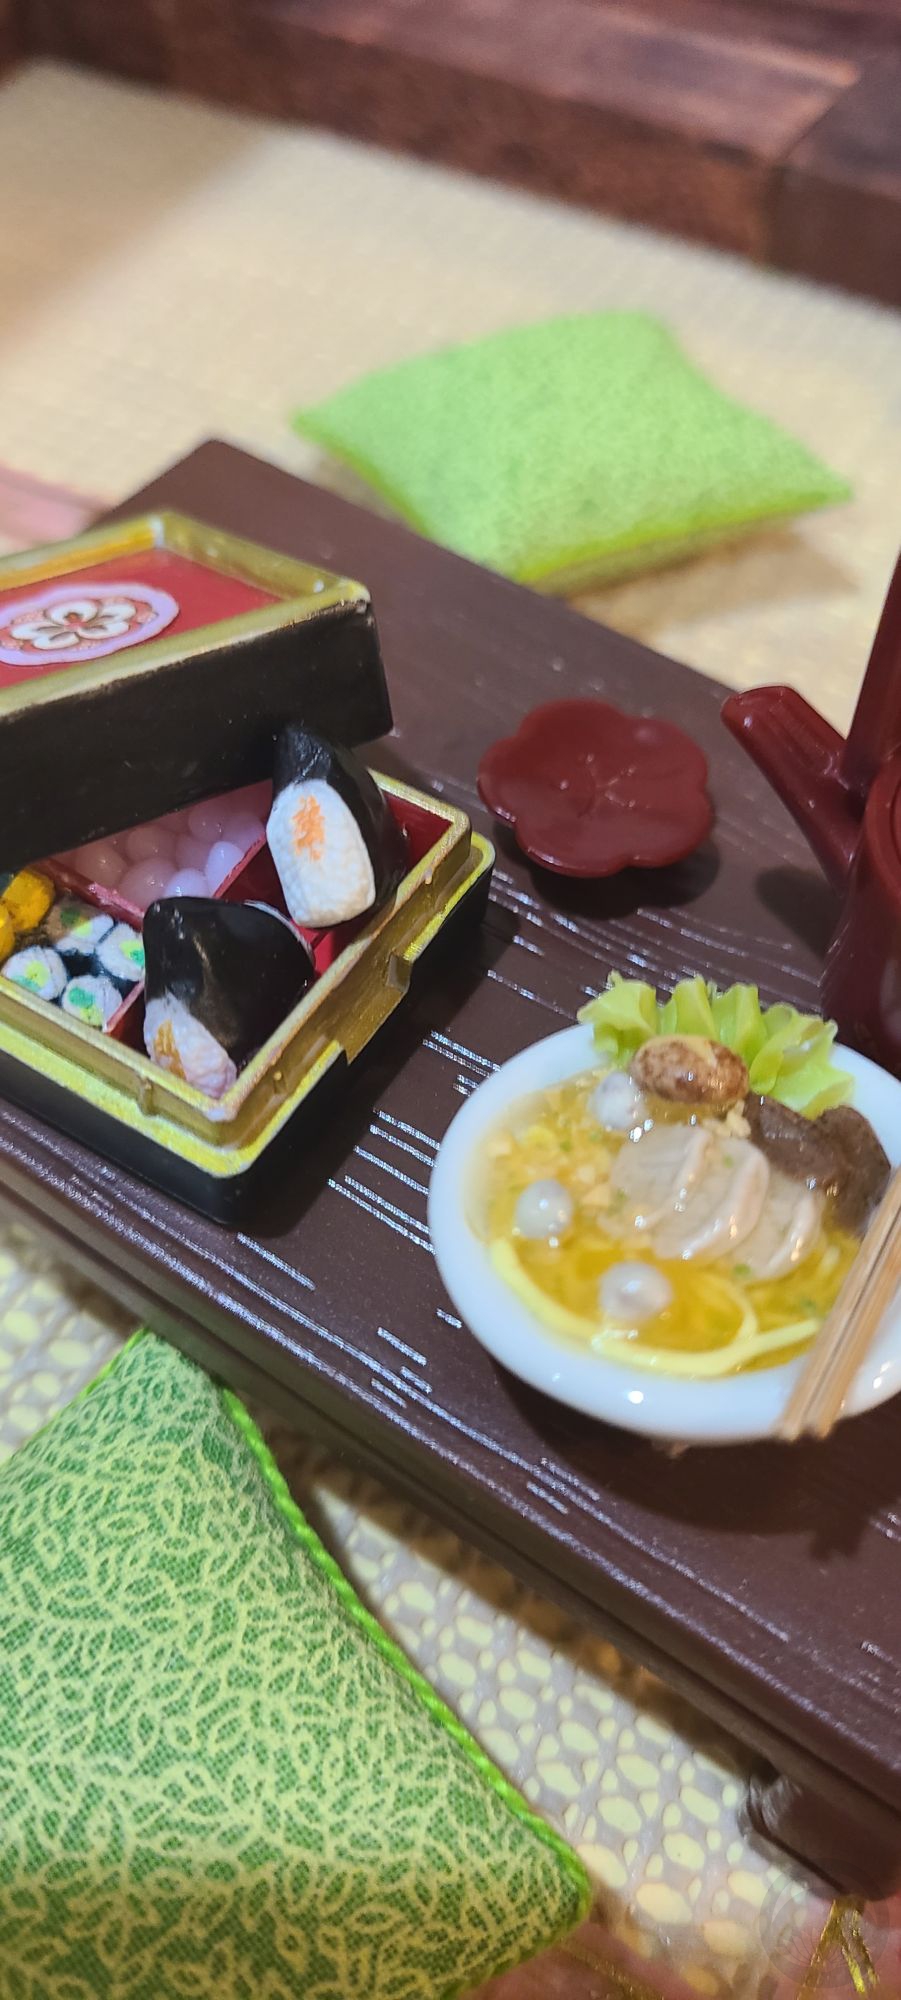
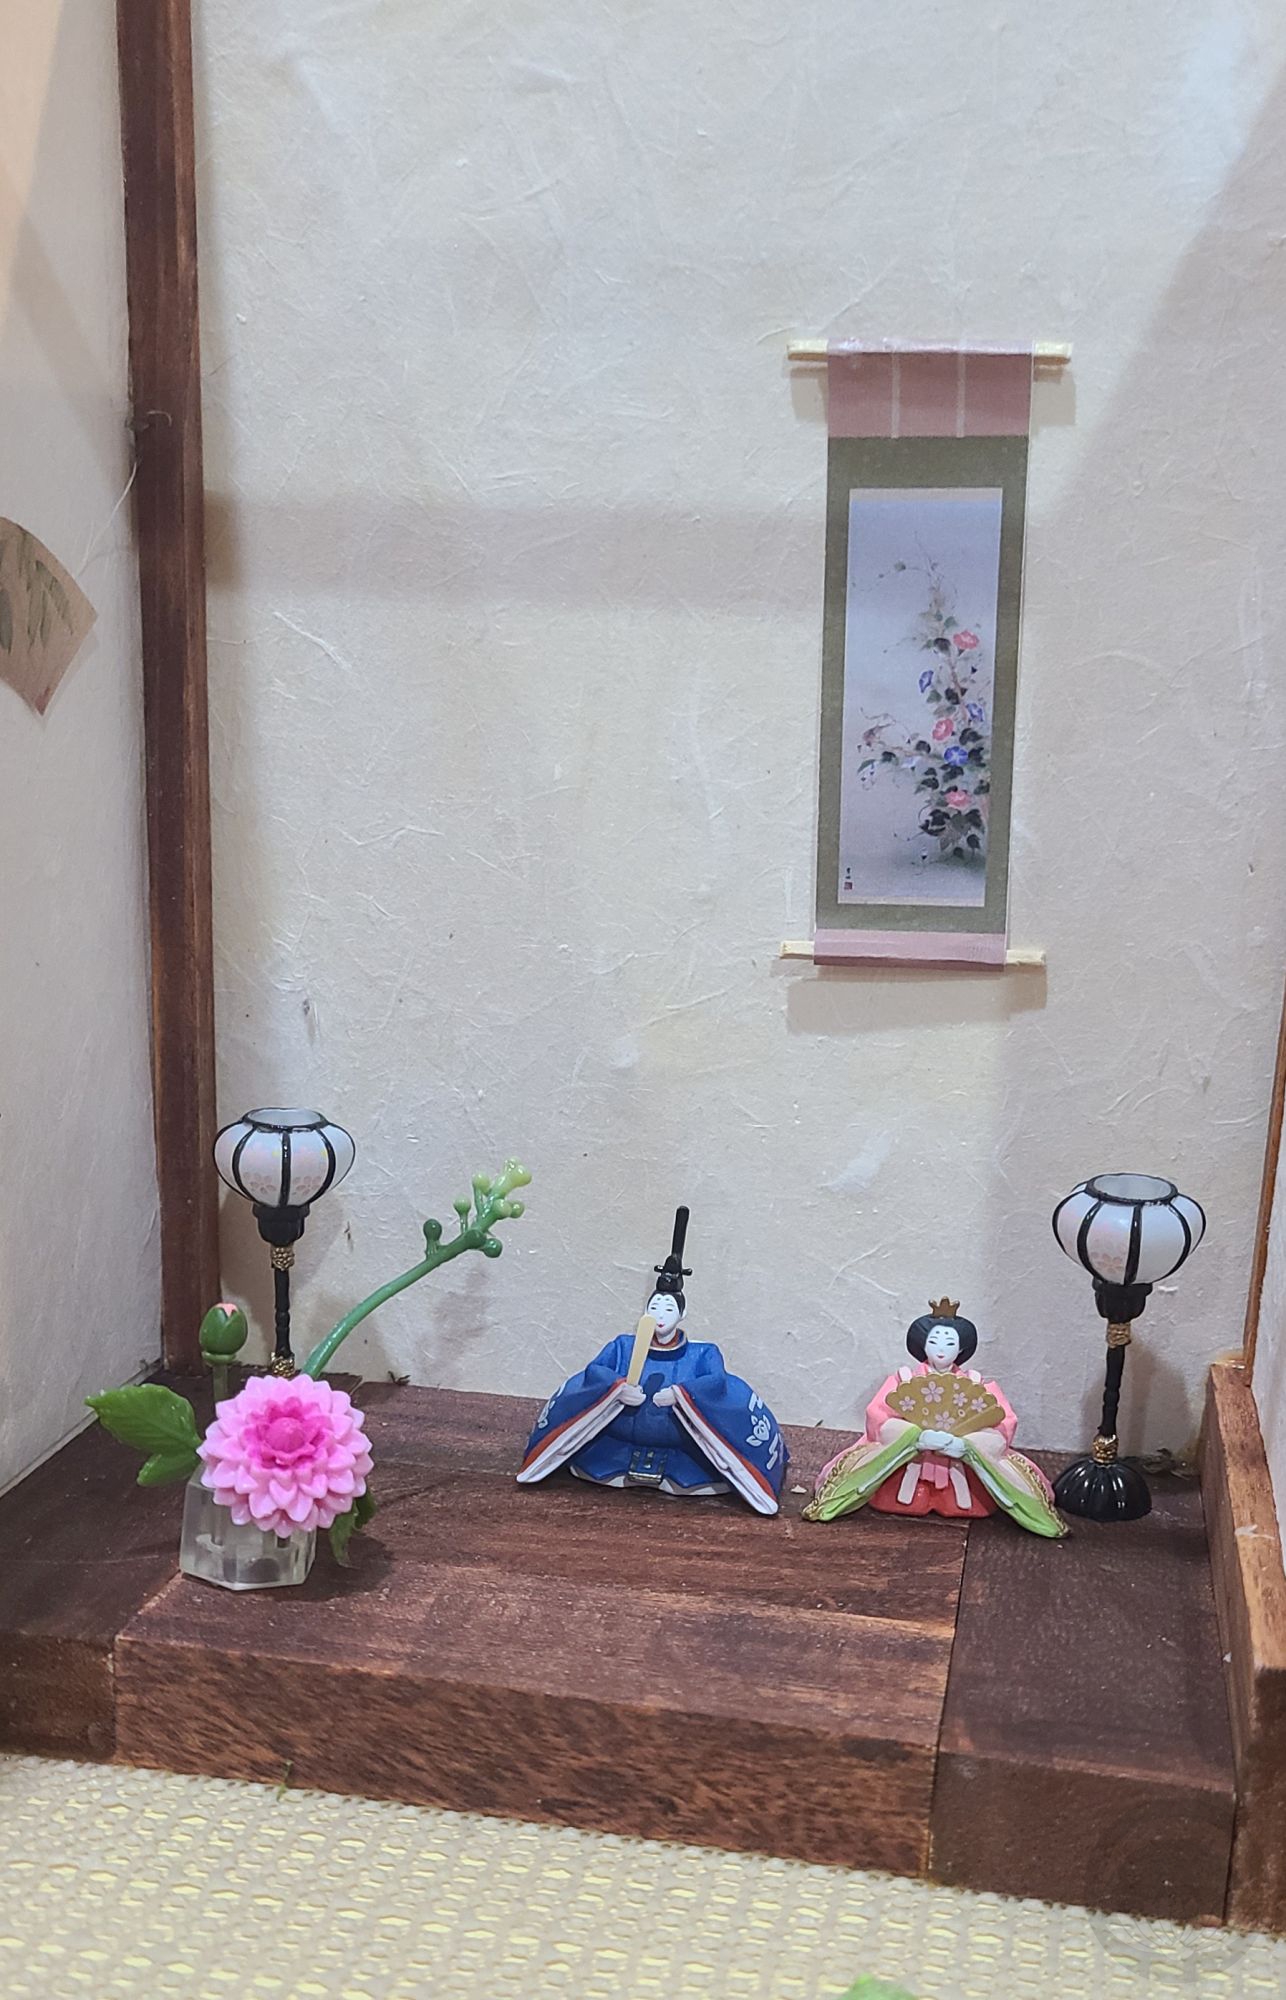
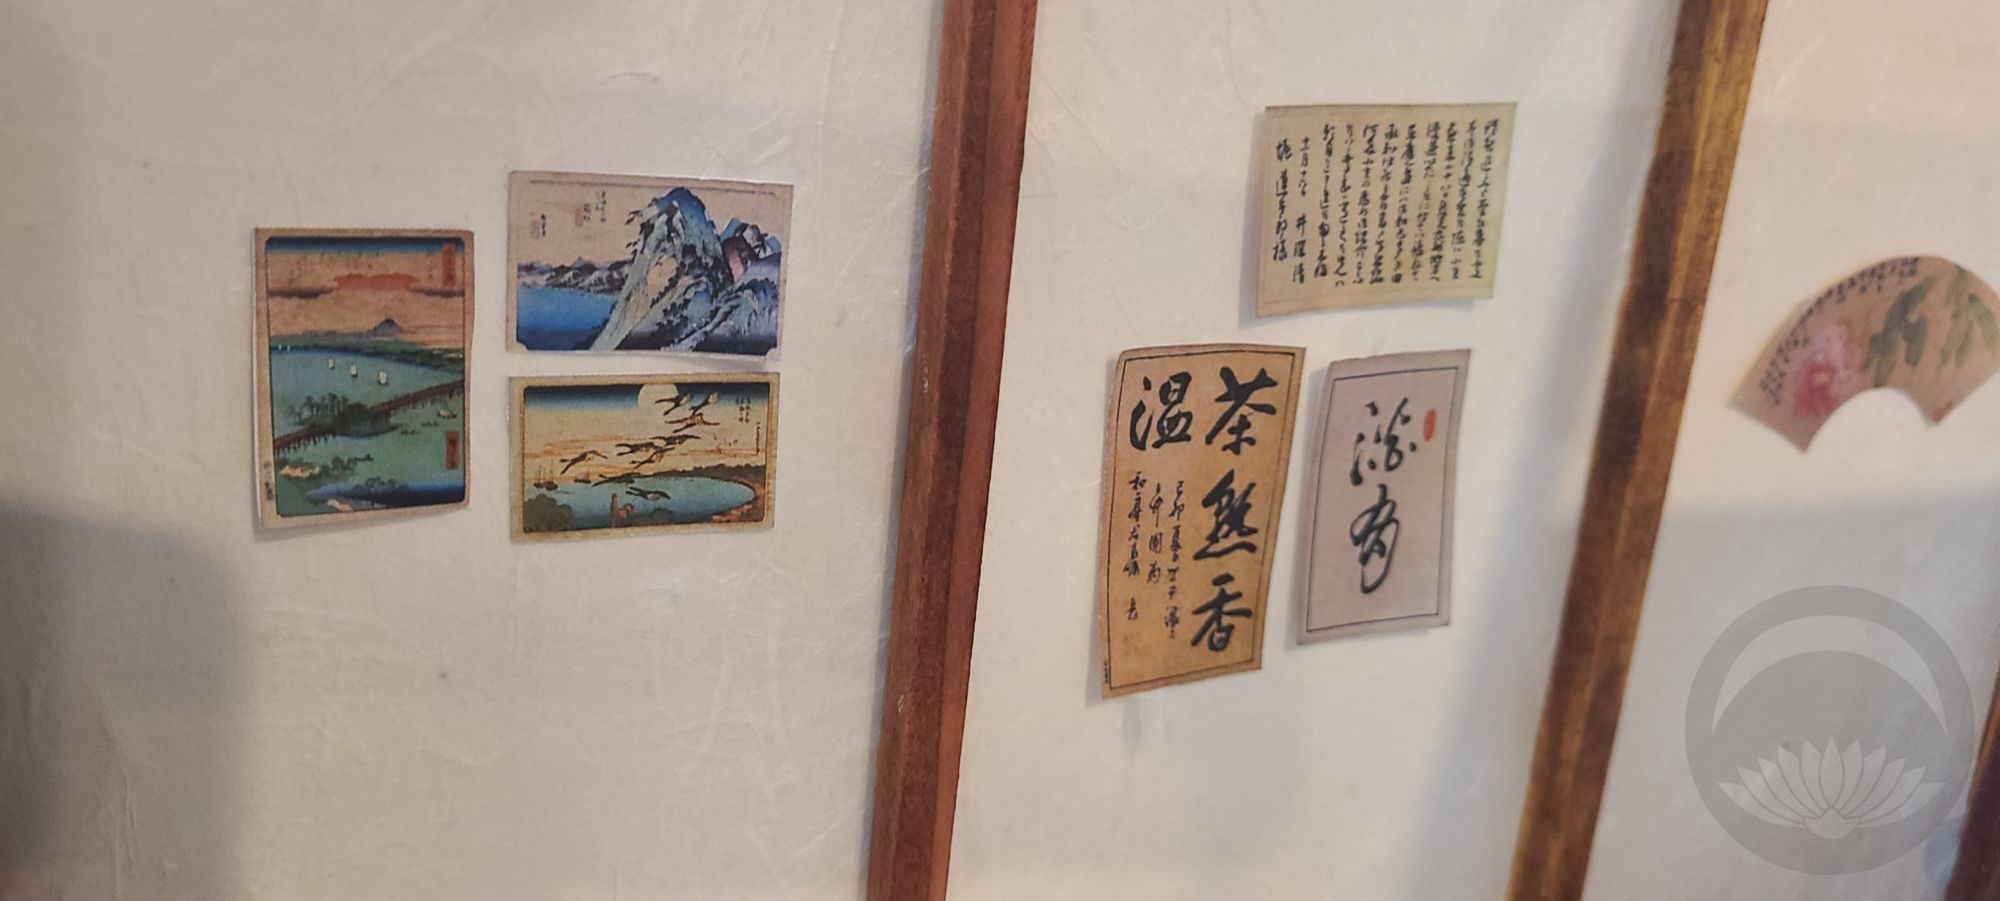
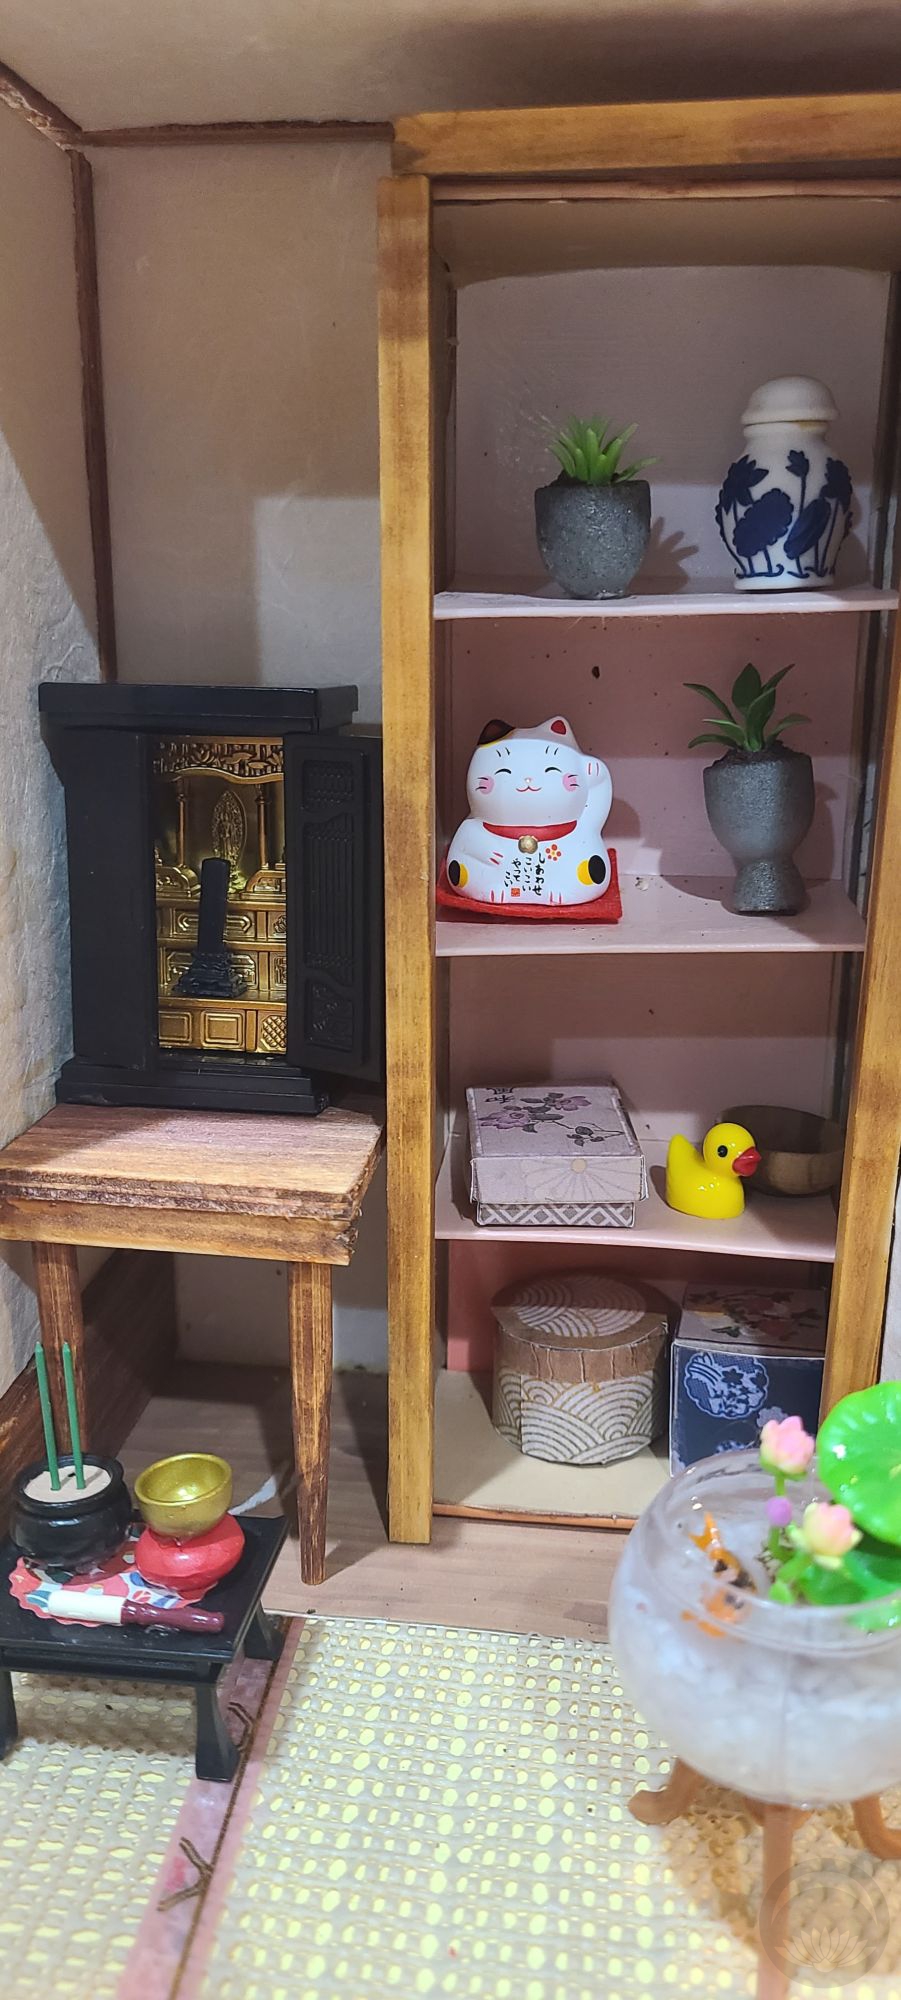
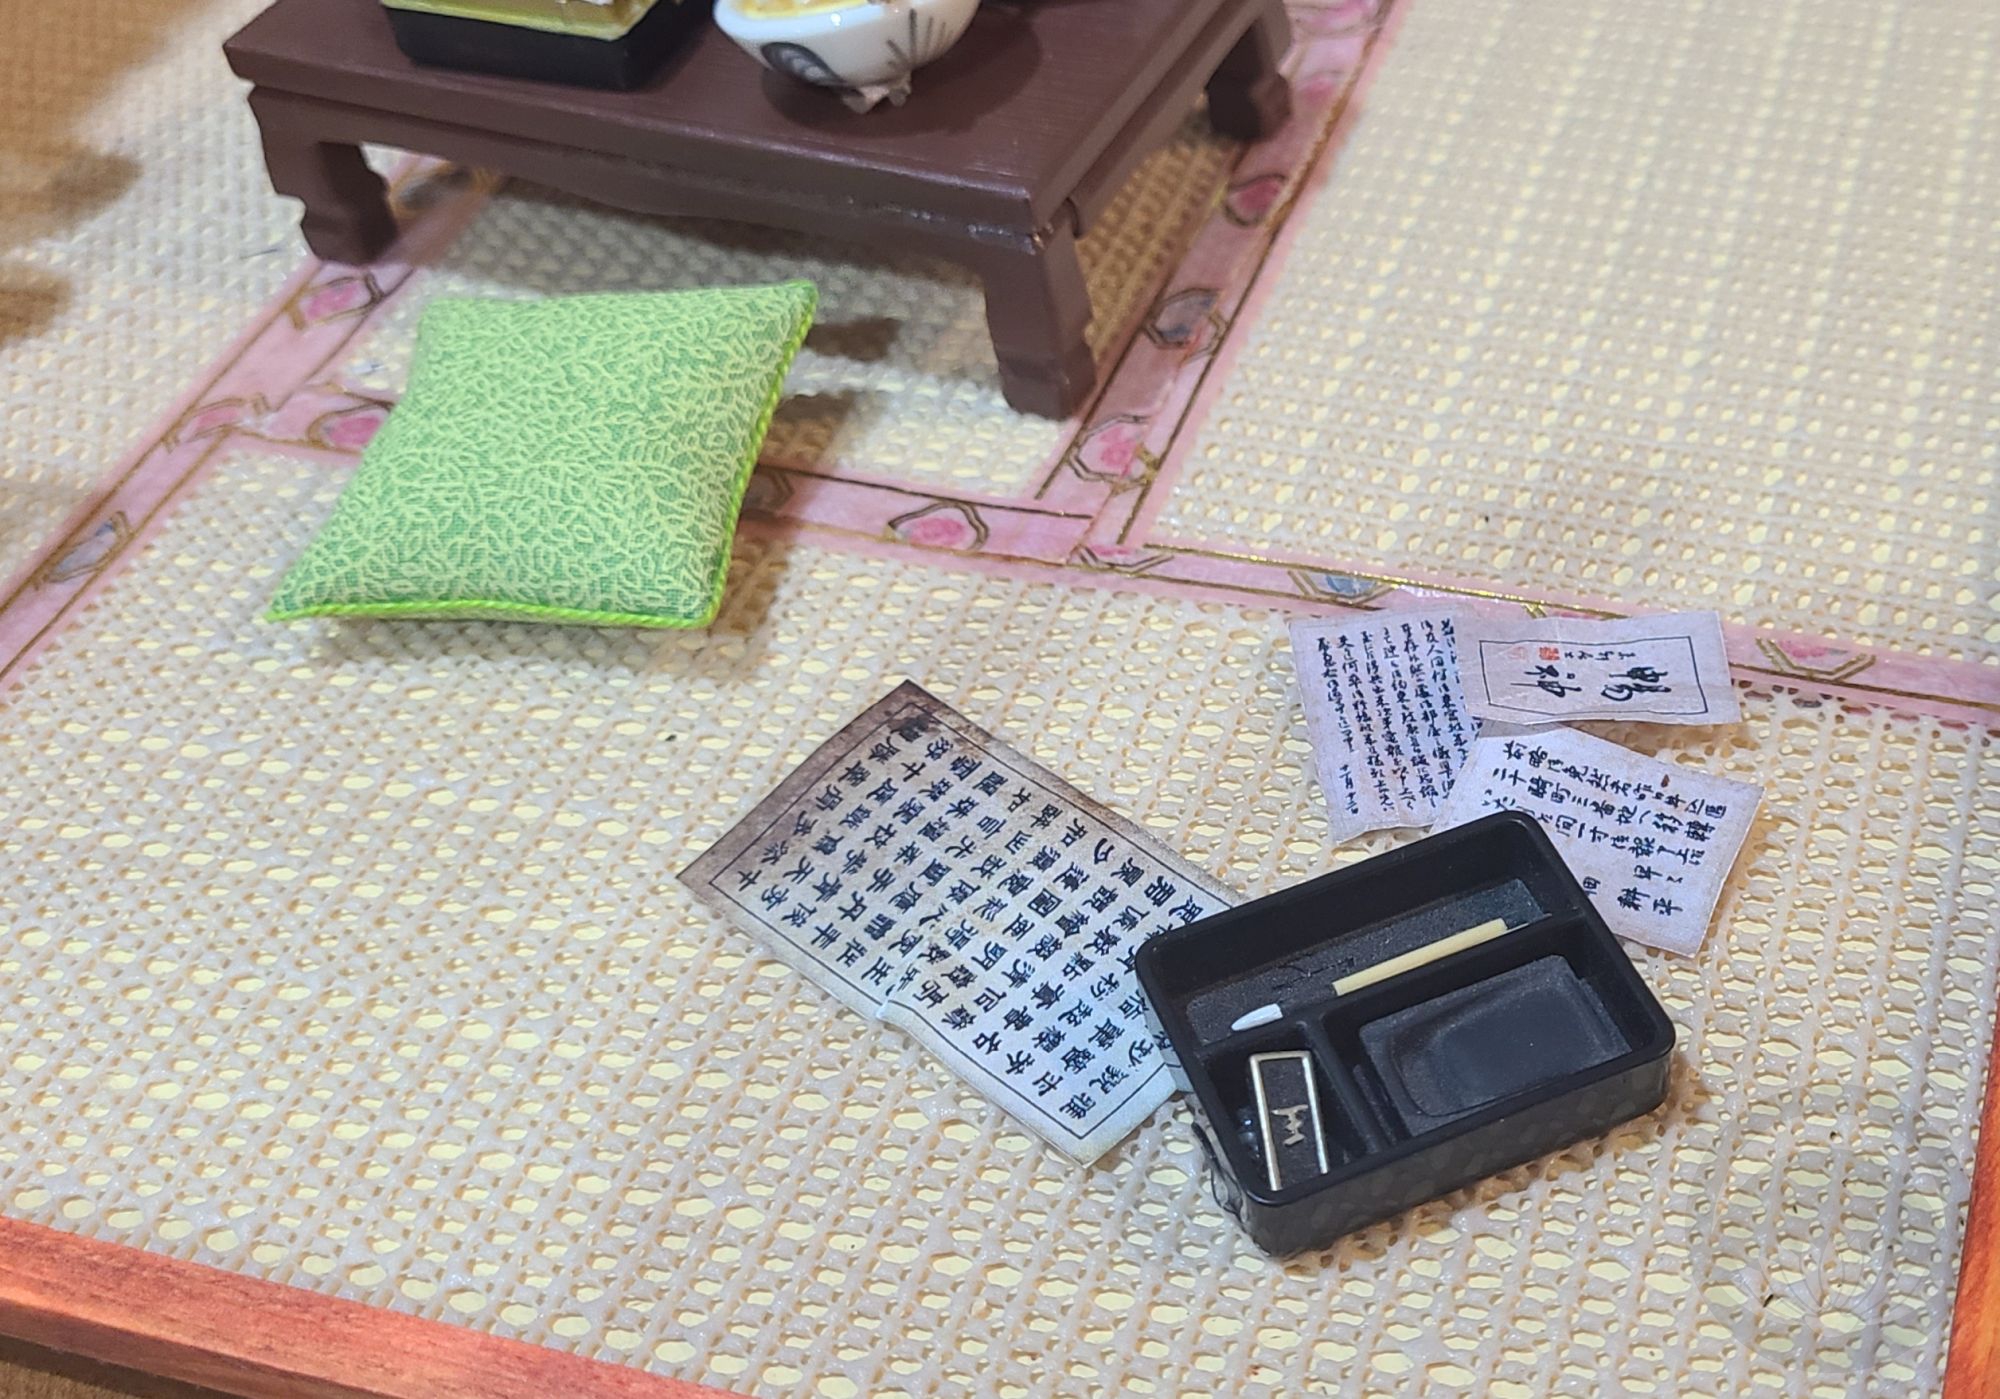
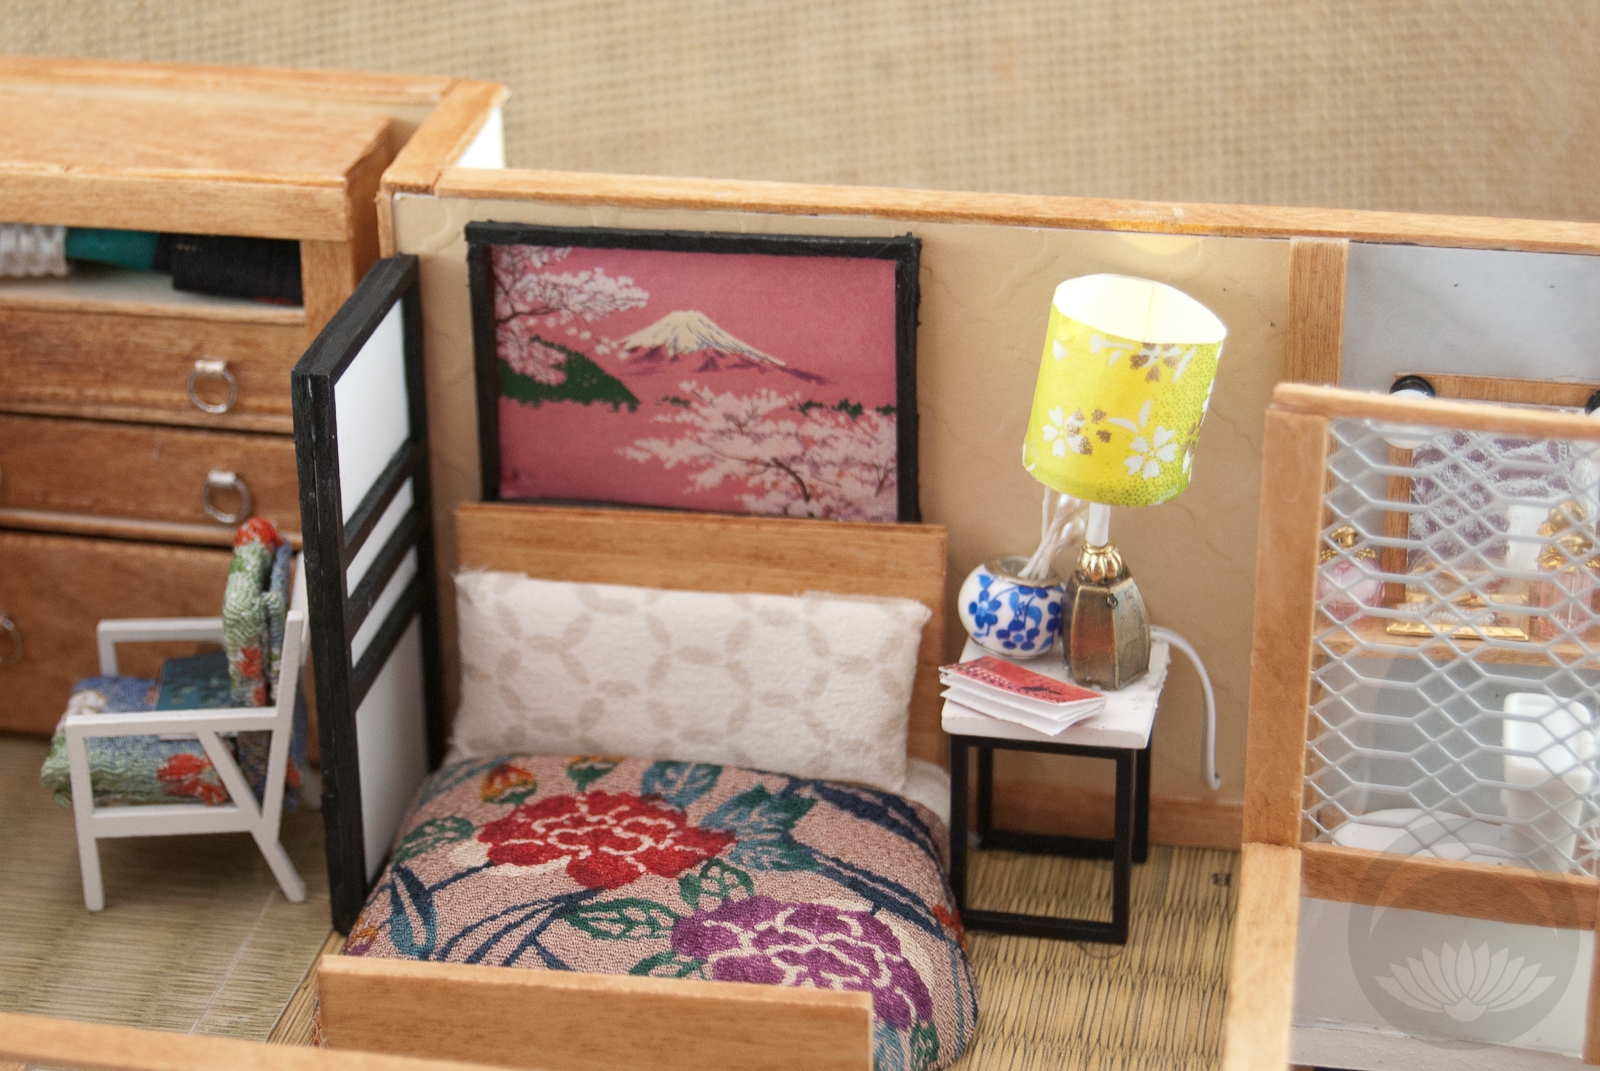
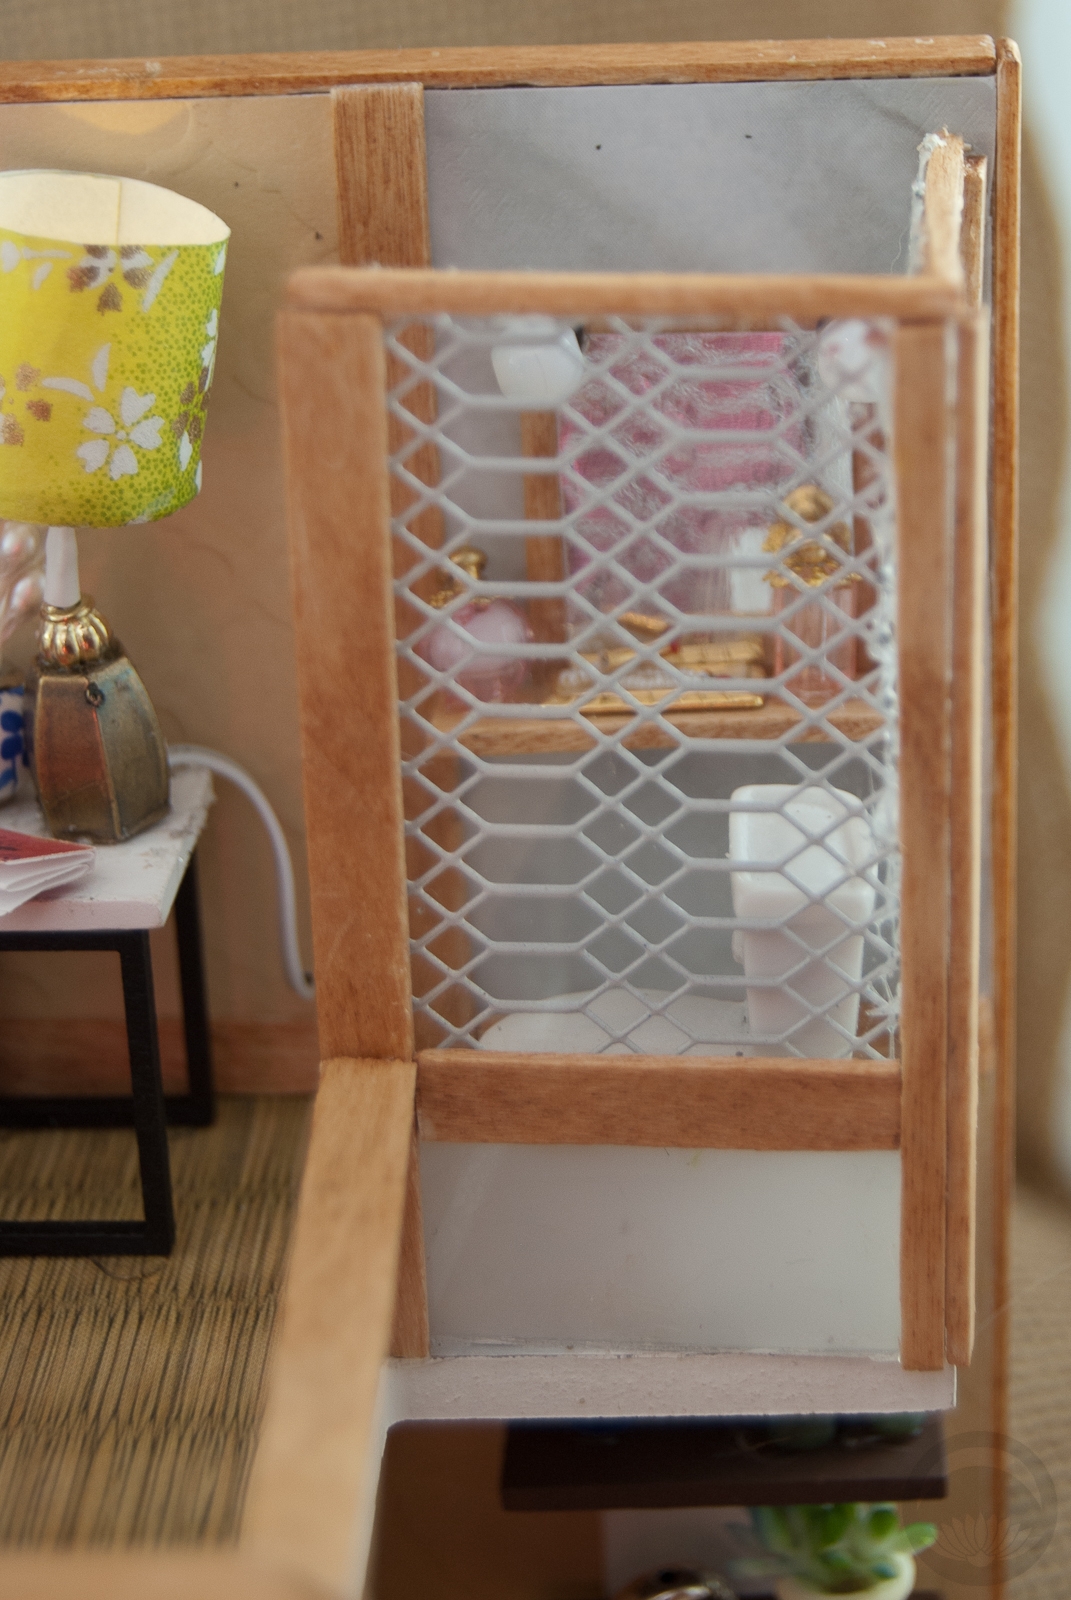
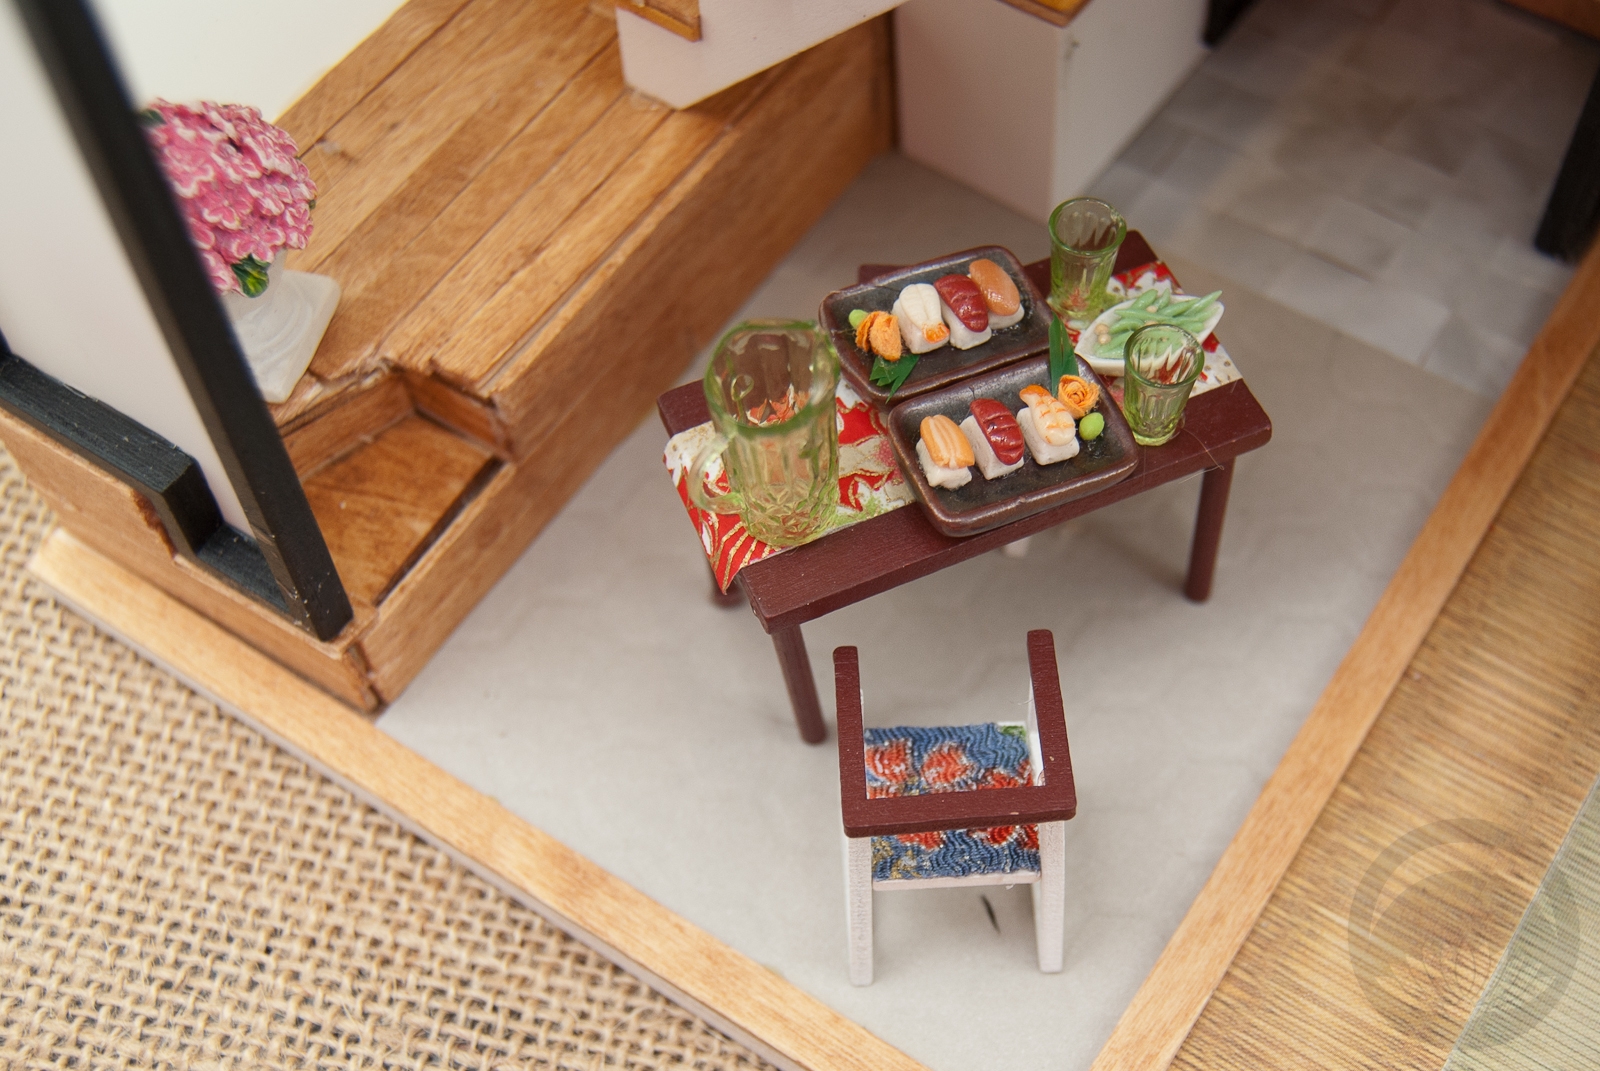
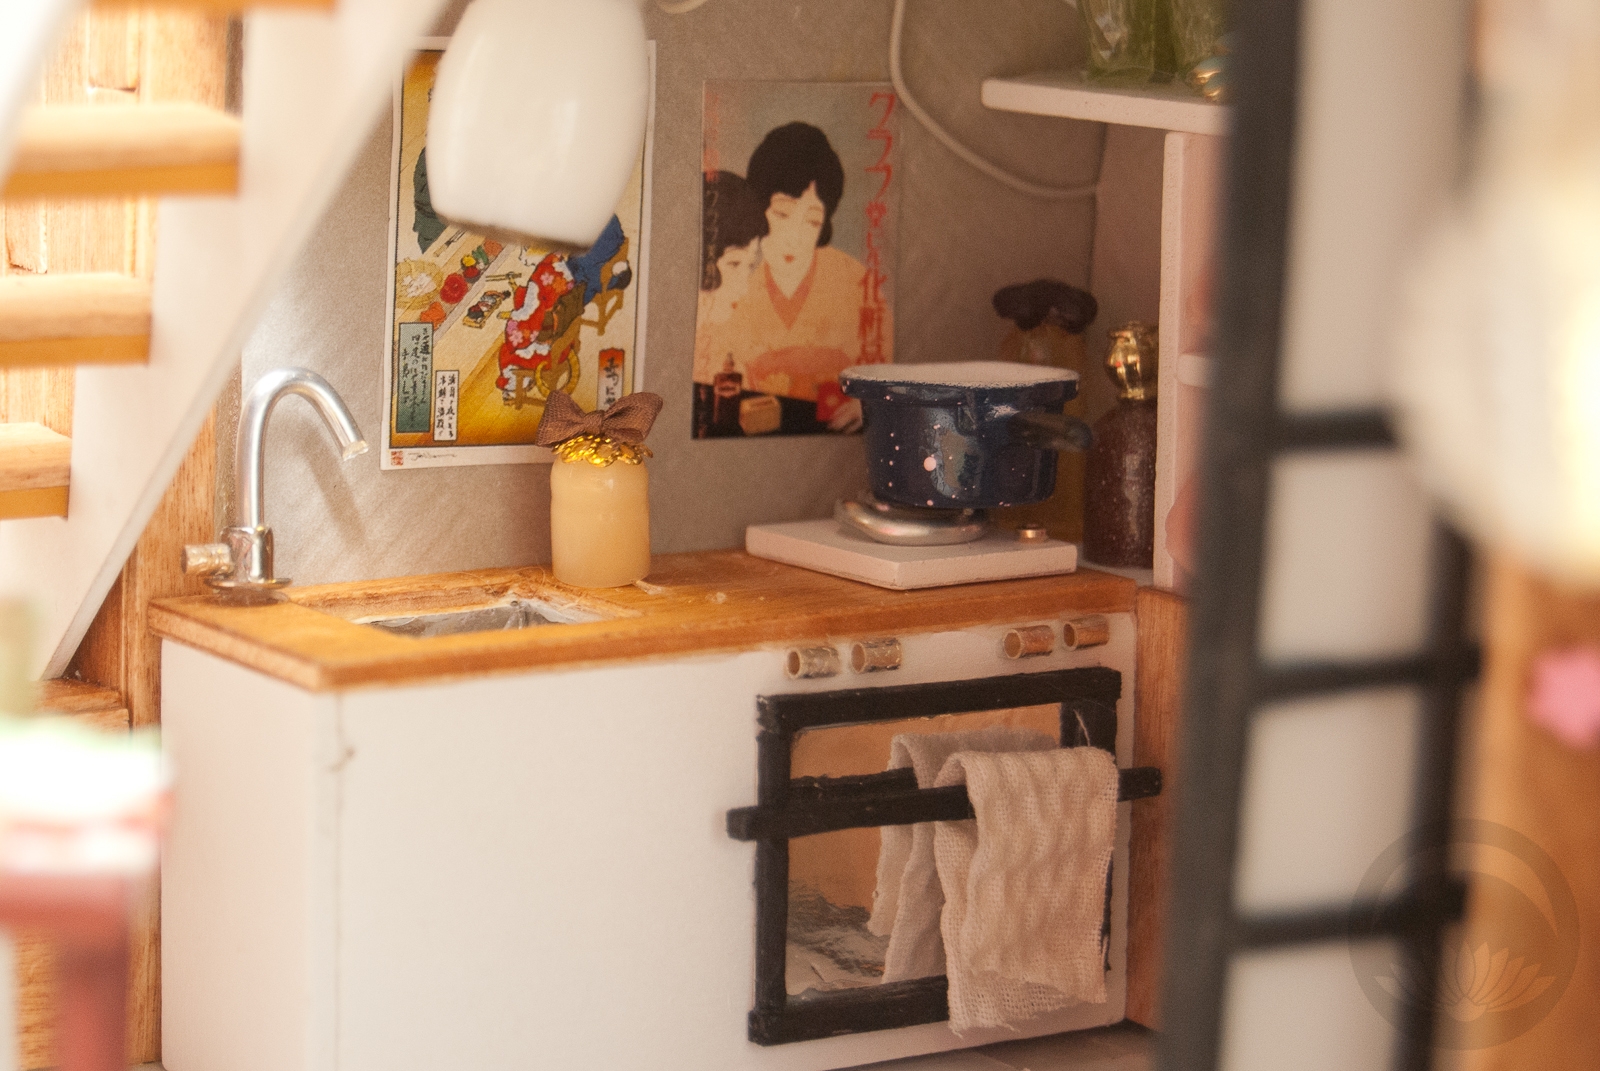
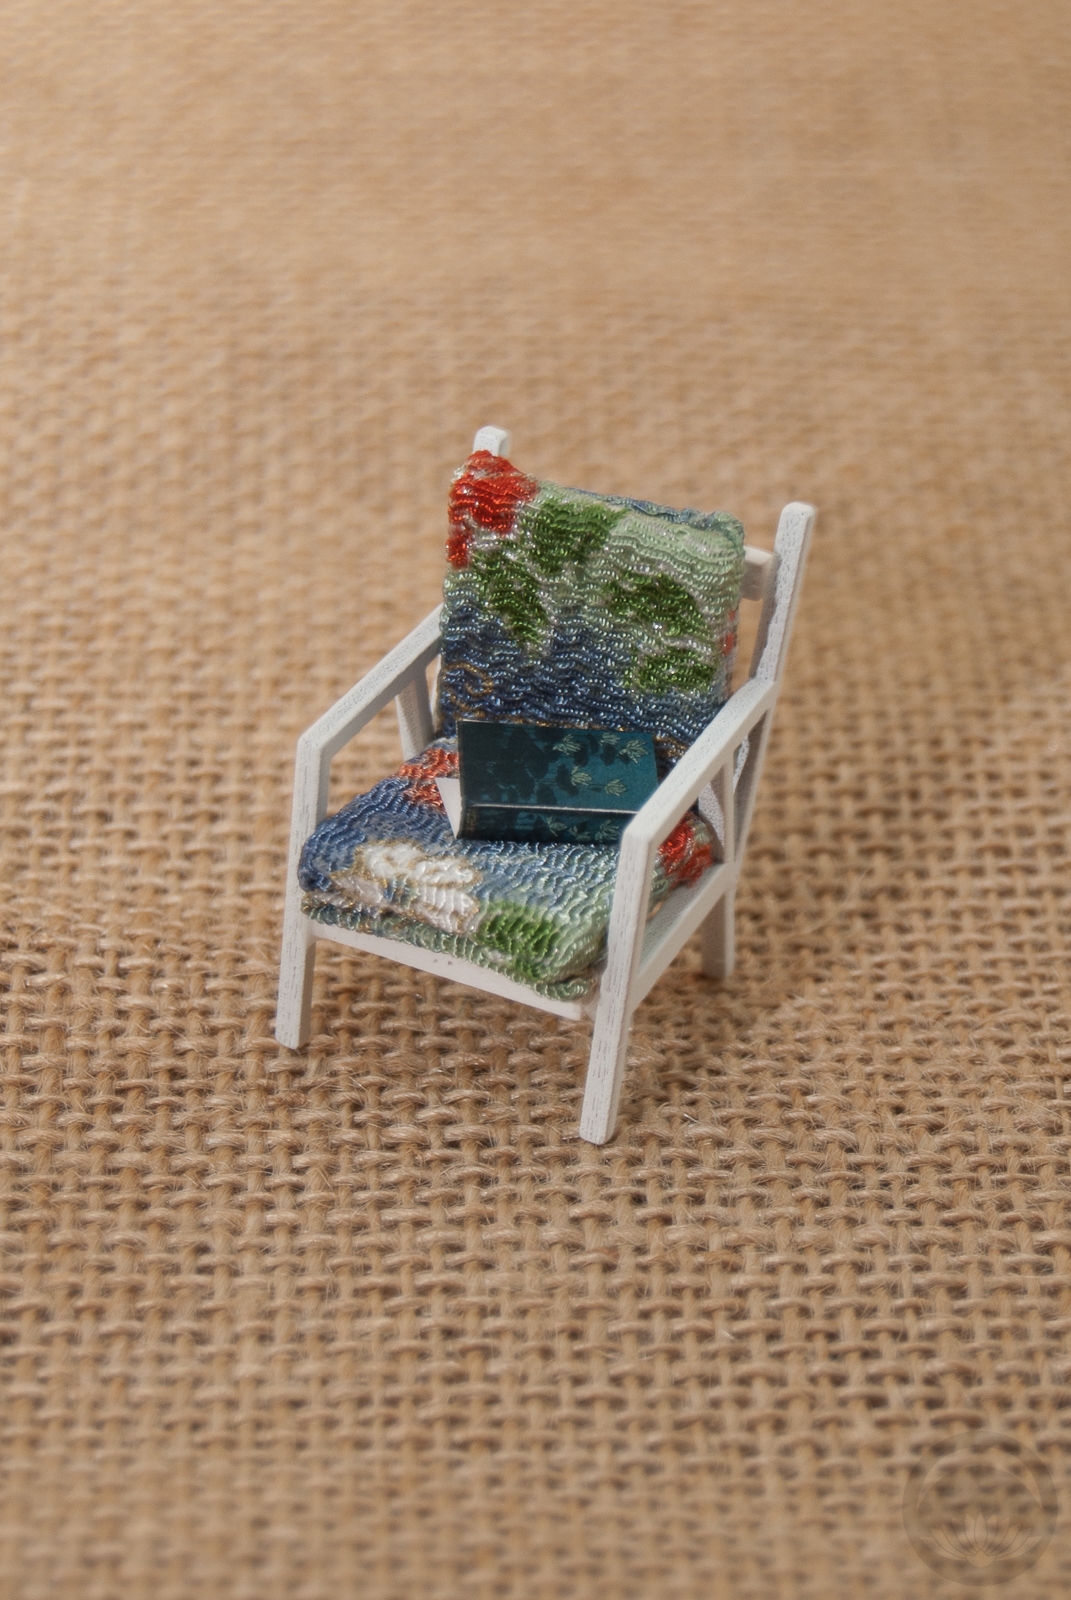
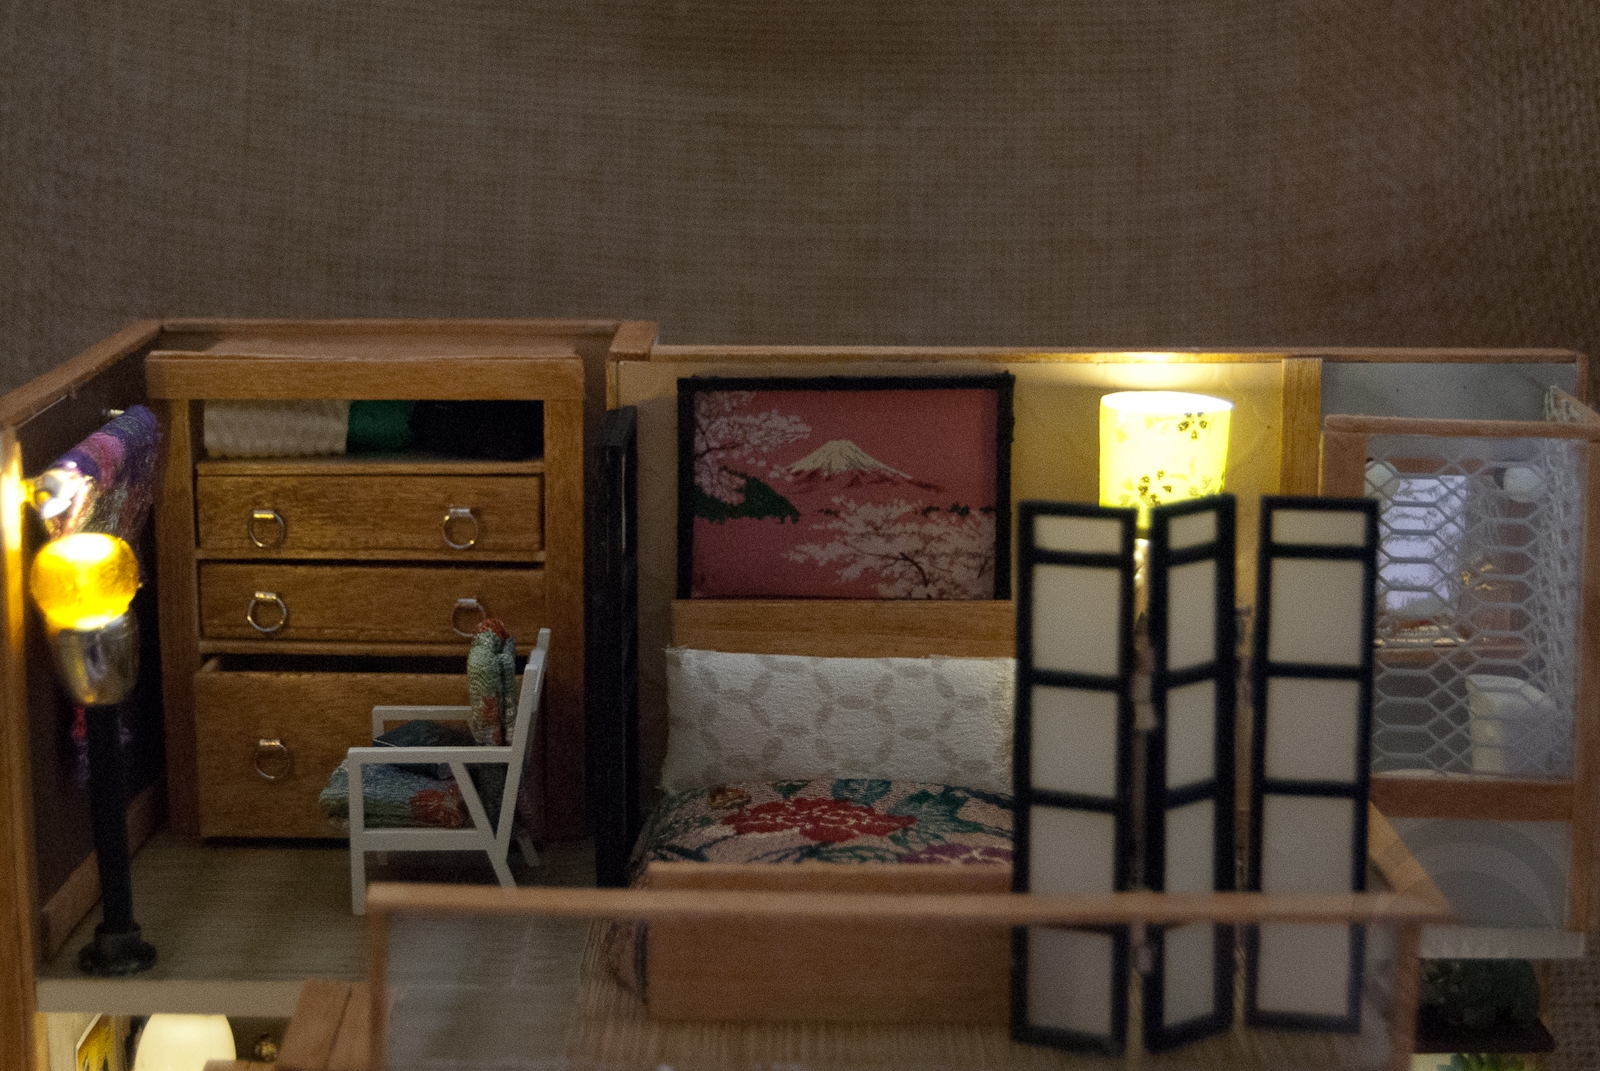
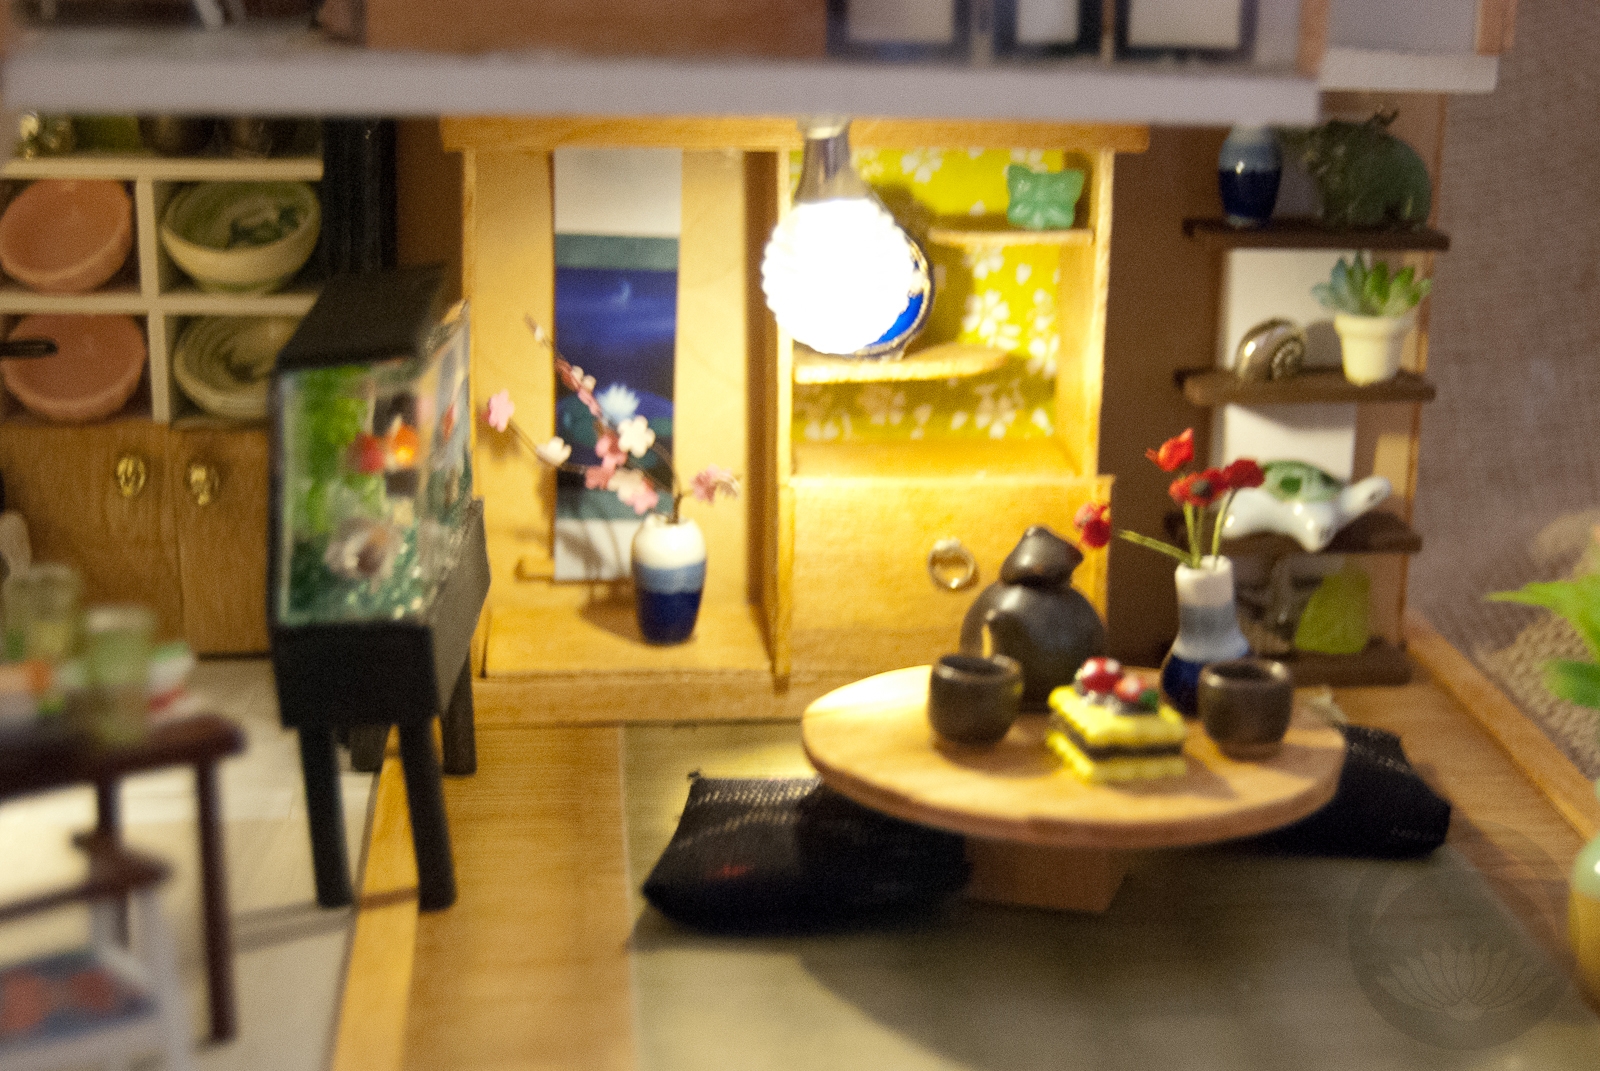
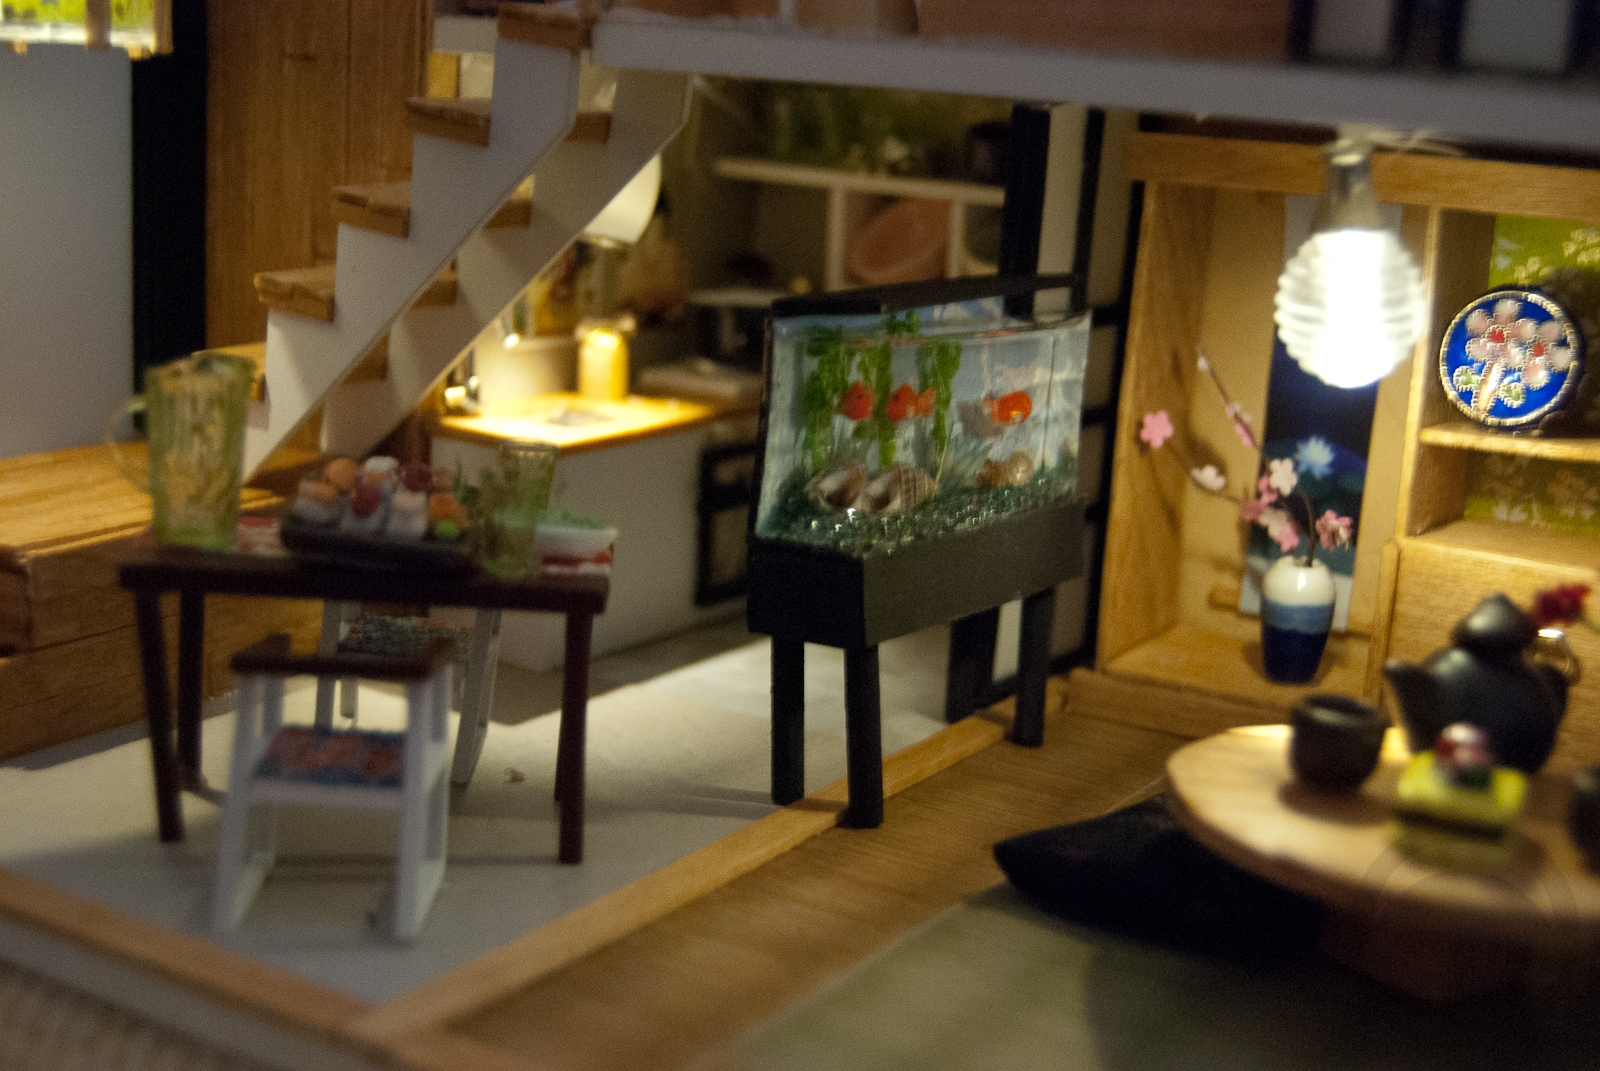
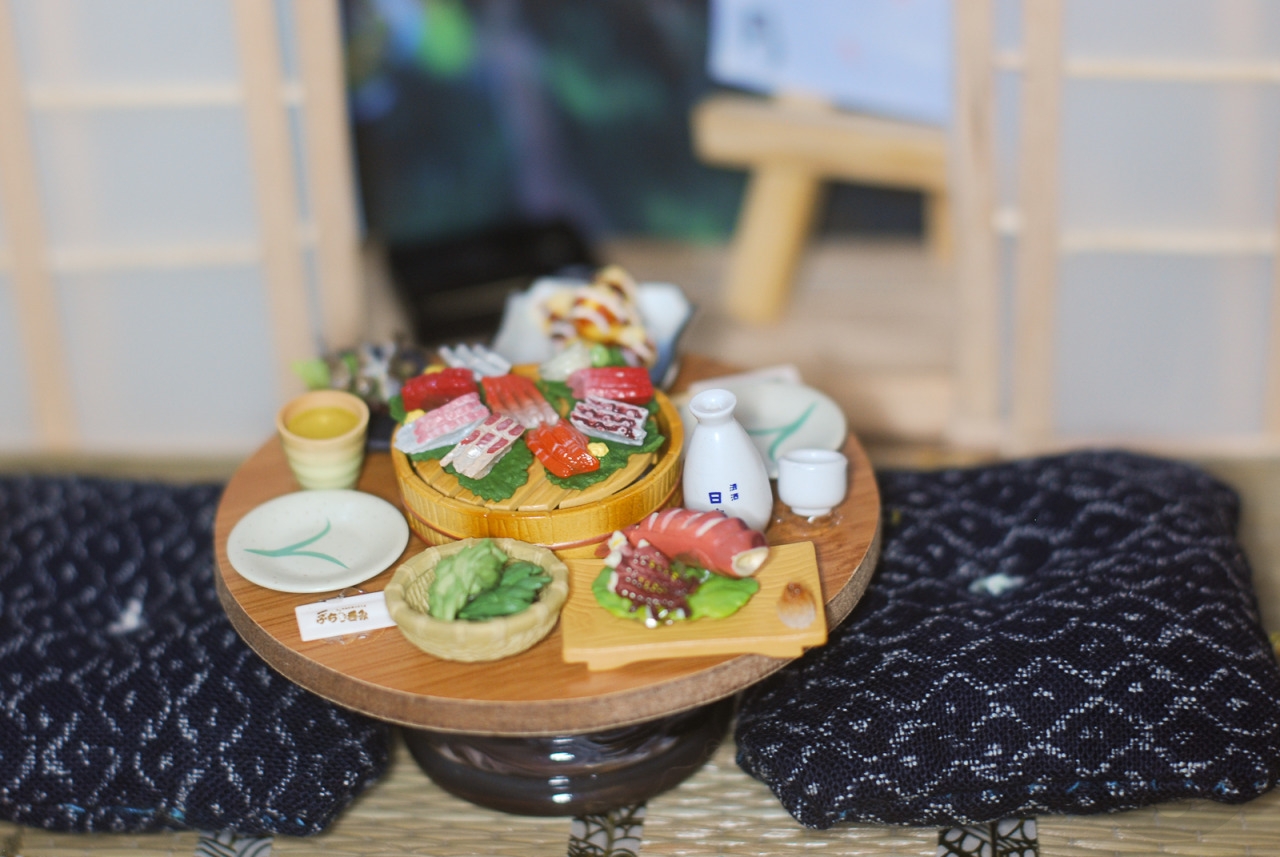
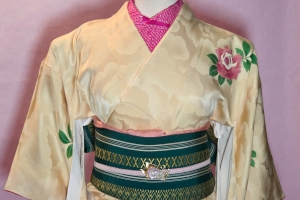
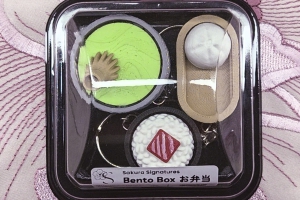
Once the room structure was complete, it was time for the fun part – decorating! This is always my favourite part of making a miniature or diorama, since it’s where things really start to come to life. They go from looking like boxes to looking lived-in. I like to imagine the resident of this room is a young woman trying to balance modern and traditional life based on her hobbies (calligraphy, reading poetry). She knows she’s too old for it, but she still puts her childhood hina dolls out for Girl’s Day and still pays her respects to her family altar, but she’s also busy enough that she picks up pre-made meals on her way home from university. I don’t generally imagine this much of a resident in my scenes, but every detail I added here just kind of helped flesh her out, what can I say?

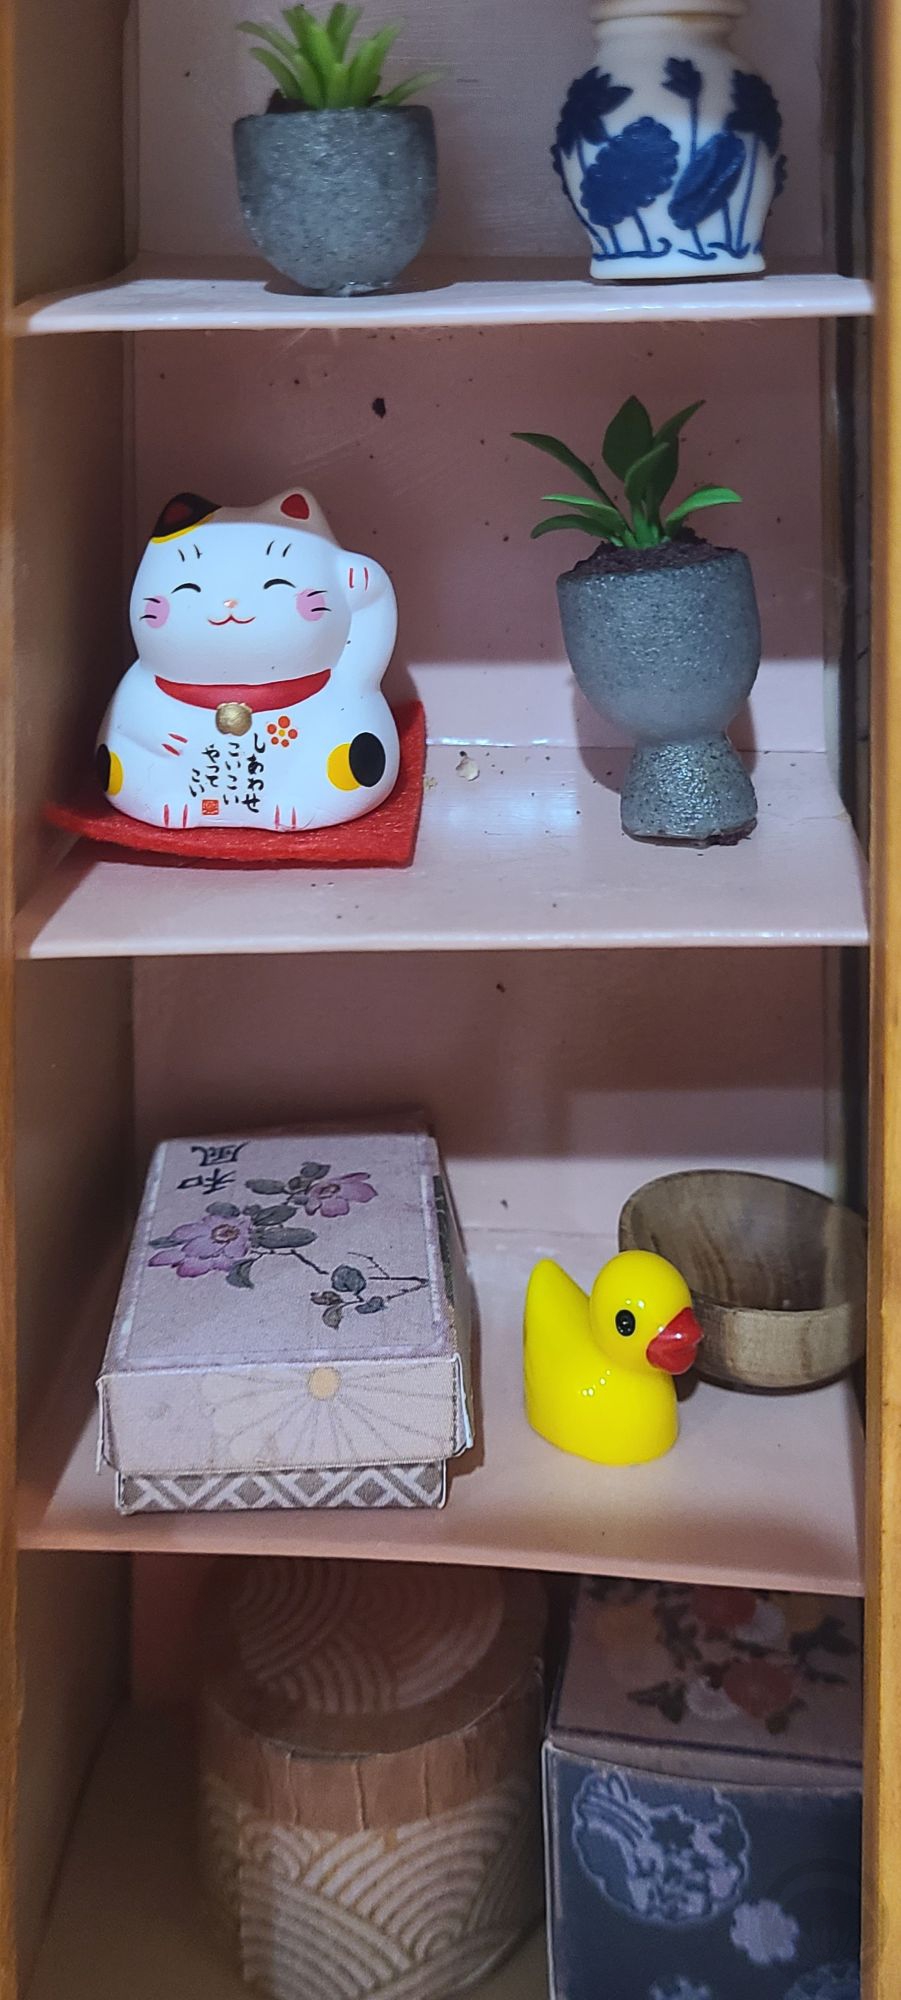
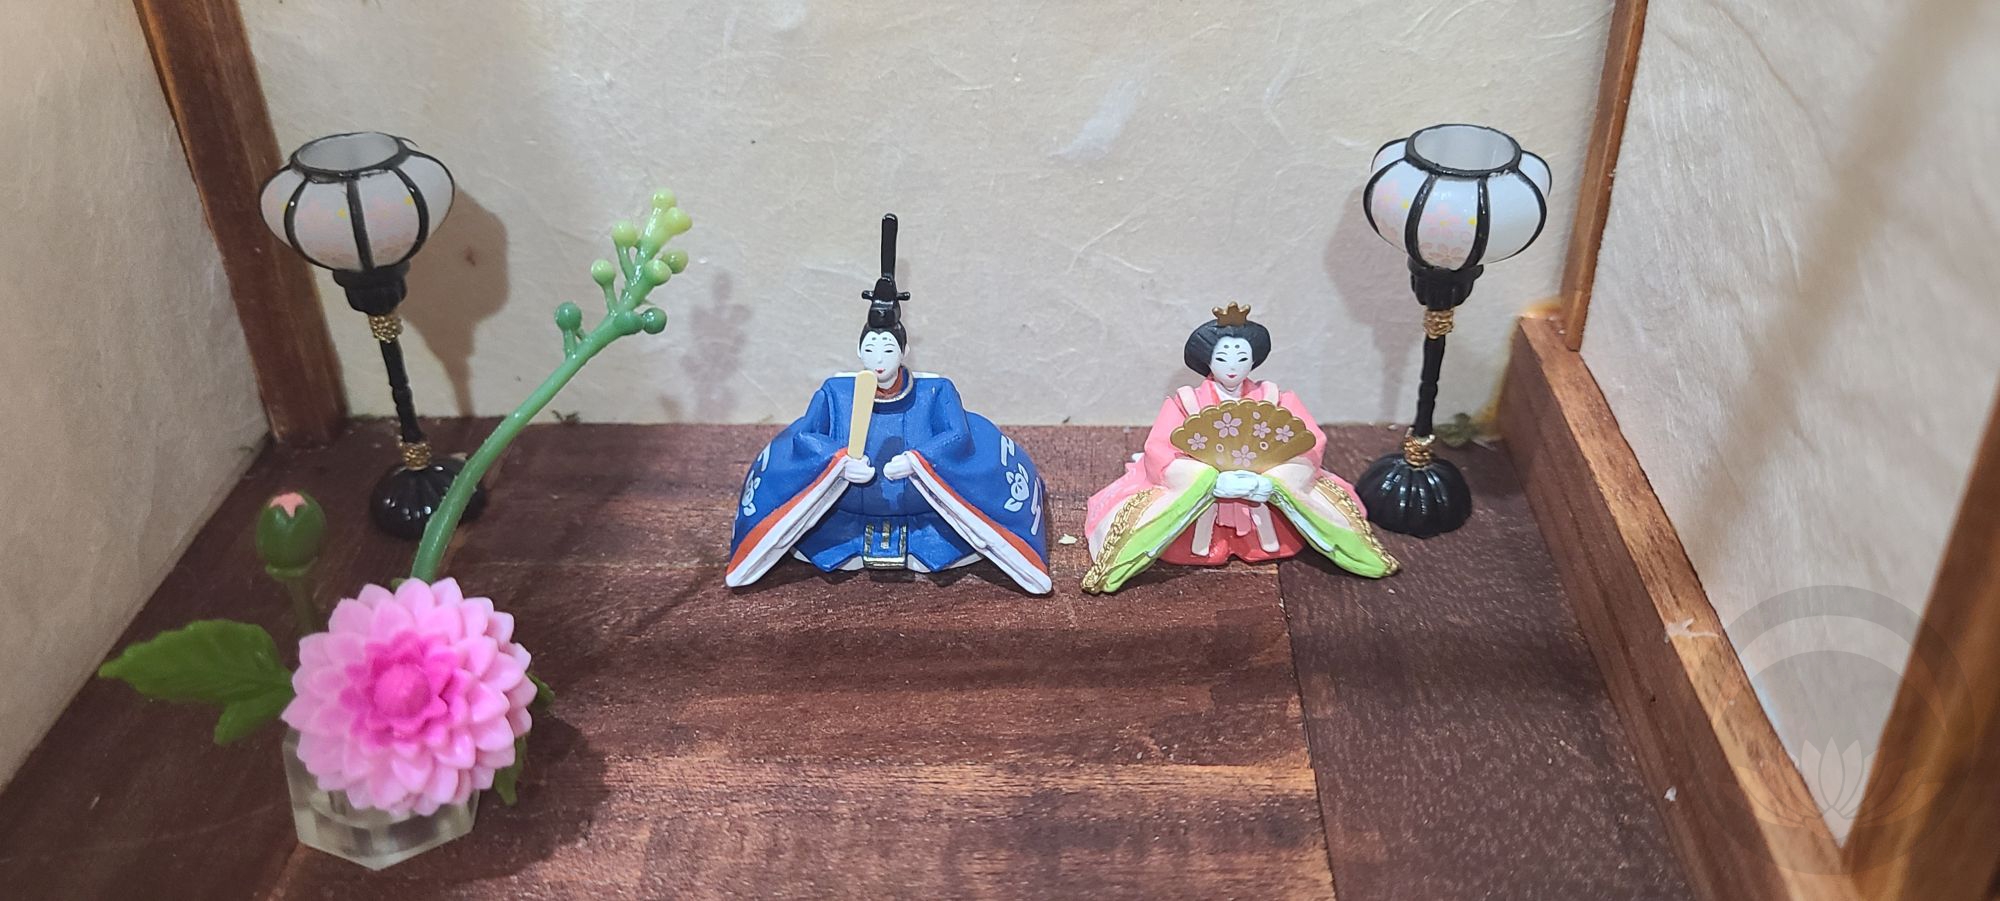
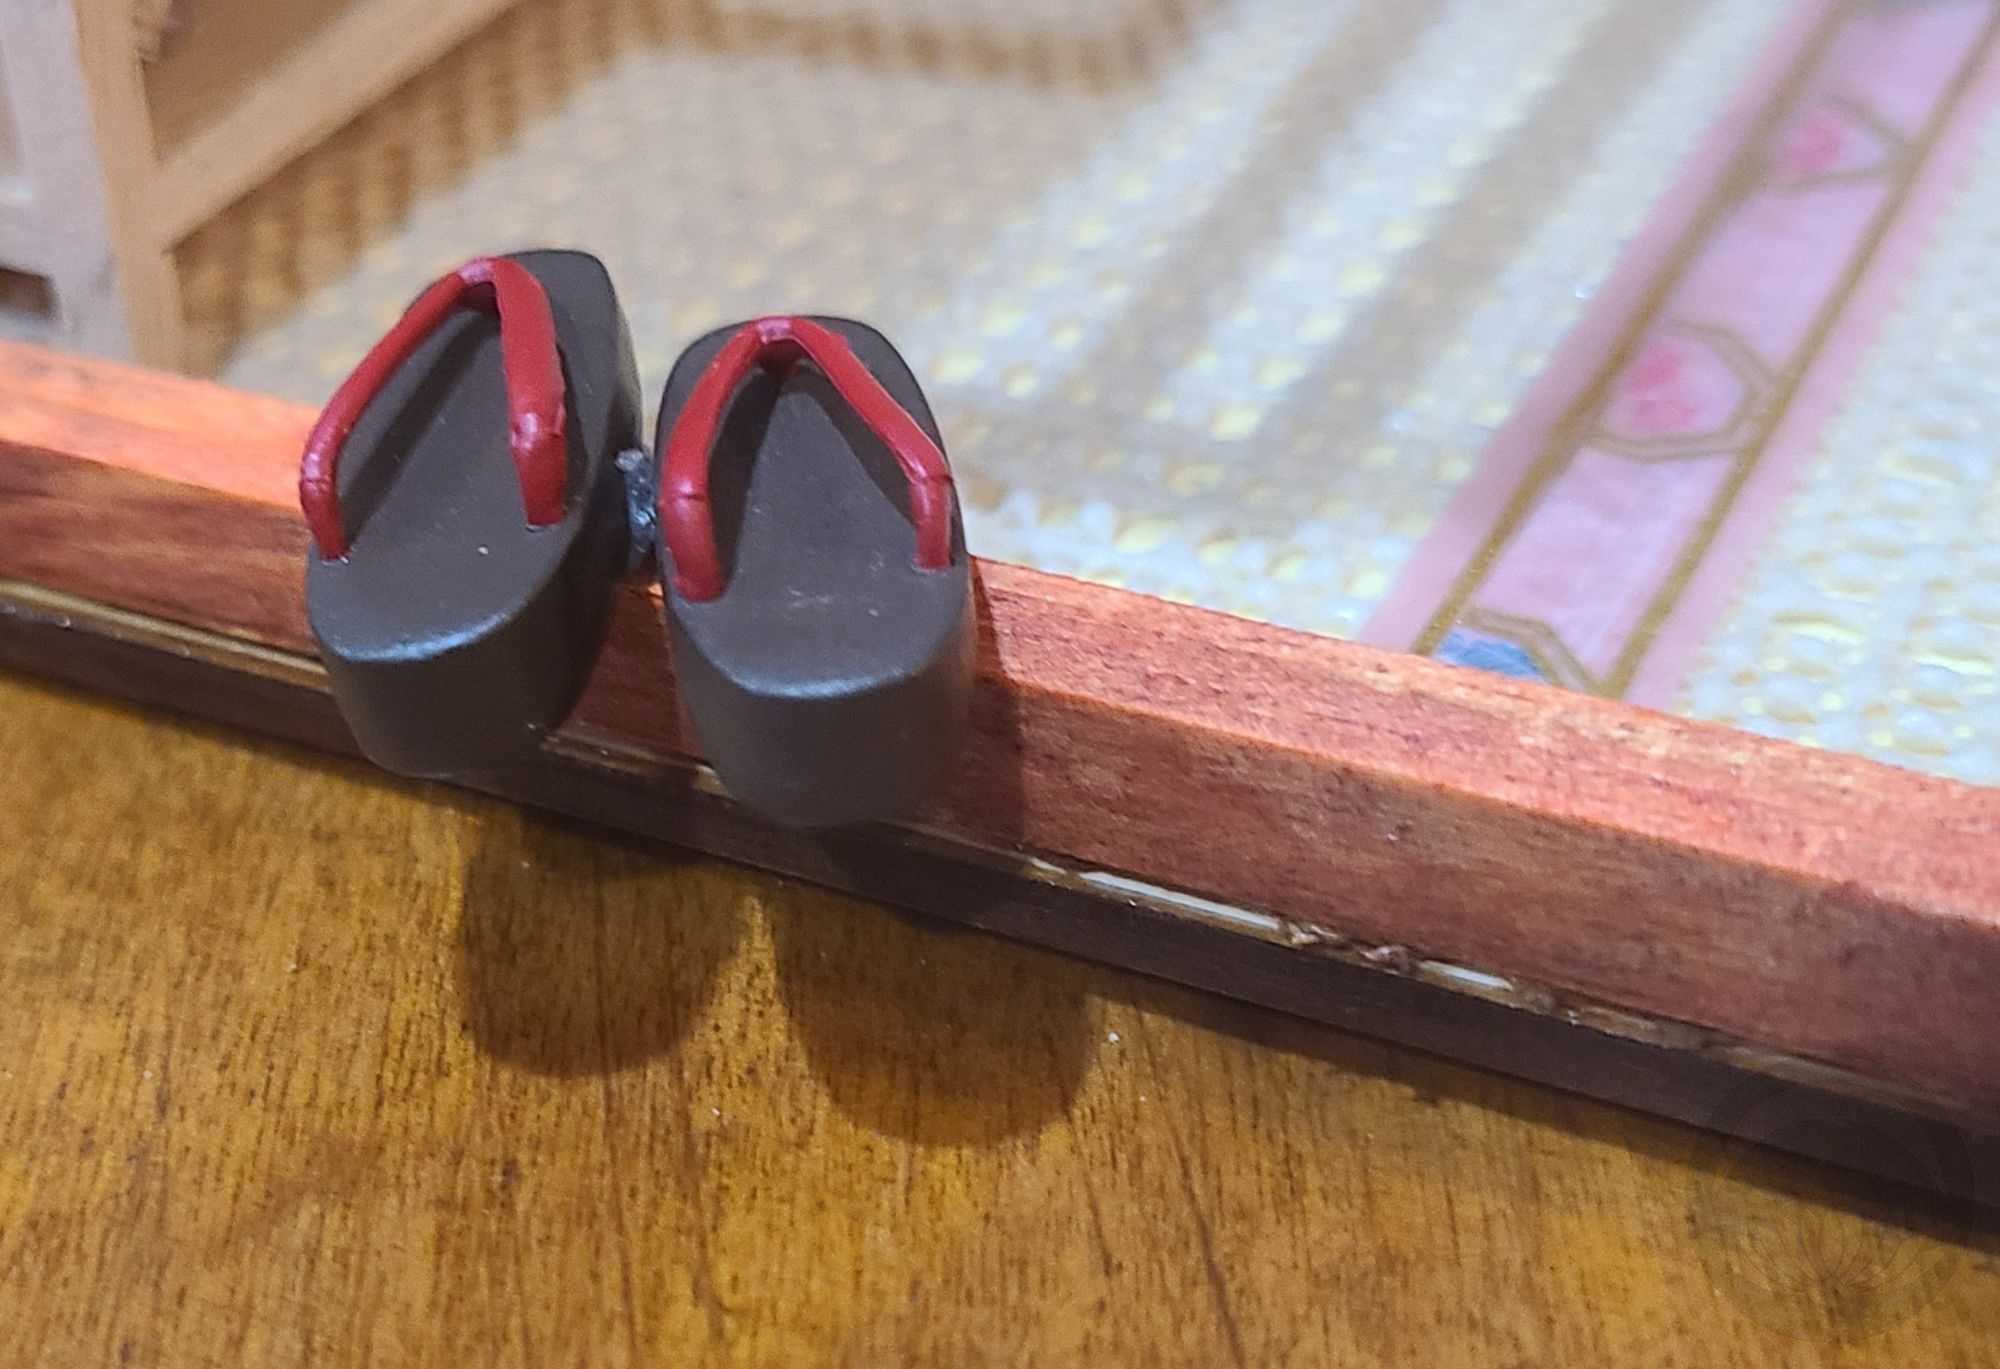
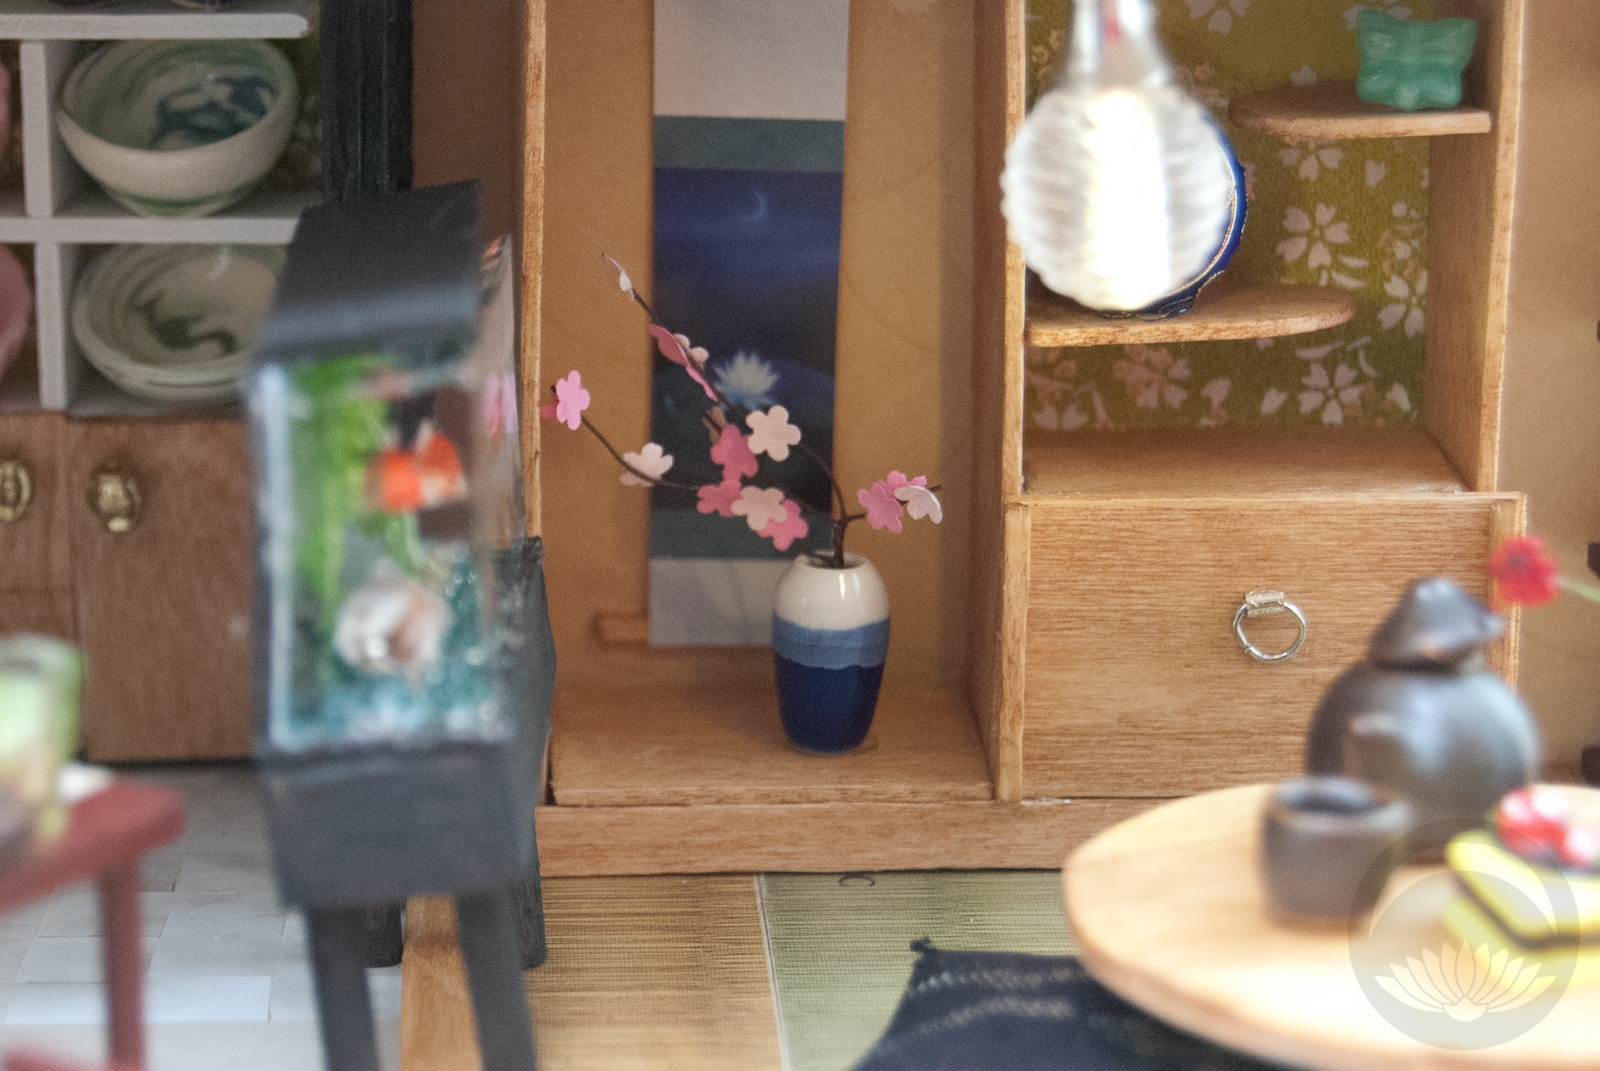
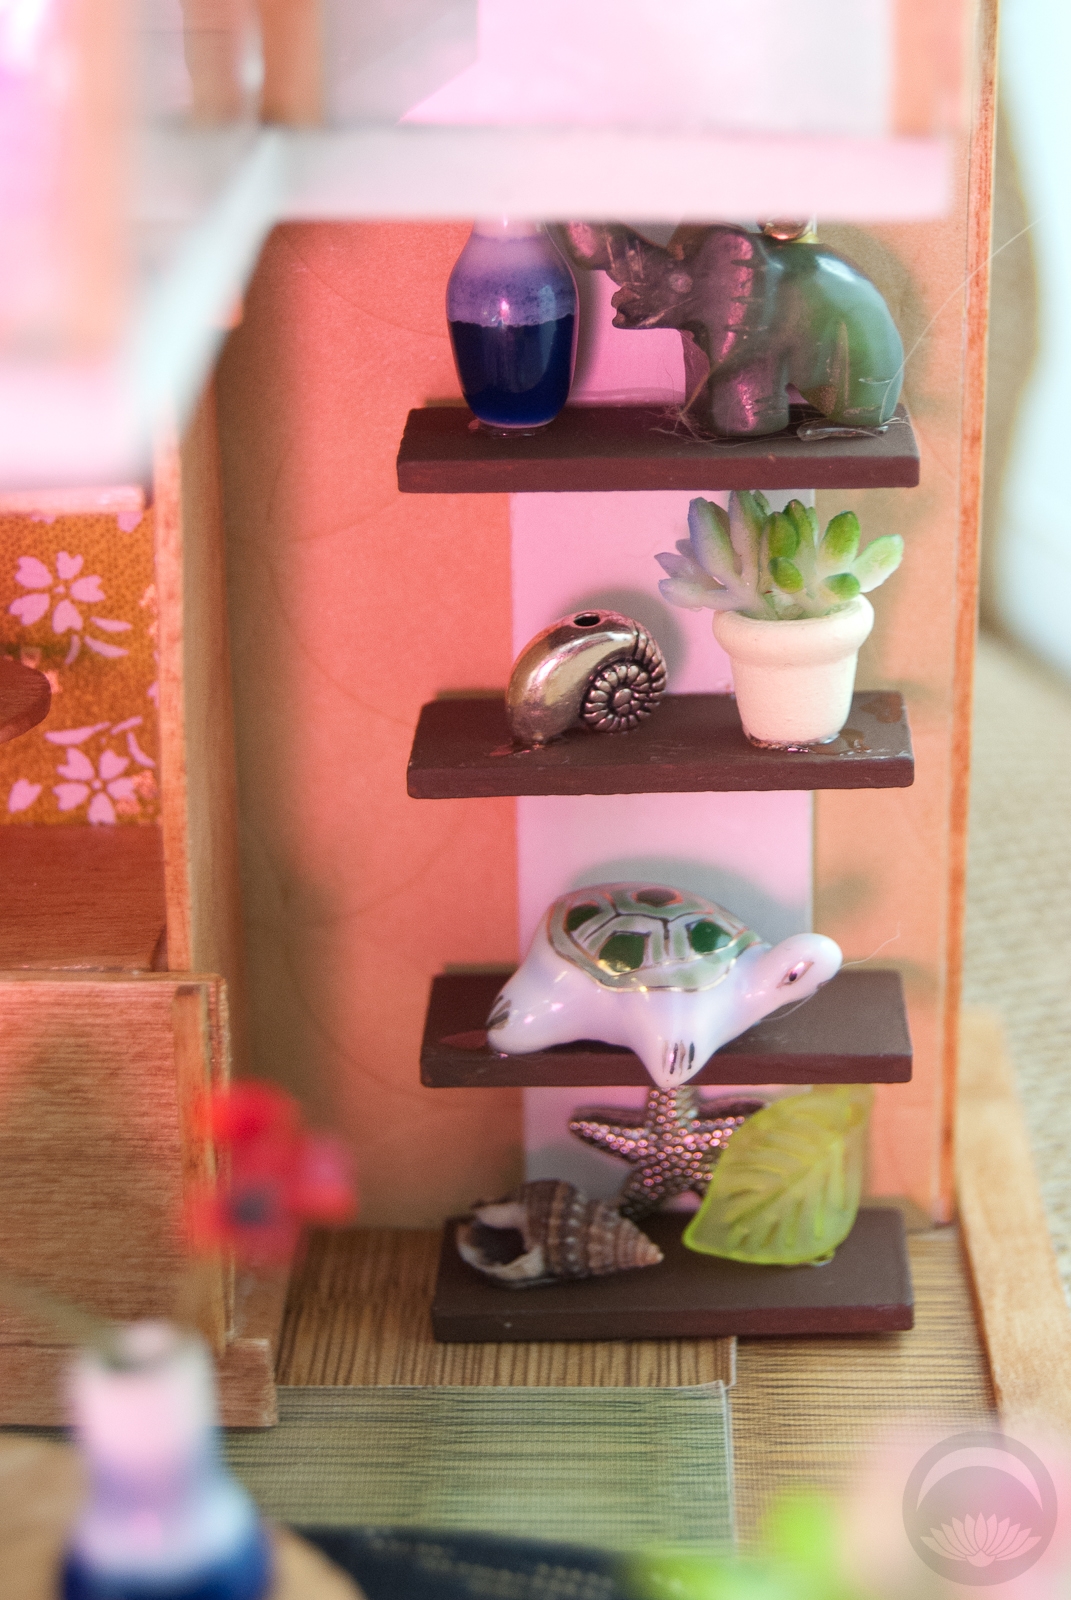
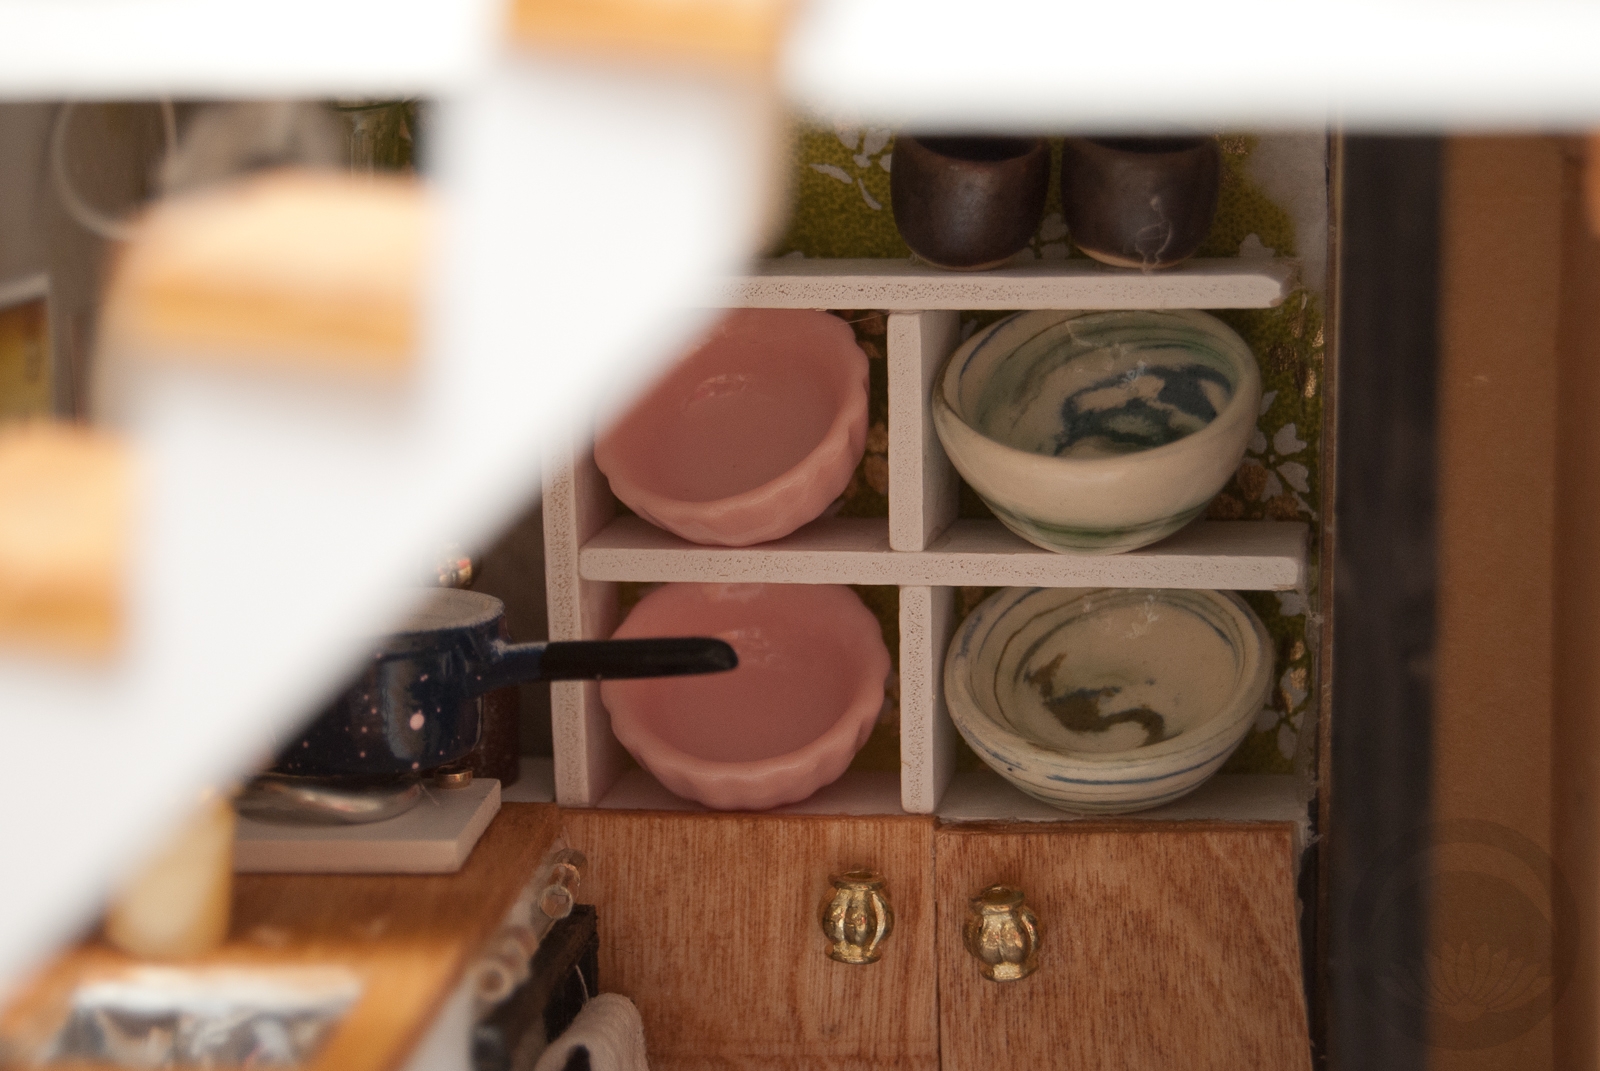
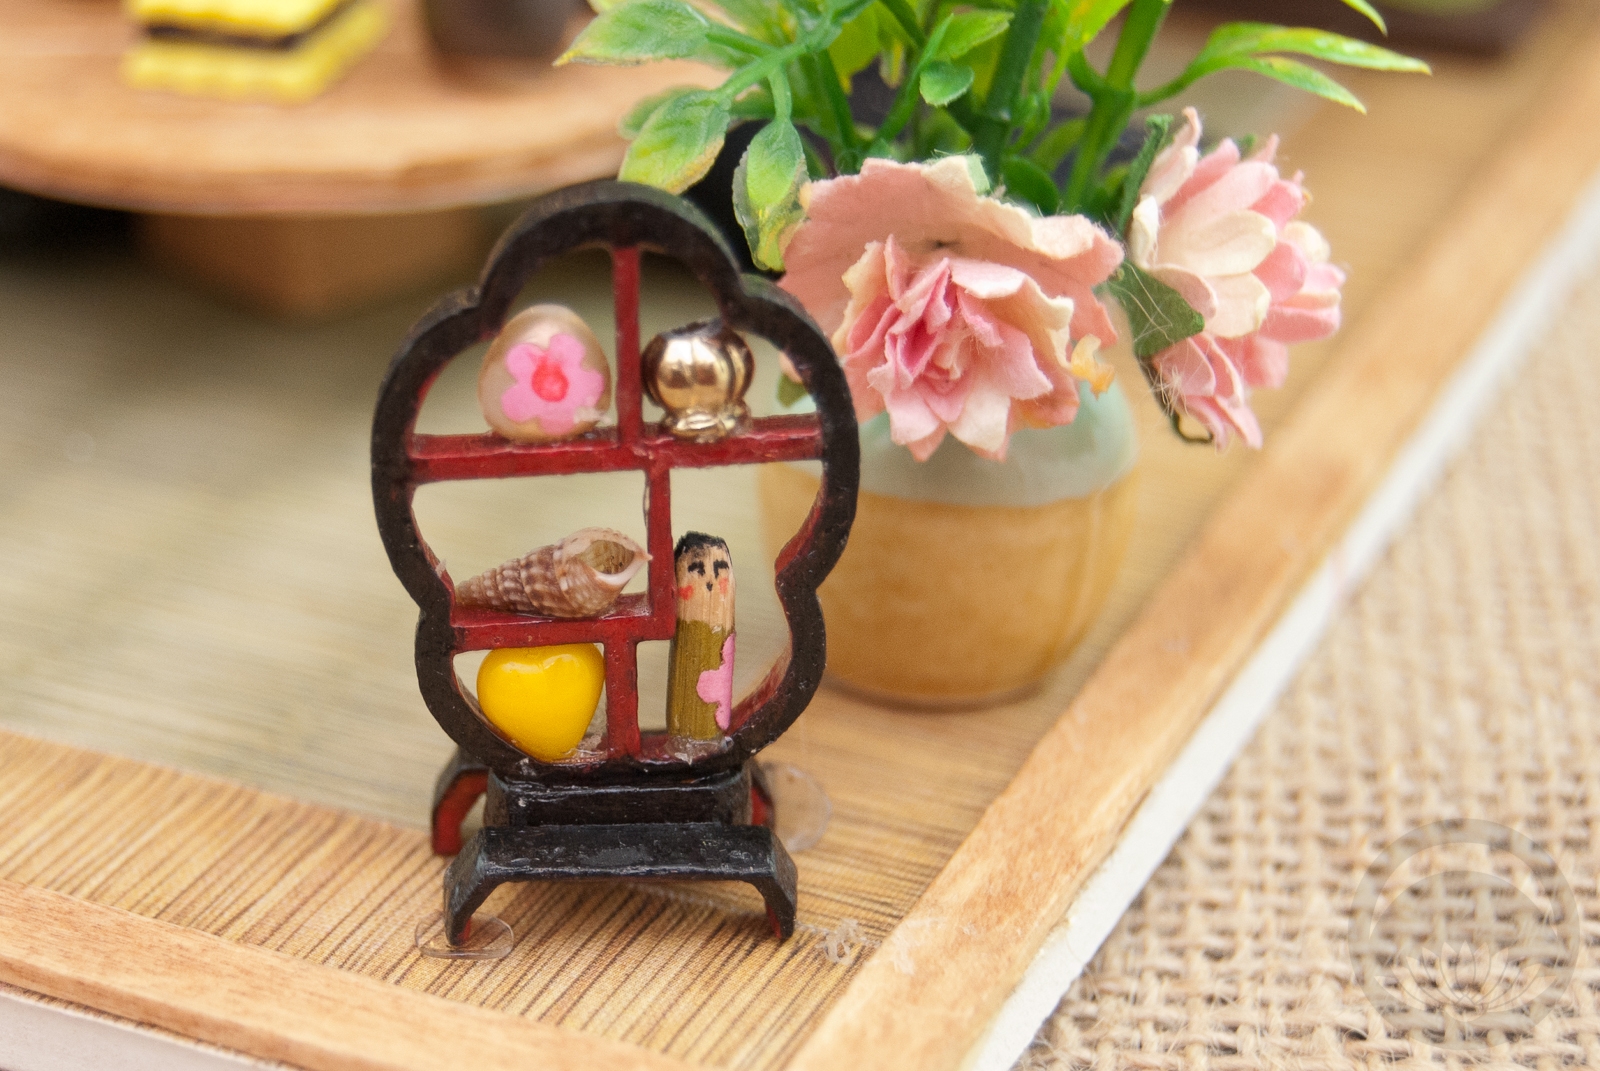
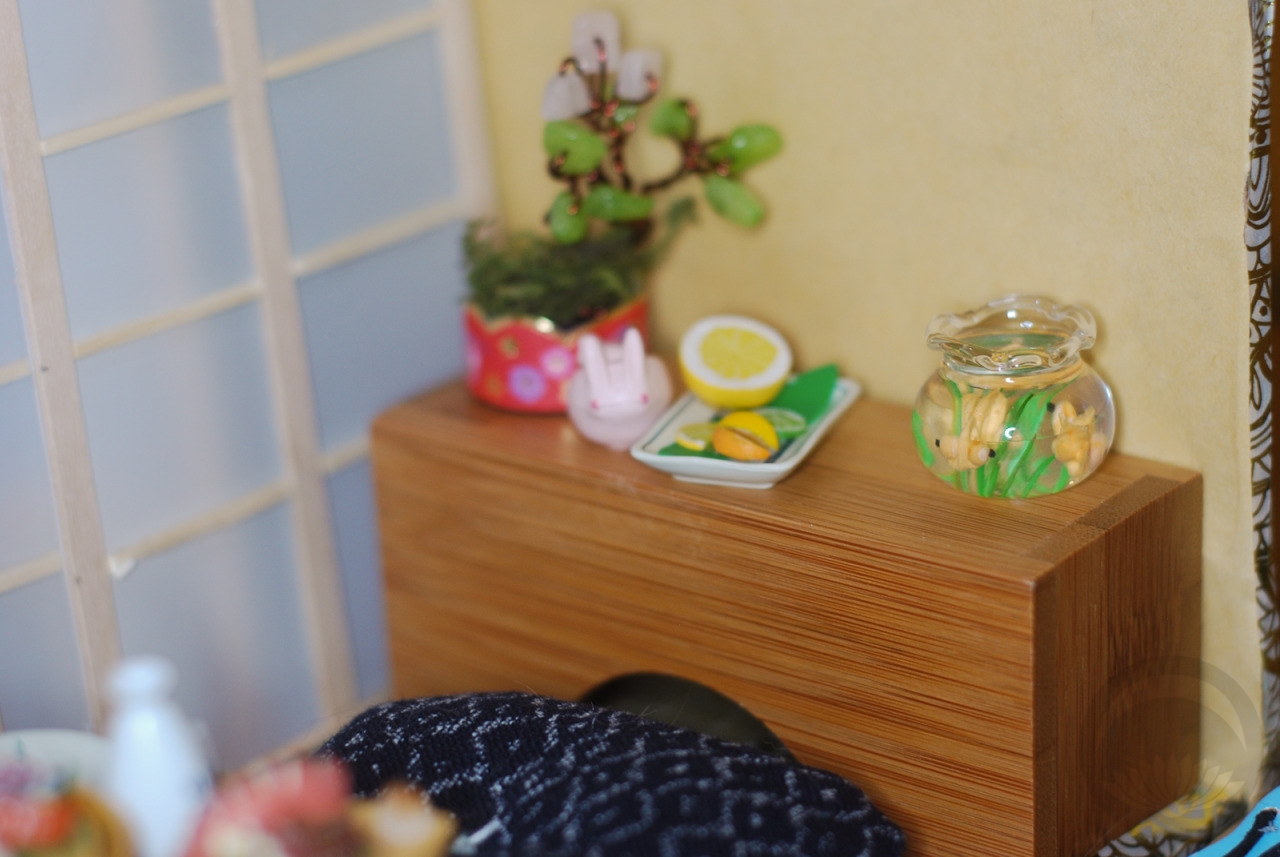
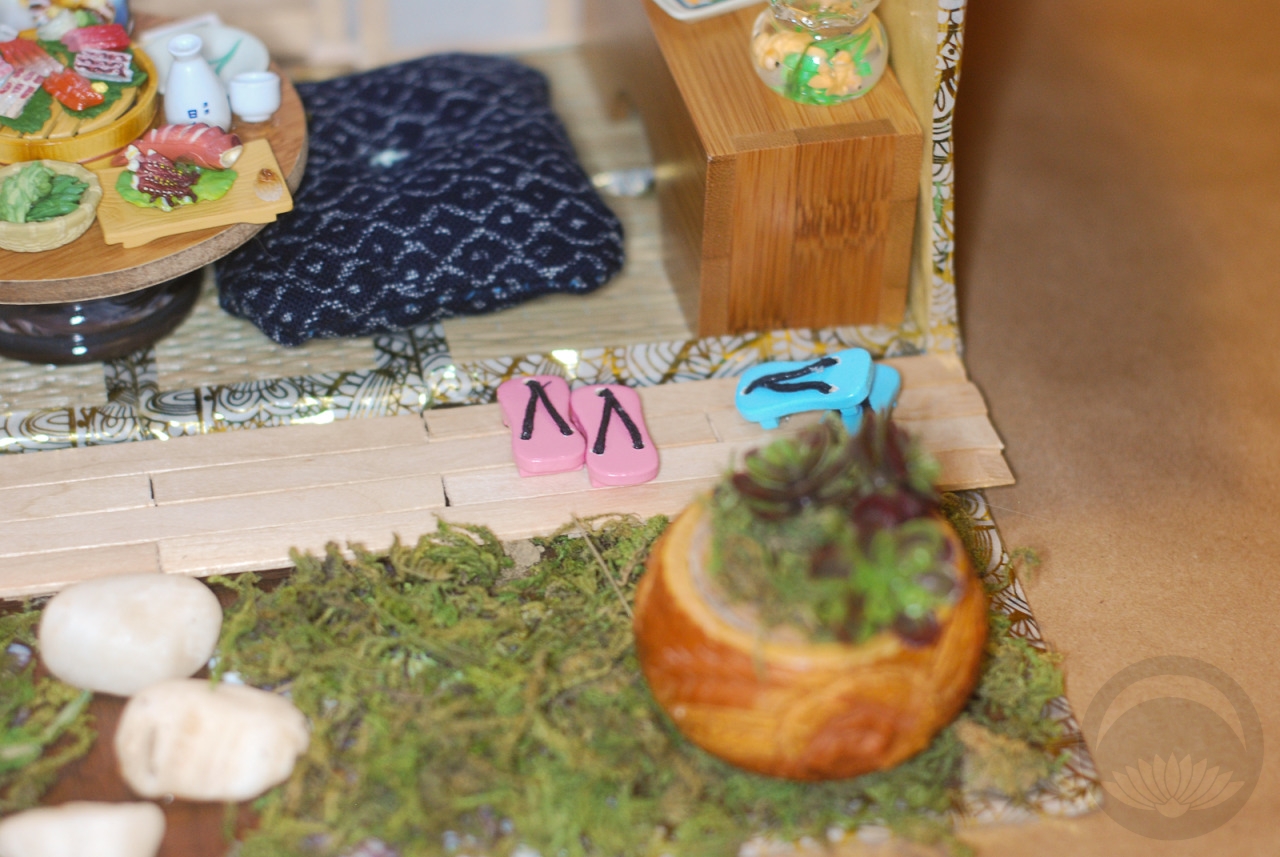
The details are a combination of printables from Etsy (links to the shops below), Re-Ment miniatures (the hina dolls, zori, and butsdan set, as well as the onigiri in her bento box), and a few small items I picked up from specialty shops on our recent trip out to Torrance. The tiny blue and white ginger jar was quite possibly the most expensive individual element here, at nearly twenty dollars, but it’s so stunning in person I knew I had to have it.

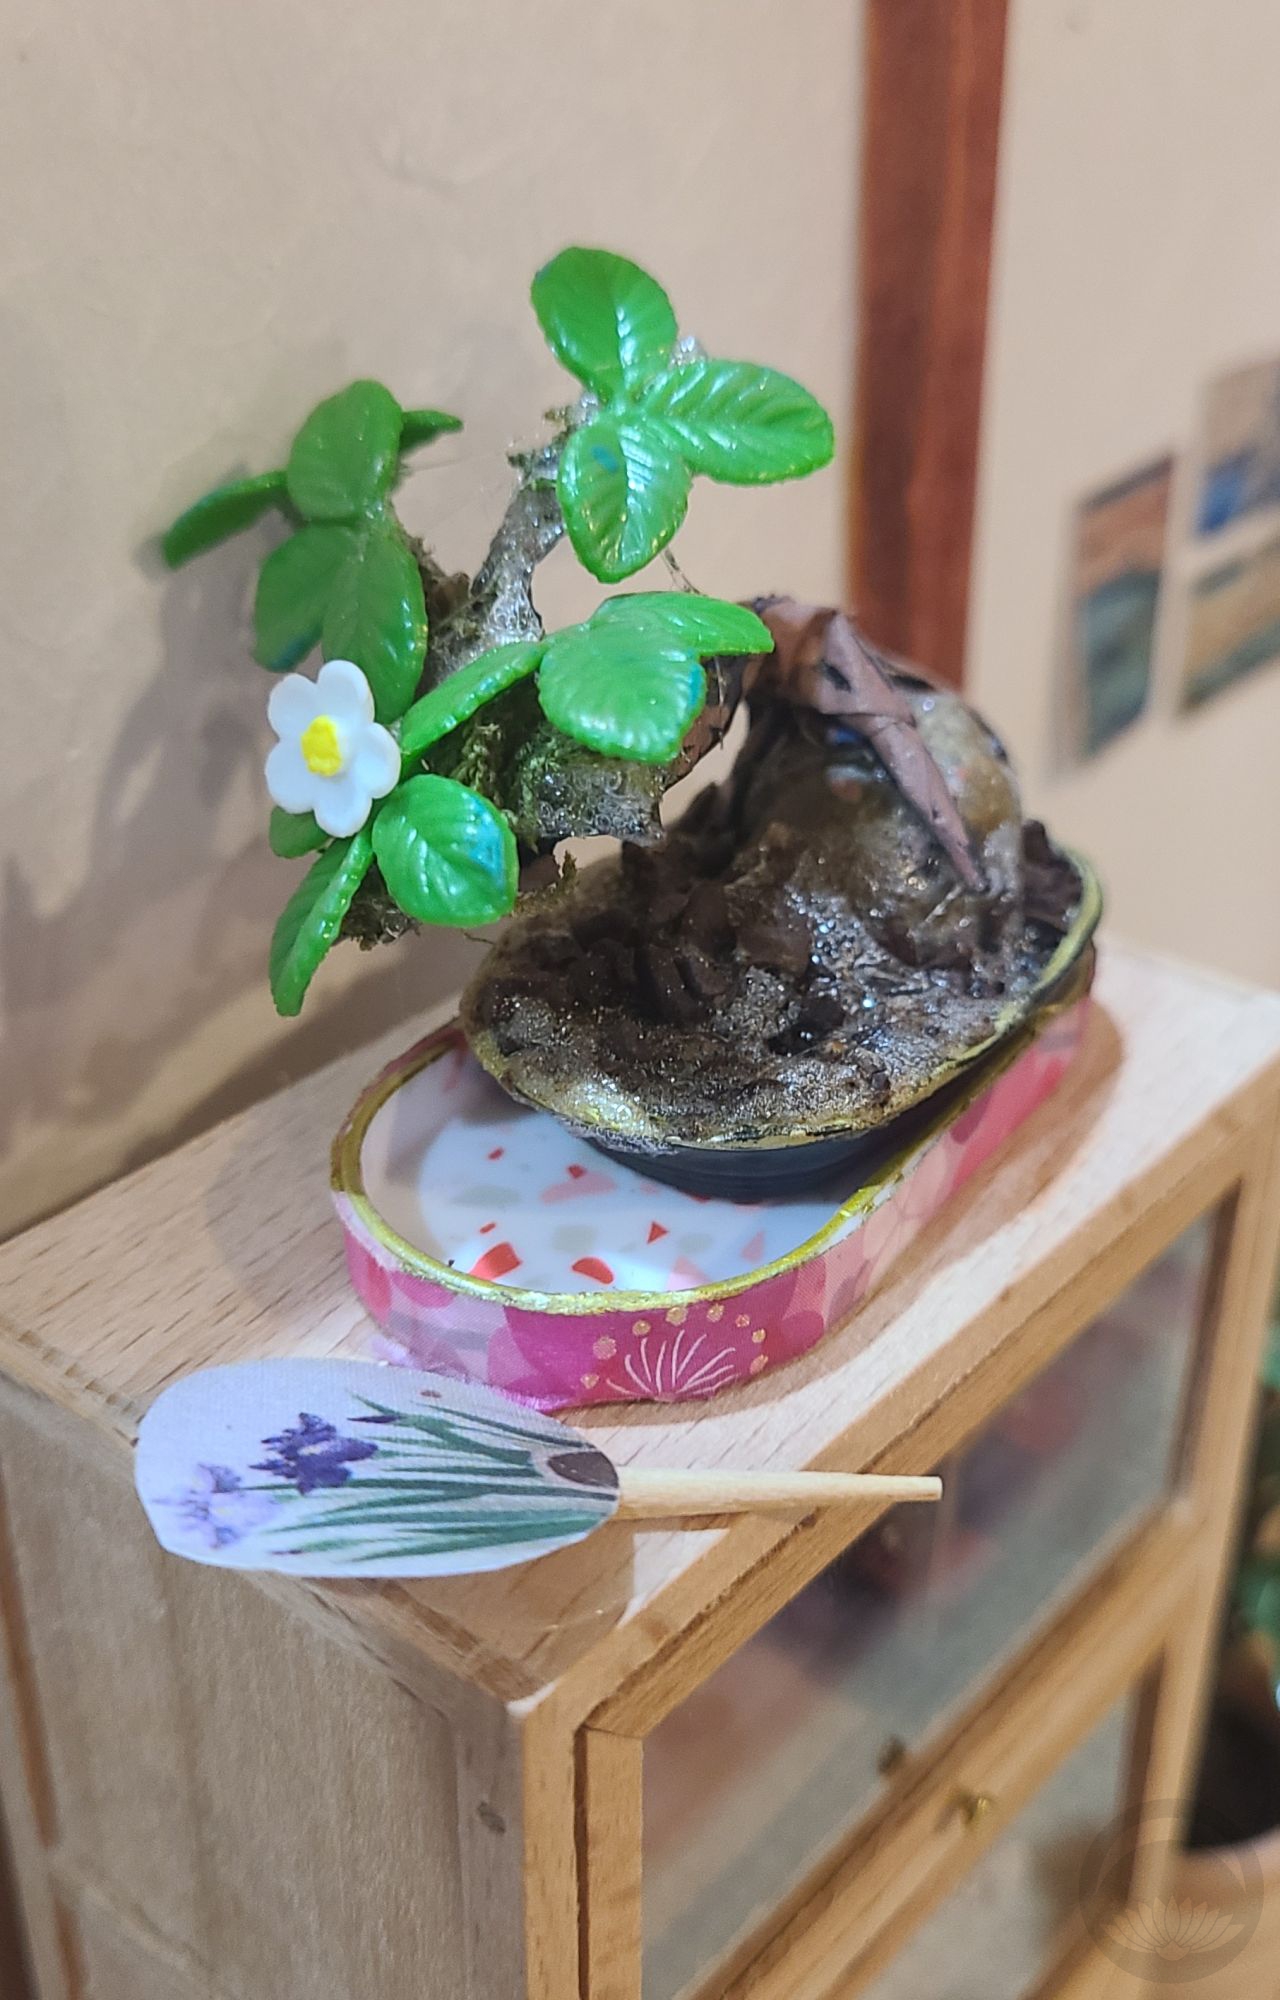
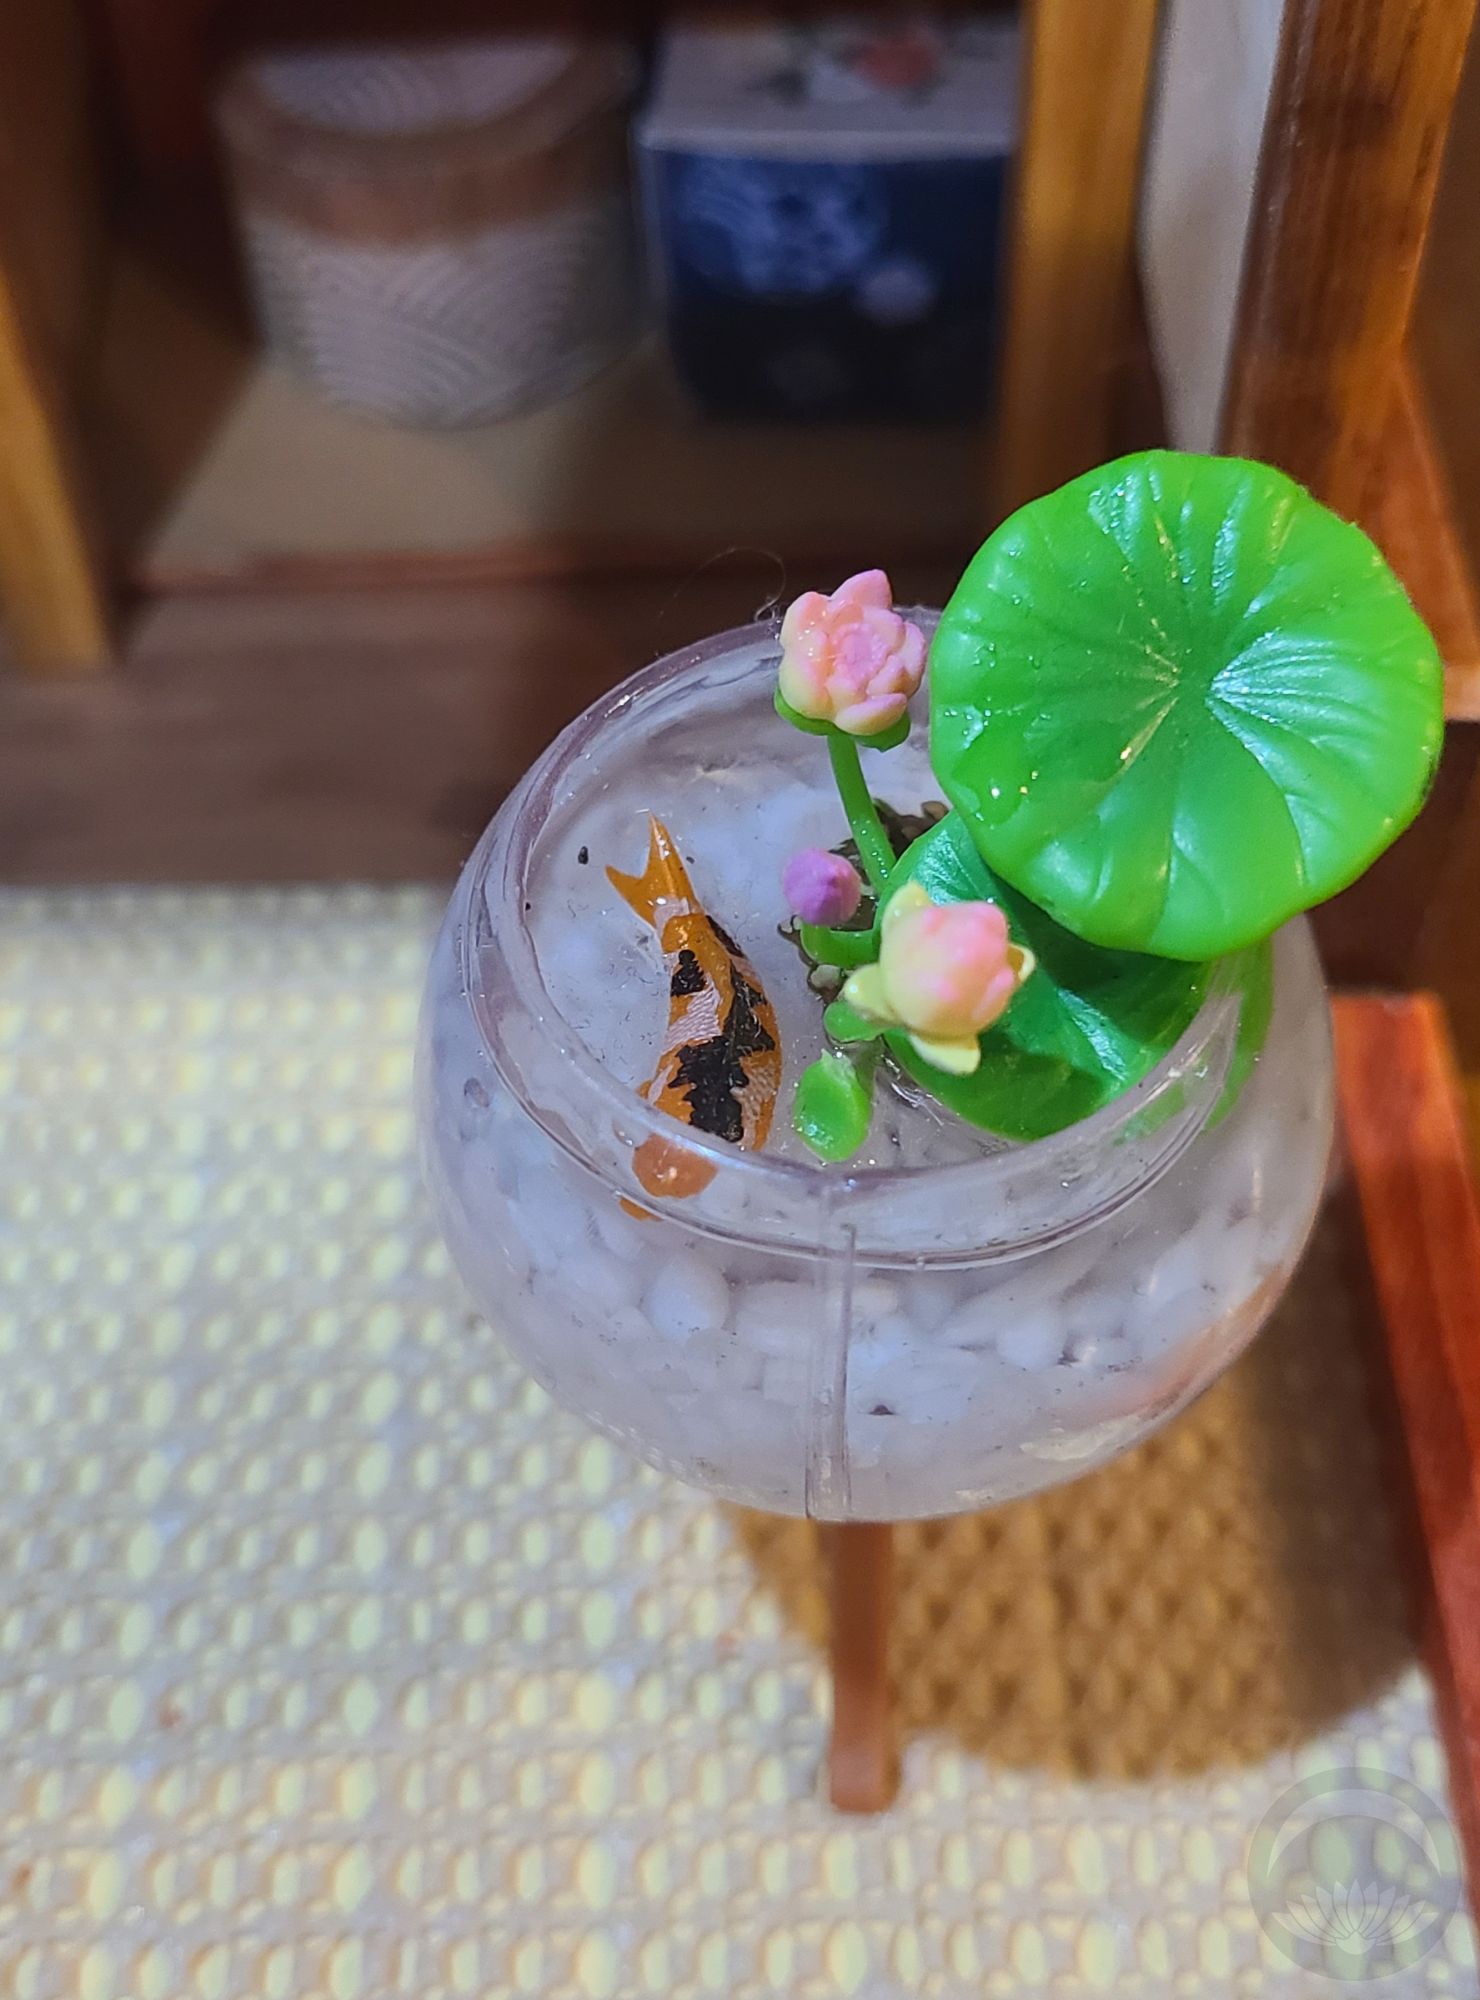
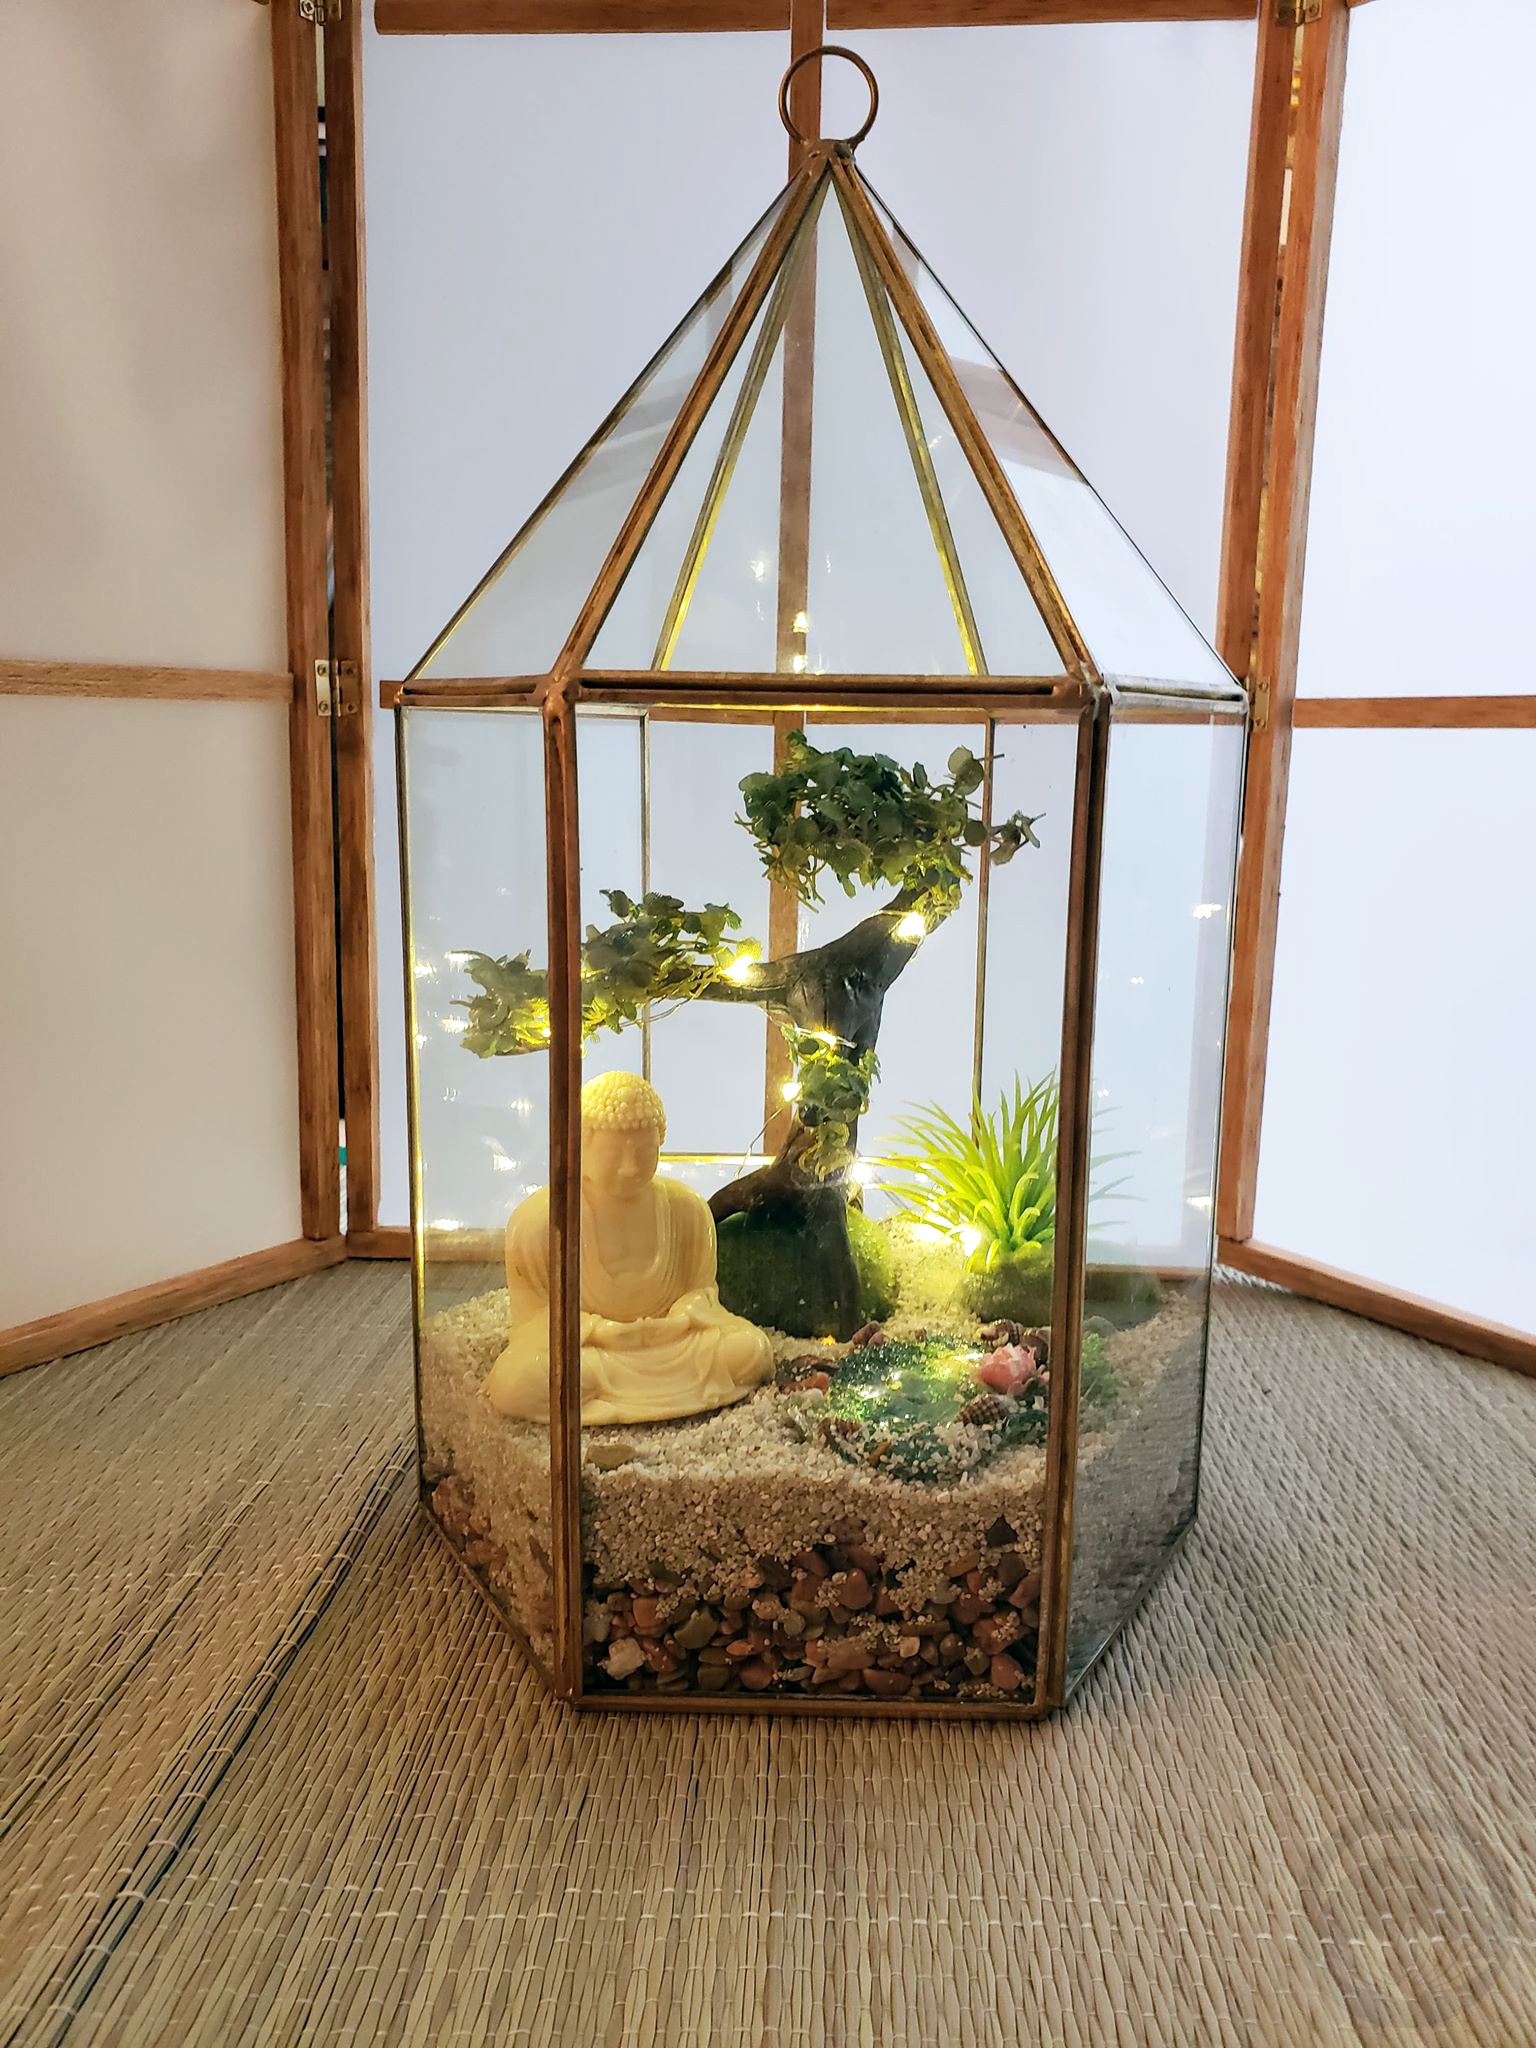
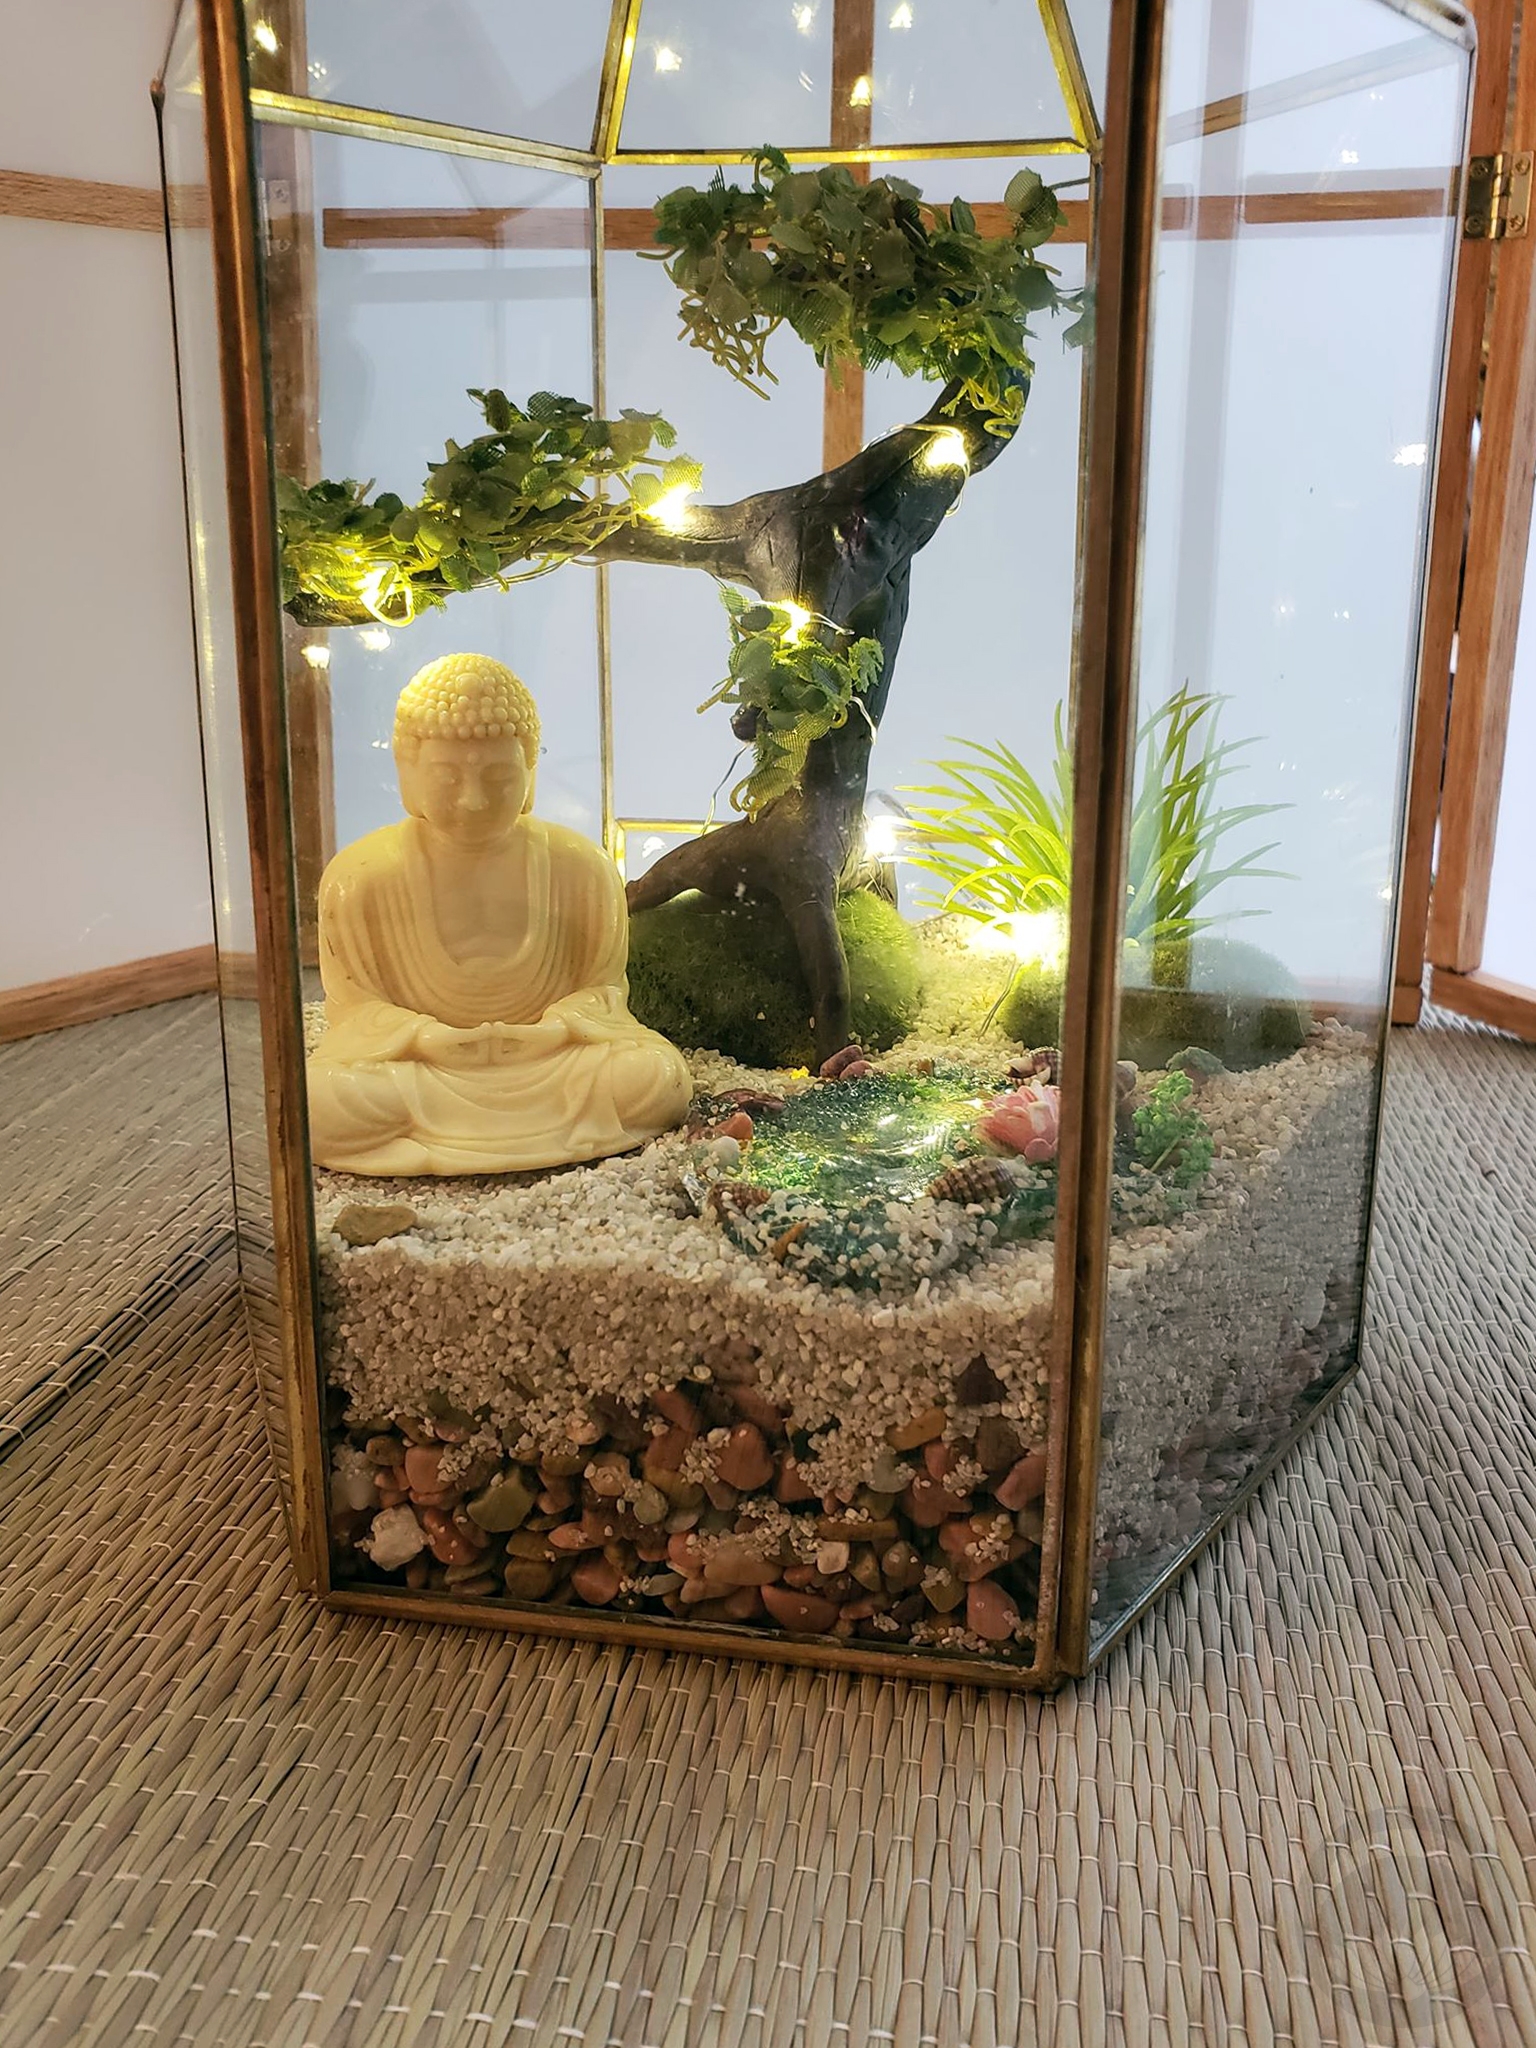
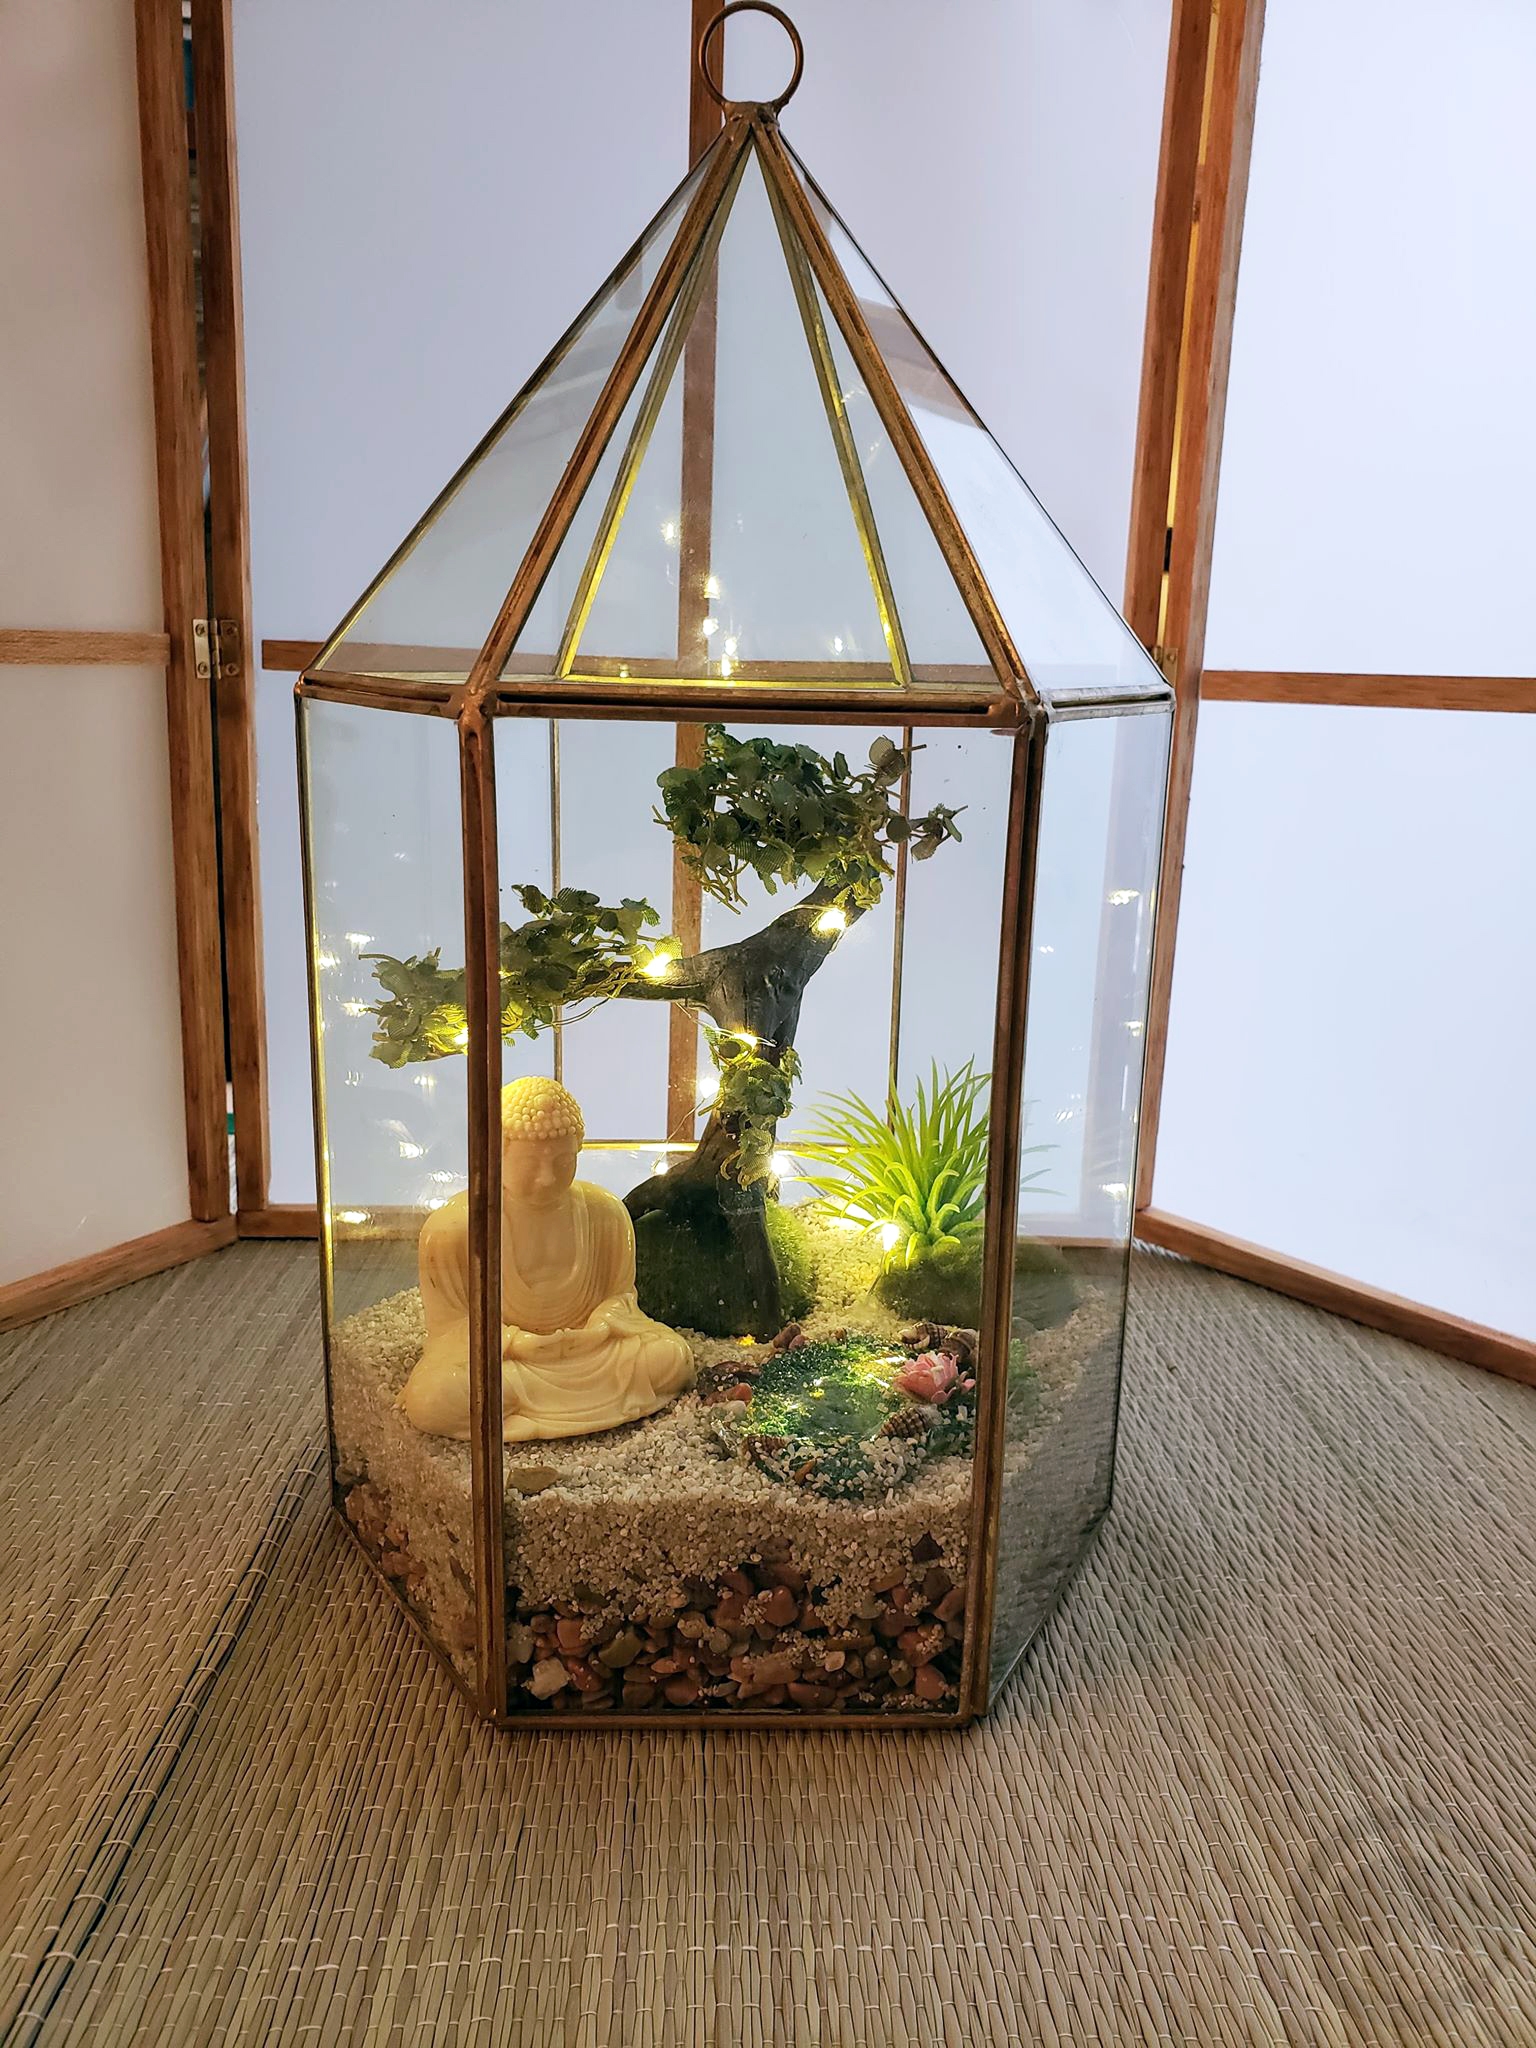
The greenery is all from MGA’s MiniVerse DIY sets. The ikebana was a kitbash of a few flower sets, the bonsai trunk was handmade and the leaves came from a strawberry kit, the fig tree and small plants in the shelving unit were just placed in as-is, and so was the tiny koi in the bowl with lilies. They’re not quite to 1/12 scale but I think there’s a lot of leeway to be had with plants, since they’re never one fixed size anyway.

Please enjoy exploring this tiny space as much as I loved creating it!

Printables came from the following  Etsy shops, but I’m afraid I’ve lost the references as to what came from where.

As for the Re-Ment miniatures and MGA’s MiniVerse; they can both be found on Amazon.

 This post contains affiliate link(s). If you choose to purchase, I receive a small rebate or commission which goes to the continued maintenance of this site. 

Japanese-Inspired Dollhouse


Something a little different today! If you’ve been following me on Facebook or Instagram, odds are good that you’ve seen little bits and pieces of this Japanese-inspired dollhouse project I’ve been working on for quite some time. It’s finally complete, and it’s so satisfying to see everything together.

I started with this Romantic Nordic Cottage kit, but essentially only used the base structure and wiring kit. I liked the clean lines and open feel of it, and thought it would suit a Japanese aesthetic well. I kept the basic layout the same and used a few of the pre-cut pieces but also added a lot of custom furniture and accessories. I made a functional tansu and a sort of tokonoma out of popsicle sticks and stained with cherrywood stain markers. The markers made things so much easier, the small tip is the perfect size for this scale. The walls were covered with an assortment of embossed paper in neutral tones instead of using the busy and overly shiny print-outs included in the kit.

The bedding, hanging kimono, zabuton cushions, and chair upholstery are all actual kimono fabric scraps, as are the items inside the tansu. I tried to use pieces that had smaller-scale designs, to fit the general scale and dimension of the house. While I tried to make or at least alter nearly every piece, I bought the sushi, edamame, and dishware at a miniature expo. The decorative bowls and small cooking pot in the kitchen came from there too.

The original kitchen included in the kit had no sink, and the oven front was nothing more than a print-out I was supposed to glue onto a piece of wood, but it looked very unfinished. I used some heavy reflective paper to make a metal sink and build an oven door out of more of the same paper and some matchsticks. I even put on a tiny tea towel, made of shibori fabric.

The aquarium is quite possibly the thing I am most proud of. It was my first time working with resin, and I’m so pleased. I built the structure out of more popsicle sticks, used some gorgeous chiyogami paper from The Rare Orchid as the background, and I decorated the inside with some plant matter, teeny tiny shells, and polymer clay goldfish. I also had so much fun making the kokeshi doll in the little decorative shelf. Pretty sure that’s the tiniest face I’ve ever painted!

I really loved doing all the tiny detail work and decoration. I used a lot of beads and minuscule little knick-knacks I had lying around, and these sorts of things really help the whole thing feel like a real, lived-in home. There’s prints in the kitchen, including some vintage Japanese advertising and an adorable Sushi Cats print, and the art hanging in the tokonoma is by Ichiro Tsuruta, whom I’ve mentioned here before.

The tatami flooring is actually tatami repair stickers! The tile in the kitchen is adhesive vinyl cut into 1cm squares, and the flooring in the dining area is  more of the same imprinted heavy paper used on the walls. To give everything a more polished look, I finished off the edges with more stained coffee stirrers. It’s hard to see, but the bathroom is also “tiled” with more self-adhesive vinyl, and I made a mirror with the same reflective paper used in the kitchen. There are little bottles and toiletries made of beads. The initial kit just had clear acrylic walls in the bathroom, but that felt very exposed to me so I used some semi-opaque paper and decorative wire mesh to give a feeling of privacy.

This project was a labour of love, and reinforced how much I love working with miniatures.

 This post contains affiliate link(s). If you choose to purchase, I receive a small rebate or commission which goes to the continued maintenance of this site.