
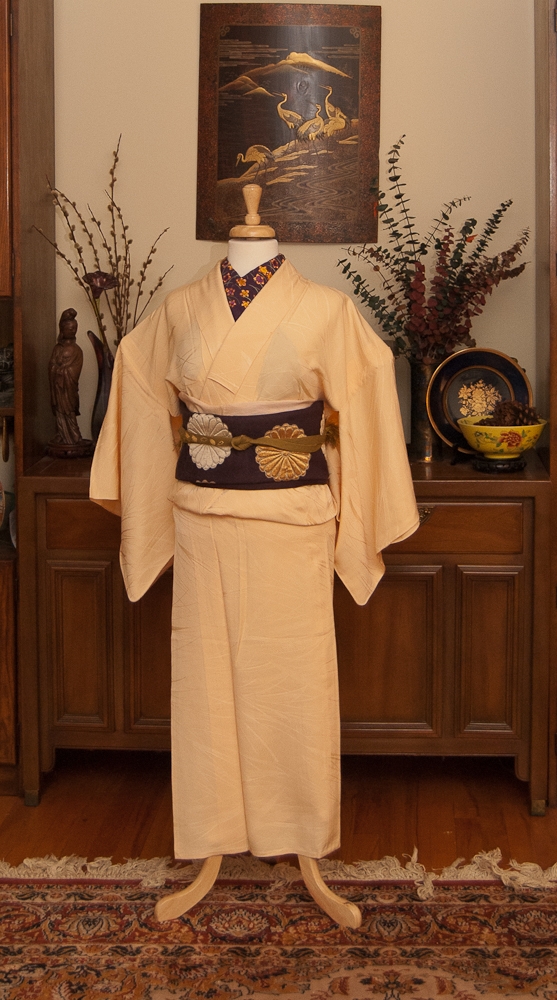
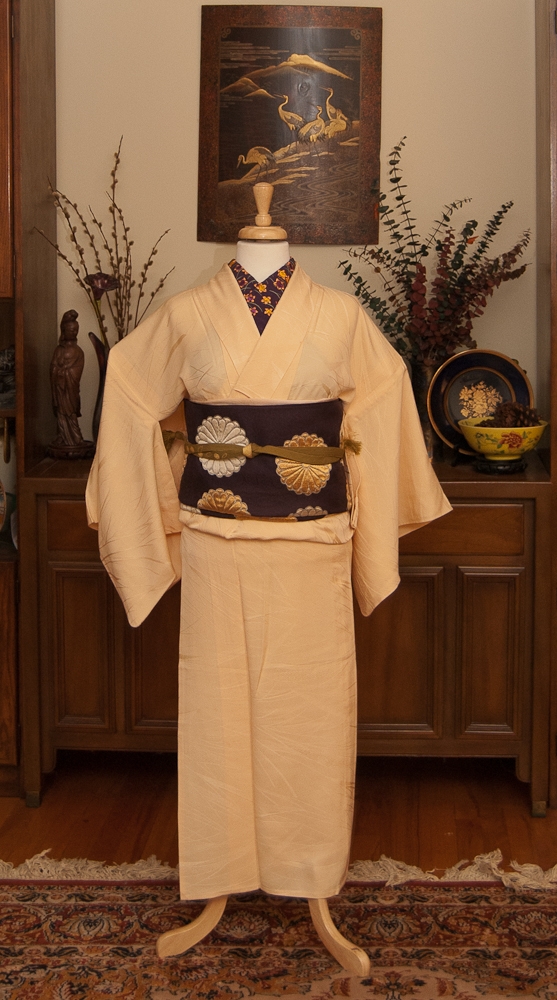
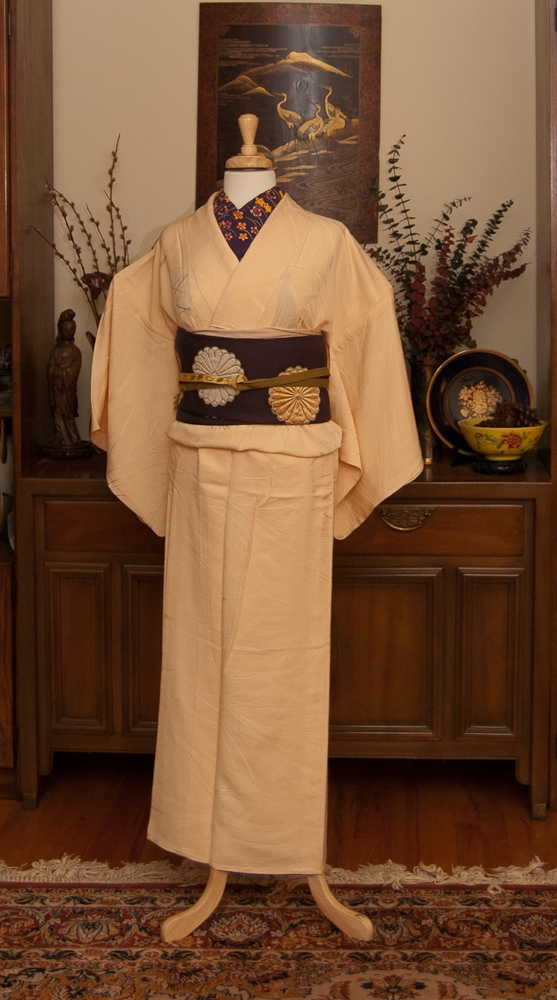
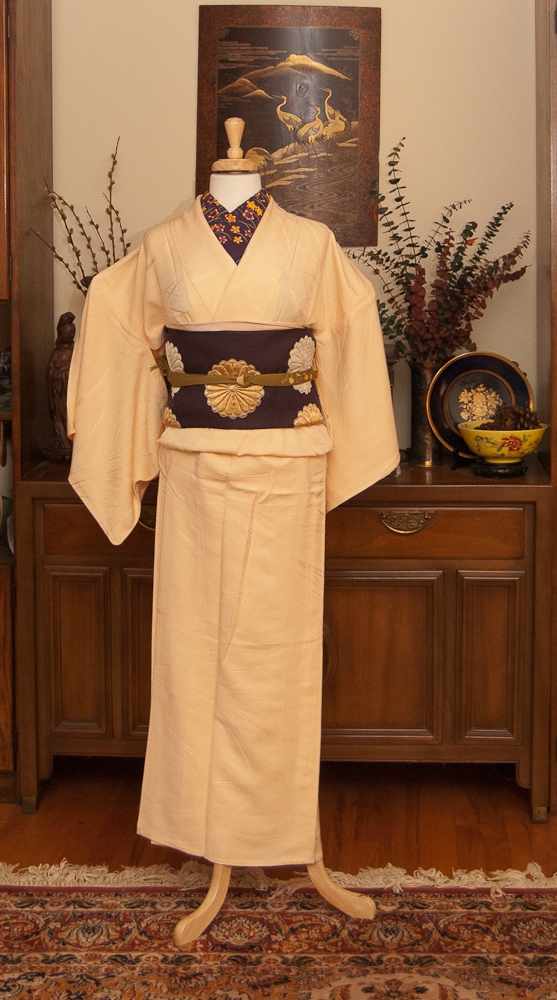
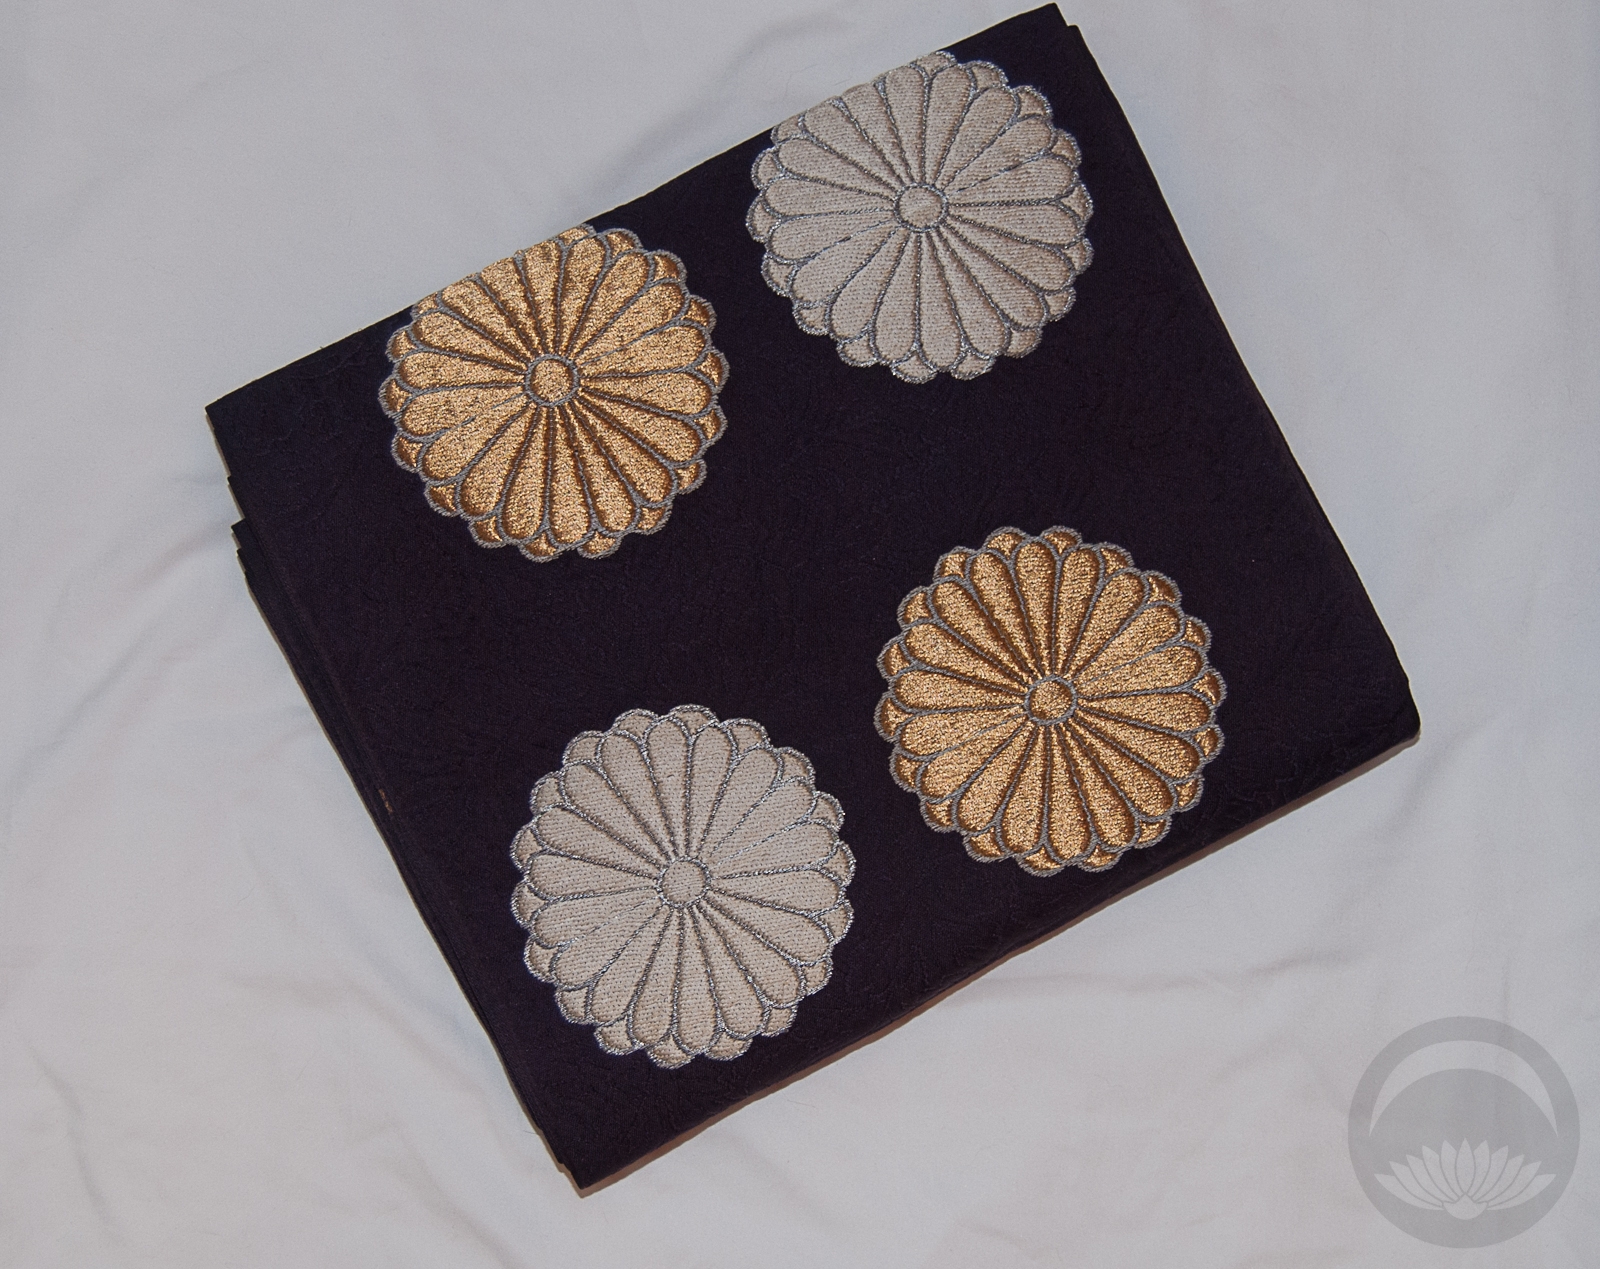
When Kimono Stylist Sala Okabe shared this picture, I was smitten! She didn’t post instructions, but it looked fairly straightforward, some variation on an otaiko musubi and I decided I really wanted to give it a shot. I haven’t been in much of a state to do kitsuke recently; not only am I still feeling worn down mentally, I also took quite a tumble down some stone stairs a few weeks ago. I tore up my legs, twisted my wrist, and bruised several of my ribs quite badly. However, I’m feeling a little better and thought Halloween would be the ideal time to put this together!
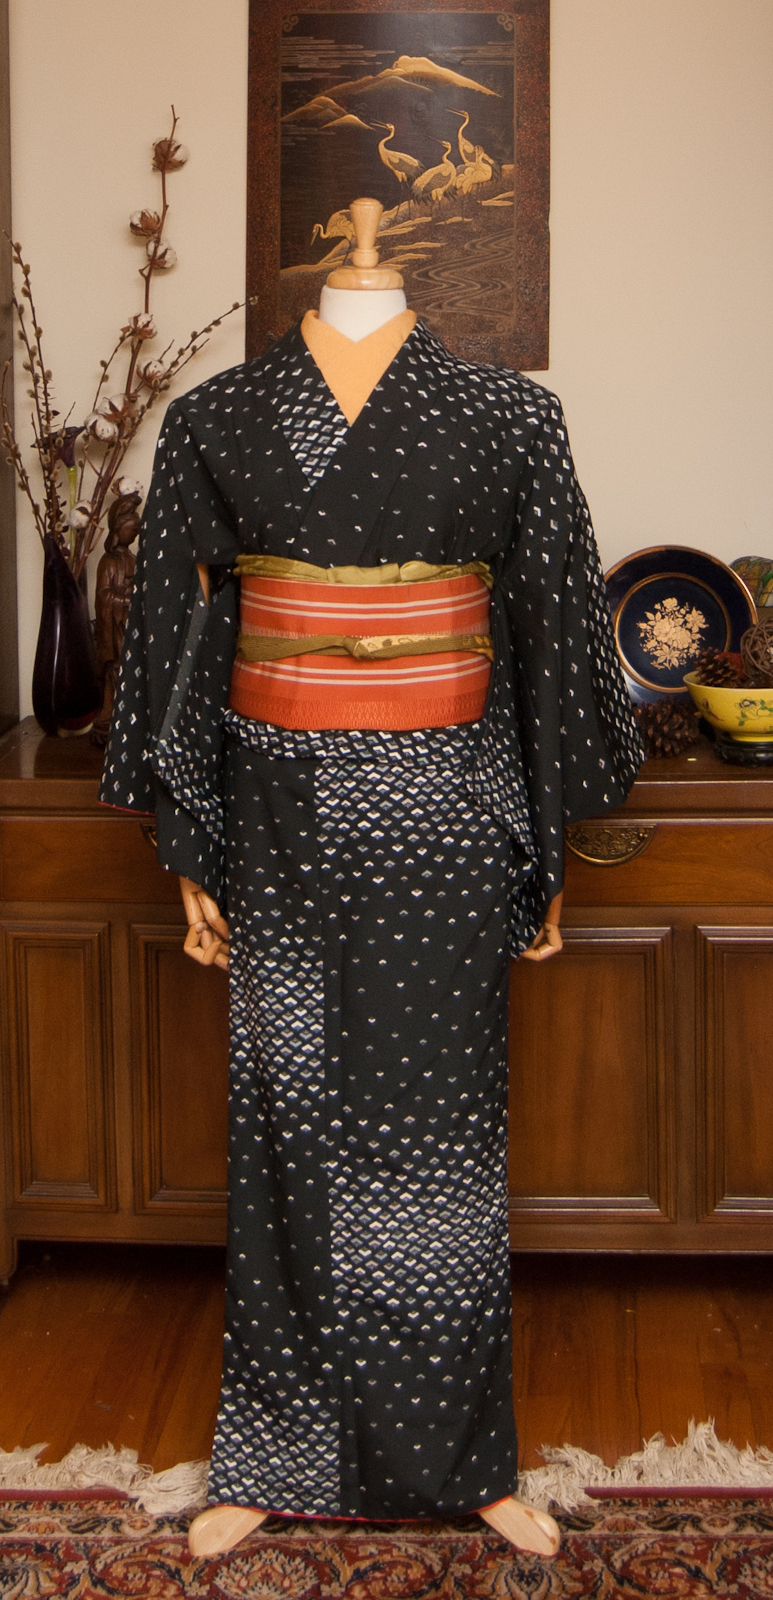
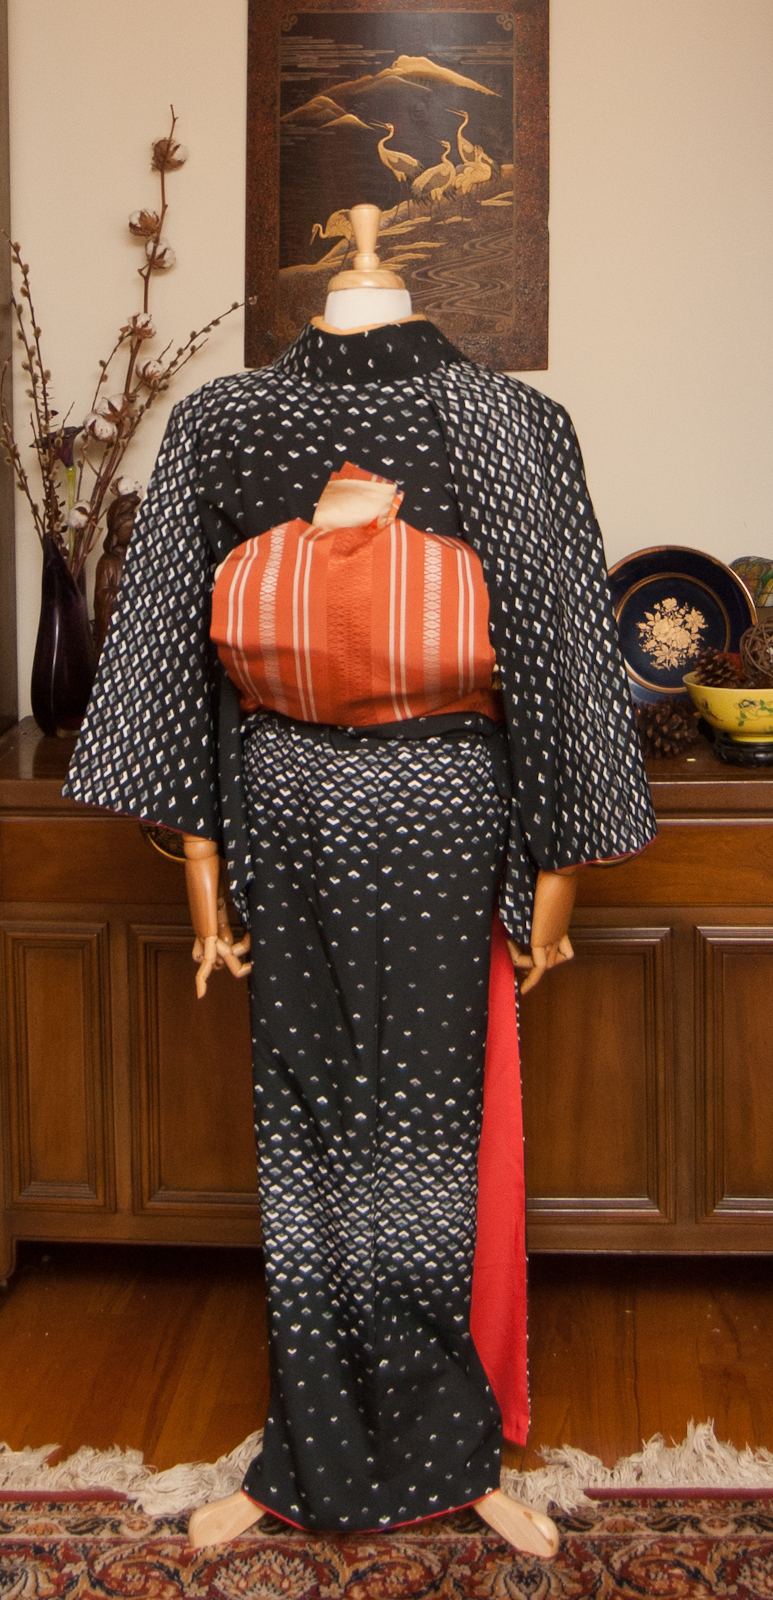
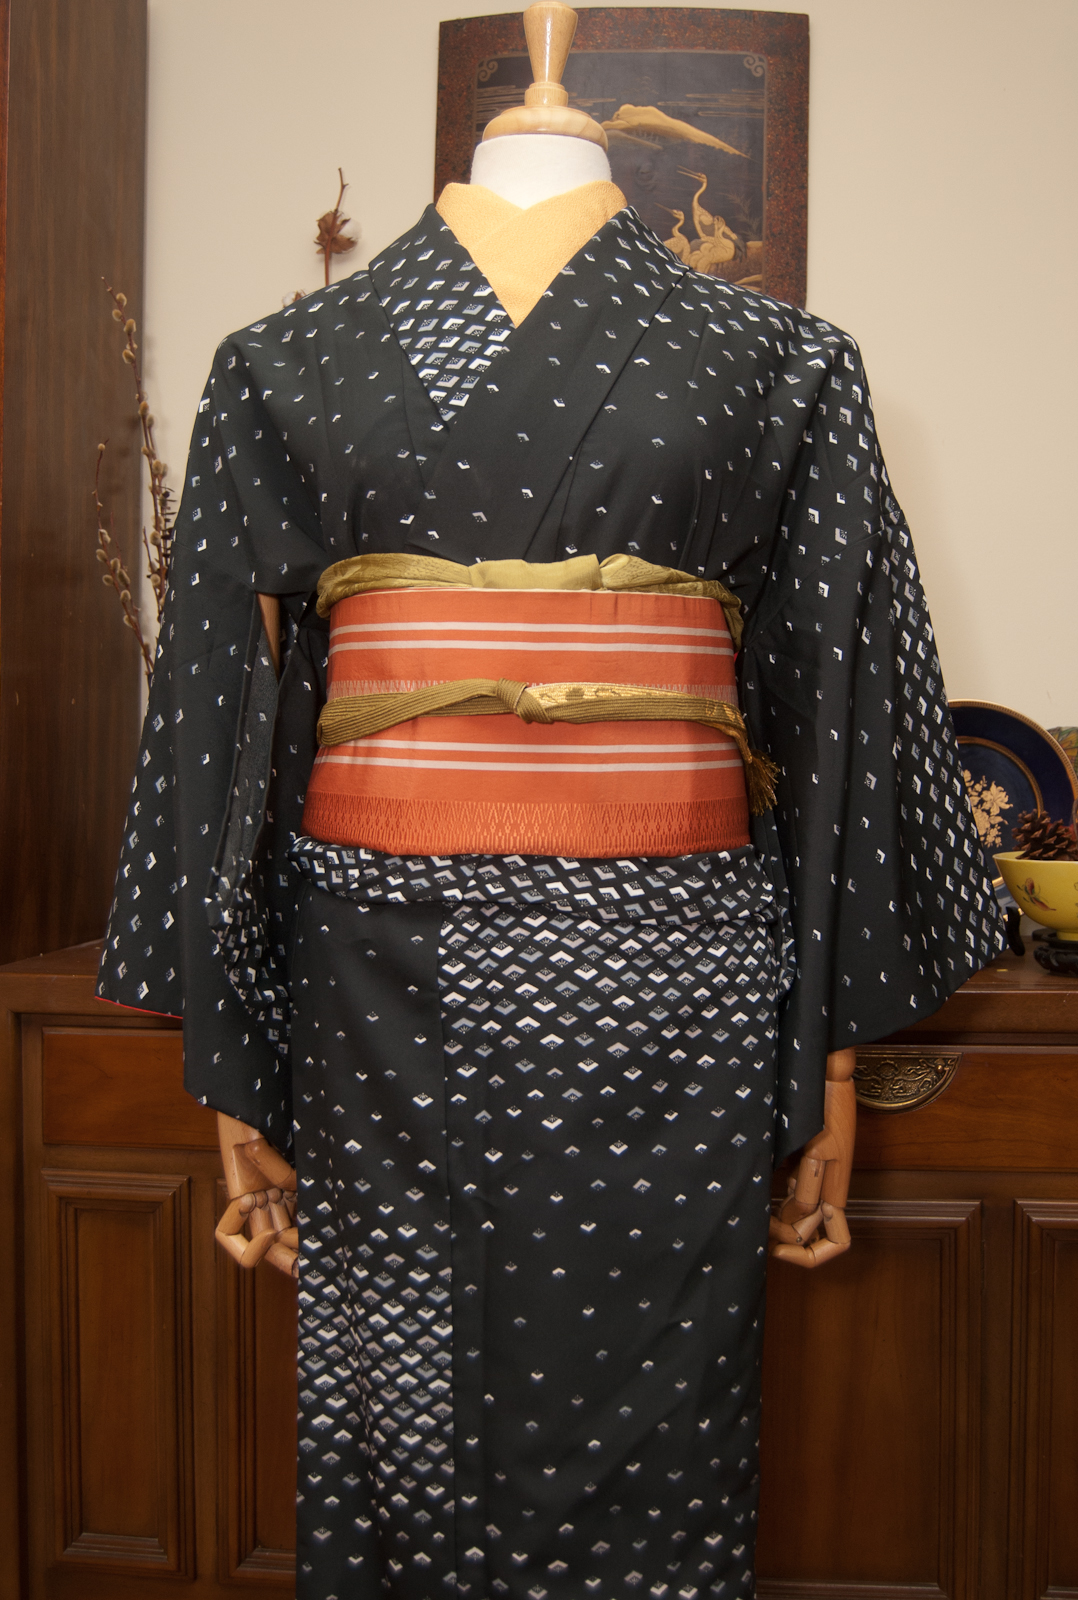
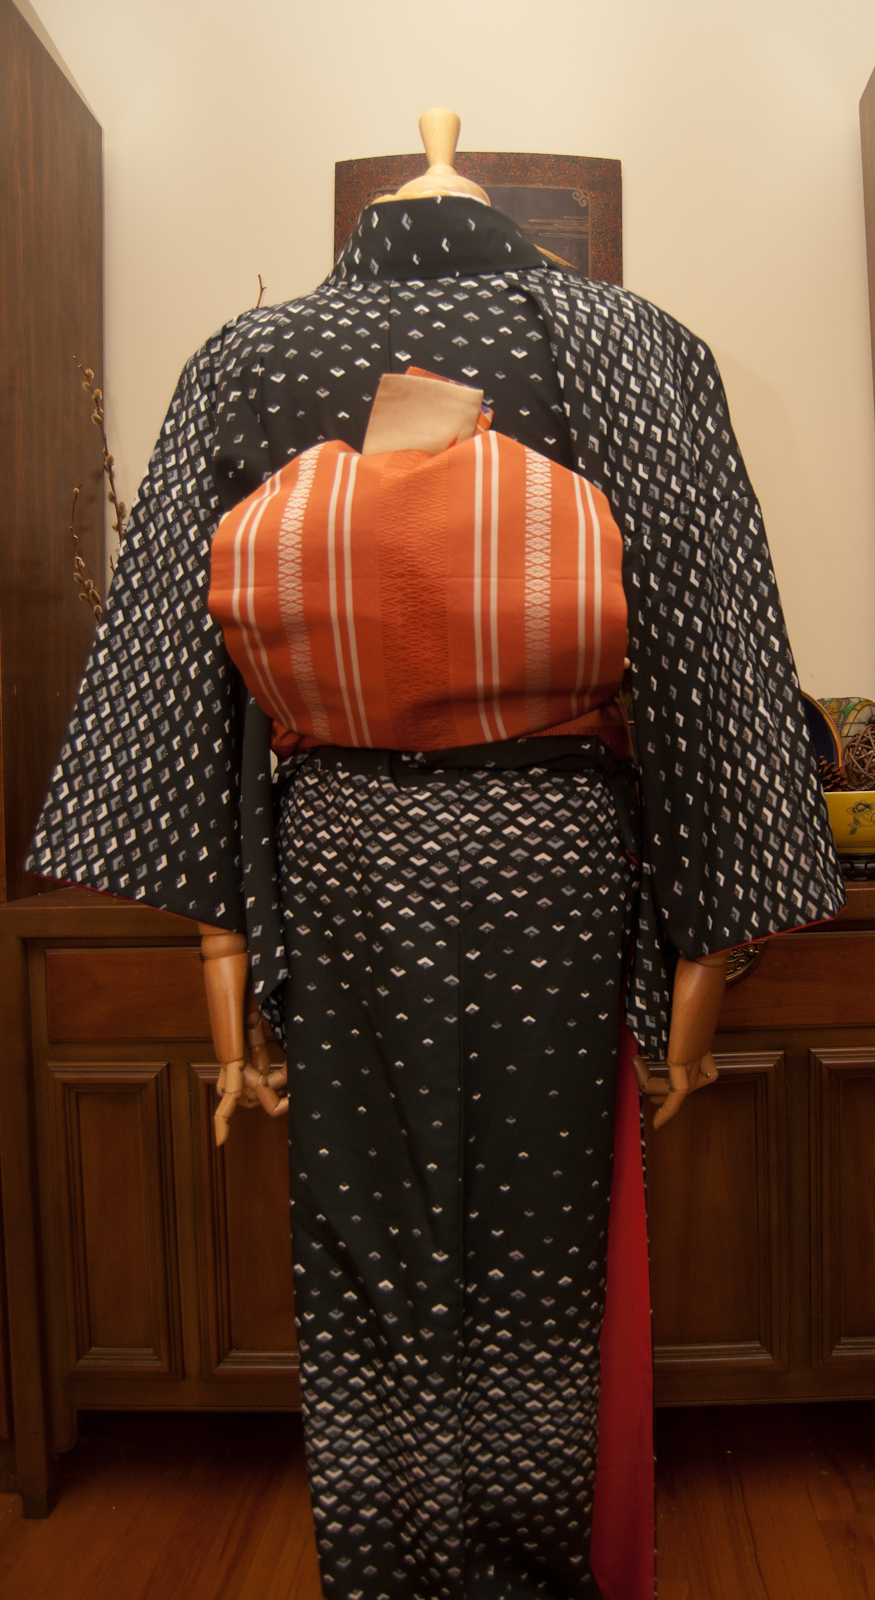
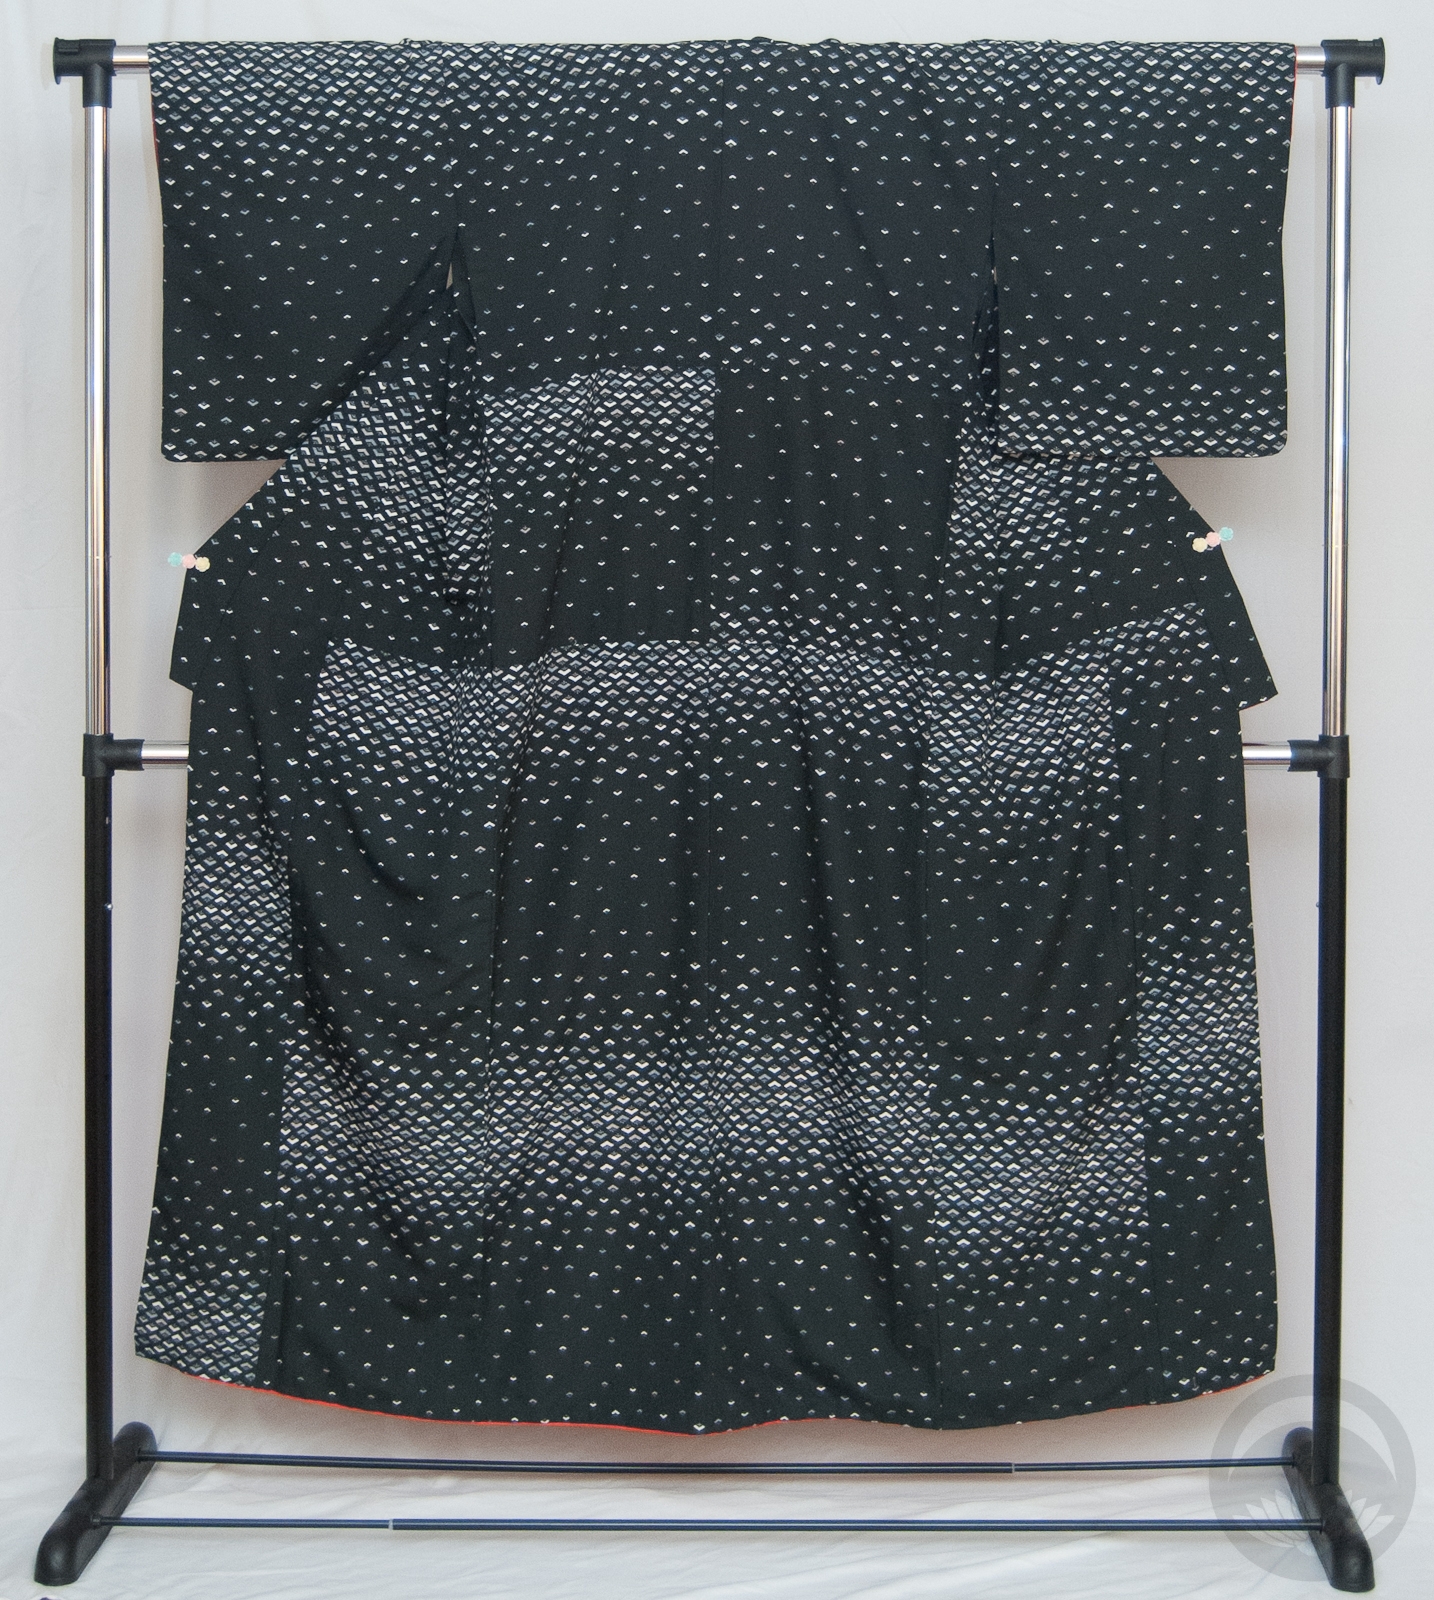
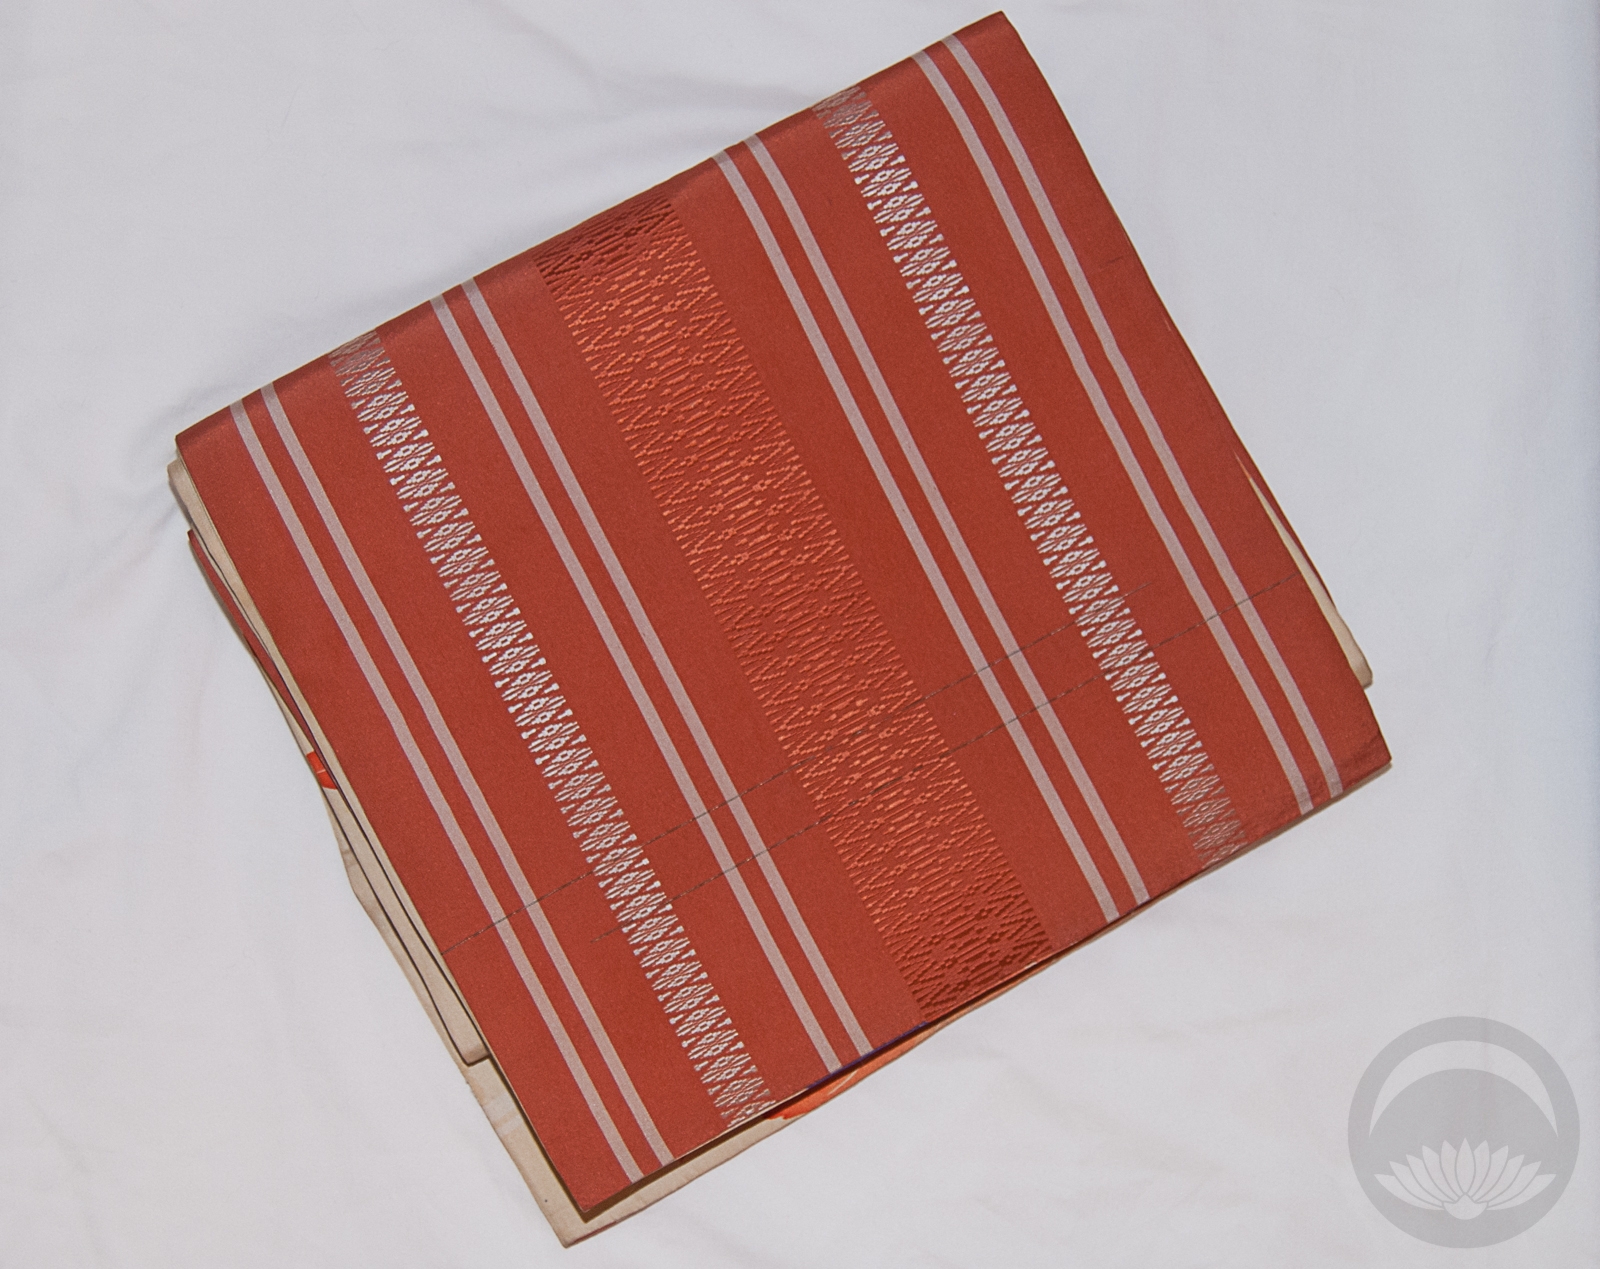
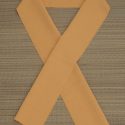
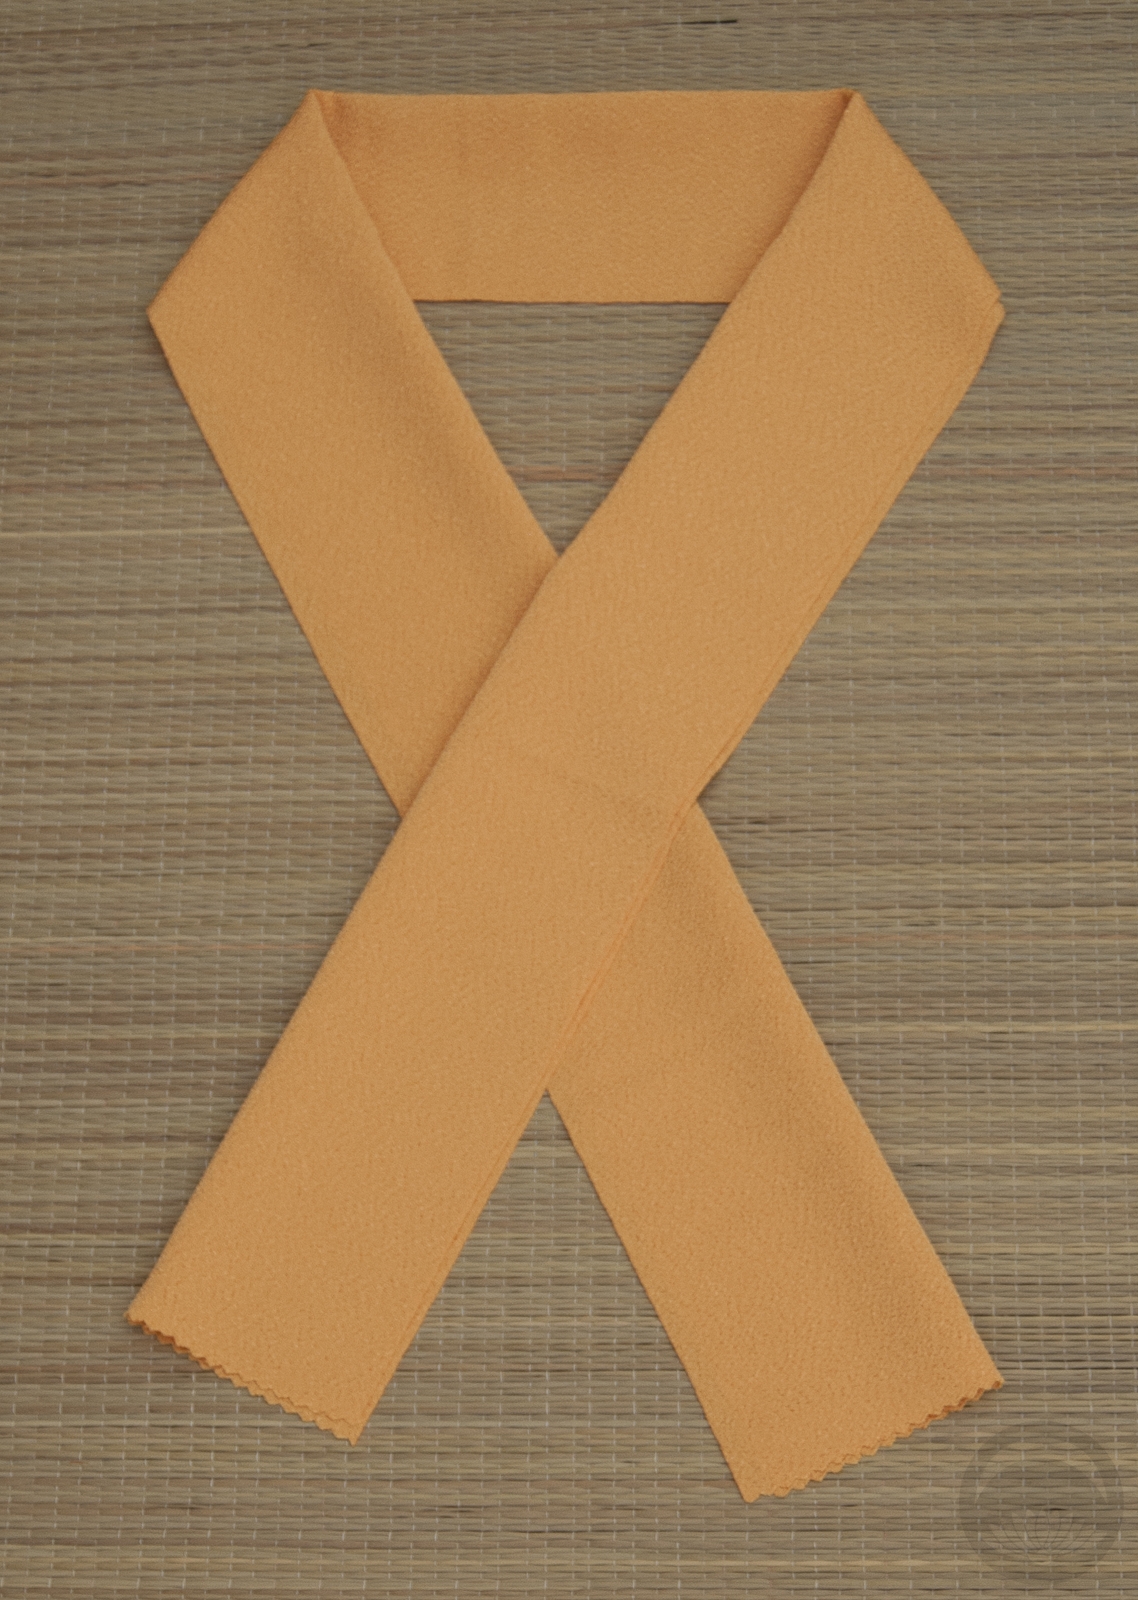
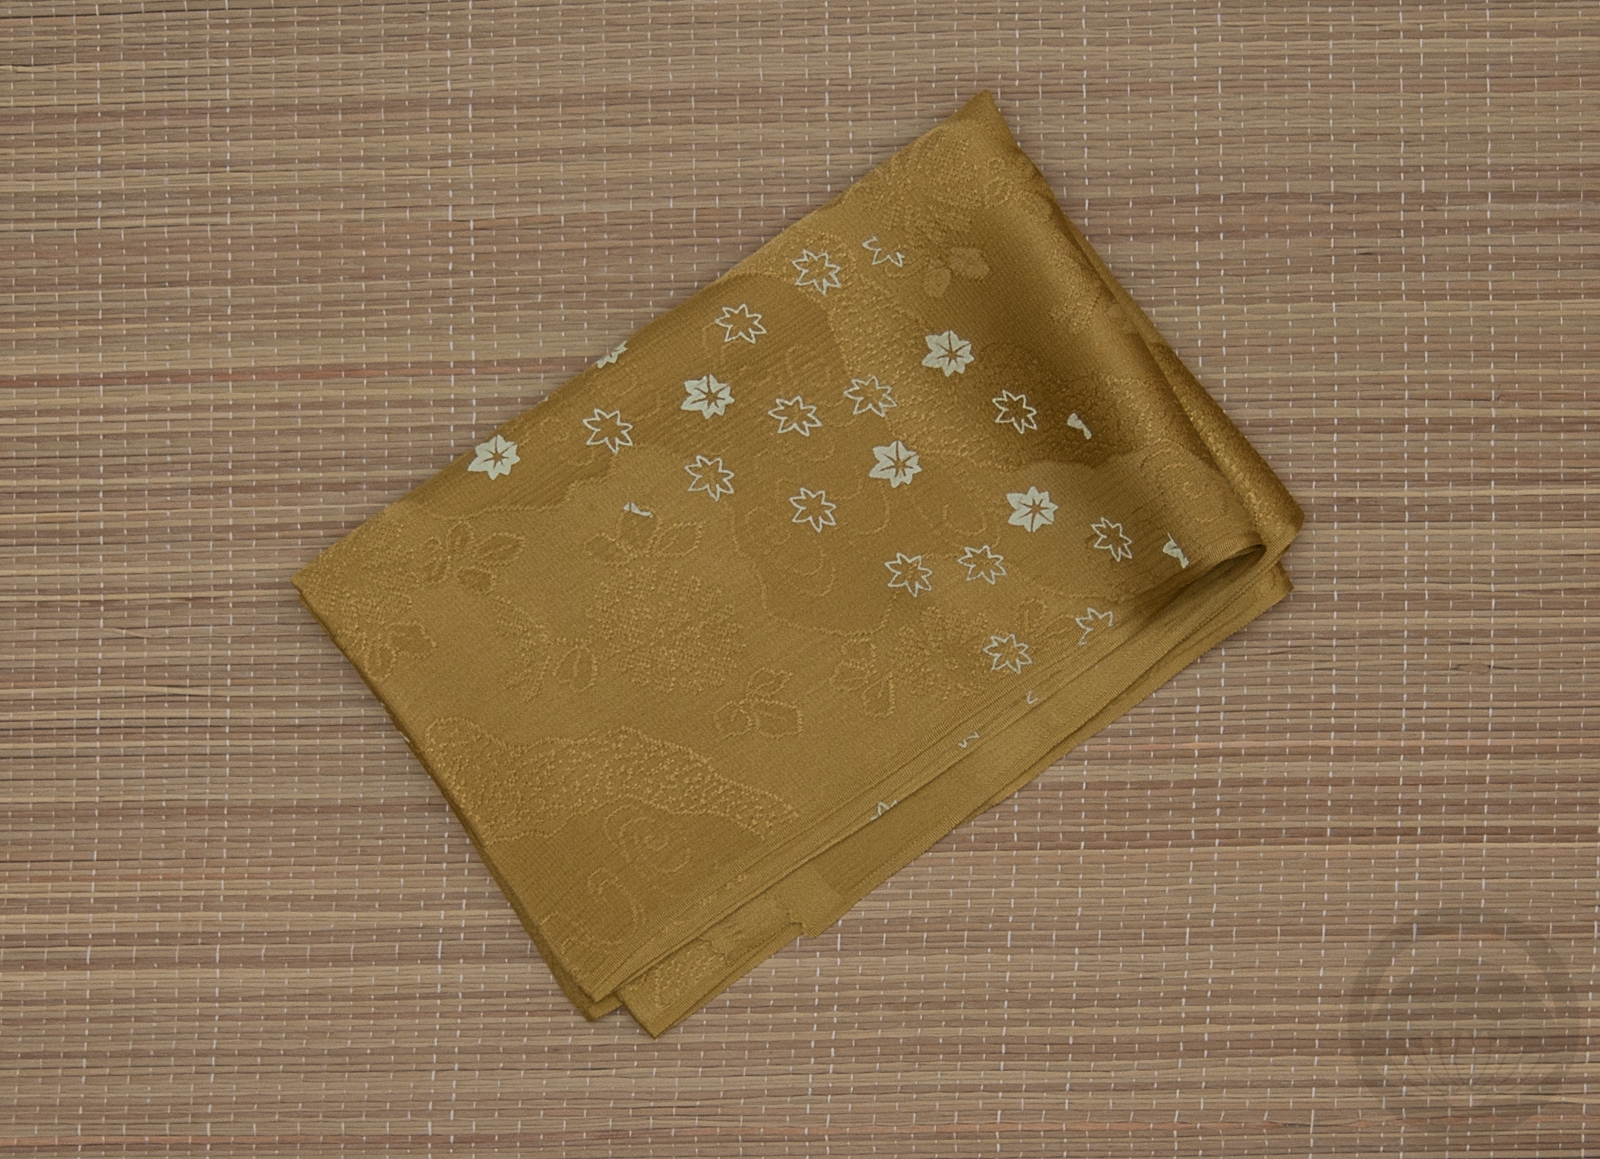
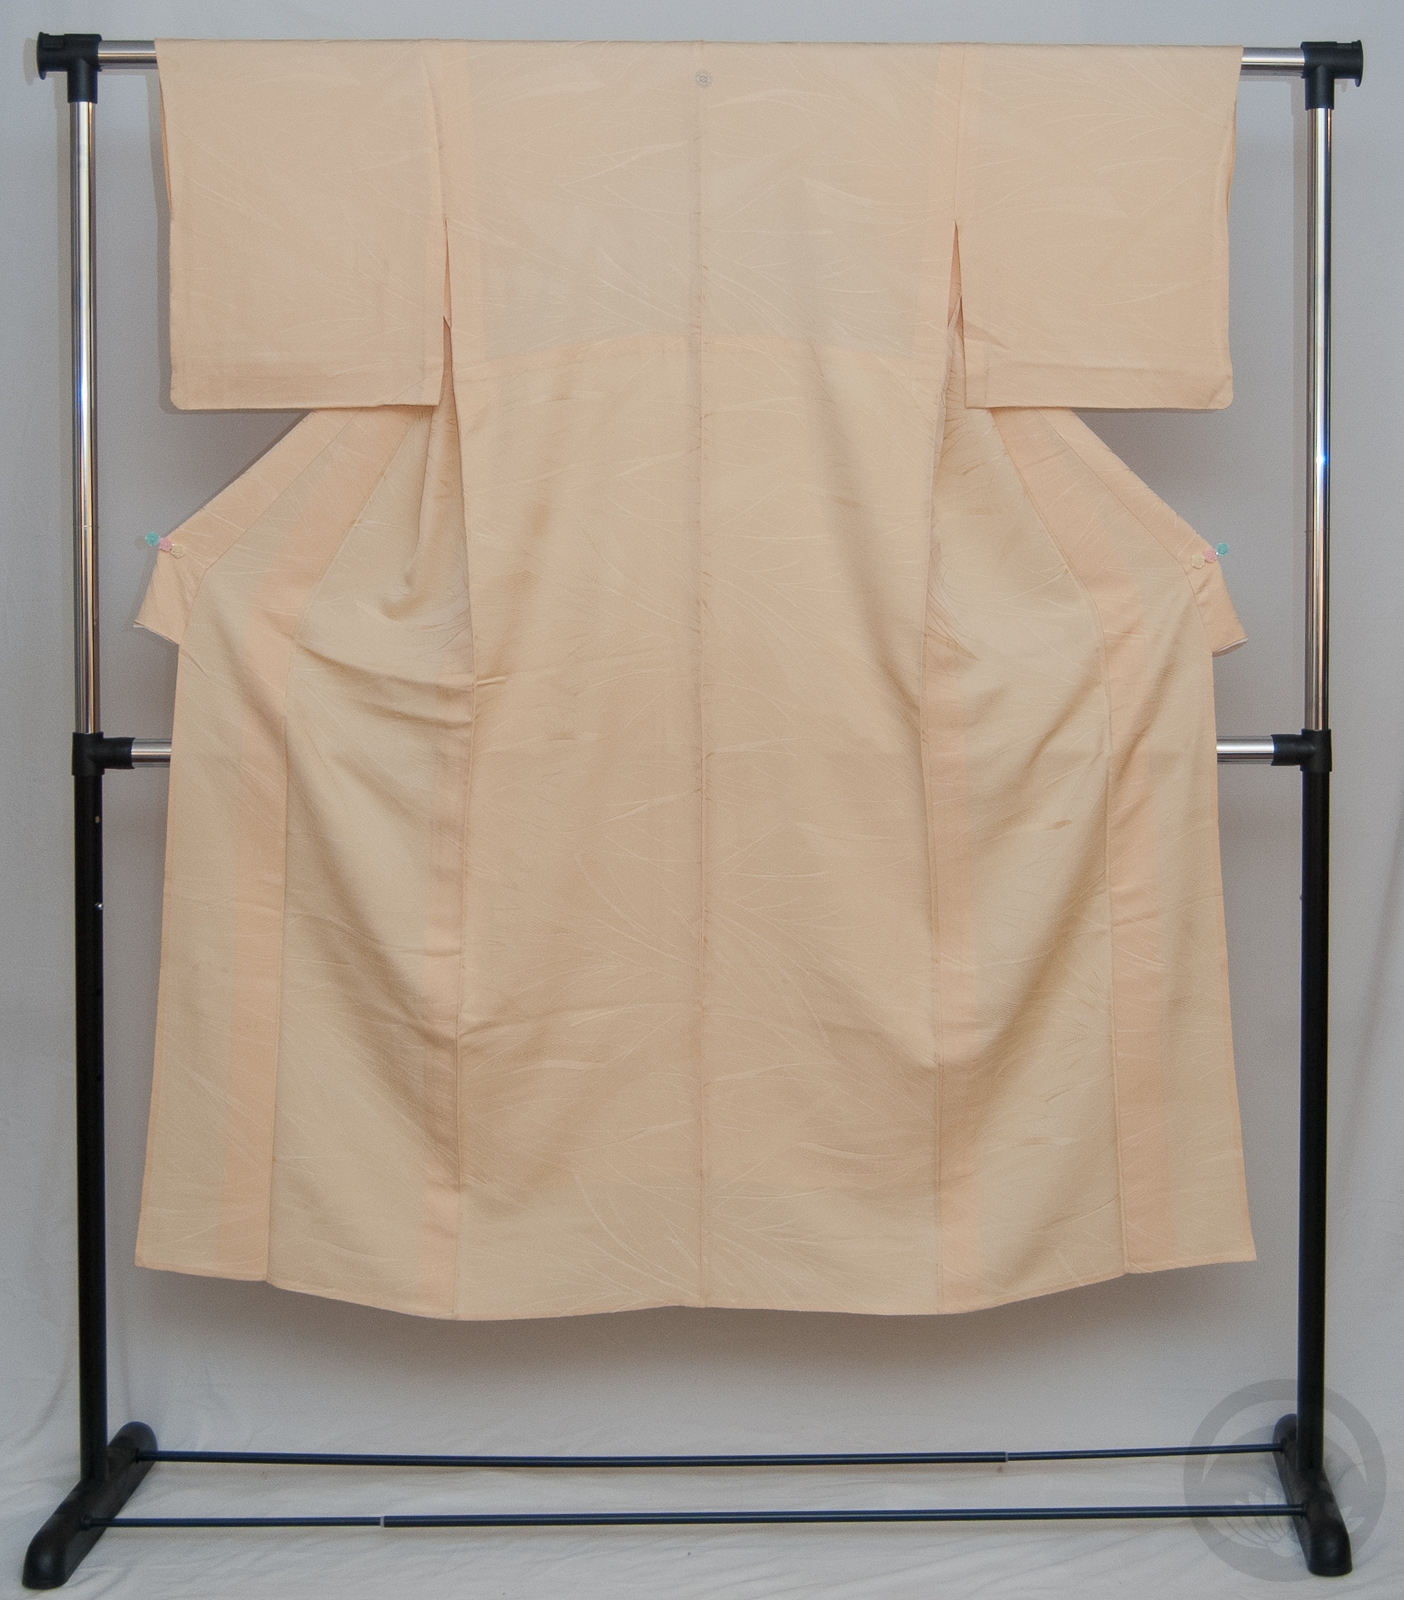
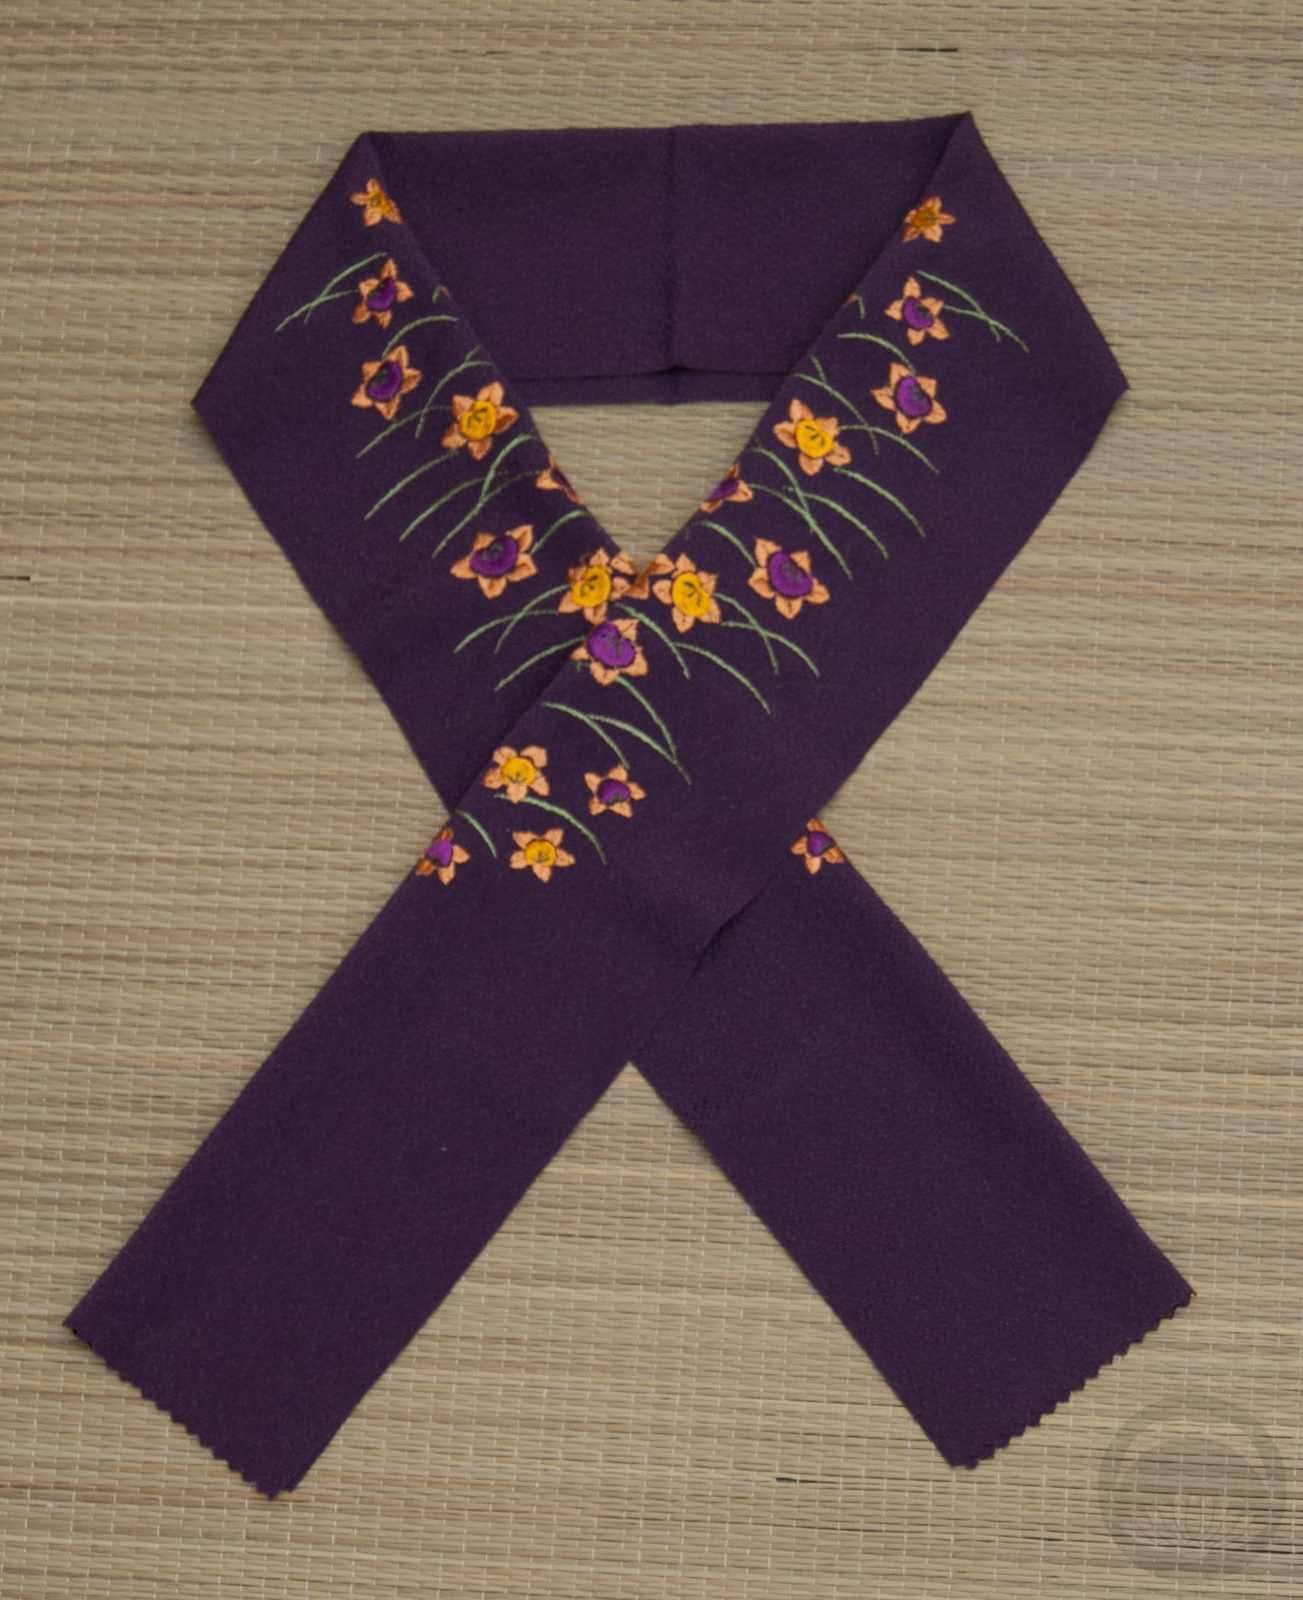
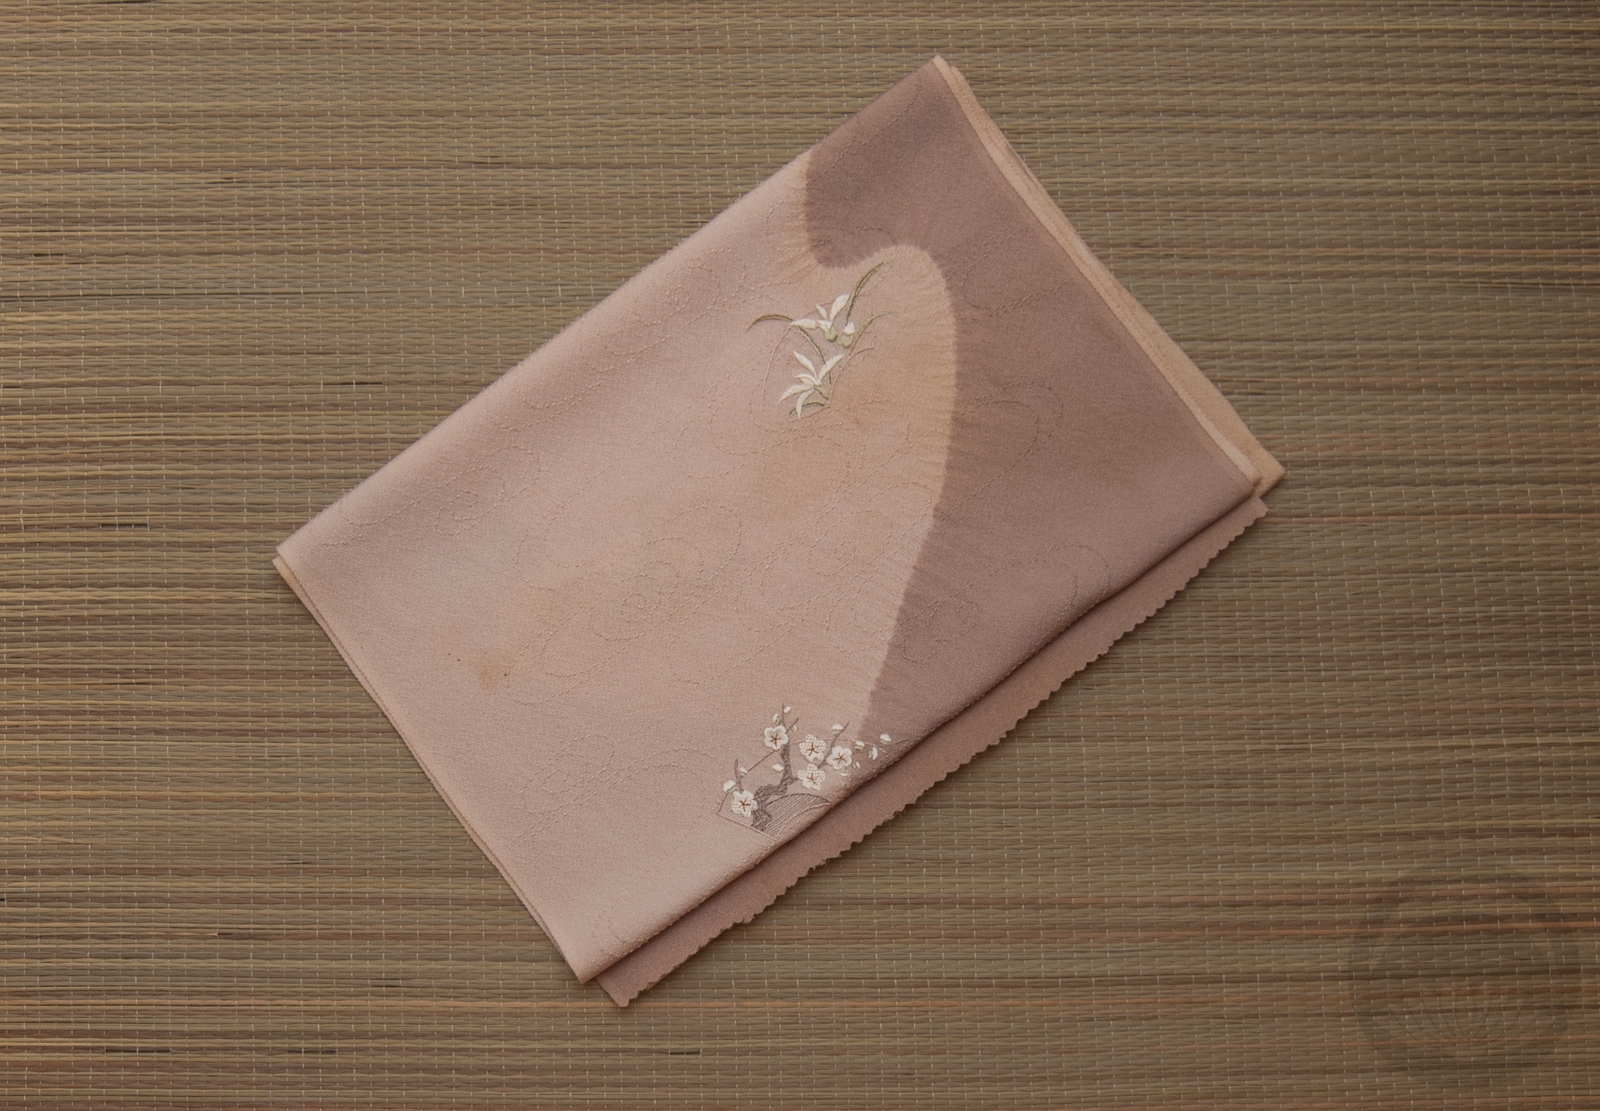
The orange hakata side of this chuuya obi was the obvious choice. I paired it with green accessories to look like the leaves and vines of the pumpkin plant, and went with a small-patterned black and white kimono to keep with the “spooky season” colours without being distracting. I would have loved an orange haneri but I don’t own one, but this mustard yellow one is pretty darned close and still fits with the autumn theme.
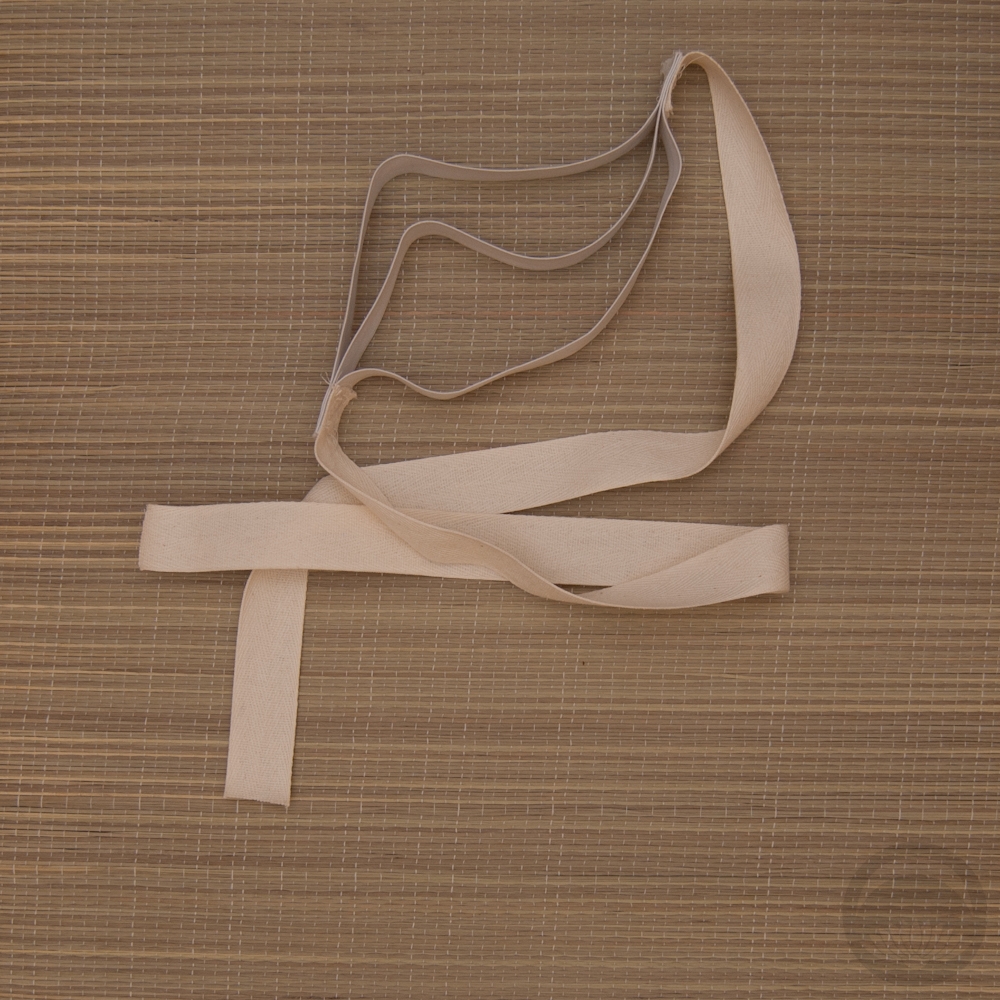
I also decided not to pleat the obi like Sala Okabe did, because this one is so soft and floppy it’s hard to get it to hold a shape. But I think the woven design does an excellent job of looking like the ribs of a pumpkin! Overall, I think I managed it quite well, considering I had to guess at the obi musubi construction and I’m still not totally feeling like myself. Hopefully my motivation will come back properly soon.
Items used in this coordination
-
- Fan Tsukesage-Komon Hybrid
-
- Momiji side 2
-
- Solid yellow
-
- Olive Rinzu
-
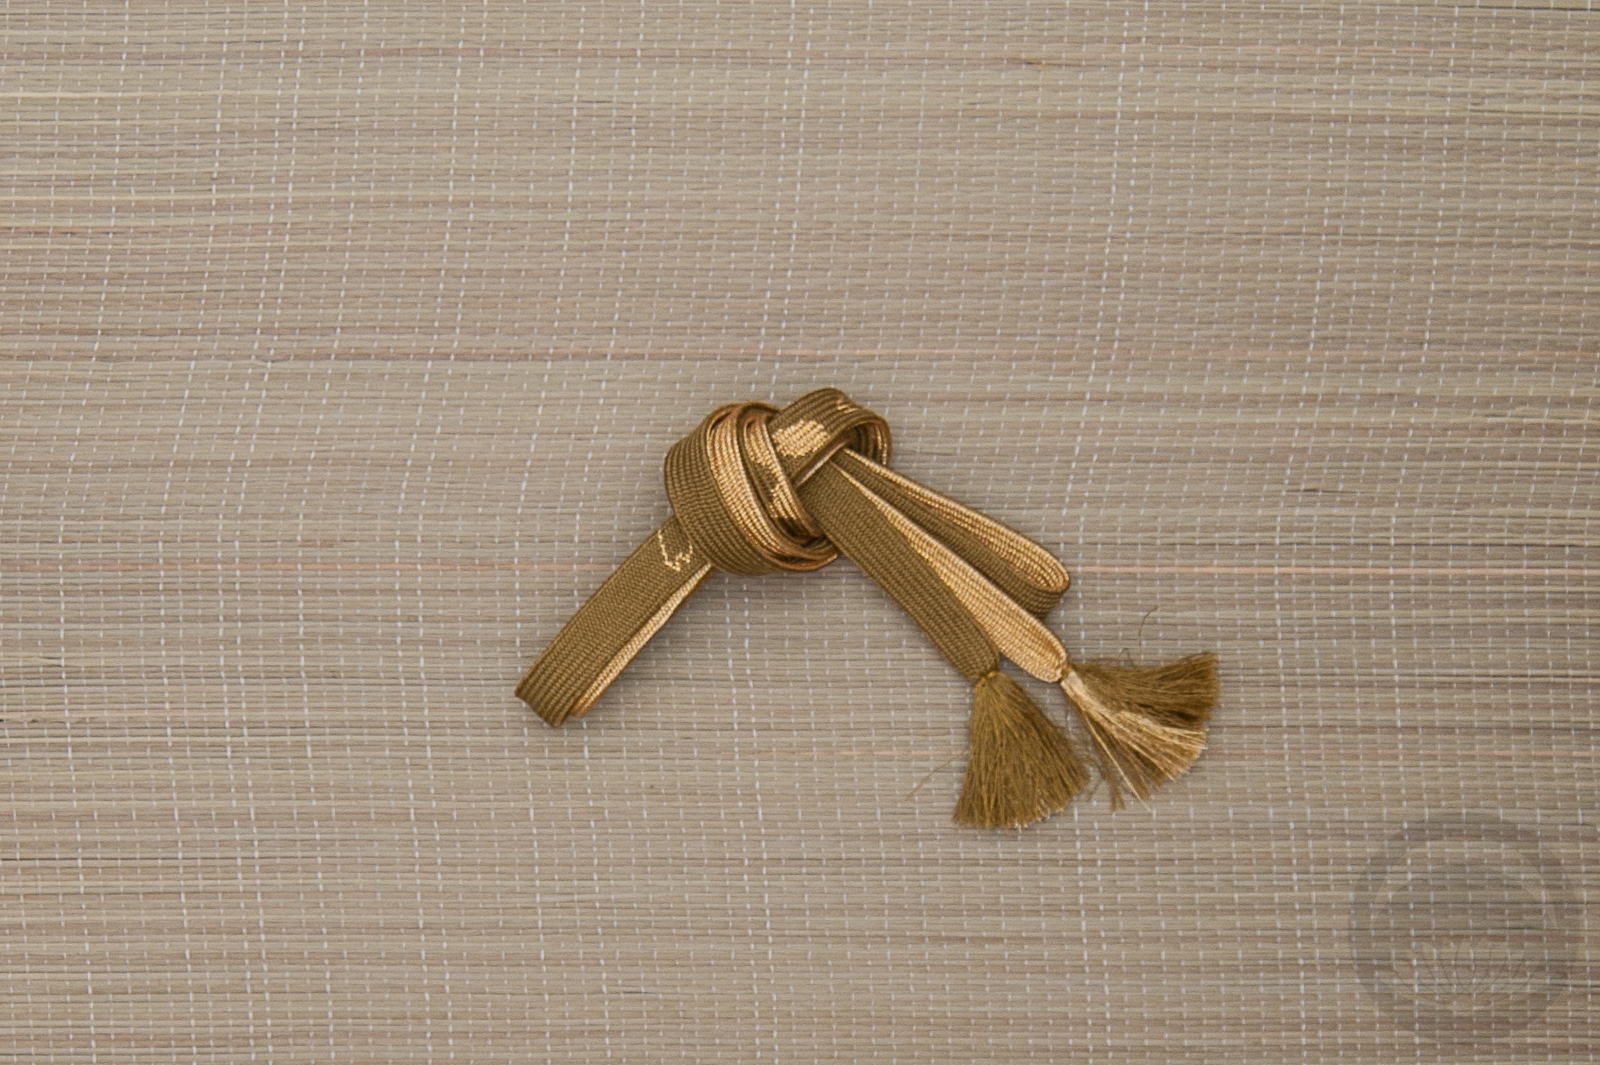
- Gold & Olive


 Bebe Taian
 CHOKO Blog
 Silk & Bones
 Gion Kobu