
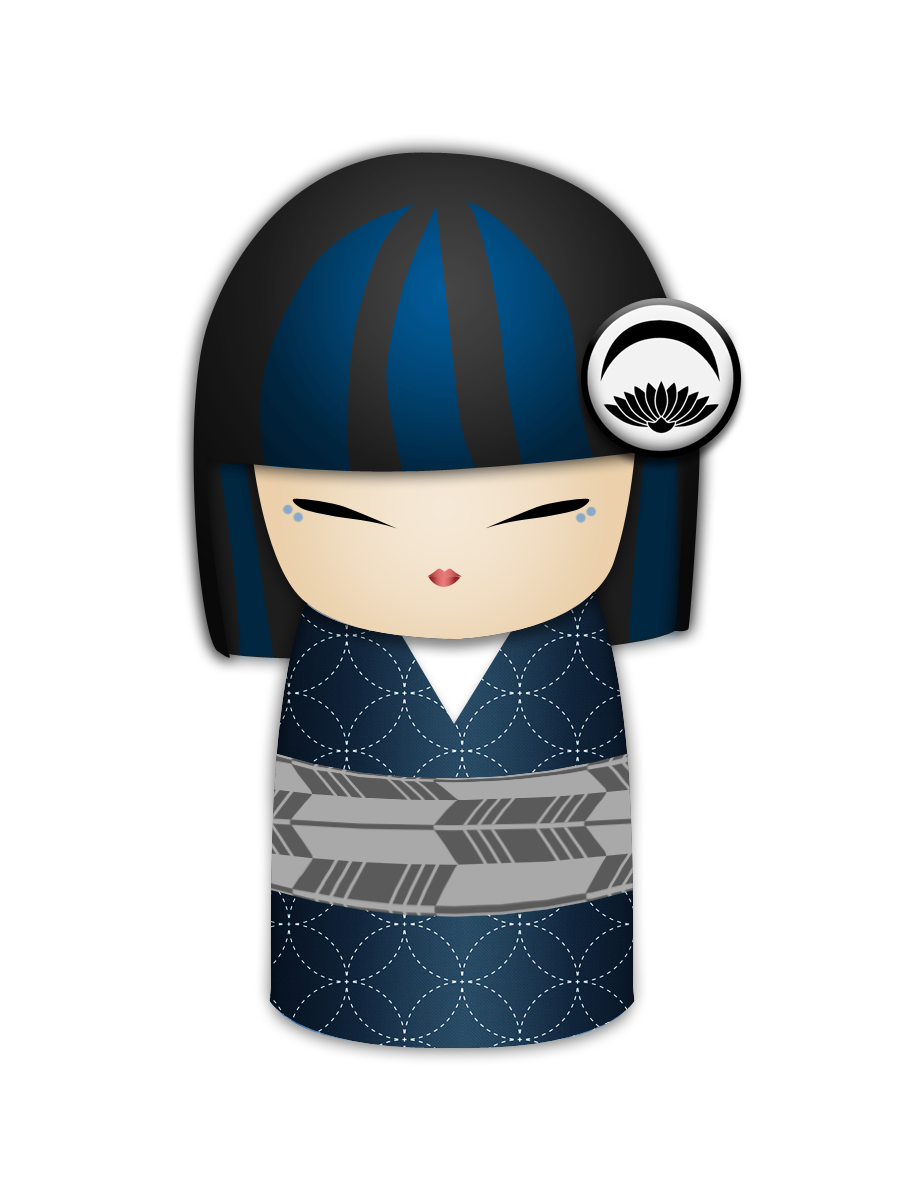
Hello everyone! I’d like you all to meet Tsukihana! Back at the beginning of the year I got a bee in my bonnet and decided I wanted to customise a doll. If you follow me on Instagram, you’ve likely seen sneak peeks and progress shots, but she’s finally complete and I’m so excited to share her.
She started life as a Draculaura doll I bought on the cheap off eBay. I chose Draculaura because I liked the shape of her face, and her skin colour was close enough to a normal human skin tone that it wouldn’t be too difficult to tone down the few visible bits. I also wanted a doll with primarily black hair, but that ended up not mattering in the end.
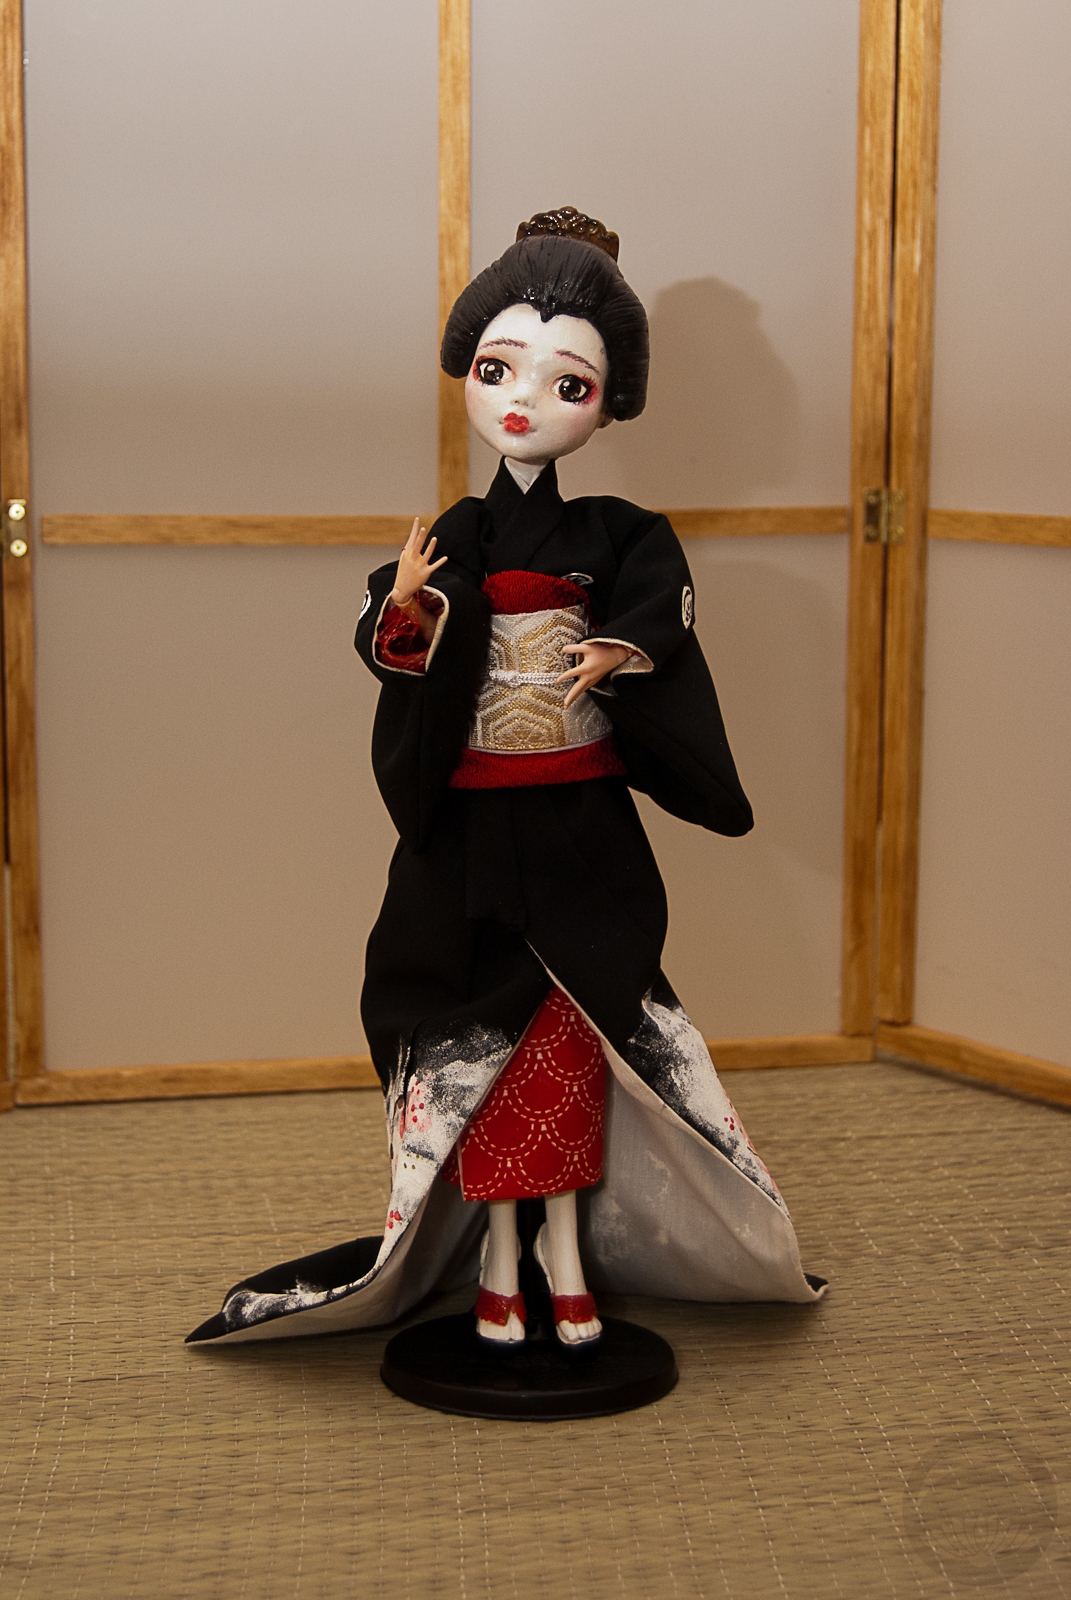
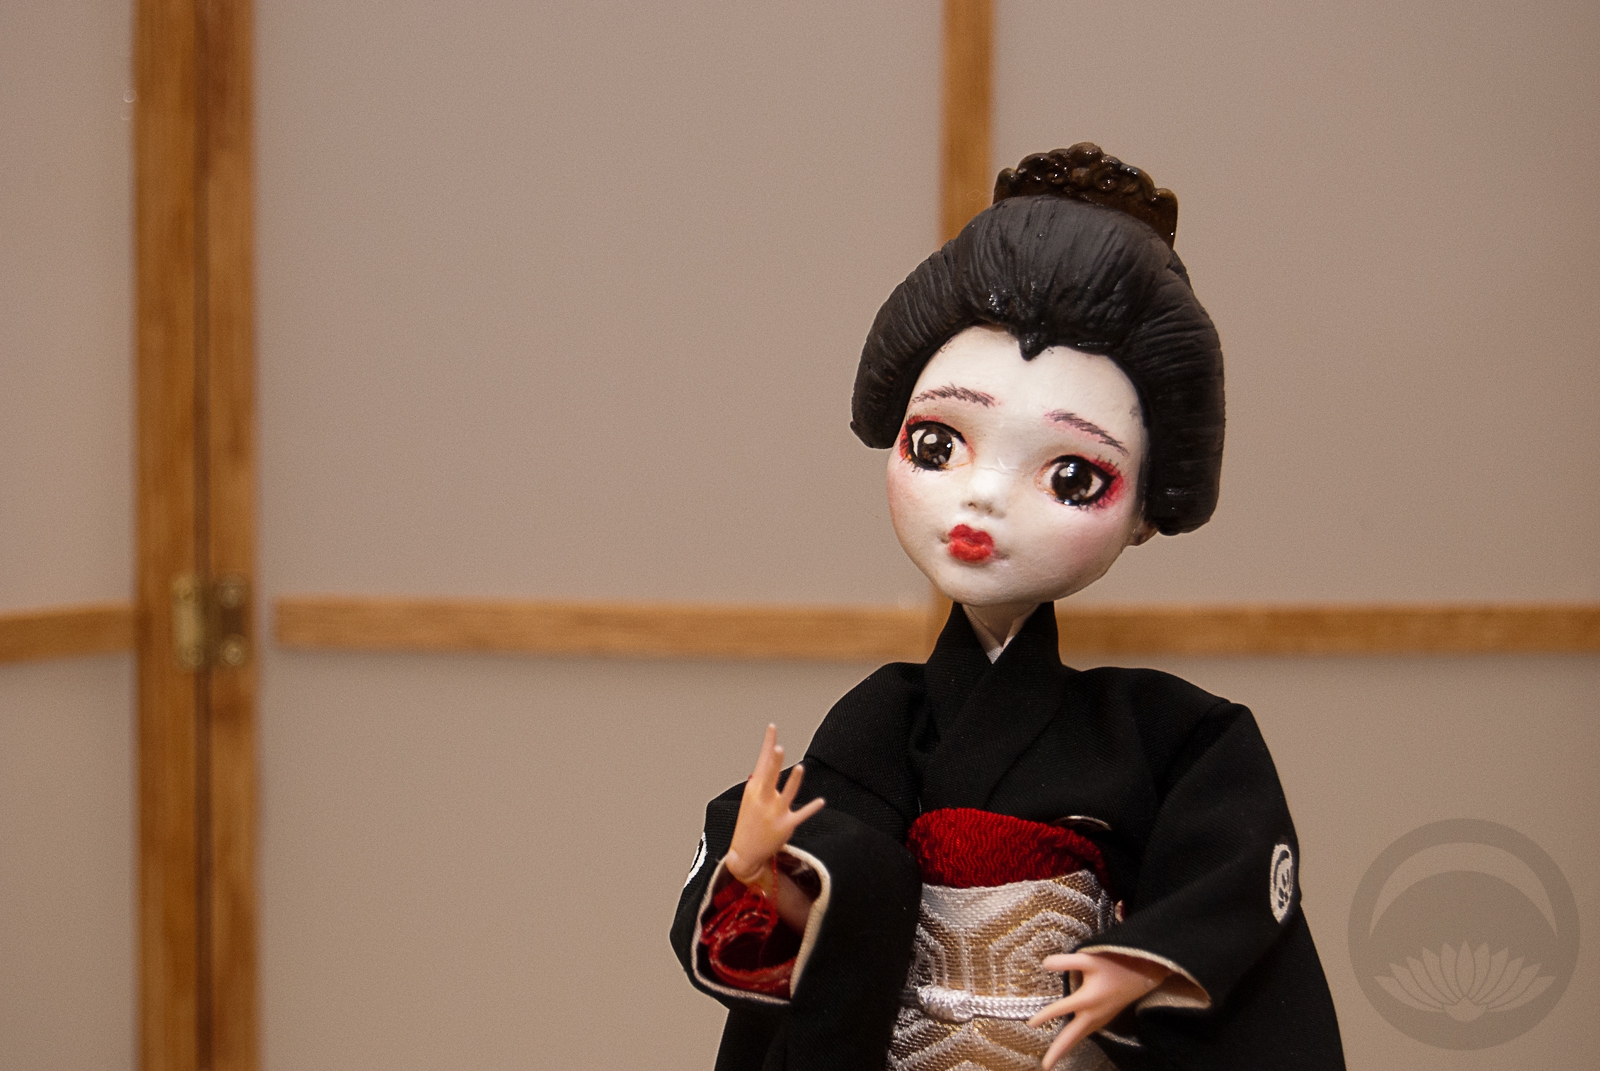
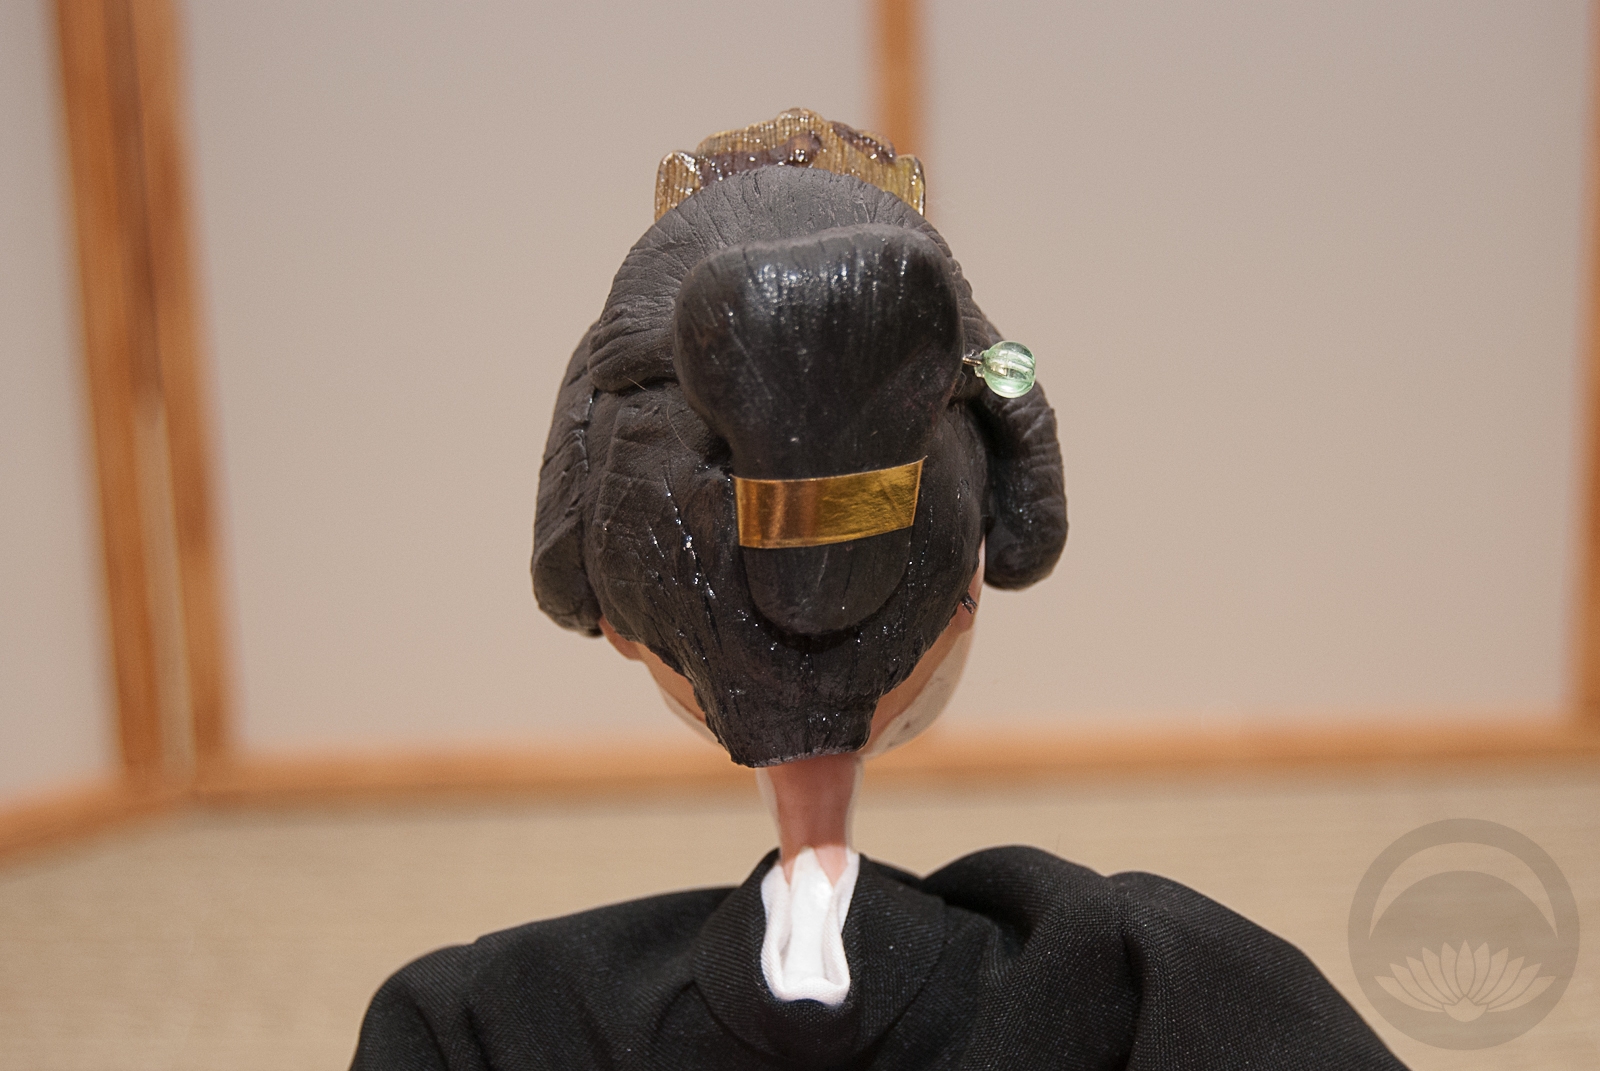
I started out with her face. I stripped down the original paint, toned down the back of her head and neck with soft pastels, and used white chalk paint as oshiroi. The face details were a combination of pastels, watercolour pencils, and acrylic paint. The Draculaura doll’s face sculpt reminded me very much of a now-retired geiko named Mamehana, so I referenced the following photos of her quite heavily while painting. (1, 2, 3).
My next step was to change the colour of her hands from pink to a more natural tone. Somehow during this process, I lost her hands. I looked for them for literally months, but they’re just… gone. In the end I gave up and bought a replacement set on eBay. I toned them with brown and yellow chalk pastels that helped neutralise the bright pink tone.
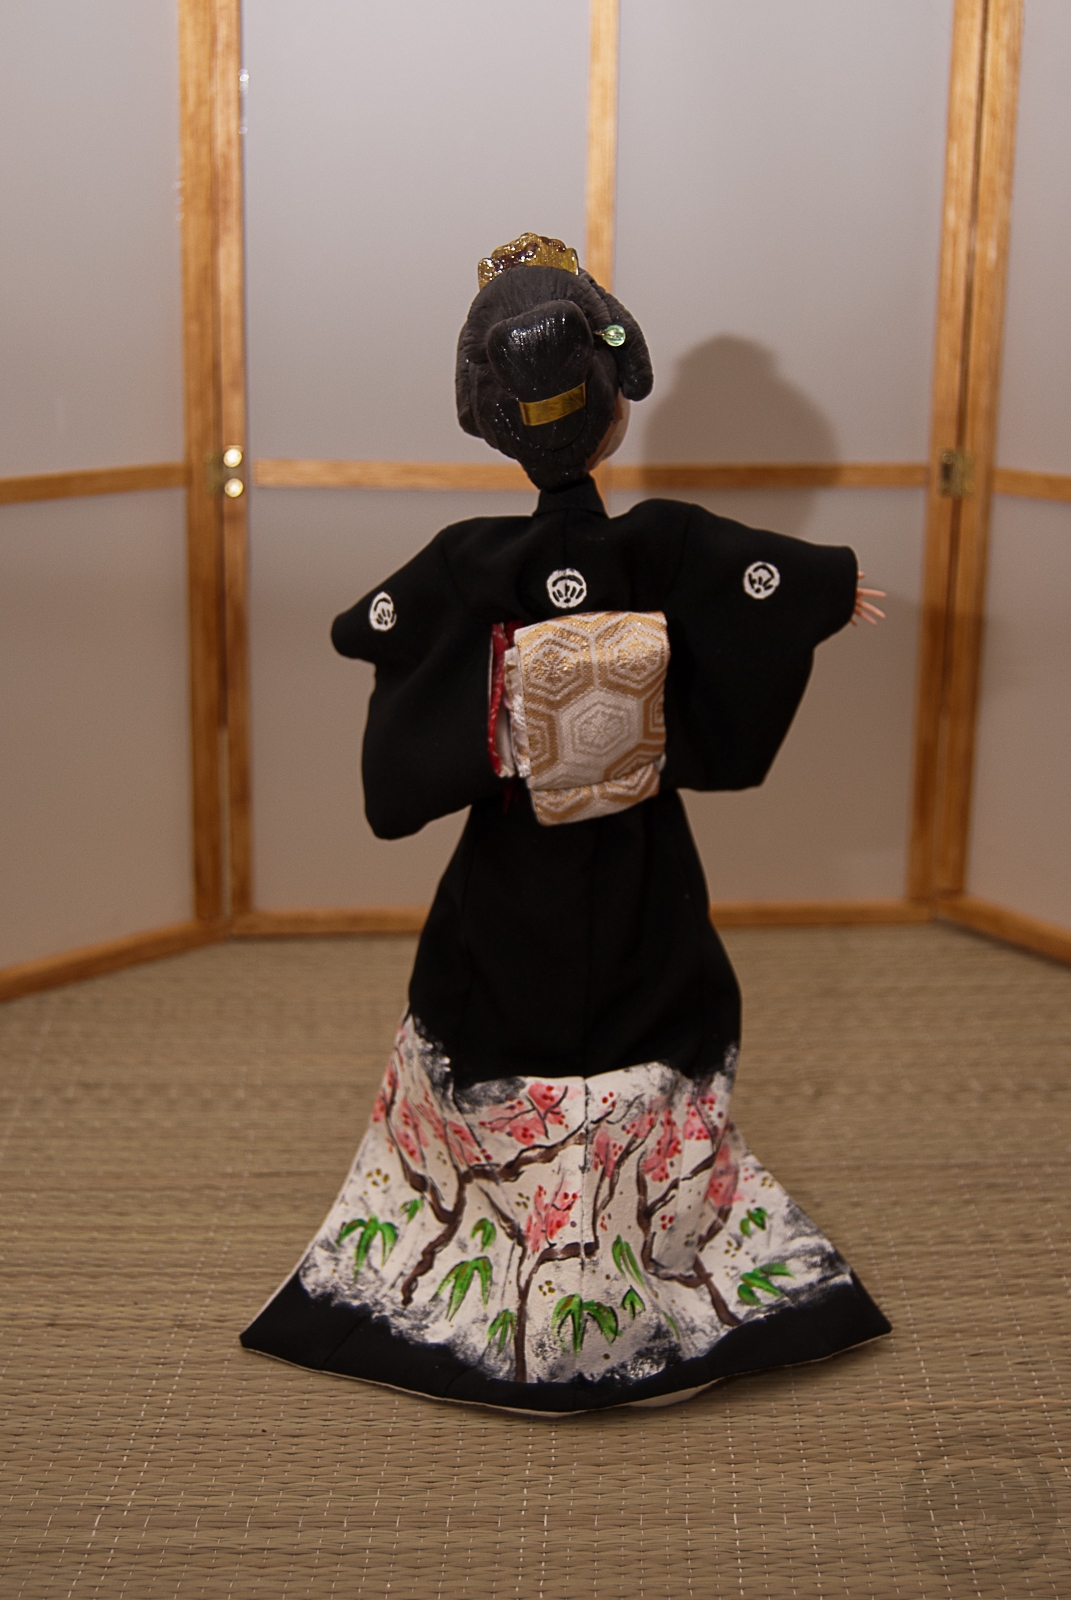
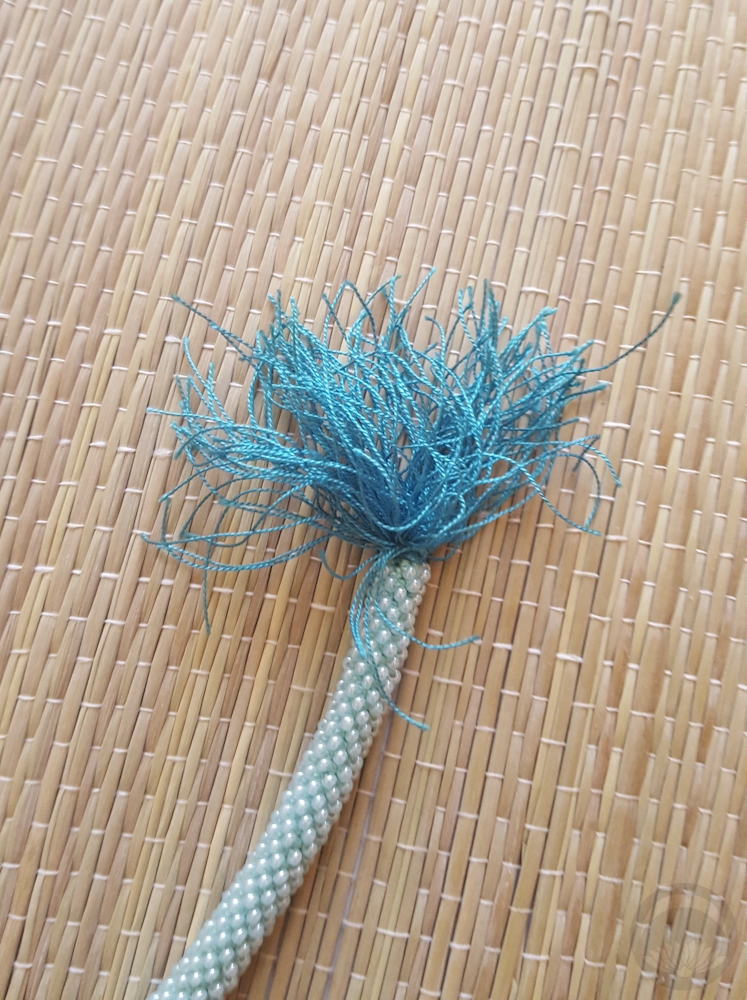
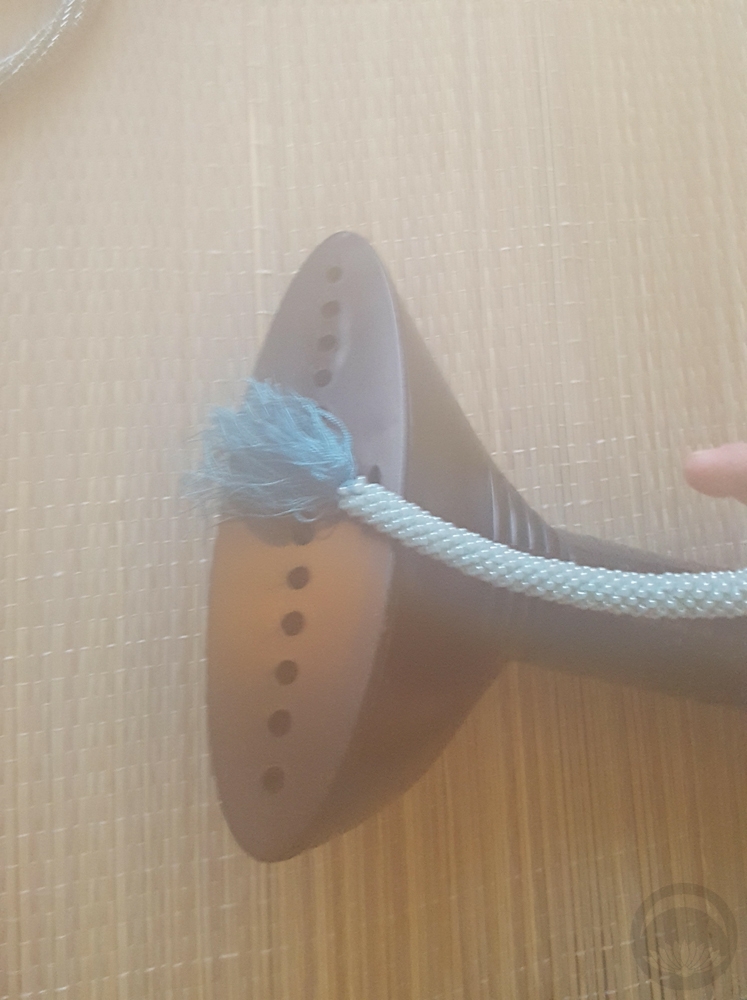
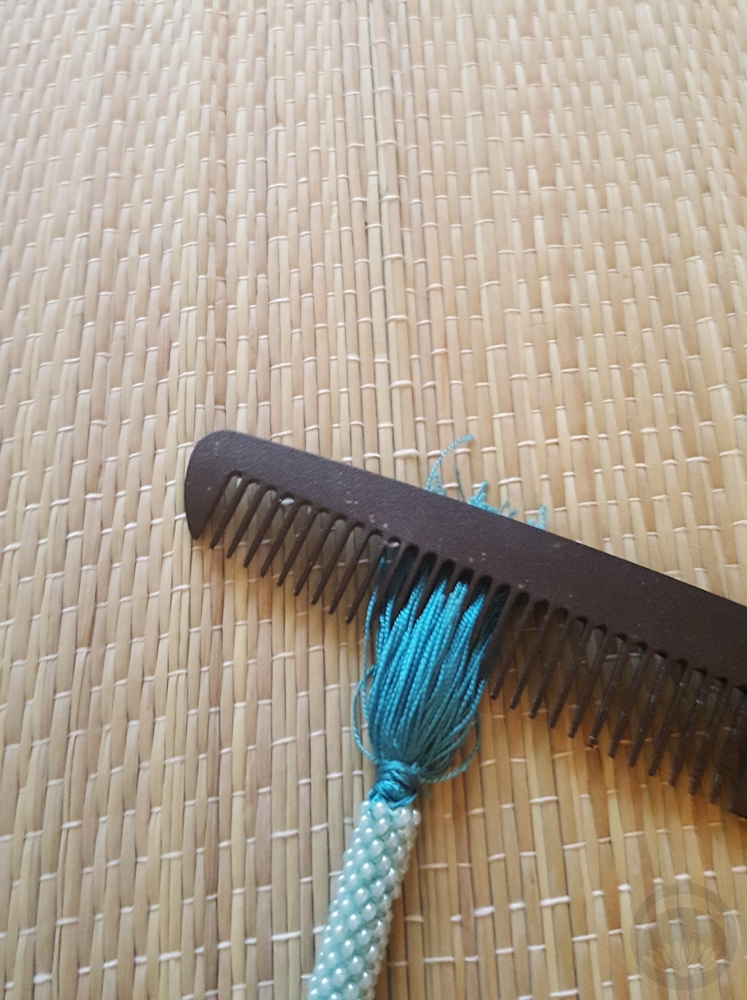
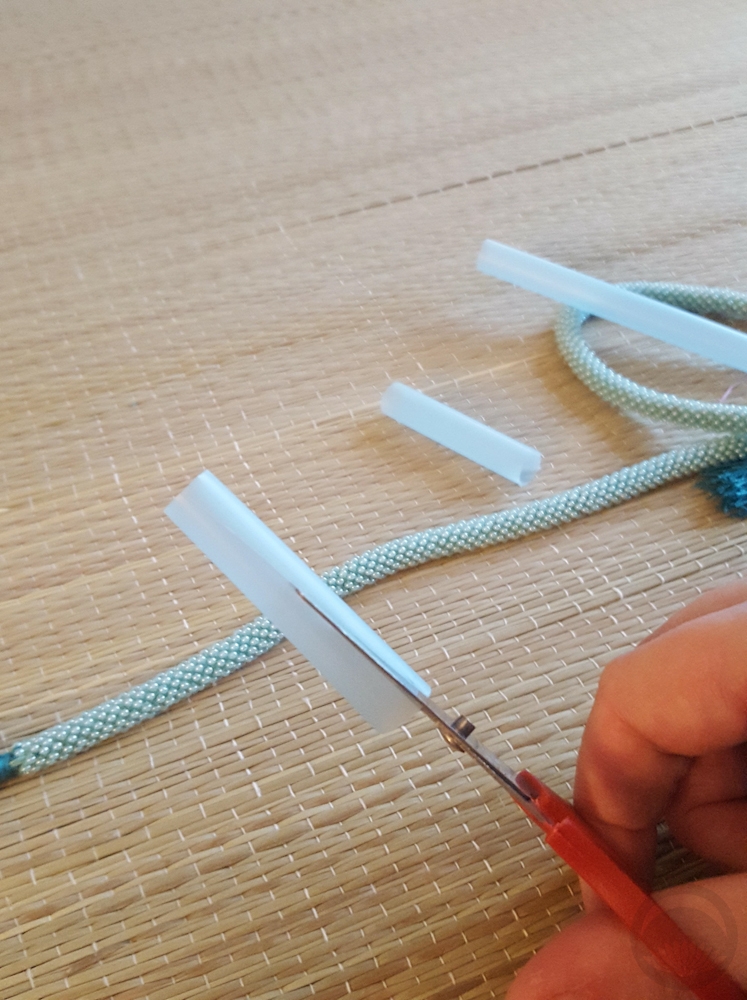
When it came to repainting the face and body, I found Dollightful and Poppen Atelier, two very helpful YouTube channels with lots of information on customising Monster High and similar dolls. Initially, I’d planned to style her original hair using these traditional katsura styling videos but in the end her hair proved too stubborn and poofy, and it looked pretty awful no matter what I did, so I chopped it all off and sculpted a hairstyle out of clay. It’s primarily based on the tsubushi shimada, but I had to take a few creative liberties. Her kanzashi are beads and charms I had lying around.
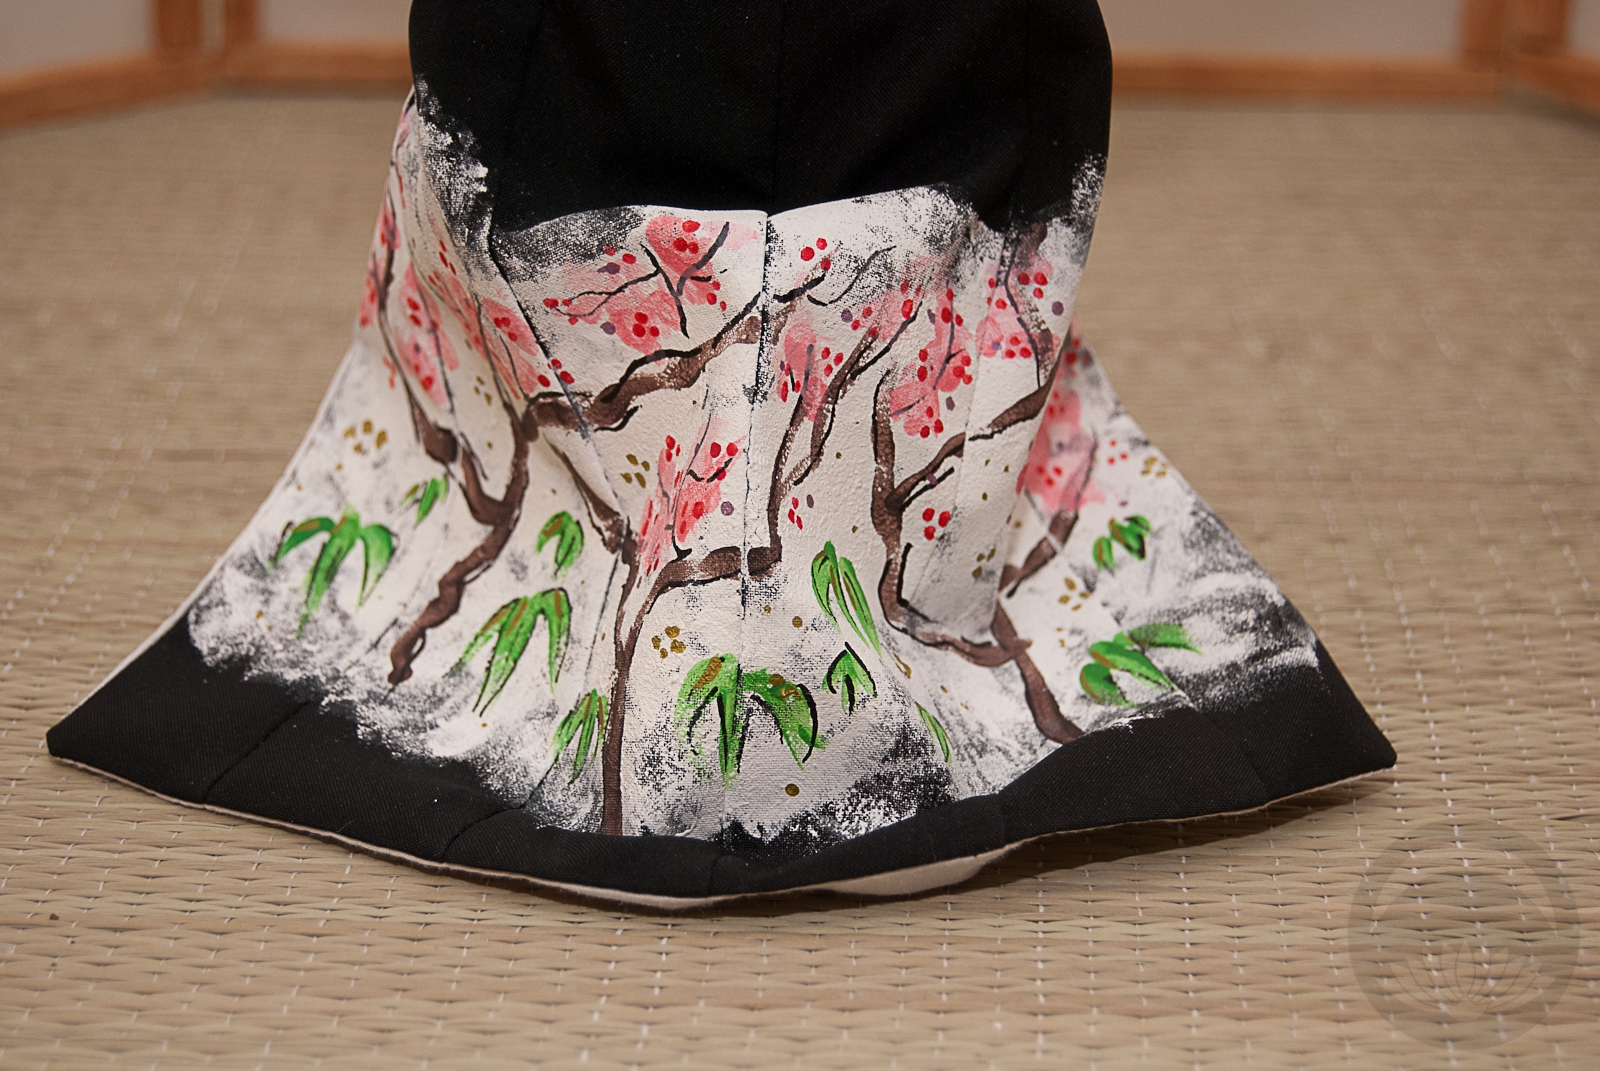
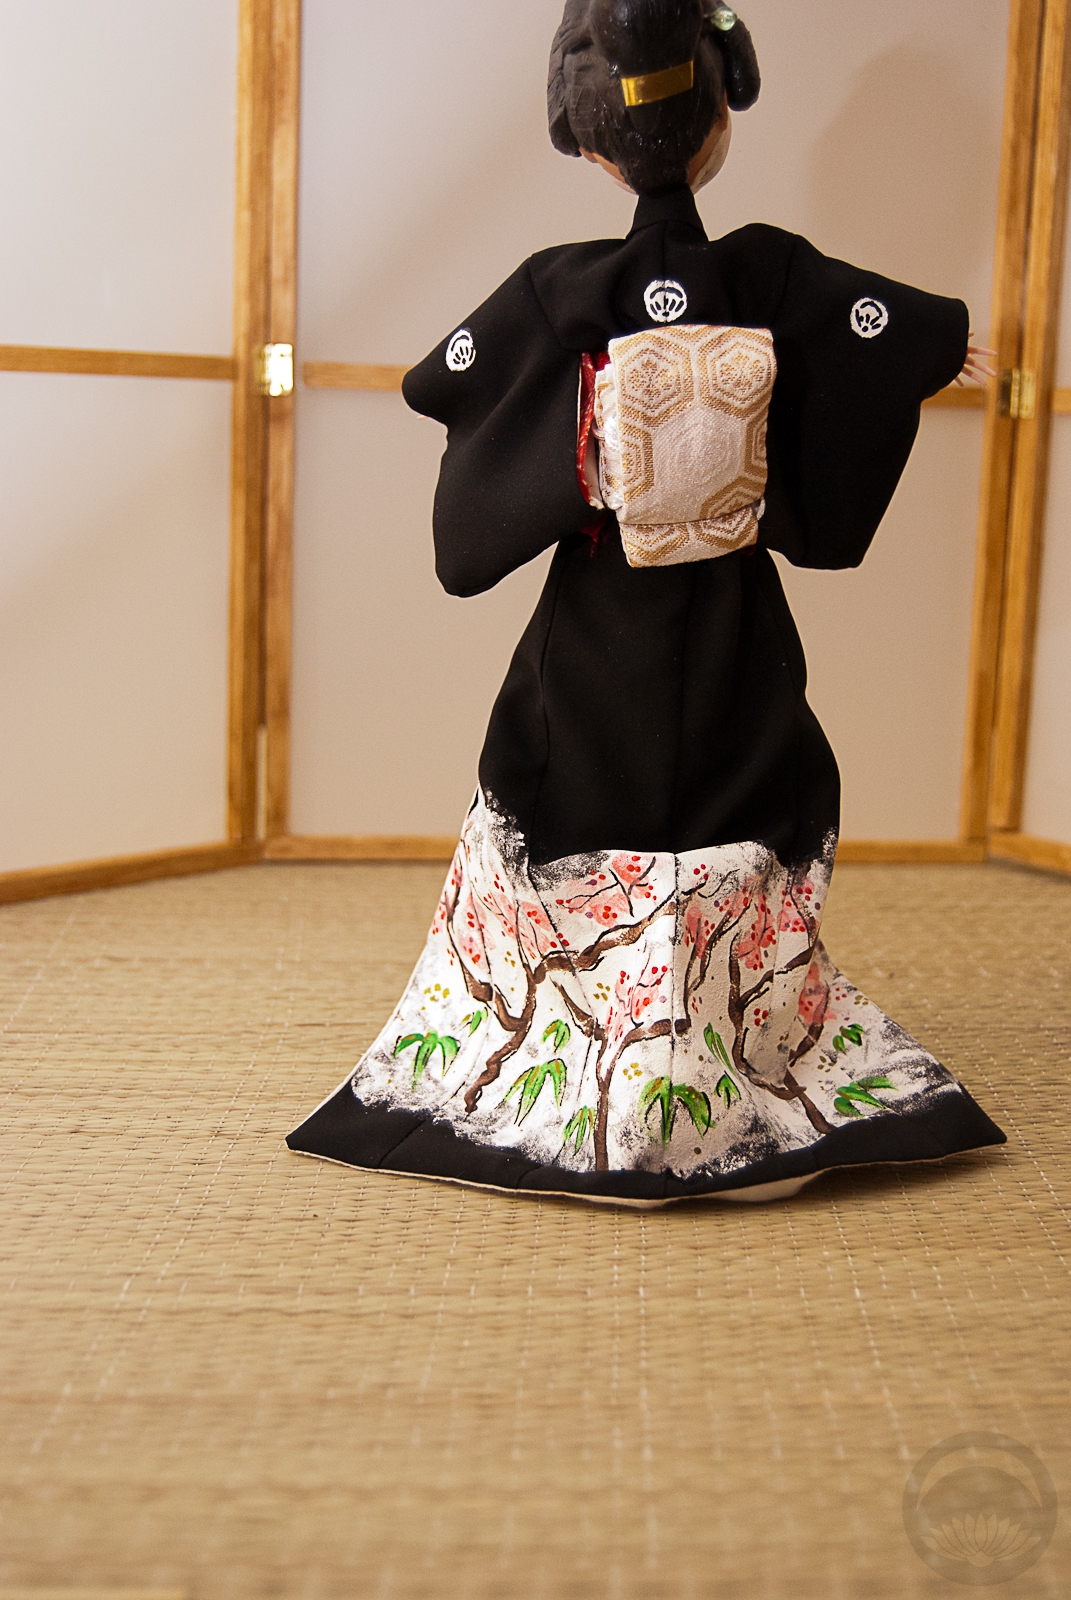
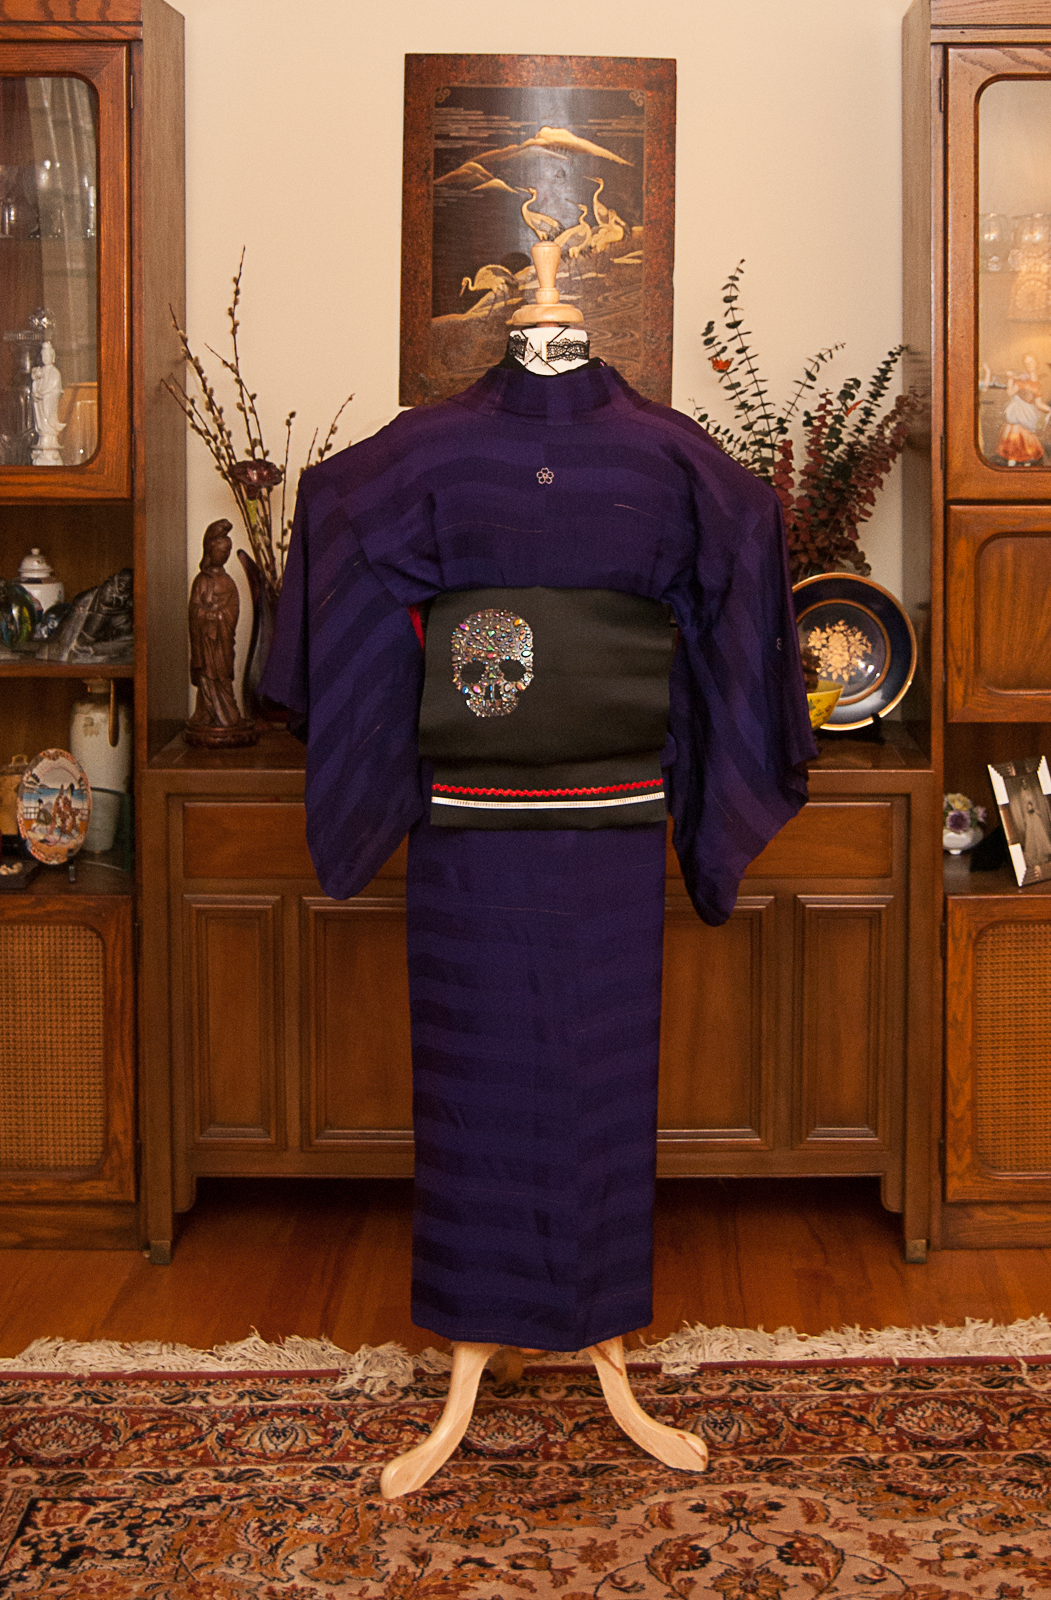
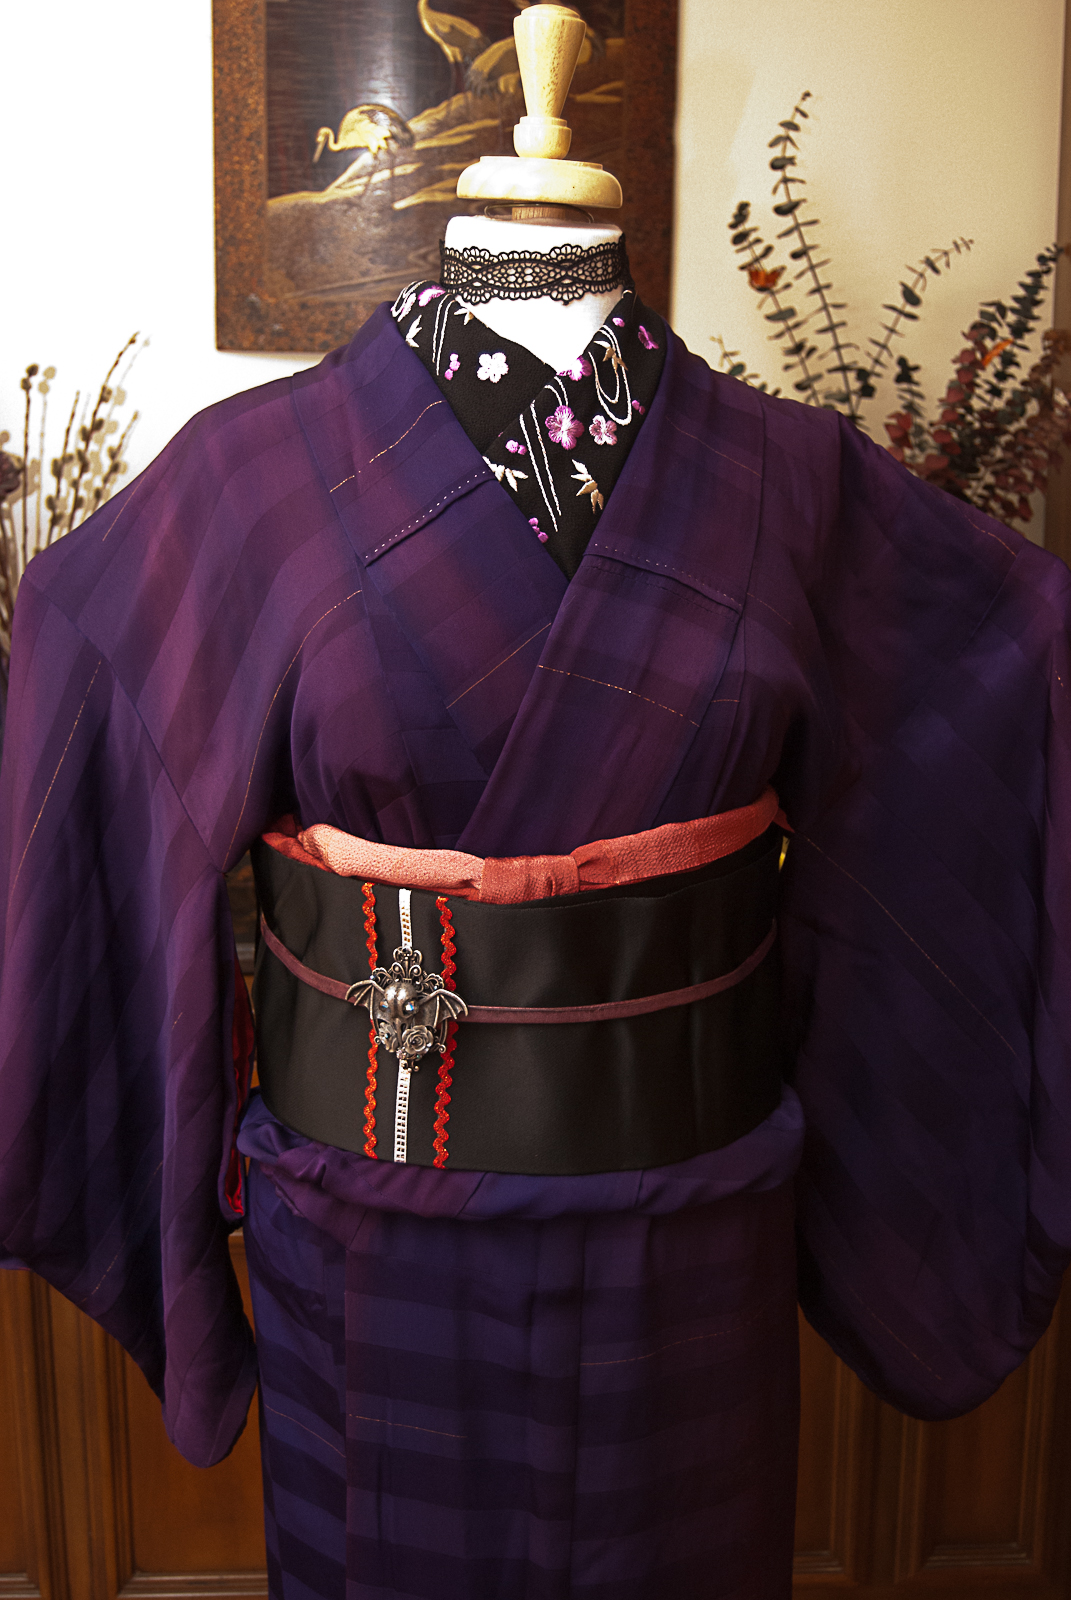
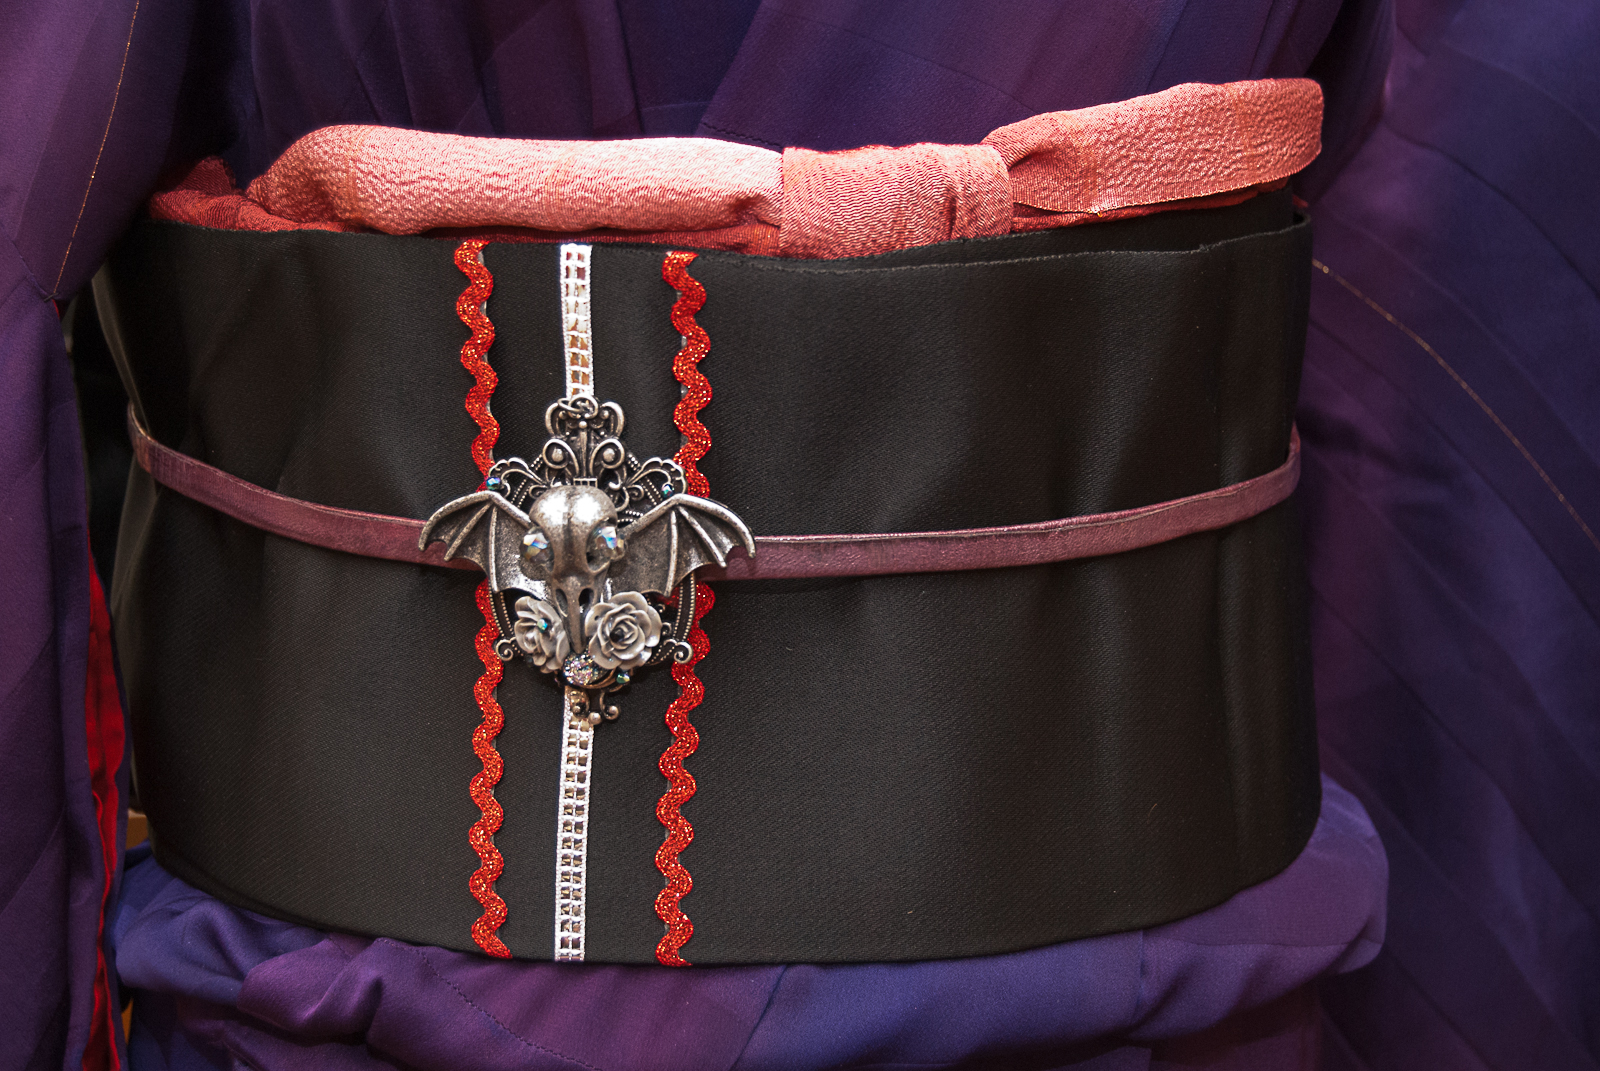
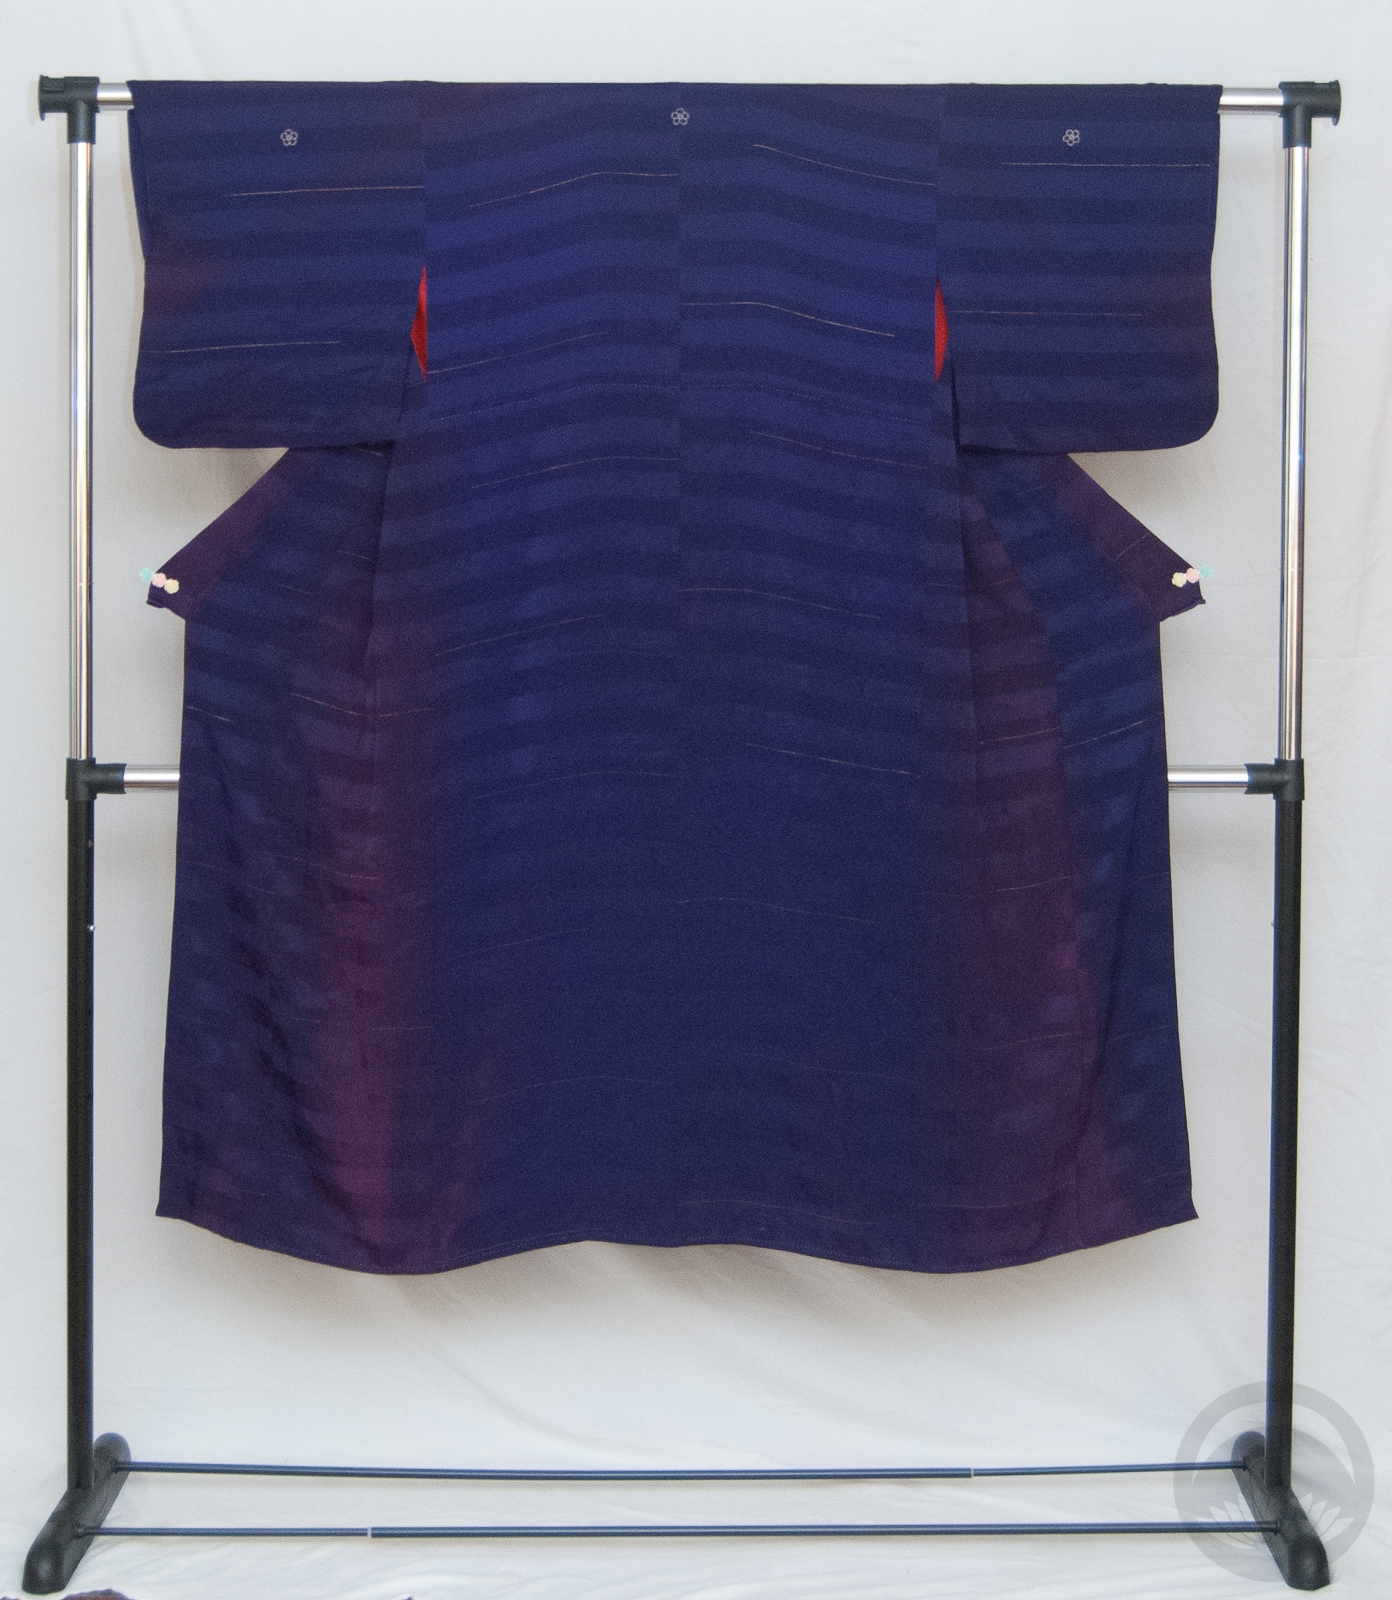
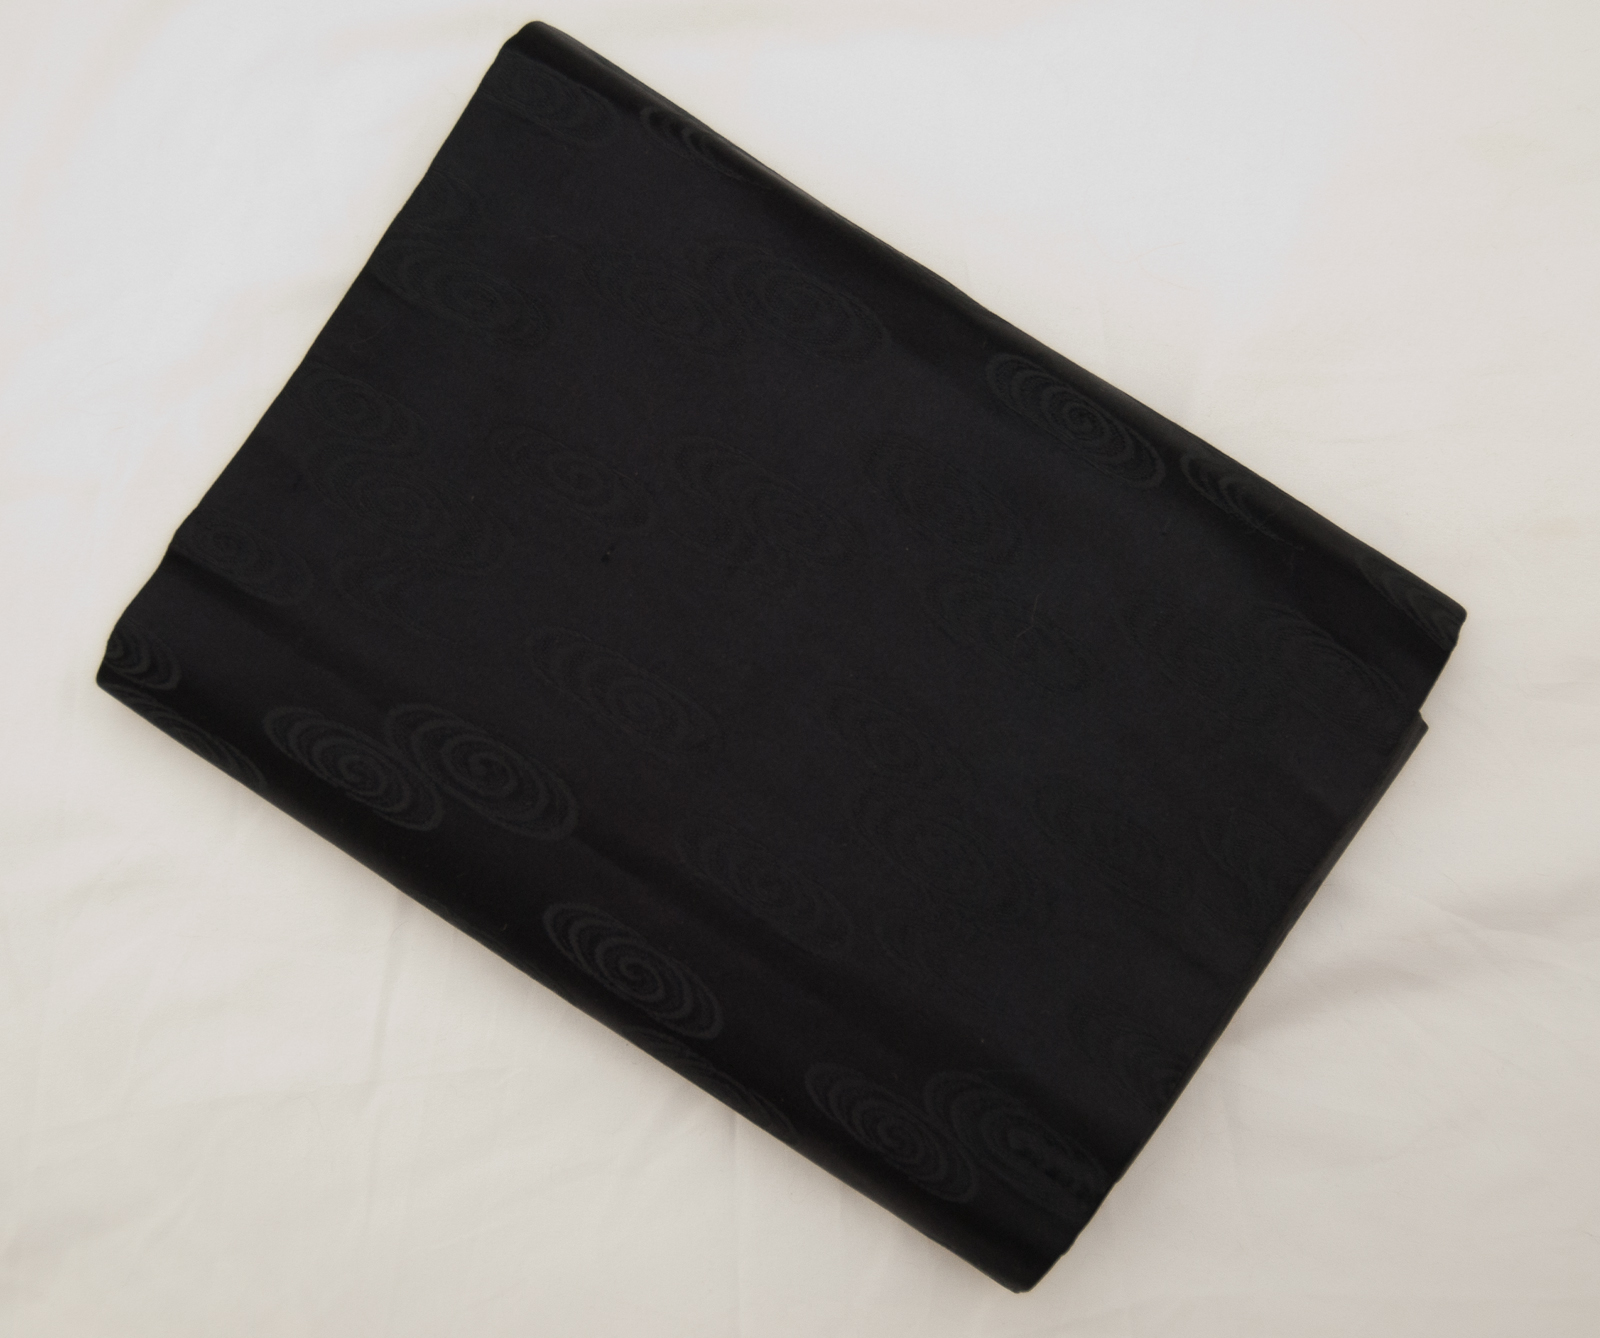
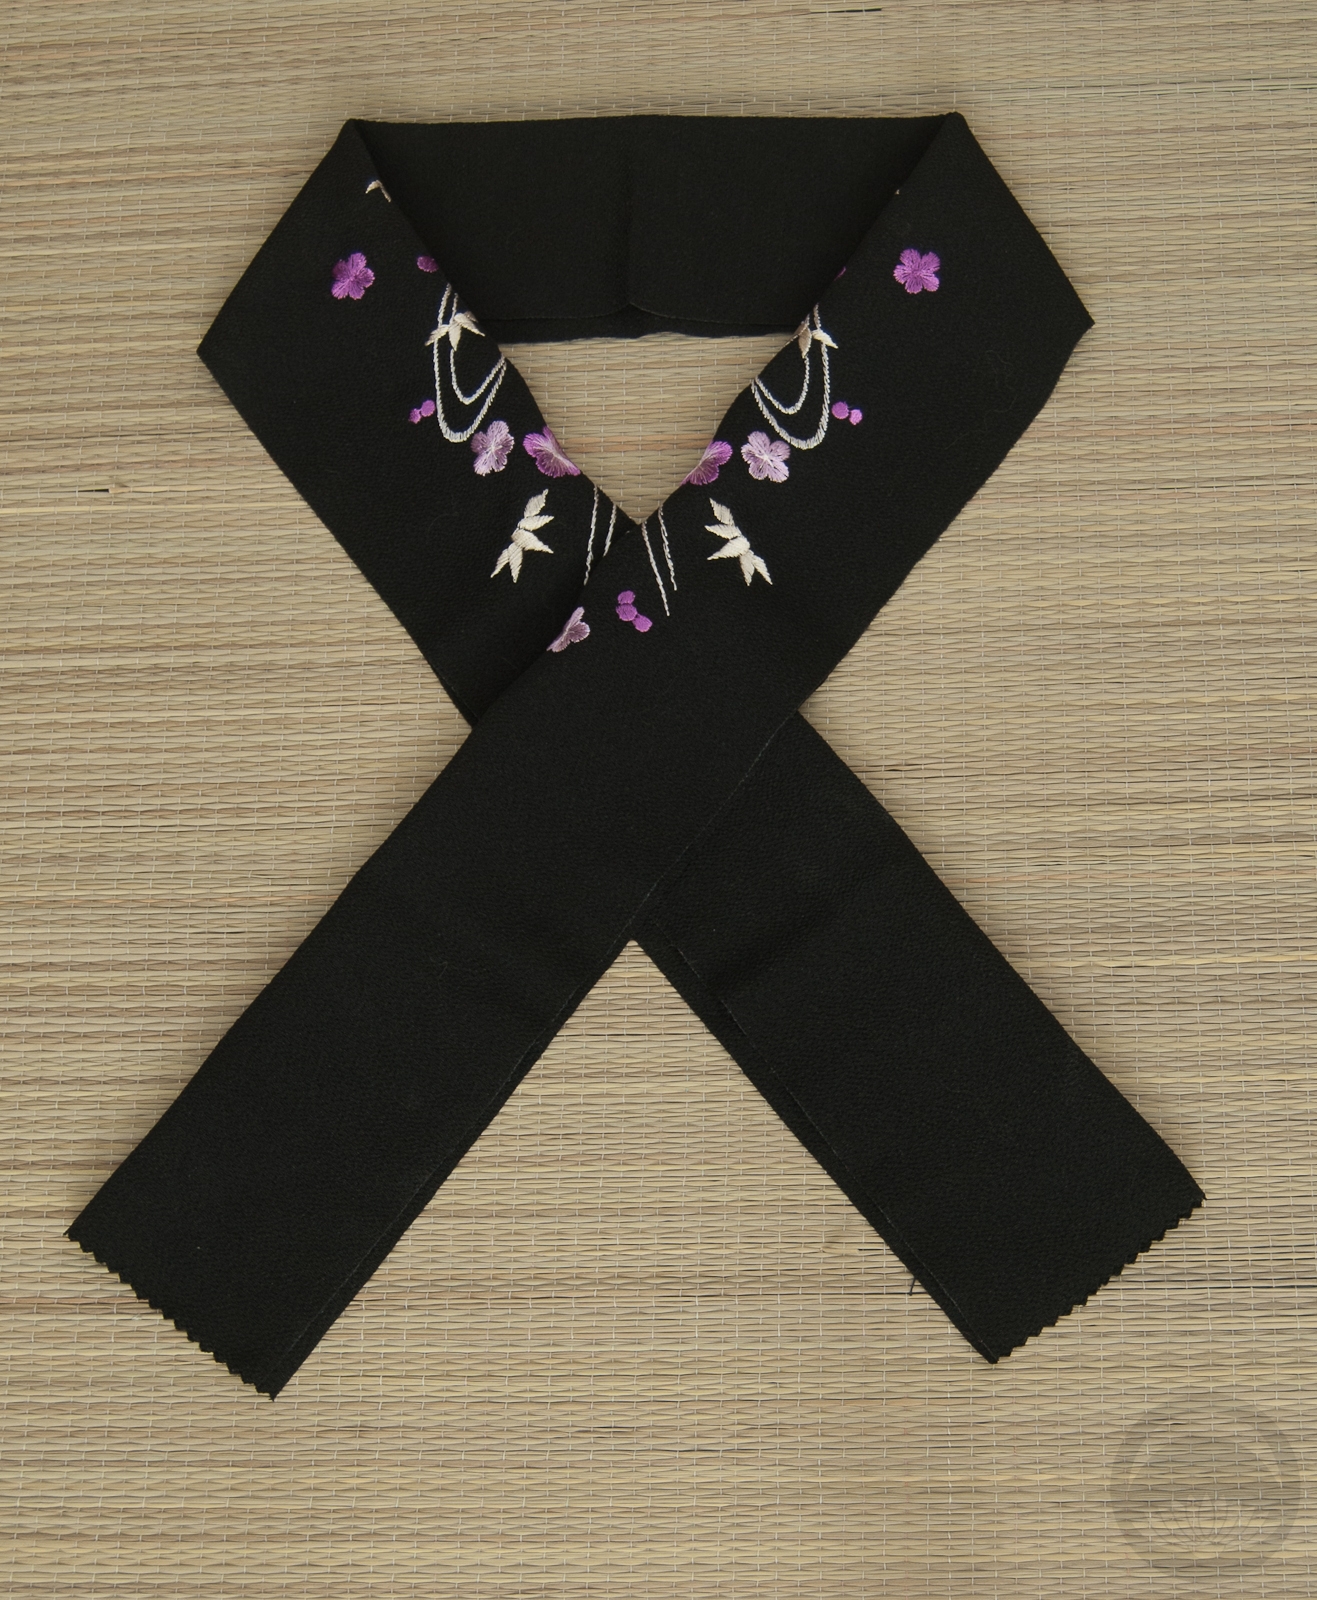
The outfit was a co-production. Makiko of JaponSakura (who also made this beautiful Pullip kimono) was kind enough to custom-make me a plain black hikizuri-style kimono and coordinating obi using the fabric I selected, since it reminded me of the moon. Once I received it, I painted the plum and bamboo design around the hem and the custom crests myself, I thought since it was such a small scale, using regular acrylic would be fine, but if I were to do another custom like this I’d definitely invest in fabric paints instead. The crests might seem a bit proportionally large by modern standards, but any smaller and they would have just looked like blobs. Her momi (the red fabric wrap geisha wear beneath the obi), juban sleeves, and underskirt are just scraps of red fabric I hand-sewed and tacked into place. The zori are a pair of MH shoes I repainted and modified slightly – they originally looked like this. I removed some of the strap bulk and painted some white to make it disappear a little. I did debate reforming her feet so they would be flat, but I was hesitant to experiment that much and risk ruining the doll. Makiko also included tabi with the kimono but they made her feet too bulky to fit in the shoes, so in the end I just sanded some detail off her toes and painted her legs with the same chalk paint I used on her face.
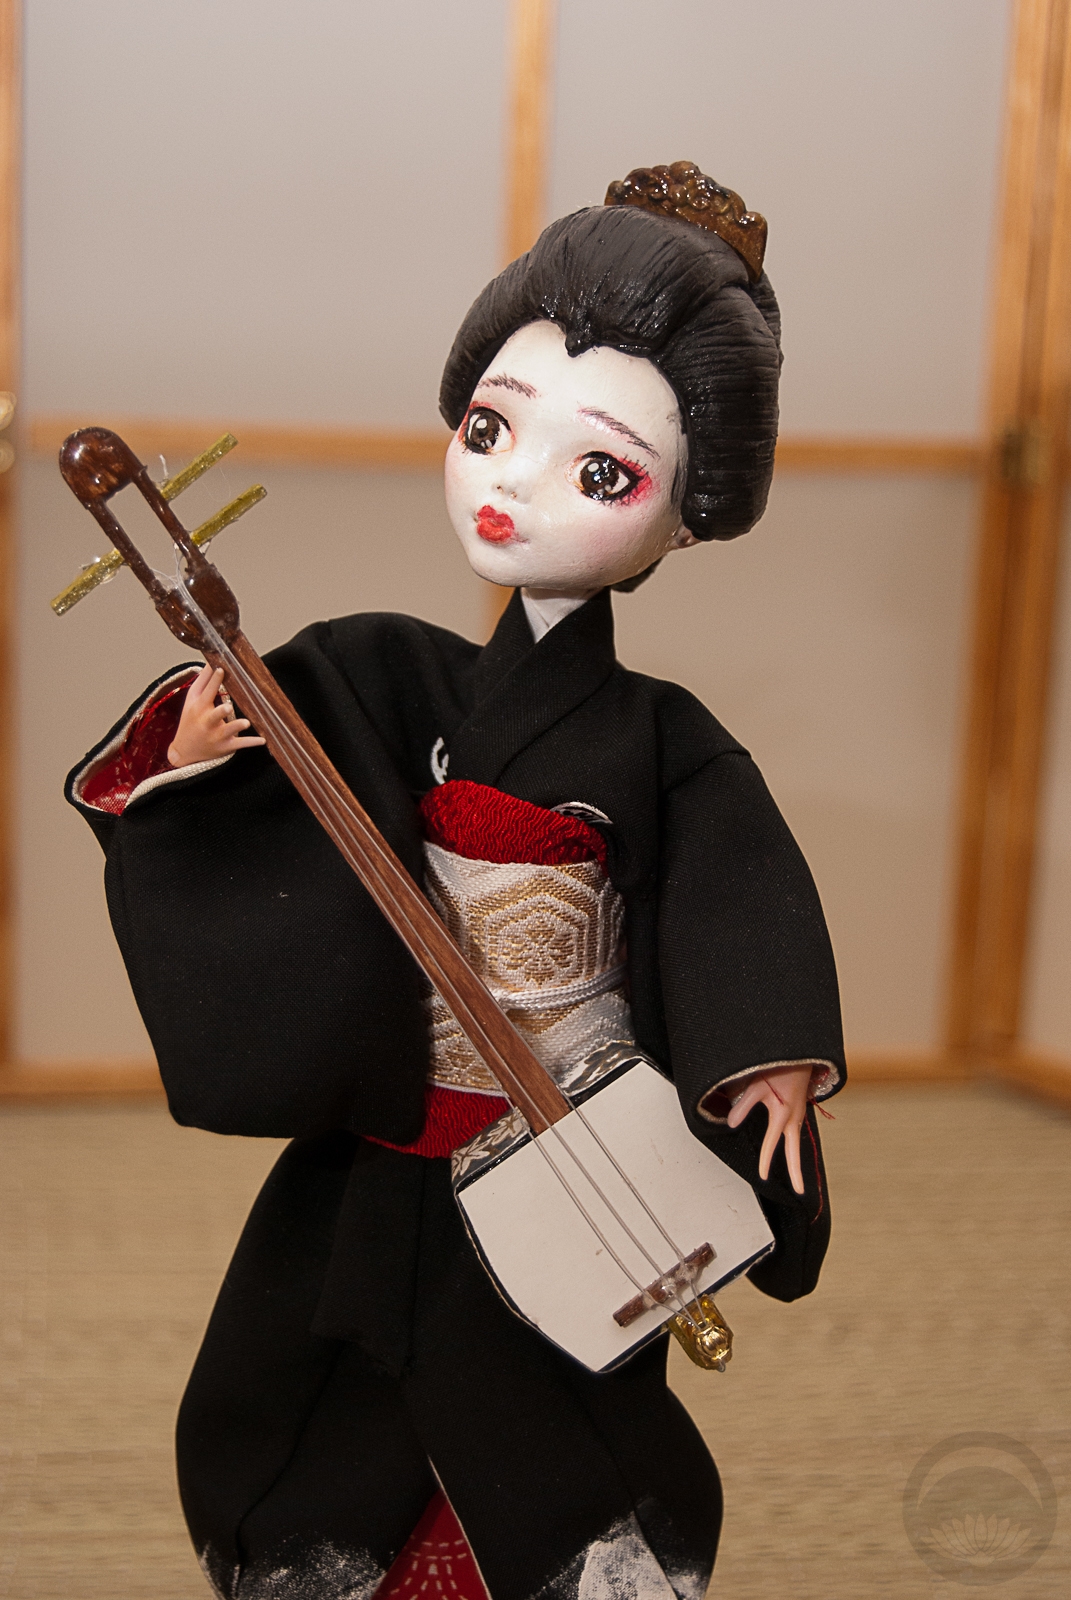
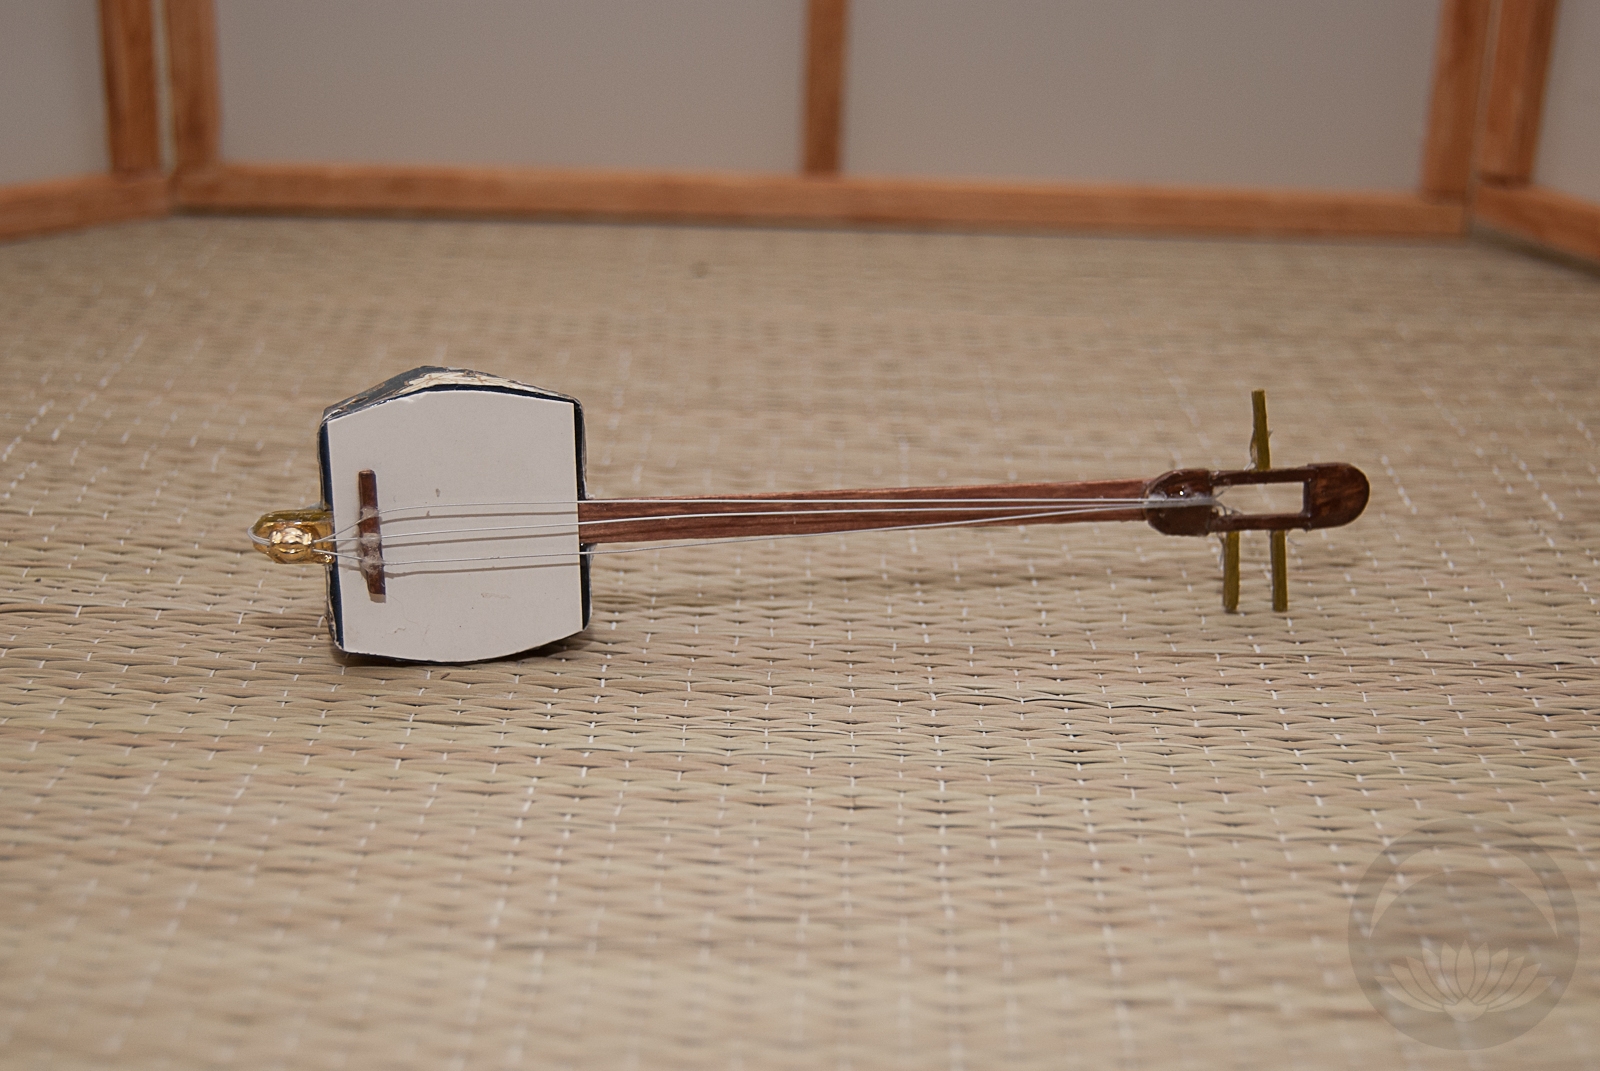
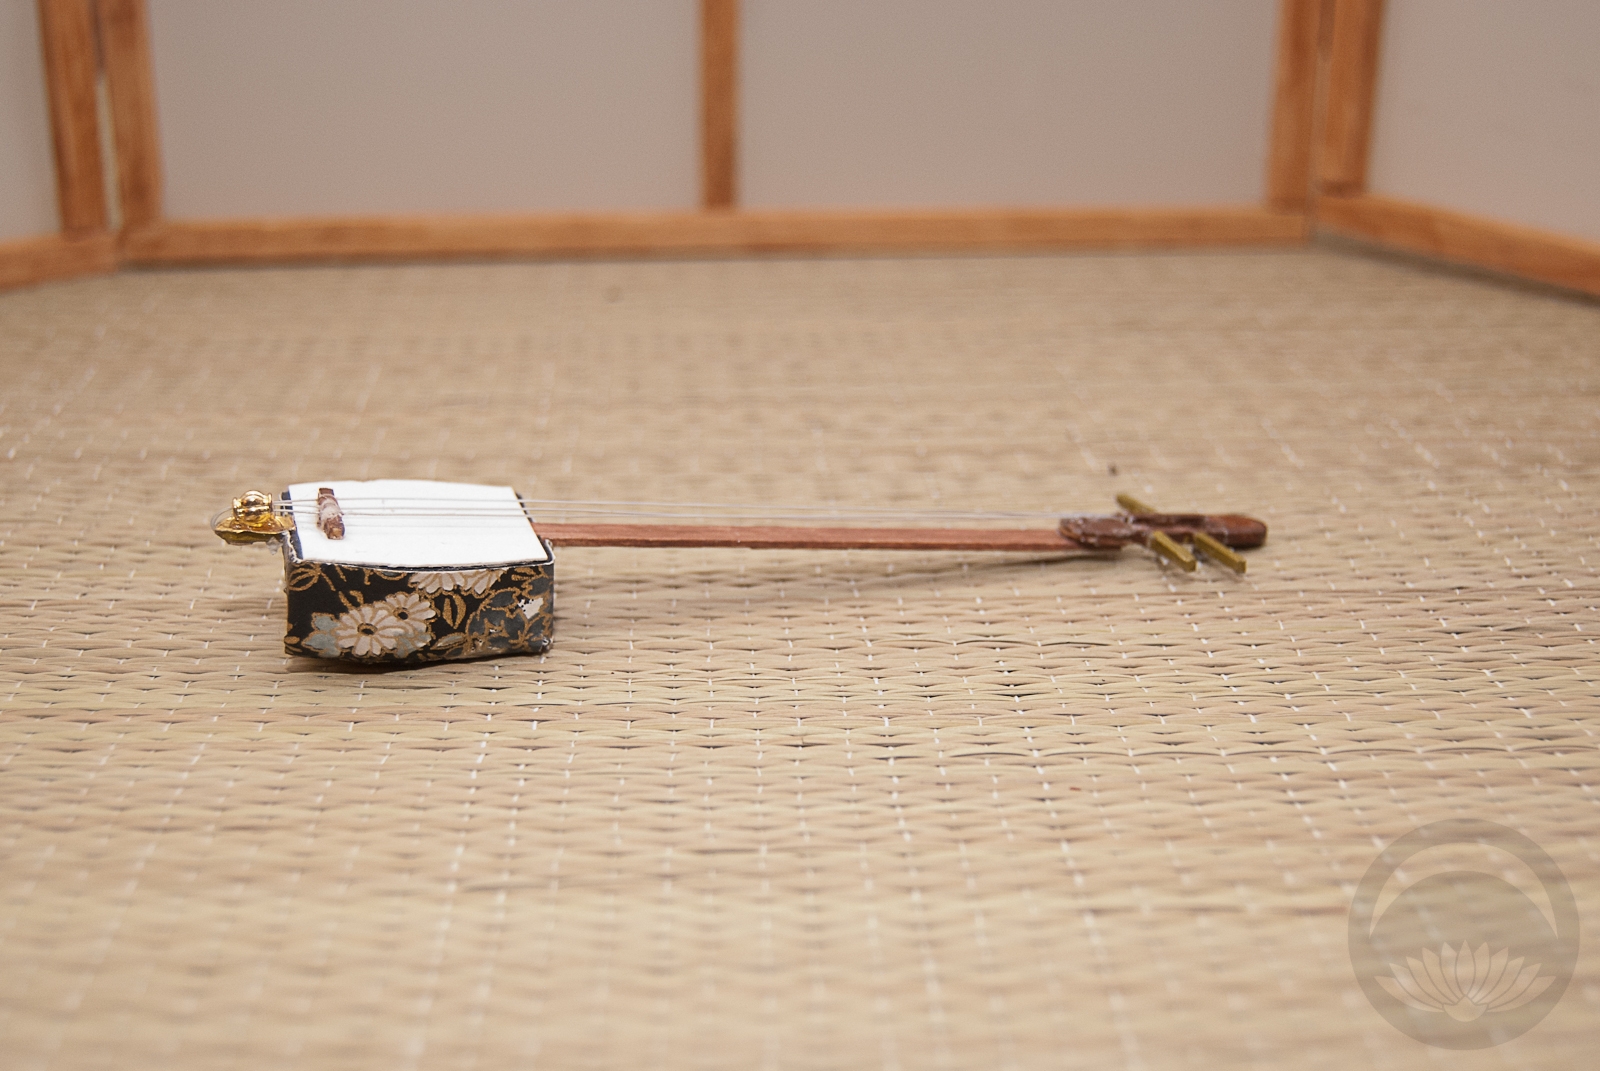
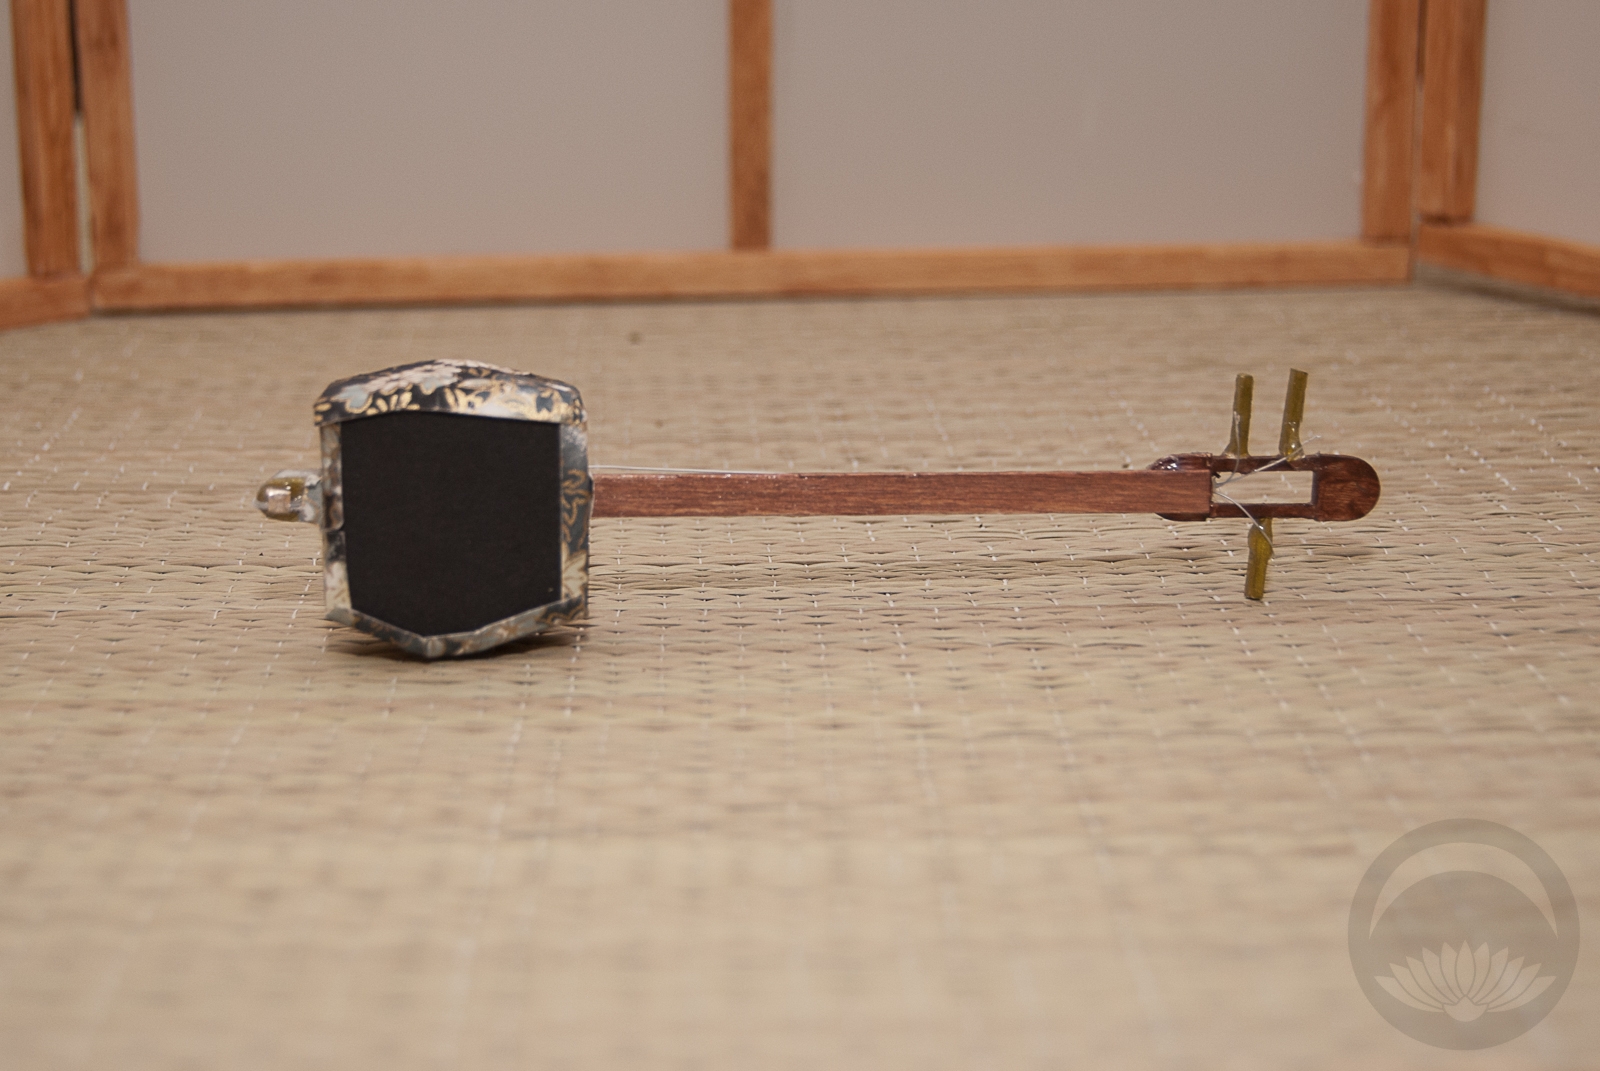
Her shamisen was improvised, made from foam board, stir sticks, and gorgeous washi tape from The Rare Orchid. I got a bunch of beautiful paper and tape from them, a full review is coming!
This beautiful lady has been a labour of love. For my first custom doll, I think she turned out spectacularly. I don’t think I’ll be doing this on a regular basis, as she was a significant investment in time, workmanship, and materials, but I might make her a friend or apprentice maiko in the future. I’m also seriously considering turning a Skelita Calaveras into a very stylised Jigoku Dayu but that will definitely be a much longer and more detailed project if it ever comes to pass.


 Bebe Taian
 CHOKO Blog
 Silk & Bones
 Gion Kobu
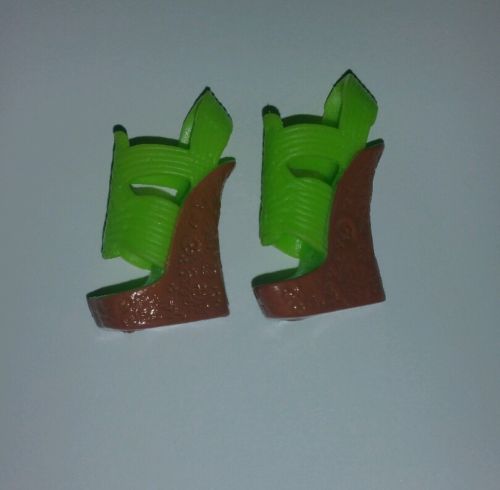