
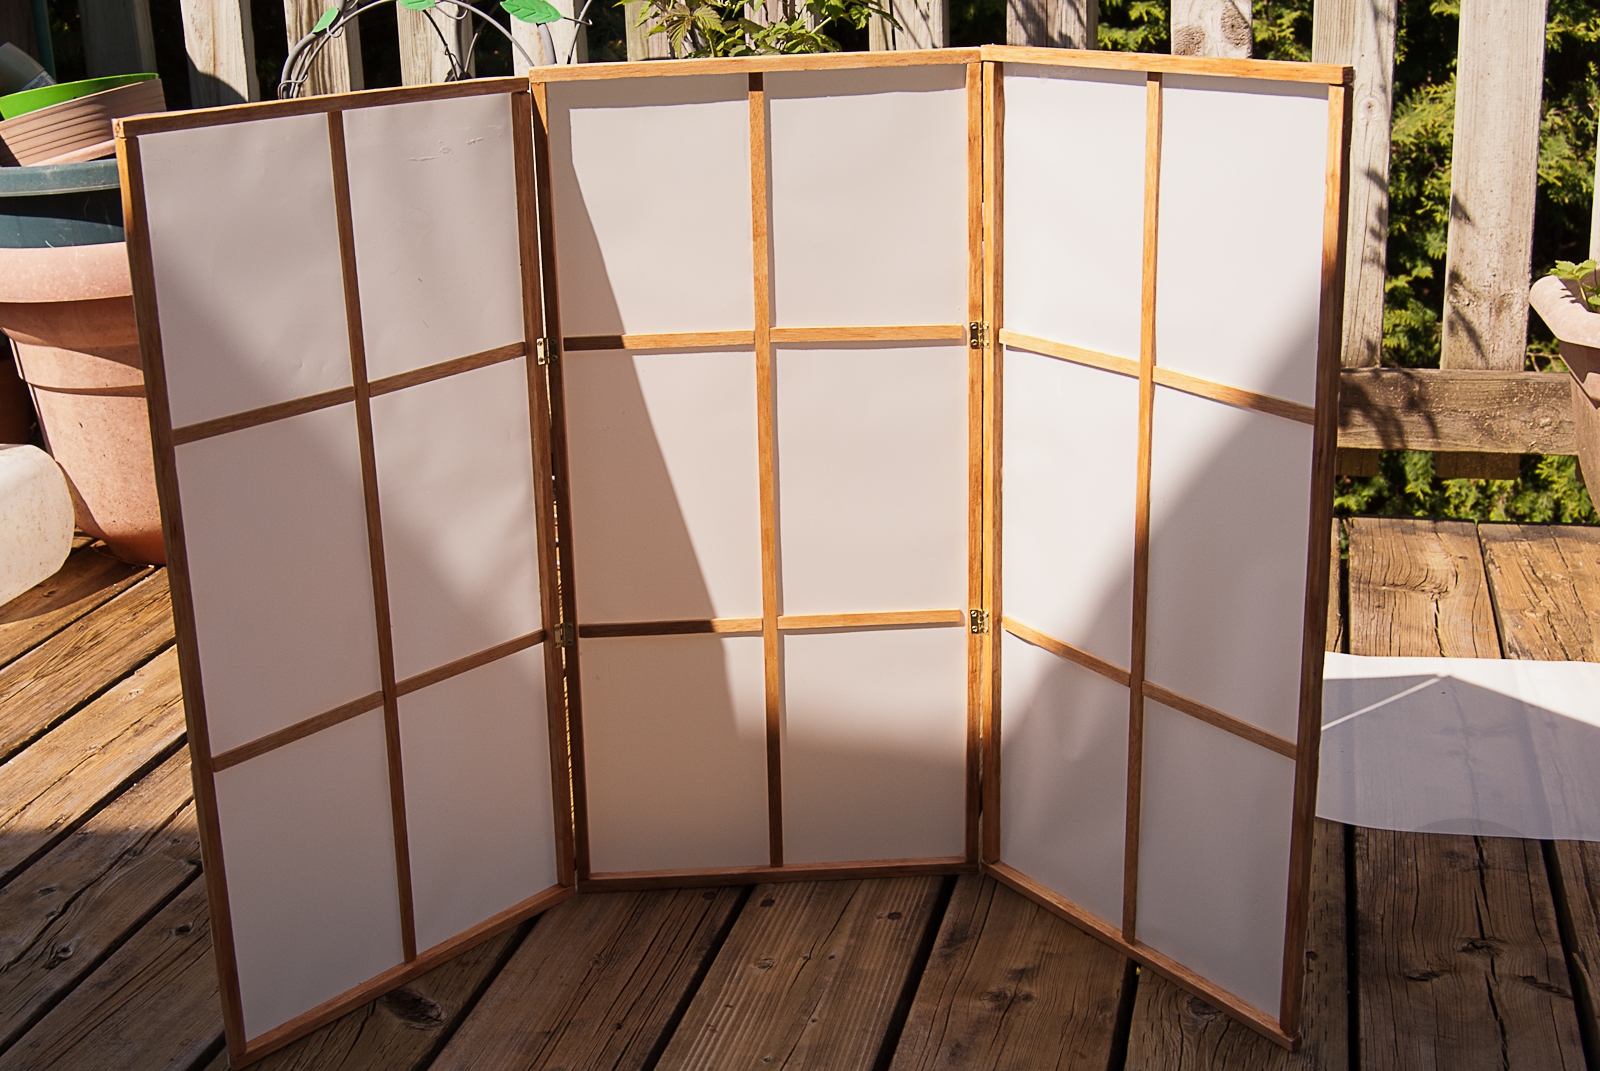
 When I said I was inspired by the ikebana displays at the Botanical Gardens this weekend, I bet you didn’t think this was what I meant! But I was so charmed by the smaller-proportioned tabletop shoji screen used as a backdrop for one of the arrangements, I knew I wanted one as soon as possible. I browsed around and found one online but the cost + shipping came 0ut to $60 US, which was more than I was looking to spend. So I hit up the local Michael’s craft store yesterday and bought a couple of supplies, and with two short afternoons of work out on the back deck enjoying the lovely weather, I’ve got something that I’m really quite proud of. It’s incredibly light and easy to store. It is a bit fragile, but since it won’t be bearing any weight or staying on display for extended periods of time that’s fine with me.
If you’d like to make one of your own, just read on! I will give the exact measurements for this one, which comes out to three feet wide and two feet tall, but you can absolutely scale up or down for your needs. You can also dress it up with fancier paper and different stain or paint on the wood if you want to. I plan to use this as a neutral backdrop for ikebana and product reviews, amongst other things, so I went with plain white and a fairly mid-range cherry stain.
You Will Need: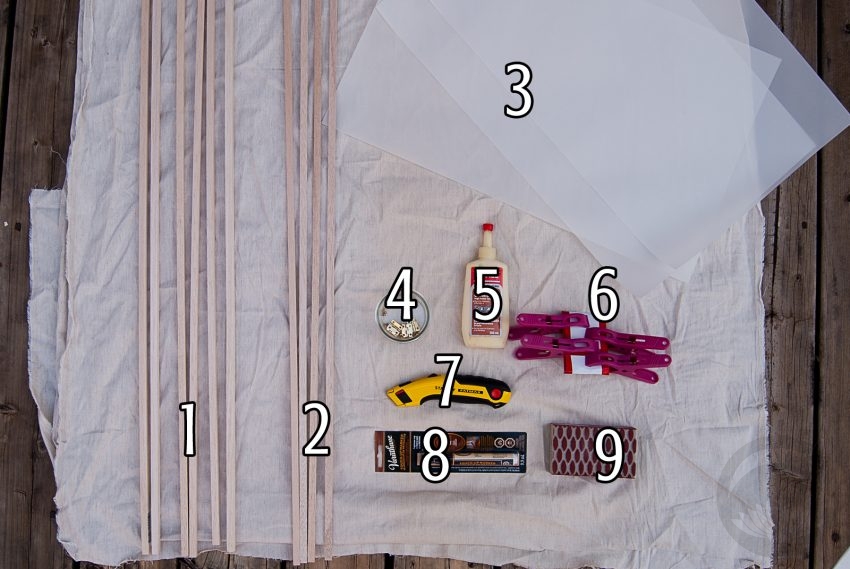
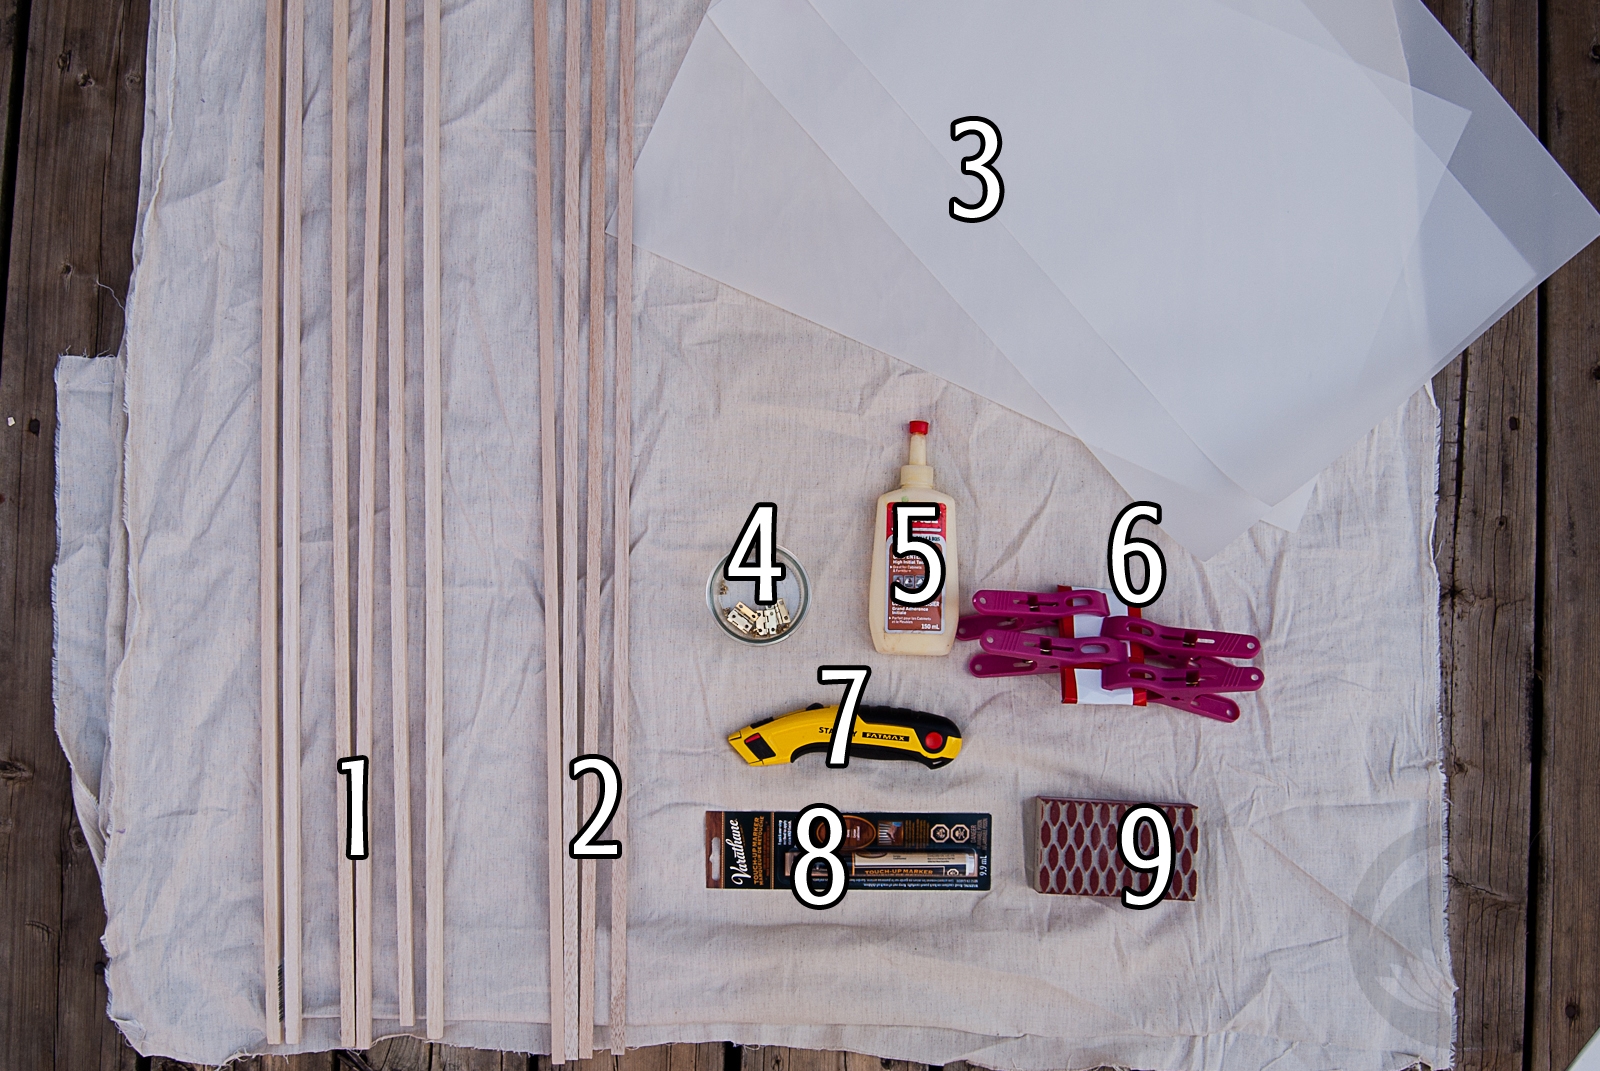
- Six 36″ wide square (1/2″ by 1/2″) balsa pieces.
- Four 36″ narrow flat (1/2″ by 1/4″) balsa pieces.
- Translucent backing – Rice Paper, Mulberry Paper, etc. I used sheets of drafting mylar because I had some lying around.
- Four miniature hinges & screws – these can be difficult to find, I actually bought two cheap boxes at the dollar store similar to these ones and took the hinges from them.
- Wood glue. I also ended up using some good old E-6000 glue to hold the mylar in place.
- Spring clips – not necessary but handy for holding things together.
- Utility knife. Make sure you’ve got a fresh, sharp blade.
- Stain marker – you can use canned stain or paint but the markers are less messy and will come in handy later.
- Sanding sponge or sandpaper.
I spent $1.99 per piece of balsa wood and $1.25 each for the two boxes I stole the hinges from, and everything else I already had lying around. So instead of $60 US and waiting several weeks for delivery, I spent just over $20 and had it almost immediately!


First step is to cut the balsa to frame-sized segments. Take the six larger pieces and divide each one into segments 24″ long and 12″ long. The wood is so light that you can easily do this just with a utility knife, no sawing needed. Simply score a line around the entire piece of the wood, go around a second time cutting slightly deeper, and then carefully snap the piece in two. Sand the ends smooth.

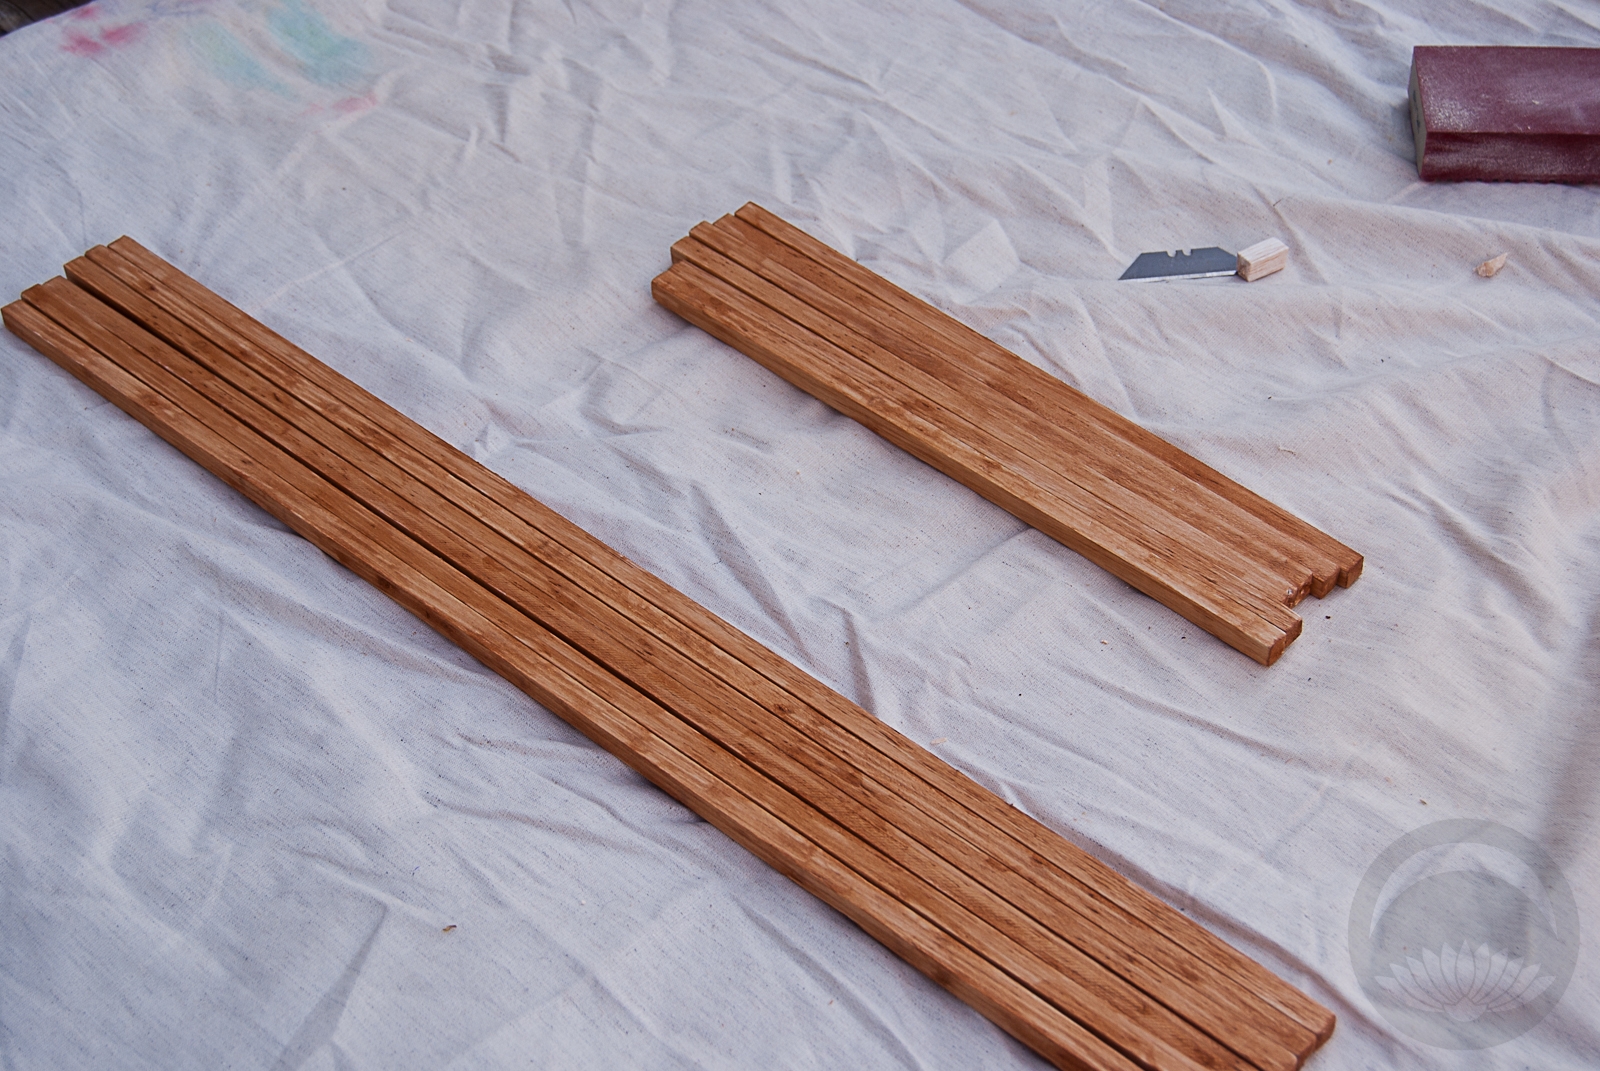
Next step is to stain your pieces. It may seem counter-intuitive to do it now, but the stain won’t penetrate the wood as well once the glue is on, so to ensure a nice even coat, do it before you bust out the glue. The stain may look a little uneven at first, due to how porous the balsa wood is, but as it dries it will even out. One of the advantages of using markers like this is how clean and easy it is, and the other is that it dries almost instantly.
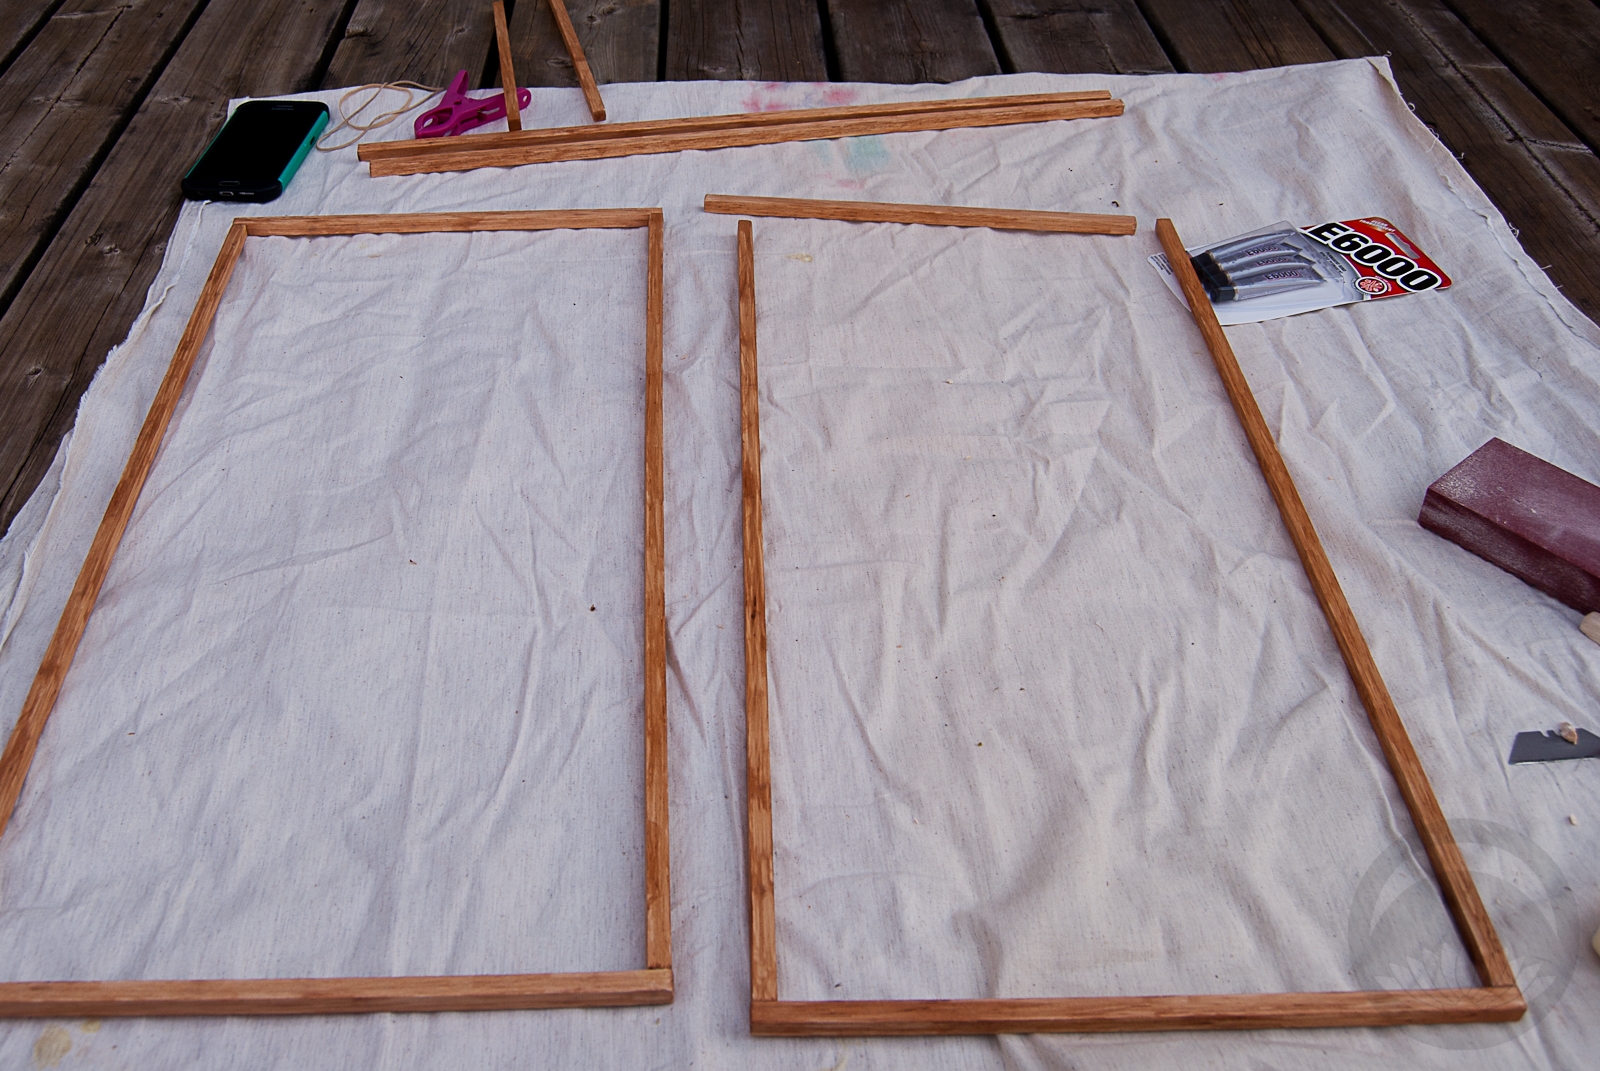
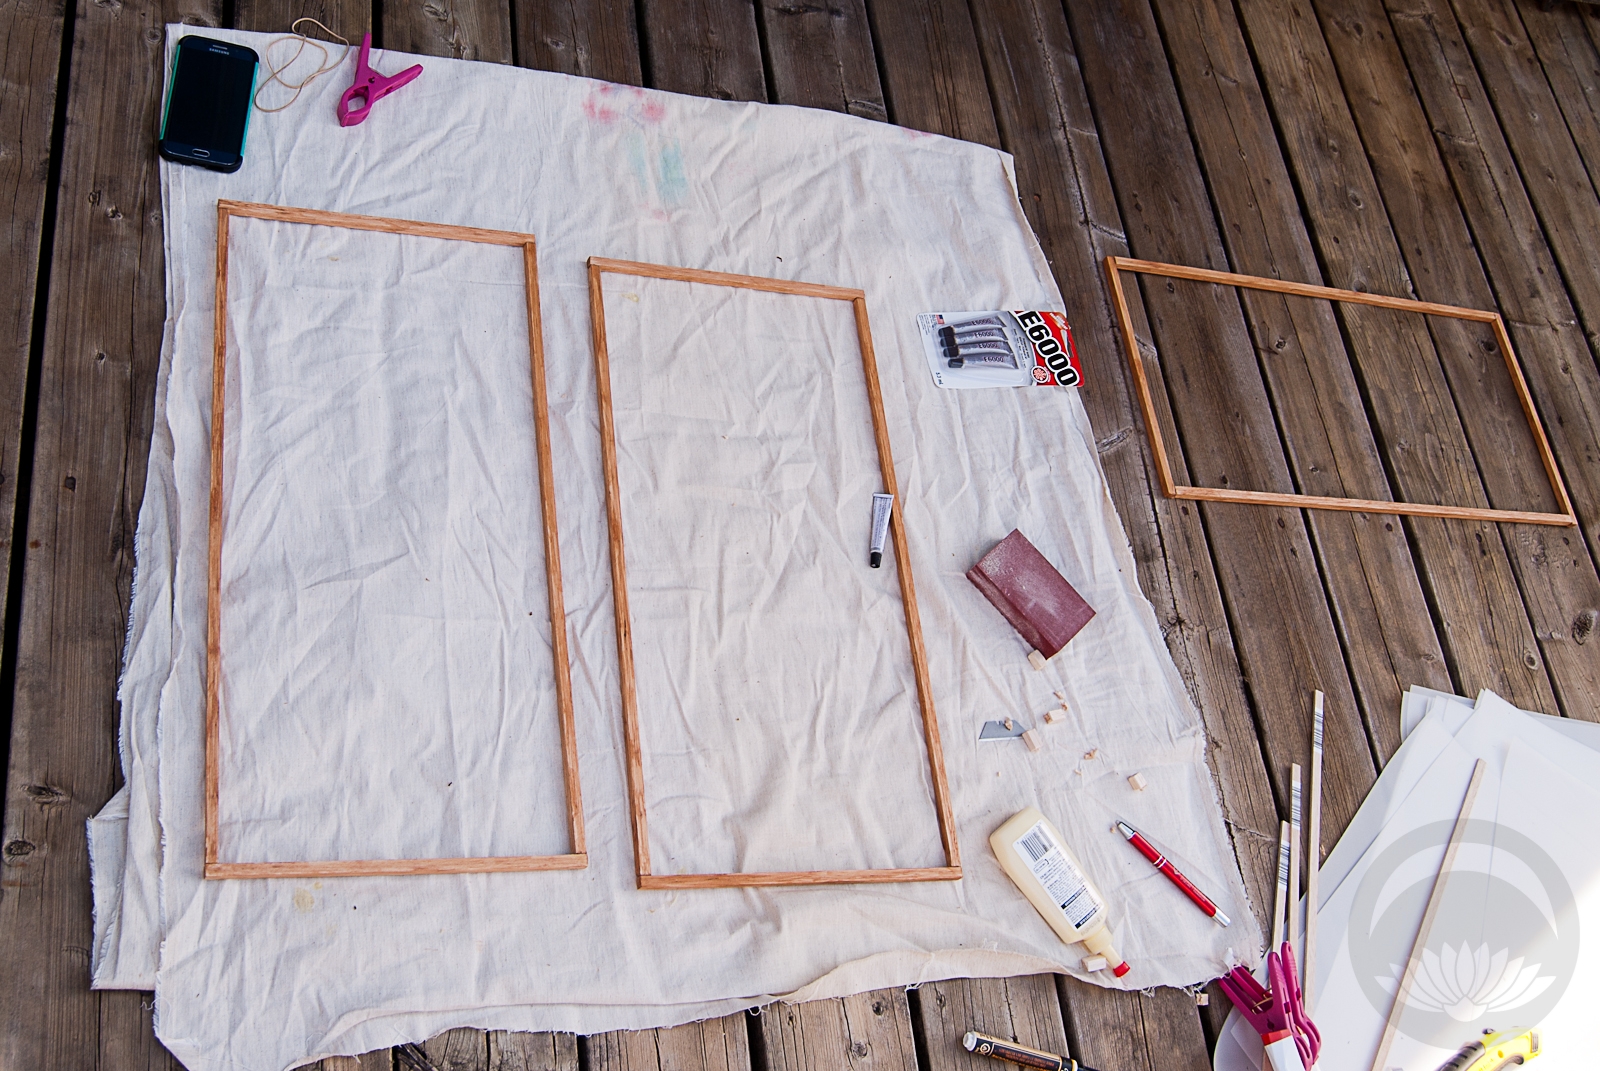
Once you have all your pieces stained and dry, lay them out in three equal rectangles. I butted up the long pieces inside the short tops and bottoms, and glued everything into place. At this point I decided to call it an evening and let the glue set up overnight just to be safe.
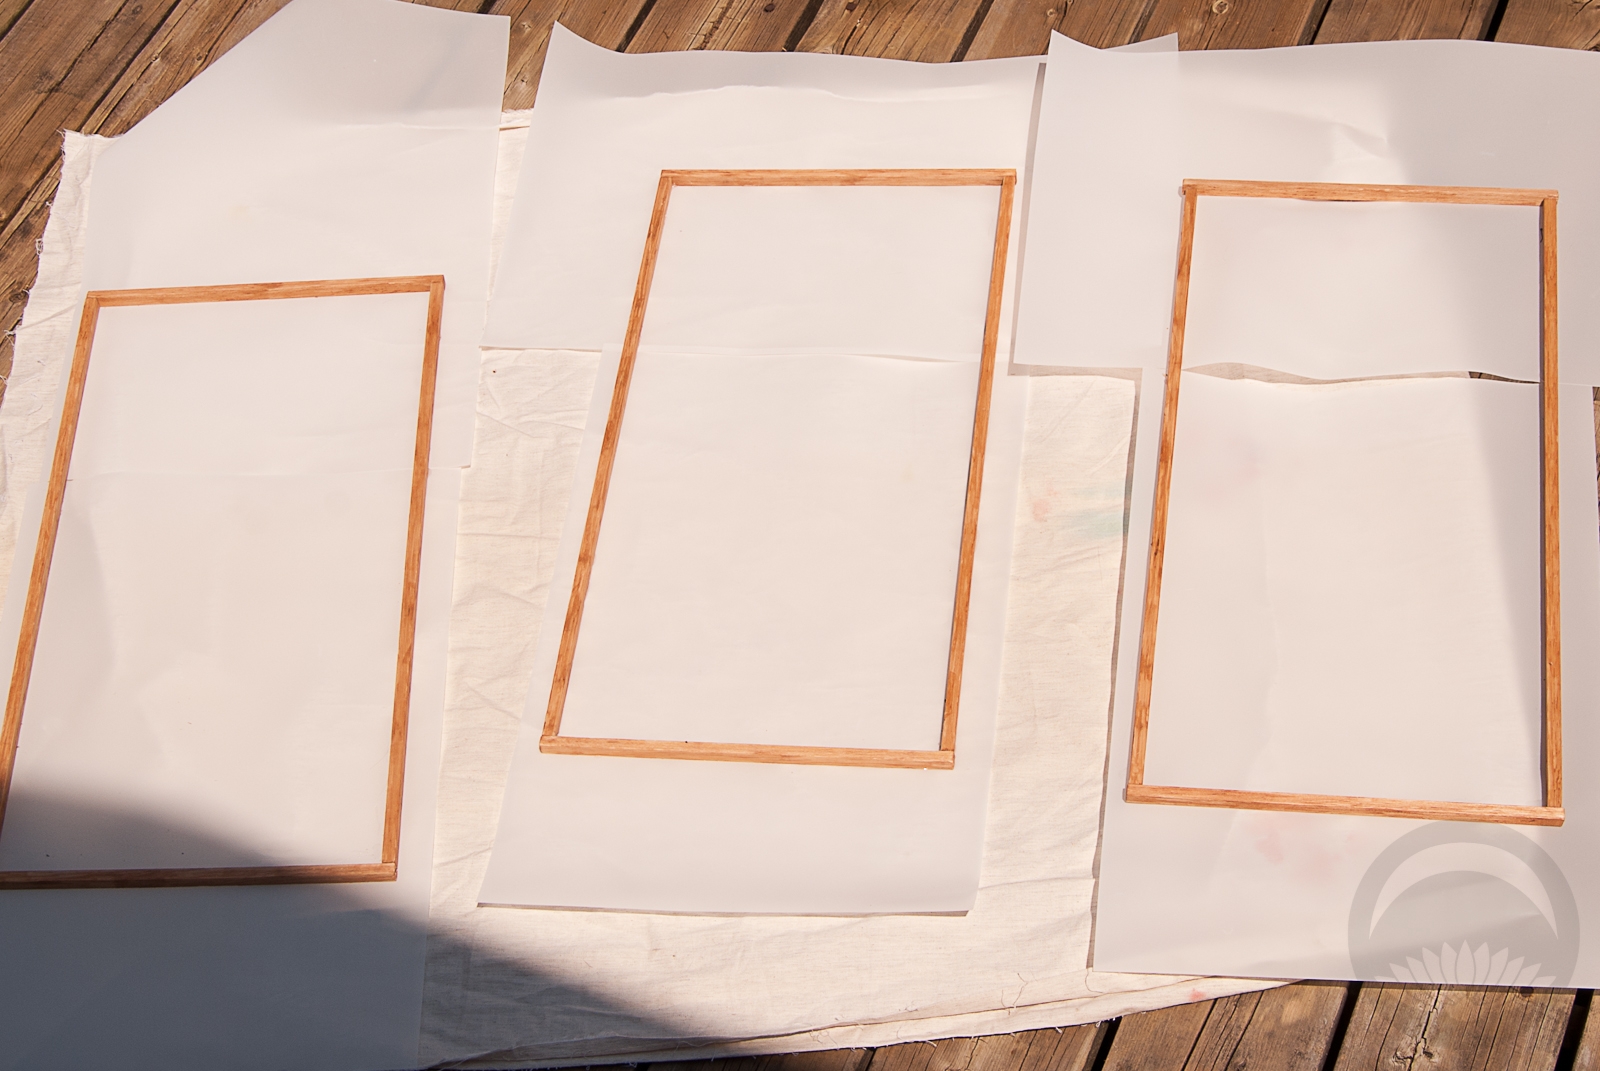
The next step is to glue on your backing material. I found the E-6000 glue worked best for this part. As you can see, the mylar sheets I used weren’t quite large enough so I figured out where my grids would be. Since the panels are 24″ high, I divided them evenly into three 8″ segments, and arranged the mylar so the seams would be hidden. Once the glue was dry, I used the edge of my utility knife to trim off the excess. If you remember, earlier I said using the stain markers instead of a can of liquid stain would come in handy later, and this is why – the balsa wood is so delicate that you may end up inadvertently shaving off small pieces while trimming the backing. With the marker, you can easily touch up any little slips! You could definitely also do it with liquid stain, but you’d risk staining your backing material too. The marker just makes it easier.


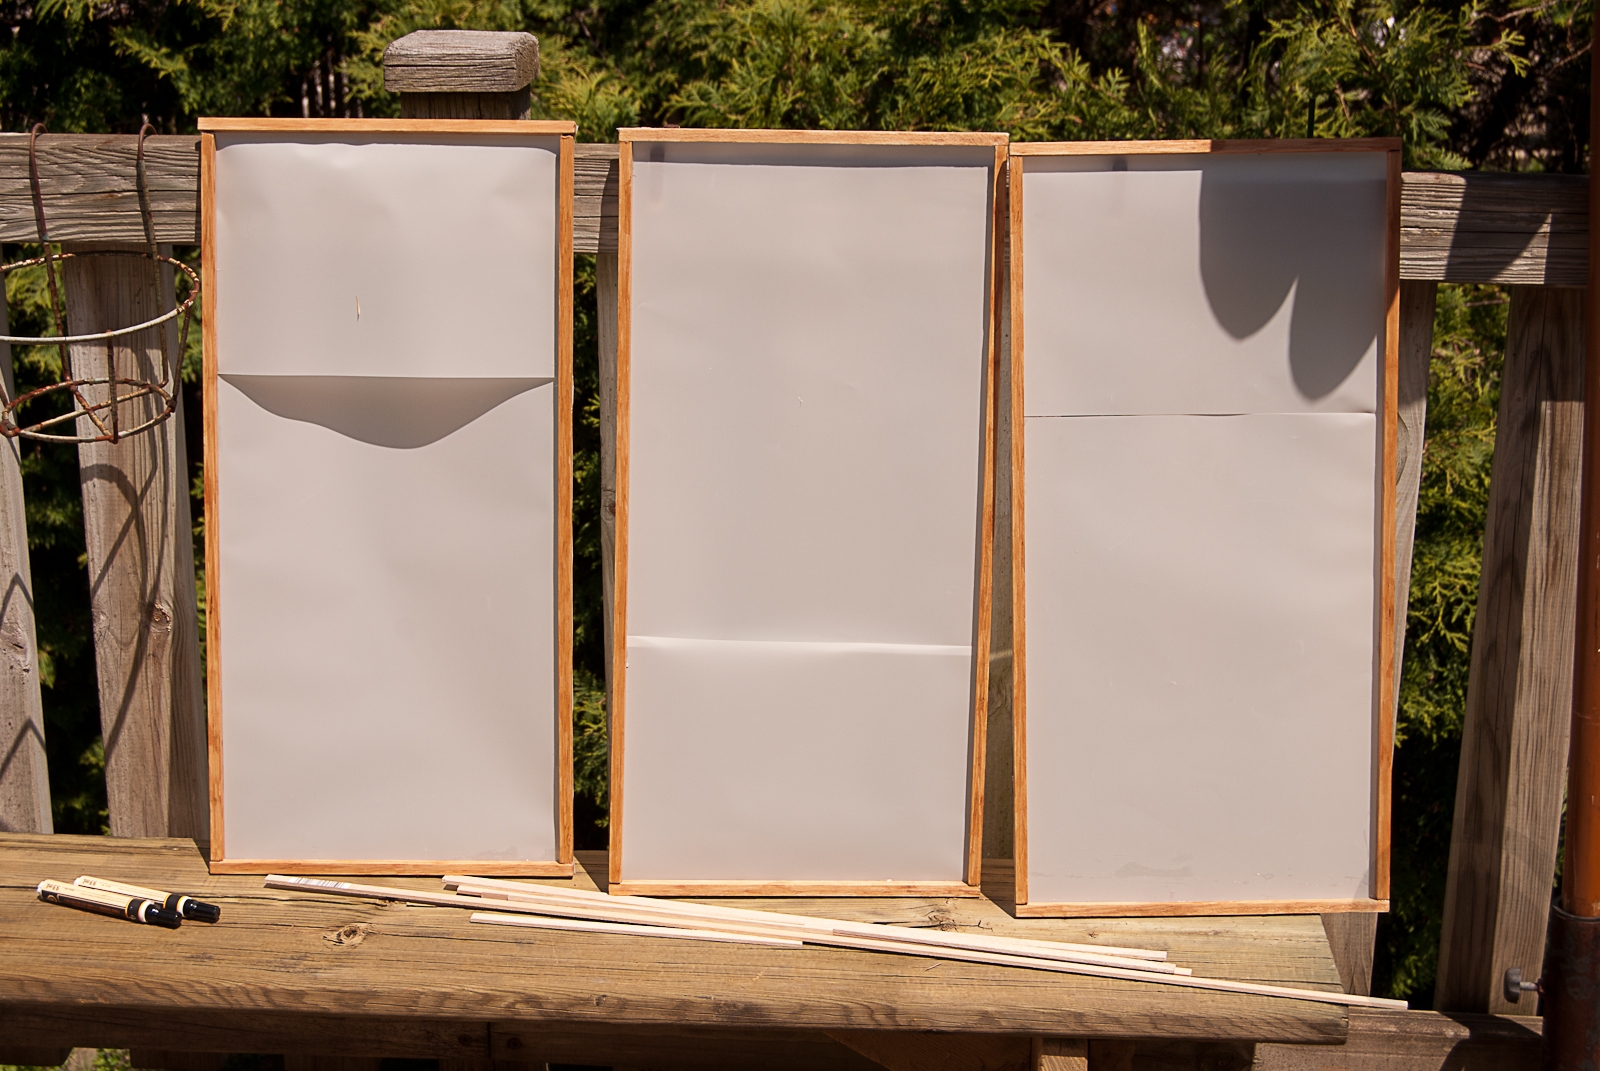
Once you’ve got your three panels backed and dry, it’s time to make the inner dividers. Take your three pieces of narrow balsa wood and cut them into segments. For a three-panel screen you’ll need three 24″ pieces to make the single verticals, and then twelve 10.75″ pieces to make the horizontal cross-bars. Stain them with the same marker (or stain, or paint) you used for the frame. Glue the long vertical pieces in place first, and then the horizontals 8″ from the top and bottom, making sure to completely cover any seams/gaps if you had to overlap your backing material like I did.

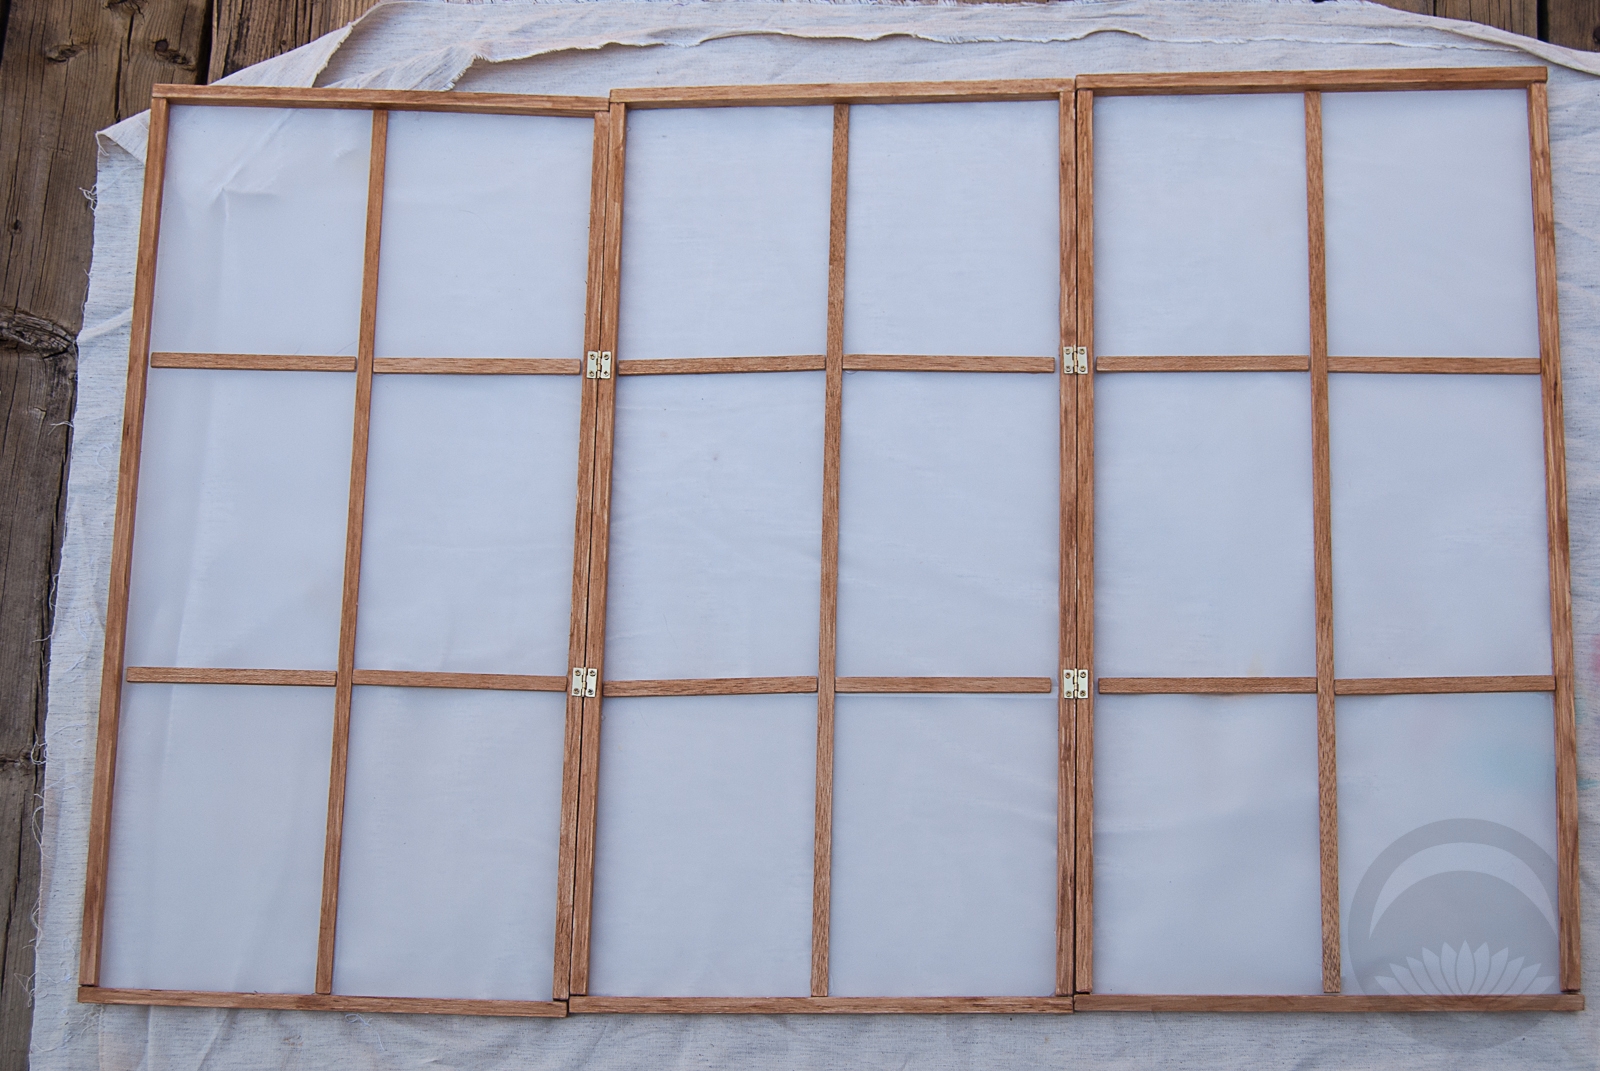
Your final step is to attach your hinges. The first thing you need to do is decide how you want your screen to fold. For a Z-shape/accordion type fold, you’ll want to put one set of hinges on the front and one set on the back. For an inwards-facing diorama-type fold, which is what I chose, both sets of hinges will go on the inside. The easiest thing to do is to line them up with your horizontal cross-pieces, and just screw them carefully into place. The balsa wood is so light that it takes no effort at all to insert the screws, you won’t need to tap or drill holes or anything.

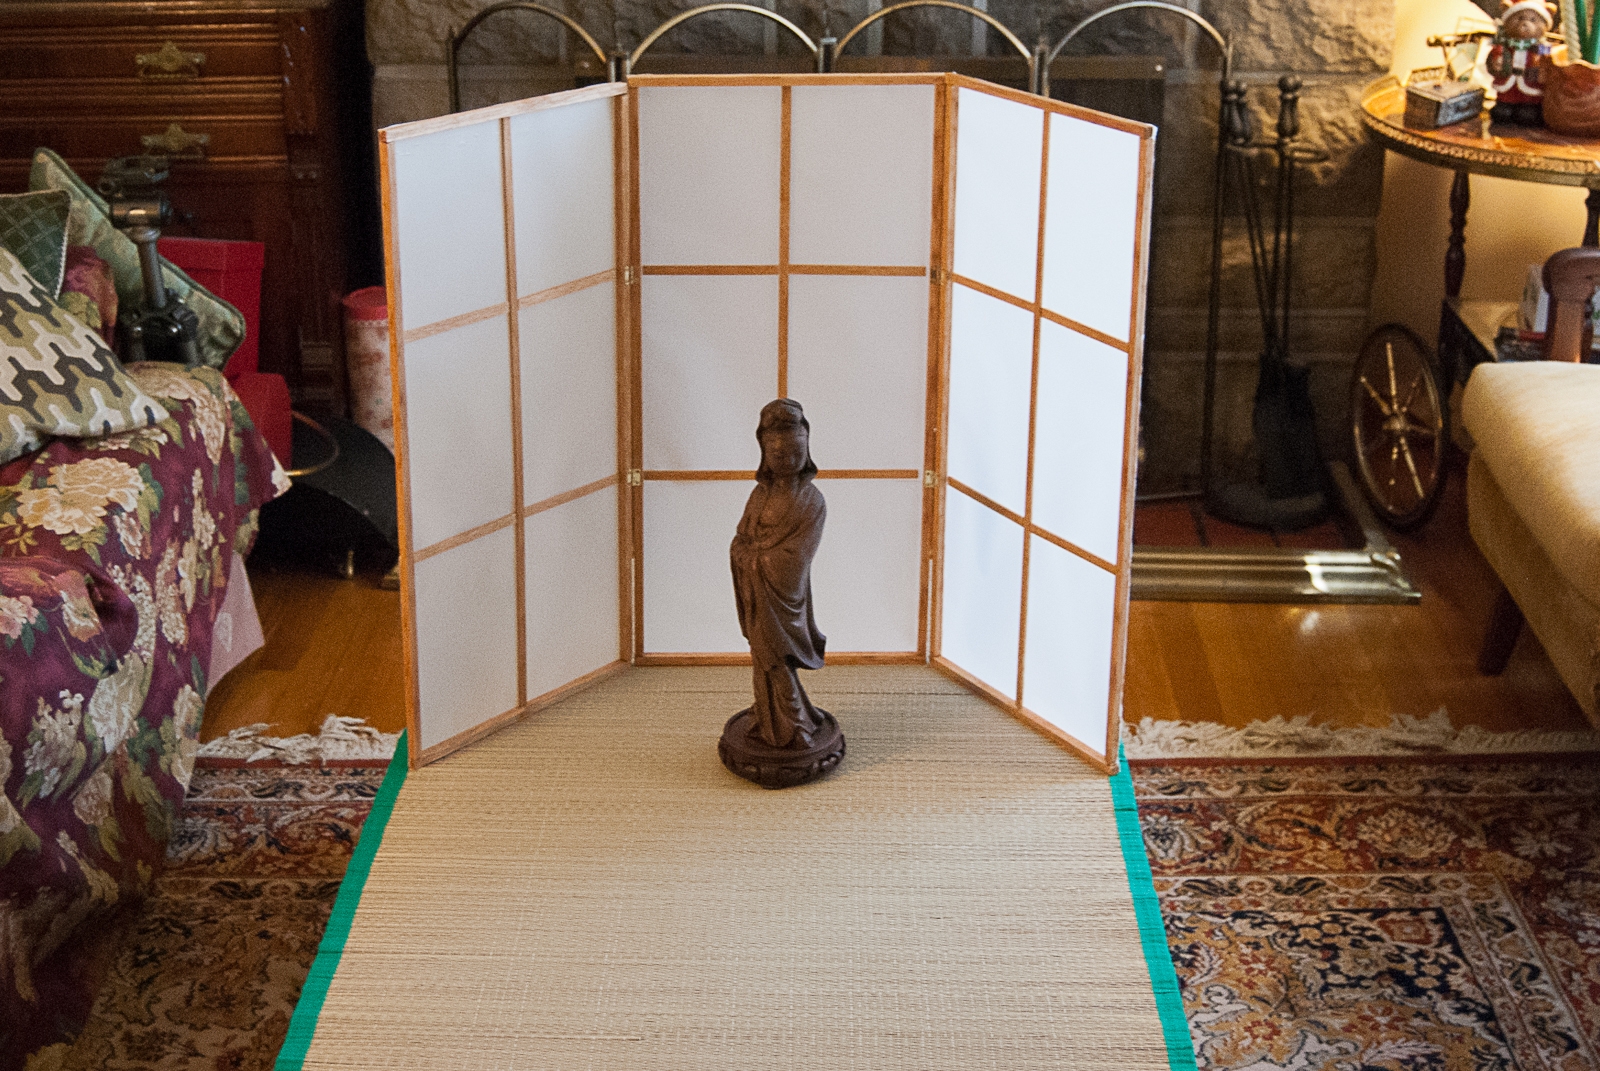
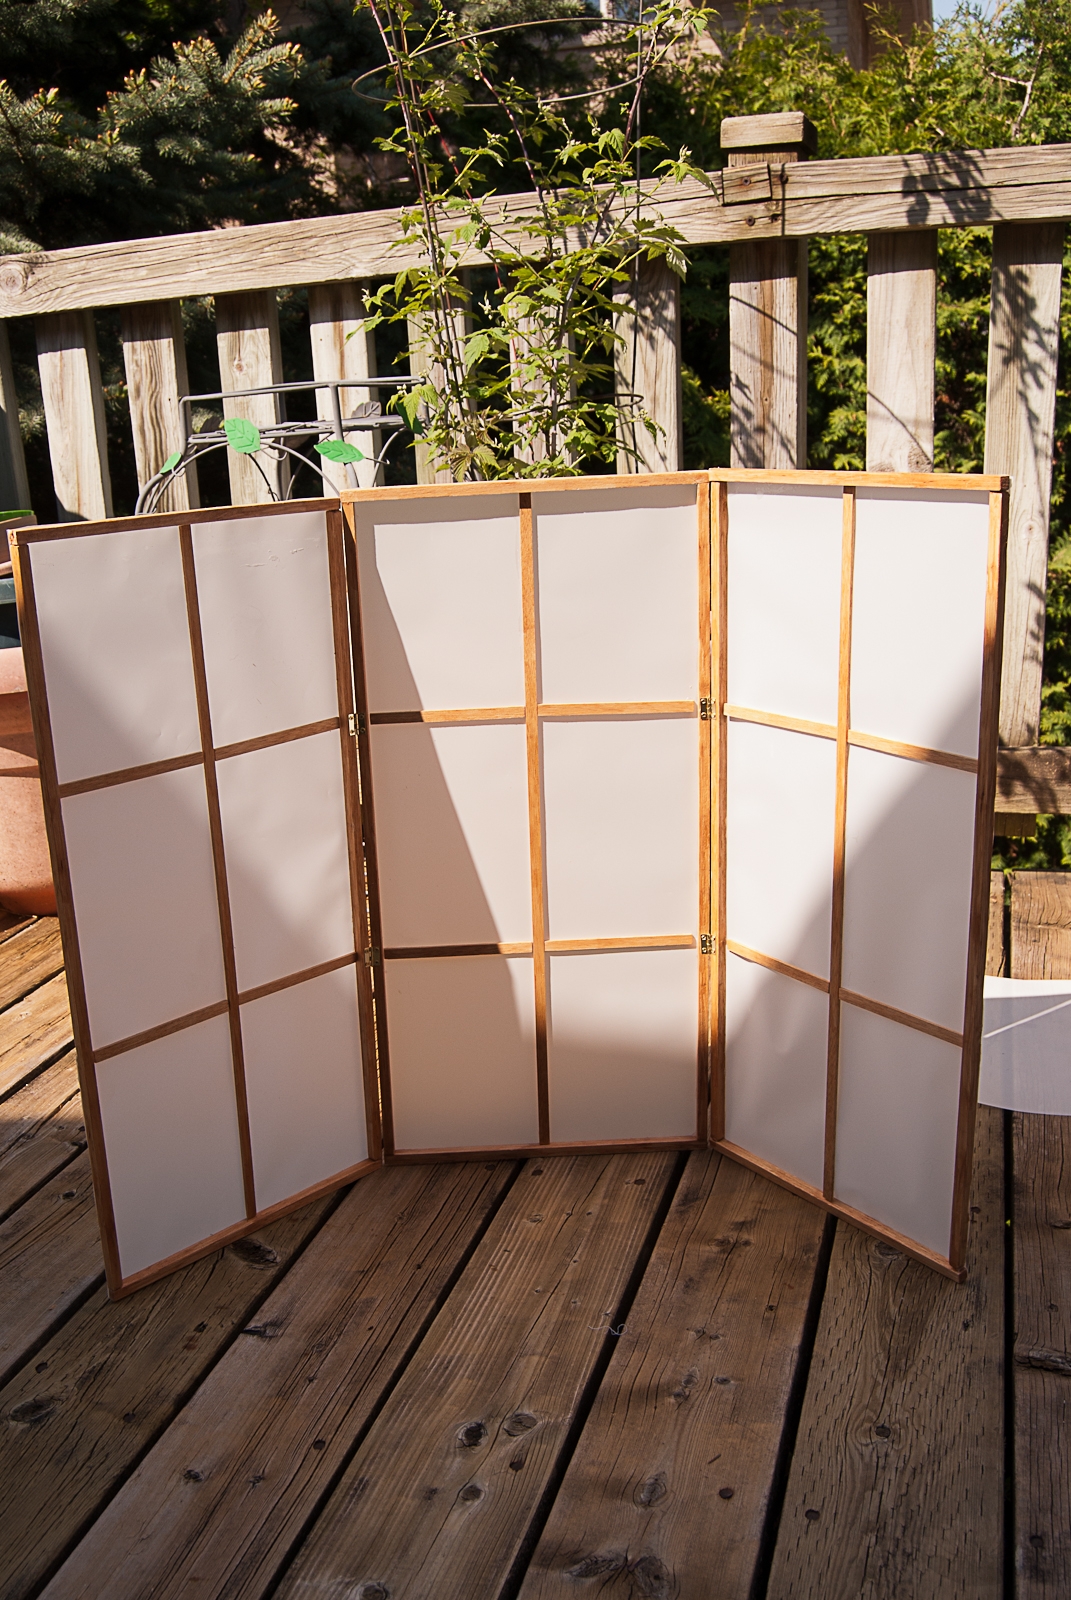
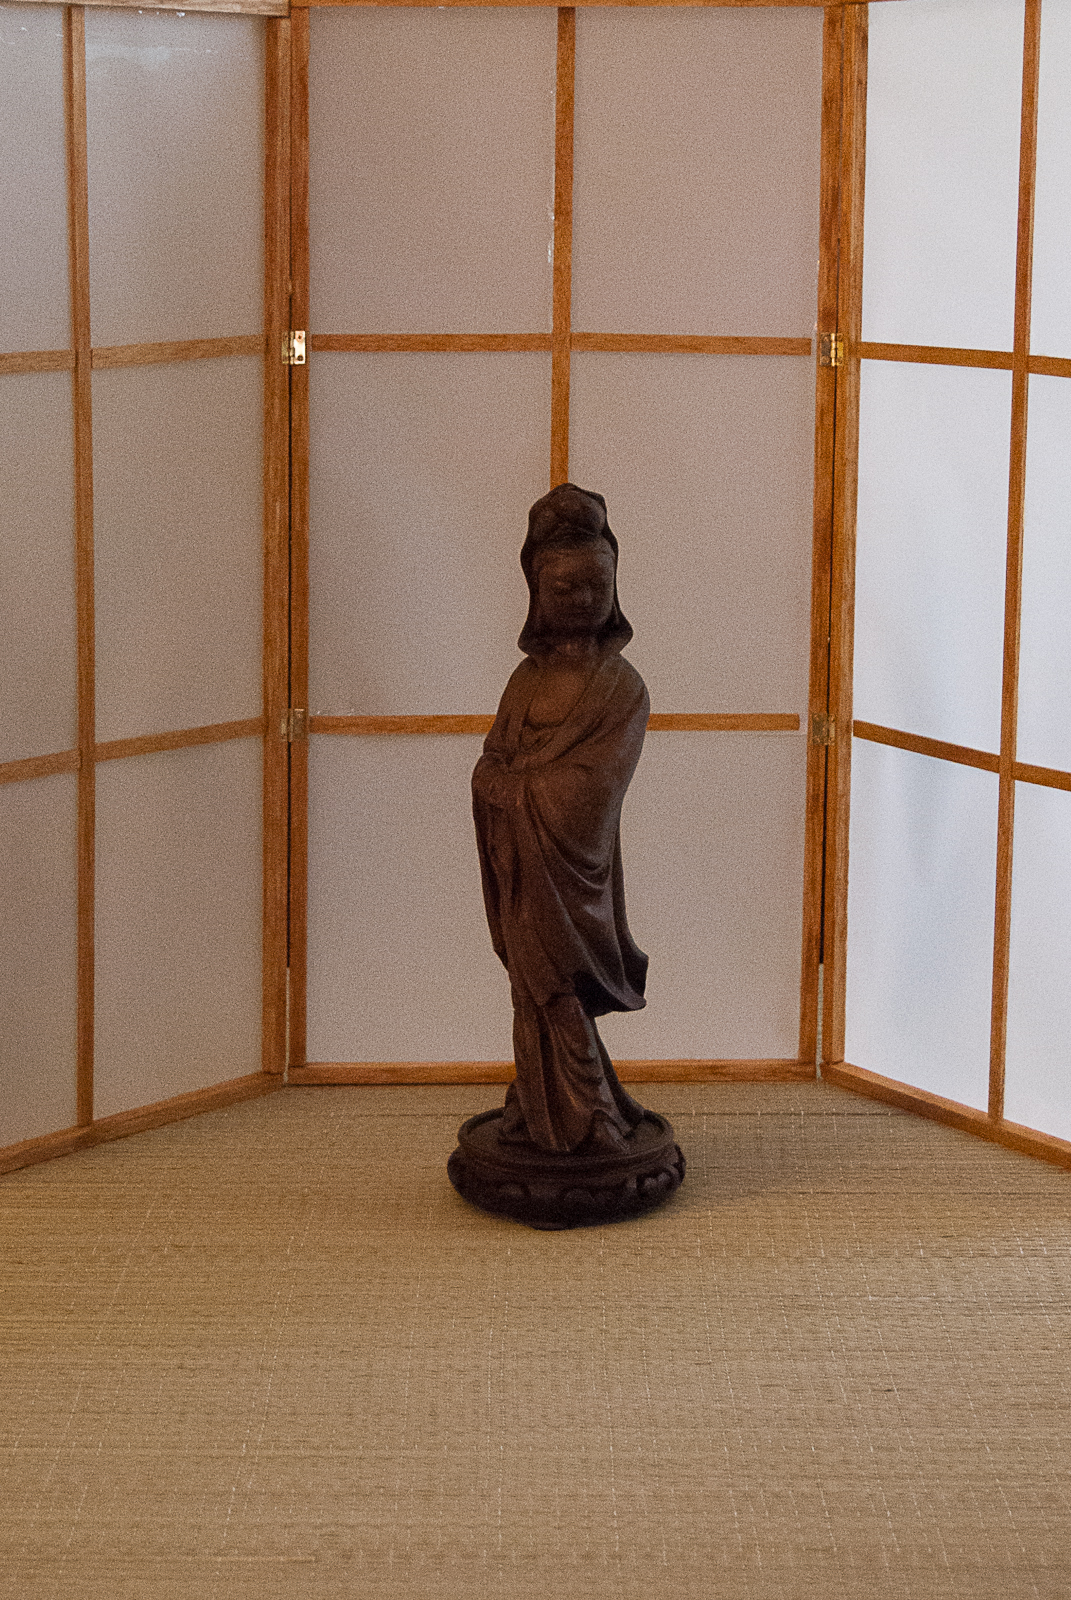
And there you have it! A custom, lightweight, inexpensive, and beautiful screen to make the perfect backdrop for your photos. If you follow this tutorial and make one of your own, please let me know. I’d love to see it!
This post contains affiliate link(s). If you choose to purchase, I receive a small rebate or commission which goes to the continued maintenance of this site.
Other posts you may like


 Bebe Taian
 CHOKO Blog
 Silk & Bones
 Gion Kobu