
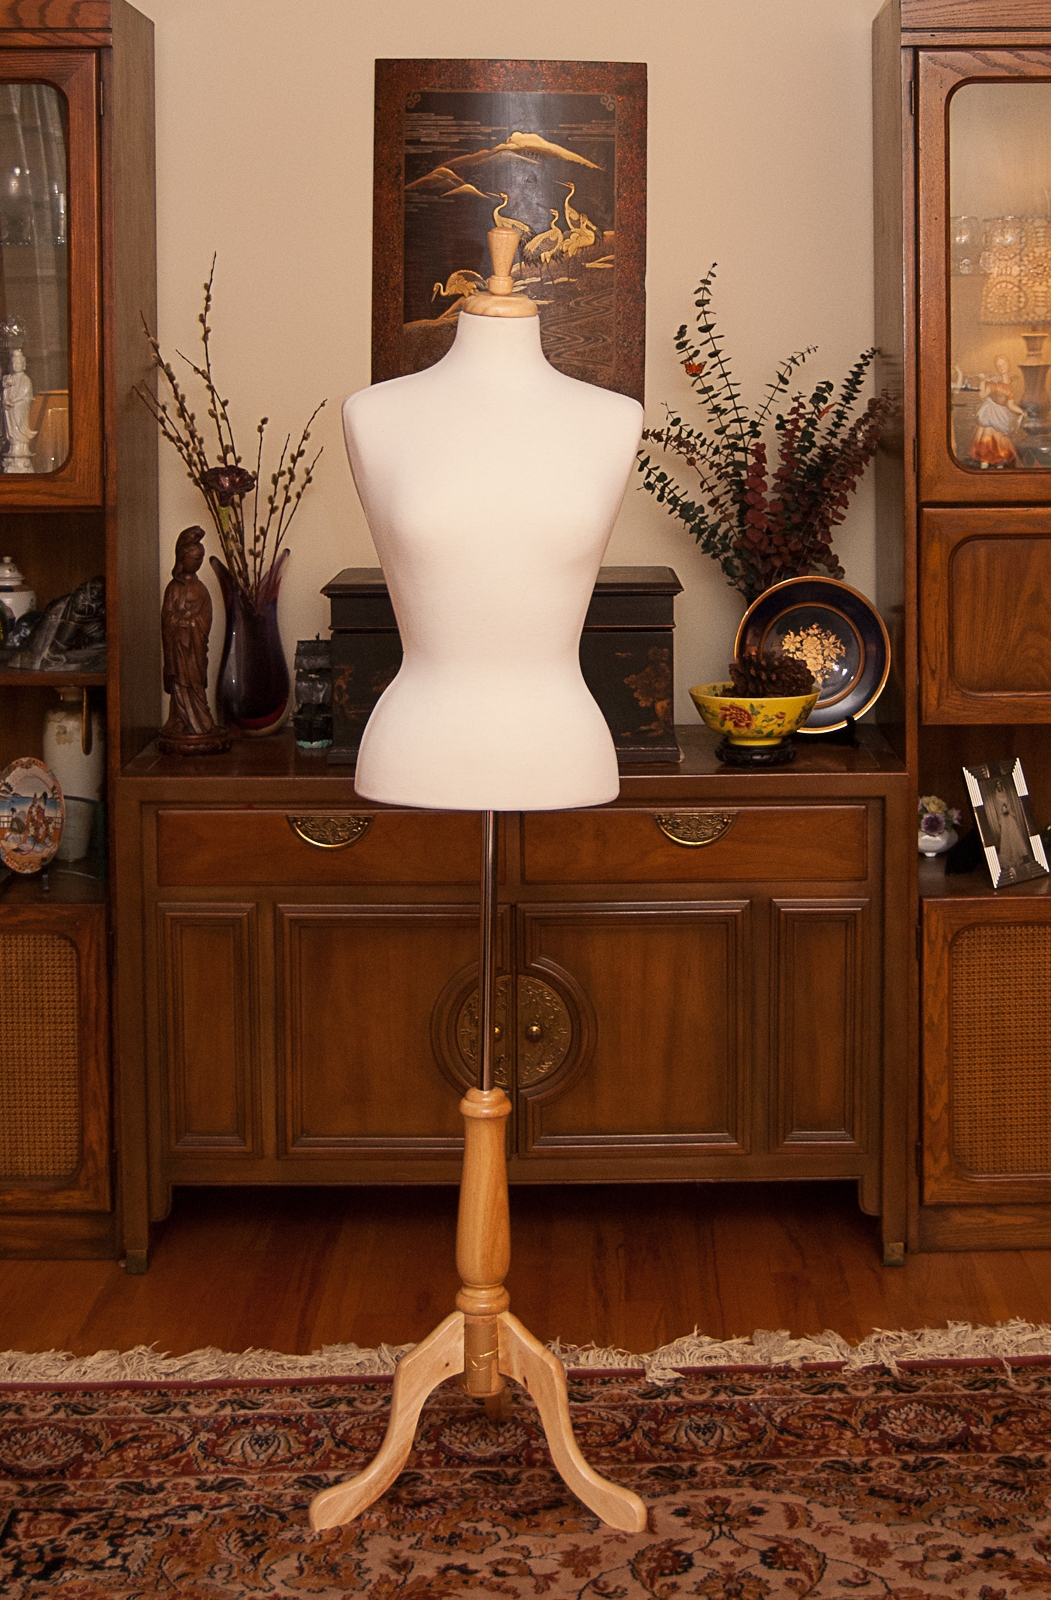
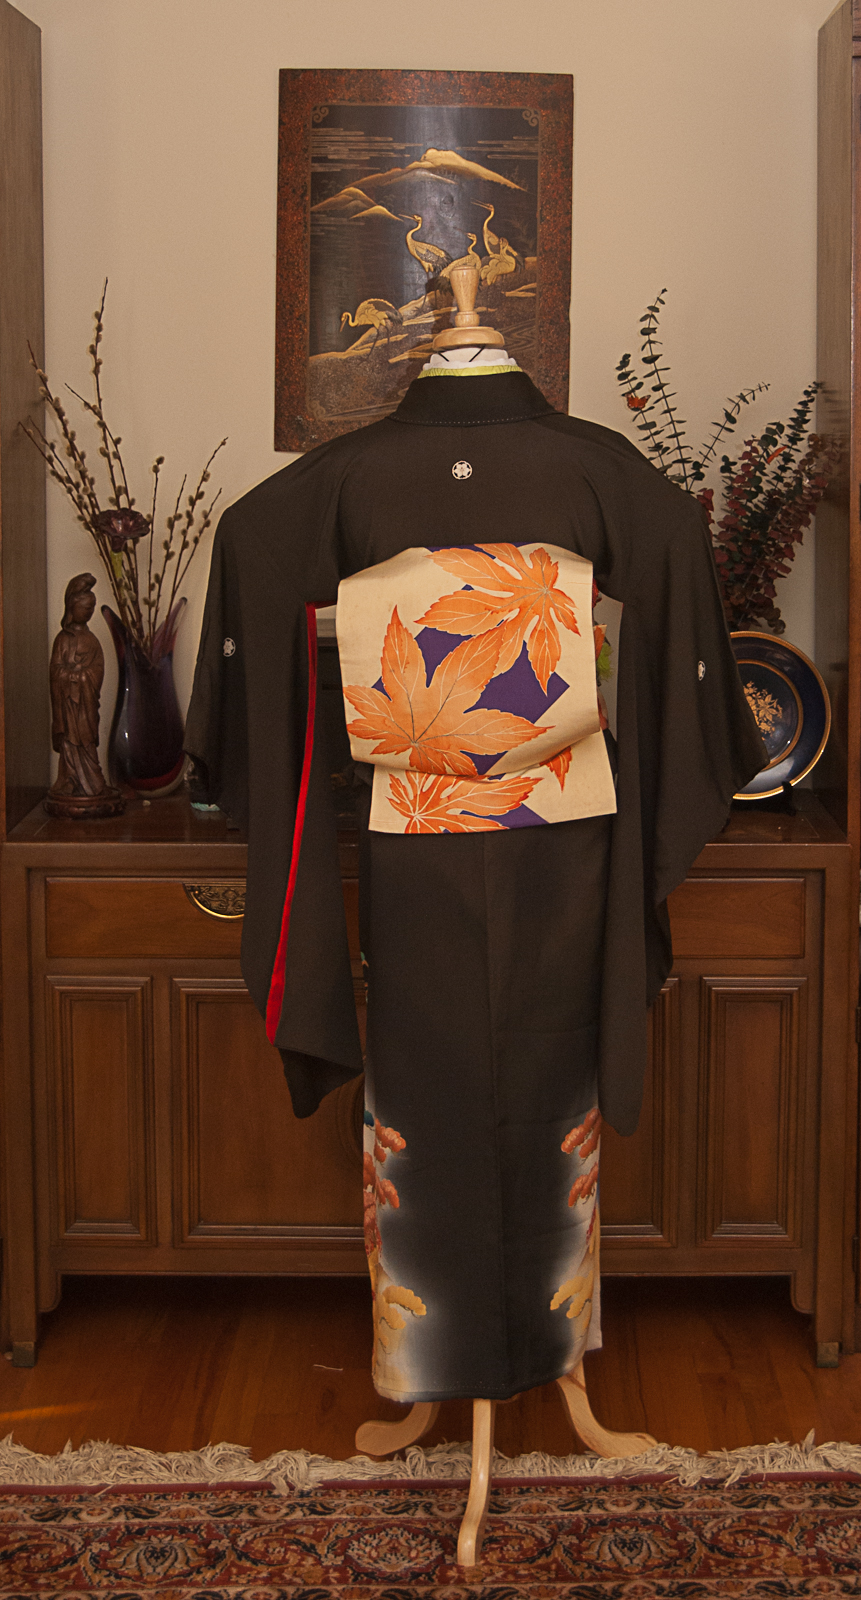
Happy Halloween, everyone! I had tons of fun last year doing a month’s worth of various Halloween coordinations but this month was too busy to devote myself to anything like that. I knew I had to do something though, and that’s where this suitably subtly spooky outfit came from!
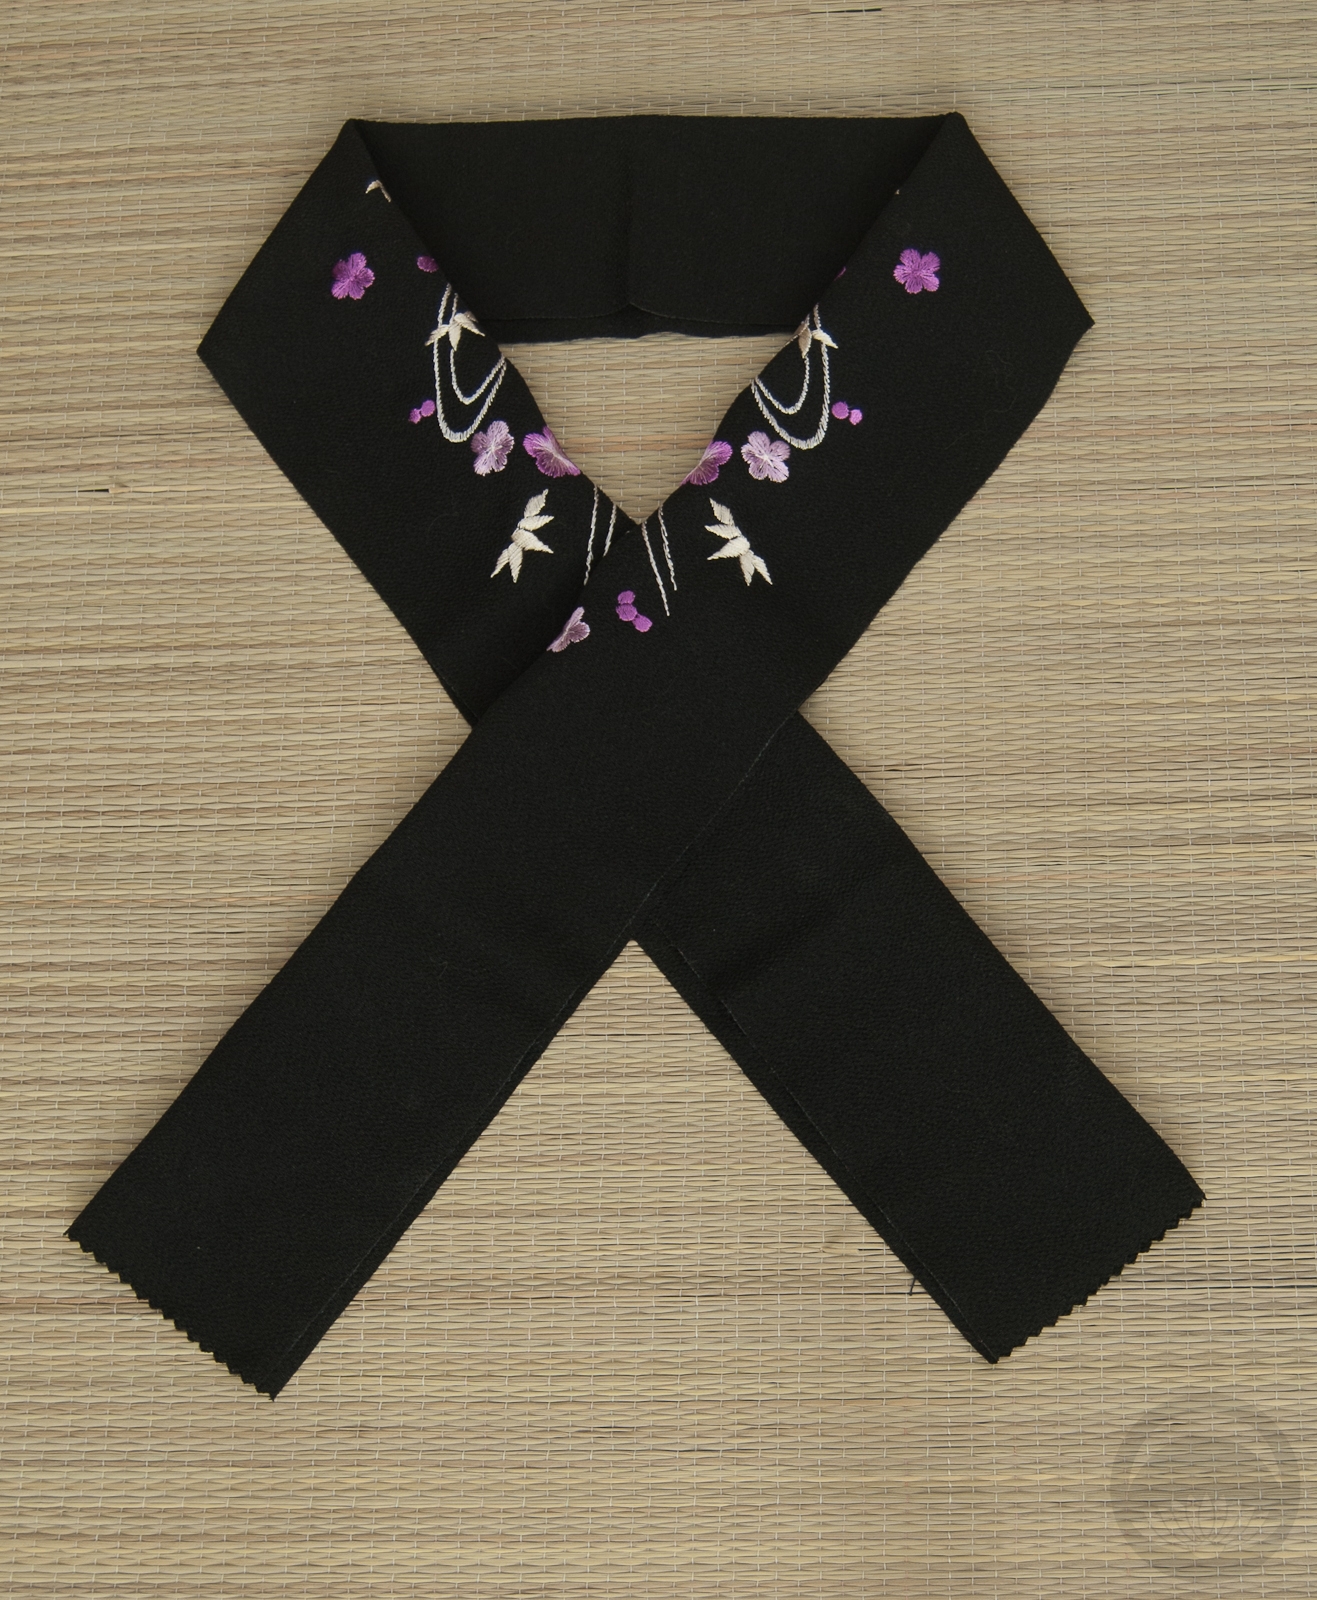
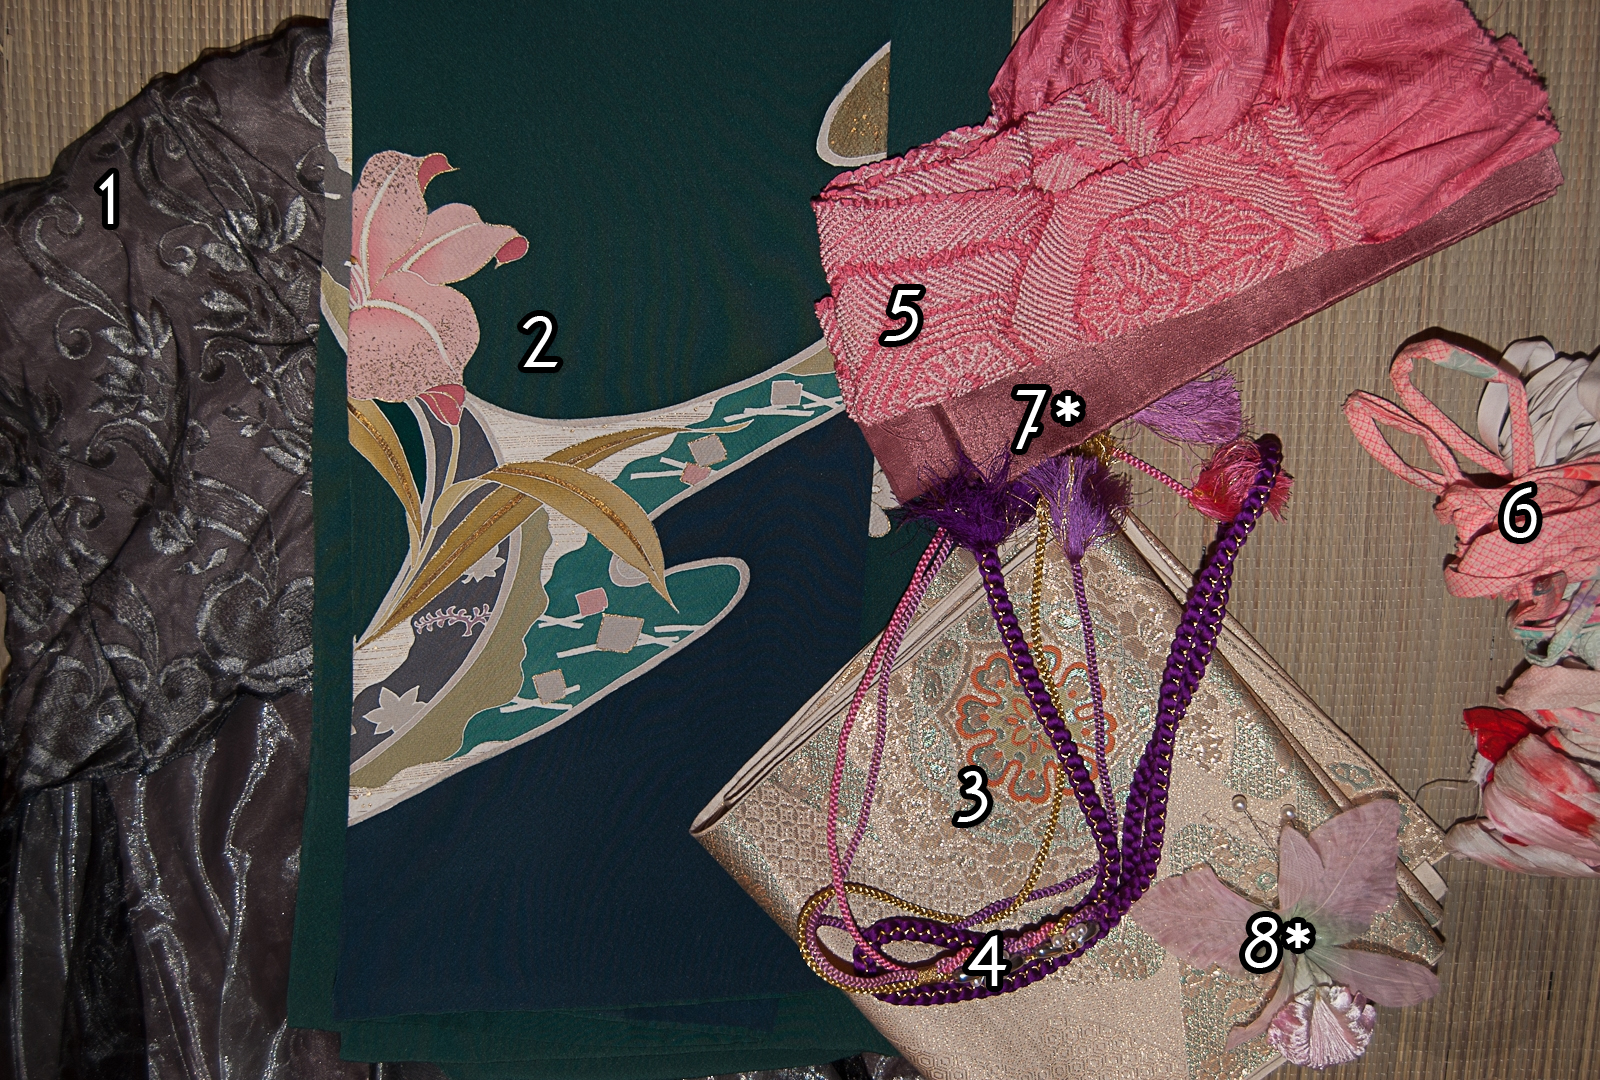
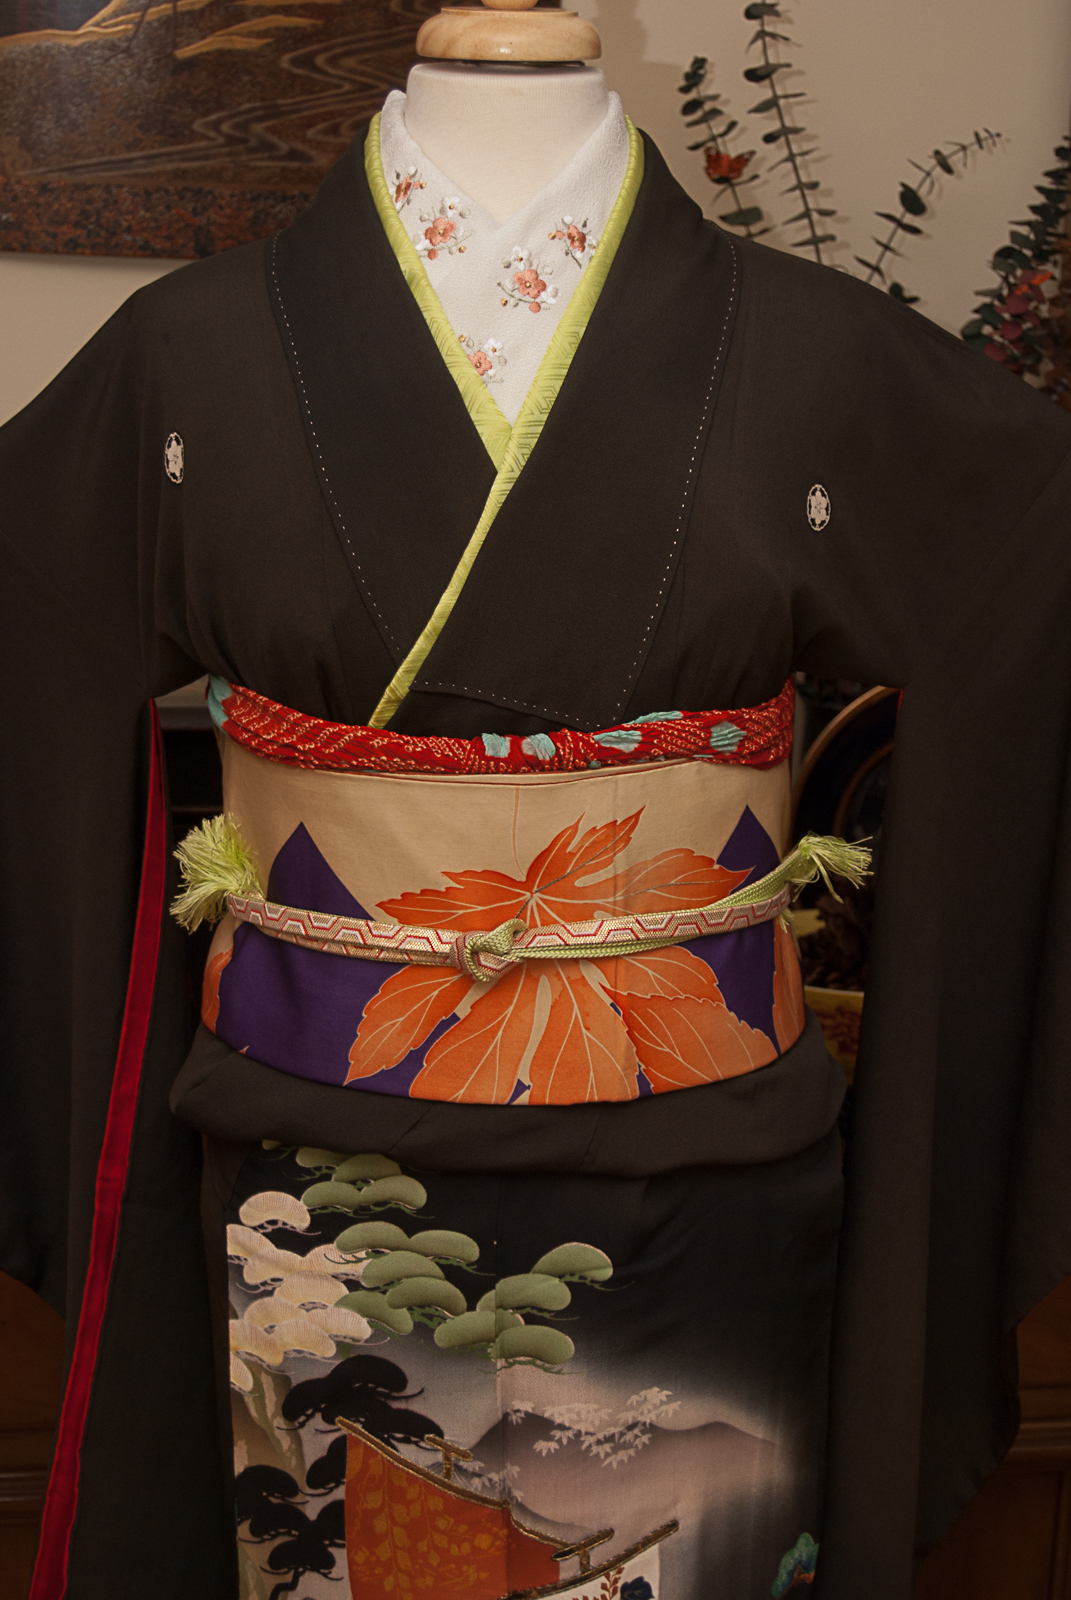
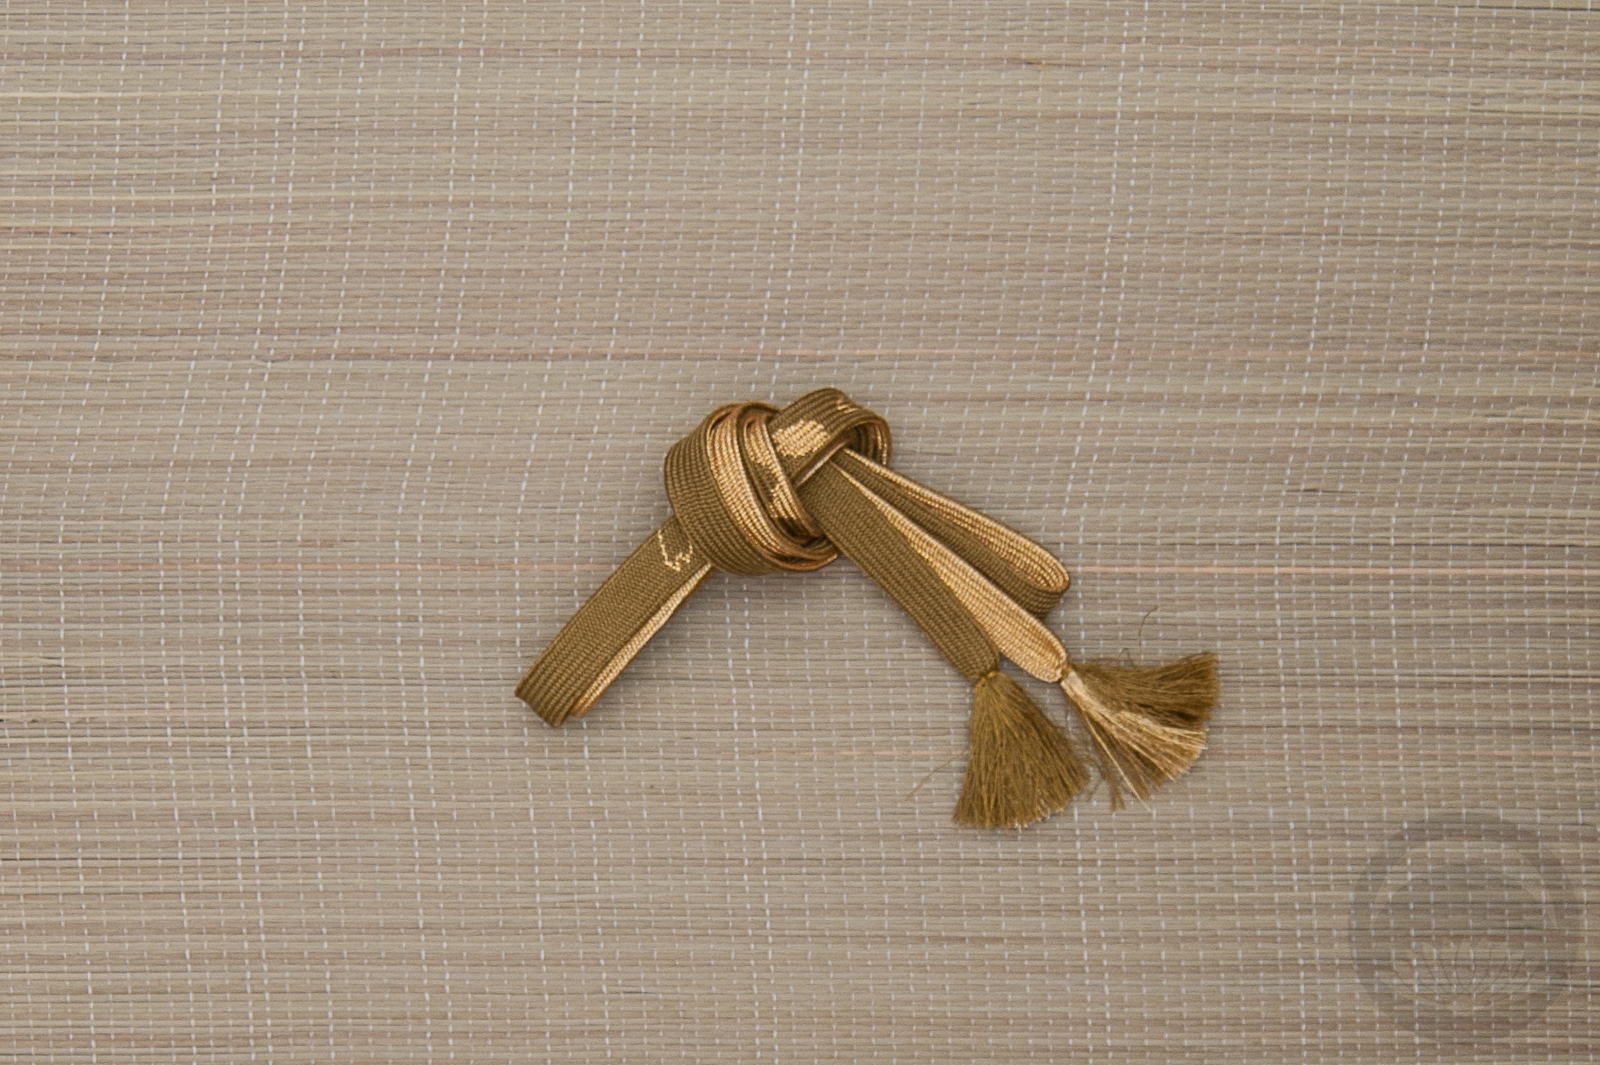
The starting point was unsurprisingly the obi. Obi with seasonal, spooky, or gothic motifs tend to be quite popular, and as such, also quite expensive. This one cost me nearly nothing, since it’s the reverse side of an obi I already owned! I found this gorgeous iridescent gemstone skull sticker at a craft store. It’s actually a Martha Stewart brand product, of all things. Once I had the skull, I knew I wanted to decorate an obi with it but I was worried it would be too plain, but then I found a spool of adhesive ribbons and trims and I was all set.
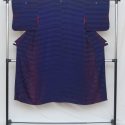
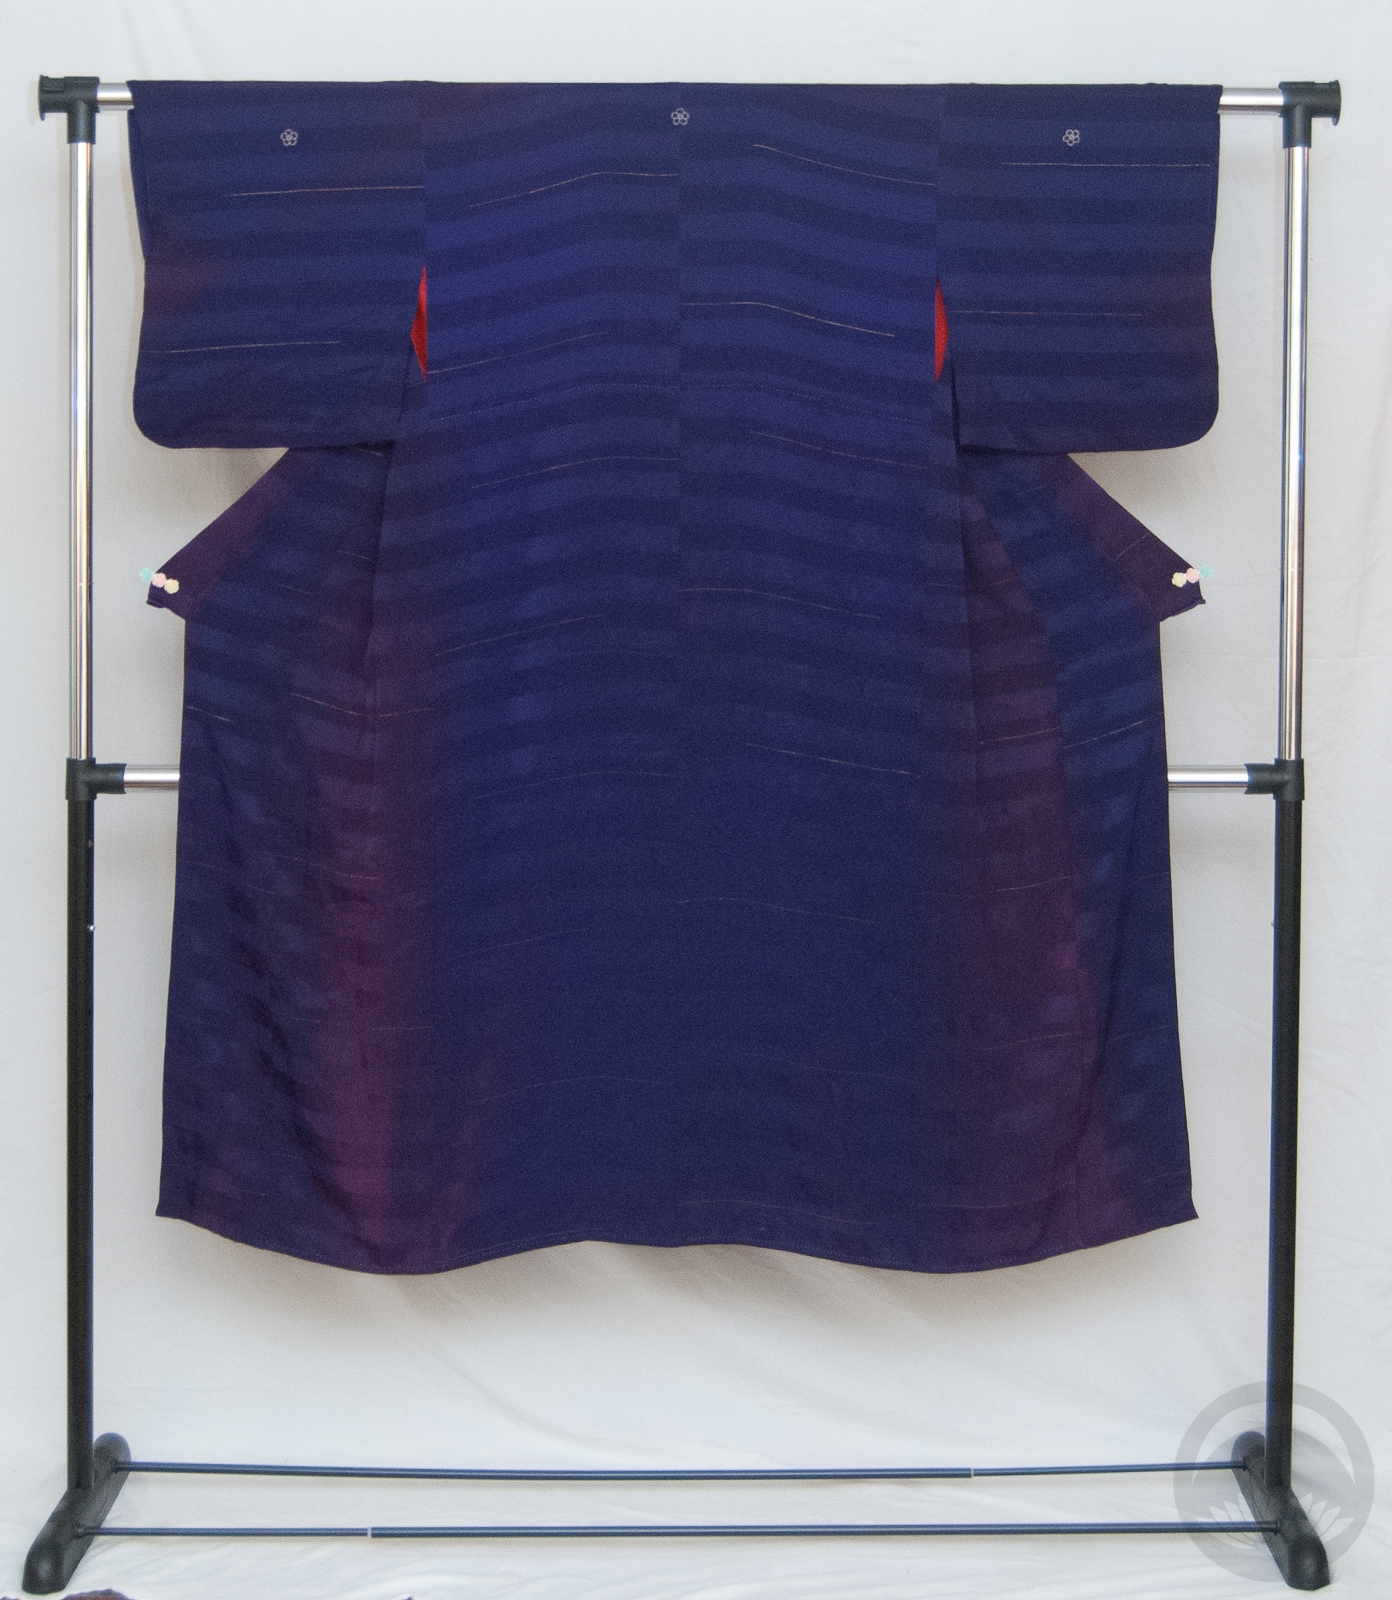
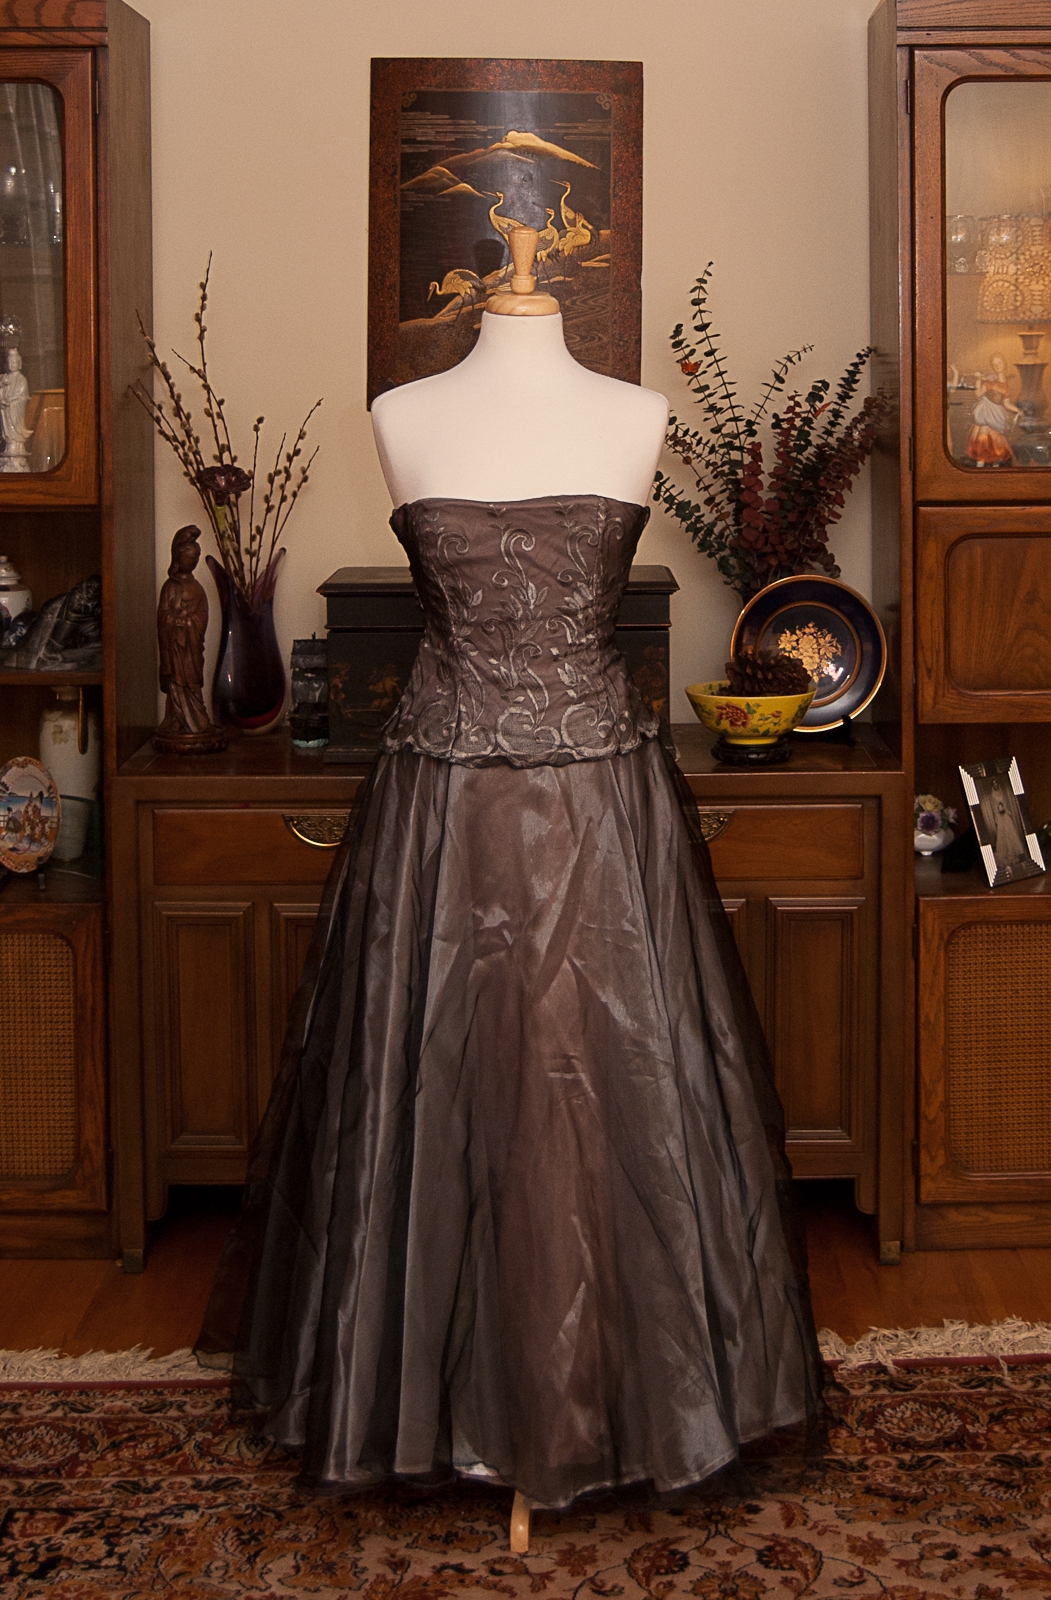
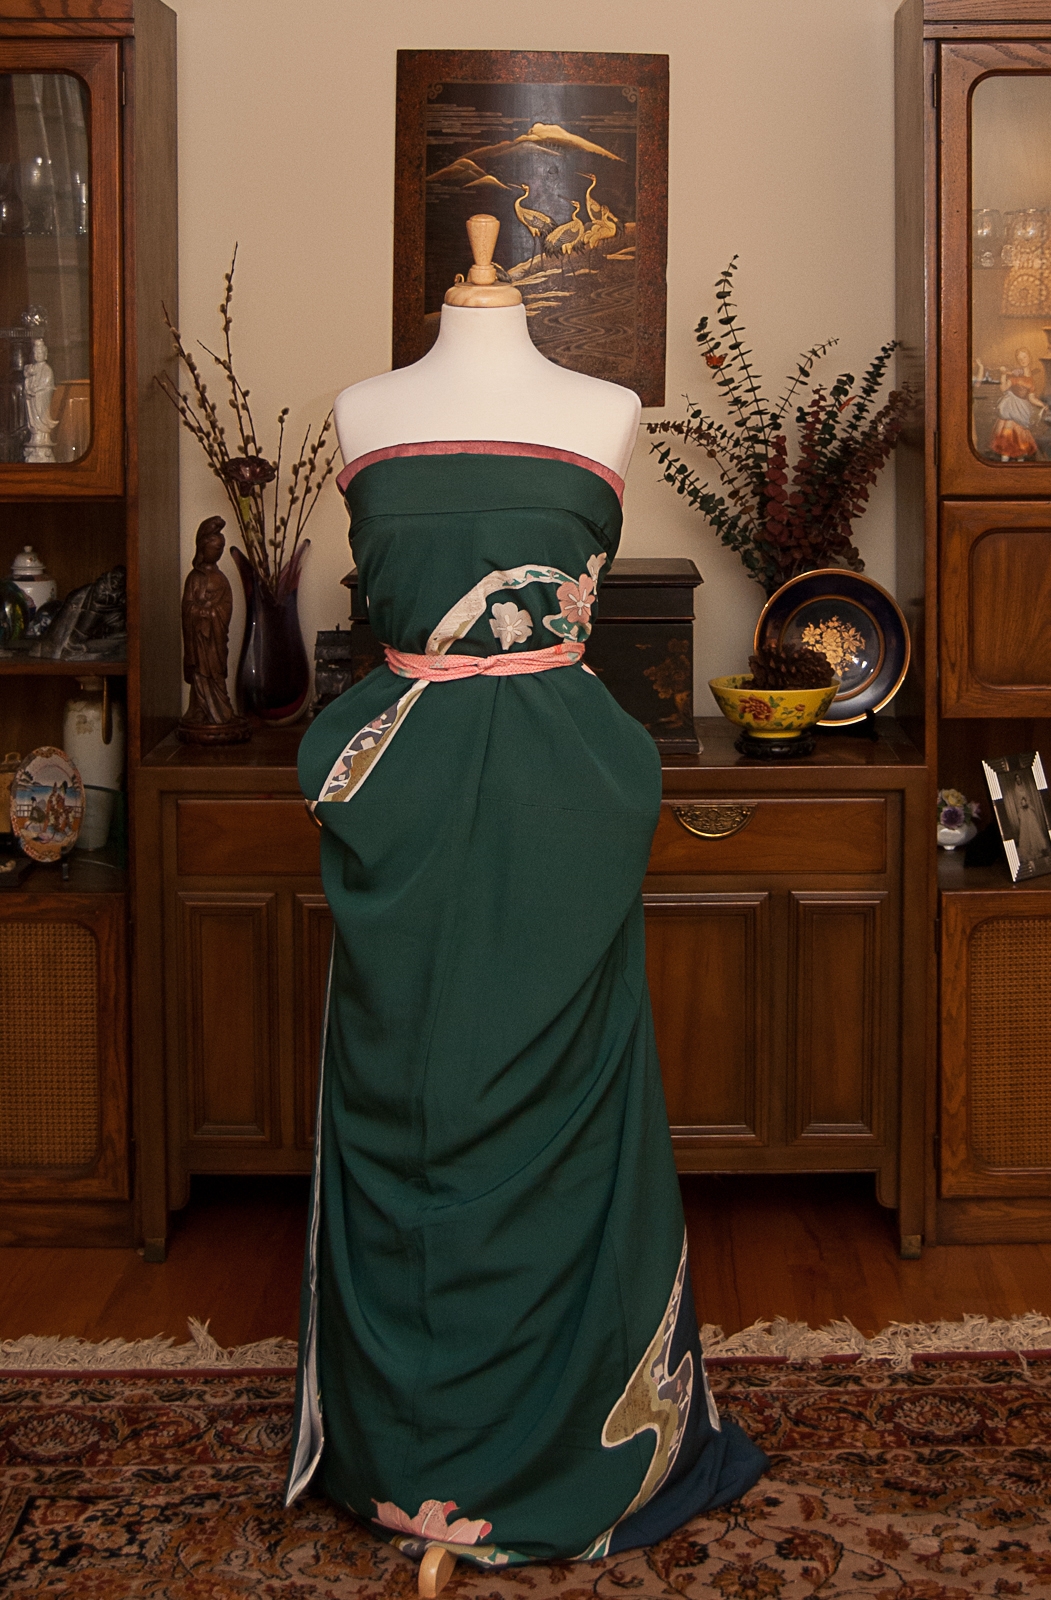
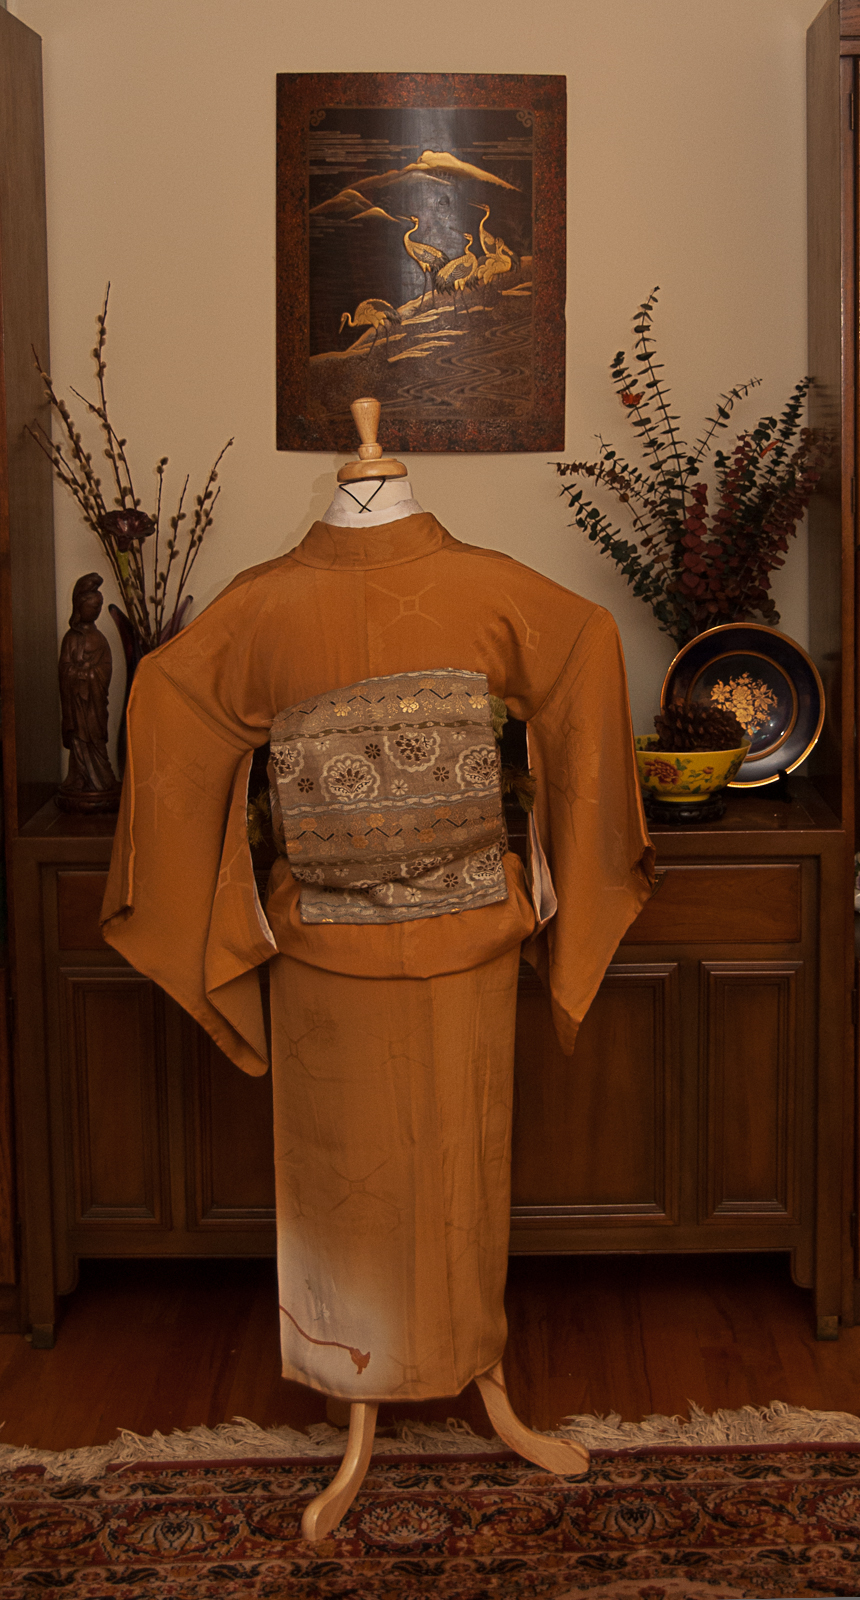
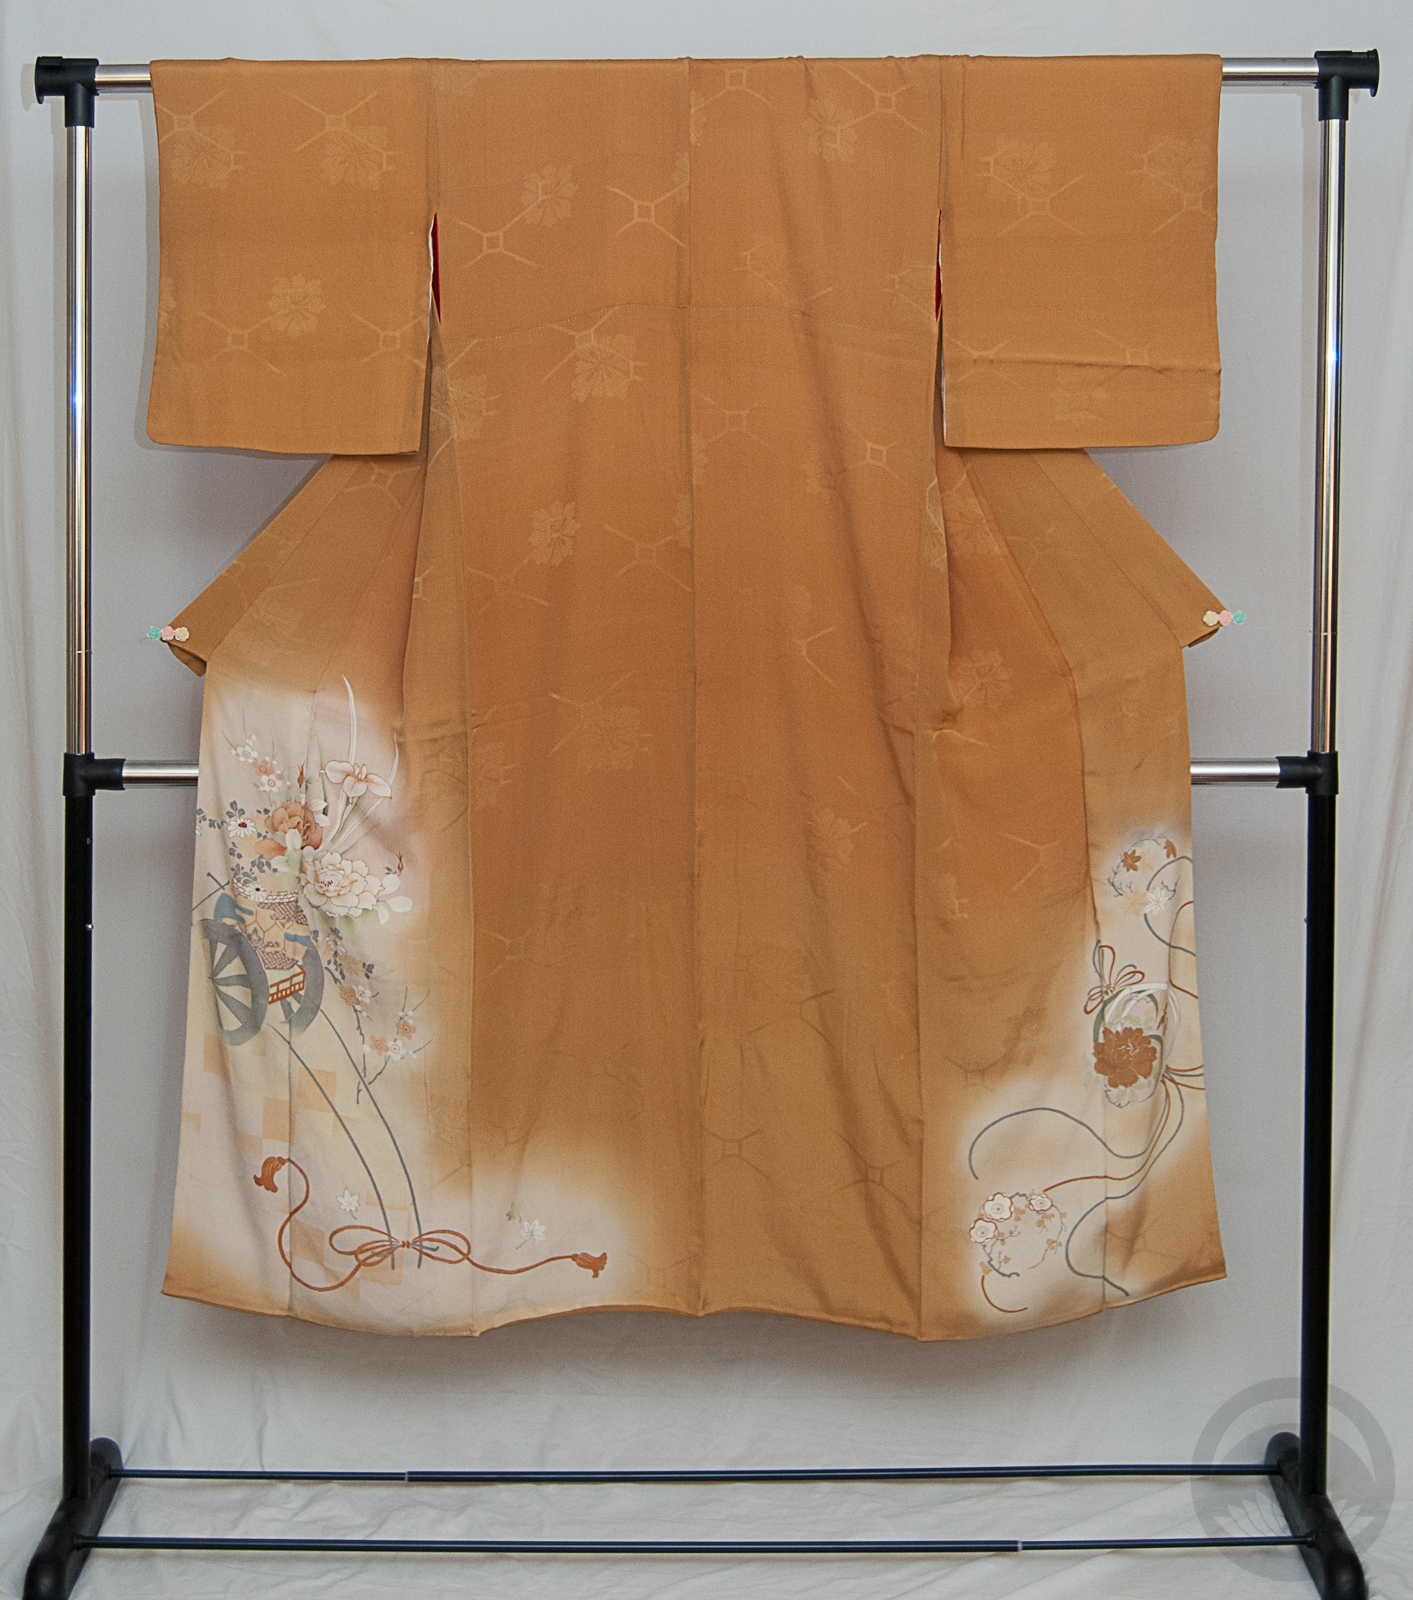
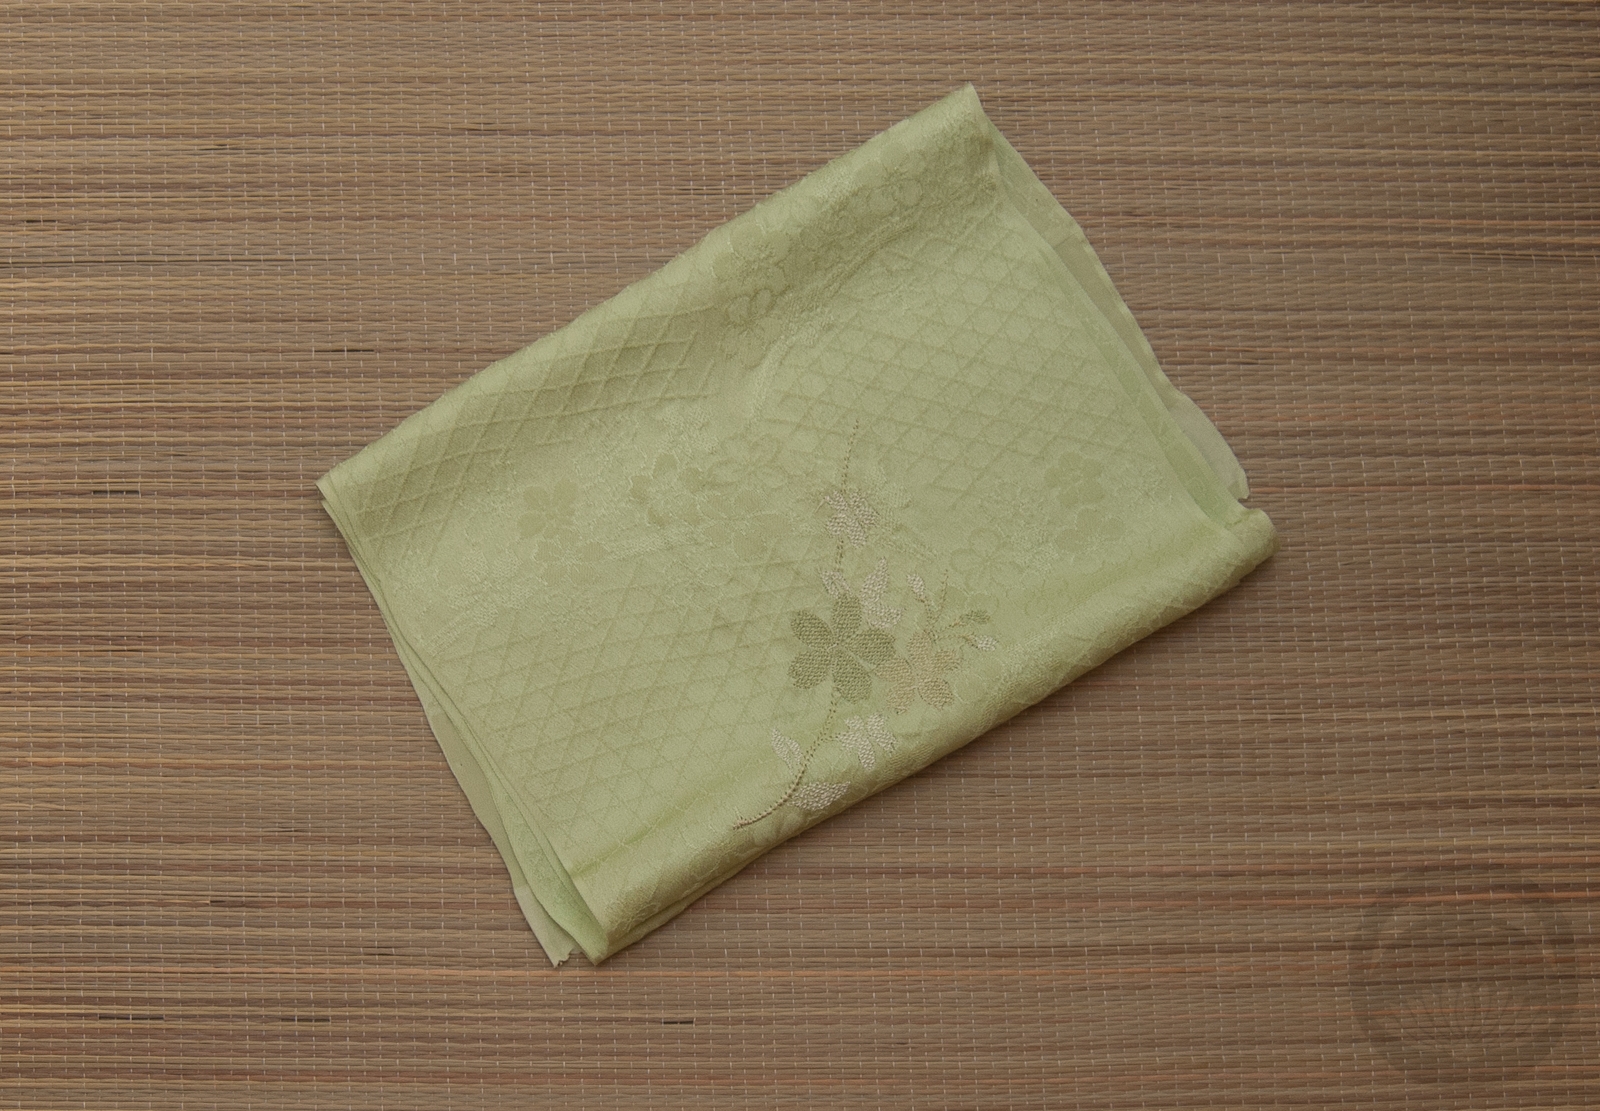
I knew I wanted a fairly plain kimono so that the focus would be on the bling-tastic obi. I waffled over a few choices, debated buying something, and then I remembered I had this little beauty, a gift from the same dear friend who sent me the vintage kakeshita a while back. This piece is quite old, and quite fragile. The silk itself is very clearly sun-damaged, faded in spots, and has several tears and frays where the seams are coming apart. It’s also one of those odd hybrid kimono that we hardly ever see anymore. From a distance, it is (or was, before the fading) a solid uniform purple shade with a single crest, which would place is straight in iromuji territory. But up close, it’s shot through with gold stripes, which is not something you’d generally see in a modern iromuji. Whatever you want to call it, I’m so glad I finally found a way to use it!

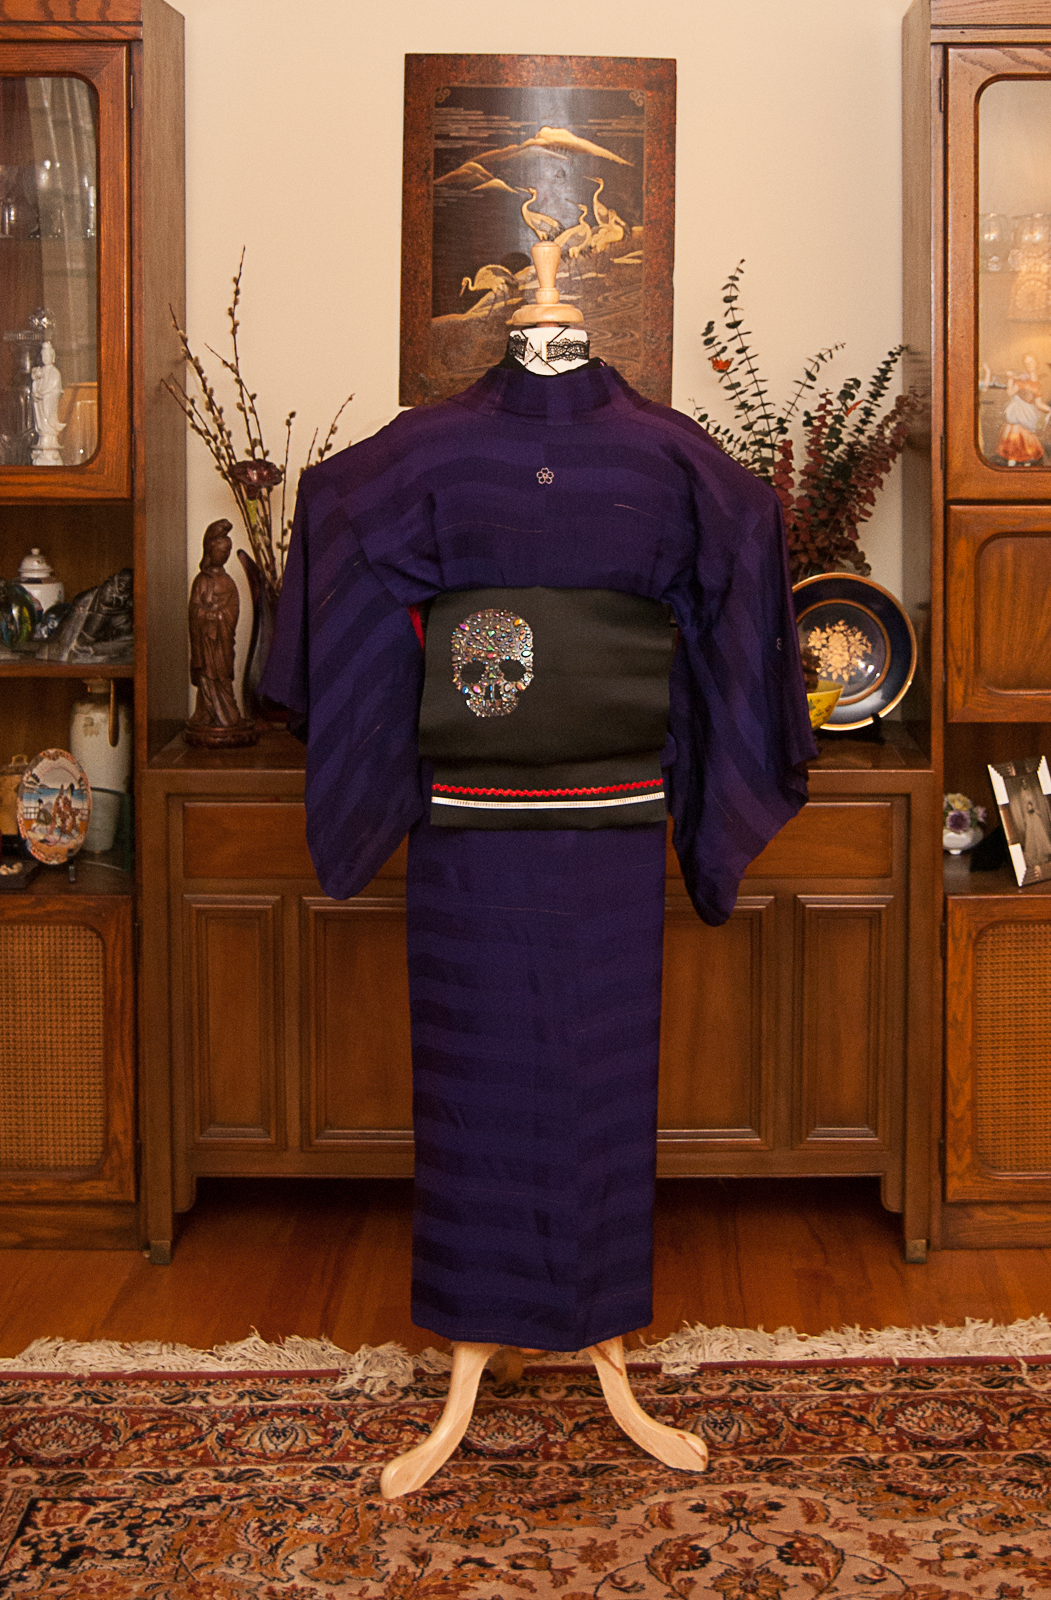
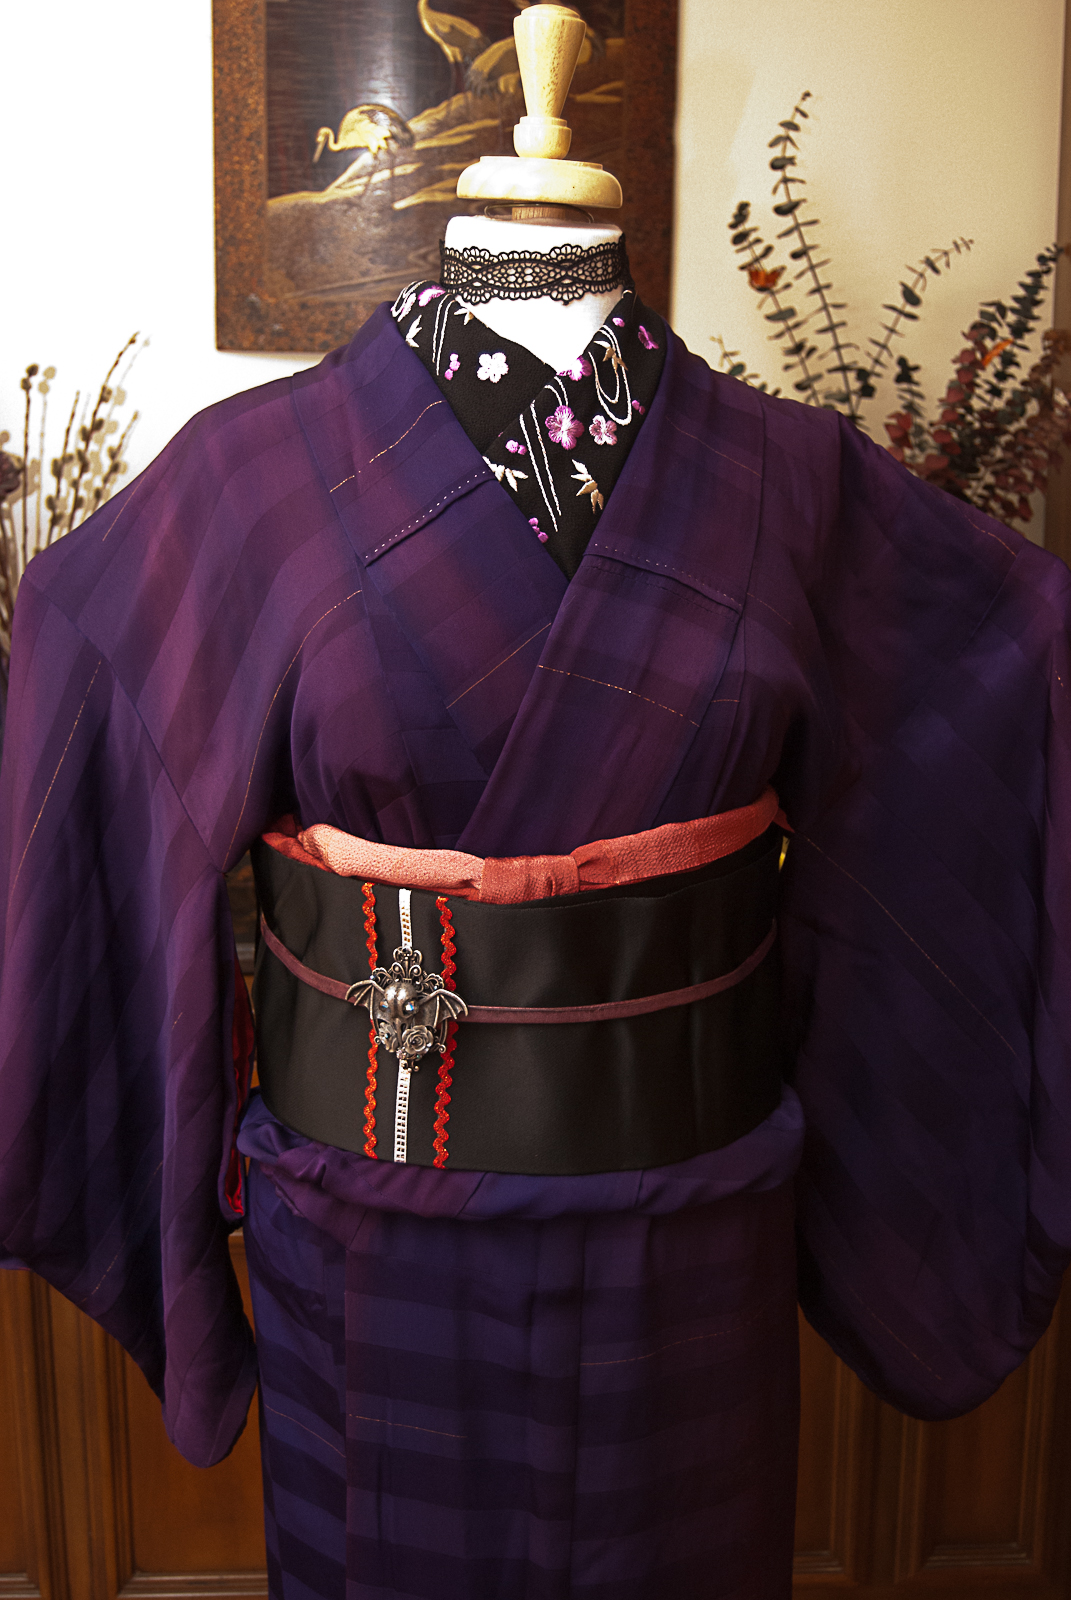
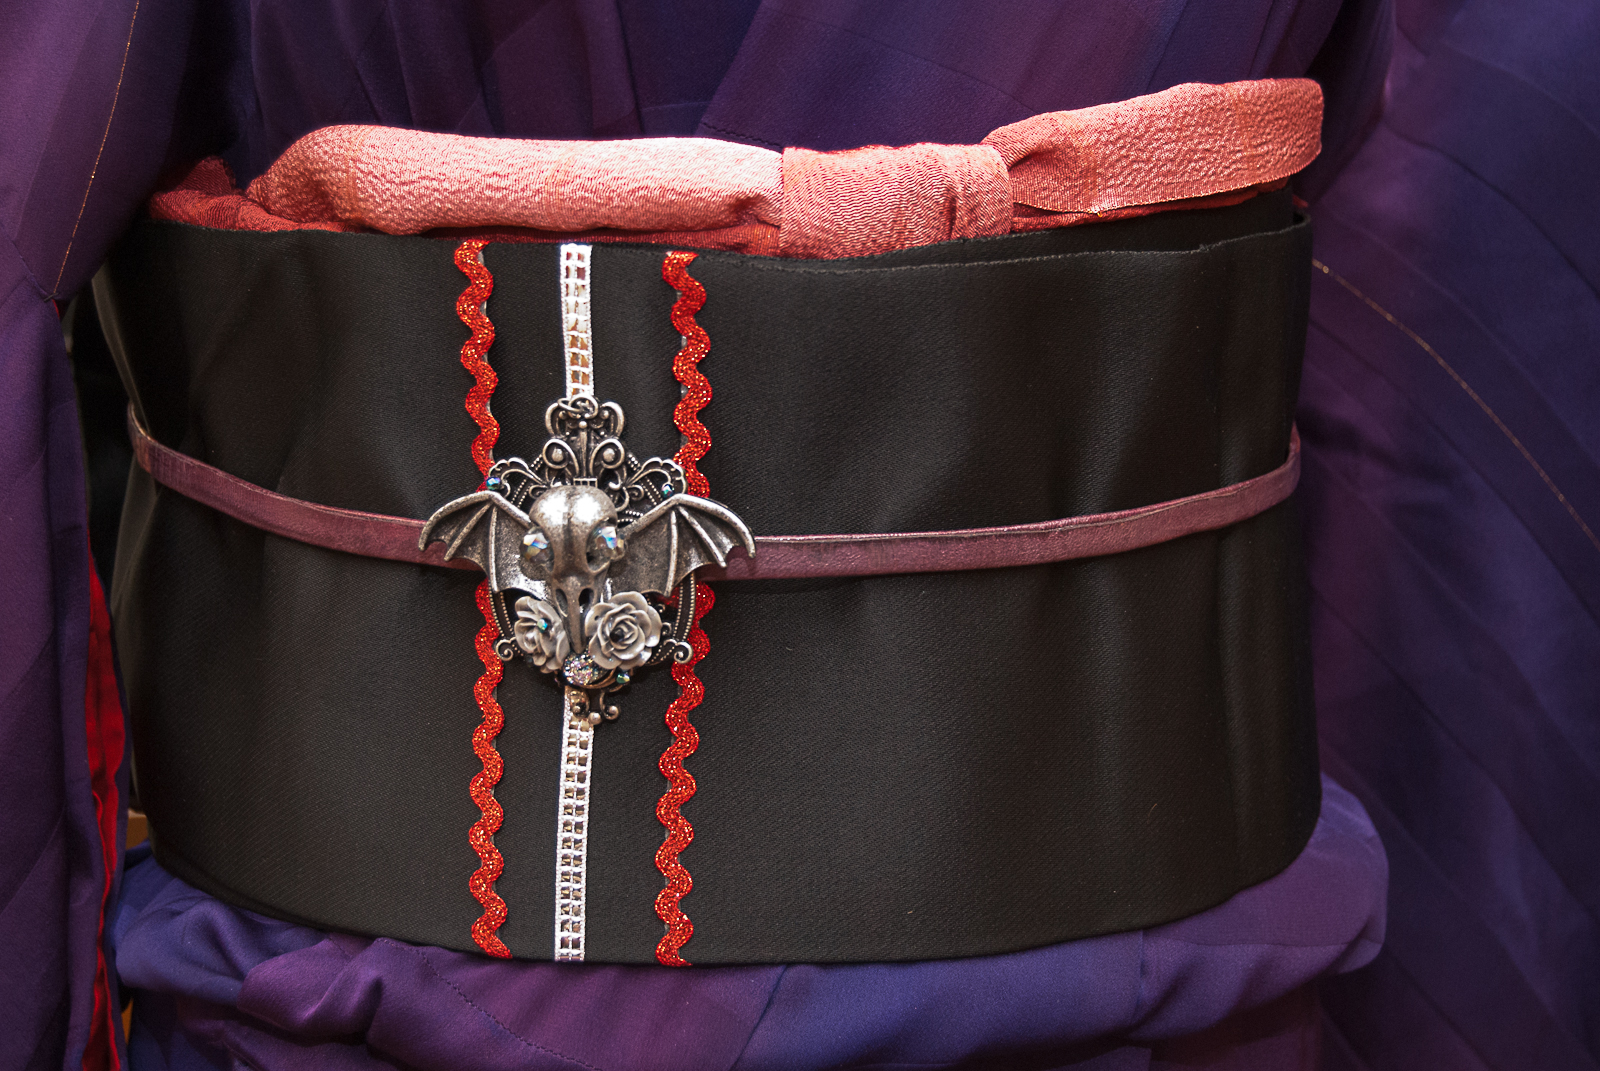
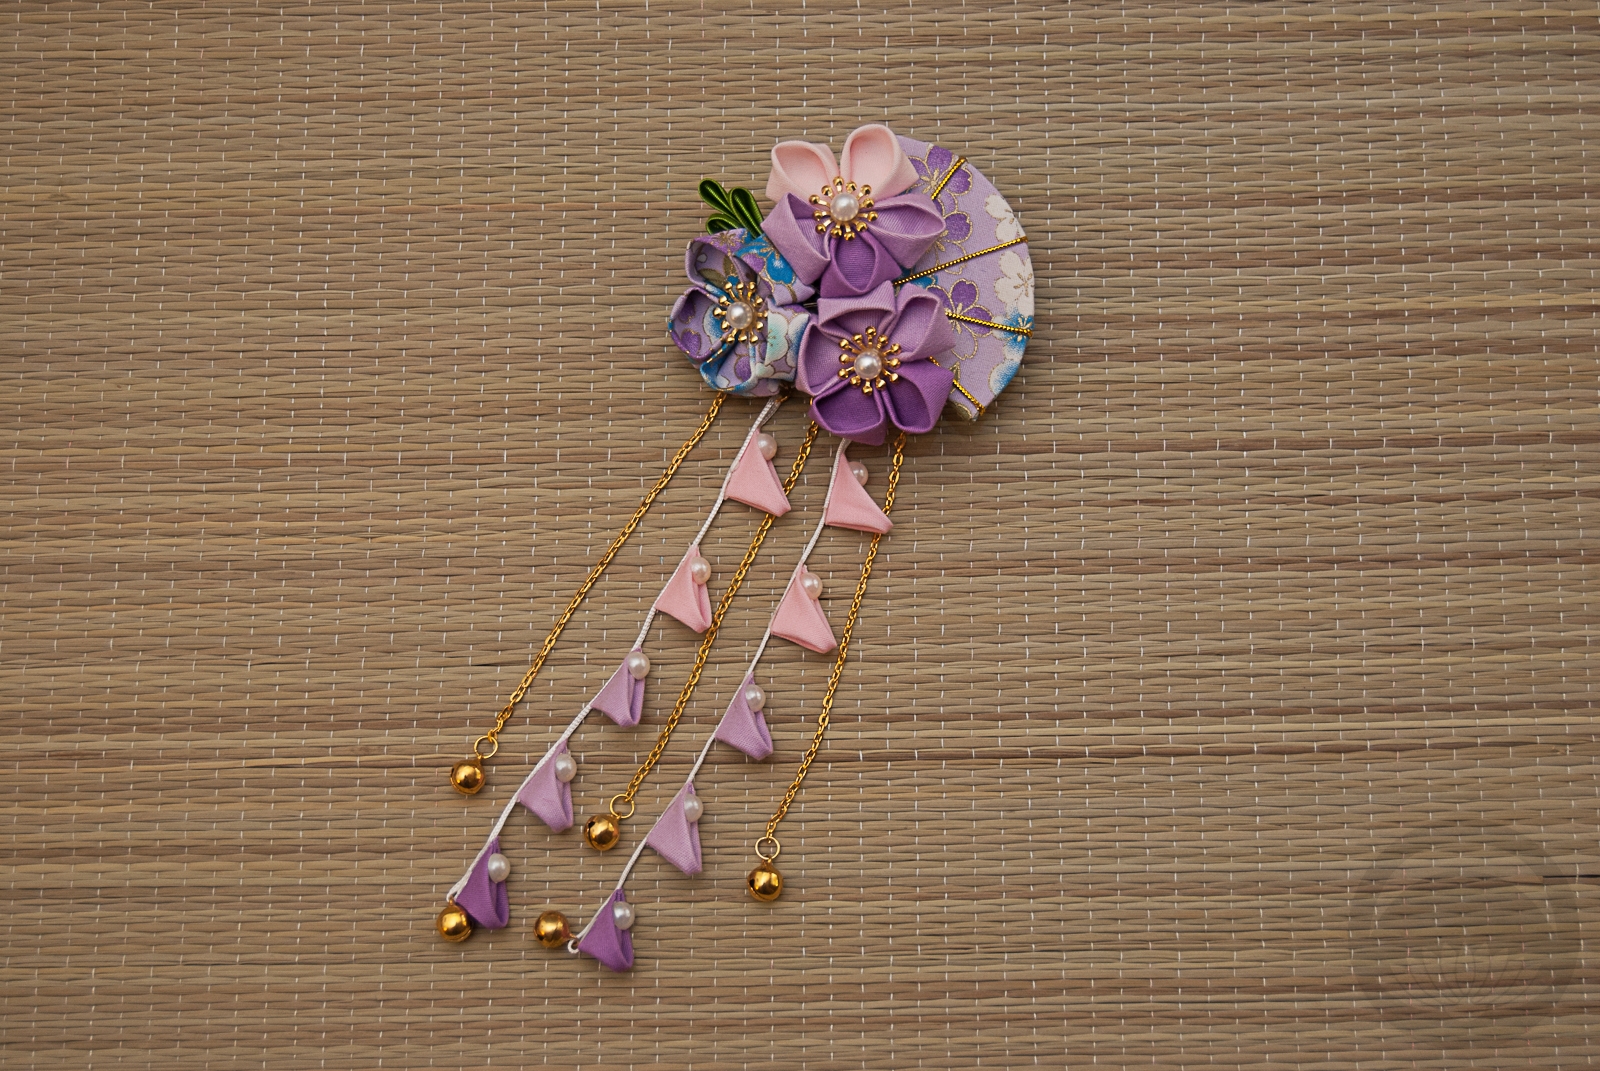
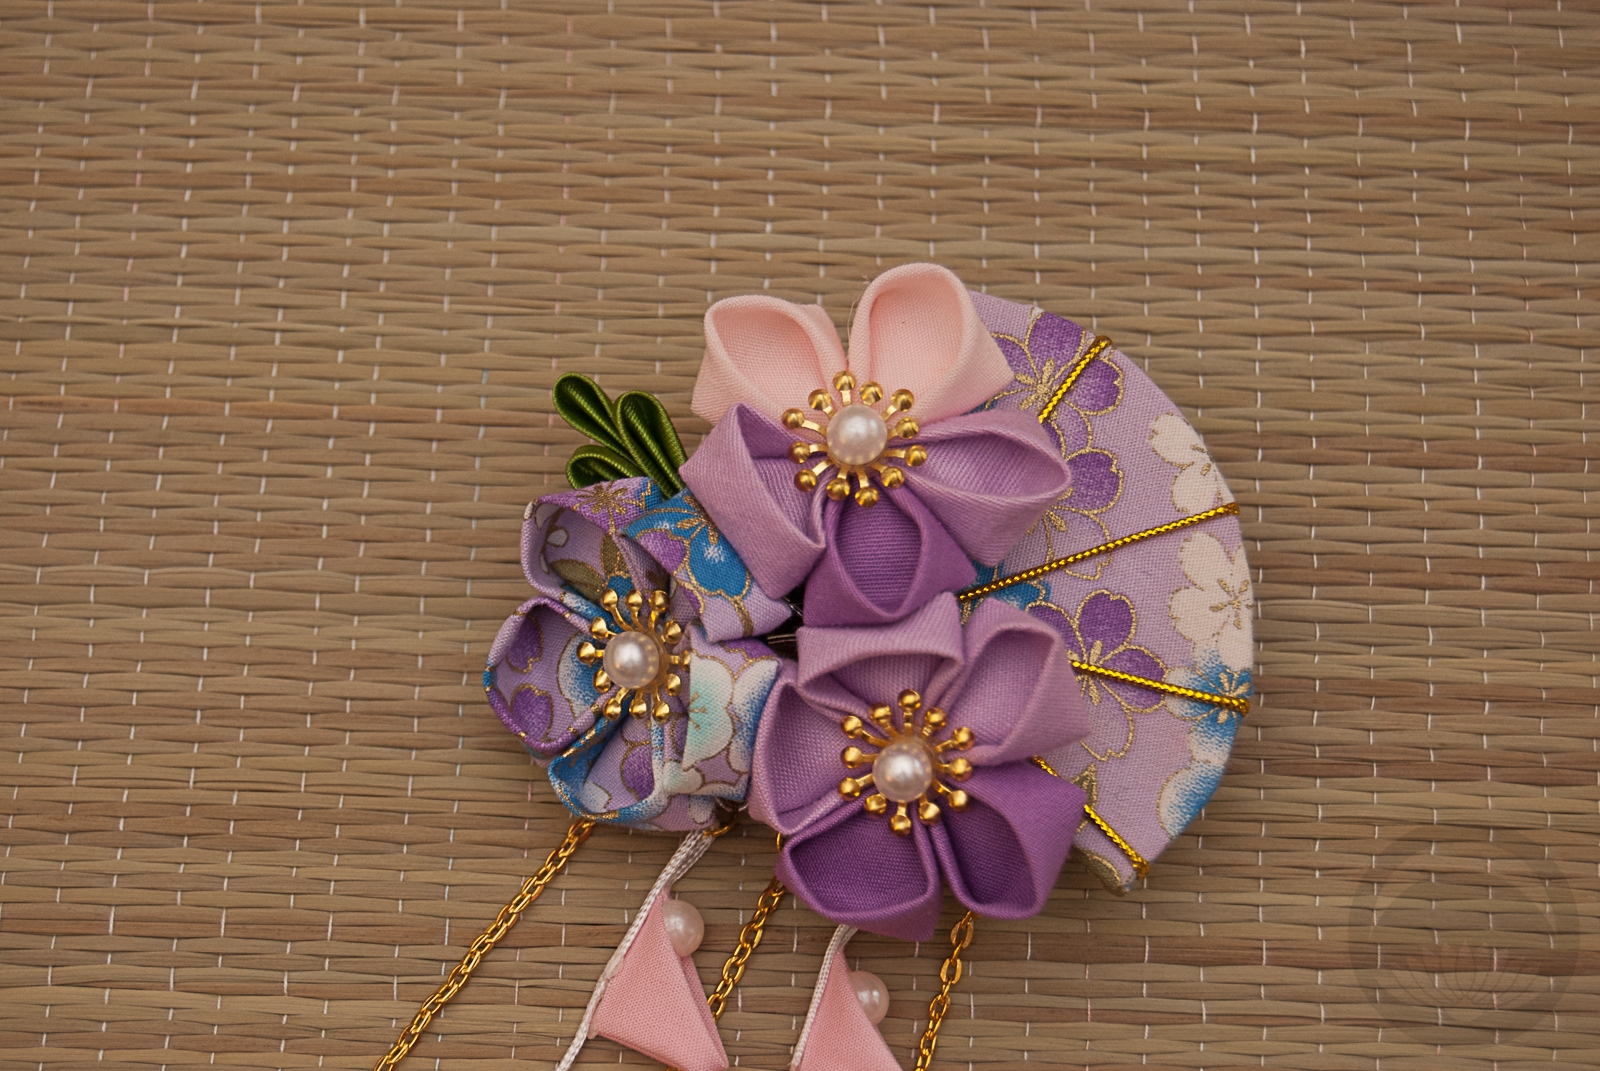
The finishing touch for this outfit is a brooch I made a while back with supplies from the very same craft store. It wasn’t made with kimono or any particular event in mind, I was just feeling creative. But it works so well with this outfit, you’d think I’d done it on purpose! I tied everything together with black, red, and dark raspberry pink accessories and came up with what I think is a very spooky but also very wearable coordination!
Are you dressing in kimono this halloween? If so, please share photos!
Items used in this coordination
-
- Rich Purple Hybrid
-
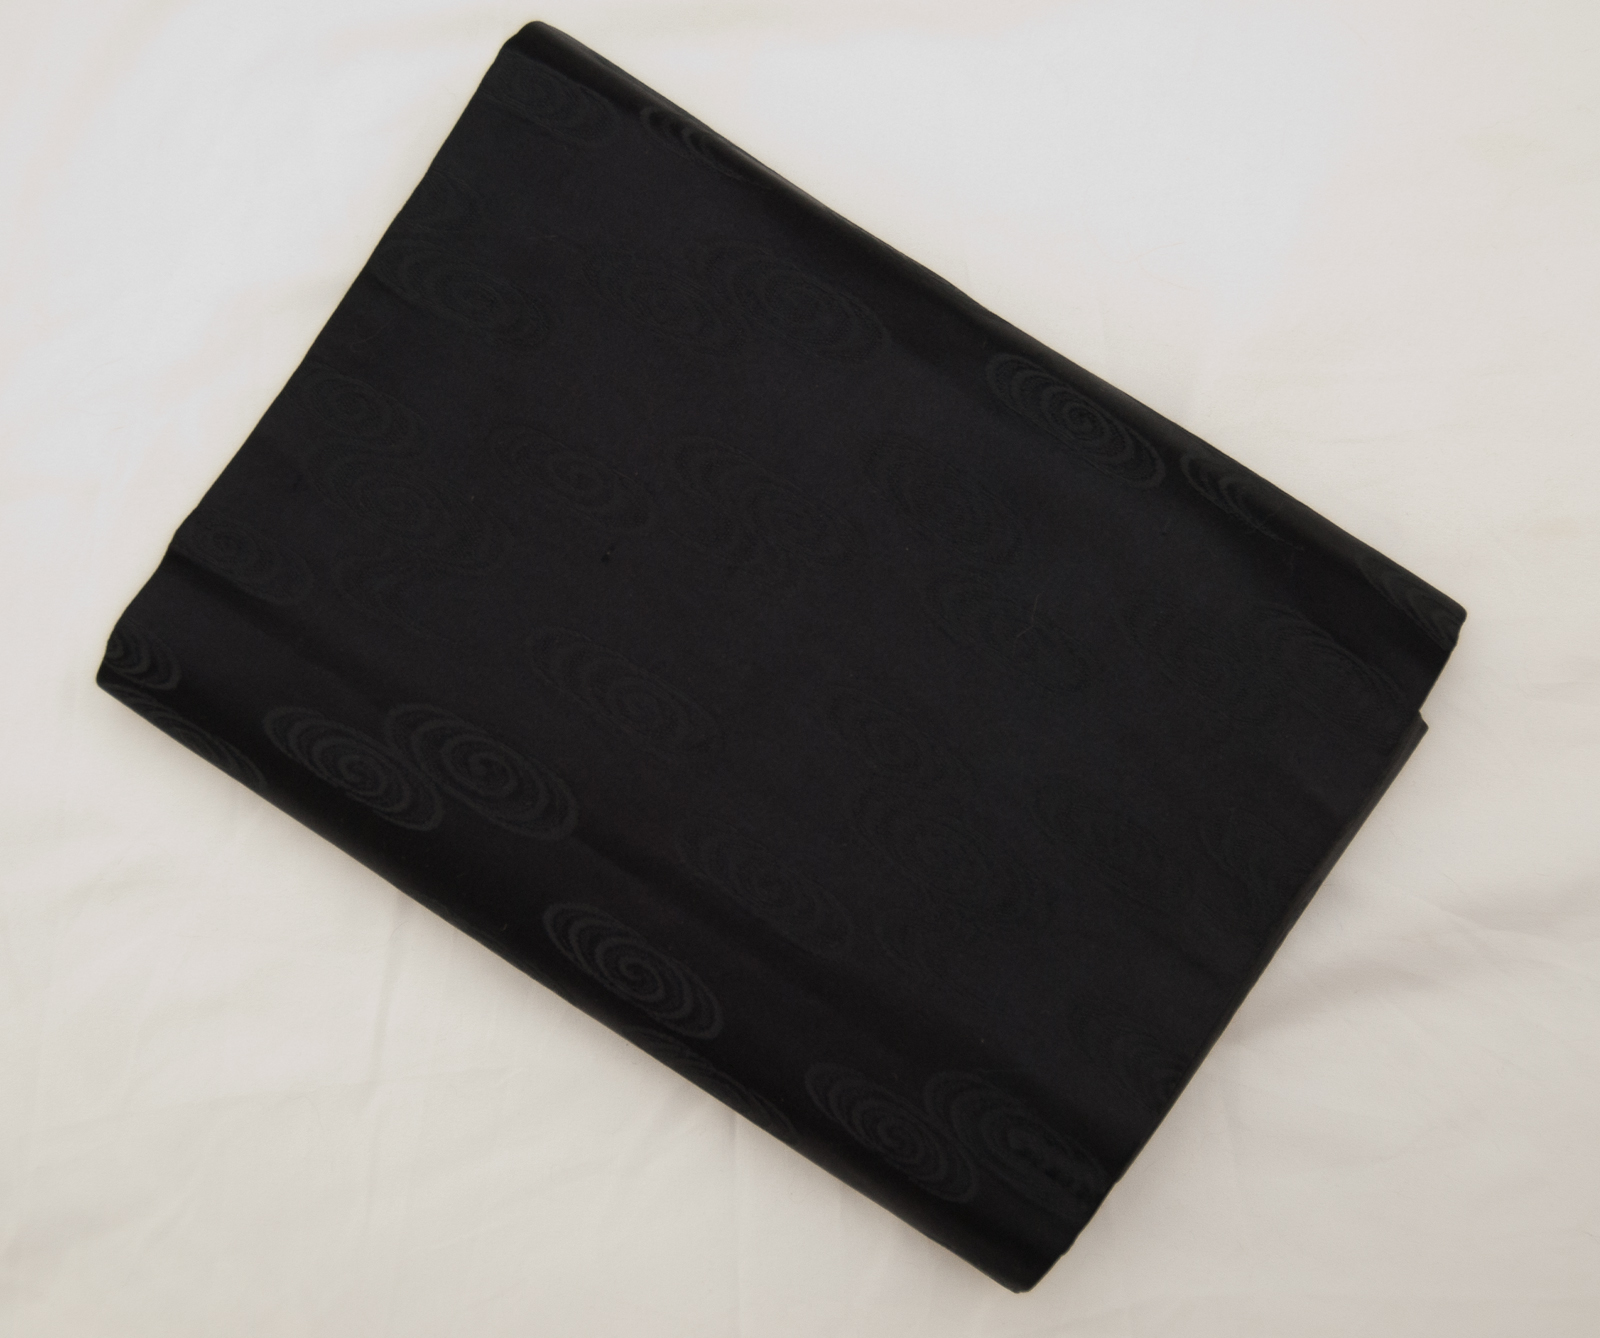
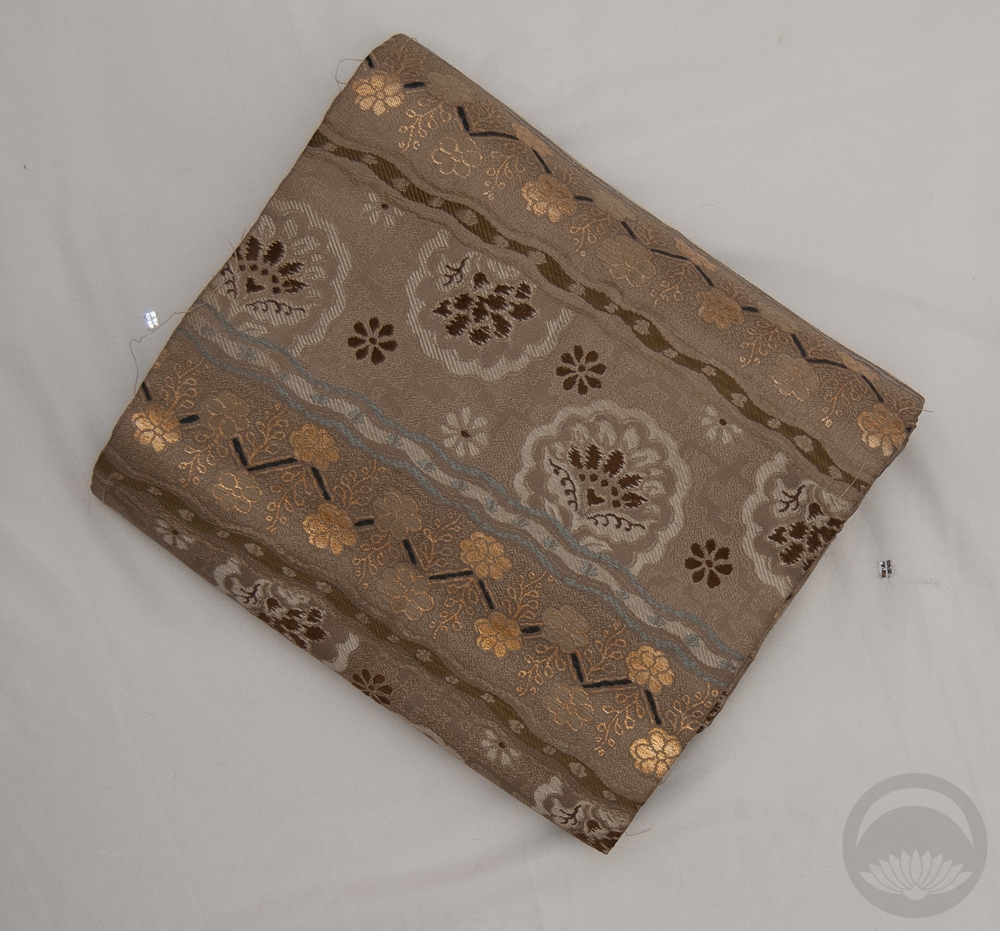
- Mofuku Nagoya Obi
-
- Ume
-
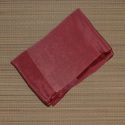
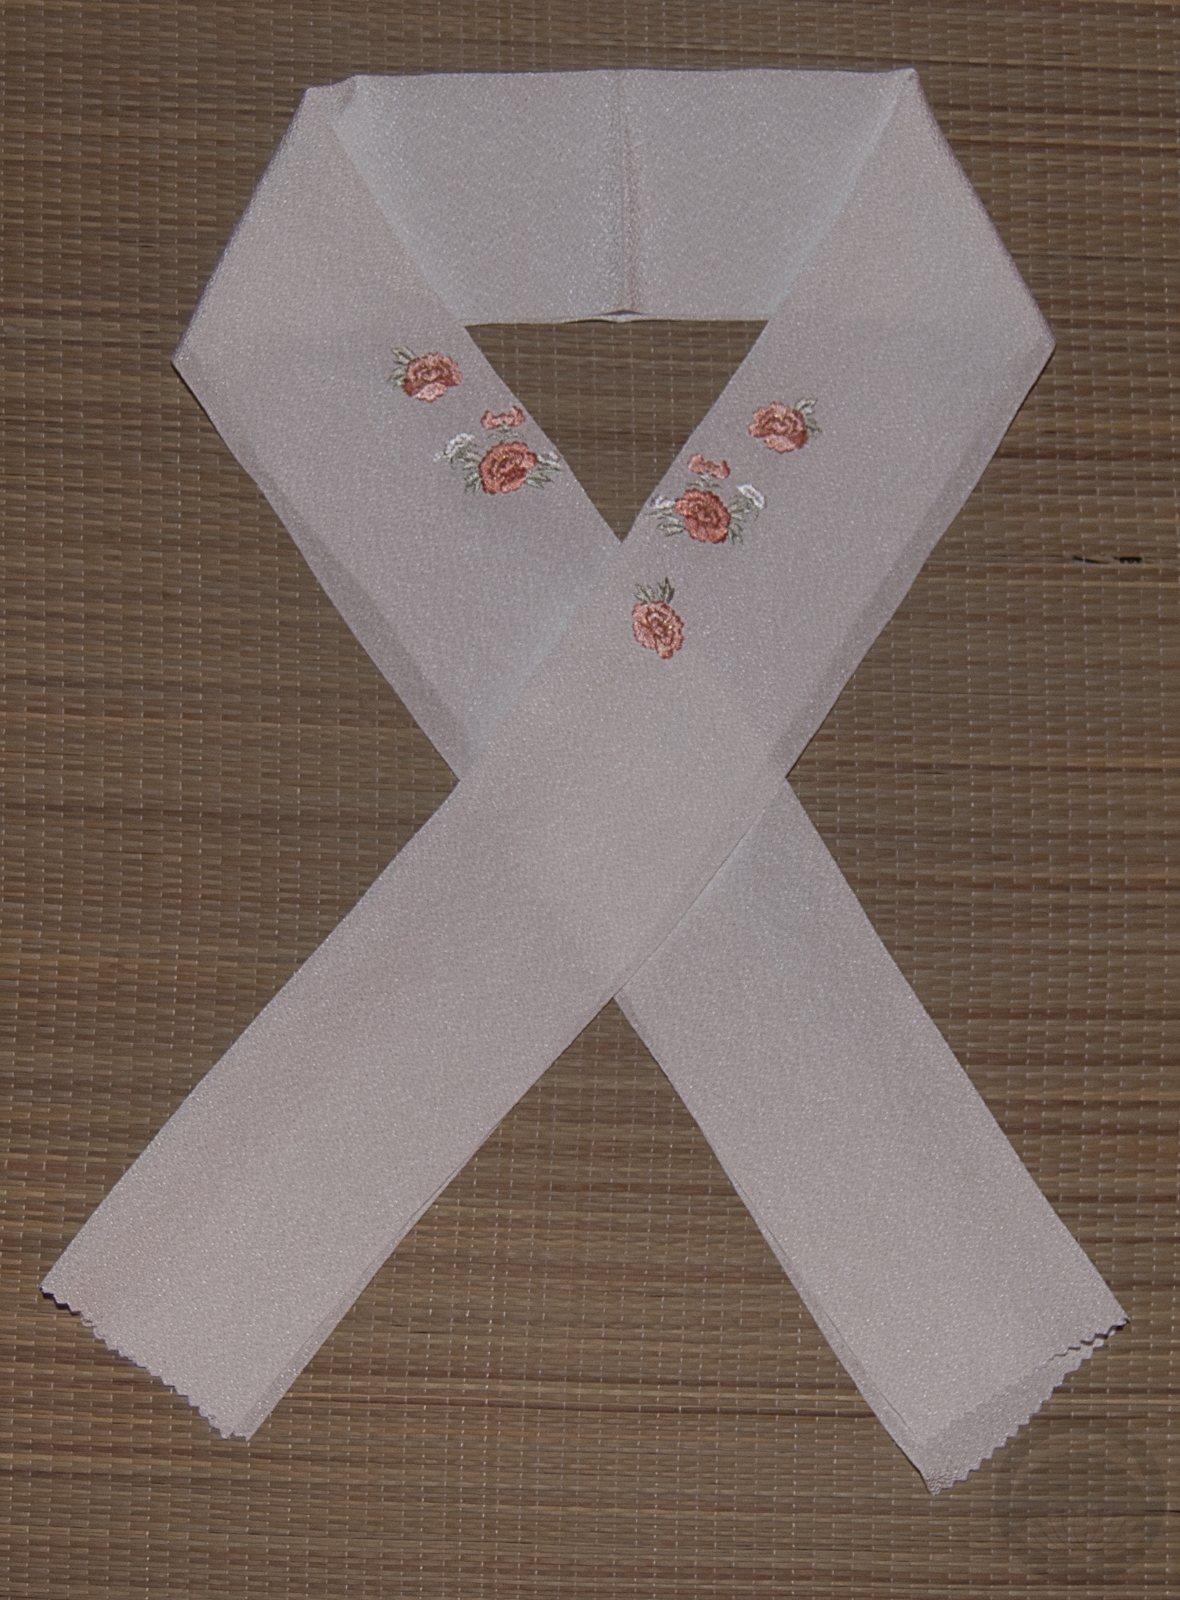
- Maroon Rinzu

-
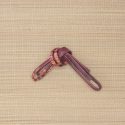
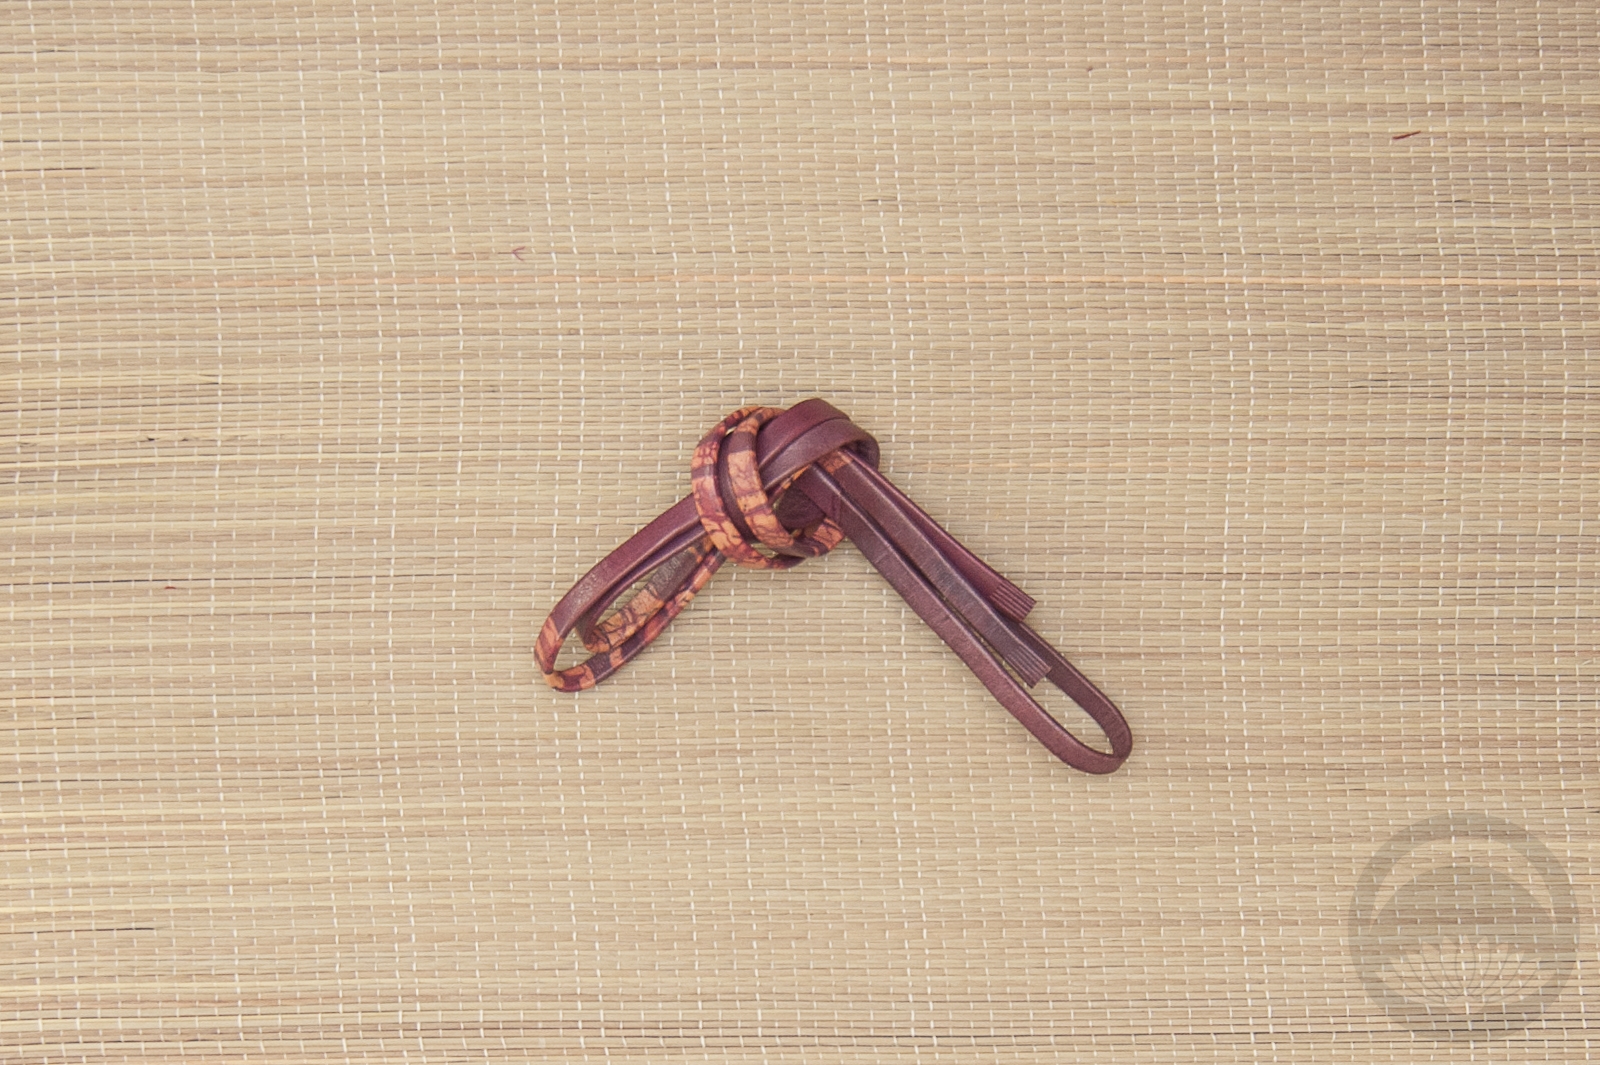
- Purple Leather


 Bebe Taian
 CHOKO Blog
 Silk & Bones
 Gion Kobu